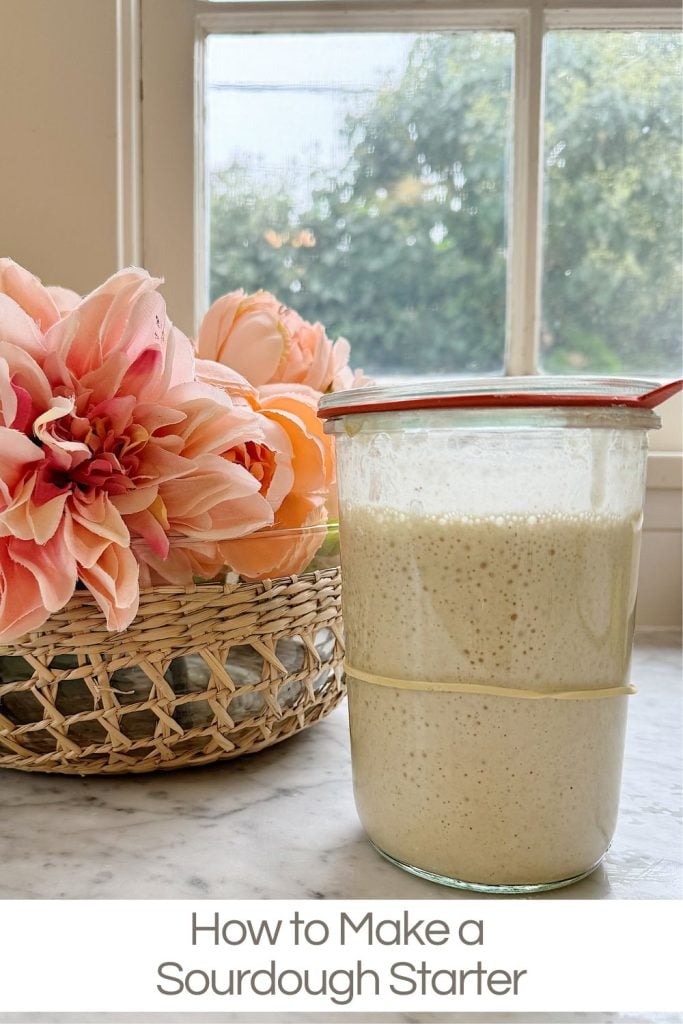
How to Make a Sourdough Starter
Making a sourdough starter is a simple yet rewarding process. It transforms flour and water into a powerful leavening agent that can create delicious, naturally risen bread.
For the last year, I have been making my sourdough starter. Today, I am sharing why sourdough is worth the time and effort, including an easy guide to create your starter from scratch. I am so excited and cannot believe I did it!


How to Make a Sourdough Starter: The Ultimate Guide
The last three weeks have been fun nursing a sourdough starter. I am so happy it’s ready for bread, and I can’t wait to share my journey with you.
I also created a 14-day feeding schedule with exact weights for how much starter to keep each day, ensuring that you end up with a robust and healthy starter that you can use to bake beautiful loaves of bread.
Why Make a Sourdough Starter?
The Best Flavor
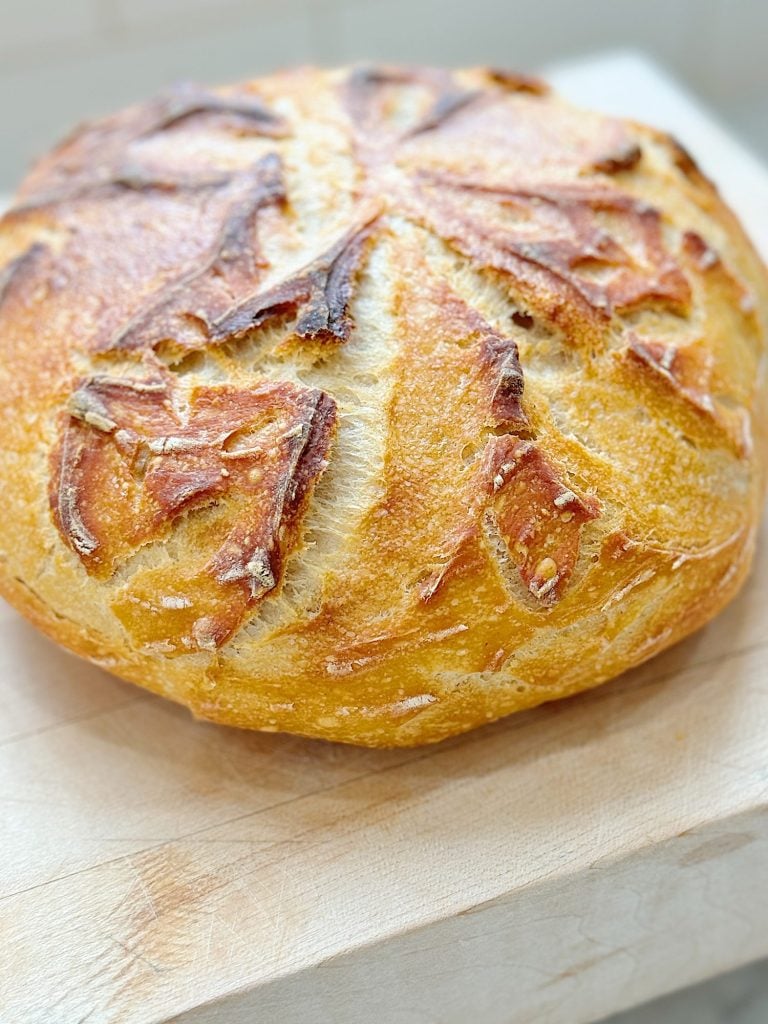
For the bread! Sourdough bread has a depth of flavor unmatched by bread made with commercial yeast. The slow fermentation process gives sourdough its signature tangy taste, complex flavors, and chewy texture that you can’t get from regular bread.
And … now that I have made my first loaf of sourdough bread, I can honestly say it is better than I thought it would be. Yum.
Health Benefits
Due to the long fermentation process, sourdough is known for being easier to digest. The natural yeast and bacteria in the starter break down gluten, making the bread gentler on the stomach. Additionally, the fermentation process increases the availability of nutrients like B vitamins, iron, and magnesium.
No Need for Commercial Yeast
Once your sourdough starter is mature, you’ll no longer need store-bought yeast to bake. Your starter will provide all the leavening power you need for bread, pancakes, waffles, and more.
It’s A Fun and Engaging Project!
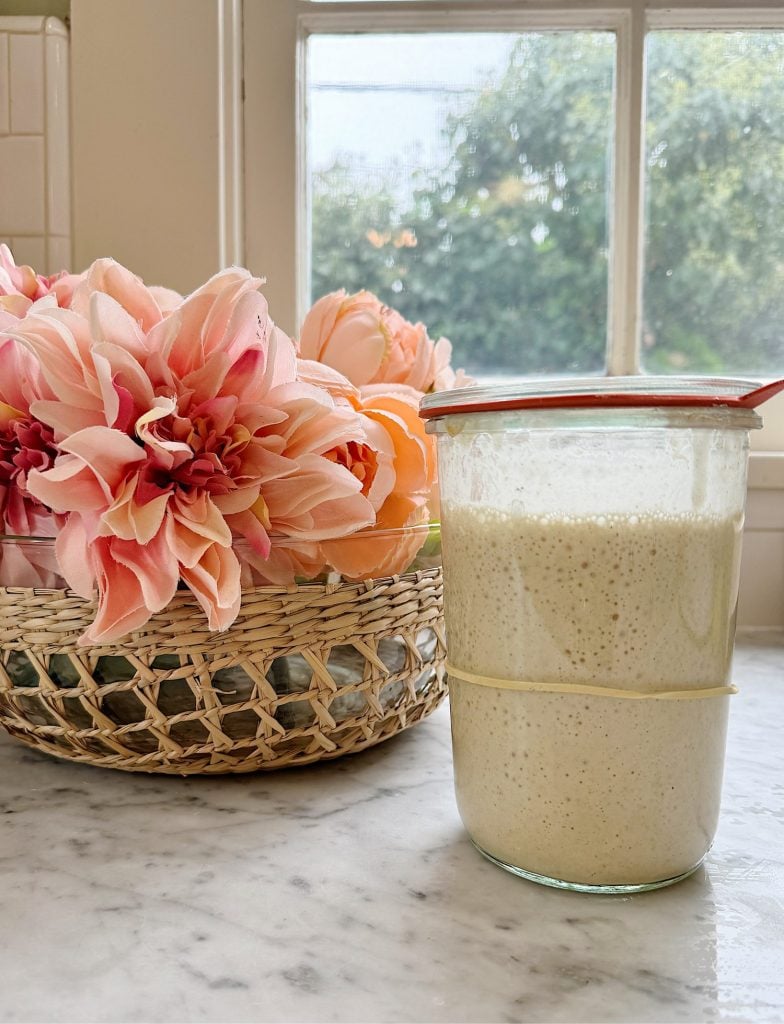
Starting a sourdough starter from scratch is a rewarding experience. It requires some patience, as it sometimes felt like I was babysitting my grandchild and not my sourdough starter! But watching the starter come to life as it bubbles and grows is fascinating. Plus, it’s a great way to connect with traditional baking methods.
What is a Sourdough Starter?
A sourdough starter is a live culture of flour and water colonized by wild yeast and beneficial bacteria. The wild yeast causes your dough to rise, while the bacteria add flavor and help ferment. Unlike commercial yeast, which acts quickly, the wild yeast in a sourdough starter ferments the dough slowly, allowing more complex flavors to develop.
Creating a starter takes 14 – 21 days, but once it’s established, it can be kept alive indefinitely with regular feedings.
I took a local sourdough class, and the instructor gifted each student a 100-year-old starter! So now I have two!
How to Make a Sourdough Starter
To make a sourdough starter, you only need flour and water. That’s it! For the first few days, I recommend using a combination of rye flour and all-purpose flour to encourage strong fermentation, then transitioning to all-purpose flour to maintain a milder flavor.
Here’s a detailed step-by-step guide to creating your starter.
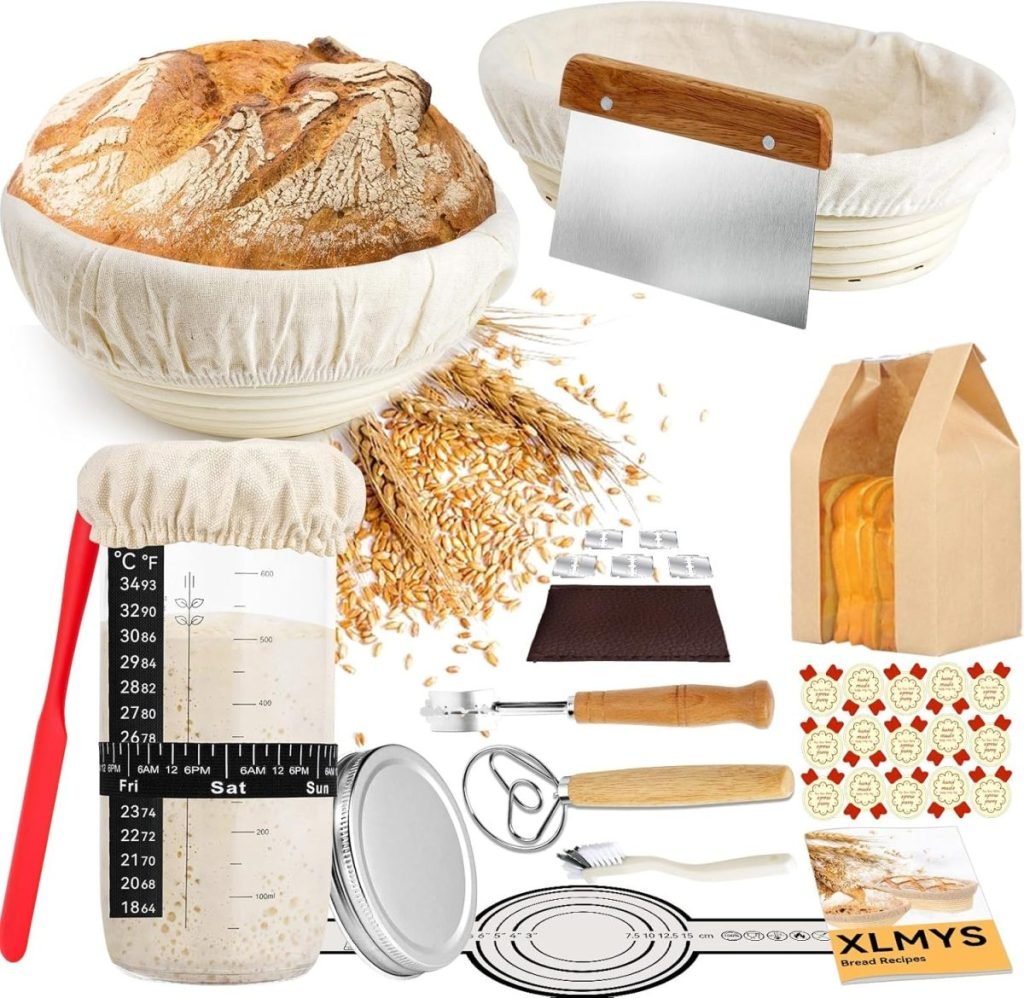
What You’ll Need:
- Flour: Use rye flour for the first few days, then switch to unbleached all-purpose flour.
- Water: Filtered or bottled water at room temperature.
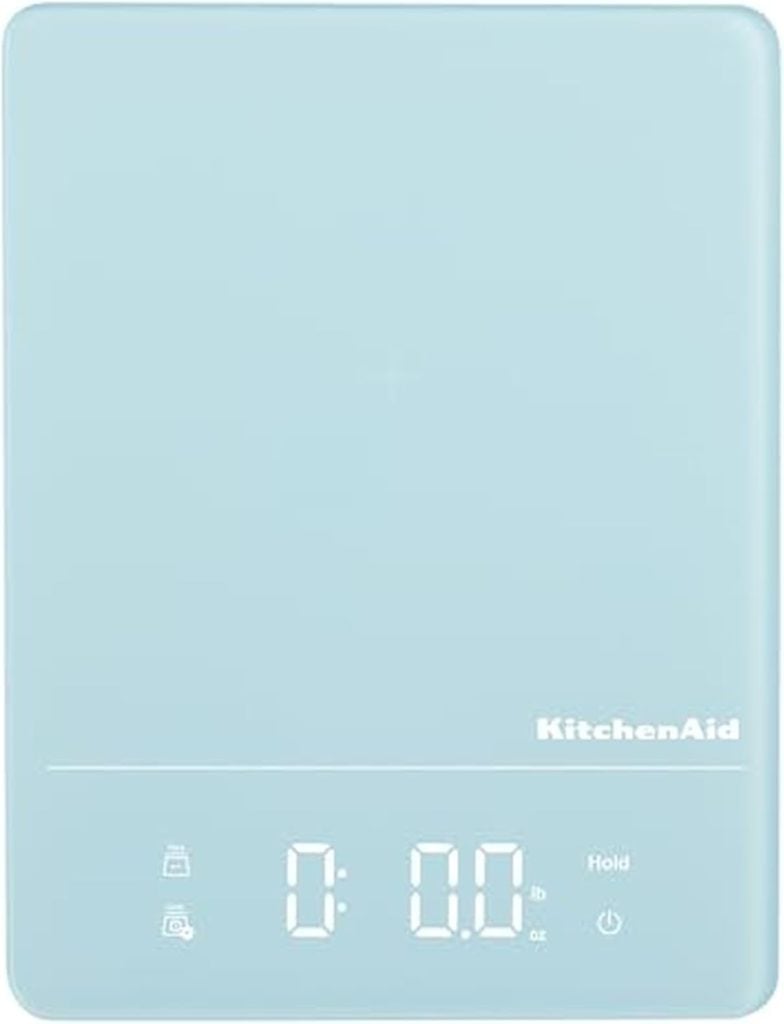
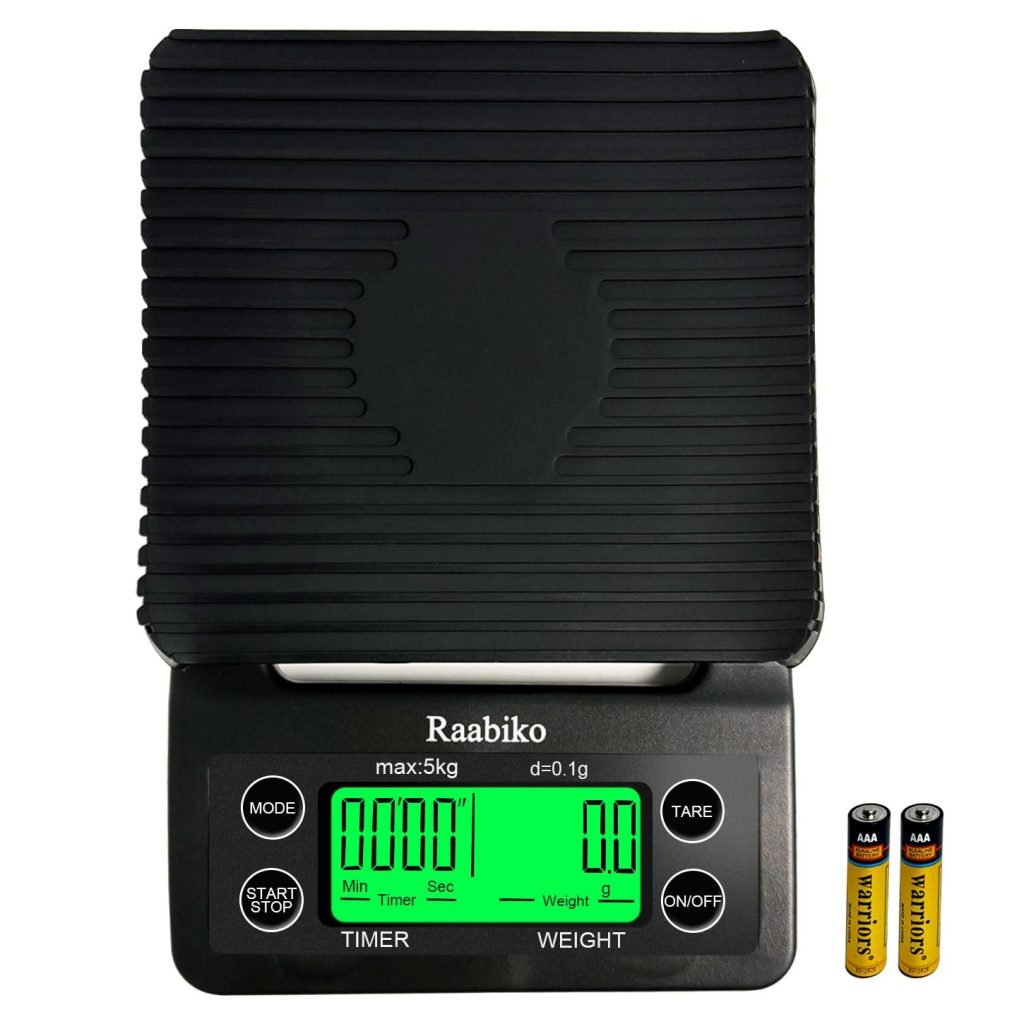
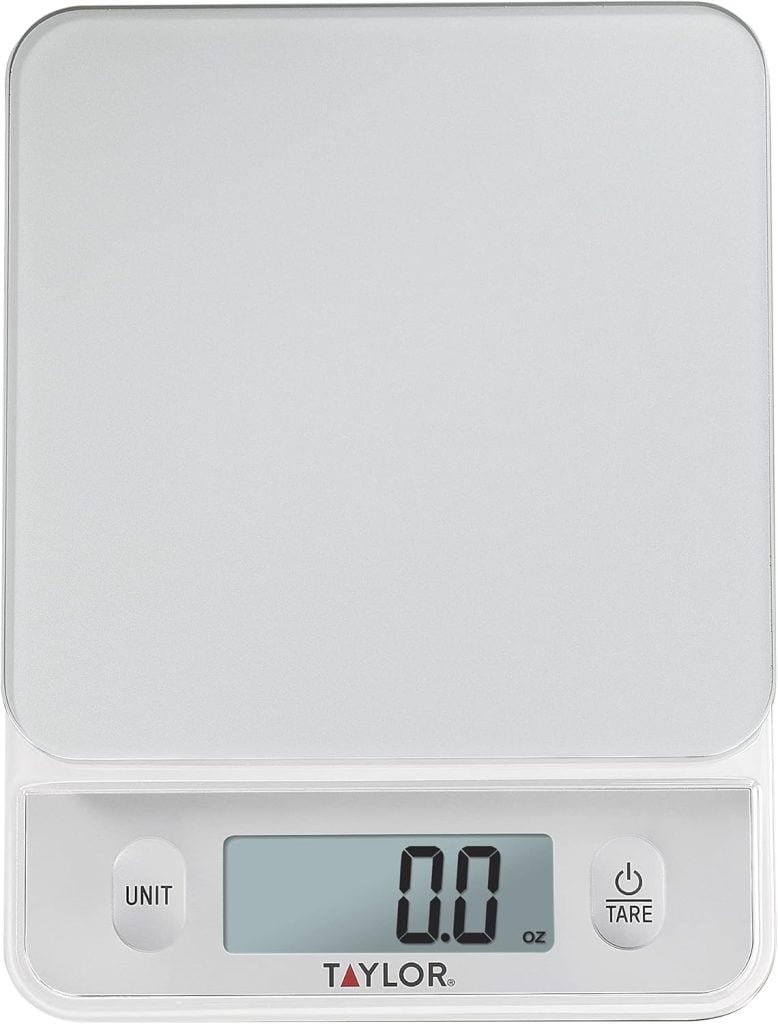
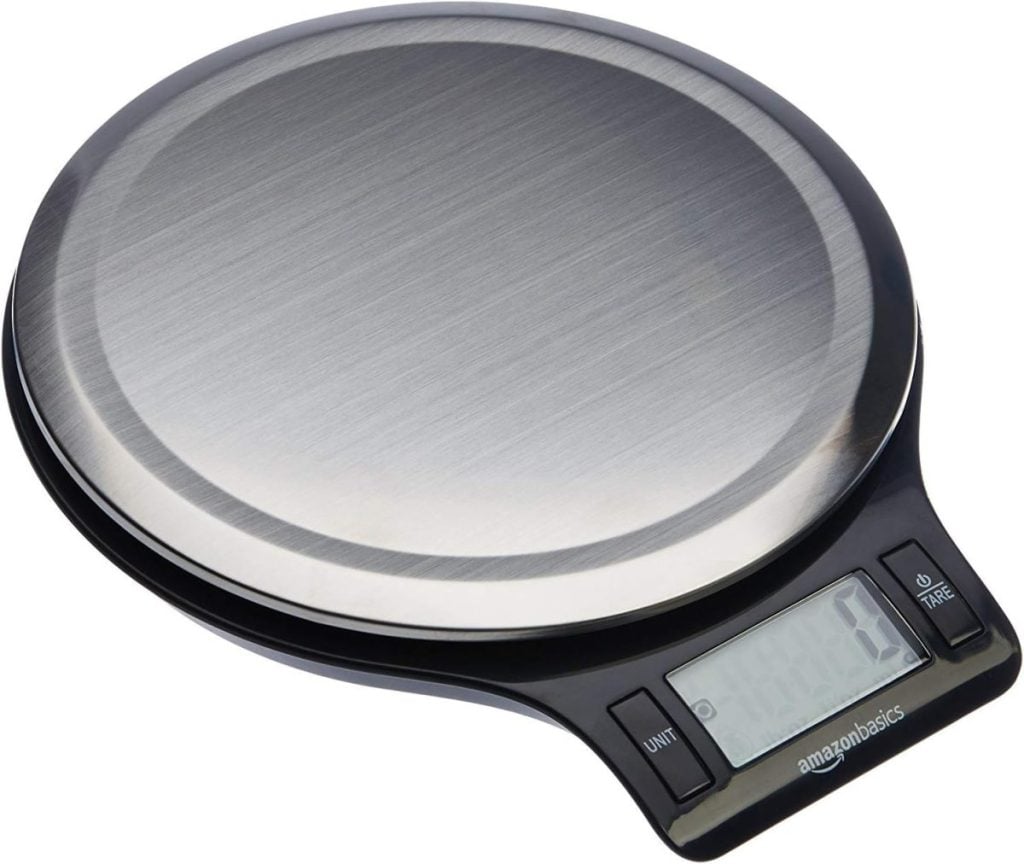
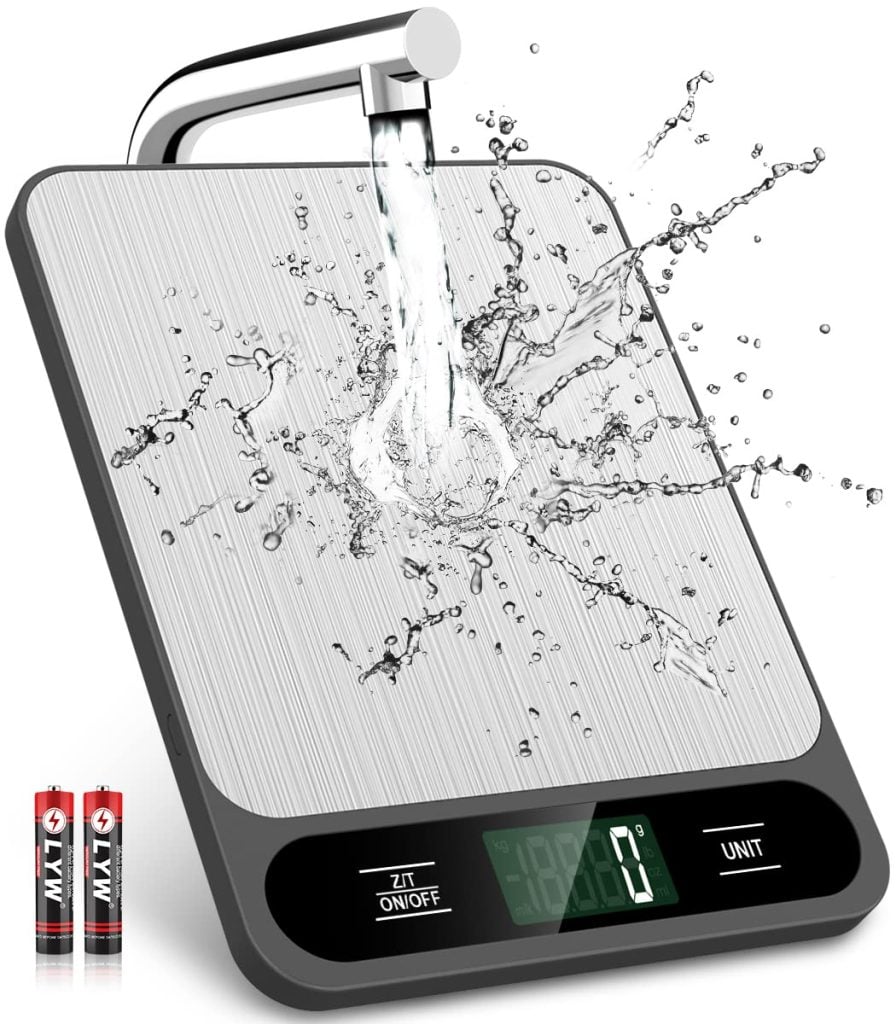
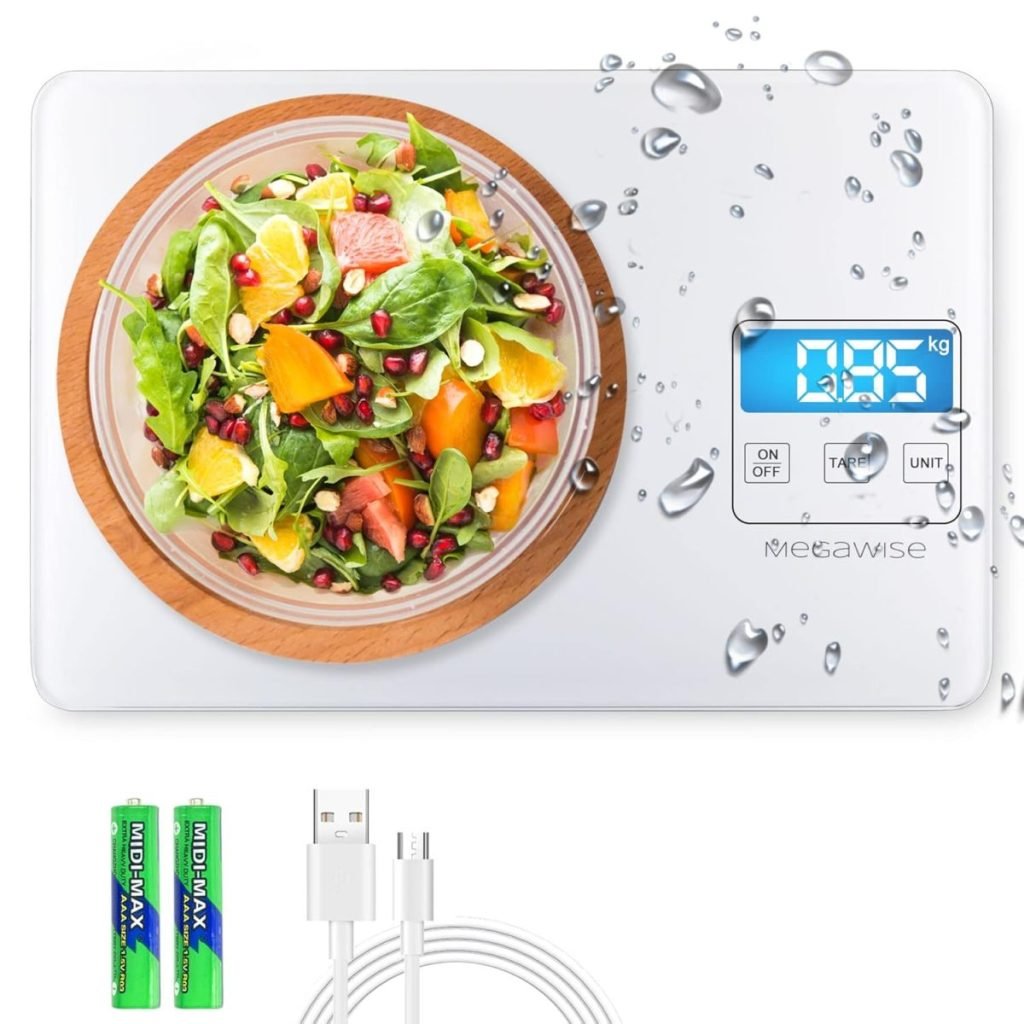
- Scale: A digital kitchen scale to measure everything by weight (accuracy is vital).
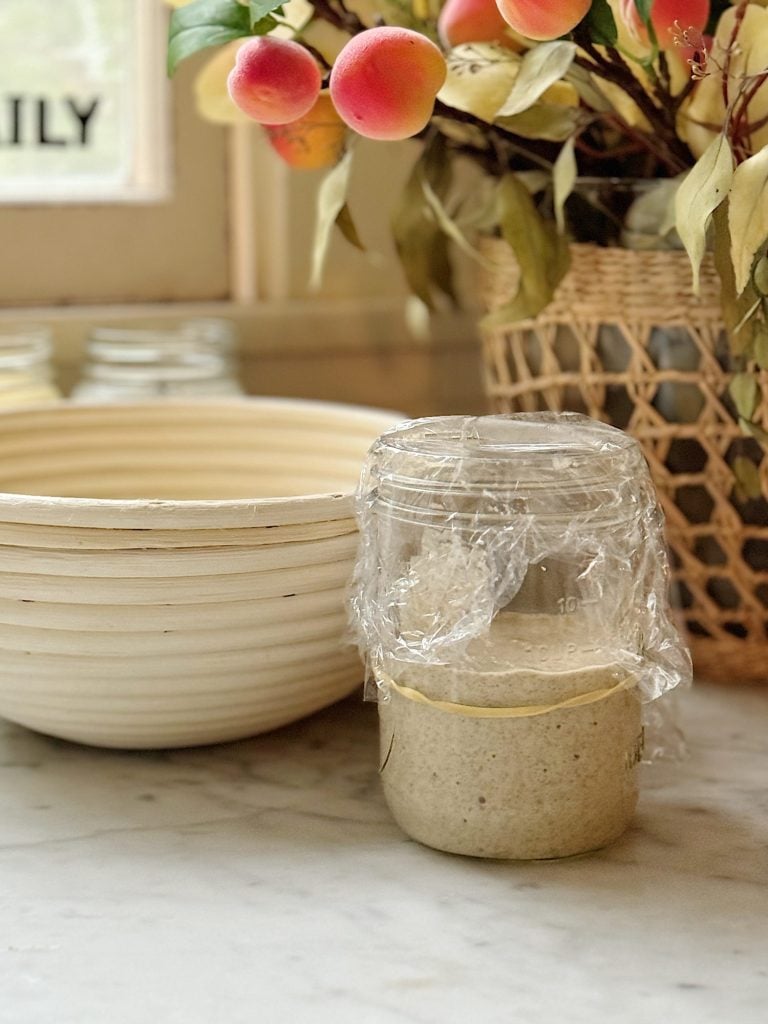
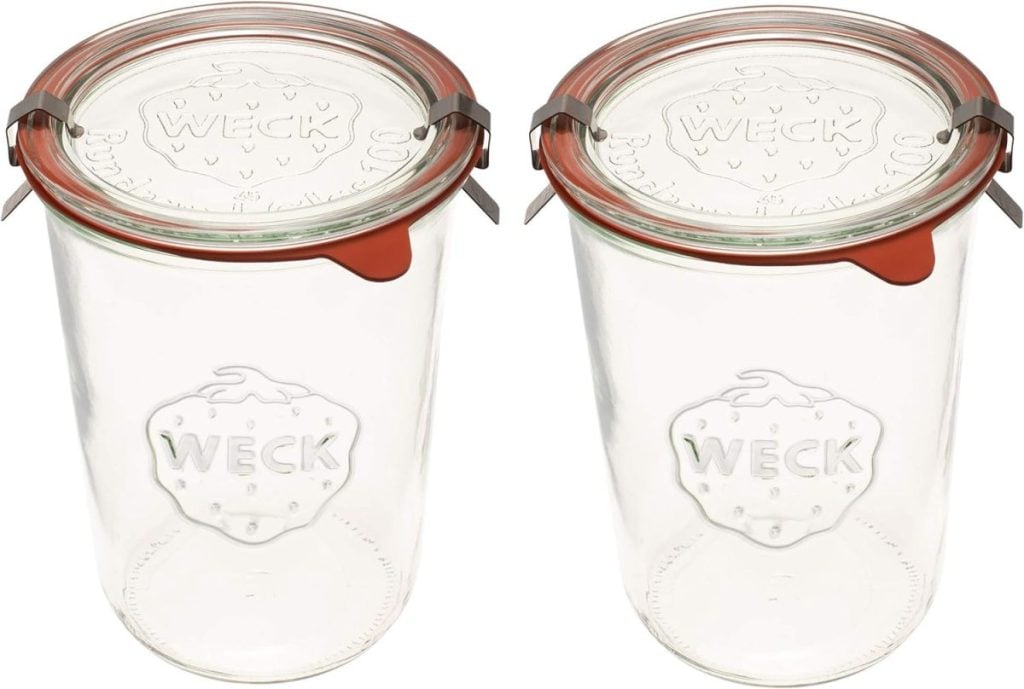
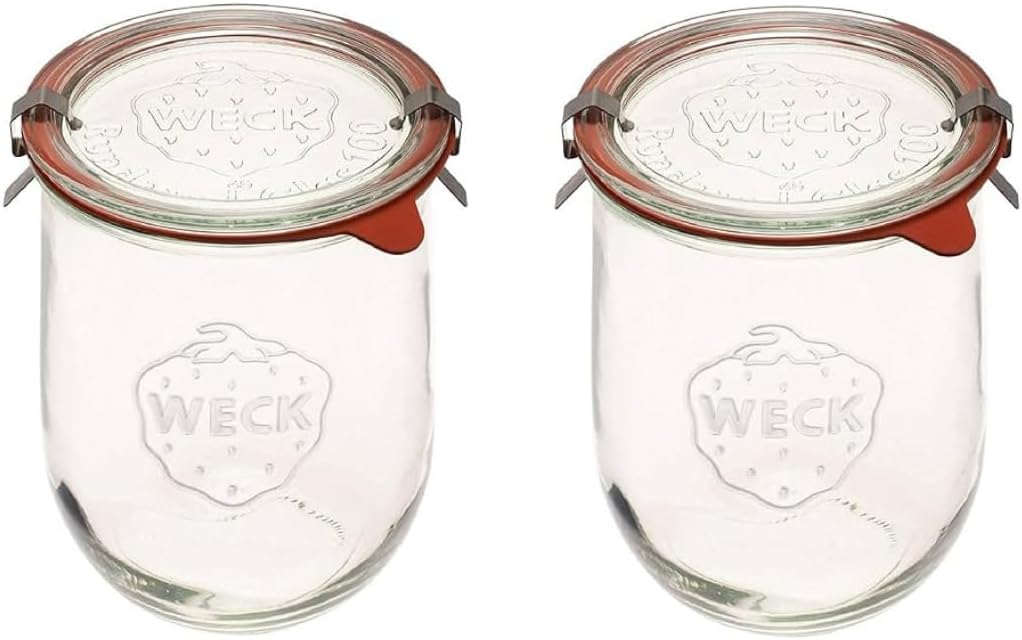
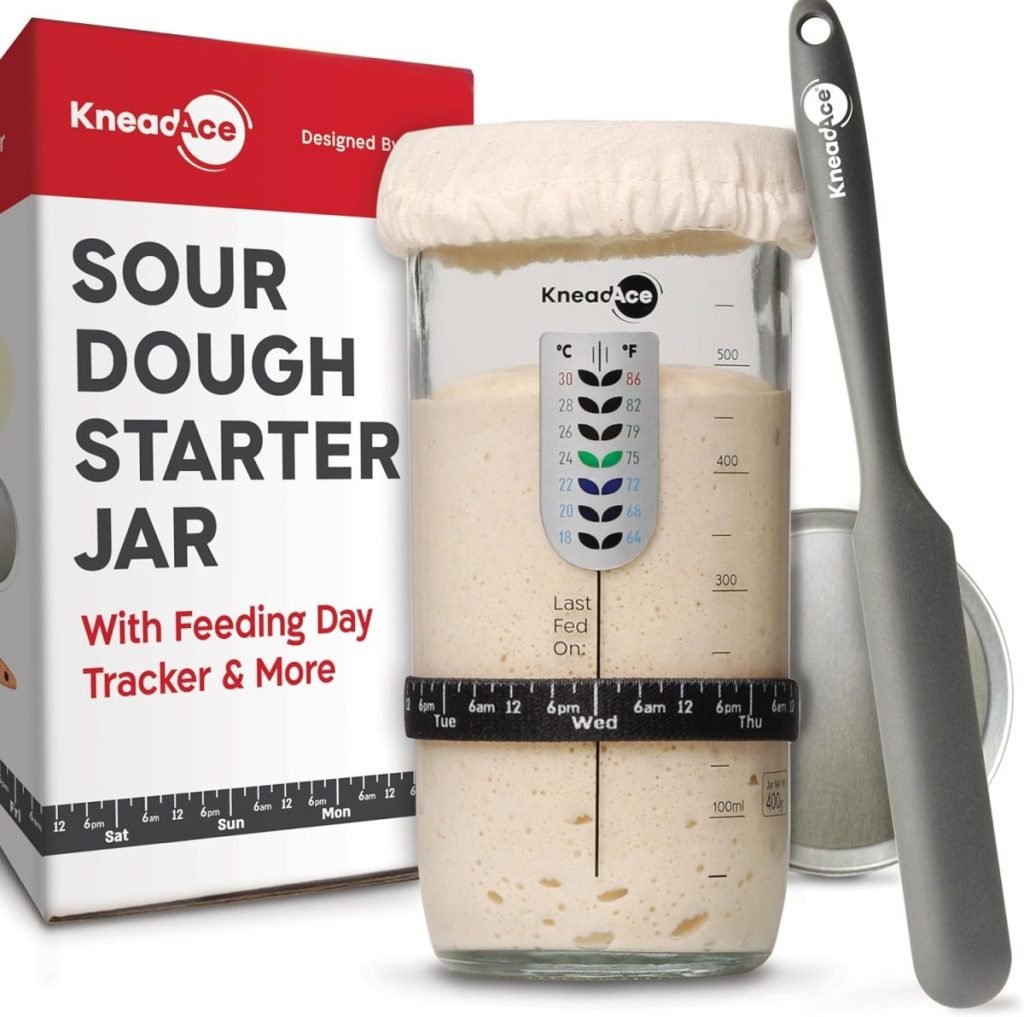
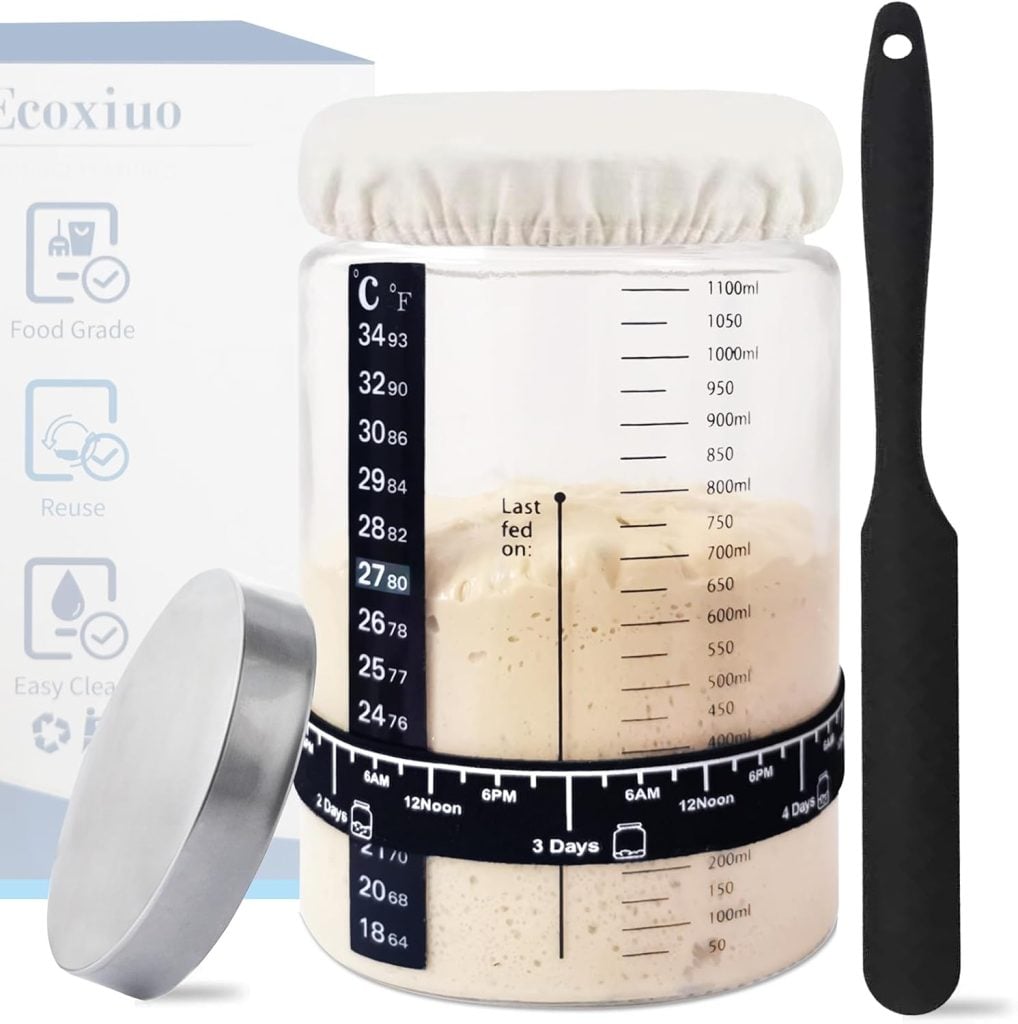
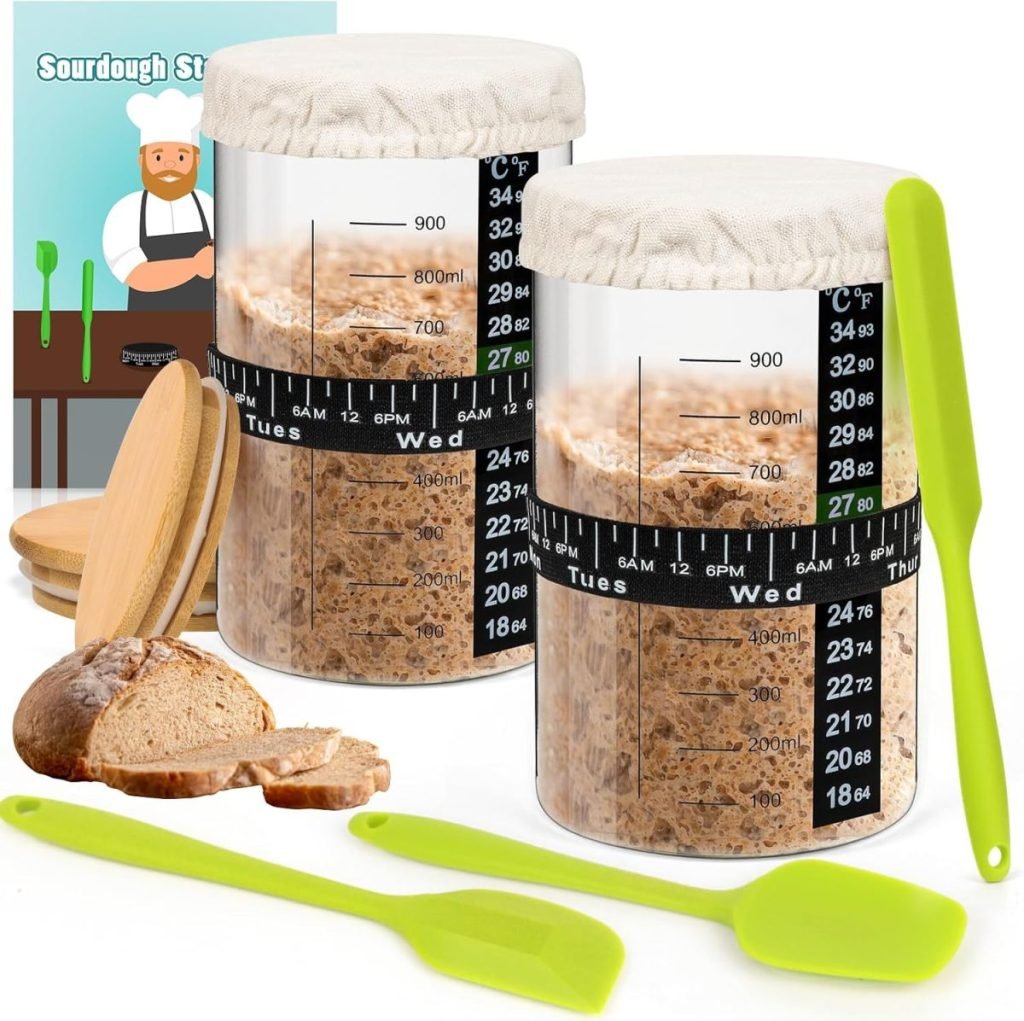
- Jars: Two glass jars or containers with a loose-fitting lid (wide-mouth, straight-edge jars work best).
- A spoon or a spatula for stirring the mixture.
- Rubberband to mark your starter growth.
- Digital kitchen thermometer.
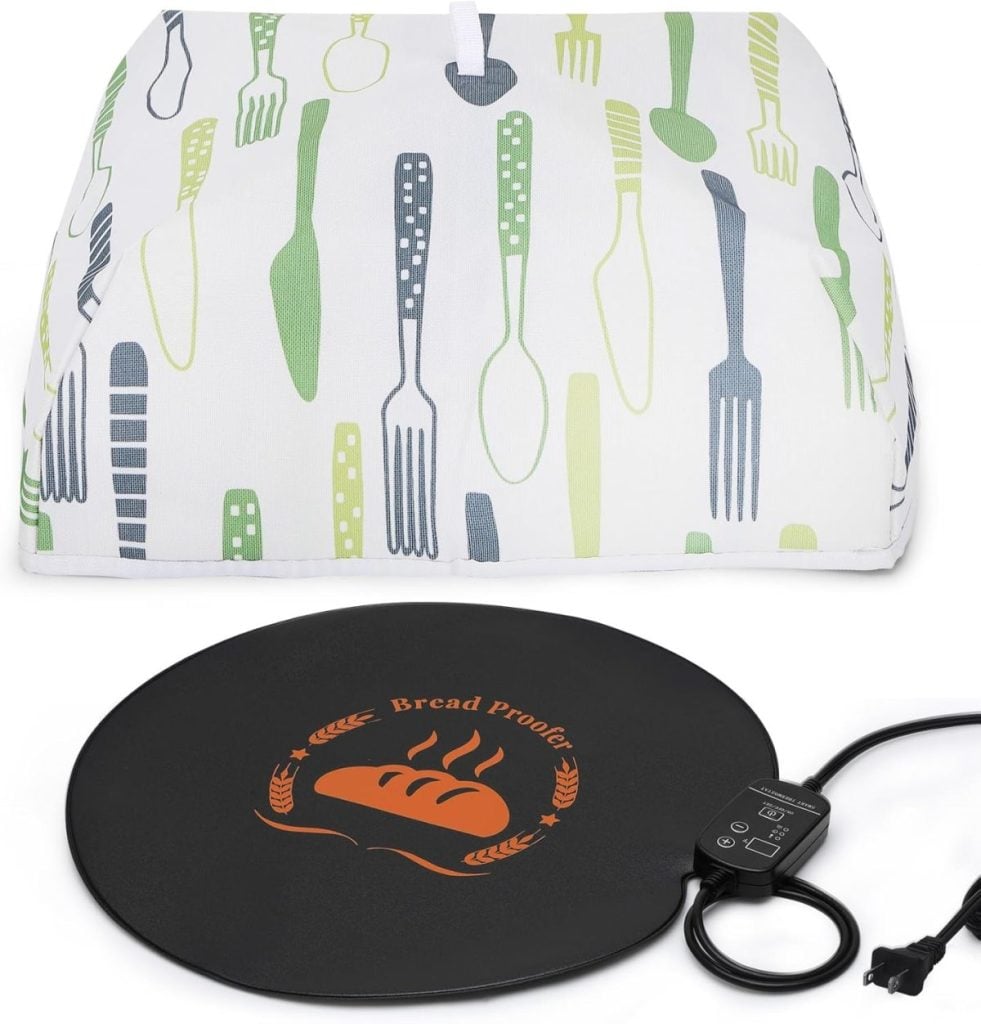
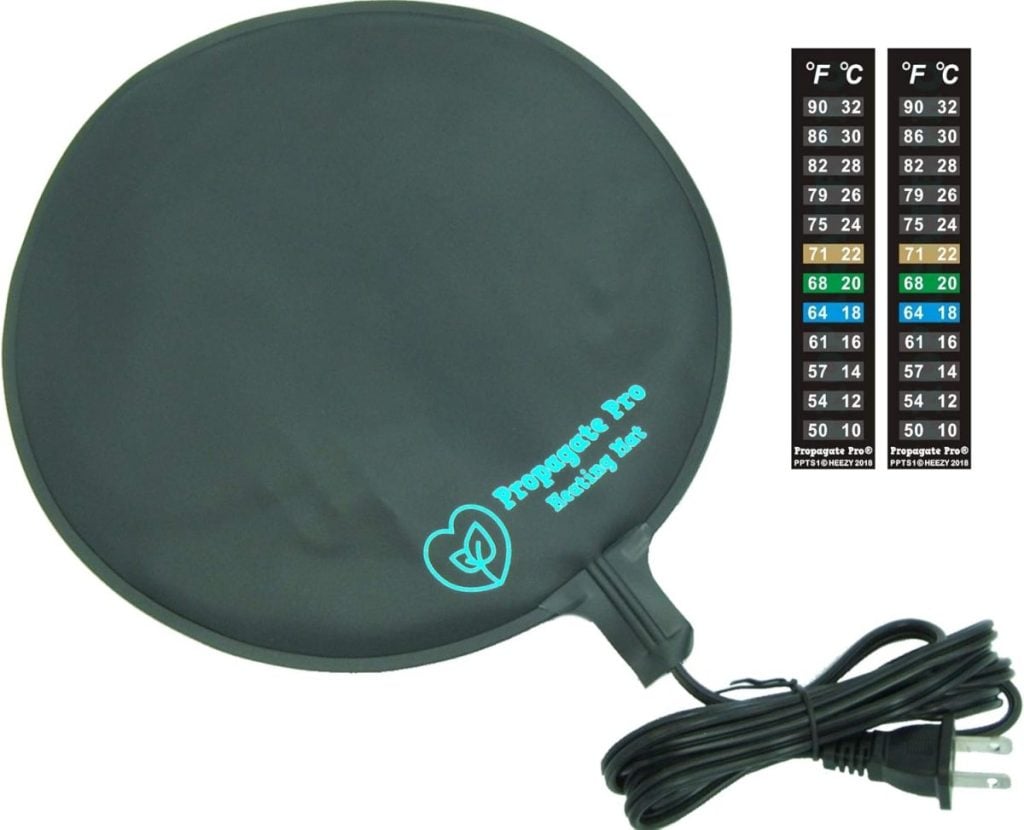
- Heating mat.
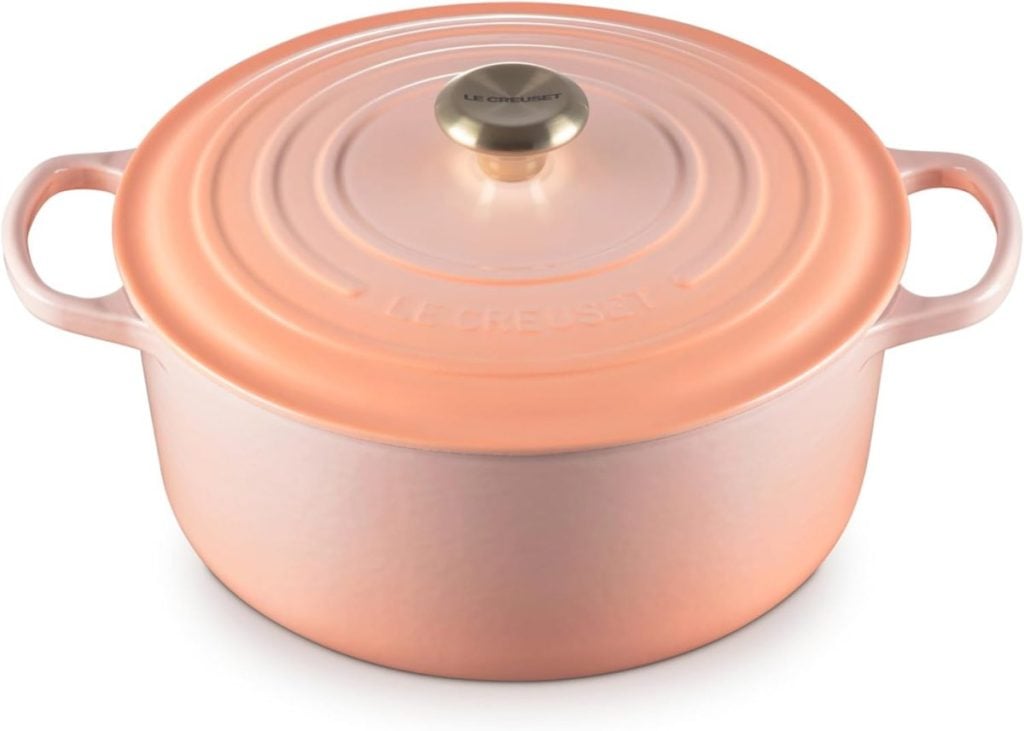
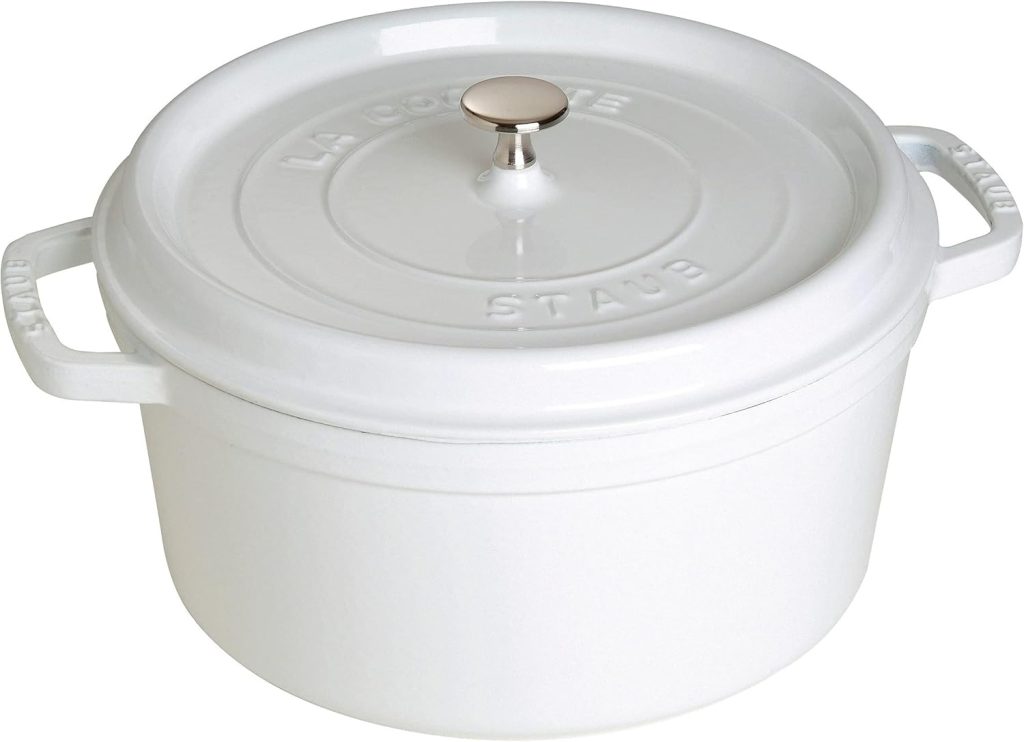
My Favorite Sourdough Starter Jars ( you need two)
I may sometimes use affiliate links on this blog, which means a small commission is earned if you purchase via the link. The price will be the same whether you use the affiliate link or go directly to the vendor’s website using a non-affiliate link.

My Favorite Kitchen Scales
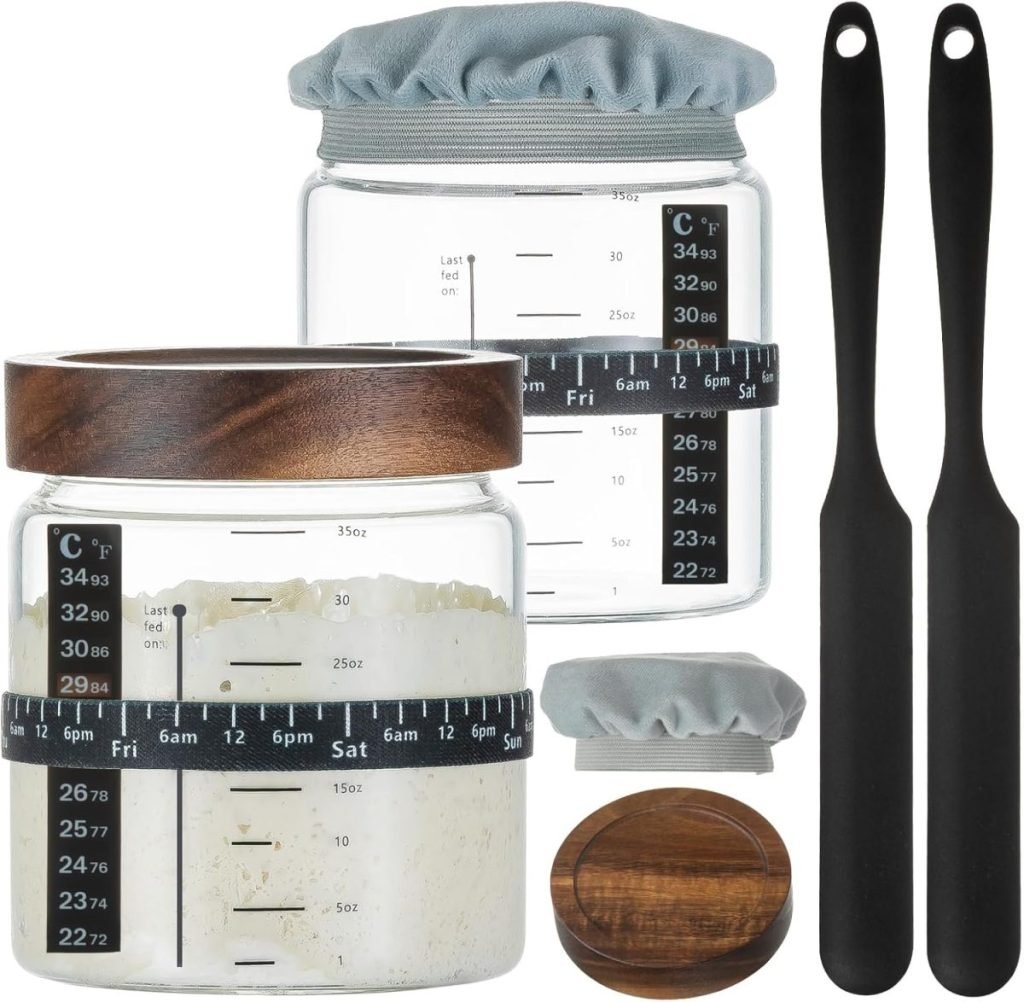
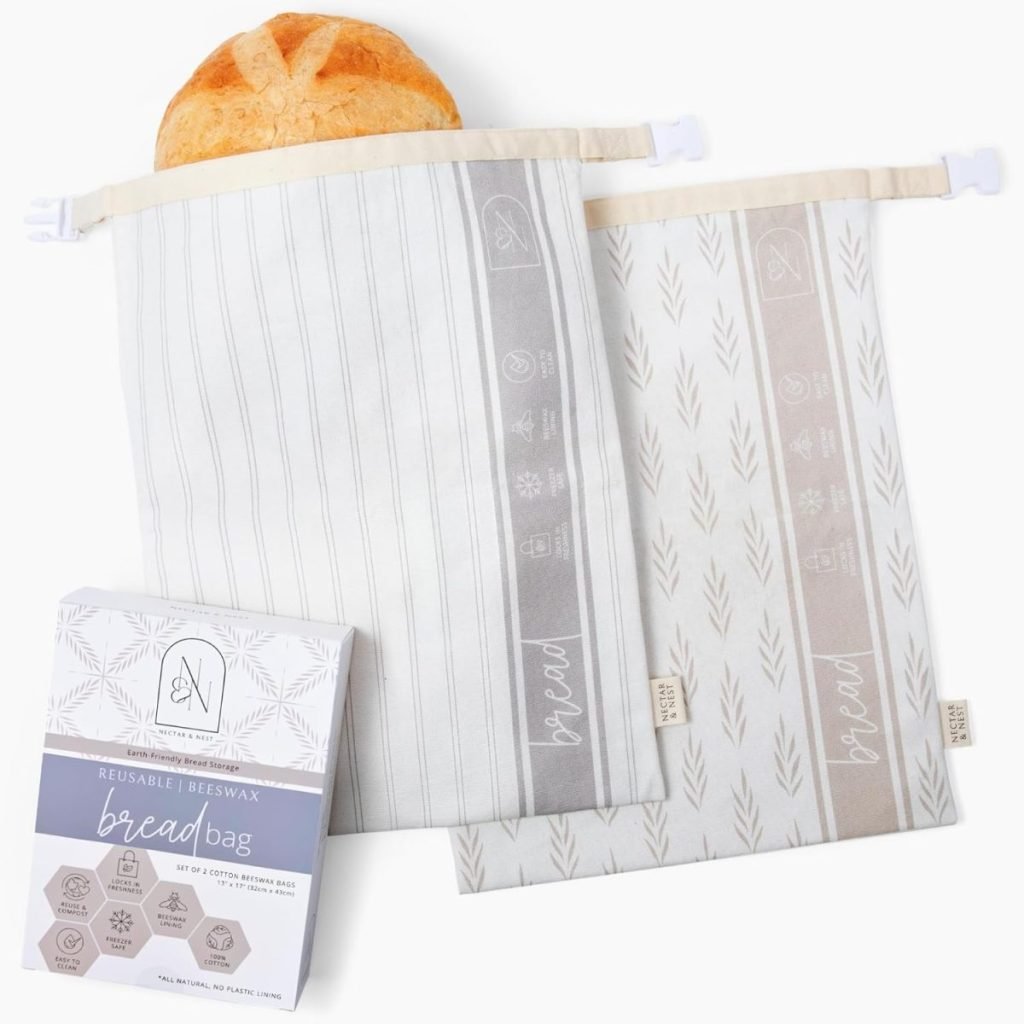
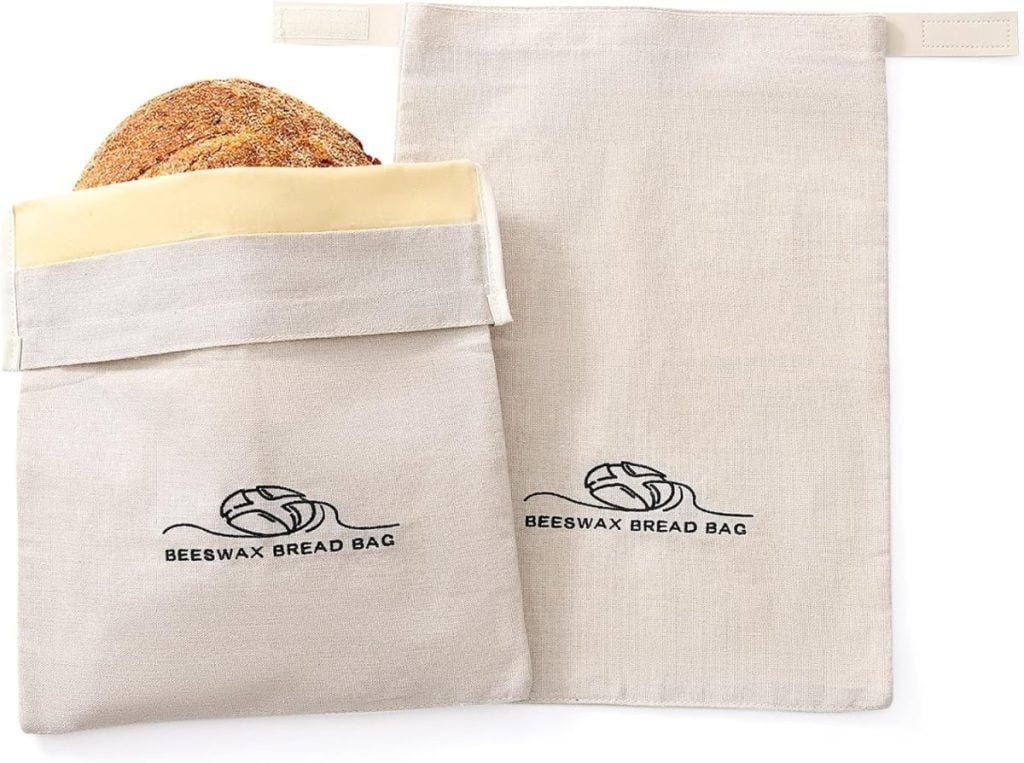
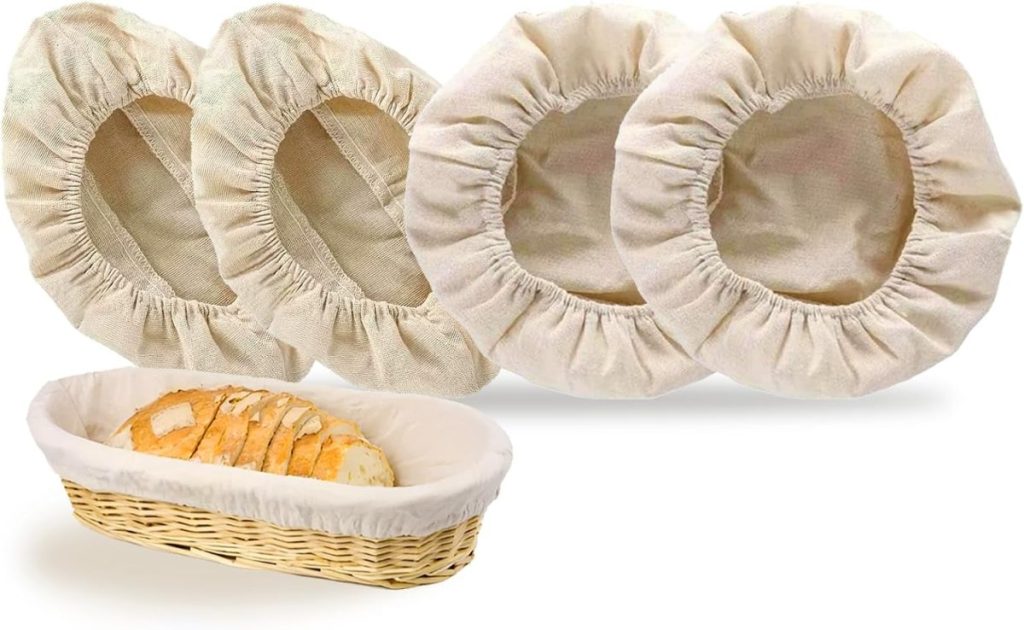
My Favorite Sourdough Starter Kits
The Sourdough Starter Process
Below is a 14-day plan for creating your starter, including precise weights for how much starter to keep and feed daily. The most important thing was maintaining a temperature of 78 – 80 degrees for my starter. Use a thermometer to check it. Always use mild to warm water in the 78 – 84 degree range.
14-Day Sourdough Starter Feeding Schedule
| Day | Amount of Starter to Keep | Amount of Flour to Add | Amount of Water to Add | Total Weight of Starter After Feeding |
|---|---|---|---|---|
| Day 1 | N/A (start fresh) | 50g rye flour | 50g water | 100g |
| Day 2 | 40g | 25g rye + 25g all-purpose | 50g water | 140g |
| Day 3 | 30g | 25g rye + 25g all-purpose | 50g water | 130g |
| Day 4 | 30g | 25g rye + 25g all-purpose | 50g water | 130g |
| Day 5 | 30g | 25g rye + 25g all-purpose | 50g water | 130g |
| Day 6 | 50g | 50g all-purpose | 50g water | 150g |
| Day 7 | 50g | 50g all-purpose | 50g water | 150g |
| Day 8 | 60g | 60g all-purpose | 60g water | 180g |
| Day 9 | 60g | 60g all-purpose | 60g water | 180g |
| Day 10 | 70g | 70g all-purpose | 70g water | 210g |
| Day 11 | 70g | 70g all-purpose | 70g water | 210g |
| Day 12 | 80g | 80g all-purpose | 80g water | 240g |
| Day 13 | 90g | 90g all-purpose | 90g water | 270g |
| Day 14 | 100g | 100g all-purpose | 100g water | 300g |
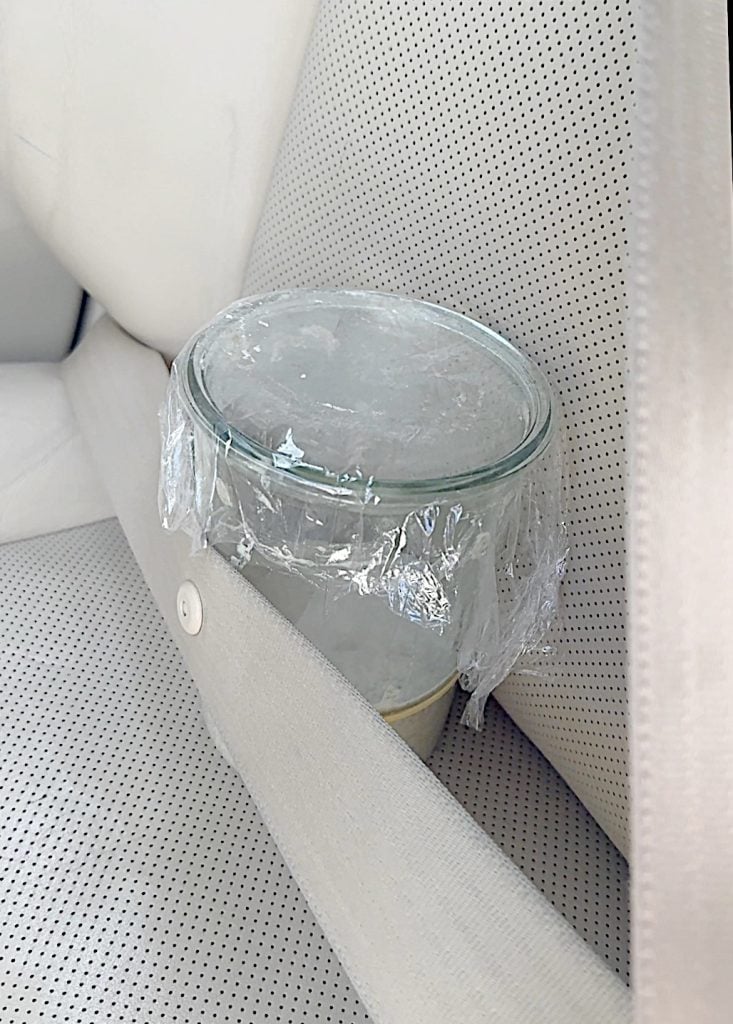
On day seven, we went to the beach, so I brought my starter! On day 14, we drove to Sonoma for Michael’s wedding, but I left it at home in the refrigerator. Duh.
When we got home, I pulled it out, fed it, and it was ready for the next day.
Detailed Instructions for Each Day
Day 1: Starting Fresh
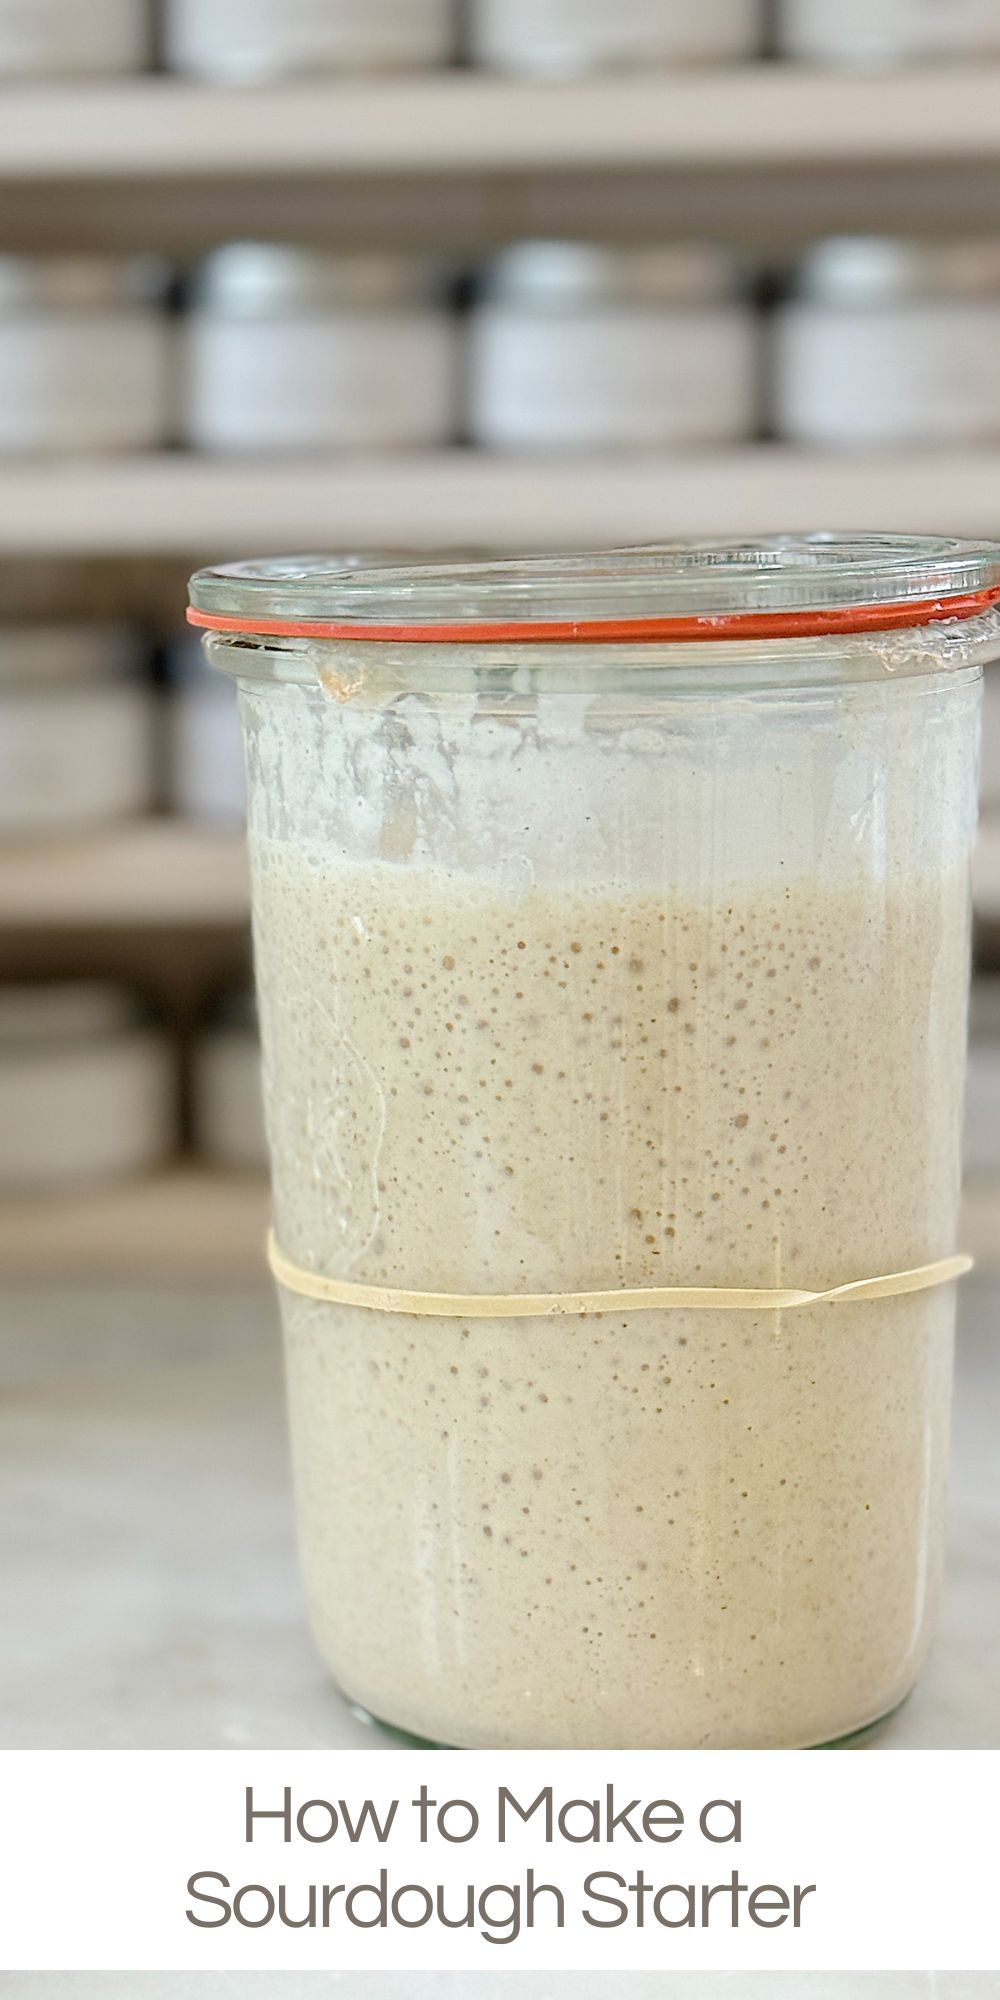
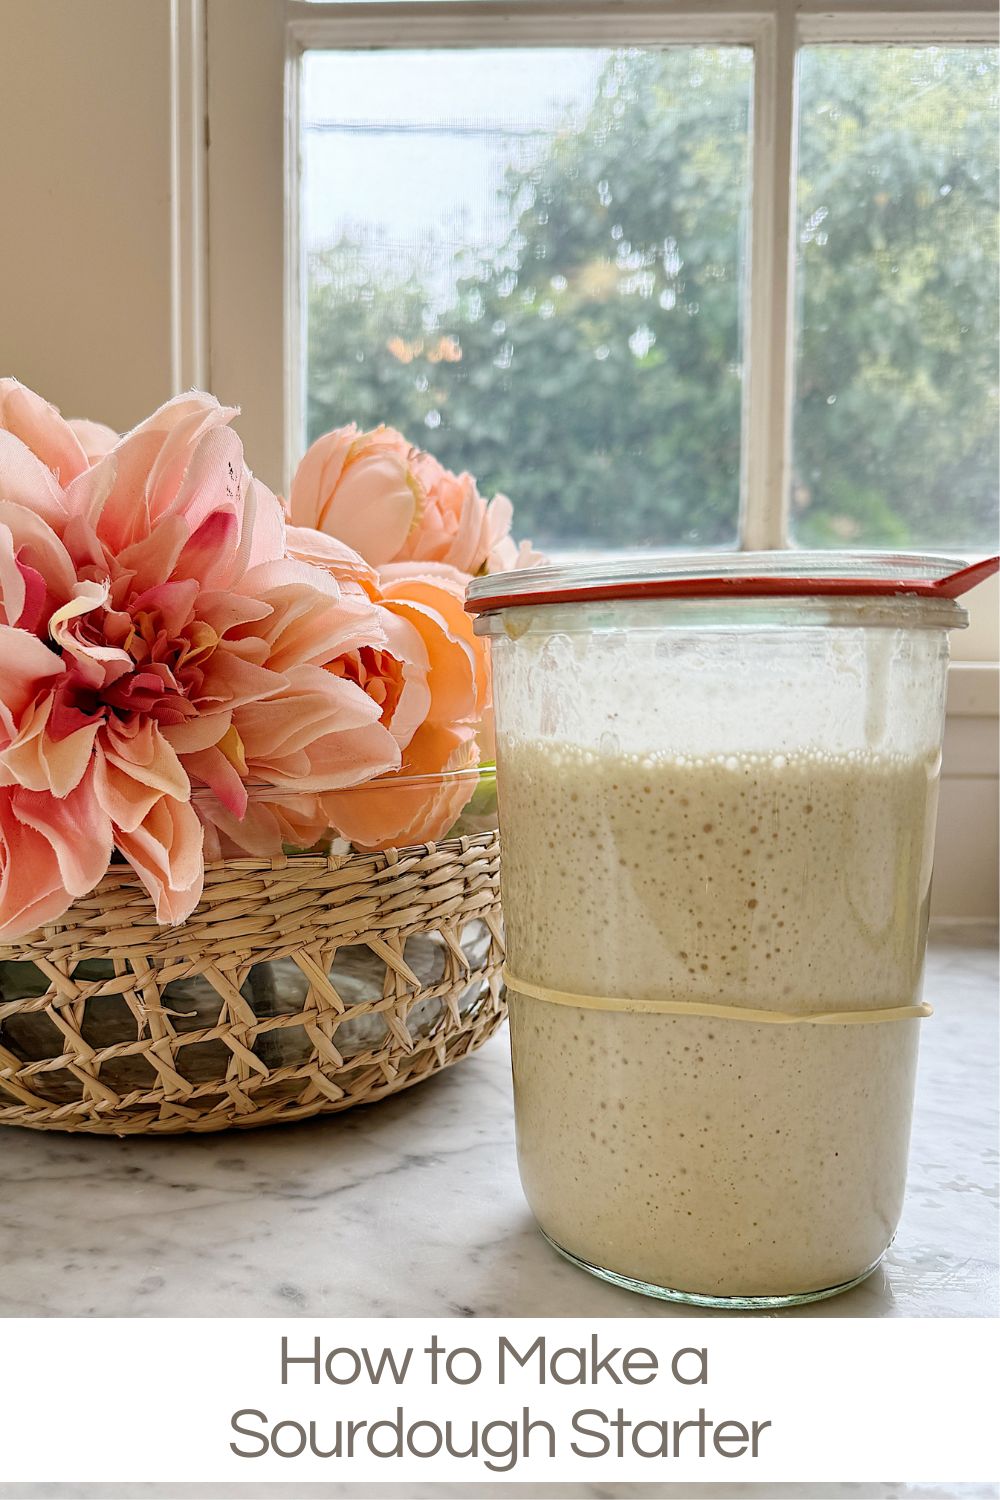
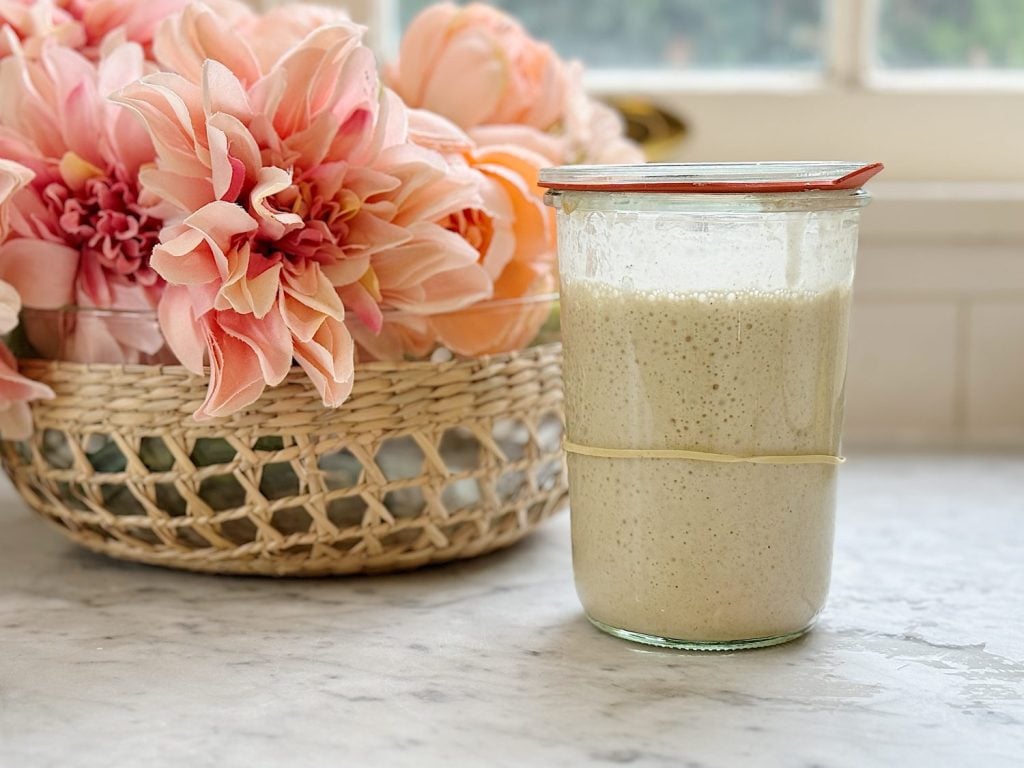
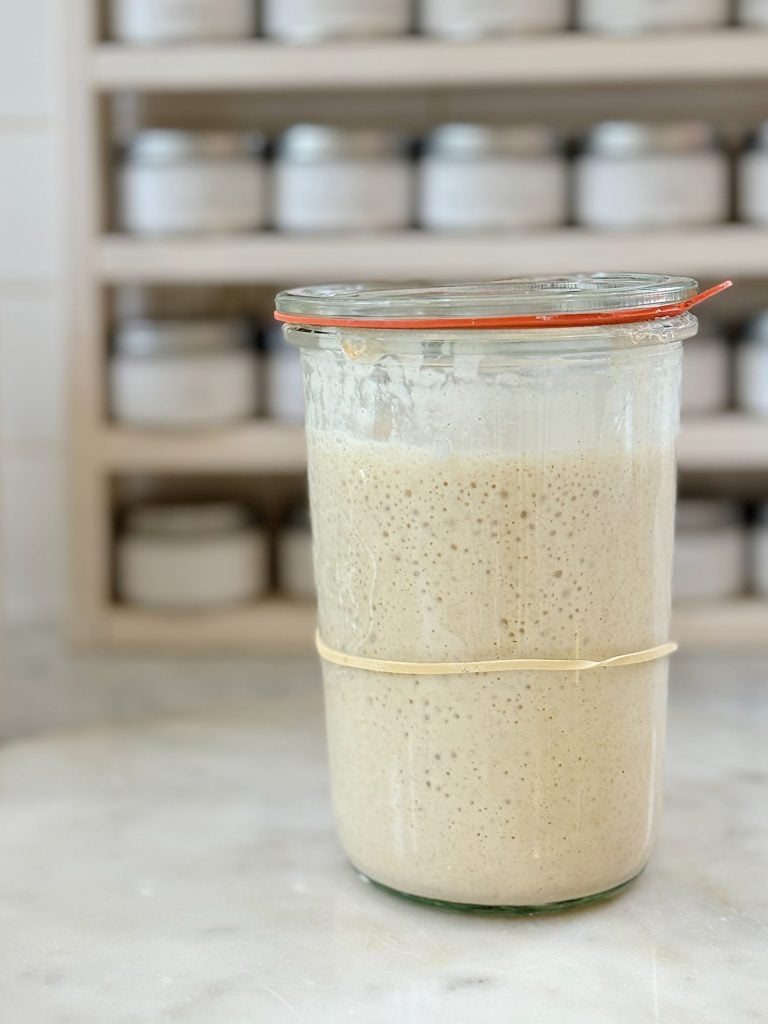
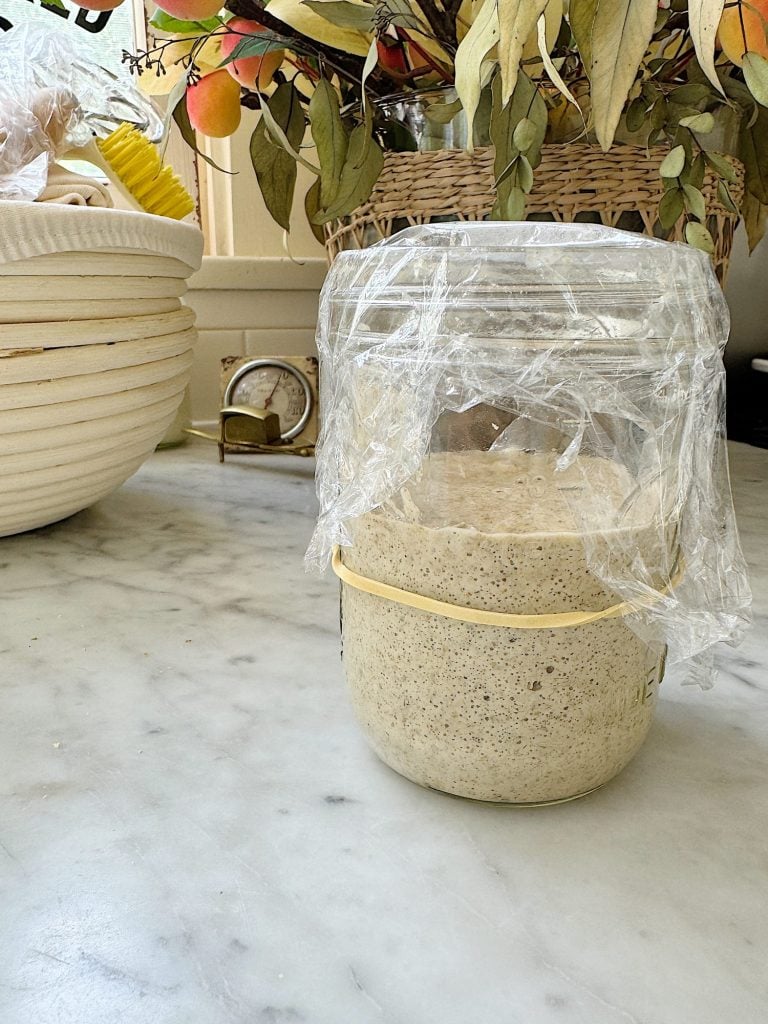
- Mix 50g rye flour with 50g water in a glass jar. Stir well until there are no dry bits of flour. Cover the jar loosely with a cloth, plastic wrap, or paper towel. Add a rubber band to the outside of the jar at the level of your starter. Do this daily so you can see how far it rises.
- Place the jar in a warm spot, ideally between 70°F and 75°F. This warmth will help the wild yeast and bacteria to begin fermenting.
- Tip: Rye flour is rich in nutrients, which will help kickstart fermentation.
Day 2: First Feeding
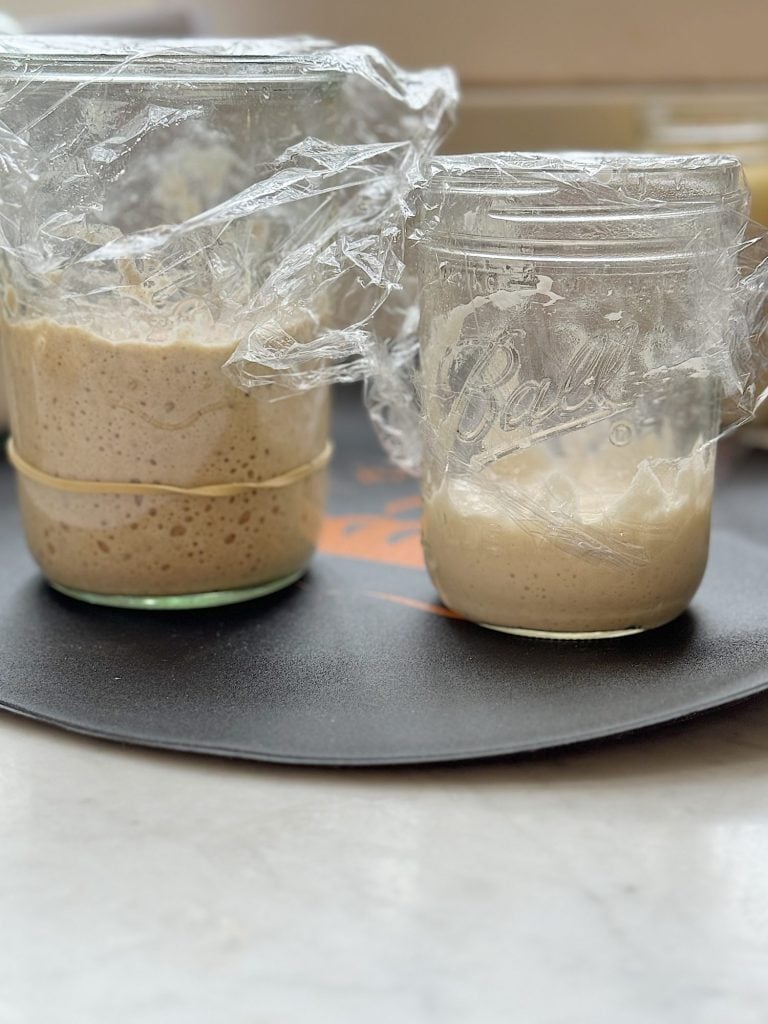
- Stir the starter, then keep 40g of it. (I liked to place the new starter in a second jar.)
- You will toss the leftover starter daily. It’s hard, but it’s not ready yet to be used as a discard in a recipe.
- Add 25g rye flour, 25g all-purpose flour, and 50g water. Stir well and cover loosely.
- Tip: You may not see much activity yet, but that’s normal.
Days 3-5: Continue Feeding
- Stir the starter and keep 30g each day. Feed with 25g rye flour, 25g all-purpose flour, and 50g water.
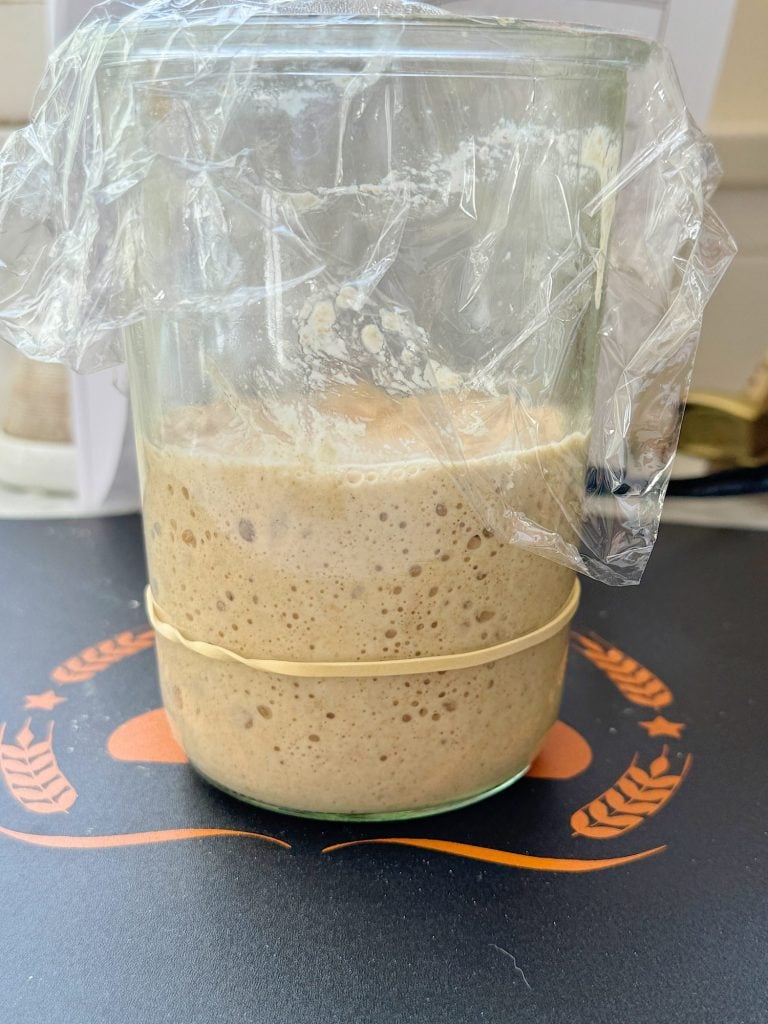
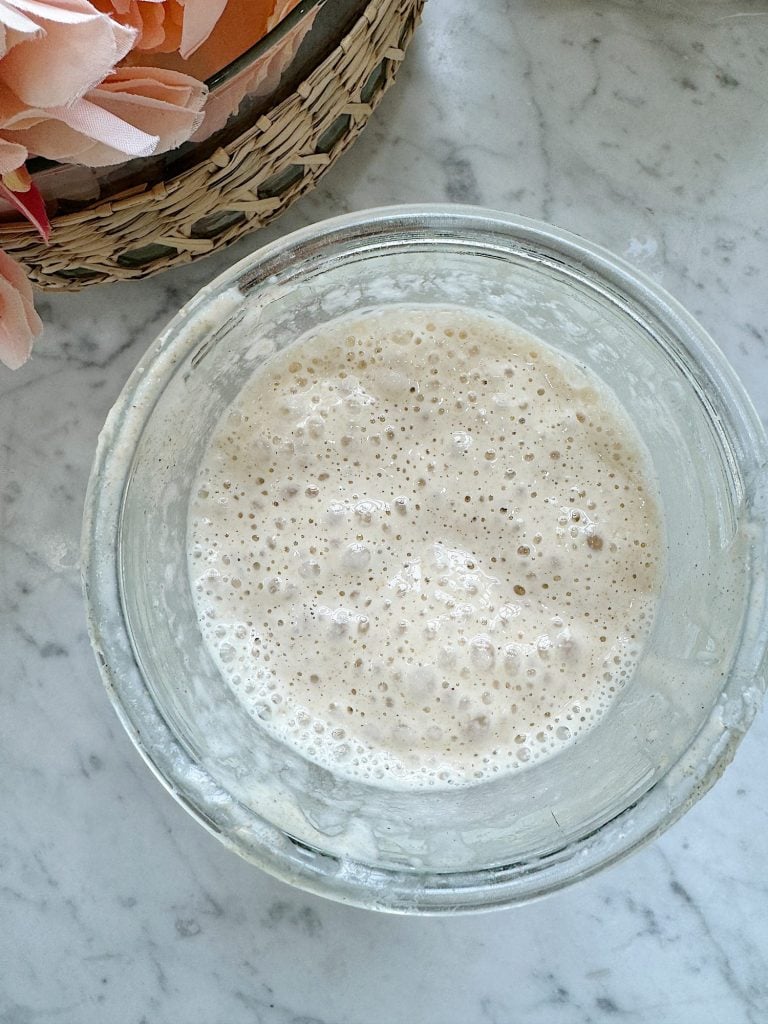
- By Day 4 or 5, you should start seeing bubbles forming and notice a slight rise and fall. This is a sign that fermentation is beginning to take hold.
- Tip: The starter should start to develop a slightly sour smell.
Day 6: Switch to All-Purpose Flour
- Now that the starter is more active, feed it with only all-purpose flour.
- Keep 50g of the starter and feed it with 50g of all-purpose flour and 50g of water.
- Tip: The starter should start to rise more predictably.
Days 7-10: Building Strength
- Each day, stir the starter and keep increasing the amount you’re keeping. Follow the feeding chart, using 50g-70 g of the starter and feeding it with the same weight of all-purpose flour and water.
- The starter should now rise and fall within 4-6 hours of feeding, which indicates vigorous fermentation activity.
- Tip: Always mark the starter level on the jar after feeding so you can track how much it rises.
Days 11-14: Ready for Baking
- Keep more of the starter and continue feeding in the same proportions as it strengthens. By Day 14, you’ll have a healthy starter that can reliably double in size after each feeding.
- Perform a “float test” on Day 12 or 13: Drop a teaspoon of starter into water. If it floats, it’s ready for baking! You can also use the discard in recipes that call for “sourdough starter discard”.
Maintaining Your Starter
Once your starter is active and bubbly, you can keep it alive indefinitely by feeding it regularly:
- If baking often (daily or several times a week): Continue feeding the starter daily with equal parts flour and water.
- If baking occasionally, store the starter in the fridge and feed it once a week. Before baking, bring it to room temperature and feed it 4-6 hours ahead of time to reactivate it.
Troubleshooting Tips
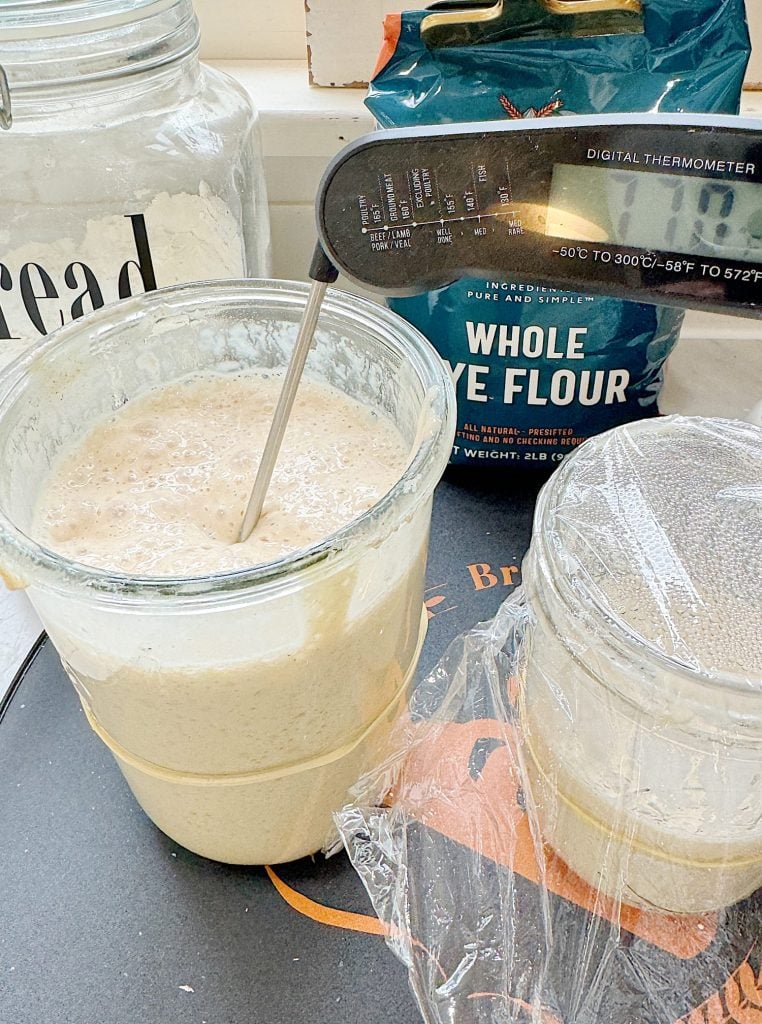
My biggest issue was that my sourdough starter was not rising. It takes a few days to get it going, but the weather was much cooler when I took my starter to the beach. I checked the temperature, and it wasn’t even close to 78 degrees. So I bought a heating mat, and that fixed the problem.
- No Bubbles: If you don’t see bubbles by Day 4 or 5, ensure your water is chlorine-free, and the jar is in a warm spot. Try switching to bottled water or placing the jar in the oven with just the light on for warmth.
- Hooch (Liquid Layer): If a layer of liquid forms on top, this is a sign your starter is hungry. Pour off the hooch and continue feeding.
- Sour Smell: A tangy smell is typical, but the starter may be contaminated if it smells foul or rotten. In this case, it’s best to start over. Please know it is VERY unlikely your starter will rot.


Creating a sourdough starter requires patience, but the reward is a live culture that can produce some of the best bread you’ll ever taste. Once established, your starter can be used to make not just bread but also pancakes, waffles, and even pizza dough.
More Sourdough Blog Posts
Here are some of my favorite blog posts with sourdough recipes.
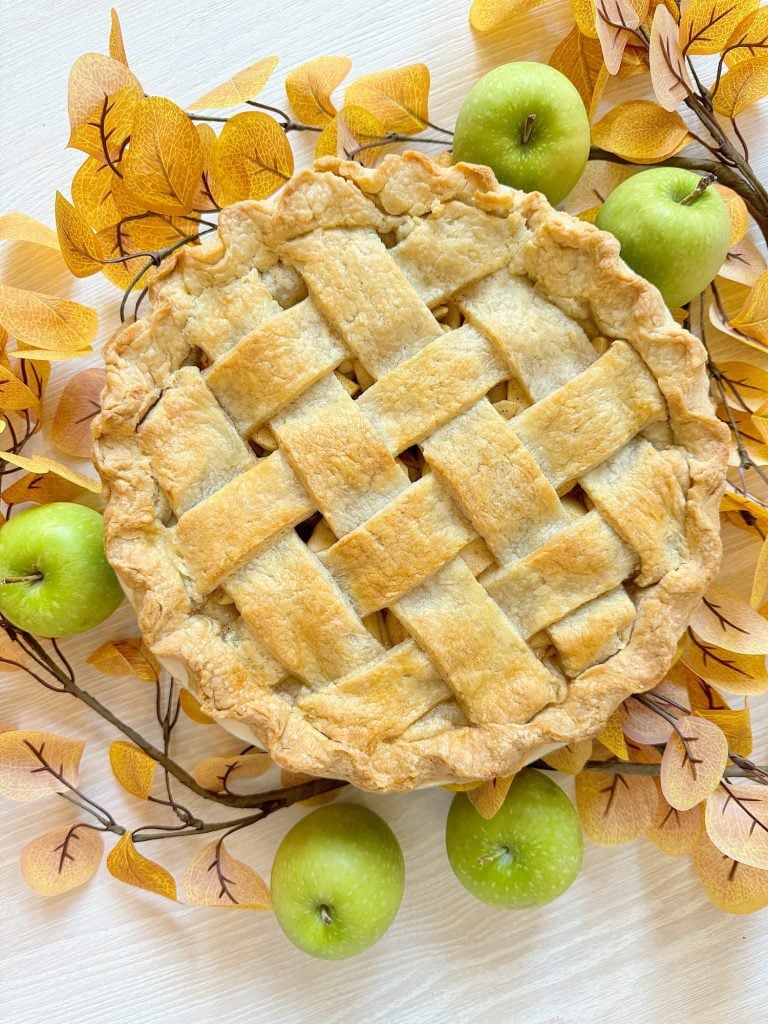
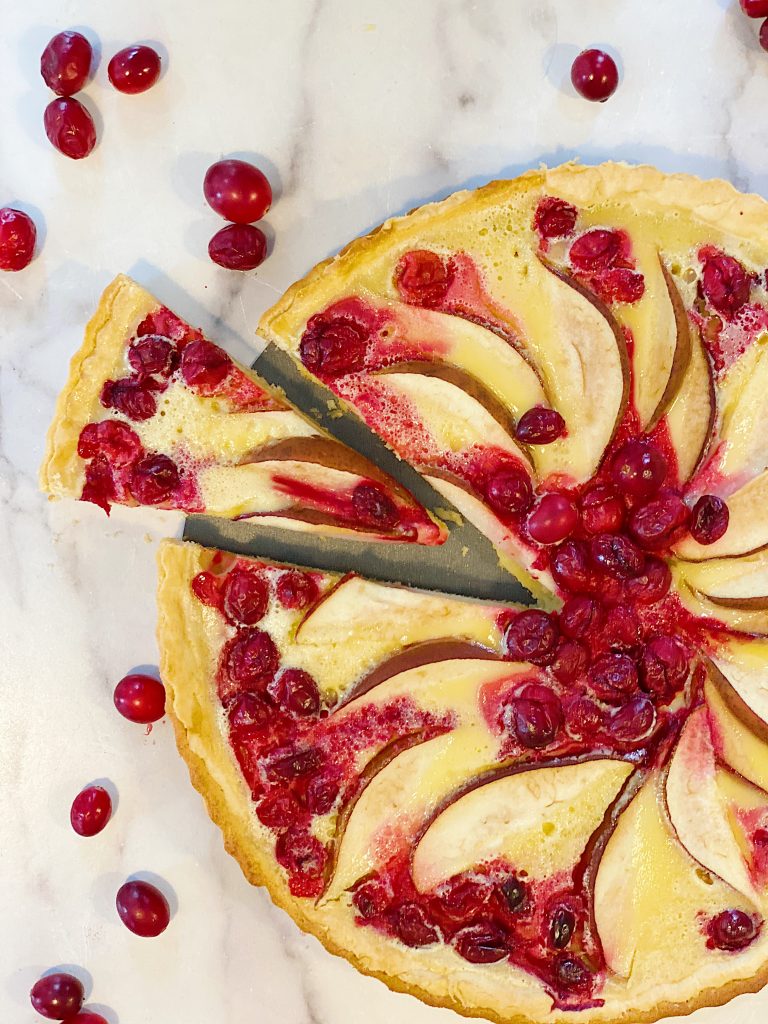
Apple Pie with Flaky Sourdough Pie Crust

Gluten-Free Sourdough Starter Banana Bread Recipe
If you enjoy my blog, you can sign up to receive my updates here.
.Everything You Need to Make Sourdough

Latest Posts
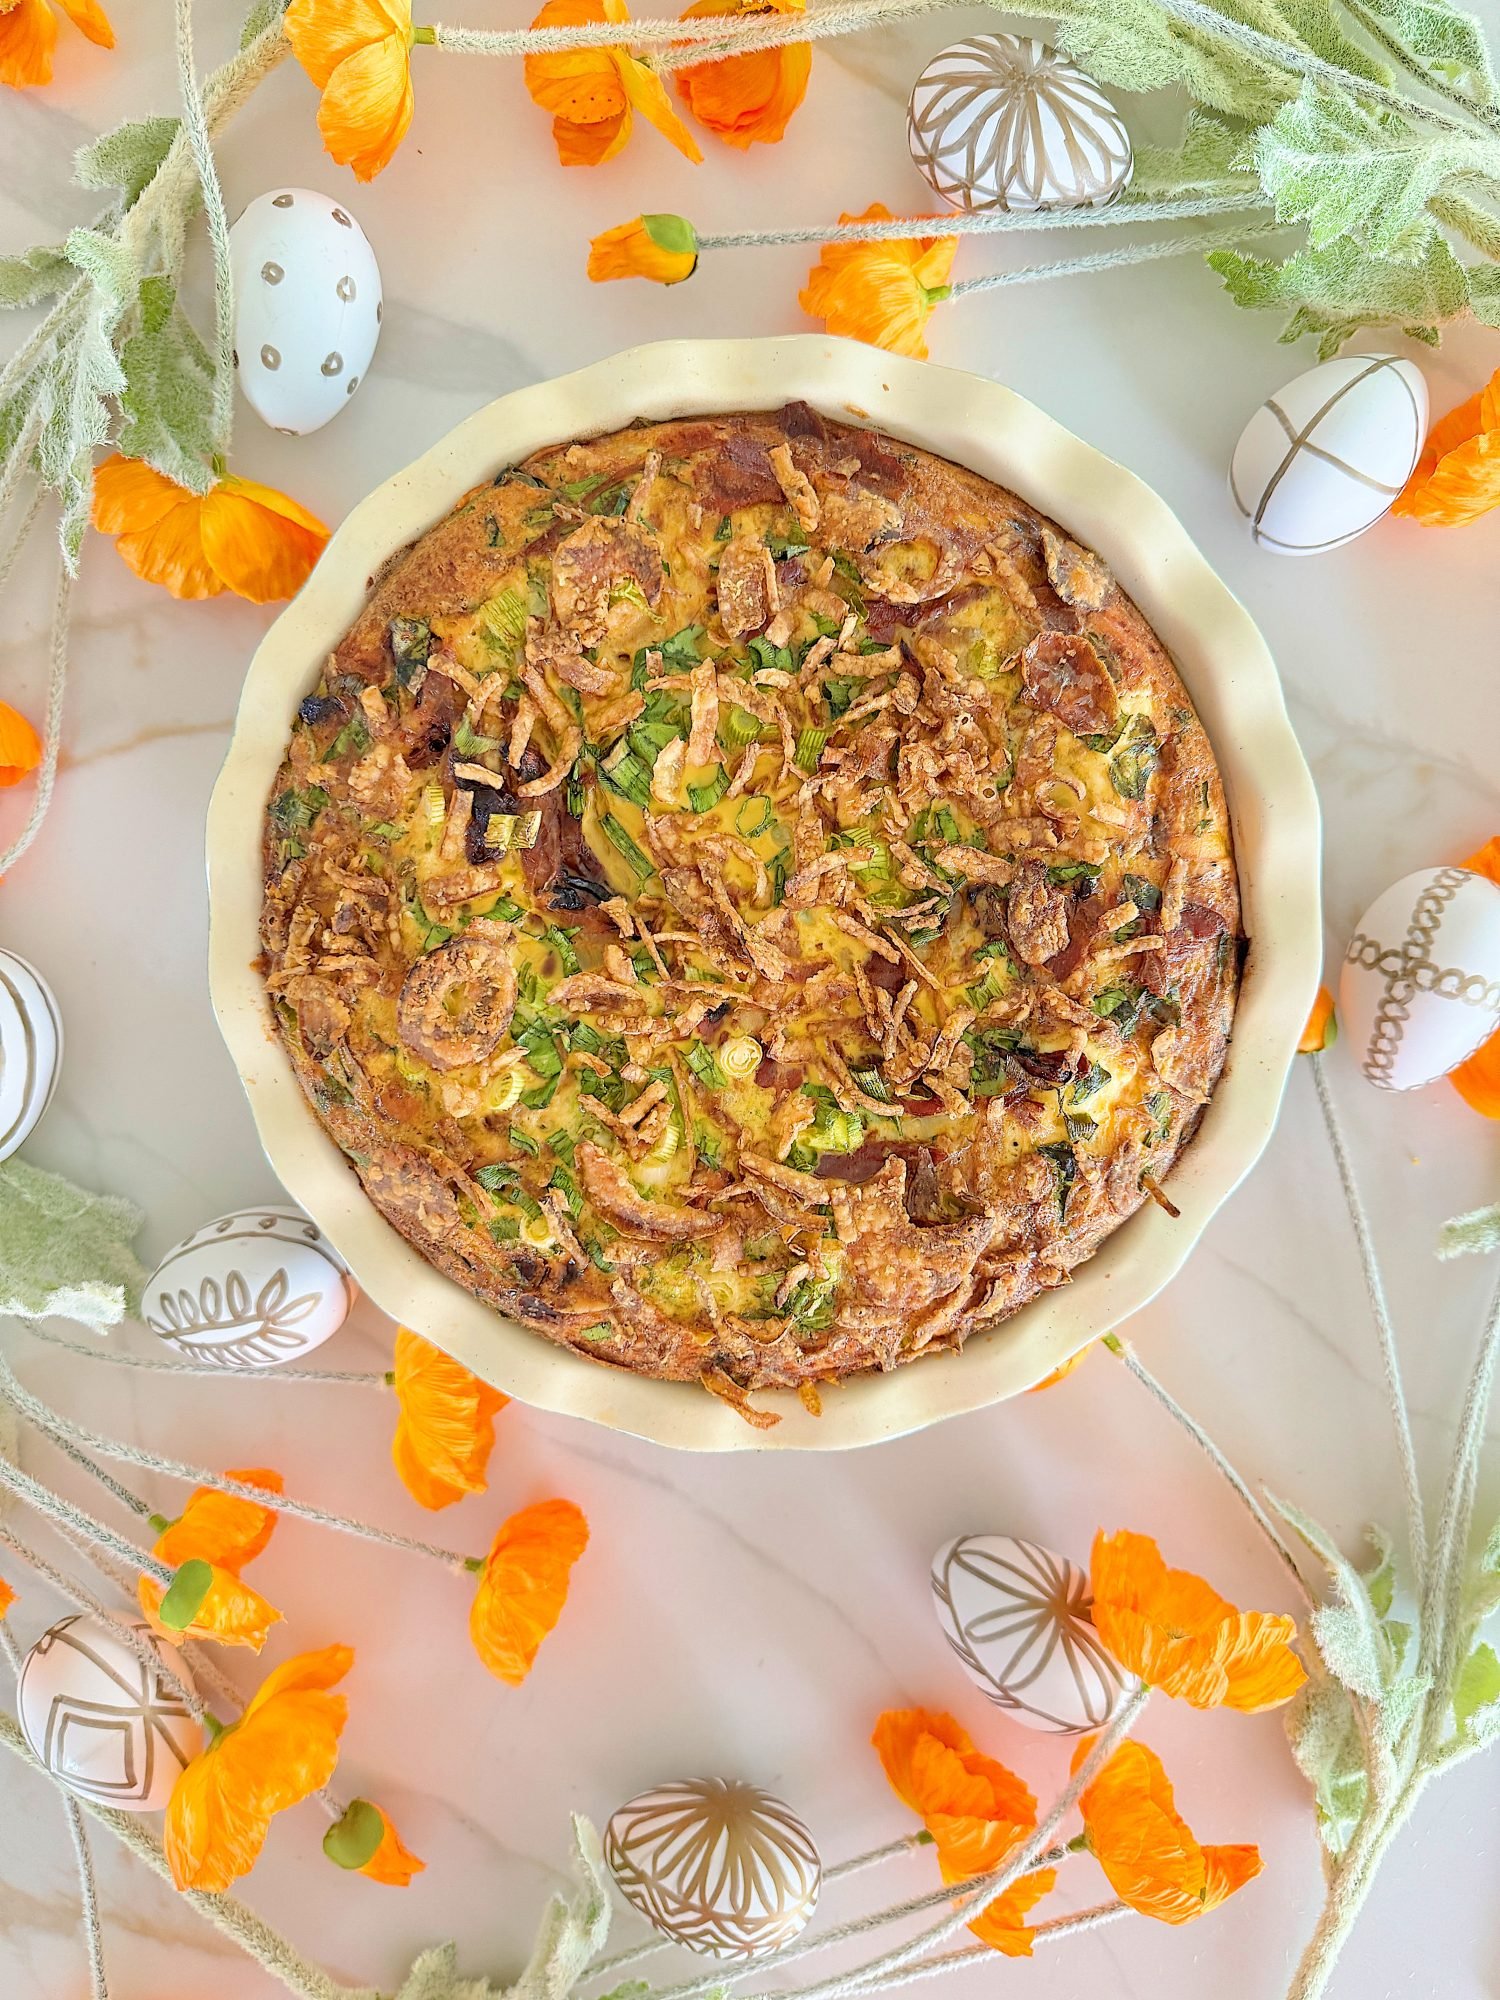
- Best Easter Brunch Egg Dish: Loaded French Onion Frittata

- The Best Spring Pillow DIY – A Handmade Spring
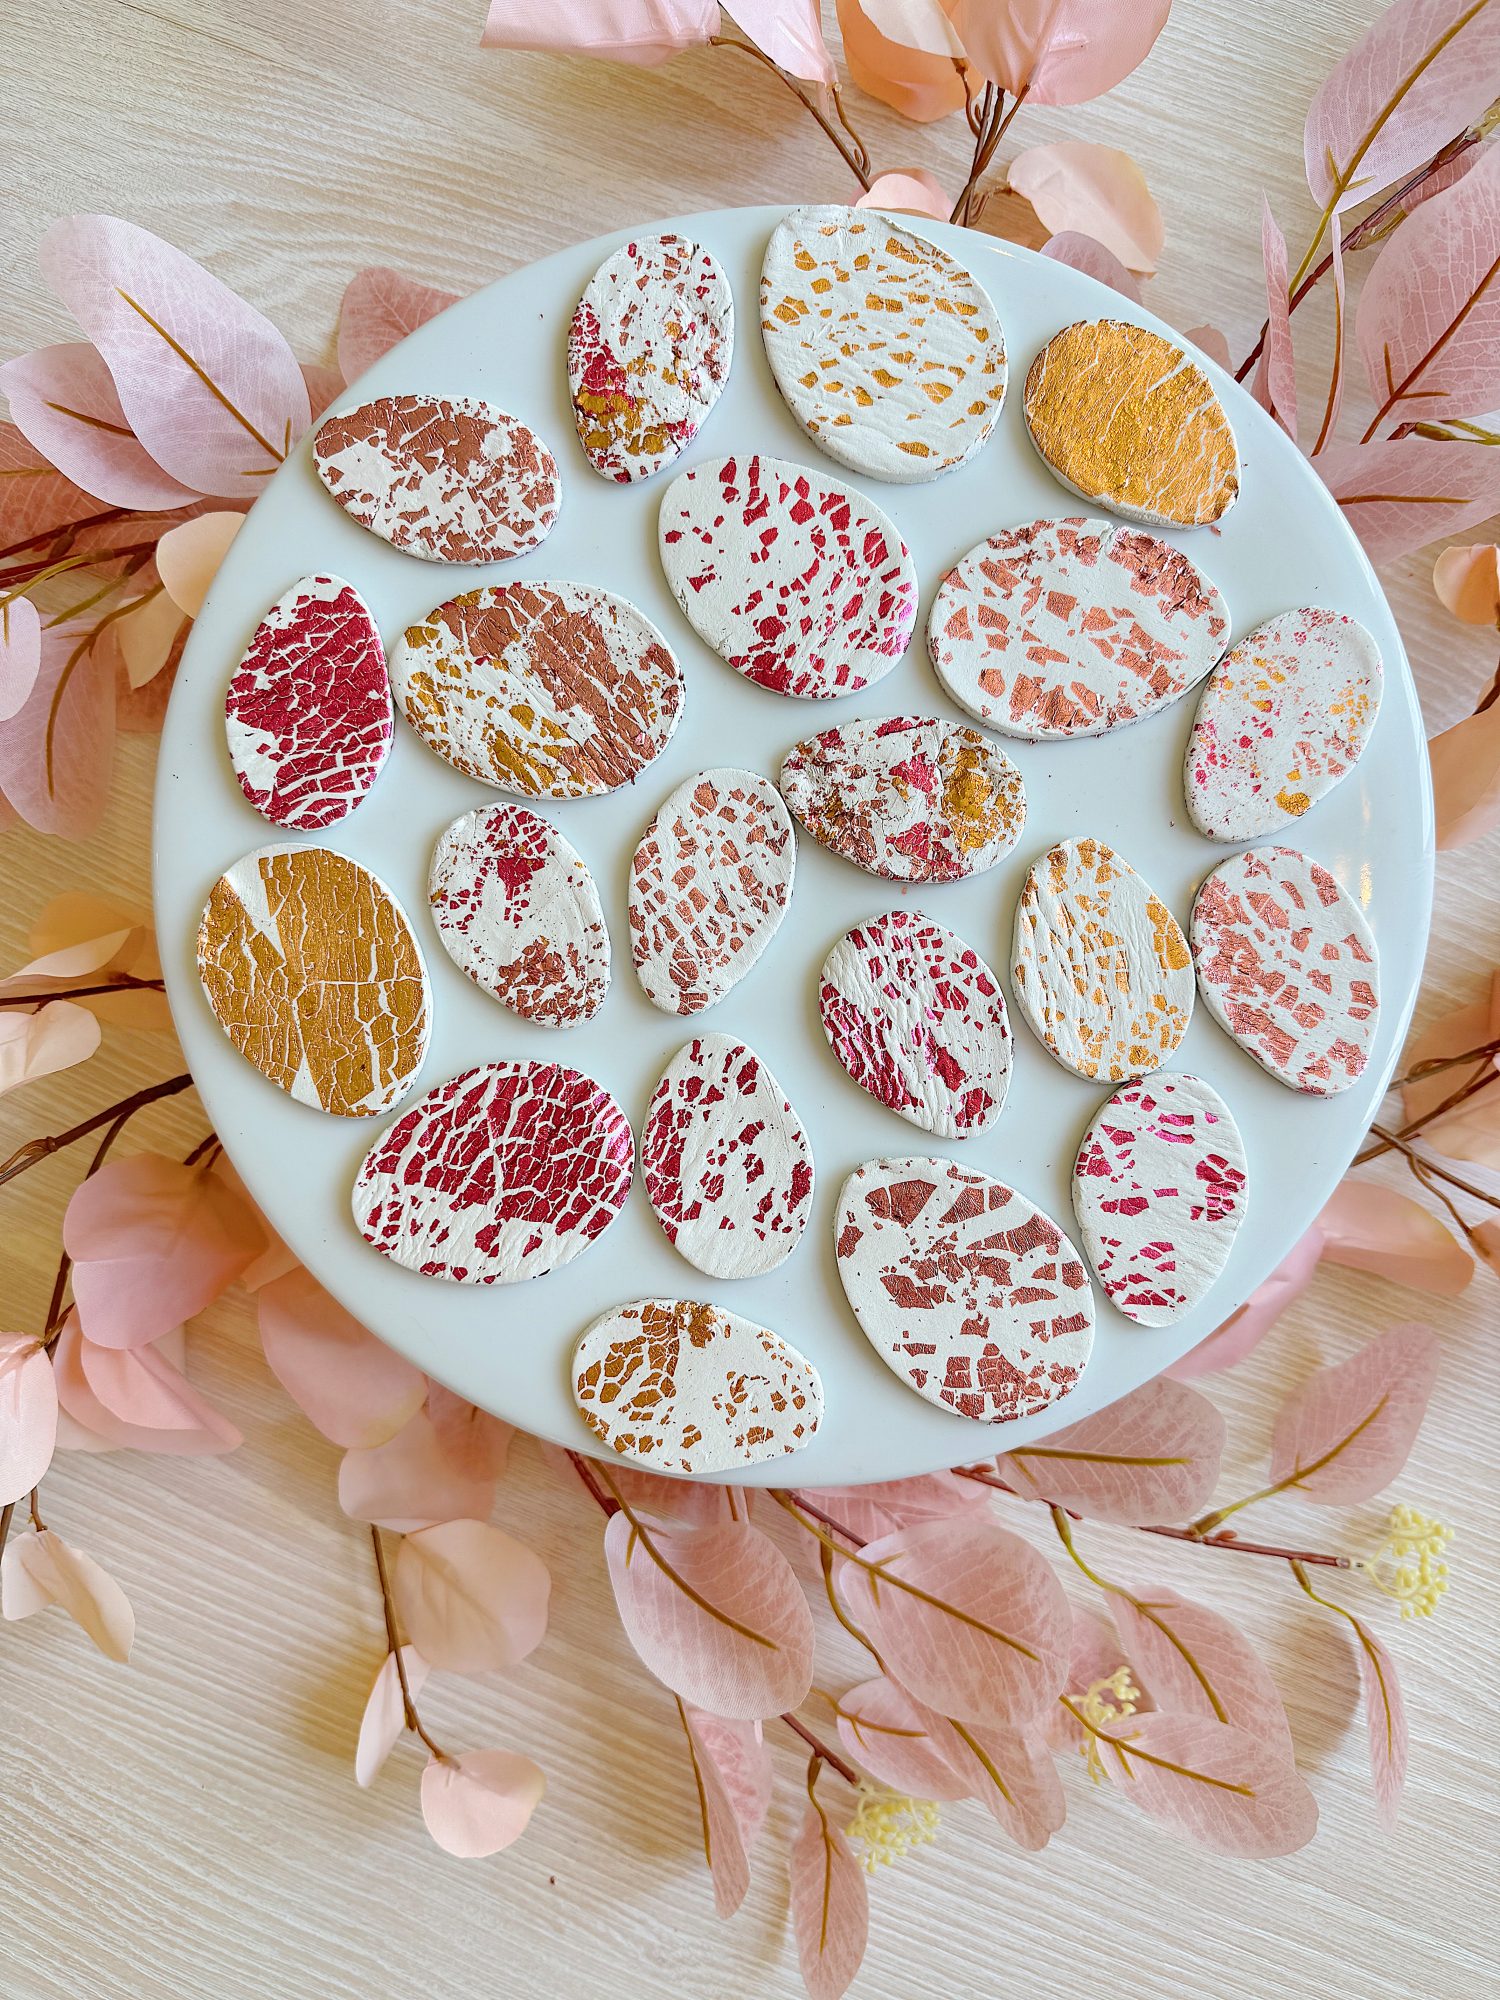
- DIY Clay and Metallic Foil Easter Eggs

You can pin the image below to your boards on Pinterest (click the Pin button in the top left corner) or follow me on Pinterest!
For more real-time updates, follow me on Instagram @My100YearOldHome


If keeping starter in the refrigerator and feeding weekly, do you measure 100g starter, 100g water and 100g flour and put rest of starter in discard jar or do you just keep adding 100g flour and 100g water to starter?
Great post Leslie! I laughed when I saw your photo of it in the car, because it reminded me of the time I took my own long-time starter on a trip! I put it carefully in the back – but not strapped in! – and, yes, it spilled all over the car when we were halfway to our vacation! Besides being a huge mess to clean up (for weeks!,) I’d lost my starter and was too bugged to start over. But now 40 years later, you’ve inspired me to try again! Thanks for the explicit instructions and equipment suggestions. Fresh bread, here we come!
Omg Barbara that is too funny (and sad!) I’m glad you’re feeling inspired to try again, I’m having so much fun with it!
Such a nice post!
I live gluten free. Have du tried to make one without gluten?