How to Make a Ribbon Wreath
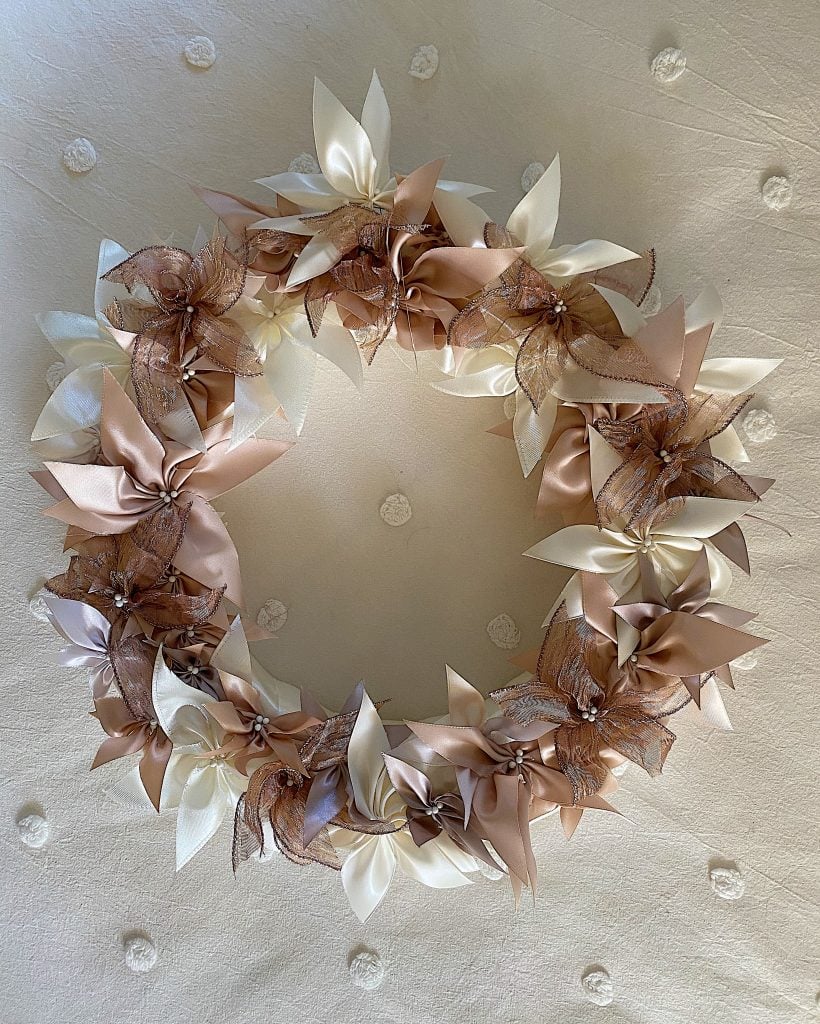
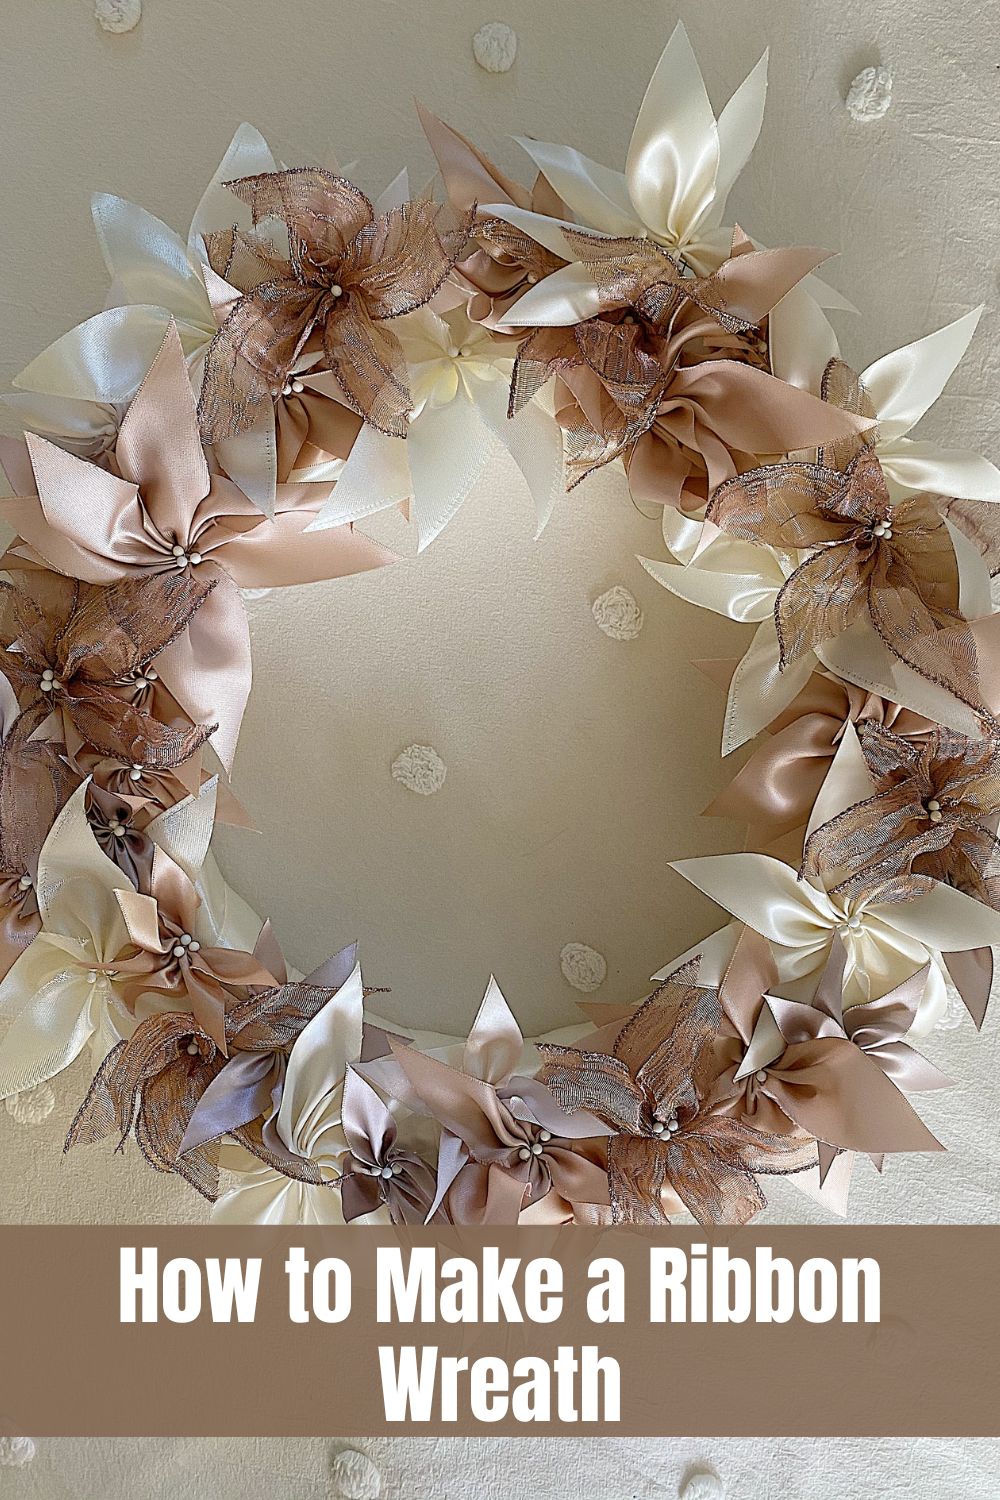
I love to make Christmas wreaths and today I am sharing how to make a ribbon wreath. This is a pretty yet easy DIY holiday craft.
This is a wonderful DIY Christmas decoration. When some friends of mine came up with the idea that we should make a craft having something to do with ribbons, I decided to make this ribbon wreath.

My new book, A Home to Share, is available now! Click here for more details!

I happened to see a Martha Stewart ribbon wreath and knew I wanted to make one of my own.
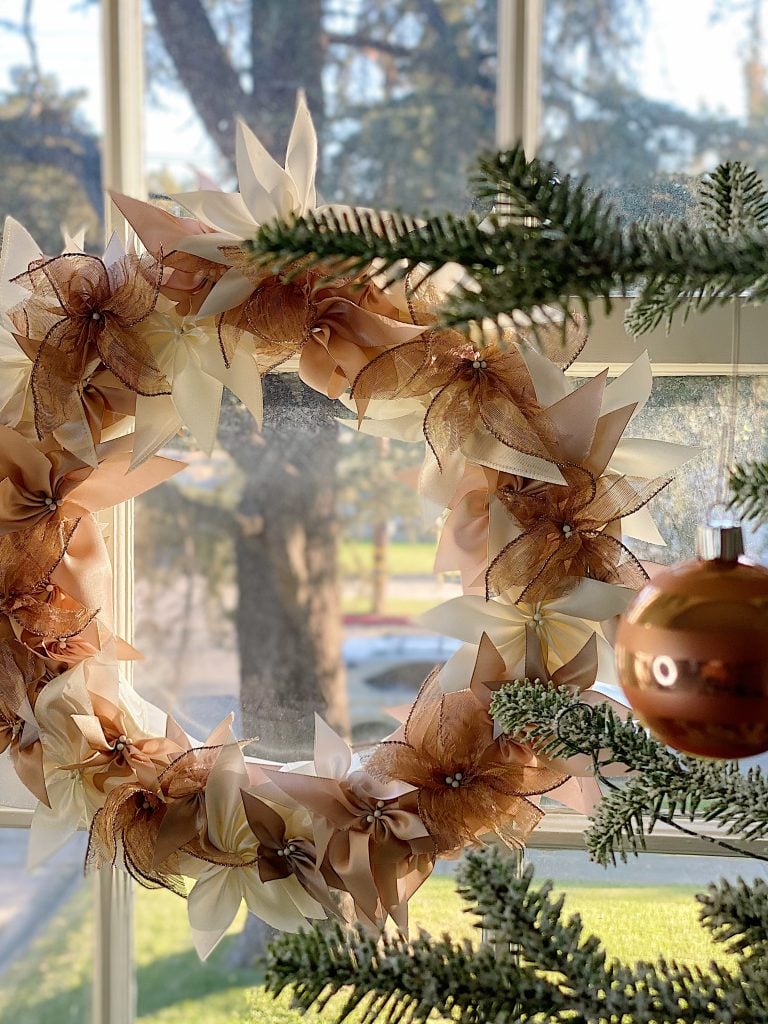
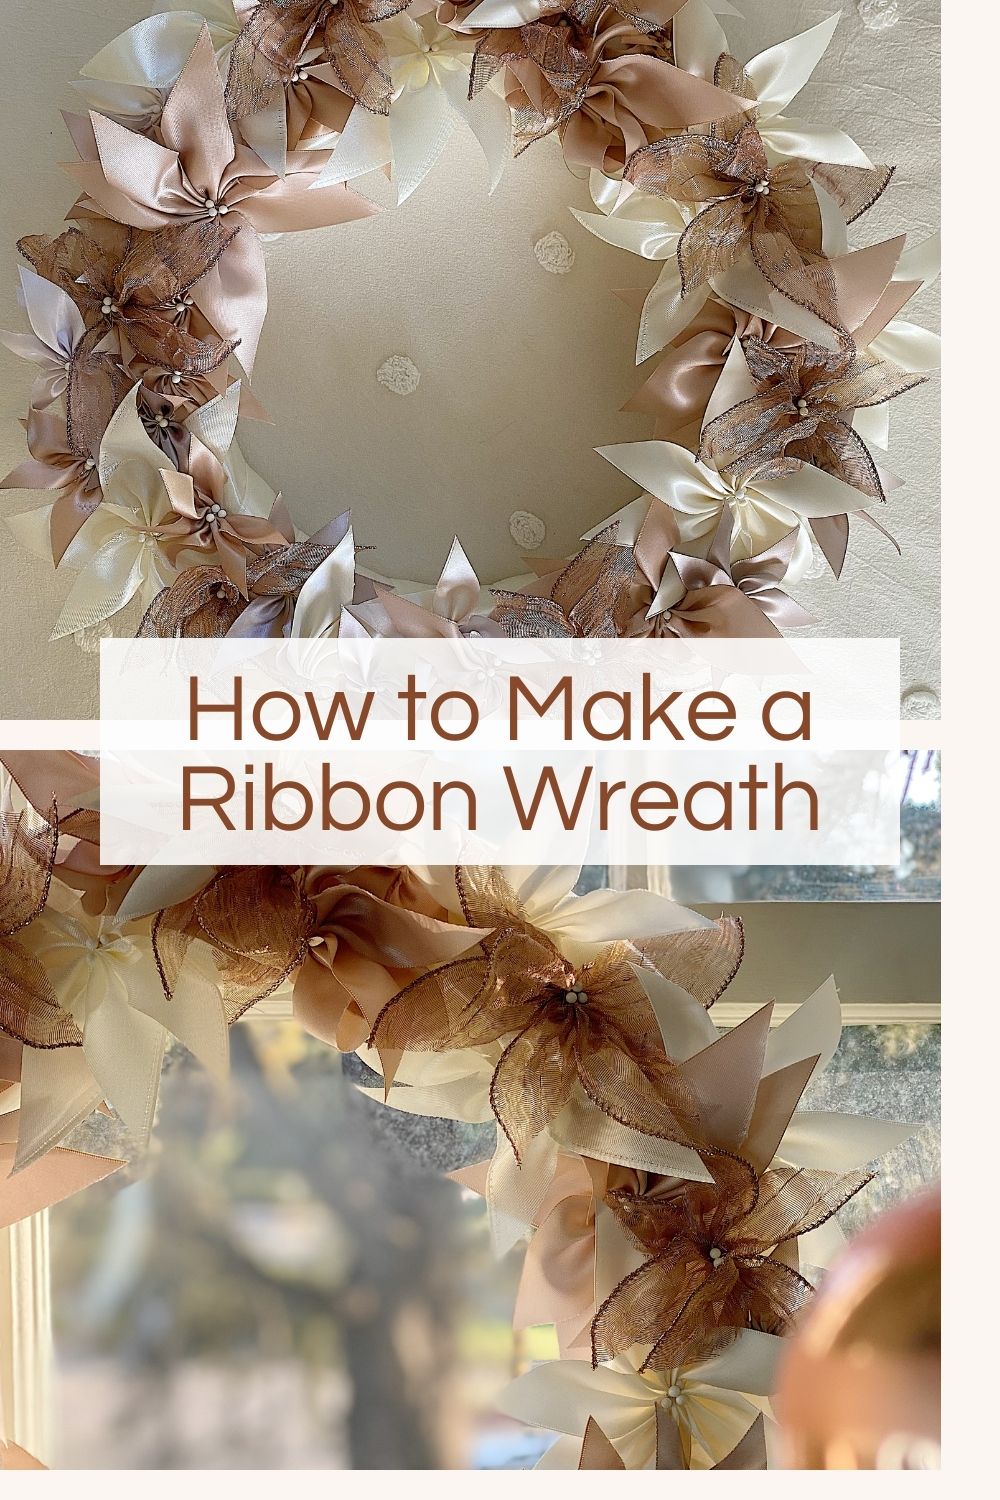
Doesn’t my wreath, next to my Christmas tree, look great hanging in the window?
Can I be honest about something? Making this wreath was a bit tricky. In fact, it took a lot of trial and error to get it right.
The good news is I would never let that happen to you! I simplified how to make this and I am sharing everything you need to know to make this wreath.
I am also excited to share the amazing ribbon projects that were submitted by my friends!
Laurie at Tip Junkie – How to Make a Bow for Wreaths
Karianne at Thistlewood Farms – How to Make a Bow
Amy at Living Locurto – Christmas Centerpiece
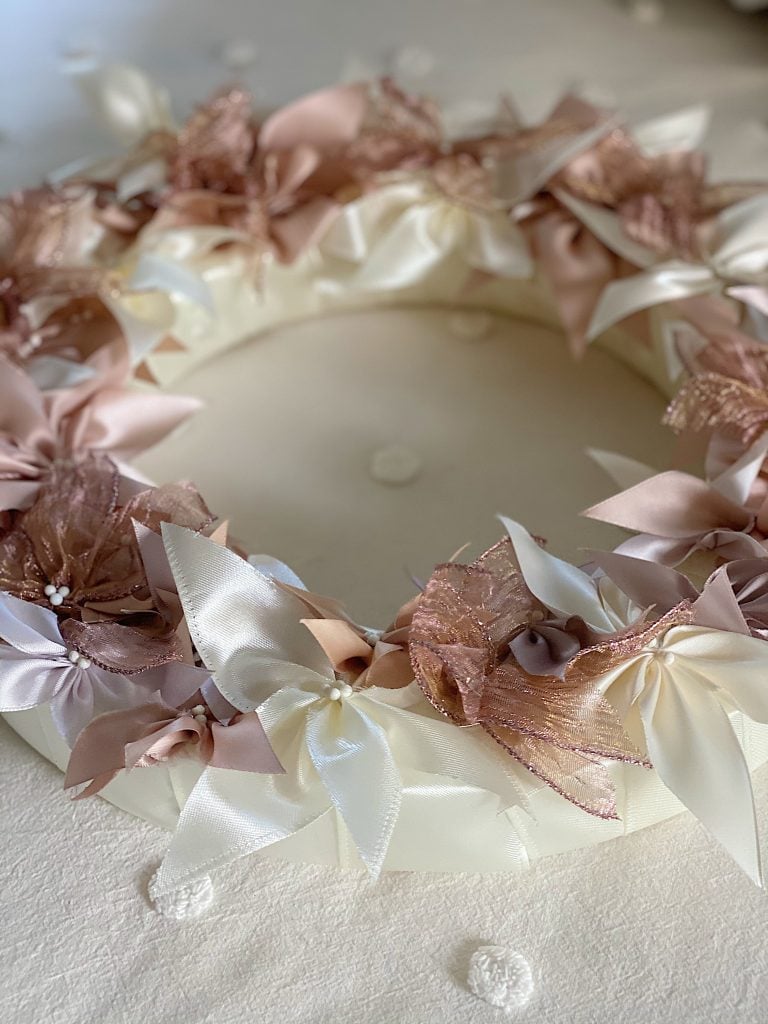
What do I love about this ribbon wreath? I love that this craft project is easy, inexpensive, and fairly fast. Plus it looks great for Christmas door decor (or window decor) anywhere inside your home.
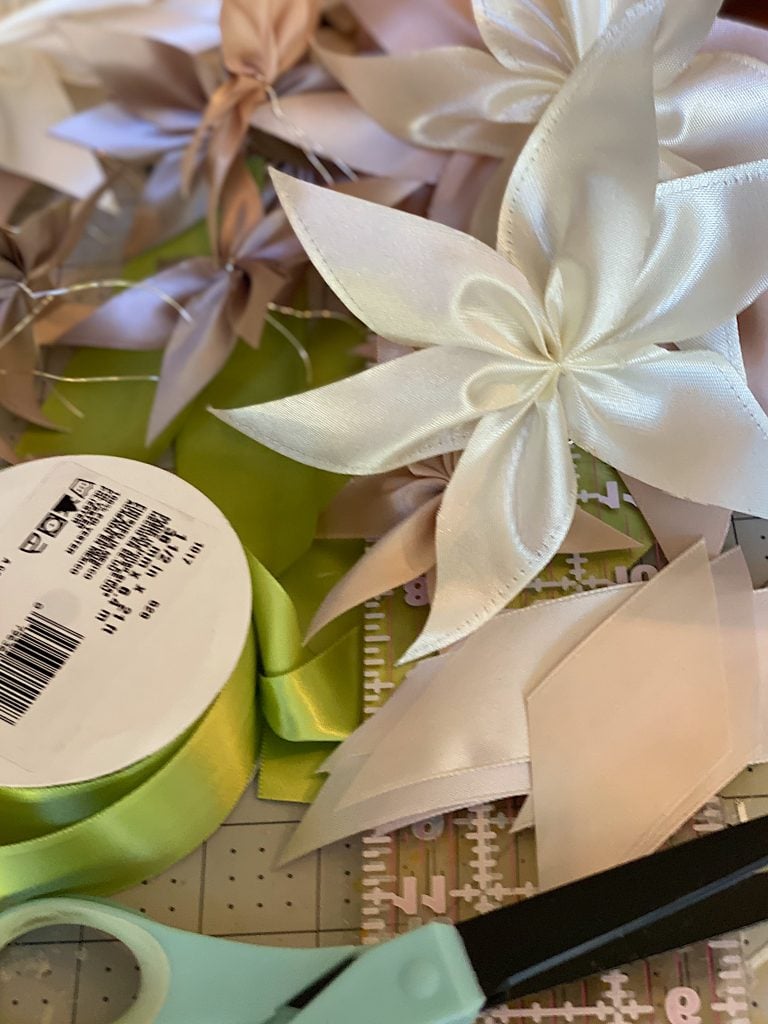
I had some ribbon in my craft room and I found the rest on Amazon. Originally I was going to include some green ribbon for leaves. But I changed my mind.
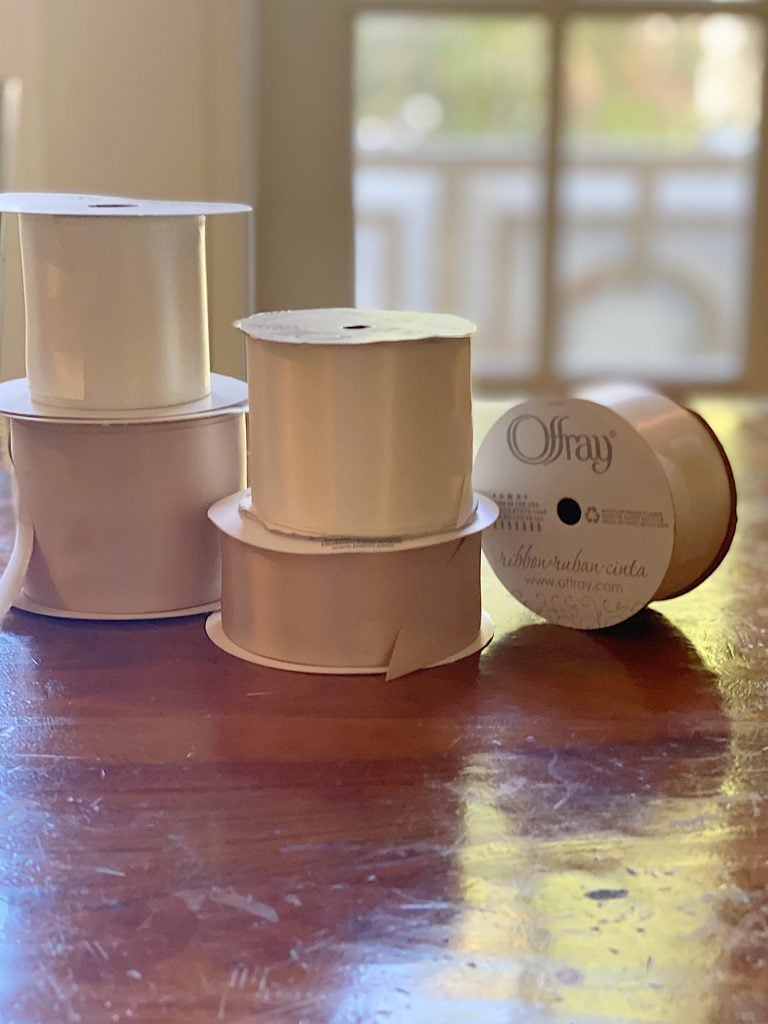
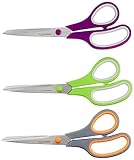
Tools You Need to Make a Ribbon Wreath
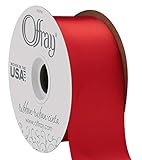
I used satin ribbon but you can use any type you want,
2 1/4″ satin ribbon, assorted colors
1 1/2″ satin ribbon, assorted colors
Wreath Form, flat edge, 16″ – 18″
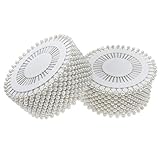
White or pearl head straight pins
Cutting mat (with 45 degree angle)
Wire, 22 gauge, in a color that is close to the color of your flowers
On this blog, I may sometimes use affiliate links, which means a small commission is earned if you make a purchase via the link. The price you pay will be the same whether you use the affiliate link or go directly to the vendor’s website using a non-affiliate link.
How to Make a Ribbon Wreath
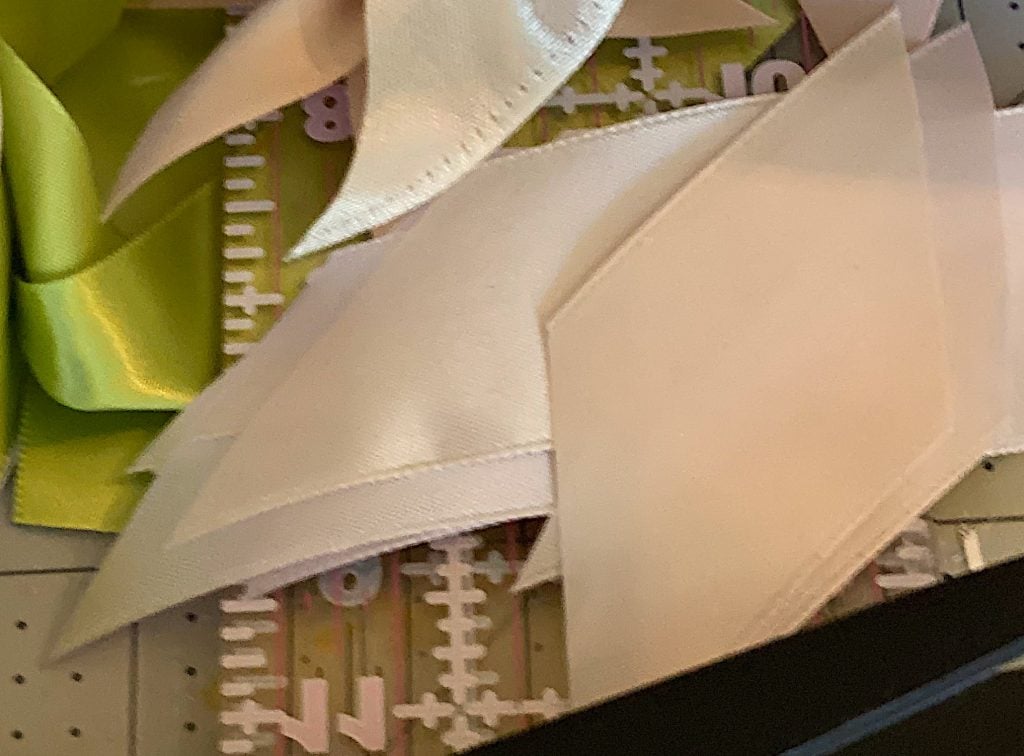
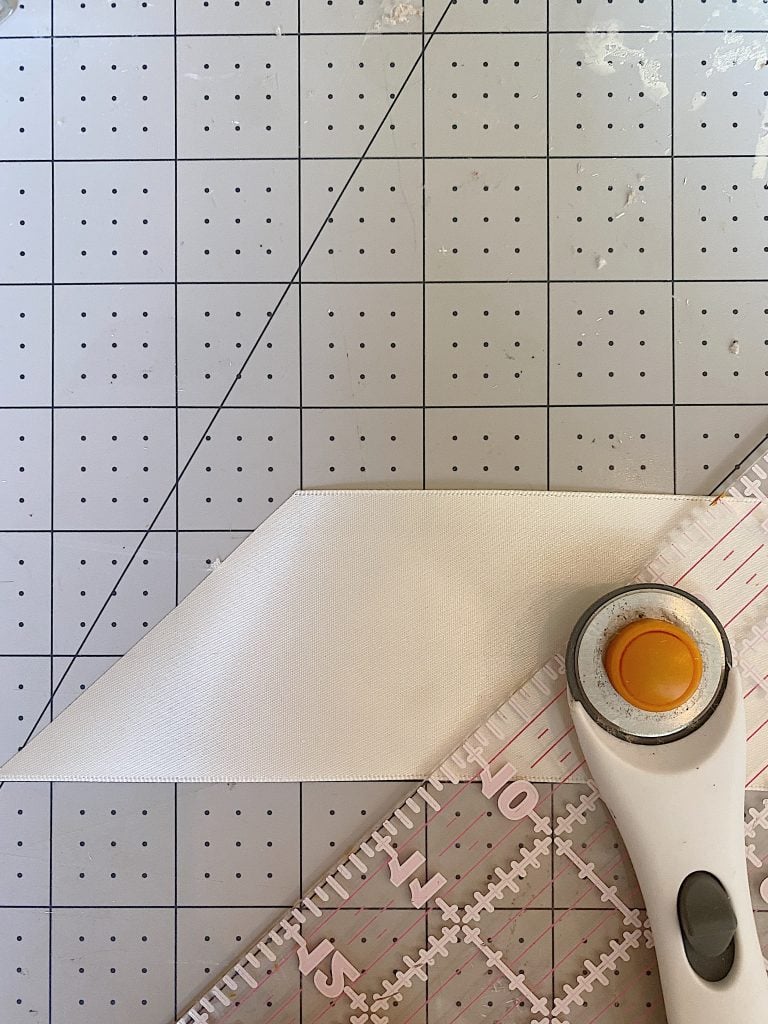
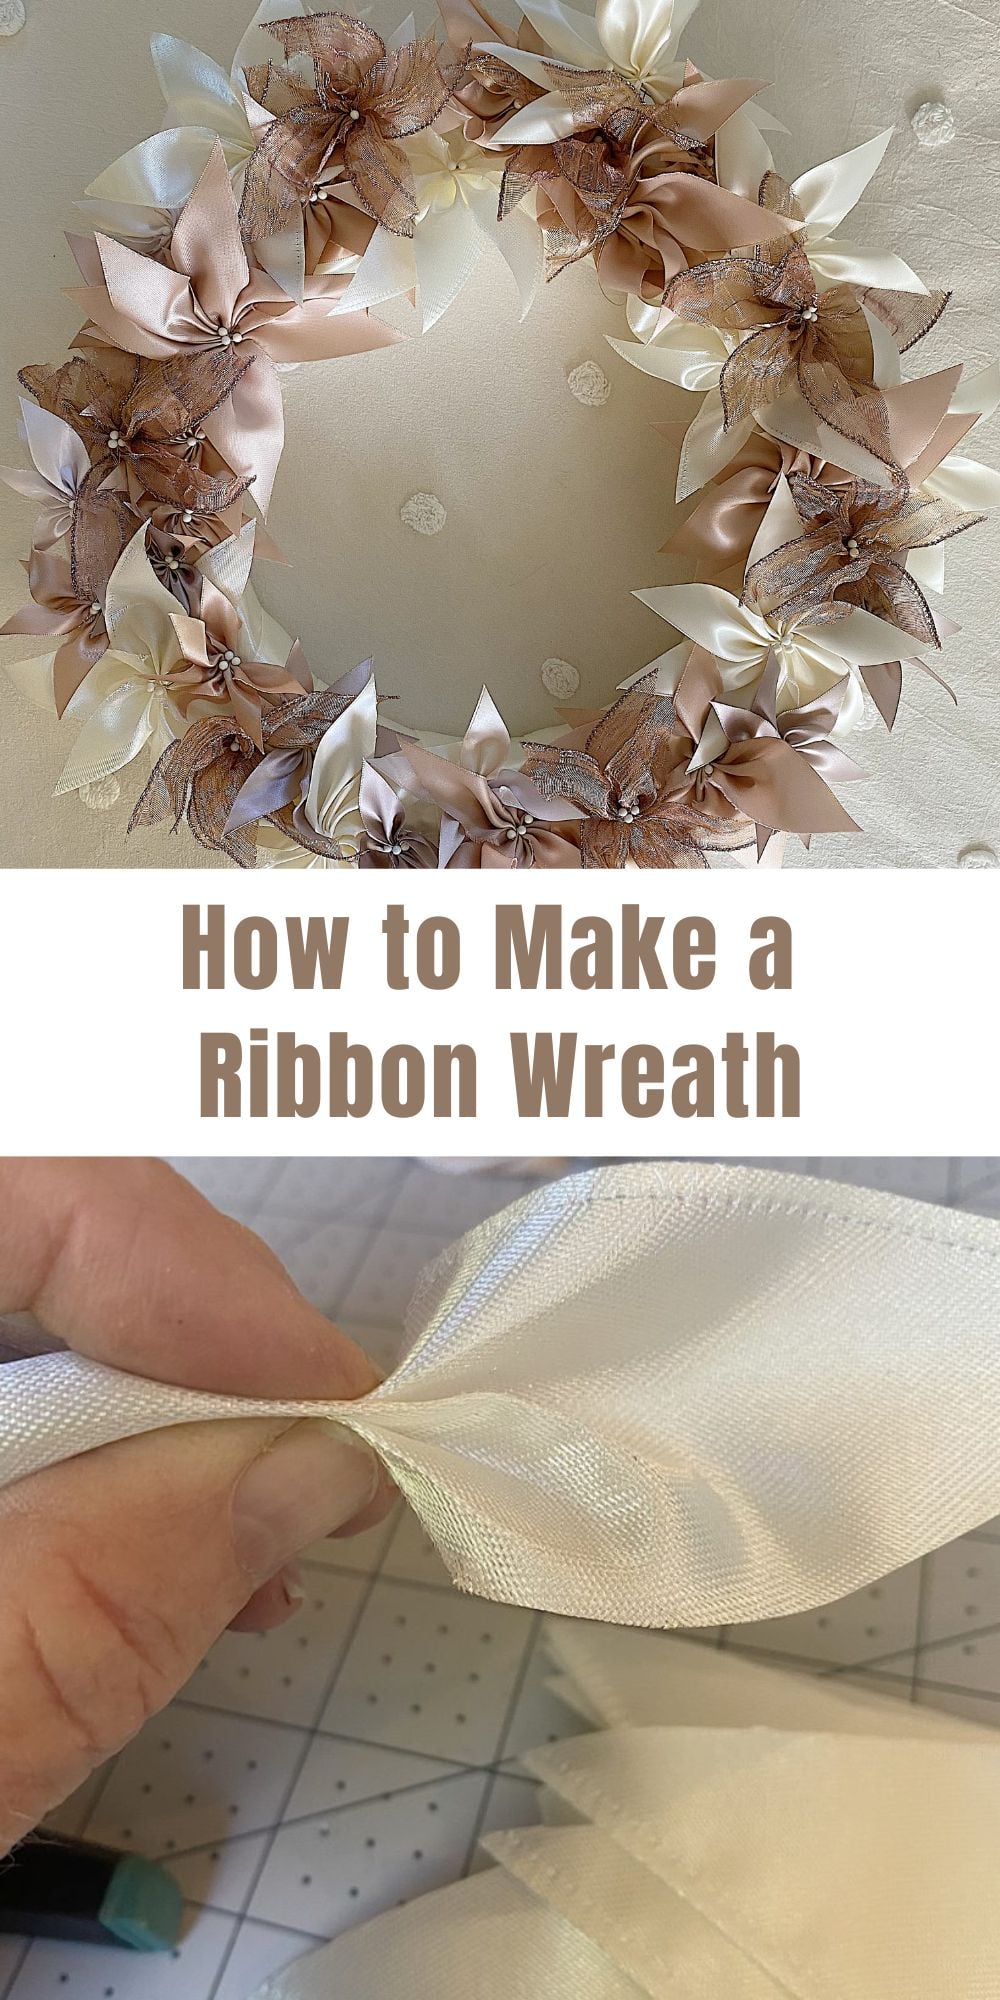
First, you need to cut the ribbons on a diagonal and then cut pieces that have the same length on all sides. See above.
It sounds complicated until you figure it out. Trust me, I stared at this ribbon for a long time before I figured it out. So you don’t have to!
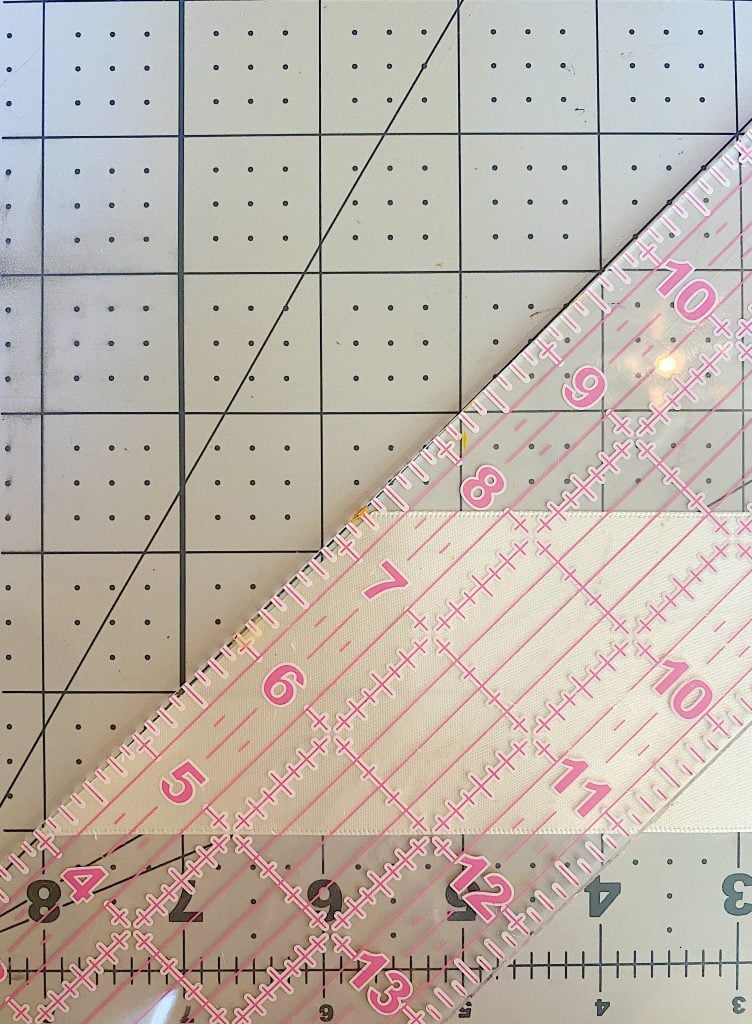
Using a 45-degree line on your cutting mat, cut the first end of the ribbon with the rotary cutter.
Flip the ribbon along the cut edge and measure the width. As you can see below, my ribbon (which is 2.25 inches wide) has a measurement on the diagonal cut line of 3. 25 inches (or perhaps a tad bit more).
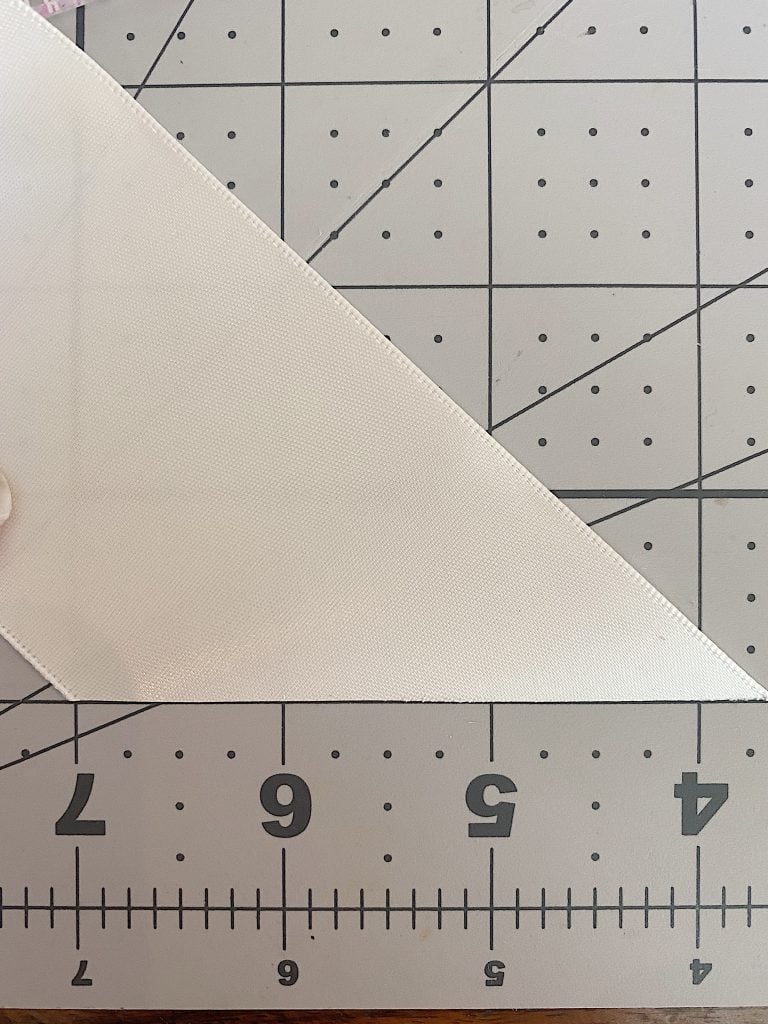
Place your ribbon back on the cutting mat and measure the length to 3.25 inches. (In other words, the length of the ribbon matches the length of the diagonal edge.) Make another 45 degree cut on the opposite end. Now you have one diagonal cut piece. You need three pieces to make one flower. I made about 35 flowers and cut 105 pieces. I did like the larger ribbon size better so I cut more of those.
Next, you need to pinch the center of each piece and make three folds. Make a fold on the top edge, one in the middle, and another one on the bottom edge.
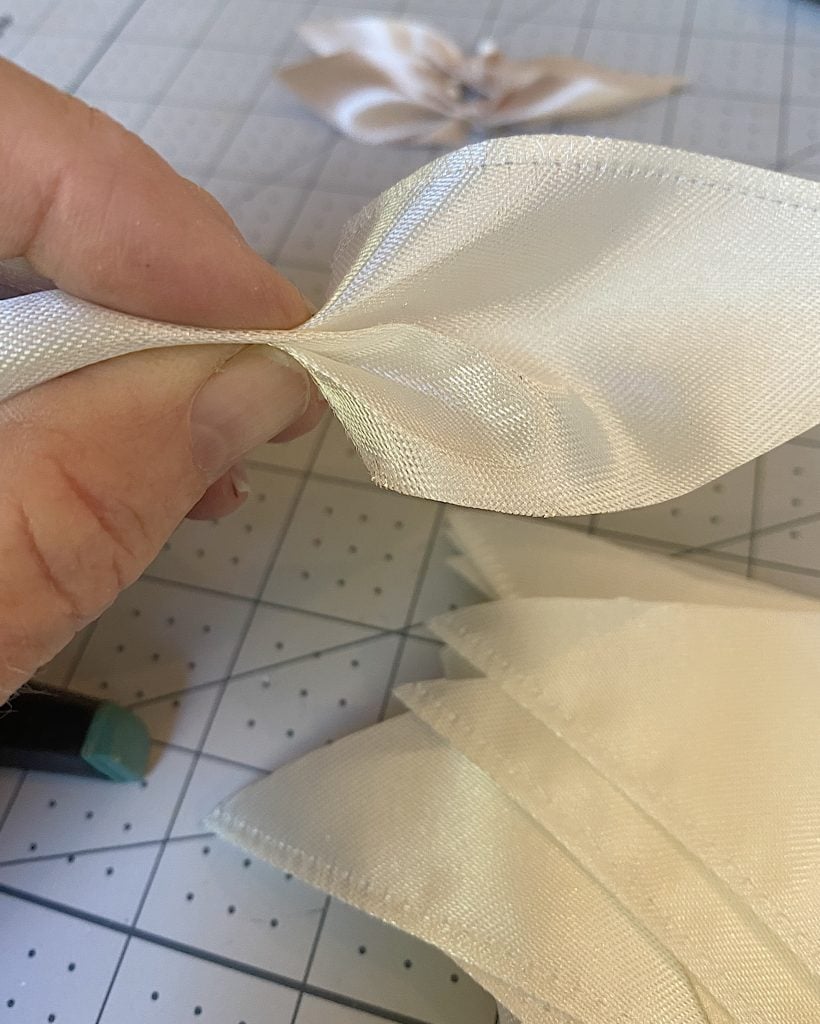
Pin each piece to hold the folds in place.
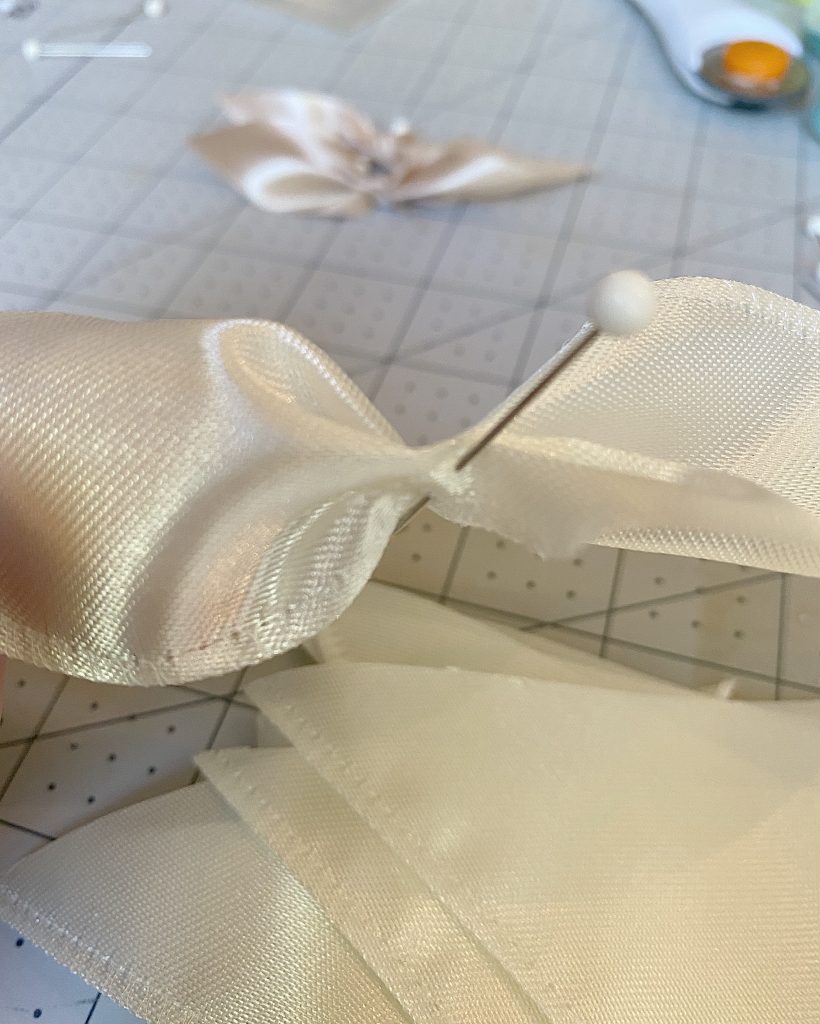
Each piece should look like this.
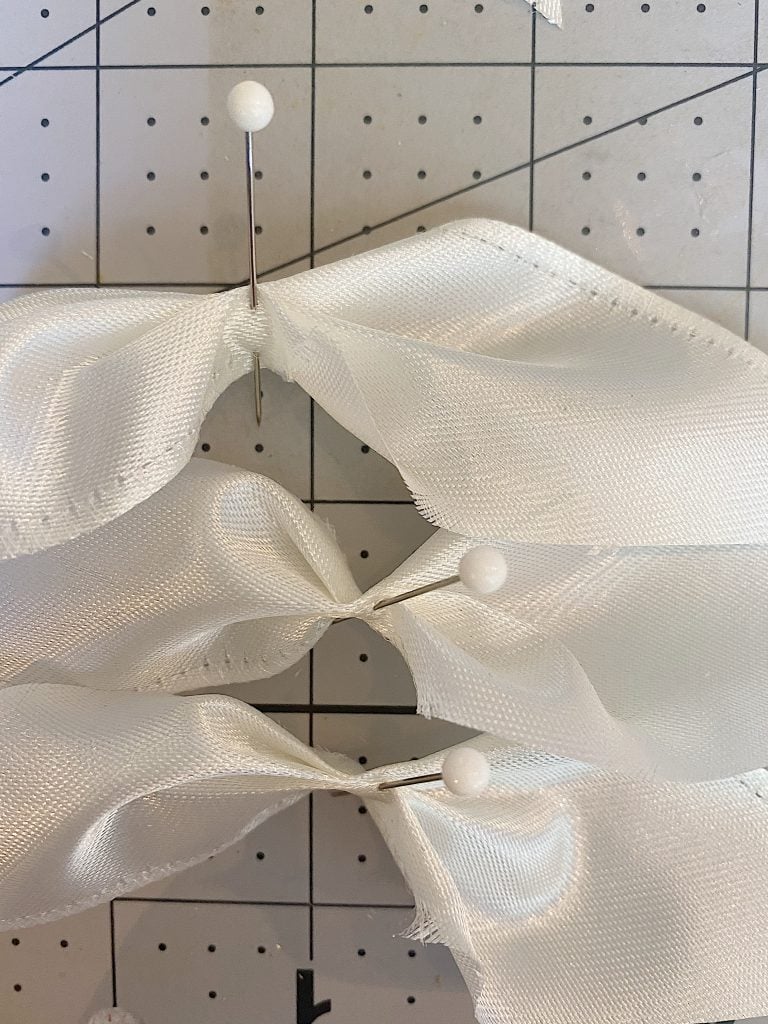
Place three petals side by side, all facing the same way,
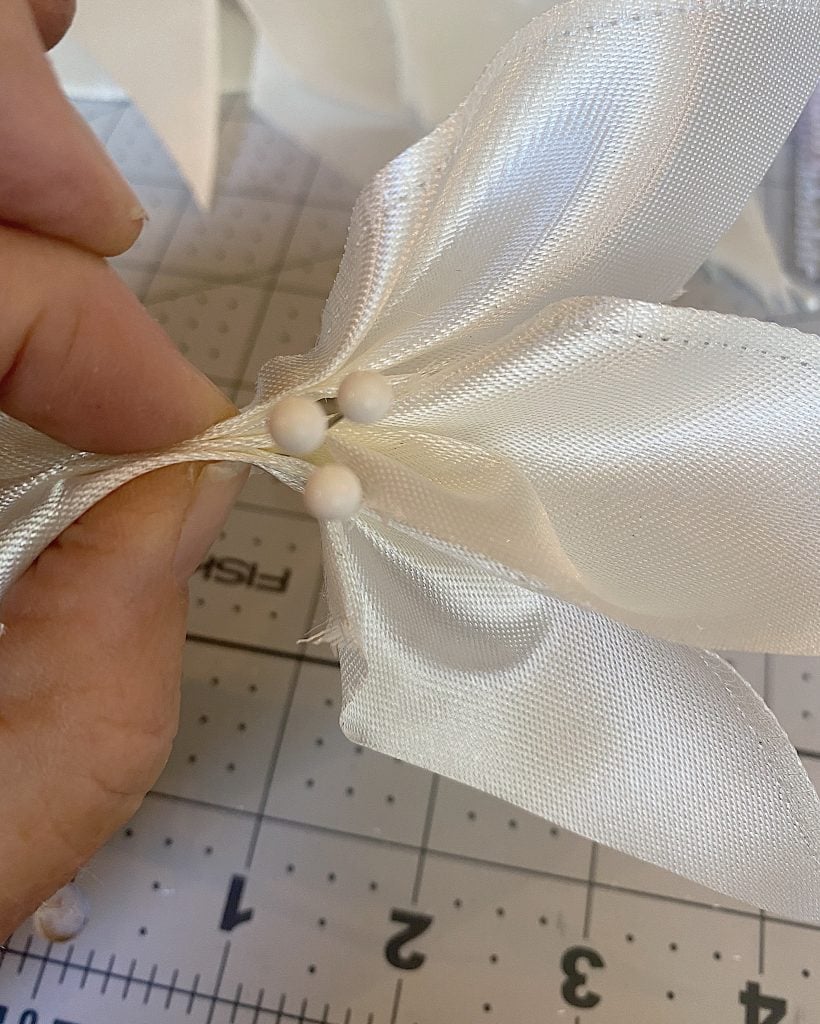
Secure the petals together with the wire, placing the wire in the center. Cut the wire down to about 1/2″.
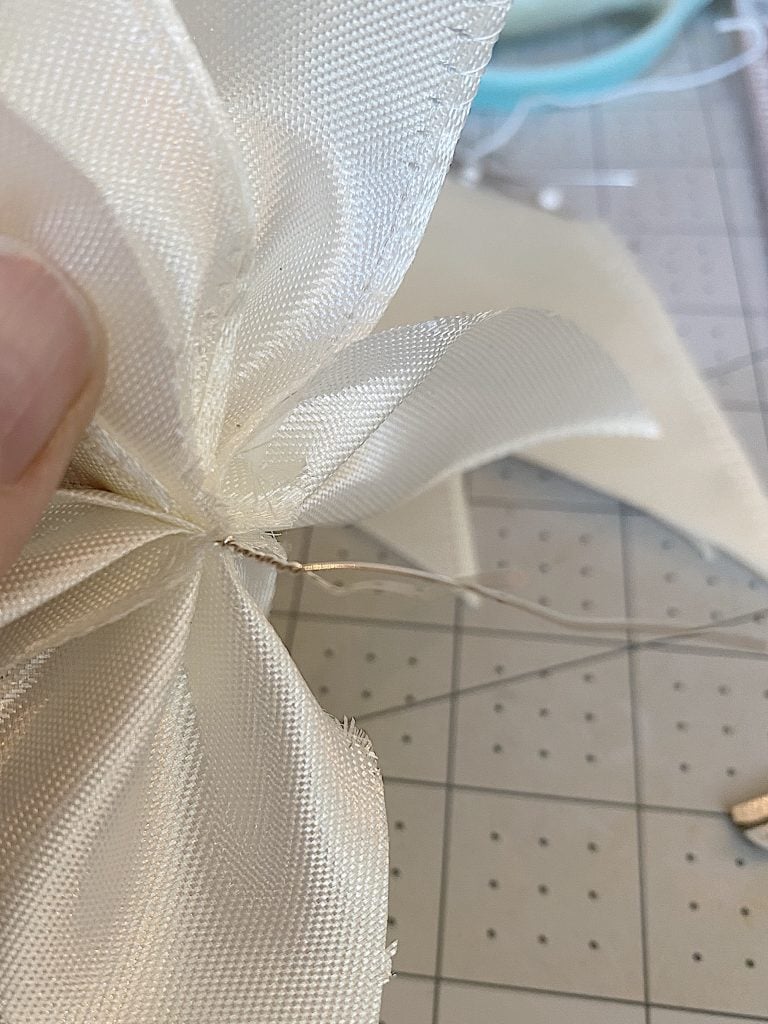
This is what your flower should look like.
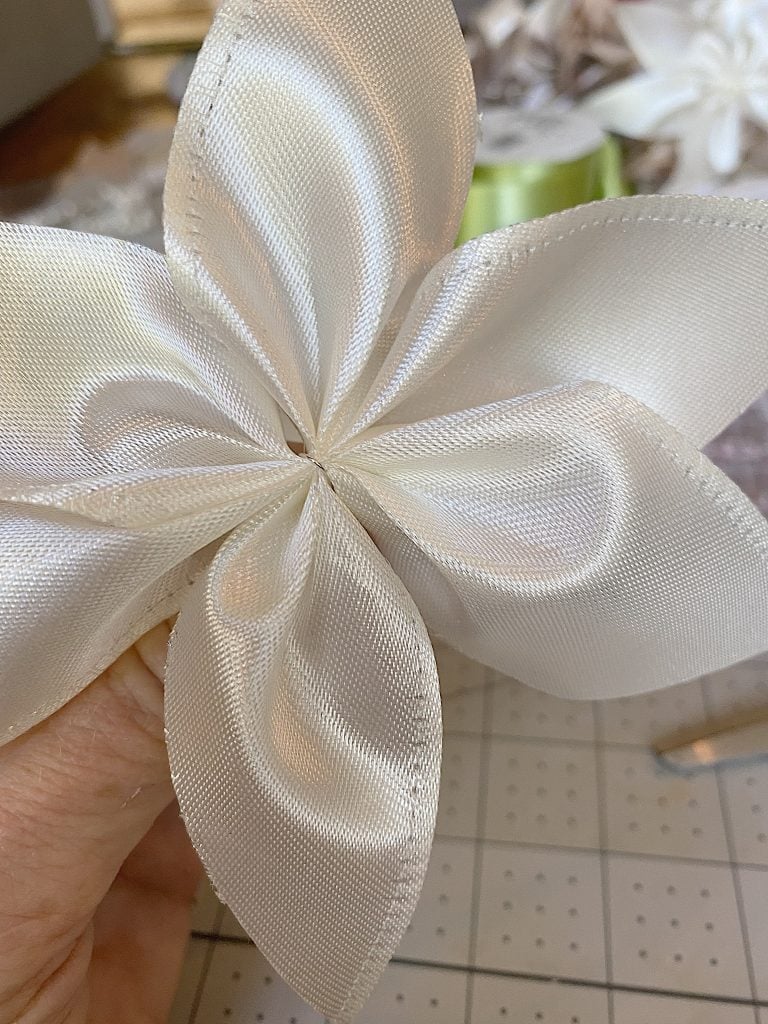
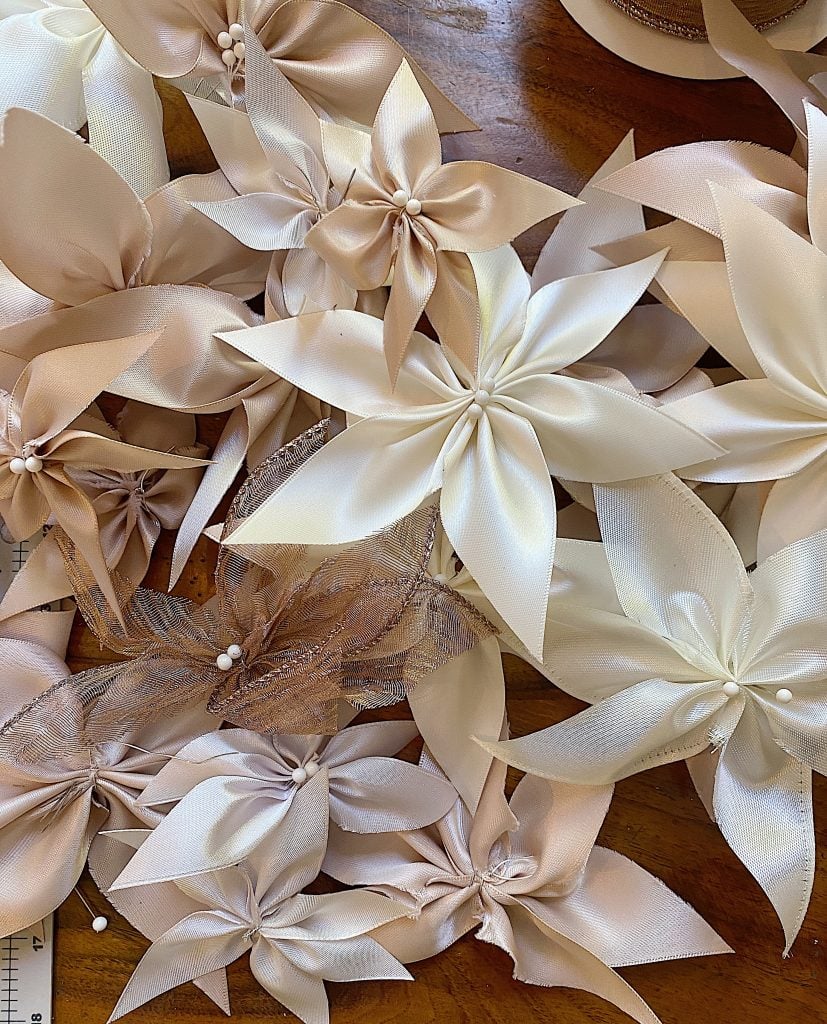
I made all of my flowers first and once I got into a roll, it went very fast.
Assembling the Wreath
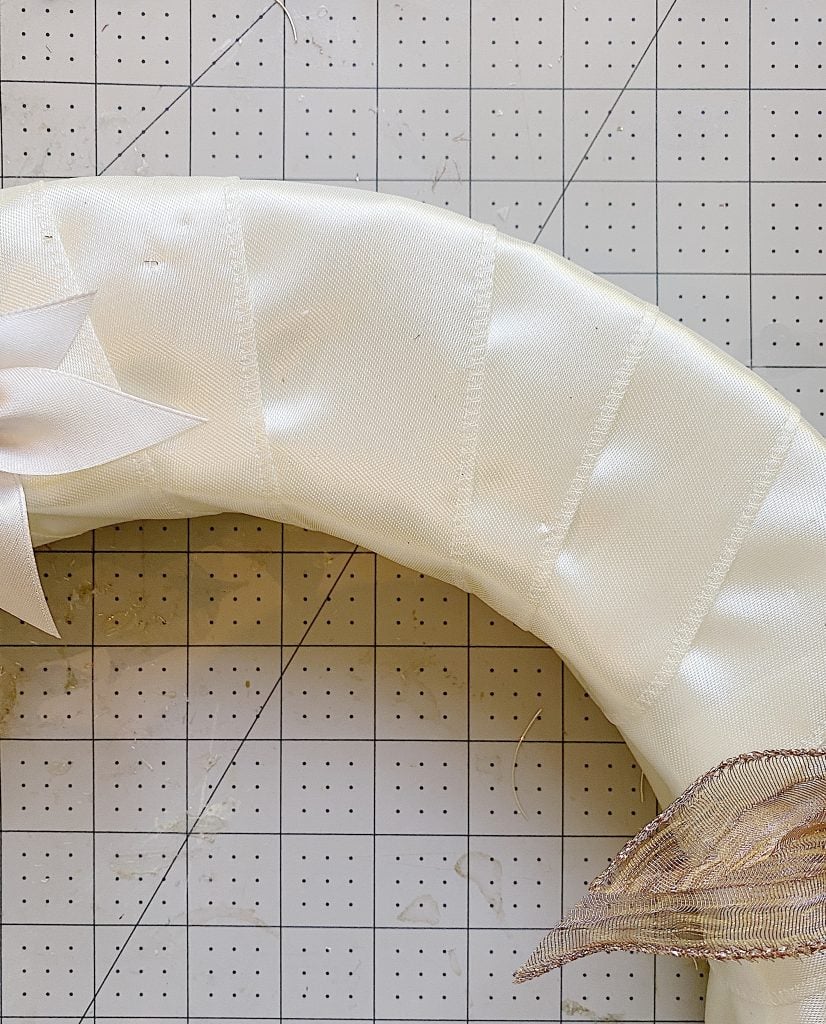
Wrap the wreath form with ribbon. Secure the ends with a straight pin.
Attach the flowers to the wreath form with the straight pins, placing the pins in the center of the flower. They should look like stamens.
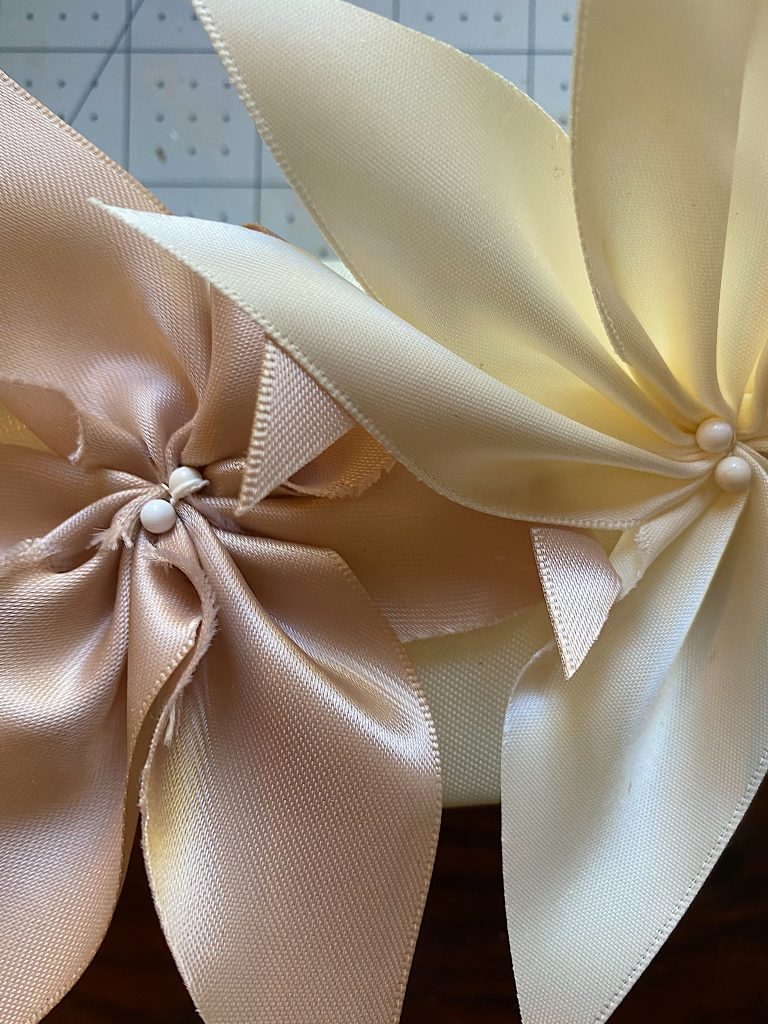
I found some ribbon in my craft room and added some more flowers made with the decorative ribbon.
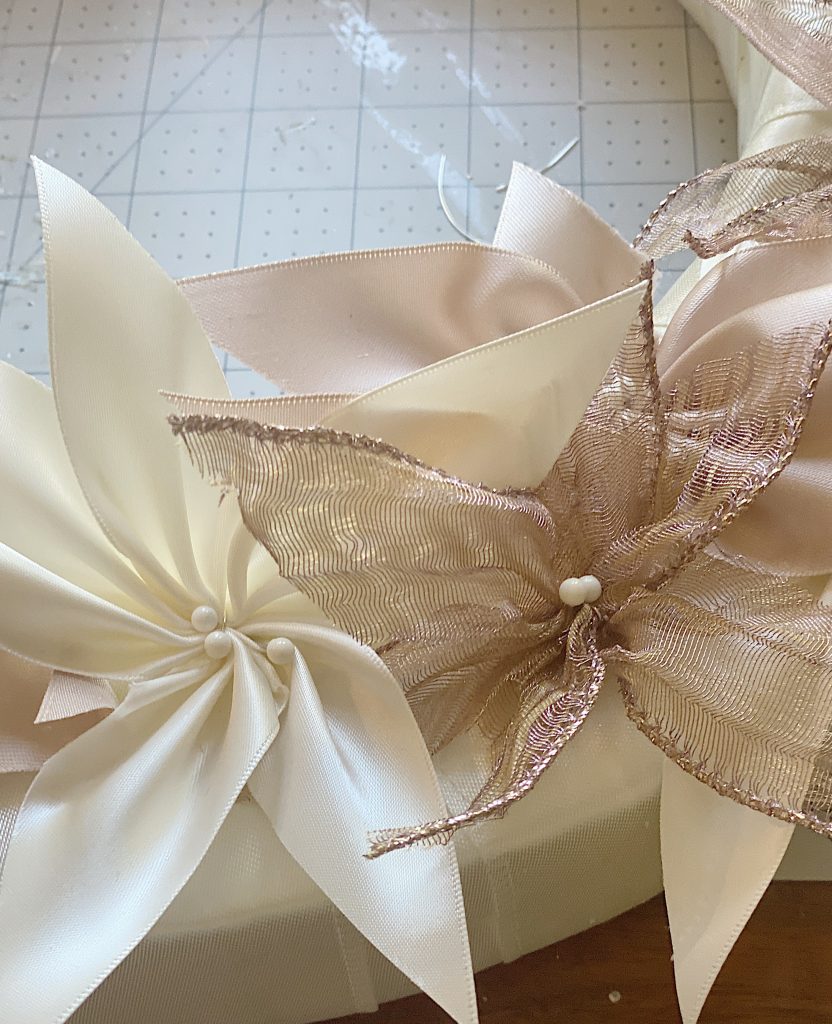
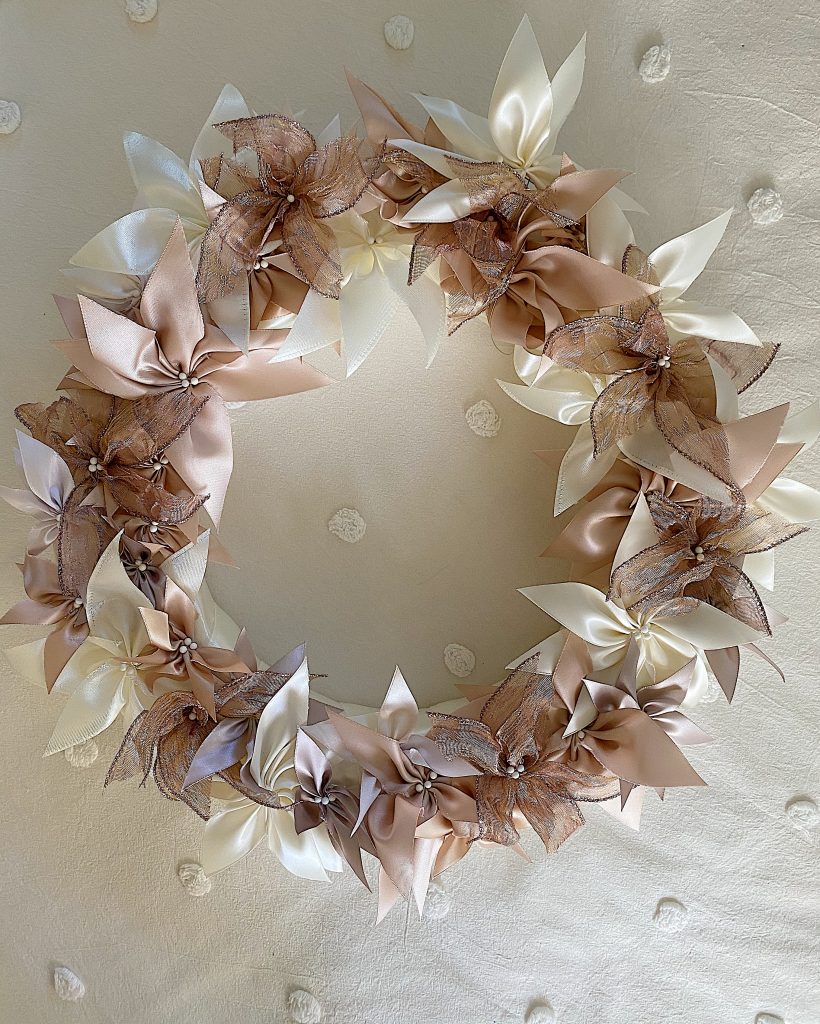
Continue placing the flowers all the way around the wreath form.
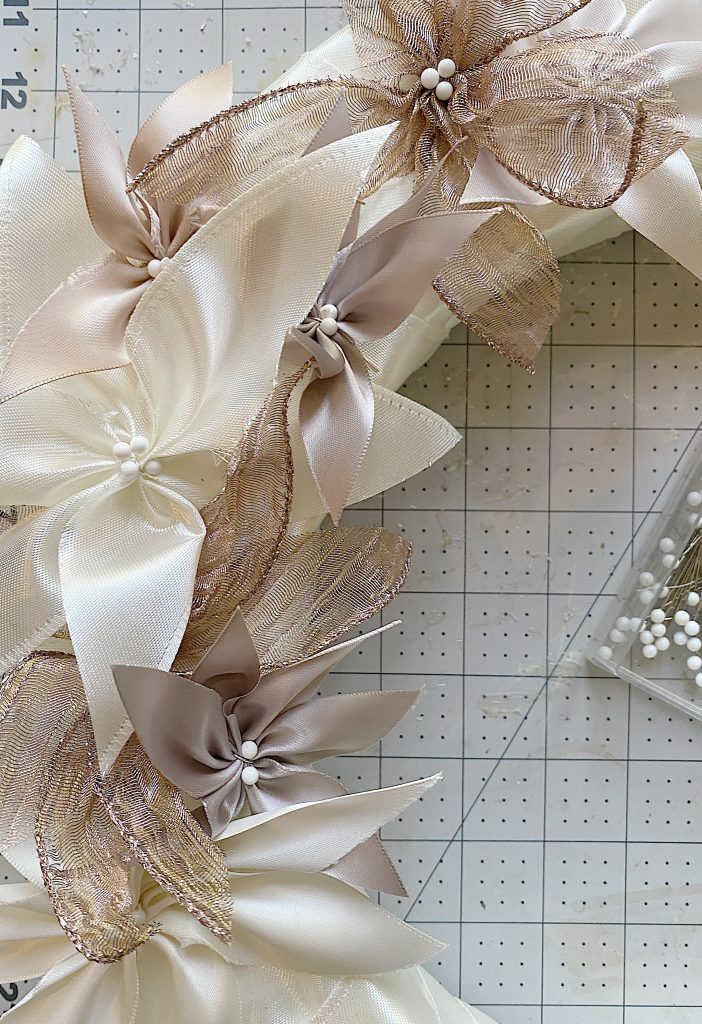
Don’t these look amazing?
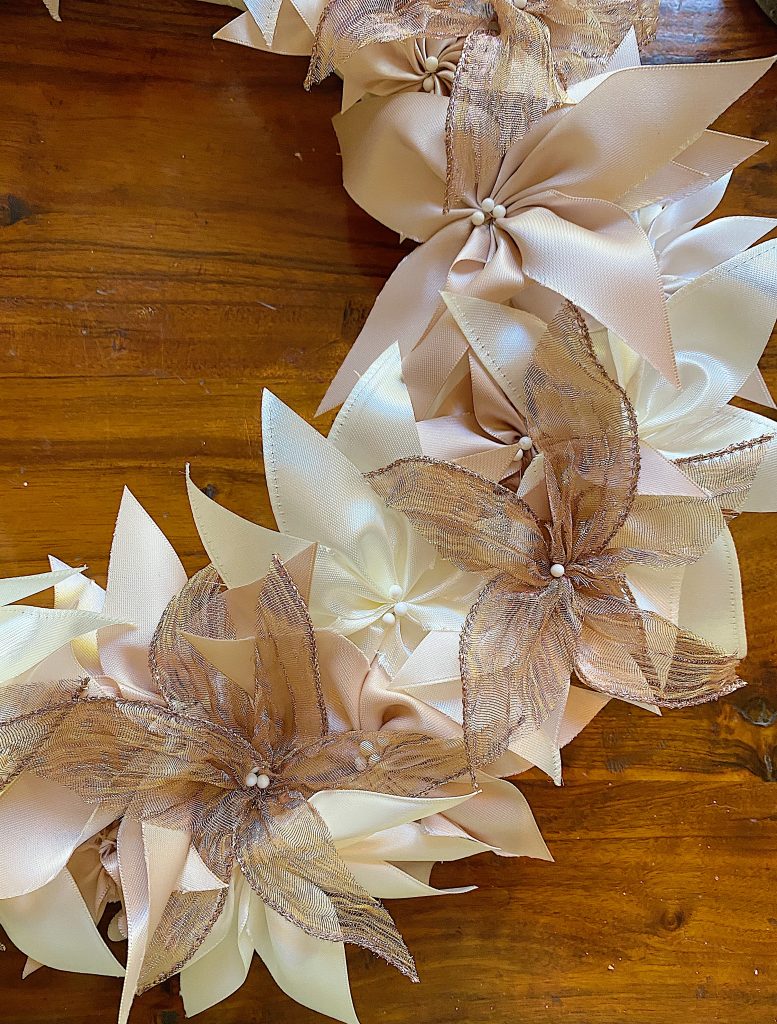
Continue until all areas on the wreath form are covered.
I love how this holiday wreath looks in my window!
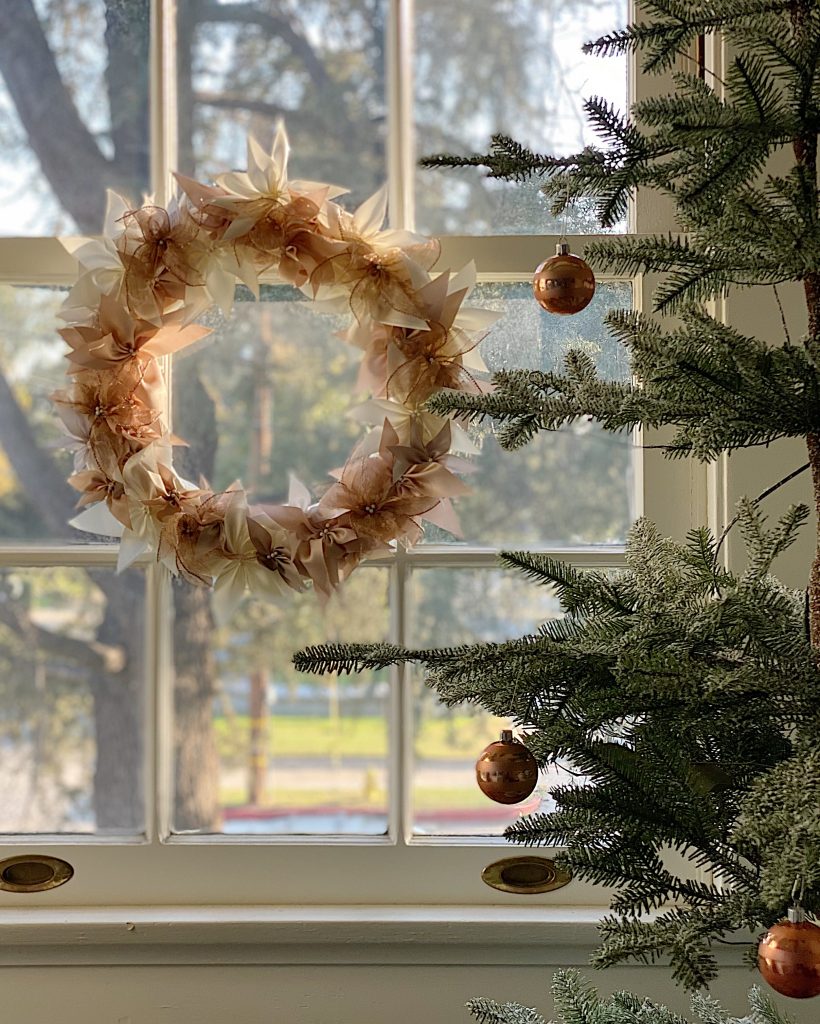
Loop a wire around the top of the wreath form so you can hang the wreath.
Watch My Amazon Live
Click here to watch any of my Amazon Live shows. All shows are recorded.
Pin the image below to your Craft or Holiday boards on Pinterest (click the Pin button in the top left corner). You can also follow along with me on Pinterest!
For more real-time updates, follow me on Instagram @My100YearOldHome










UNBELIEVABLE……PRETTIEST new decoration I’ve seen so far this season!!!! Beautiful color combinations…..I would love to see it also in different shades of green. Thanks Leslie for sharing….Merry Christmas 🎄
Beautiful ribbon wreath!
This is beautiful! Great job Leslie!
Wow that’s a beautiful wreath amazing you are very talented….
Oh thank you so much Eva! It’s as pretty as it is simple to do 🥰
You are uber talented my friend! What an amazing ribbon wreath! This one will take you straight through the holidays right into winter! I love it!
Beautiful wreath, reminds me of little Christmas fairies…Good job.
Thank you! This is one of the most beautiful wreaths I’ve seen! I always look forward to your ideas. I have all these items on hand in my craft room and can’t wait to get started!
I haven’t seen your work before, but so glad I saw your amazing wreath!!! You are seriously talented !!!! I’m going to give it a go, using blue, white and silver satin 🎀 ribbon!!! Wish me luck!!
Carol Ann
Beautiful wreath. Simply looking and Beautifully Elegant!
Wishing this was a video.
Totally gorgeous and so different. Love it and will of course, try one! Thank you for sharing.
Gorgeous wreath. Speechless wow. I would love to learn how to make things for home.
I love your gorgeous work. I would love to learn how to do wreath for hobbie.
Lovely and elegant! Colors look great together. Have to check out my ribbon supplies, guess what my new craft project will be? Thank you so much for sharing.
That makes me so happy to hear!
Leslie, this is such a beautiful and elegant wreath. I love it! Going to share it in my Sunday newsletter.
Omg thank you Tammy, that’s too kind! 🤗🙏
A beautiful wreath and seems so easy to make. Need to try one to add to my other many wreaths. Thank you Leslie for sharing.