How to Create a Girls Night Out Party
This post is sponsored by JOANN and Cricut. It may contain affiliate links but all words, reviews, and opinions are mine.
March is Women’s History Month and I am excited to share with you how I created a Girls Night Out party at my home. I wanted to celebrate some very important women … my closest girlfriends!
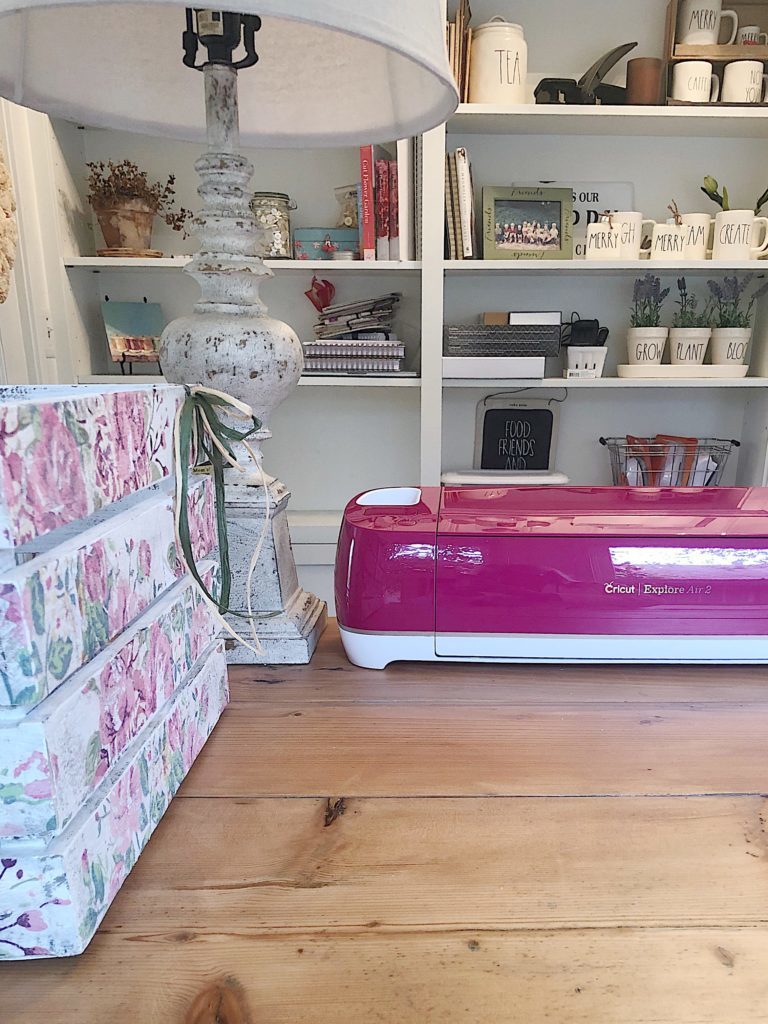
I am thrilled to partner with Cricut and JOANN and share the new Cricut ® Explore Air ™, Wild Rose Edition, which is sold exclusively at JOANN. I was so happy to learn that this new Wild Rose Air 2 Cricut represents female empowerment and entrepreneurship and comes with a fearless design that should empower all of us to create! Not only is the machine the most gorgeous color ever, but it comes with the biggest JOANN bundle of supplies ever (click here to learn more and purchase). There are forty pieces of vinyl included that are amazing. Who knew you could cut glitter vinyl so easily? I do now!
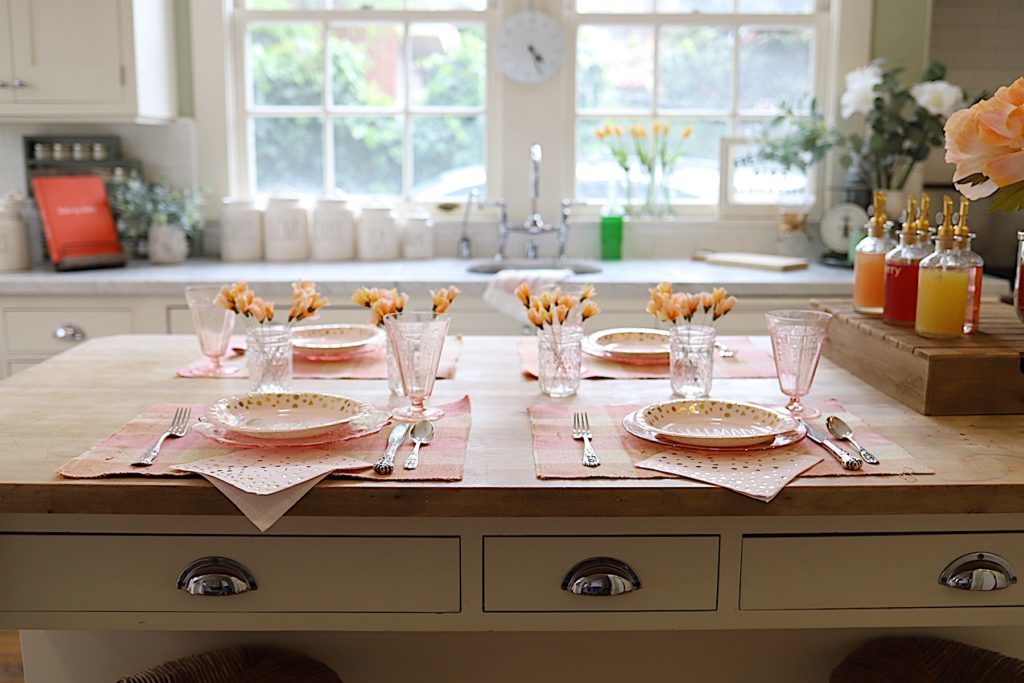
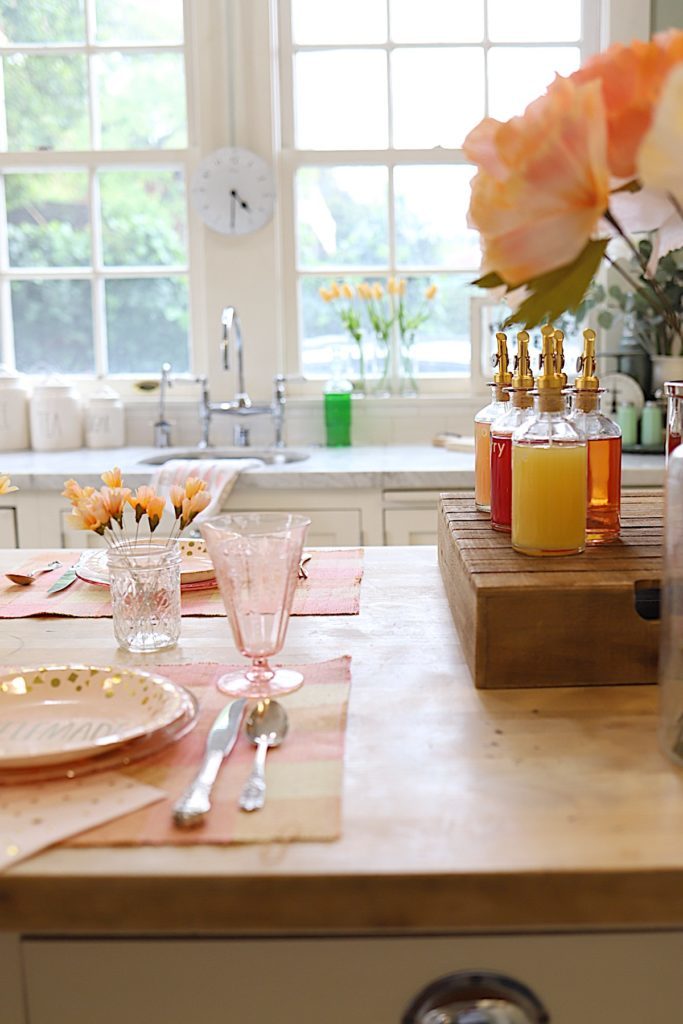
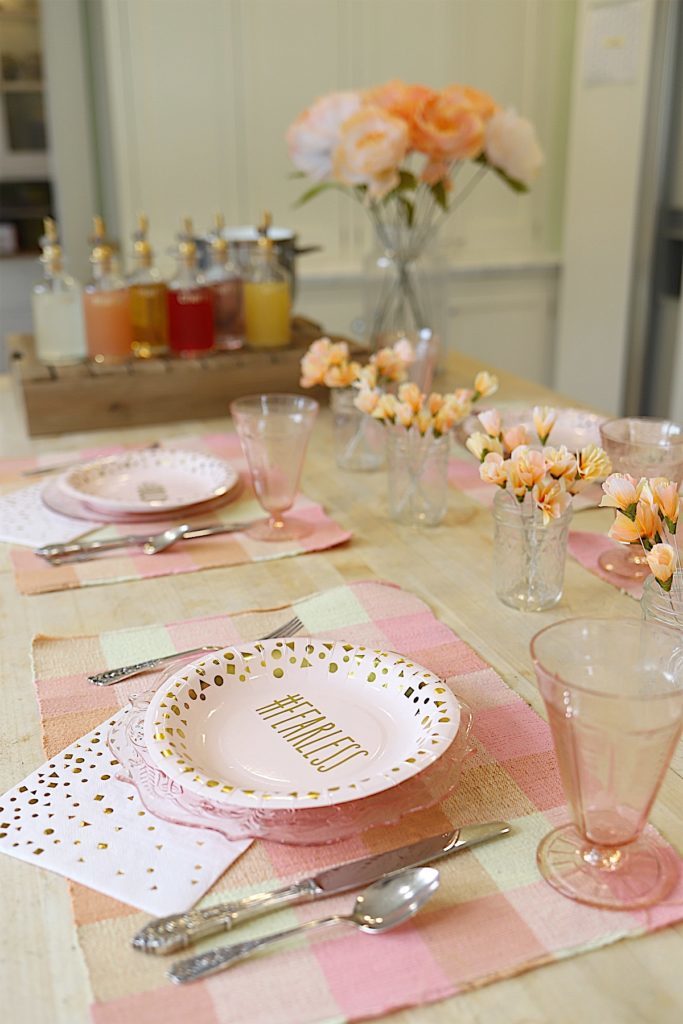
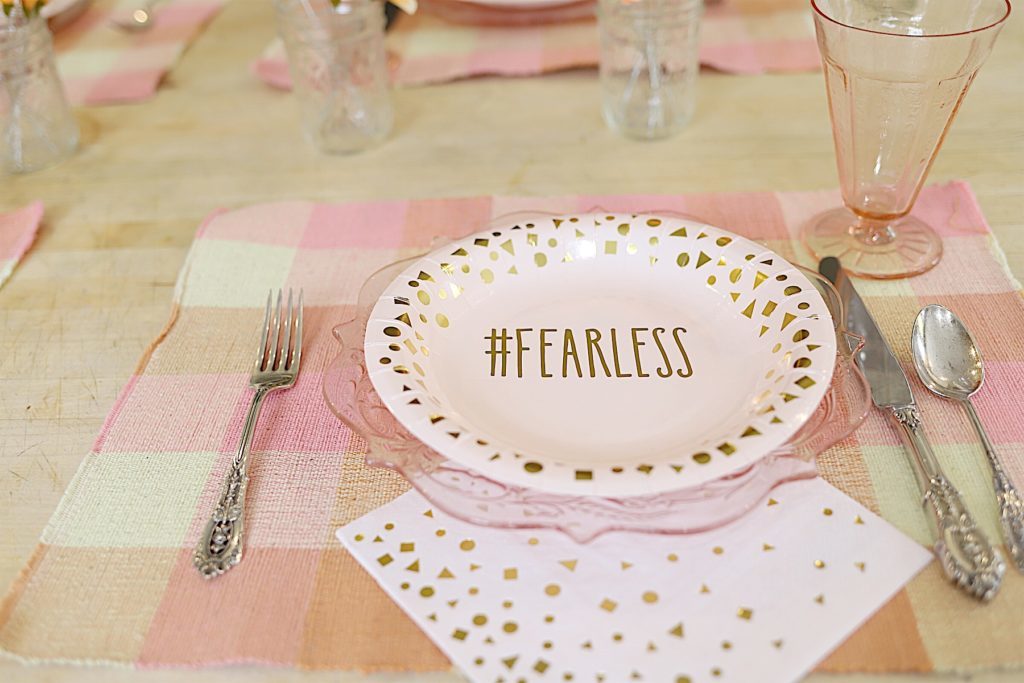
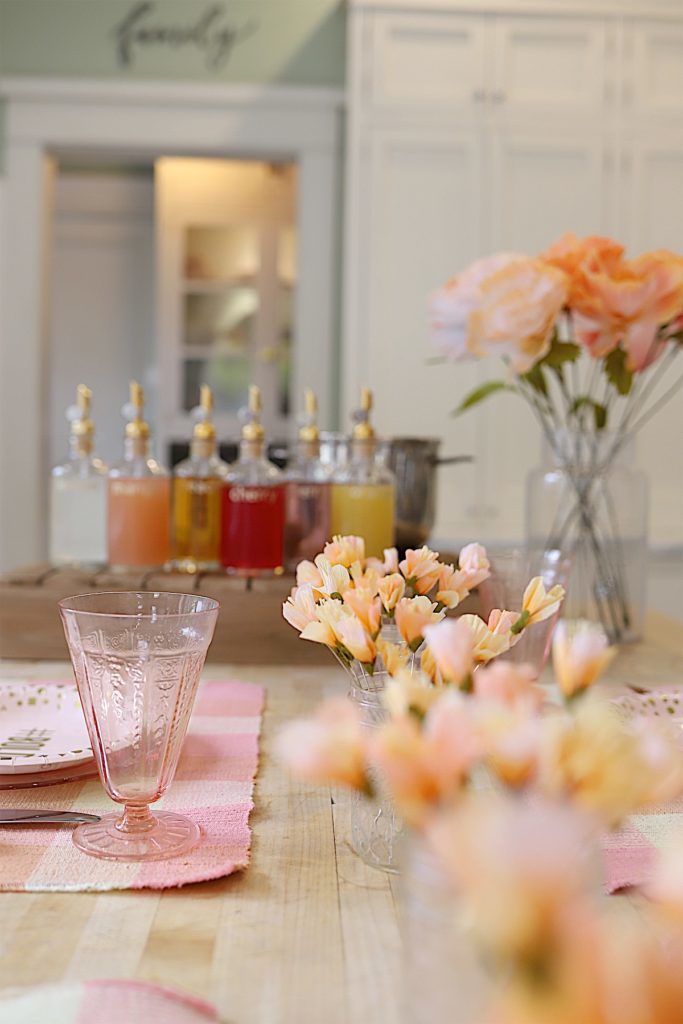
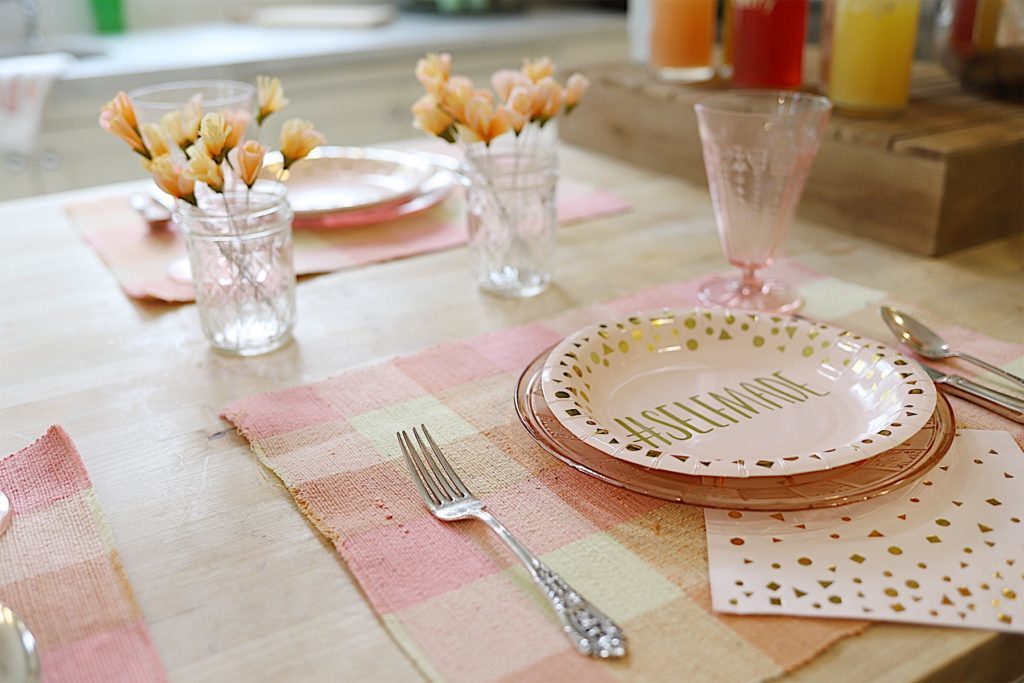
I loved creating a Girl’s Night Out to honor my girlfriends. I knew I wanted to make the evening really special. The first thing I did to create my Girl’s Night Out event was head to my butler’s pantry for everything I could find that was orange and pink. Years ago, I started collecting depression glass so I knew I wanted to use my pink plates and goblets. I then added the pink paper plates and some of my homemade Paper flowers. I love the paper poppies. (I made the smaller flowers to attach to branches. Watch for a future blog post on how I created flowering branches!)
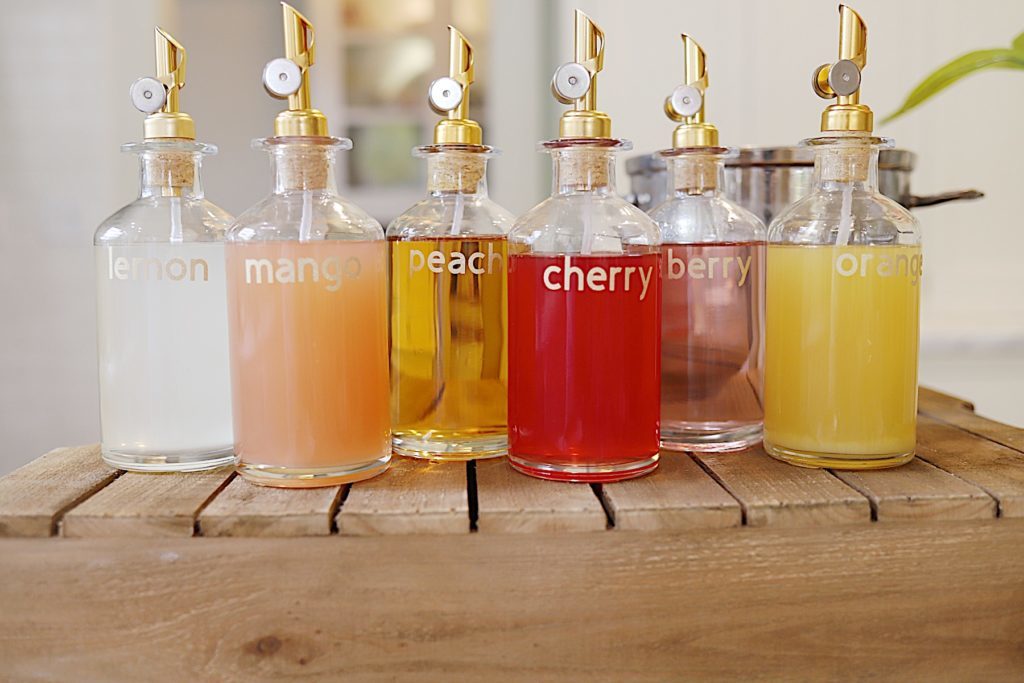
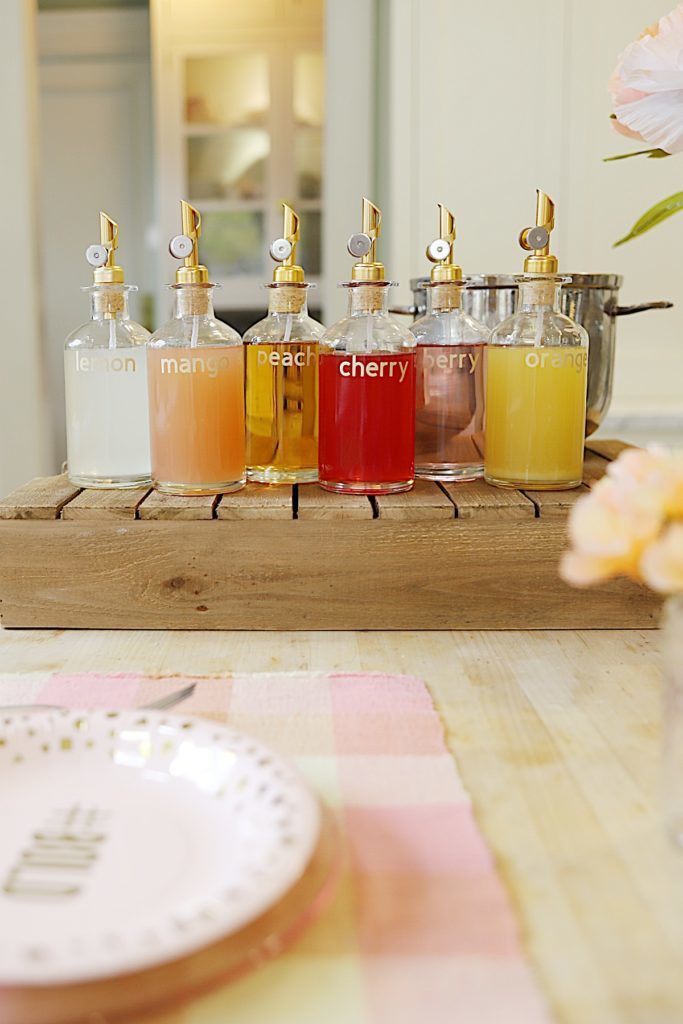
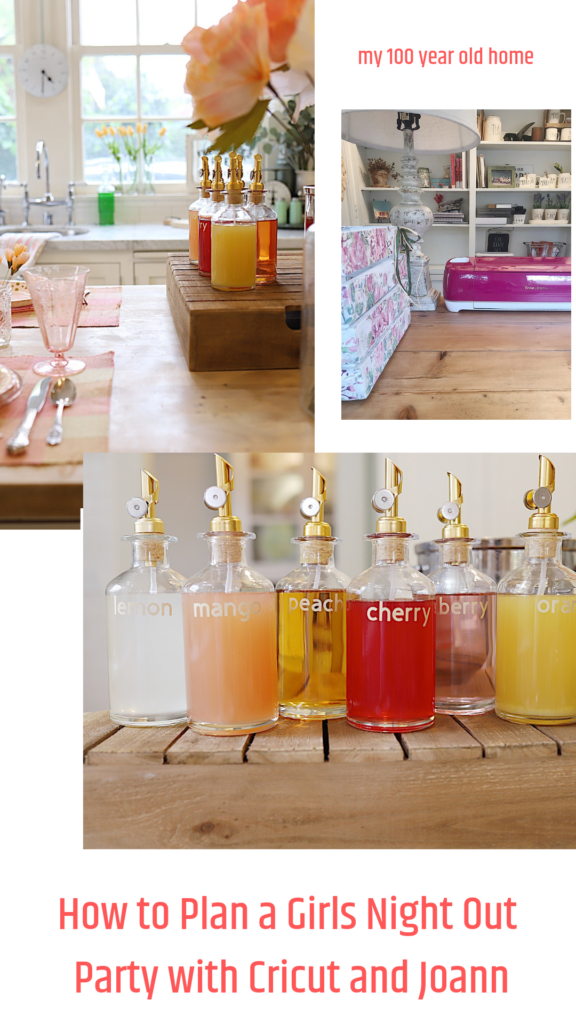
I wanted to create a way to add some fun beverages. I decided to make glitter labeled bottles for my homemade fruit-flavored Simple Syrups. Simple Syrups can be added to any beverage and are great with soda water, lemonade, or even a cocktail. The recipe is below!
To make this evening special, I pulled out my Wild Rose Cricut 2 bundle and got to work.
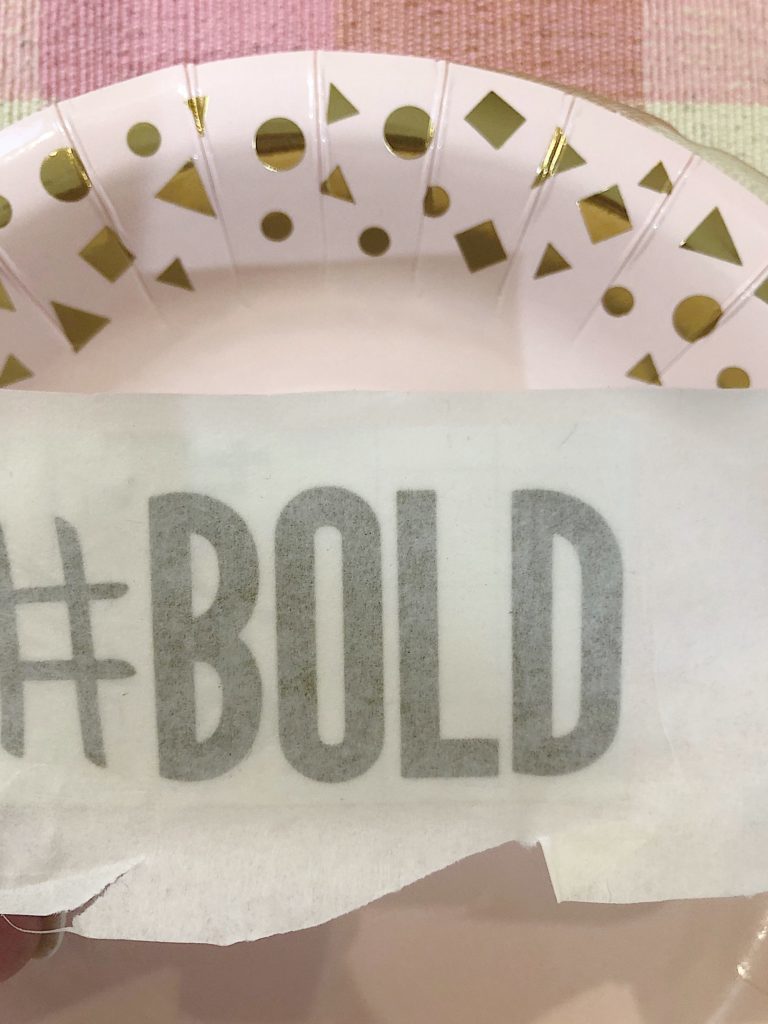
The first thing I did was use the very powerful hashtag cutouts that are included with the machine. I transferred them onto some very festive paper plates to use to decorate the table. Hashtags such as #bold, #fearless, and #original seemed perfect for my girlfriends!
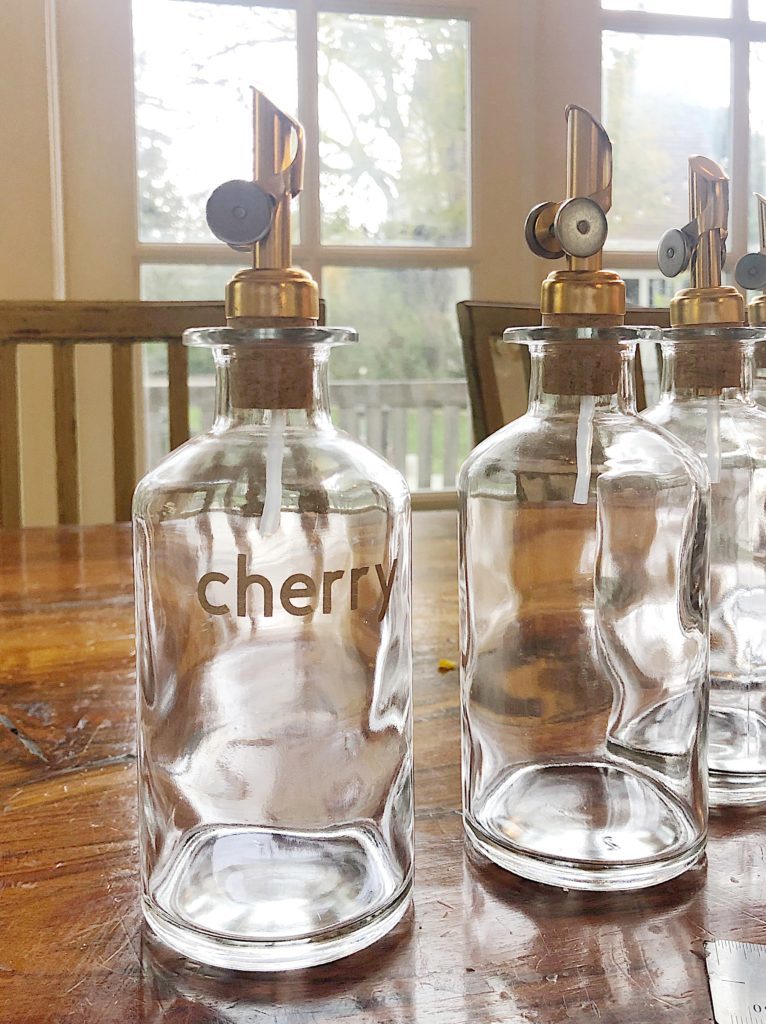
Next, I found these wonderful small glass bottles and used my Cricut machine to make labels for each jar.
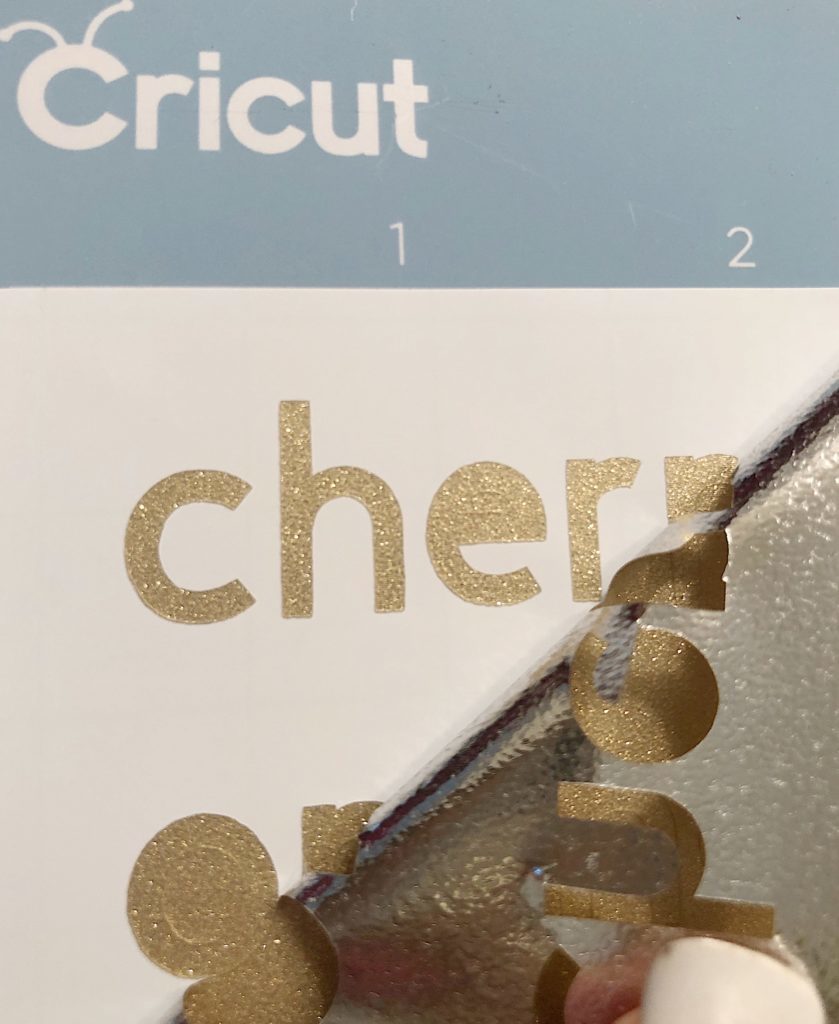
I opened up my computer and logged in to Cricut to create the labels for the Simple Syrup bottles. I typed in the flavor names and selected glitter vinyl as my material.
All you need to do is press the vinyl on to the cutting mat, insert it into the machine, selected the setting “vinyl” on the Cricut and within a few minutes your words are cut.
Using a weeding tool, remove the excess vinyl around the letters.
Next, you need to use Transfer Tape to adhere the lettering to the bottles. Here is how Cricut explains how to do this. I use the Cricut website to learn everything!
- Remove the negative pieces from each of the images, leaving the liner intact. This process is called weeding.
- Remove the Transfer Tape liner. (Glitter Vinyl rolls include a sheet of StrongGrip transfer tape for use with Glitter Vinyl. This is usually rolled up with the vinyl and can be found near the center of the roll.)
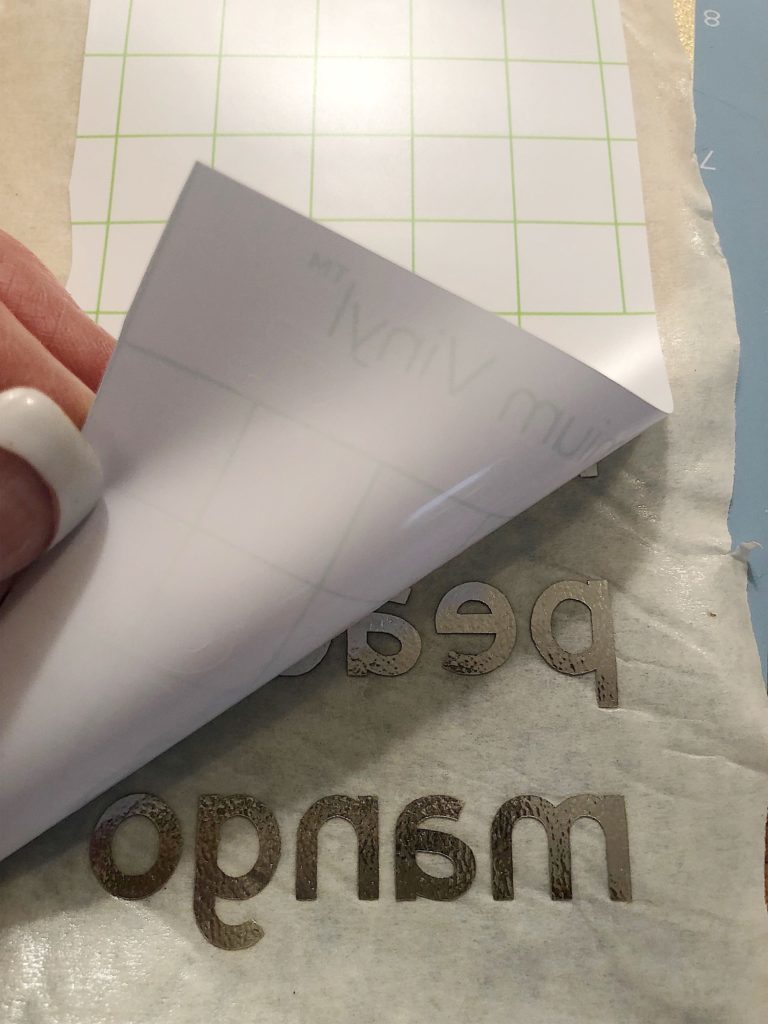
- Gently place the Transfer Tape (adhesive side down) over your images. To prevent bubbles, start in the center and move out toward the edges. Use a craft stick or the Scraper found in the Cricut Basic Tool Set to burnish (rub or polish) the tape onto the vinyl.
- Peel away the vinyl liner at a 45-degree angle. If the vinyl does not separate from the liner, simply burnish the Transfer Tape onto the vinyl and peel away again.
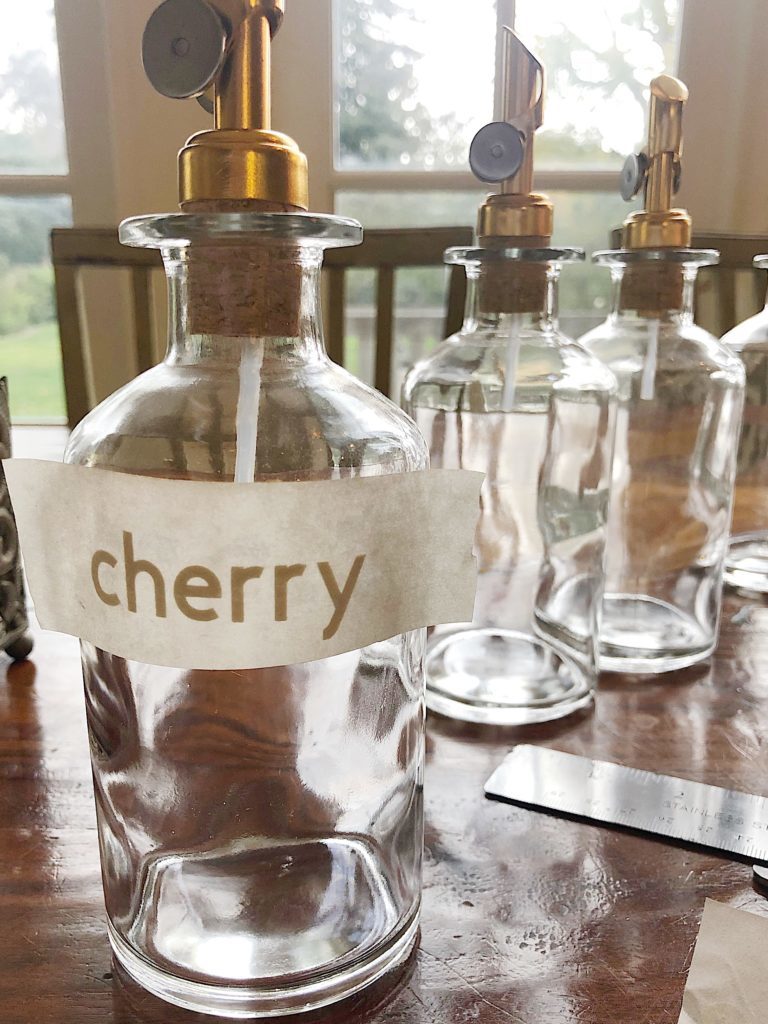
- Make sure your project surface is clean and dry. Carefully place the Transfer Tape with vinyl designs onto your surface as you would like them to appear.
- Now burnish Transfer Tape onto the surface, starting in the center and moving out toward the edges. Use a craft stick or Cricut Scraper.
- Peel away the Transfer Tape from the vinyl at a 45-degree angle. If the vinyl sticks to the Transfer Tape, simply burnish the transfer tape onto the vinyl and peel away again.
I used some of my own transfer tape/paper to do this.
Here I applied the transfer tape and label to the bottle and burnished (rubbed) it on to the surface.
I absolutely love how they came out!
How to Make Flavored Simple Syrup
Fruit Flavored Simple Syrup
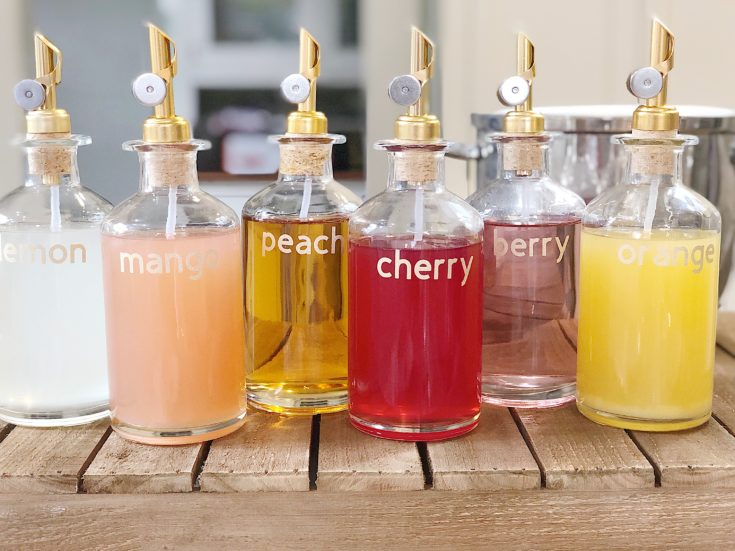
Simple Syrup is great to use to enhance beverages. I love to add a small amount of fruit flavored simple syrup to soda water, lemonade or even a cocktail.
Ingredients
- 1/2 cup crushed fresh fruit
- 1 cup granulated sugar
- 1 cup water
Instructions
- Crush the berries or fruit.
- On the stove, bring the sugar and water to a boil, stirring until all of the sugar is dissolved.
- When the sugar water boils, reduce heat and add crushed fruit.
- Cover and simmer for about 5 minutes, stirring occasionally.
- Remove from heat and allow the syrup to cool and infuse for approximately two hours.
- Strain and pour in a well sealed bottle. Store in the refrigerator, and keep for up to two weeks.
My menu consisted of my homemade crab cakes, salads, and assorted desserts.
I did want to mention that the Cricut explore allows you to upload your own artwork and cut anything you want. Cricut has also partnered with three fearless designers and you should be sure to check out the first designer, Natalie Malan, who has launched her own line at JOANN.
I hope my Girls Night Out even has inspired you to be fearless this month during Women’s History Month. I loved being able to entertain my girlfriends to let them know how much they are appreciated.
Pin the image below to your Craft boards on Pinterest (just click the Pin button in the top left corner). You can also follow along with me on Pinterest!




Love your little bottles can you share where you got them!
There are three links in this blogpost. I hope you found them.
I want the source for the bottles if possible😍