Handmade Christmas Gift Tags – A Thoughtful Touch for the Holidays

Every year, as the holidays approach, I find myself returning to one of my favorite creative traditions: making handmade Christmas gift tags.
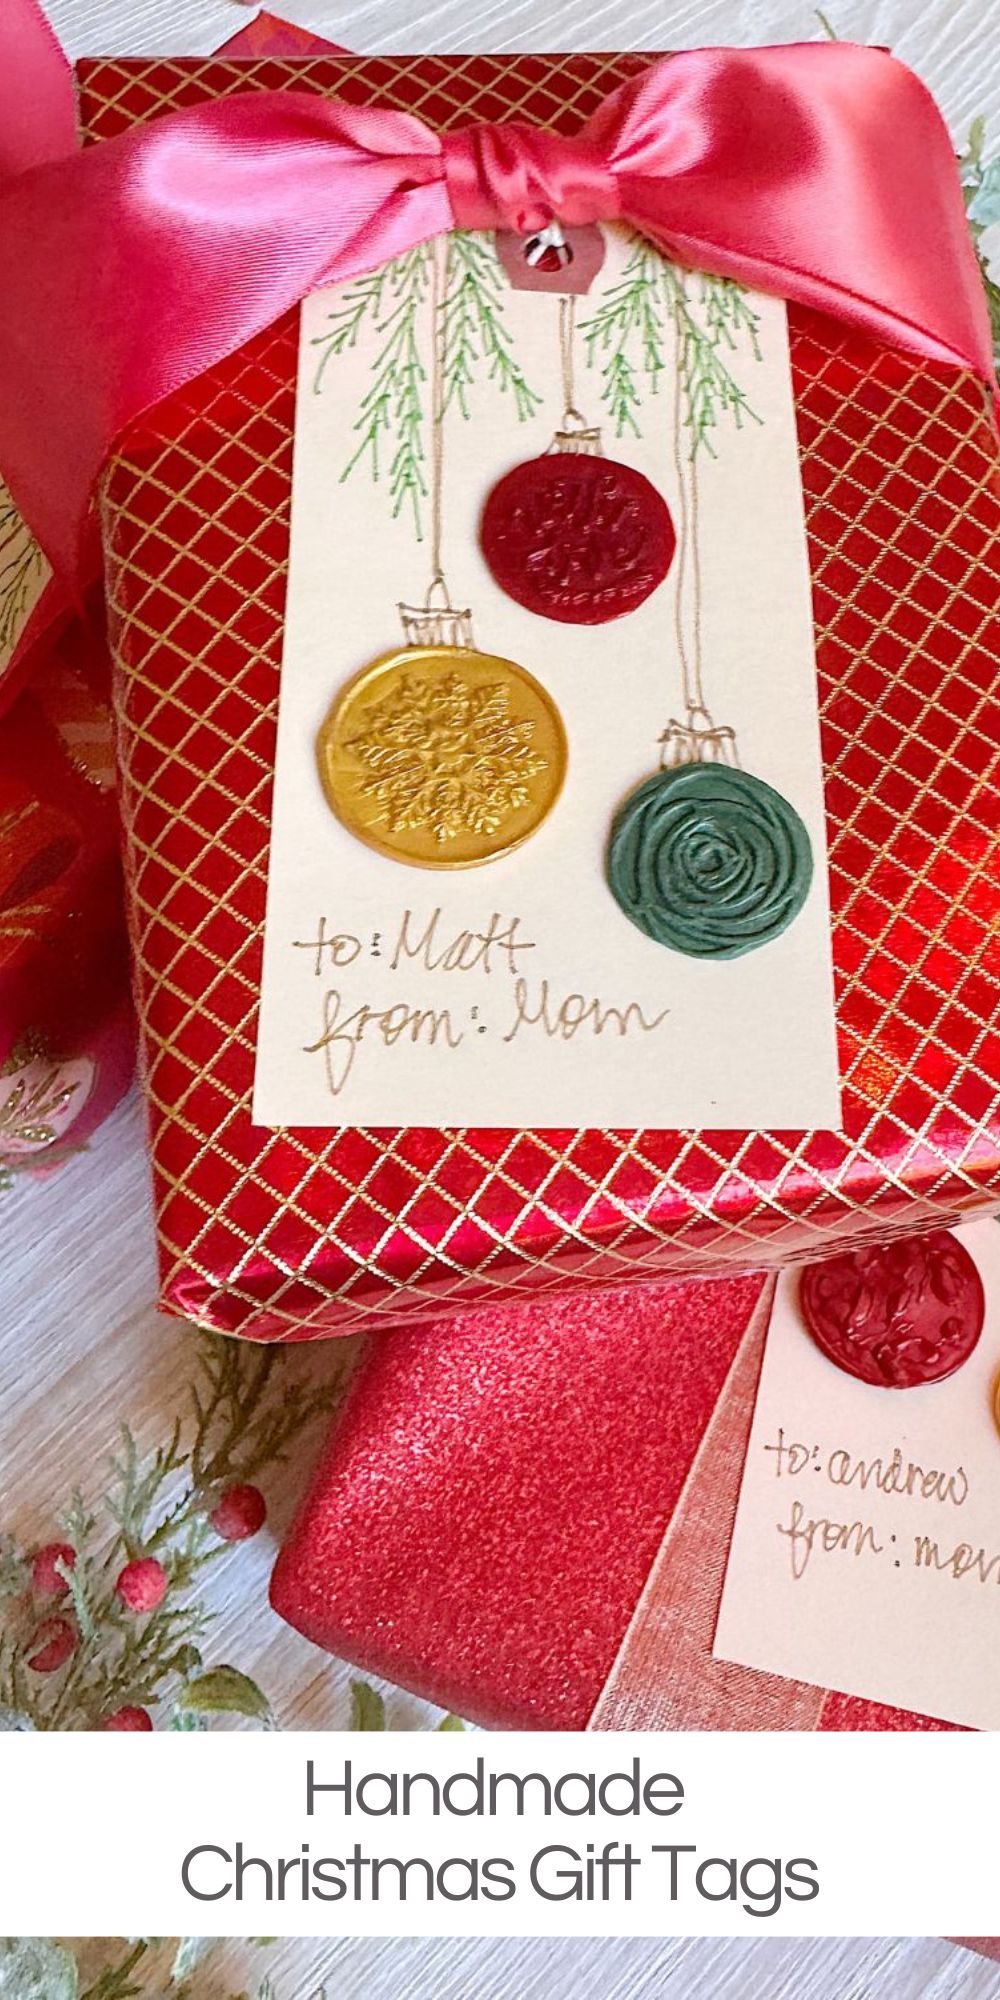
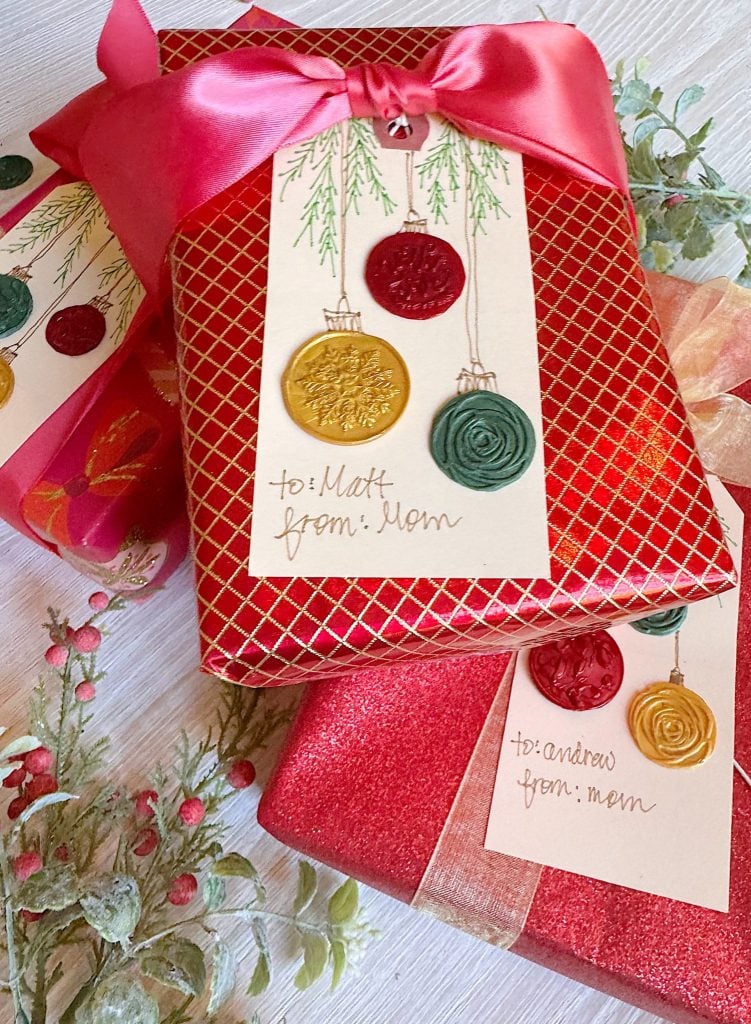
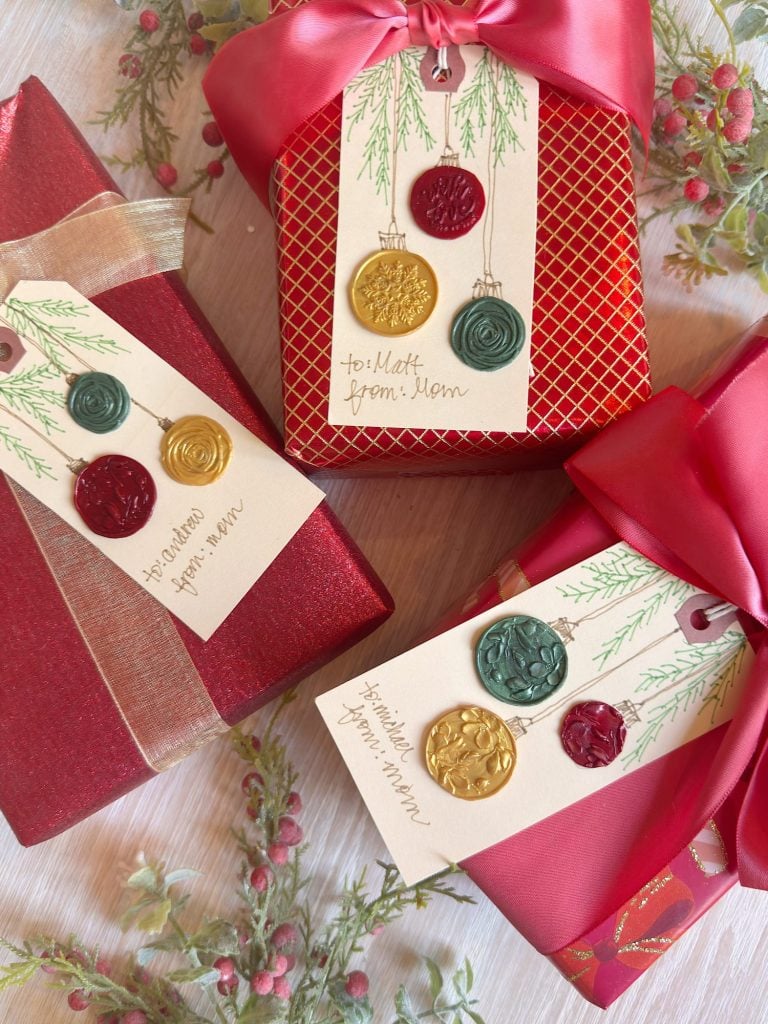
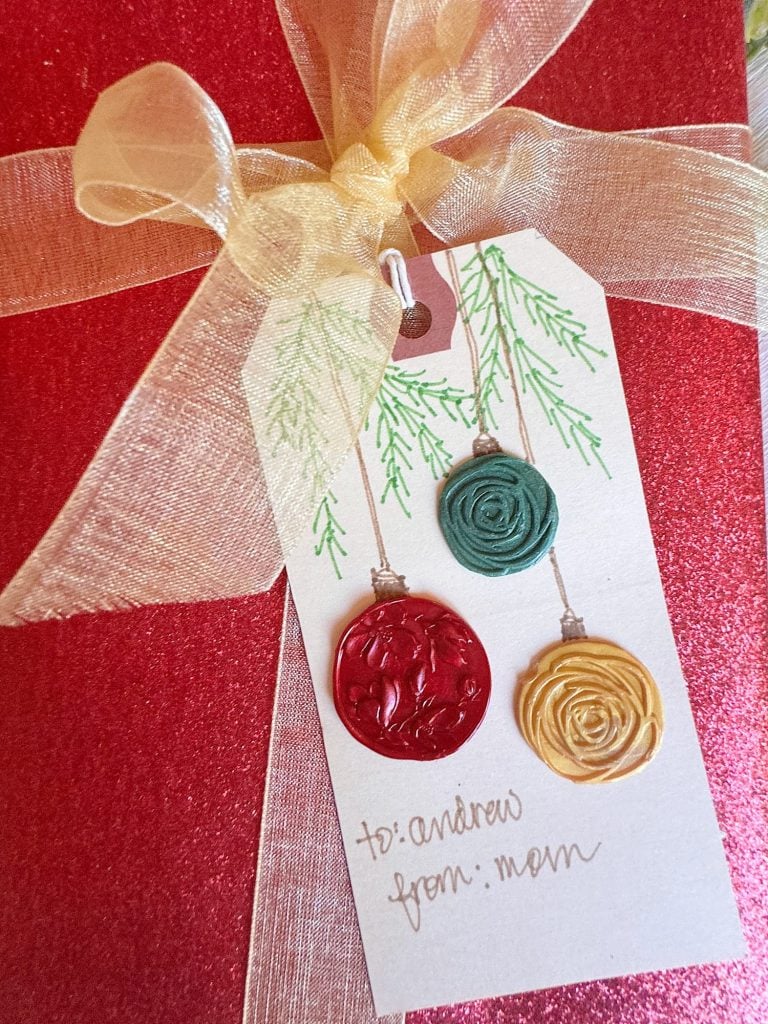
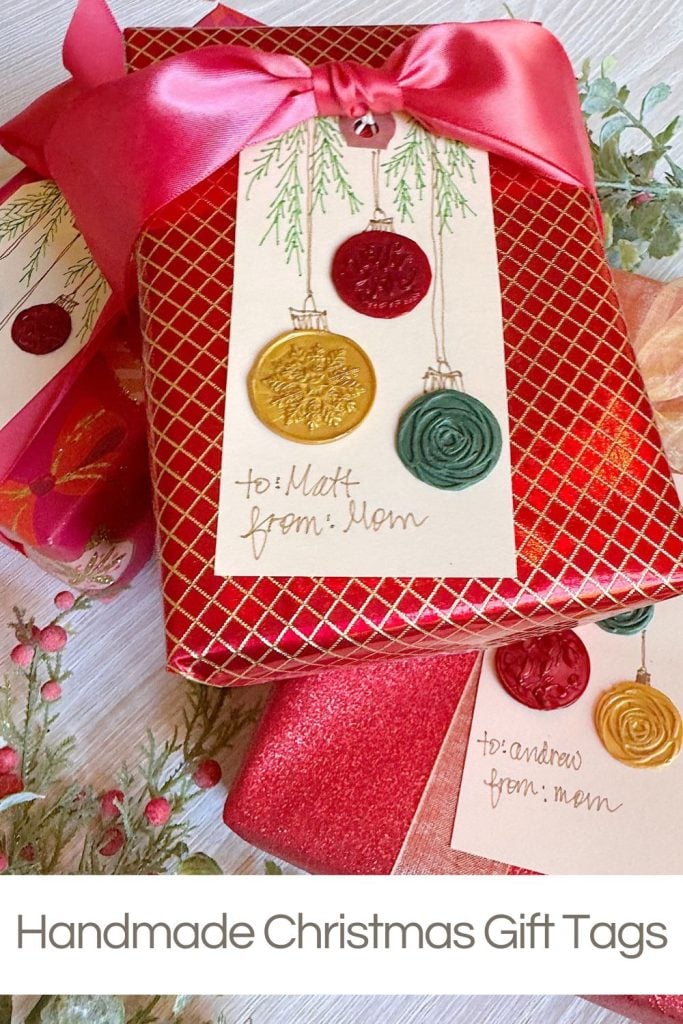
There’s something so special about those final details … the thoughtful touches that make a wrapped gift feel personal and full of love. This season, I decided to create my own Handmade Christmas Gift Tags using a mix of sketching and wax sealing. They turned out beautifully as they are whimsical, vintage-inspired, and perfectly imperfect in all the best ways.

Handmade Christmas Gift Tags
For me, these little projects aren’t just about the finished result. They’re about slowing down, embracing creativity, and adding a personal touch to the holidays. Whether you’re gifting homemade cookies, wrapping a present for someone special, or tying one onto a bottle of wine, a handmade tag says, “I thought of you while I made this.”
This project came together so naturally, a few tags, some sketching supplies, a bit of melted wax, stamps, and a sprinkle of holiday inspiration. I’ll walk you through exactly how I made them, step by step, and share a few lessons learned along the way.
Why Handmade Gift Tags?
Over the years, I’ve collected a variety of store-bought gift tags, and while many are lovely, they often feel impersonal. I wanted something that reflected my creative spirit … simple materials transformed by hand into something beautiful and heartfelt. My love for sketching, vintage stationery, and the timeless charm of wax seals inspired these tags.
I adore the idea that each tag feels unique, as no two are exactly alike. Some have more detailed ornament sketches, others a looser, freer hand. The wax seals vary in color and pattern, and each carries a little imprint of care. That’s the beauty of handmade, because perfection isn’t the goal, character is.
Materials and Tools

For this project, you don’t need a lot — just a few supplies that you may already have at home or can easily find online. Here’s what I used:
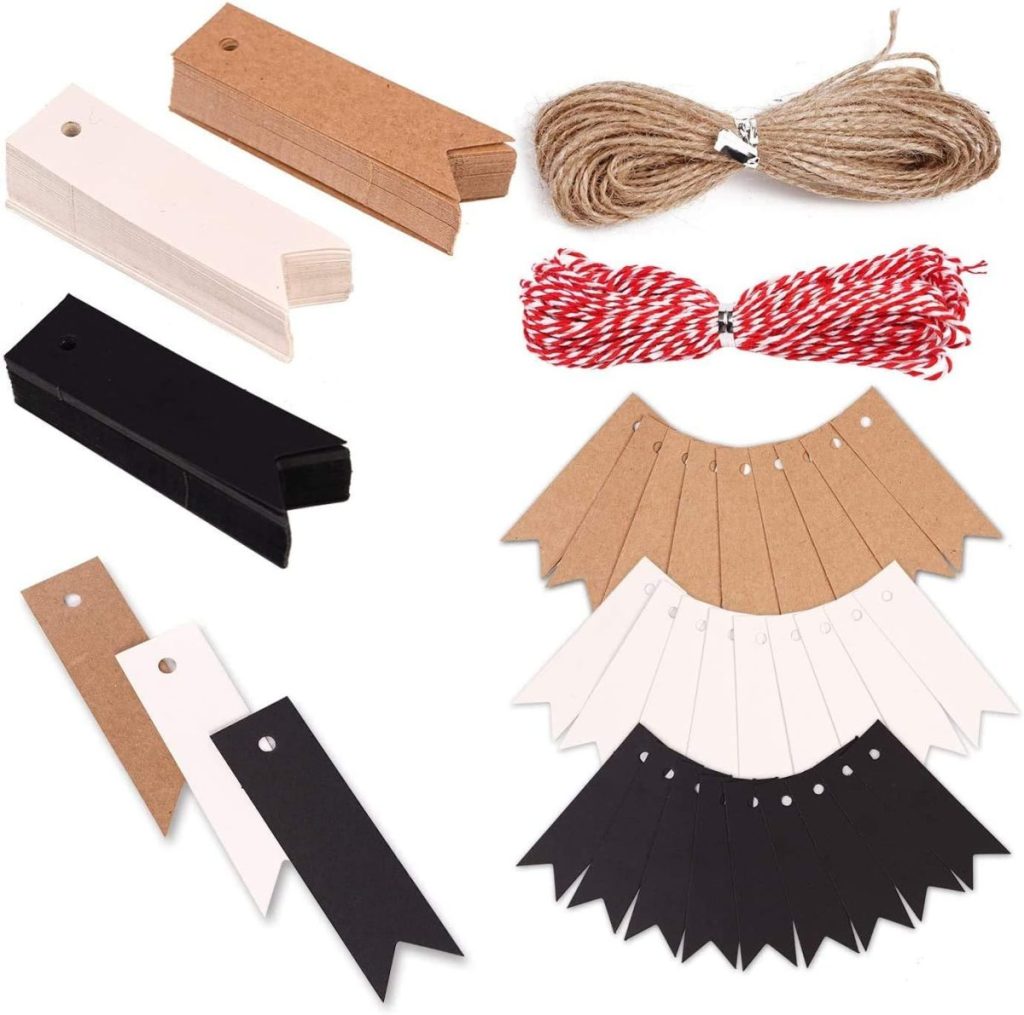
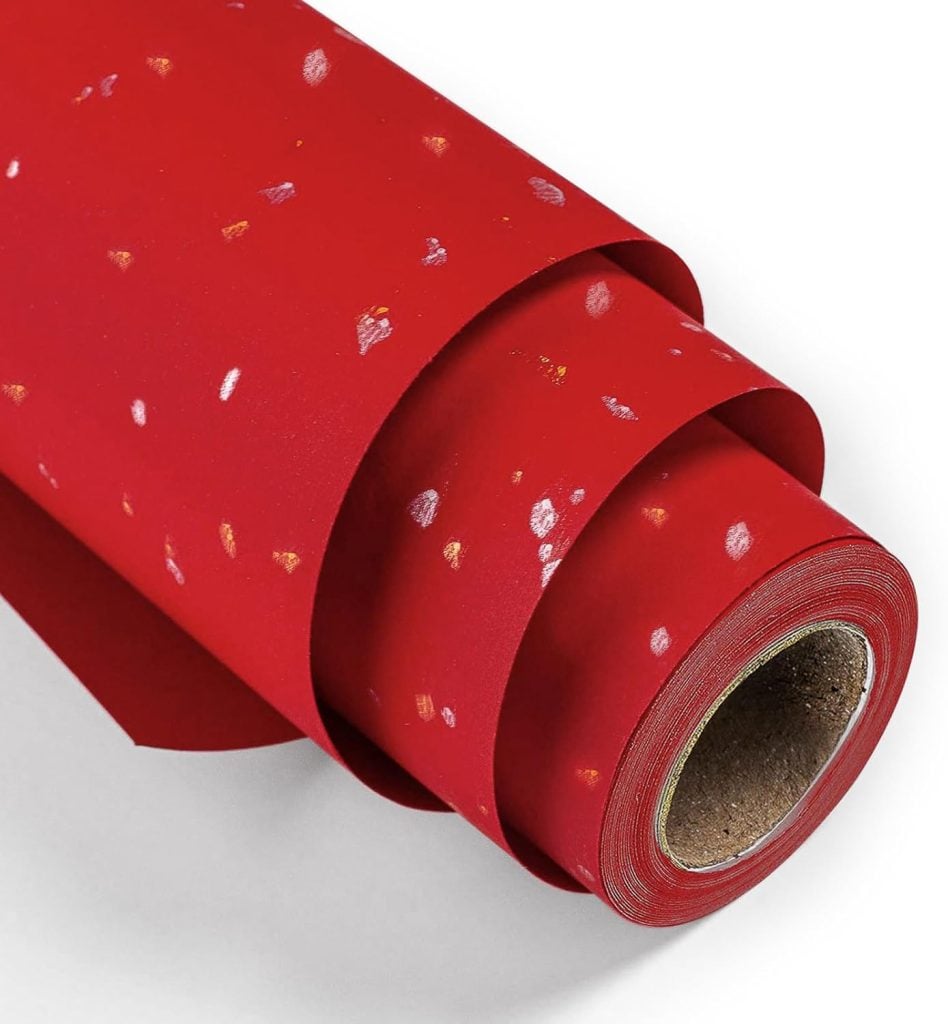
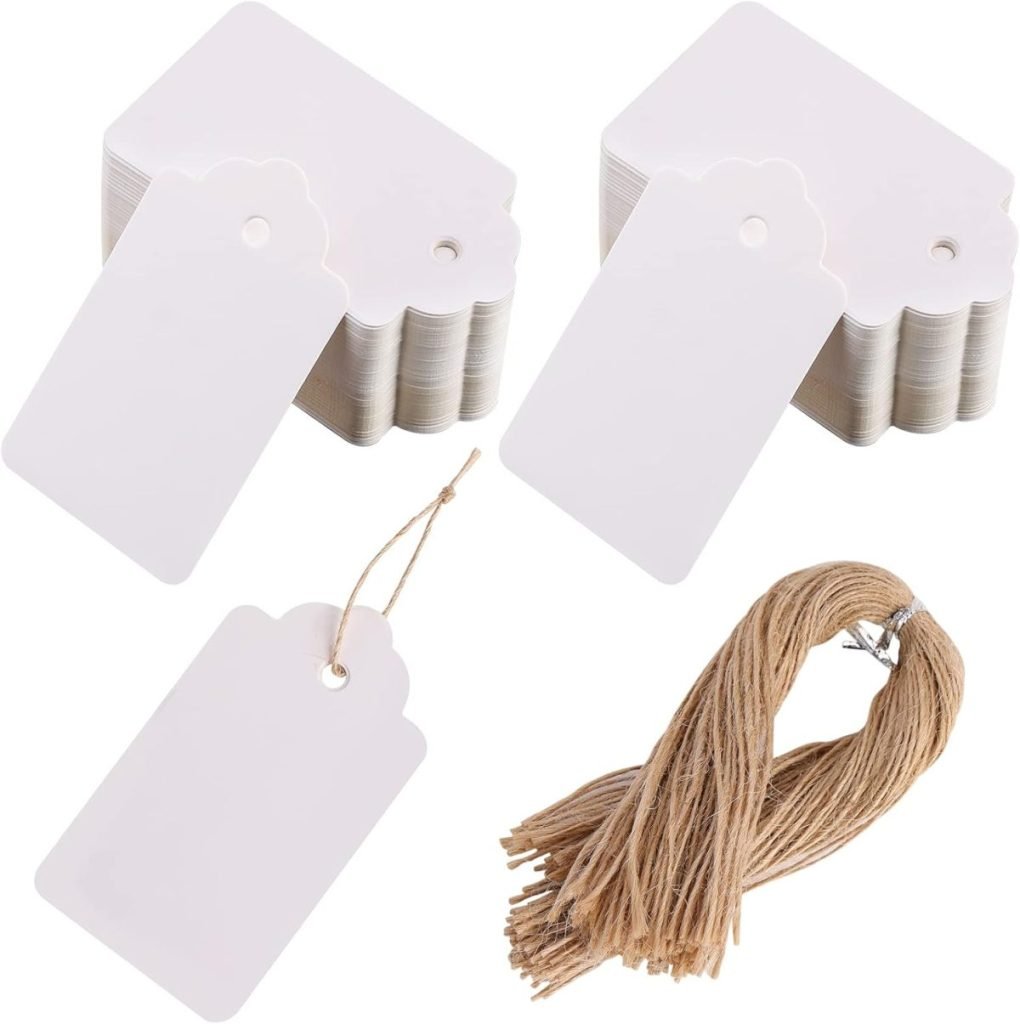
- Manila gift tags: I used pre-cut Manila tags with a reinforced hole for ribbon or twine. You can find these in craft stores or online in sets of 50 or 100. The natural tan color gives them a warm, vintage feel.
- Sketching supplies: A black fine-tip pen or pencil works beautifully. I prefer archival ink pens since they don’t smudge and give a crisp line for detailed sketches.
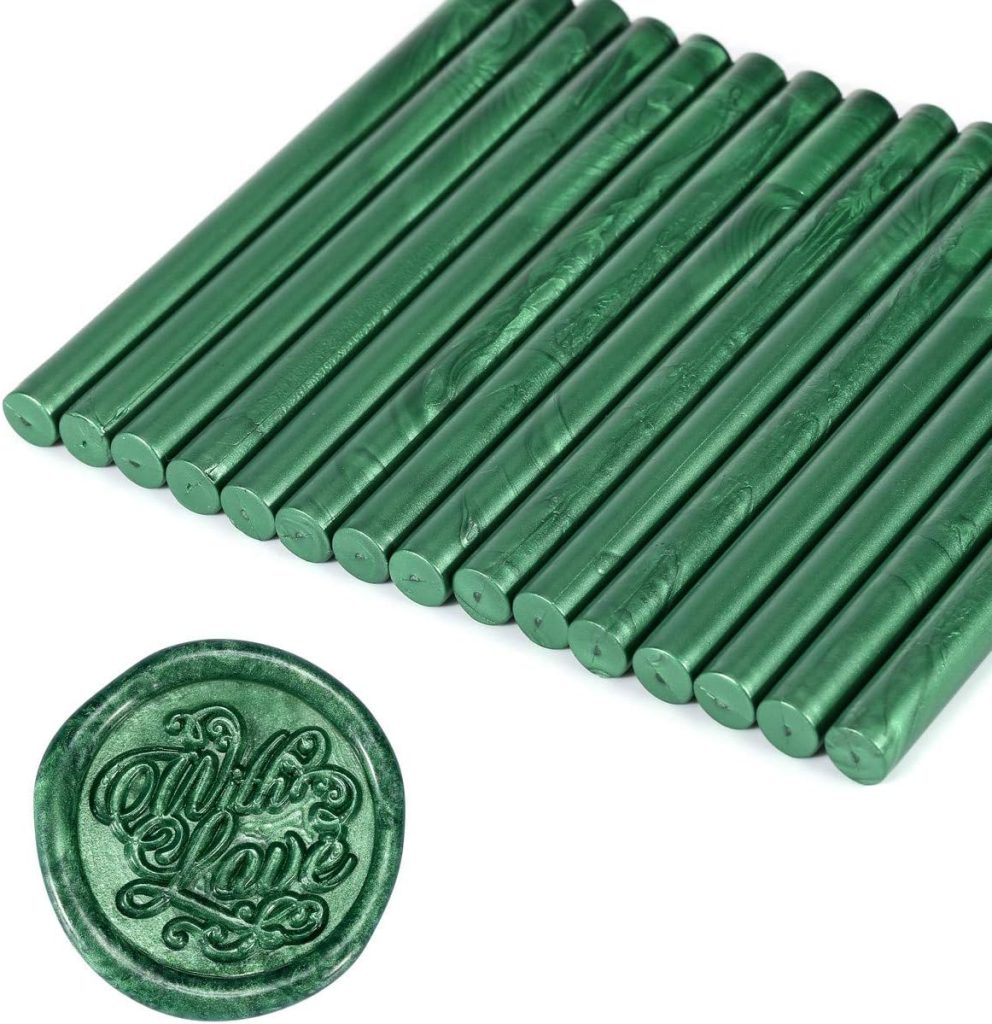
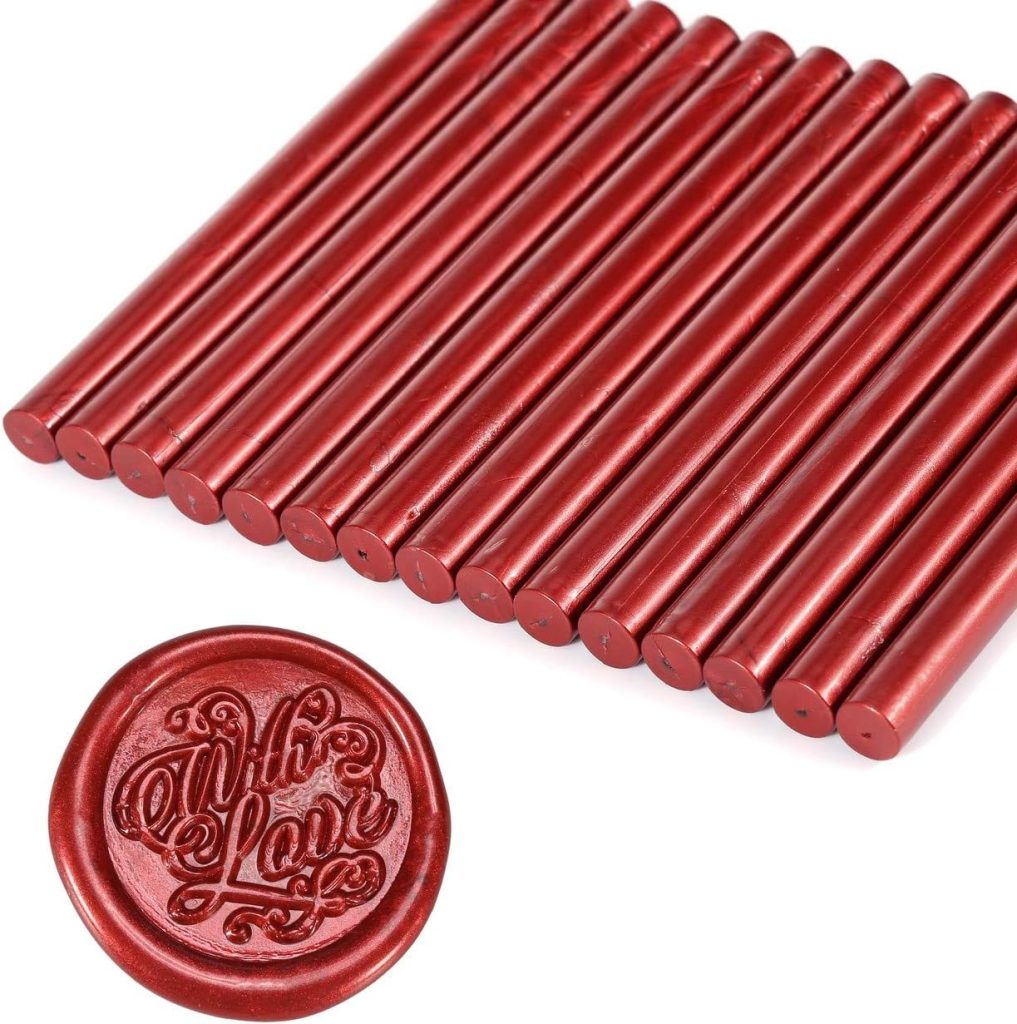
- Wax sticks or sealing wax beads: I used several colors — soft gold, deep red, and creamy white — for a festive mix.
- Glue gun: A low-temp glue gun makes melting wax super easy and mess-free. Just be sure to use one you don’t mind dedicating to craft projects.
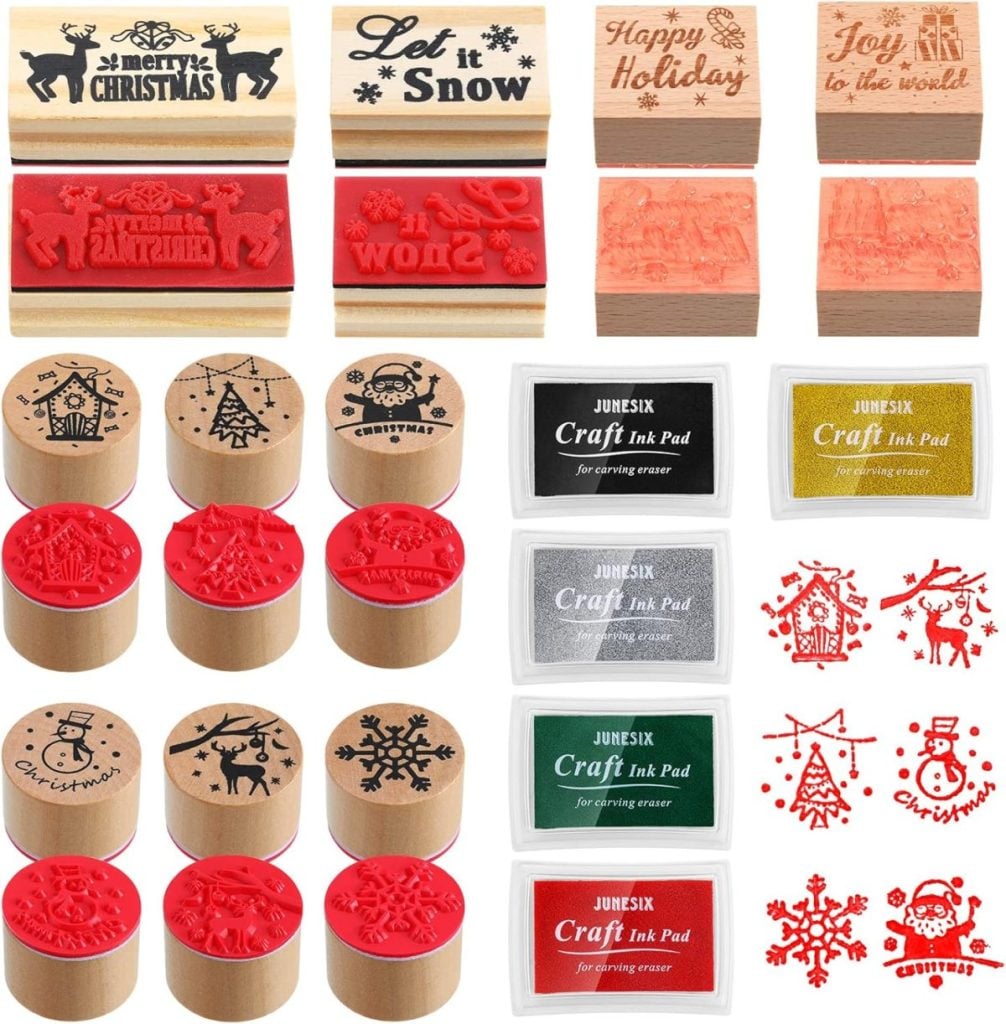
- Metal wax seal stamp: These come in countless designs — initials, wreaths, stars, snowflakes, and more. I used a few different ones for variety.
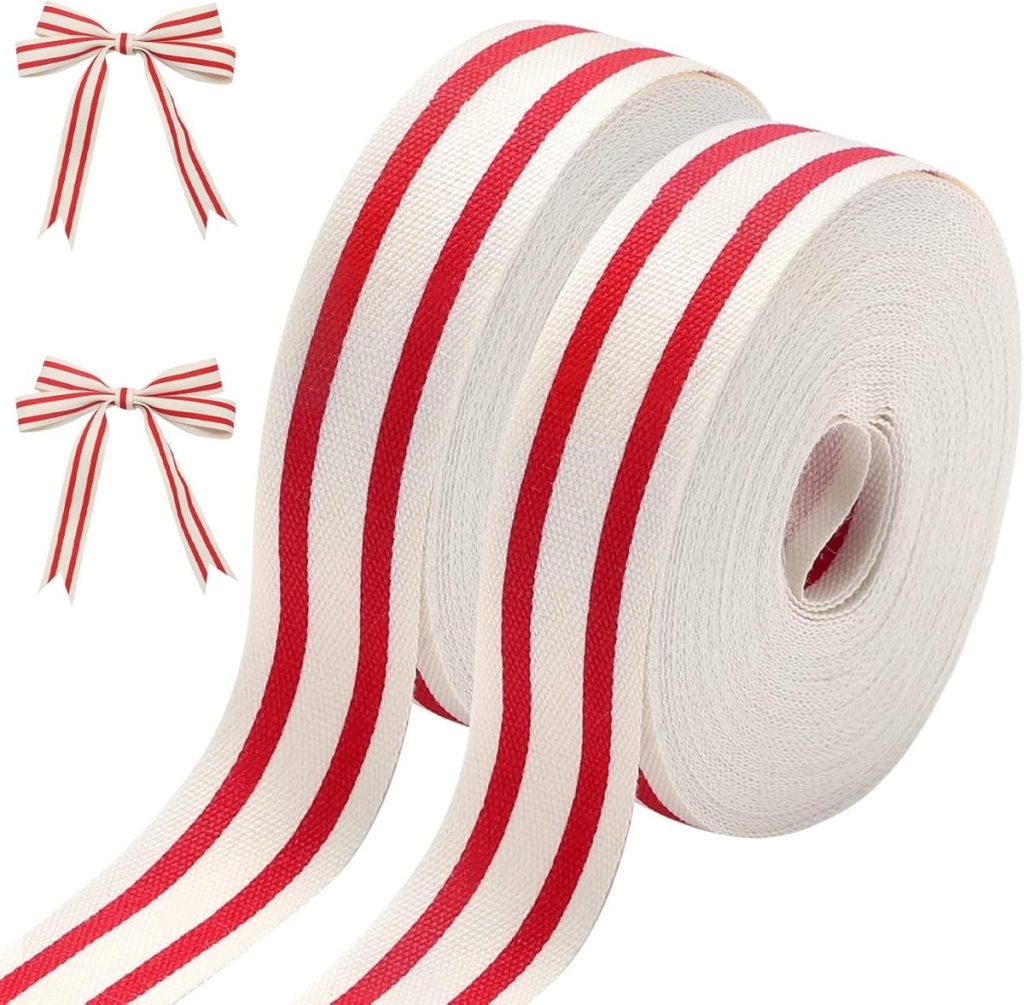
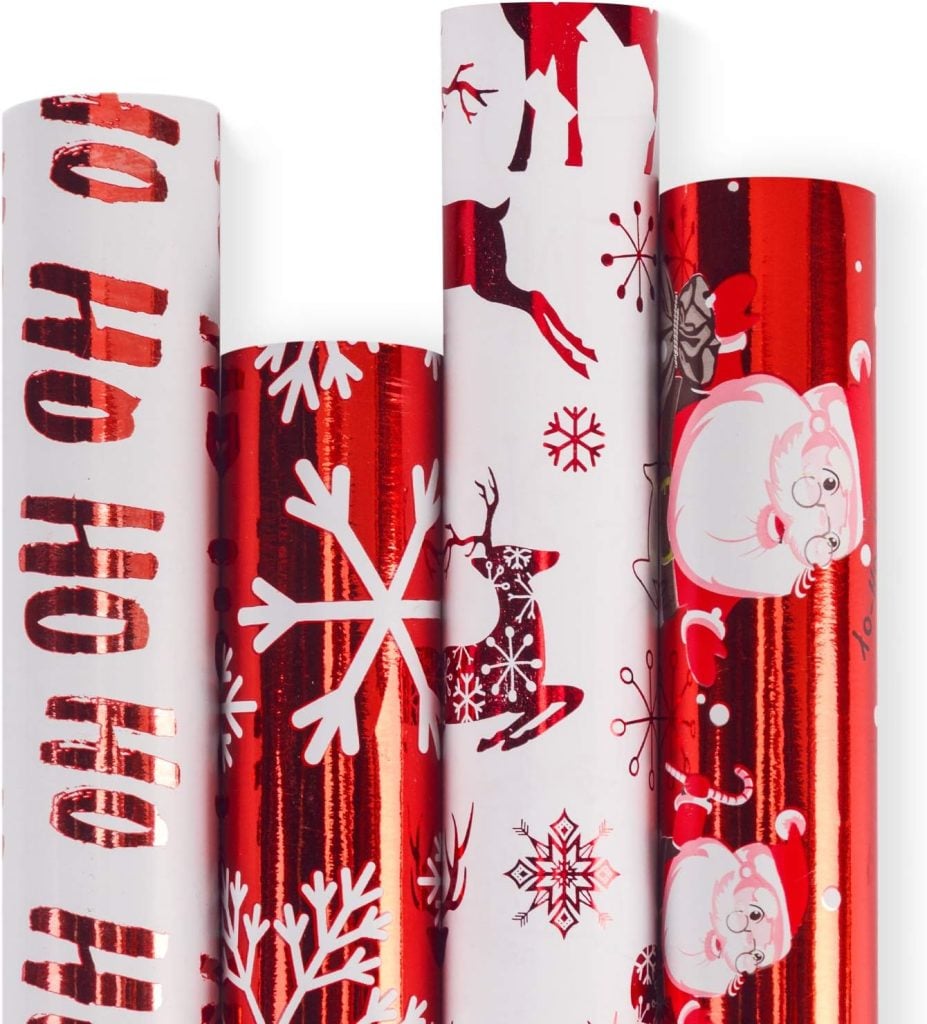
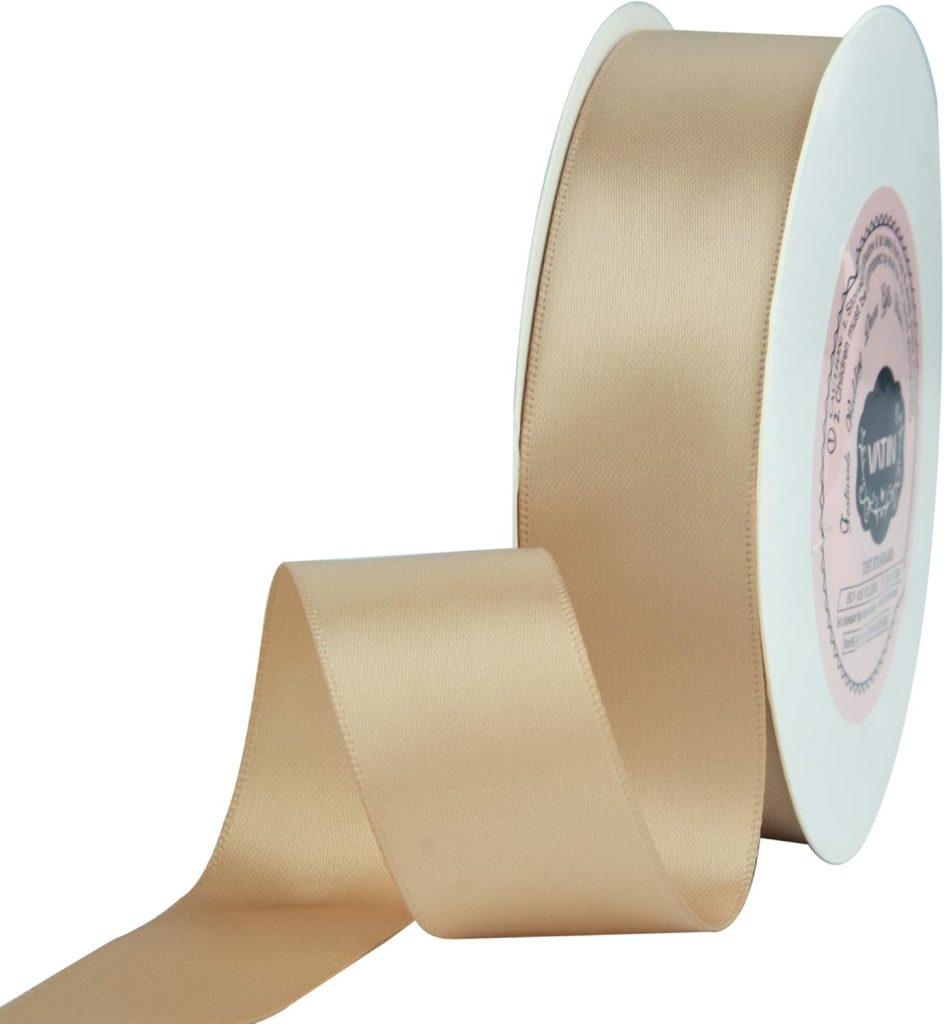
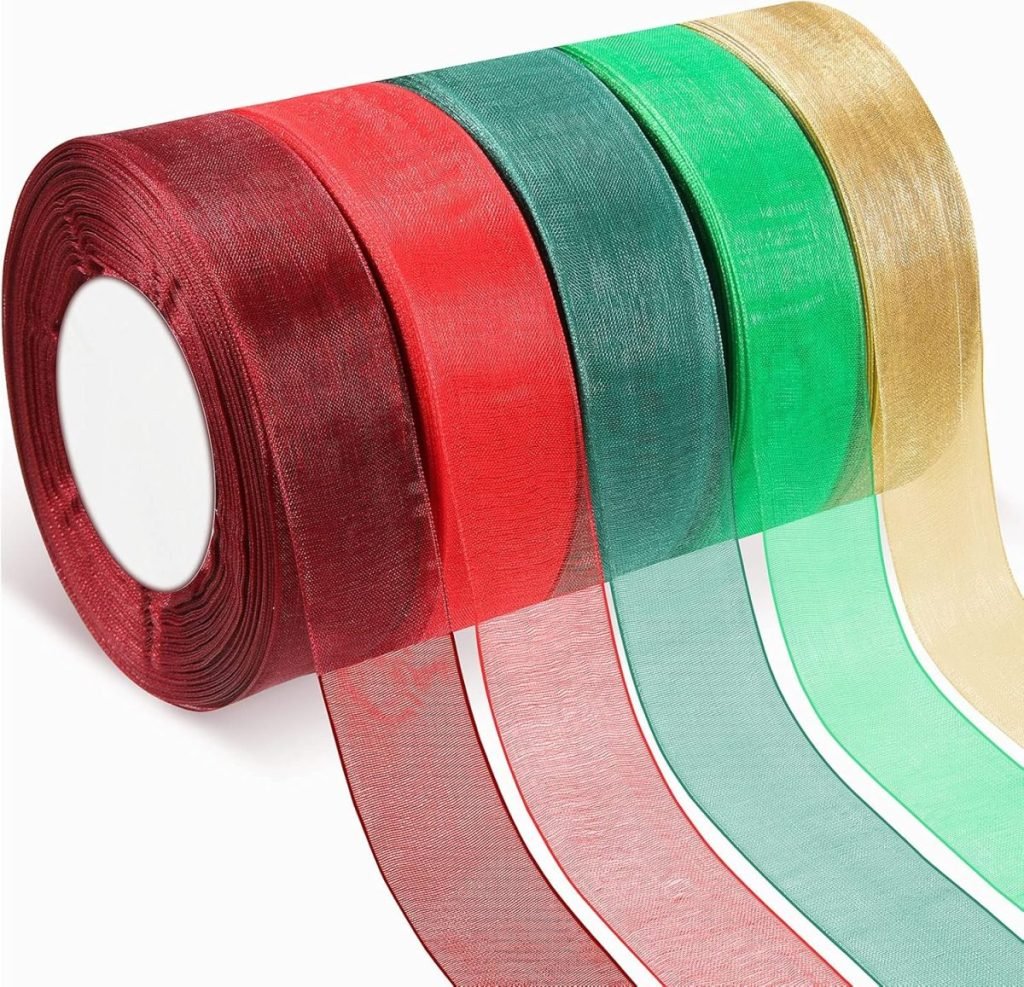
- Ribbon or twine: Velvet, satin, or natural jute string — the finishing touch that ties everything together (literally!).
- Silicone Wax Seal Mat – I like the smaller size
- Tacky Glue
On this blog, I may sometimes use affiliate links, which means I earn a small commission if you purchase through them. The price will be the same whether you use the affiliate link or go directly to the vendor’s website using a non-affiliate link.
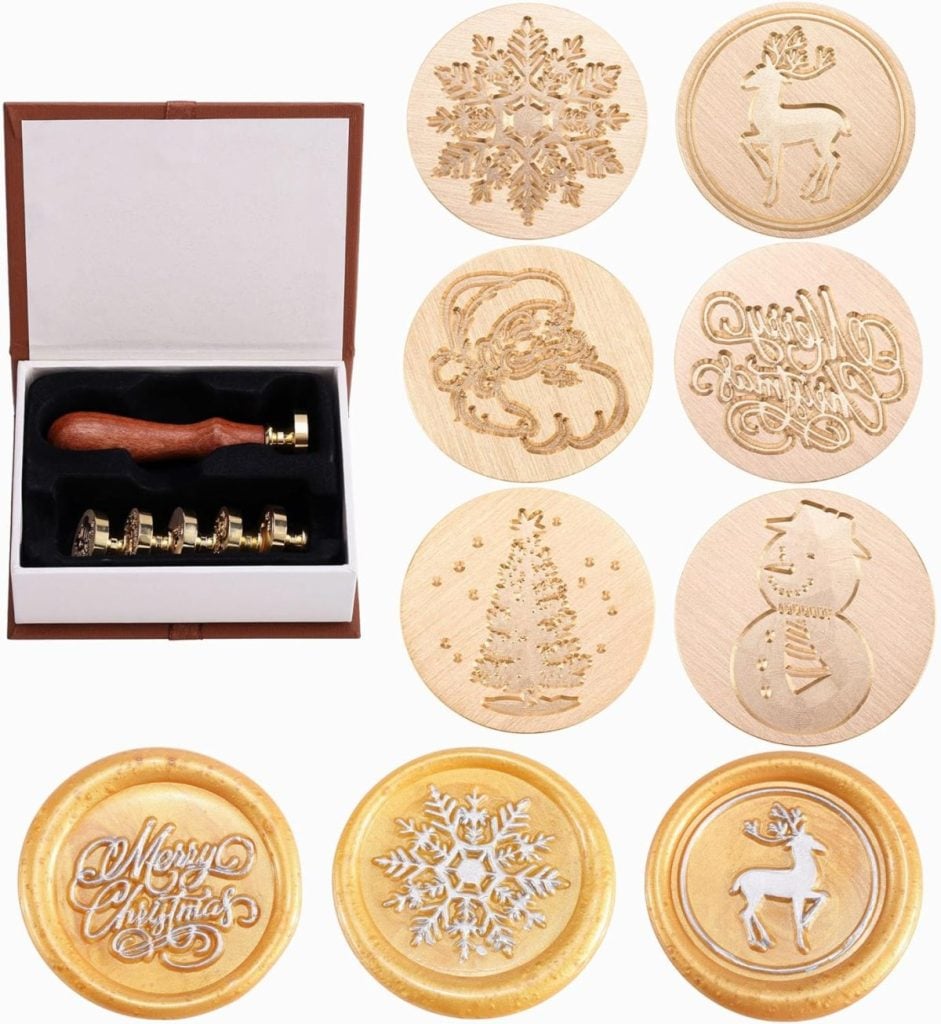
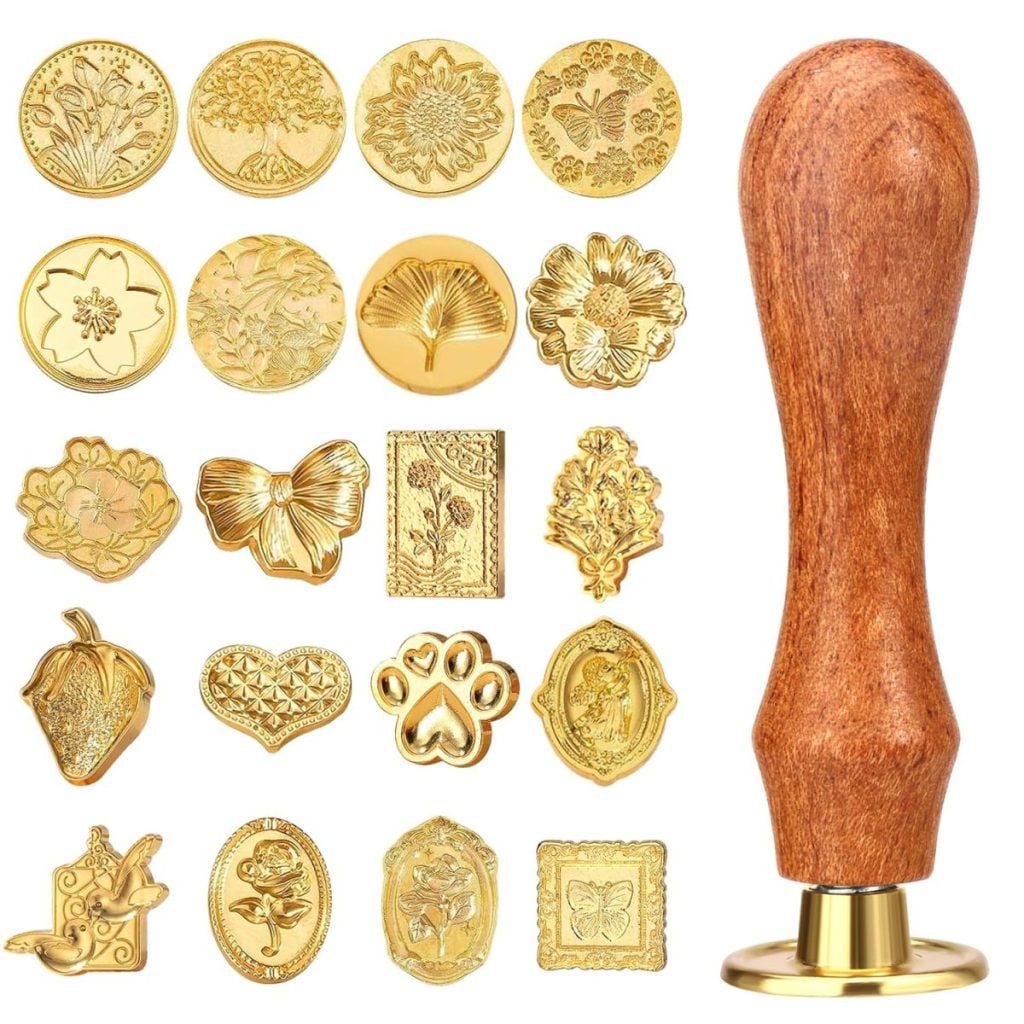
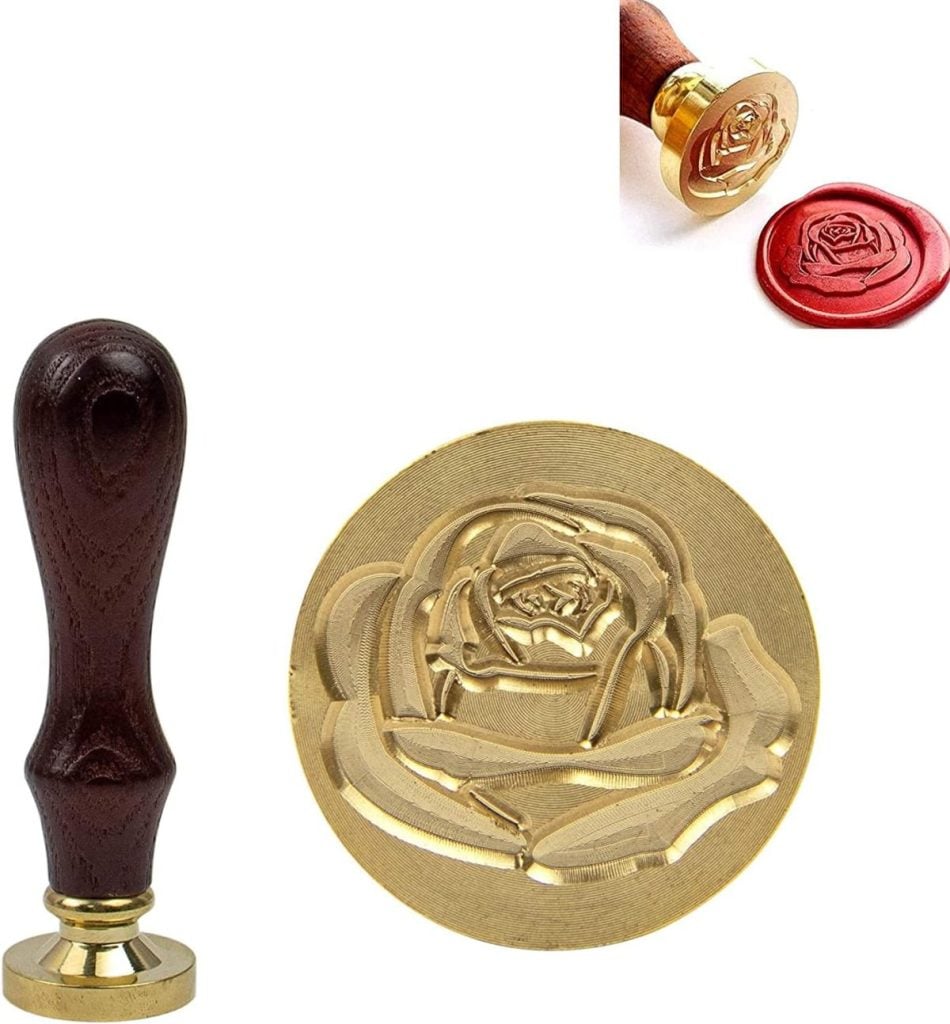

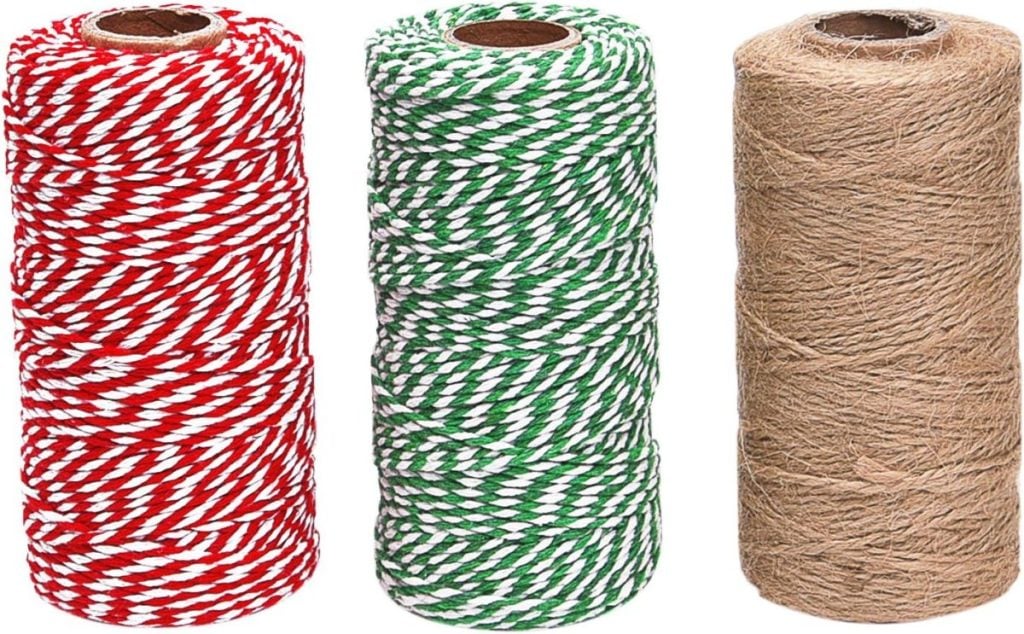
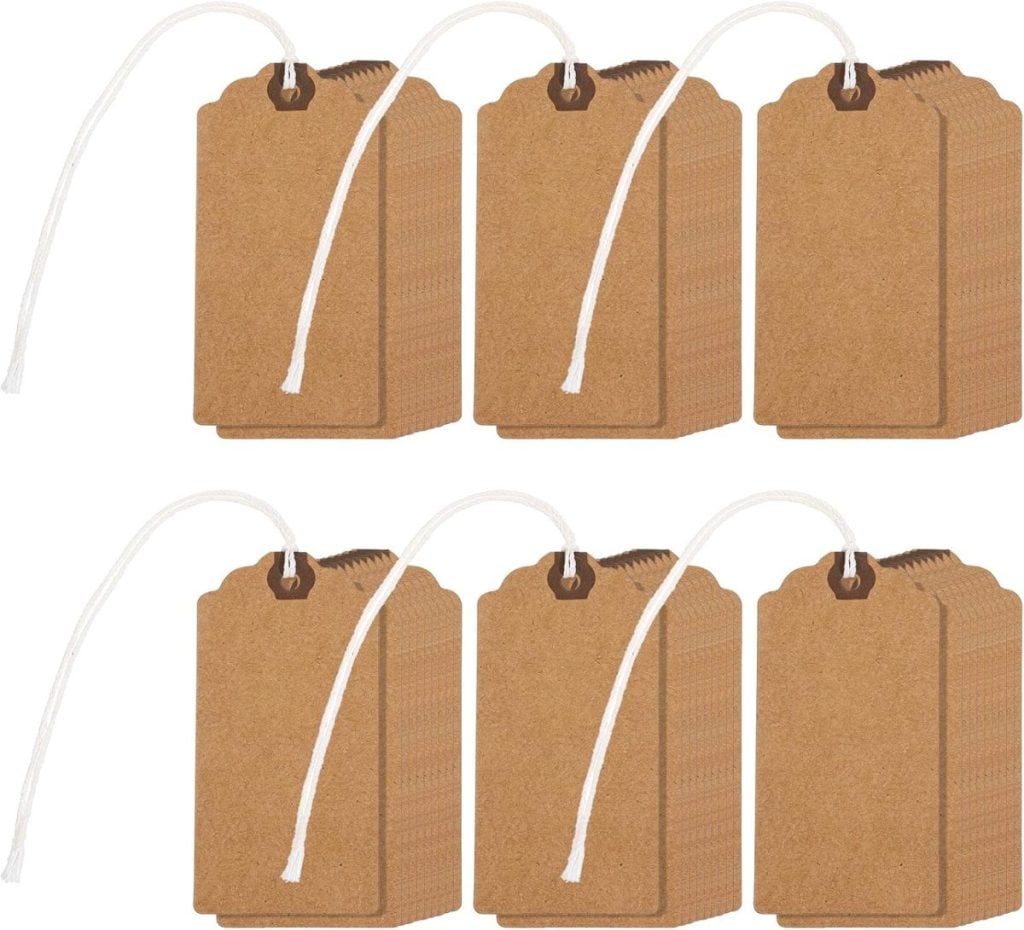
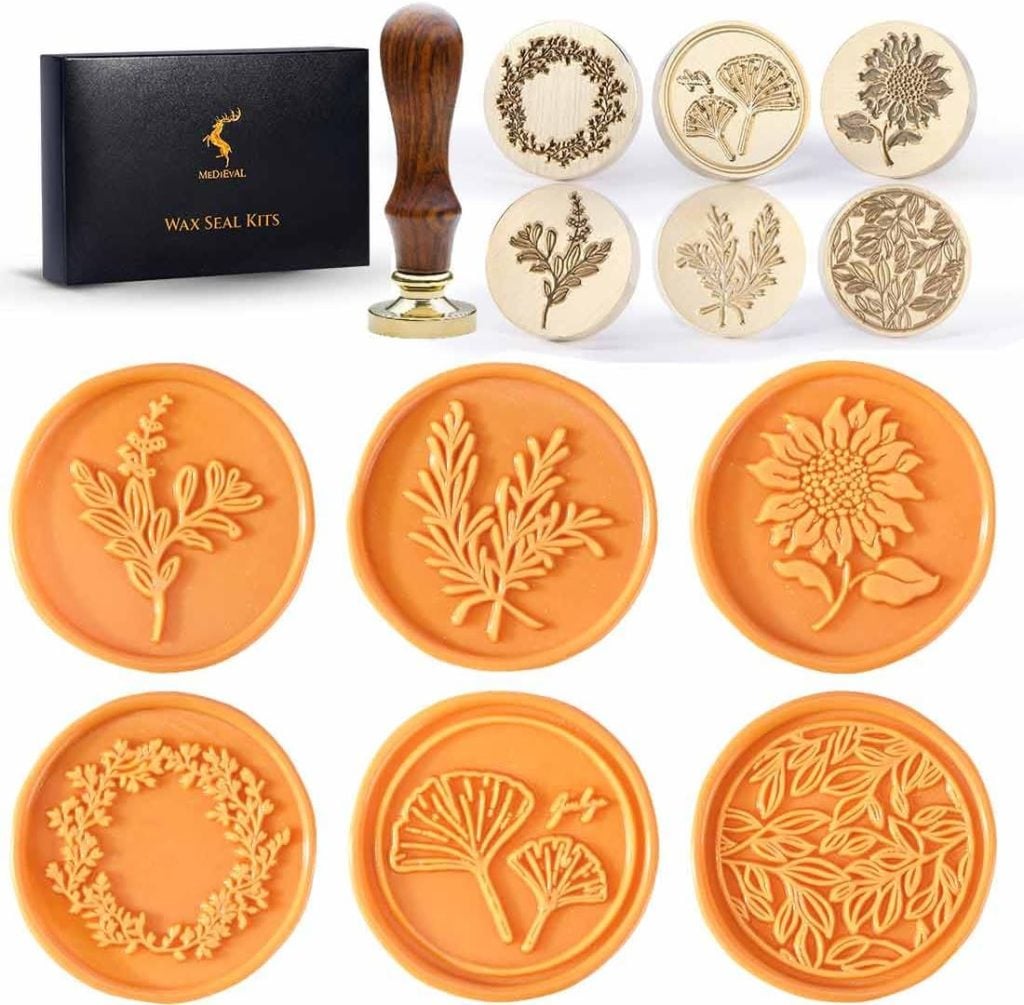
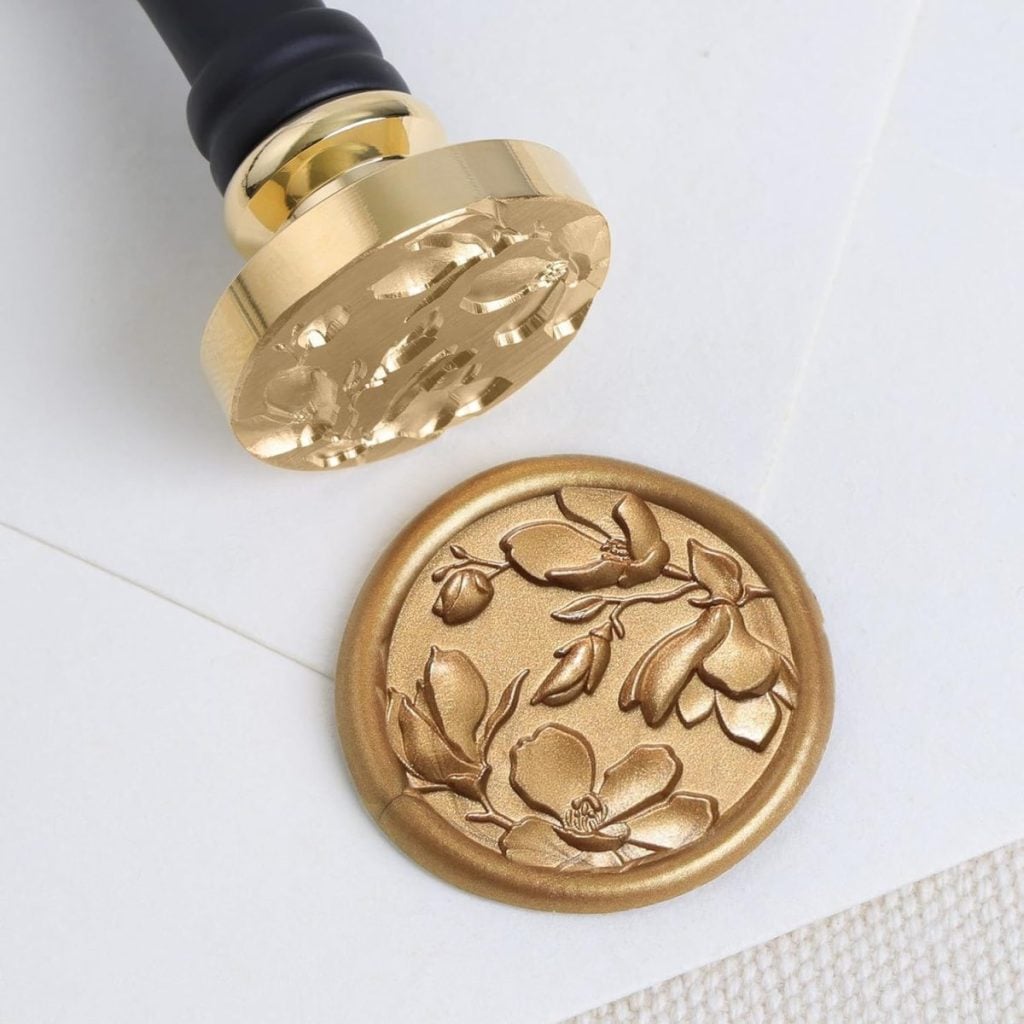
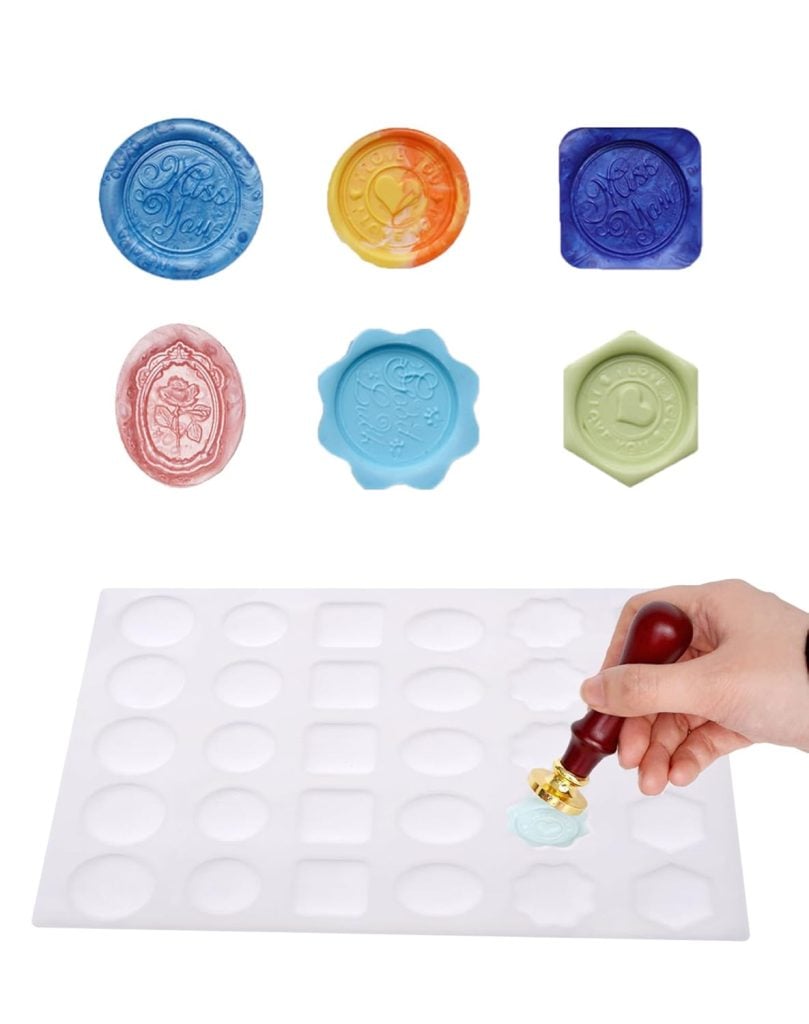
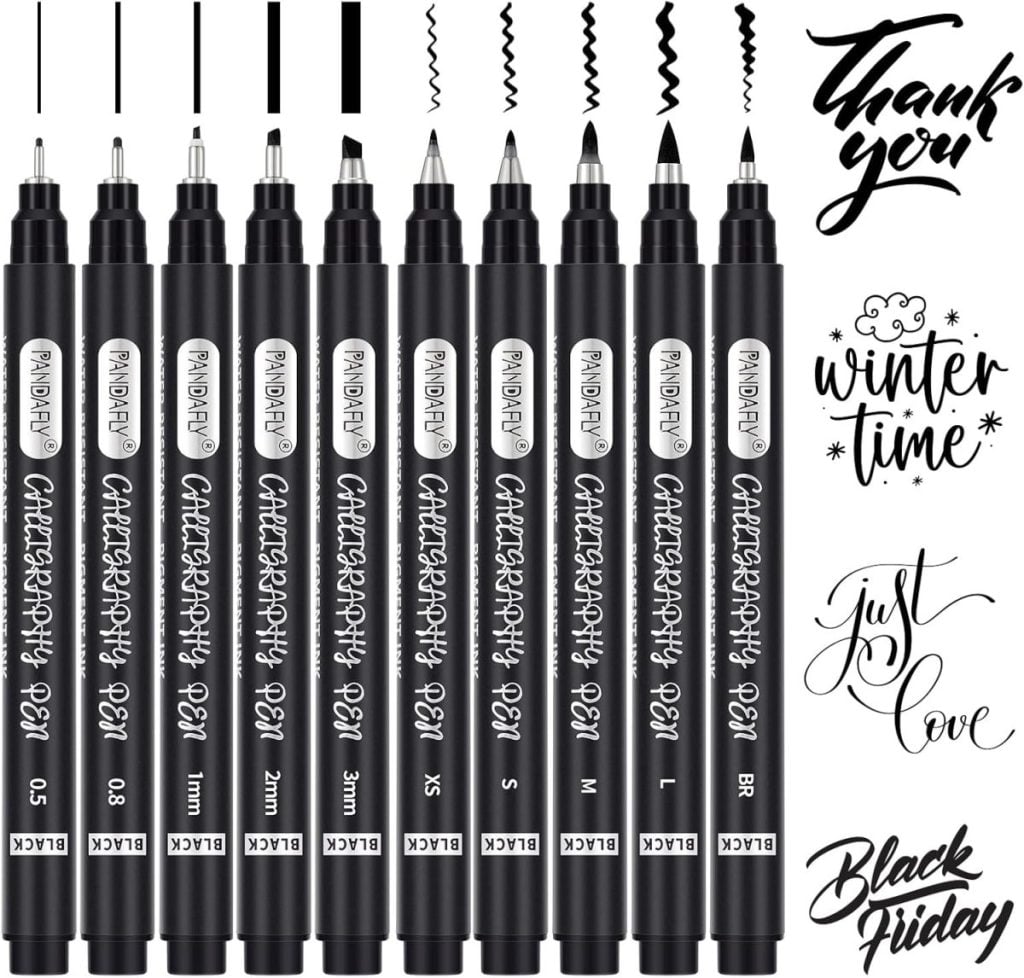
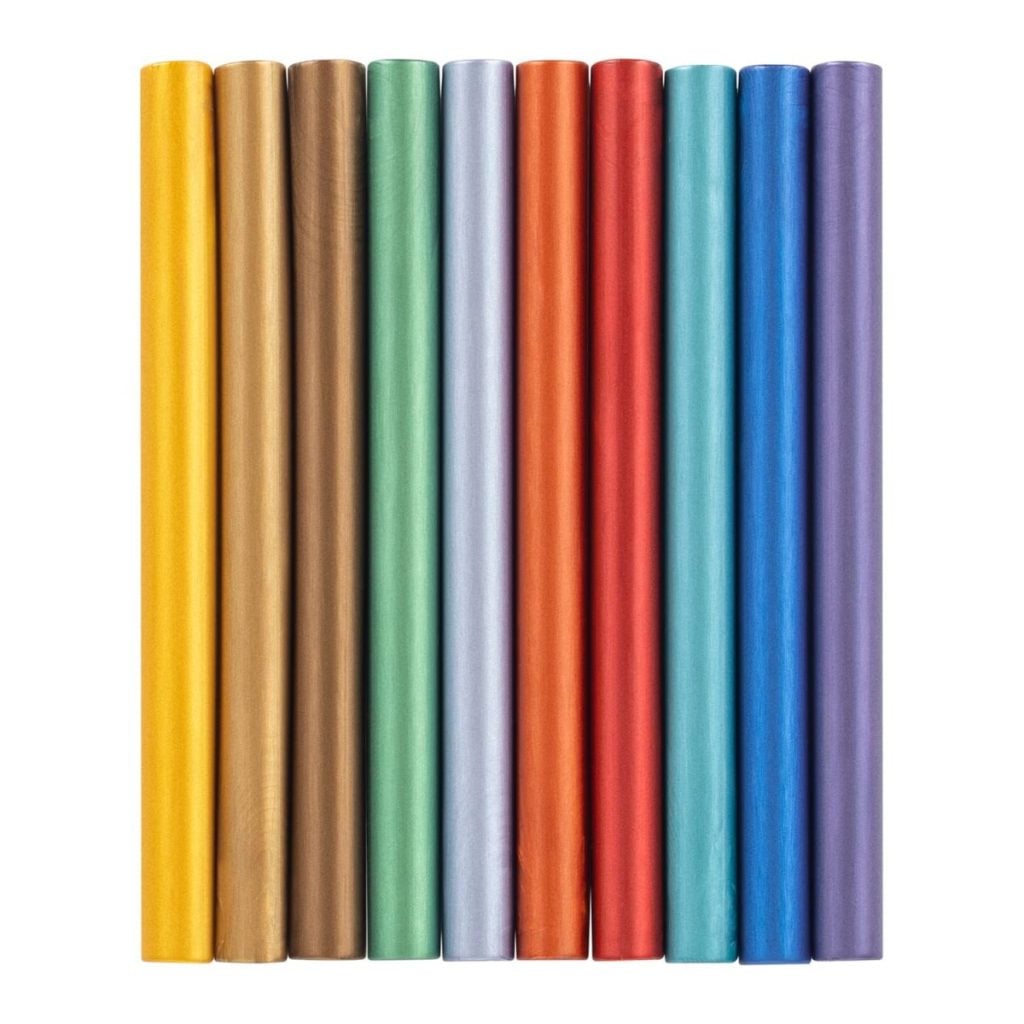

Photo idea: A flat lay of all the materials before starting — tags, pens, wax sticks, and stamps on a wooden table.
Step 1: Sketch the Ornament Scenes
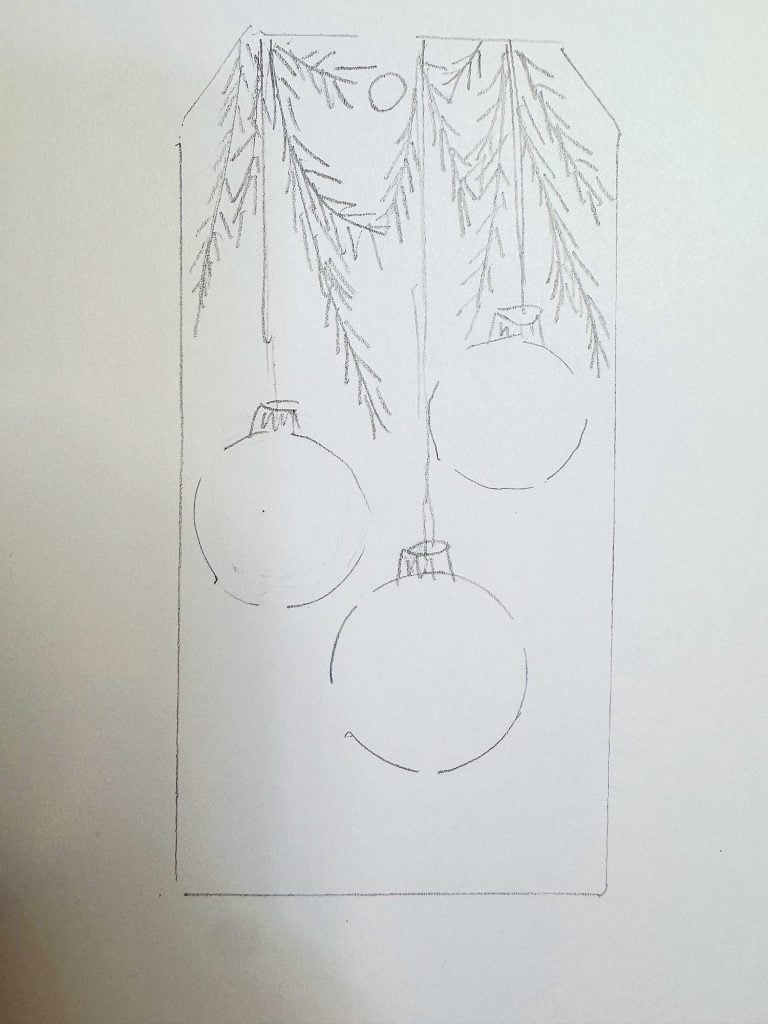
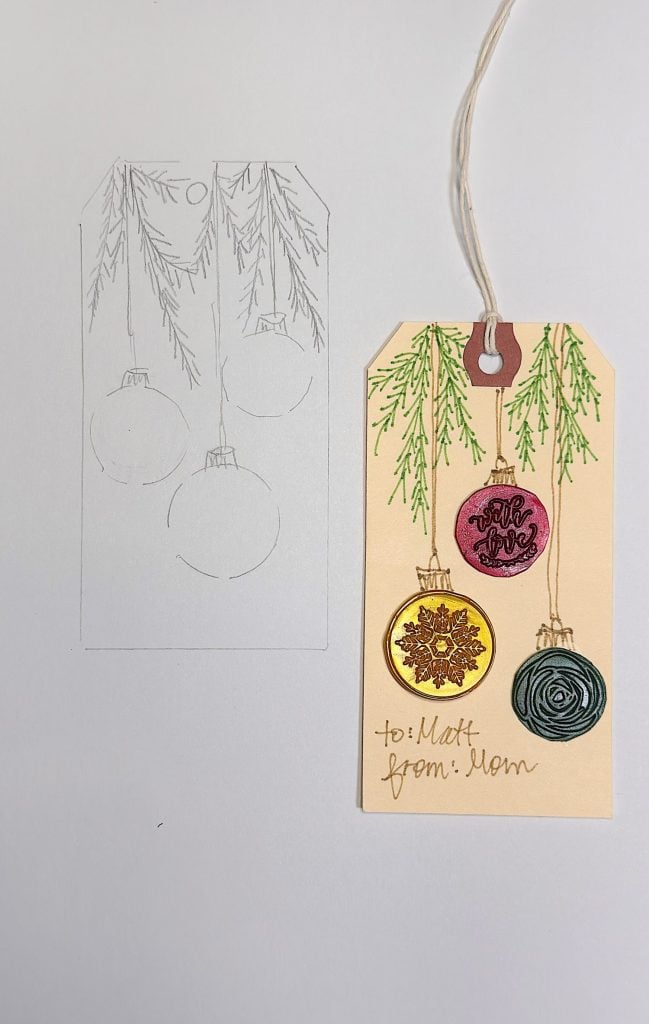
I started by spreading out my blank manila tags on my craft table and grabbing my sketching pen. My vision was to create simple line drawings that felt loose and hand-drawn, as if they were plucked from the pages of an old holiday sketchbook.
I decided to sketch hanging ornaments as the central theme. There’s something nostalgic about them as delicate glass balls dangling from pine branches, catching the twinkle of Christmas lights.
The trick here is not to overthink it. These aren’t meant to be perfect drawings — they’re meant to look freehand and spontaneous. I found that the less I worried about precision, the more charming they looked.
If you’re hesitant about freehand drawing, start with a light pencil outline before tracing over with ink. You can also print a few ornament references or practice sketching on scrap paper first.
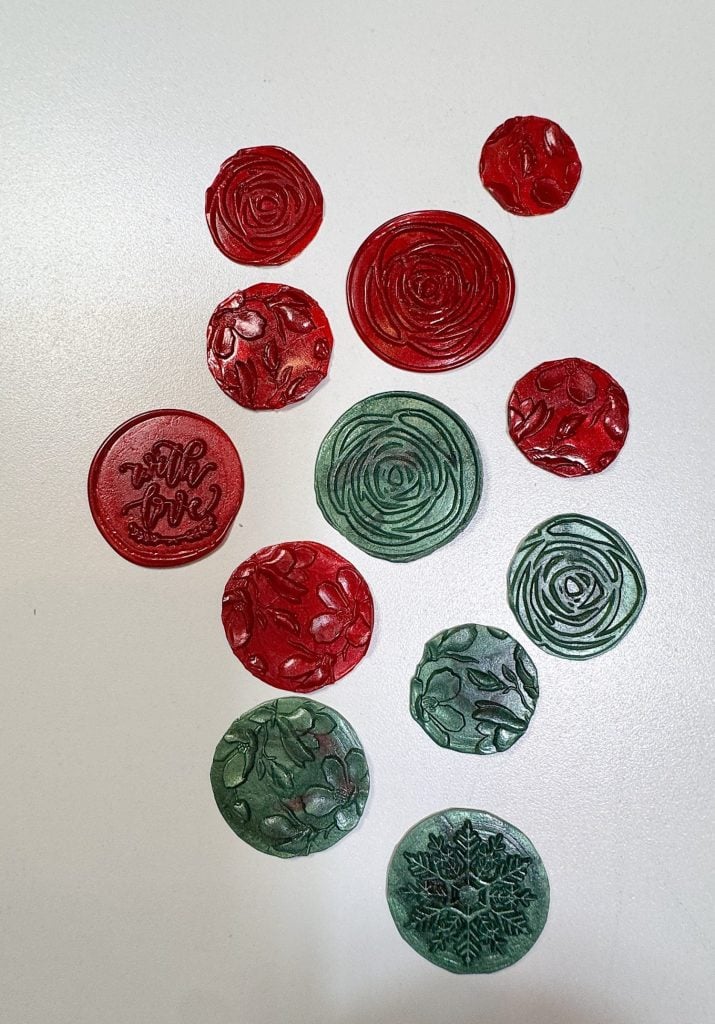
Step 2: Making the Wax Seals
Wax seals are one of my favorite craft elements. They add that beautiful, old-world touch — a bit of texture, shine, and tradition. Plus, they’re surprisingly easy (and fun!) to make.
Here’s how I did it:


- Prepare your workspace.
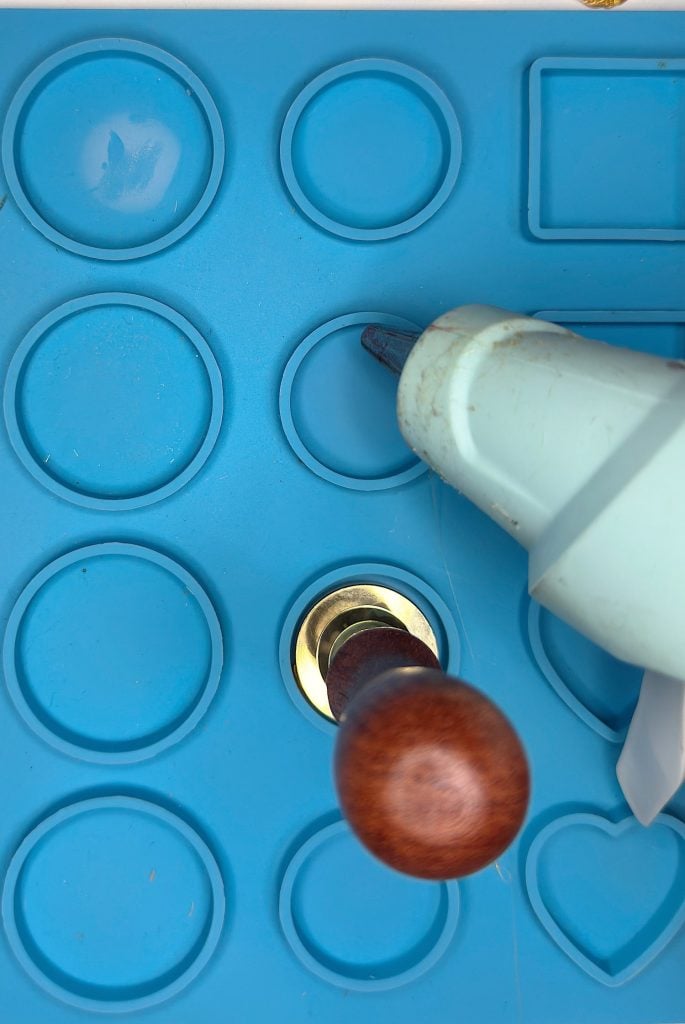
Place a silicone mat or parchment paper on your surface. Wax can get messy, so it’s best to have a non-stick area where you can easily peel the seals off later. - Heat the glue gun.
Once your low-temp glue gun is hot, insert a wax stick (or use sealing wax beads if your gun is compatible). - Form the wax circles.
Squeeze a small amount of melted wax onto your mat — about the size of a nickel to a quarter, depending on your desired size. The key is to let the wax form a natural, slightly uneven circle — that’s what gives it character. - Stamp while the wax is soft.
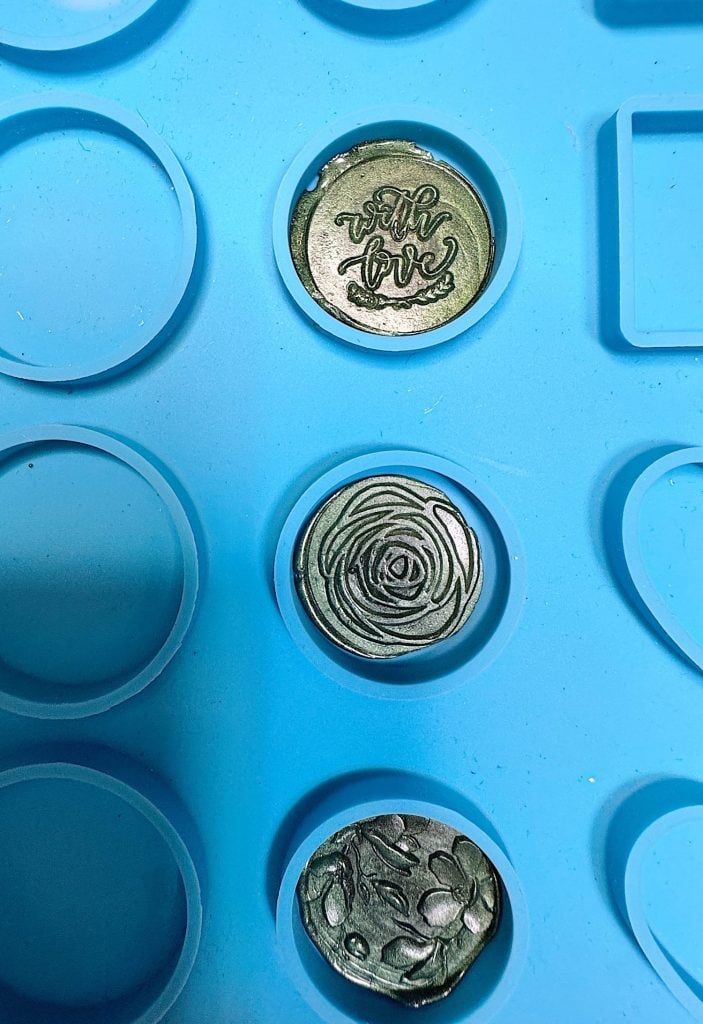
Quickly press your metal stamp into the center of the wax, hold for about 10–15 seconds, and then gently lift it away. The result is a perfectly imprinted seal. - Experiment with colors.
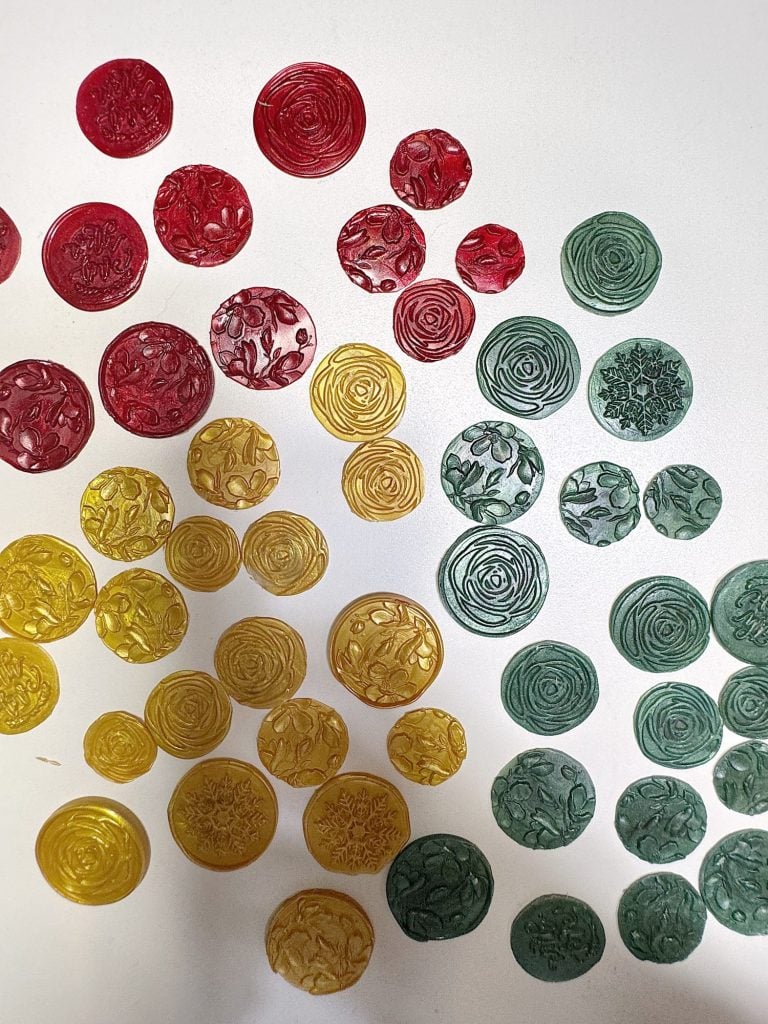
I alternated between deep red, gold, and creamy white — all traditional holiday tones that complemented my hand-drawn tags beautifully. You could also swirl two colors together for a marbled effect.
Once the seals had cooled and hardened, I carefully peeled them off the mat. I ended up making a few extras in each color so I’d have some variety to choose from later.
Step 3: Adding the Wax Seals to the Tags
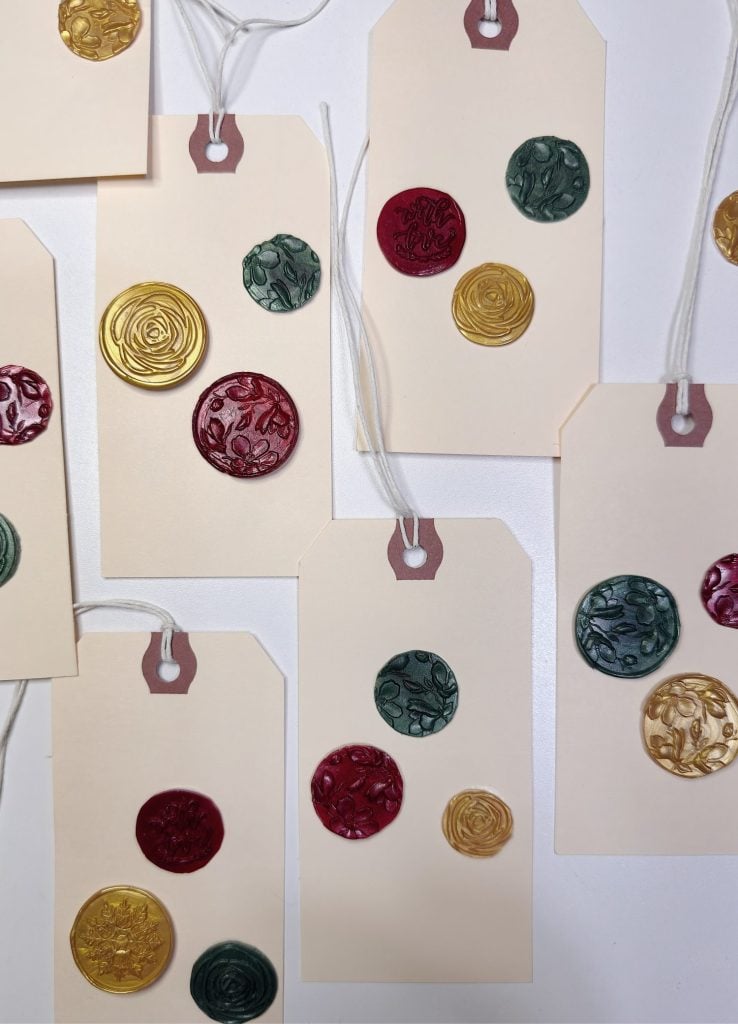
With the sketches done and the seals ready, it was time to bring everything together.
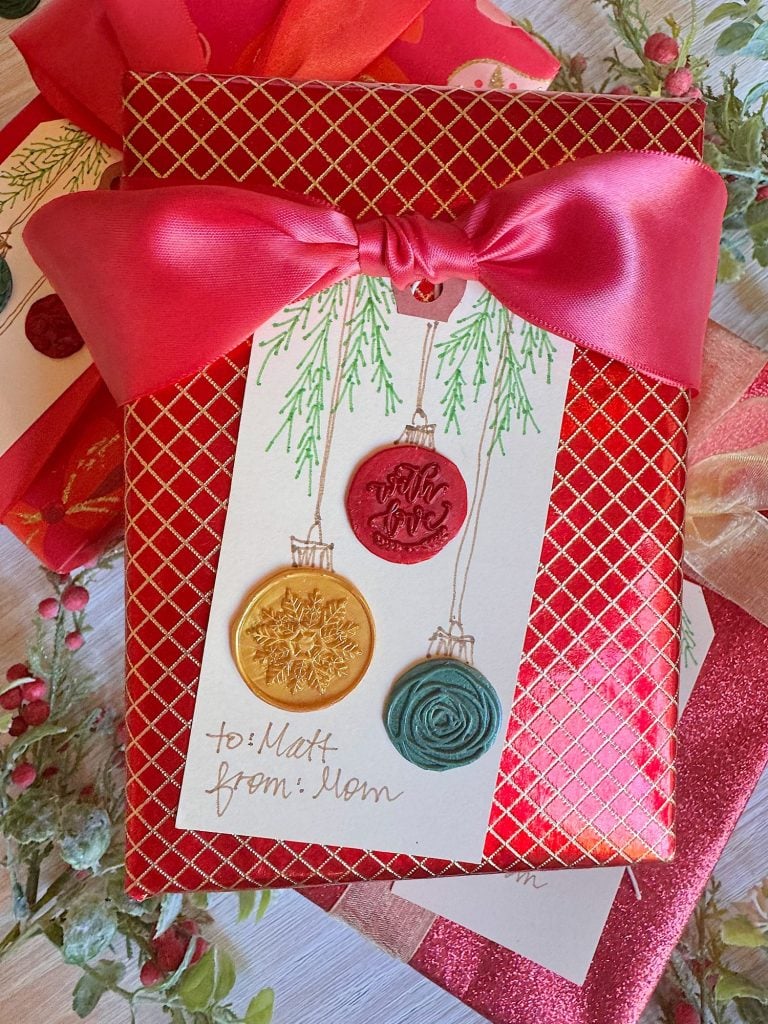
I arranged my tags in rows and chose a coordinating wax seal for each, sometimes contrasting the colors, other times keeping them tone-on-tone. To attach the seals, I used a dab of Tacky glue on the back and pressed them gently onto the tag, usually near the top or corner.
The effect was stunning. The delicate, hand-drawn ornaments paired with the glossy wax circles created a beautiful balance—the softness of ink meeting the shine of wax. It’s the kind of handmade detail that feels special and timeless, something you’d expect to see in an old European stationery shop.
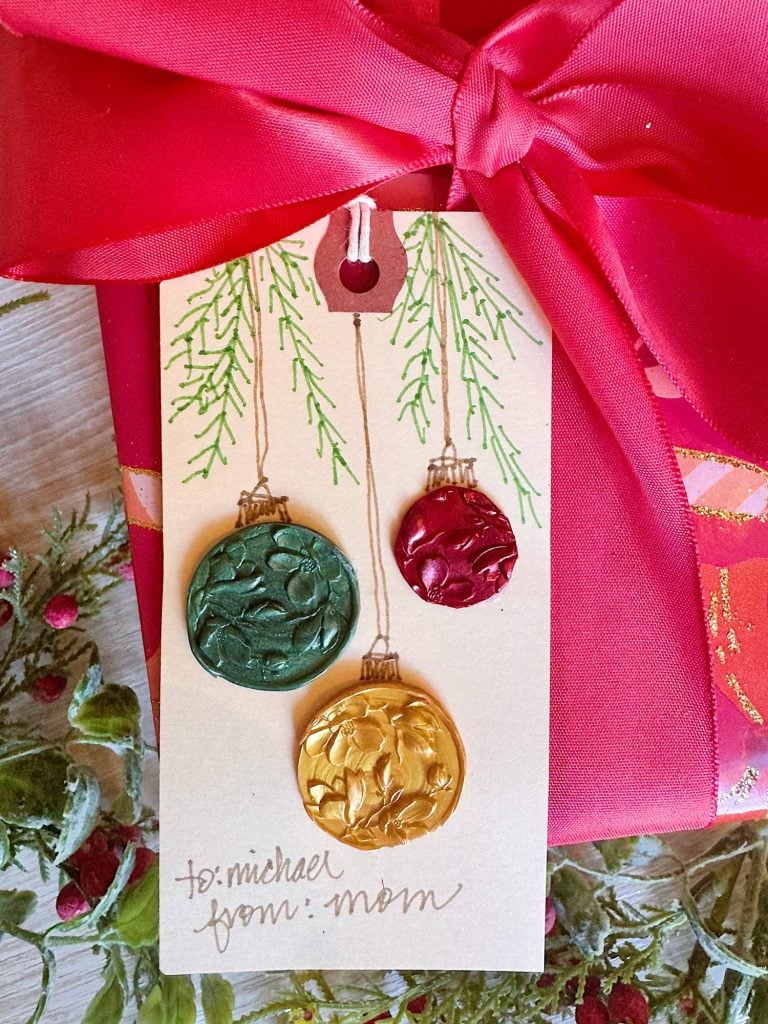
Step 4: Adding the Pine Branches
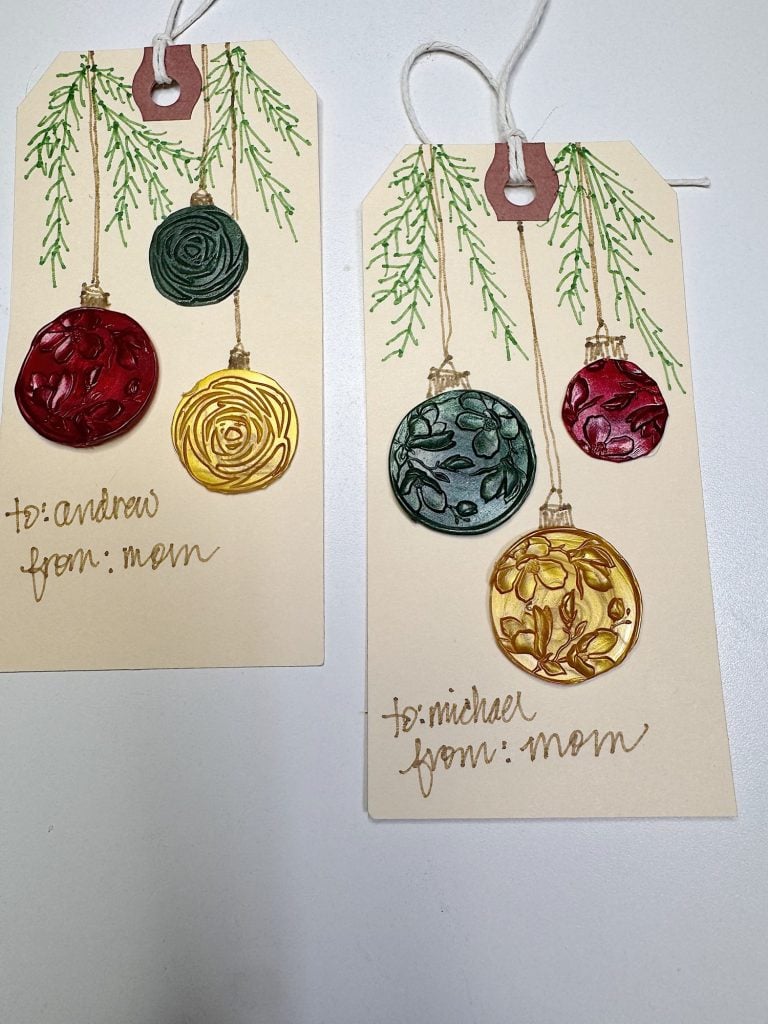
I added the hand-drawn pine branches for added detail. I used a Fine Marking Pen, and it took about five minutes to add all of the branches to eight tags. The final look of these is great!
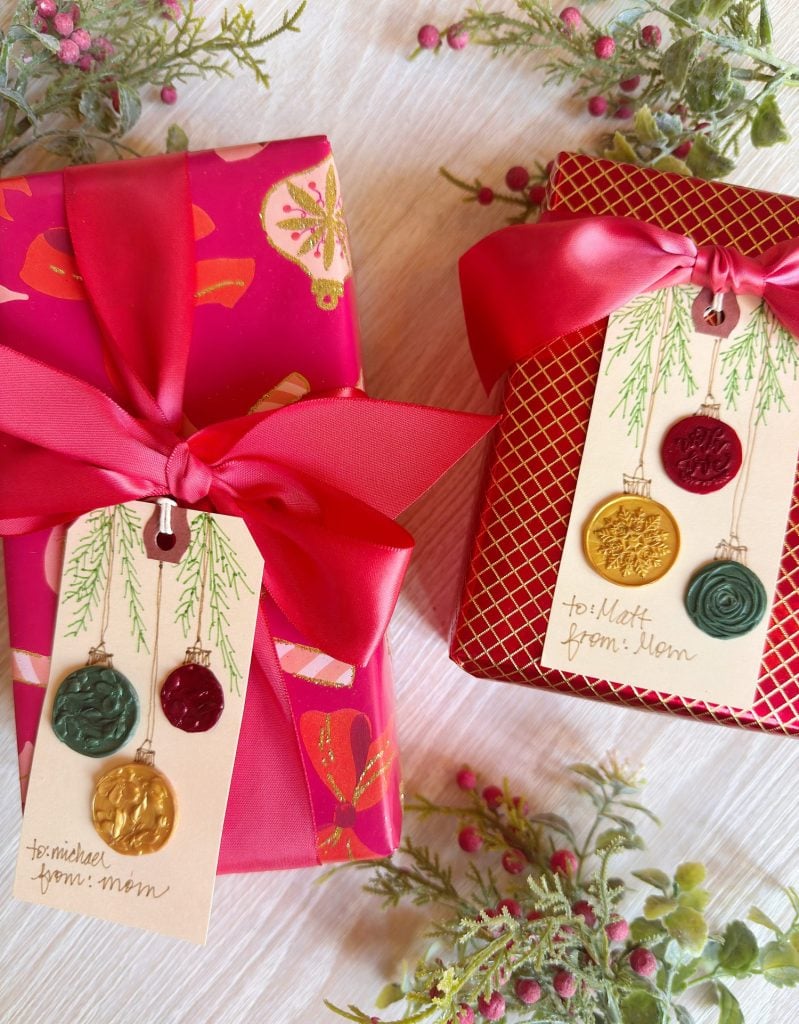
No tag is complete without a ribbon or tie. You should add, or replace the existing twine with, a thin piece of velvet ribbon—primarily in muted holiday tones such as sage green, deep red, and ivory. The velvet adds a bit of luxury and texture, complementing the rustic manila paper and shiny wax seals.
You can easily customize this section based on your wrapping style. A simple jute twine gives a cozy farmhouse look, while metallic gold or silver thread adds a touch of elegance.
Creative Tips and Variations
As with all handmade projects, there are countless ways to make this one your own. Here are a few ideas:
- Add initials or monograms. Use your wax seal stamp with your initials to personalize each tag for the recipient.
- Try color themes. Match the wax and ribbon colors to your gift wrap, soft neutrals, classic red and green, or even icy blues for a wintery feel.
- Incorporate greenery. Tuck a tiny sprig of cedar or eucalyptus behind the ribbon for a natural touch.
- Use colored tags. Instead of manila, try kraft paper, black, or white tags for contrast.
- Stamp instead of sketch. If drawing isn’t your strength, use holiday-themed rubber stamps or stencils.
- Add texture. Lightly dab a bit of metallic paint or glitter glue around your ornament sketches for added sparkle.
Each version tells its own story, which is simple, handmade, and full of warmth.


Lessons Learned Along the Way
As with any DIY, I picked up a few small lessons as I went. First, don’t rush the wax seals. If you try to peel them before they’ve cooled completely, they’ll warp. I found it helpful to make them in batches … pouring and stamping a few at a time, then letting them set while I worked on sketches.
Second, test your ink before drawing directly on the tags. Some pens can bleed slightly on manila paper, so a quick test on a scrap tag can save frustration later.
Finally, embrace imperfections! A slightly uneven wax seal, a crooked line — these are the things that make handmade pieces so lovely. Every tag carries the mark of its maker, and that’s what gives them soul.
The Joy of Handmade Holiday Touches
When all the tags were finished, I spread them out across my craft table and couldn’t help but smile. Each one had its own charm — a little bit of me in every detail. I imagined them tied to gifts under the tree, handed to loved ones, or attached to homemade treats shared with friends.
In a season that often feels rushed, this project reminded me to slow down and savor the process. Creating something with your hands — even something as small as a gift tag — has a way of grounding you in the spirit of giving.
These handmade Christmas gift tags are more than decoration; they’re a quiet expression of thoughtfulness. They say, “I took time to make this just for you.”
So this year, I hope you’ll grab a few simple supplies and give it a try. Whether you draw ornaments, snowflakes, or tiny holly sprigs, the joy is in the making. And when your gifts are finally wrapped and tagged, you’ll know that each one carries a little piece of holiday magic — made by hand, and from the heart.


Blogger’s Best Holiday Christmas Tags
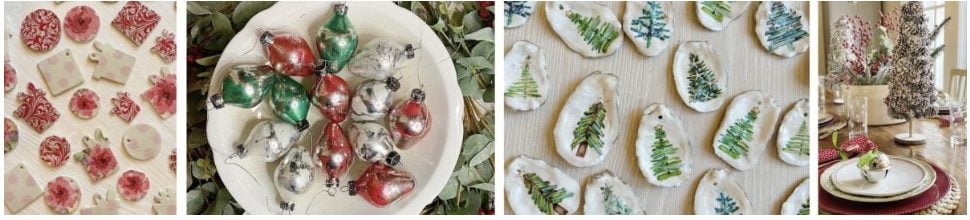
Here are additional handmade gift tag ideas from my favorite bloggers.

DIY Photo Gift Topper Ornaments (That Double as Tree Decor) | My Sweet Savannah
Make meaningful DIY photo gift topper ornaments using family pictures, pets, or snowy scenes. Easy tutorial and styling ideas included.

Beaded Name Gift Tag | Craftberry Bush
These cute little personalized gift tags can be repurposed as a key chain or purse chain.

Clay Initial Tags | Most Lovely Things
Make simple clay tags with initials to use on packages, stockings, napkin rings…save and reuse them from year to year!

DIY Christmas Gift Tags | Happy Happy Nester
DIY Christmas Gift Tags are such a cute and personal way to make your holiday gifts feel extra special! Instead of a standard paper tag, these shiny gold letters attach right to your ribbon — and you can spell out any name you like. They look festive, feel thoughtful, and take just minutes to make. If you love easy holiday projects that look like you spent way more time on them, you’re going to adore this one!
If you enjoy my blog, you can sign up to receive my updates here.
.Latest Posts
-
The Amazon Big Spring Sale is Here!
The Amazon Big Spring Sale is here! It runs from March 25th (today) through March 31st, and here are some of the best Amazon Deals ever! There are millions of deals available, and today I will help you find the best ones for everything you need. Now is the perfect time to shop for Spring.
-
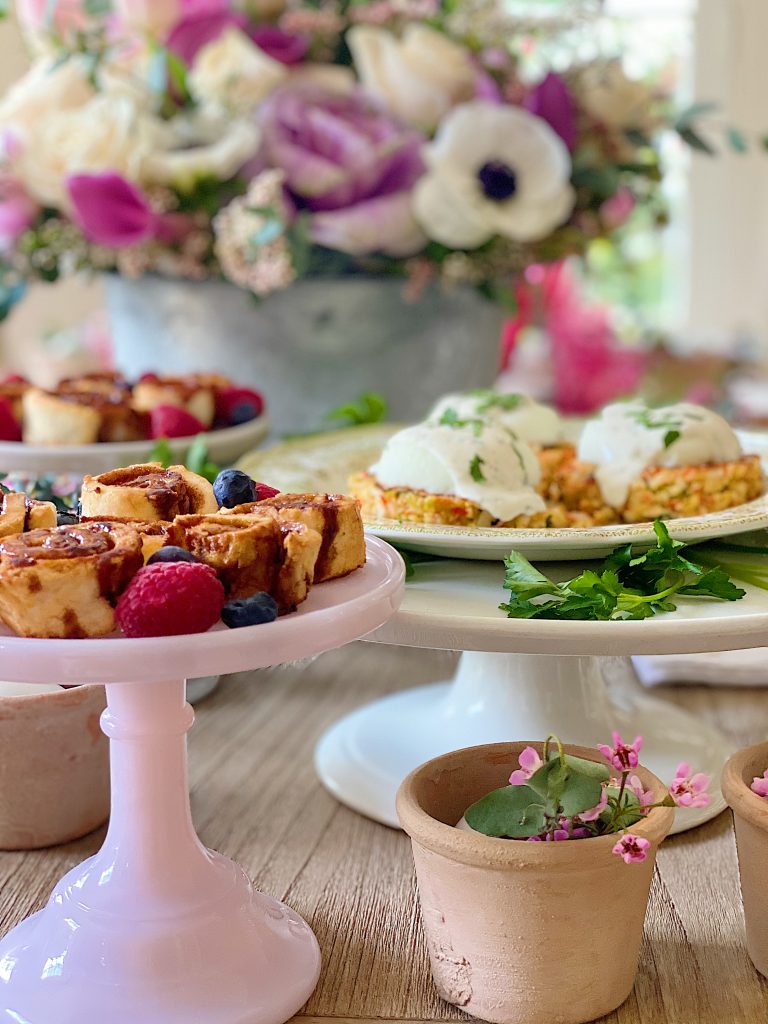
My Favorite Easter Brunch Recipe Ideas
Today, I am sharing some of my favorite Easter Brunch Recipe ideas. These recipes are amazing, and everyone in our family loved them! I used my favorite Easy Crab Cake recipe and created a menu with an “eggs benedict”-style entree, a new gluten-free cinnamon roll recipe, and fresh berries. This latest version of Eggs Benedict…
-
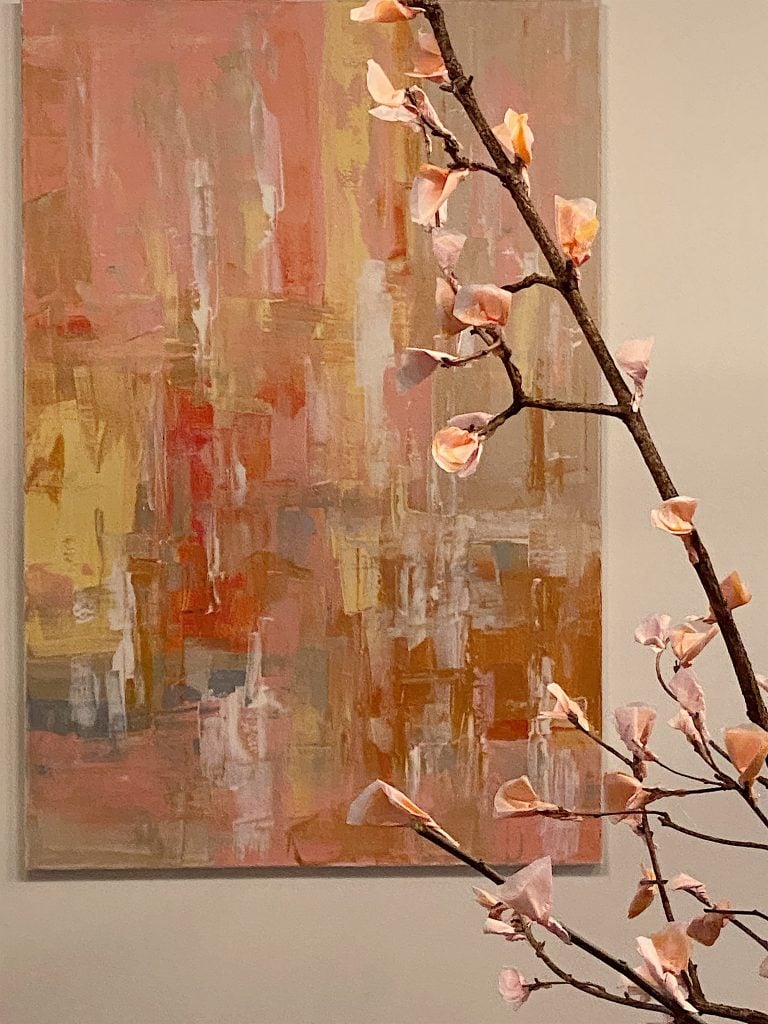
My Obsession with Abstract Wall Art
Abstract wall art, with its enigmatic allure and boundless interpretations, has long captivated the hearts of many, including myself. Believe it or not, I have ventured deep into the realm of abstract painting, creating expansive canvases as large as 12′ x 12′. I completed ambitious projects like painting thirty paintings in 30 days, inspired by…
-
The Inspired Home Show and Sunday Morning Coffee
Last week I had the opportunity to attend The Inspired Home Show in Chicago once again, and I have to say, it was just as exciting and inspiring as I remembered. This show continues to be one of the most important events in the home and housewares industry, bringing together an incredible mix of brands,…


My Recent Instagram Posts

You can pin the image below to your boards on Pinterest (click the Pin button in the top left corner) or follow me on Pinterest!
For more real-time updates, follow me on Instagram @My100YearOldHome

Beautiful tags – and so creative! Merry Christmas!
Leslie, these are so beautiful! I love seeing the process of making them, starting with the sketch! So creative!
xo