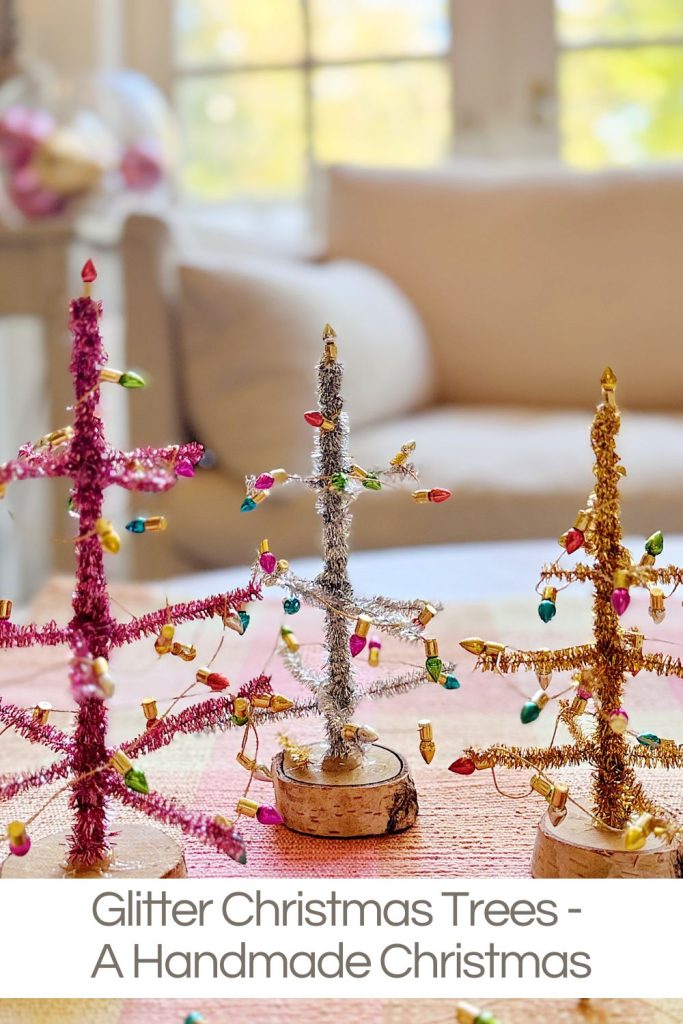
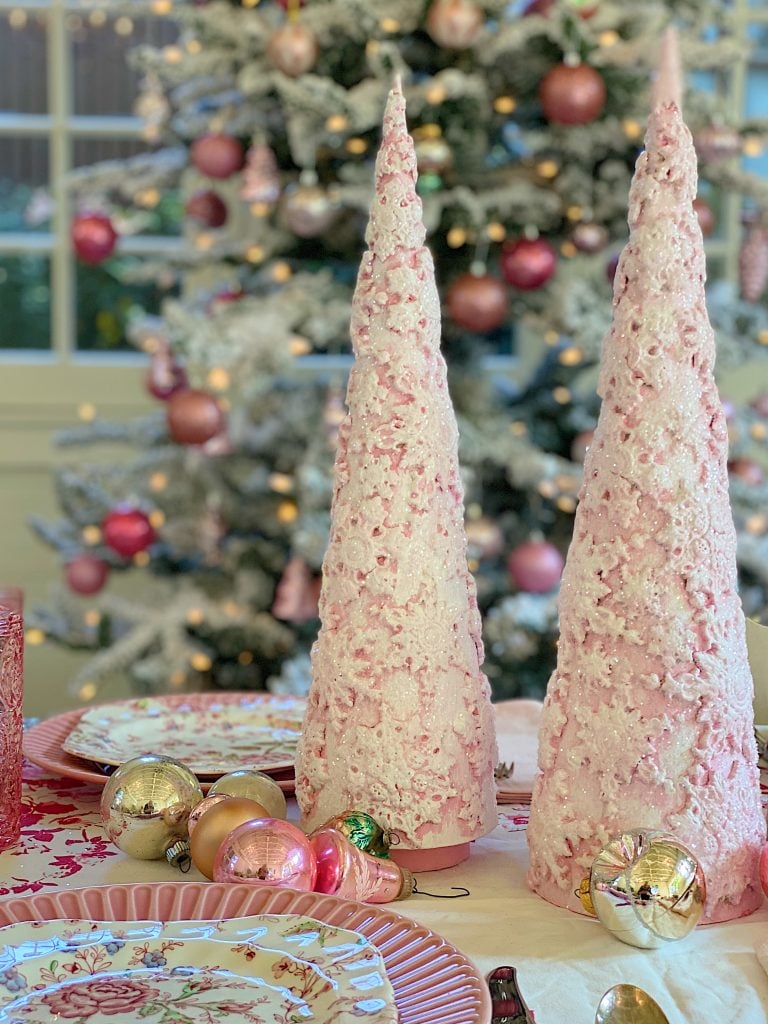
Glitter Christmas Trees – A Handmade Christmas
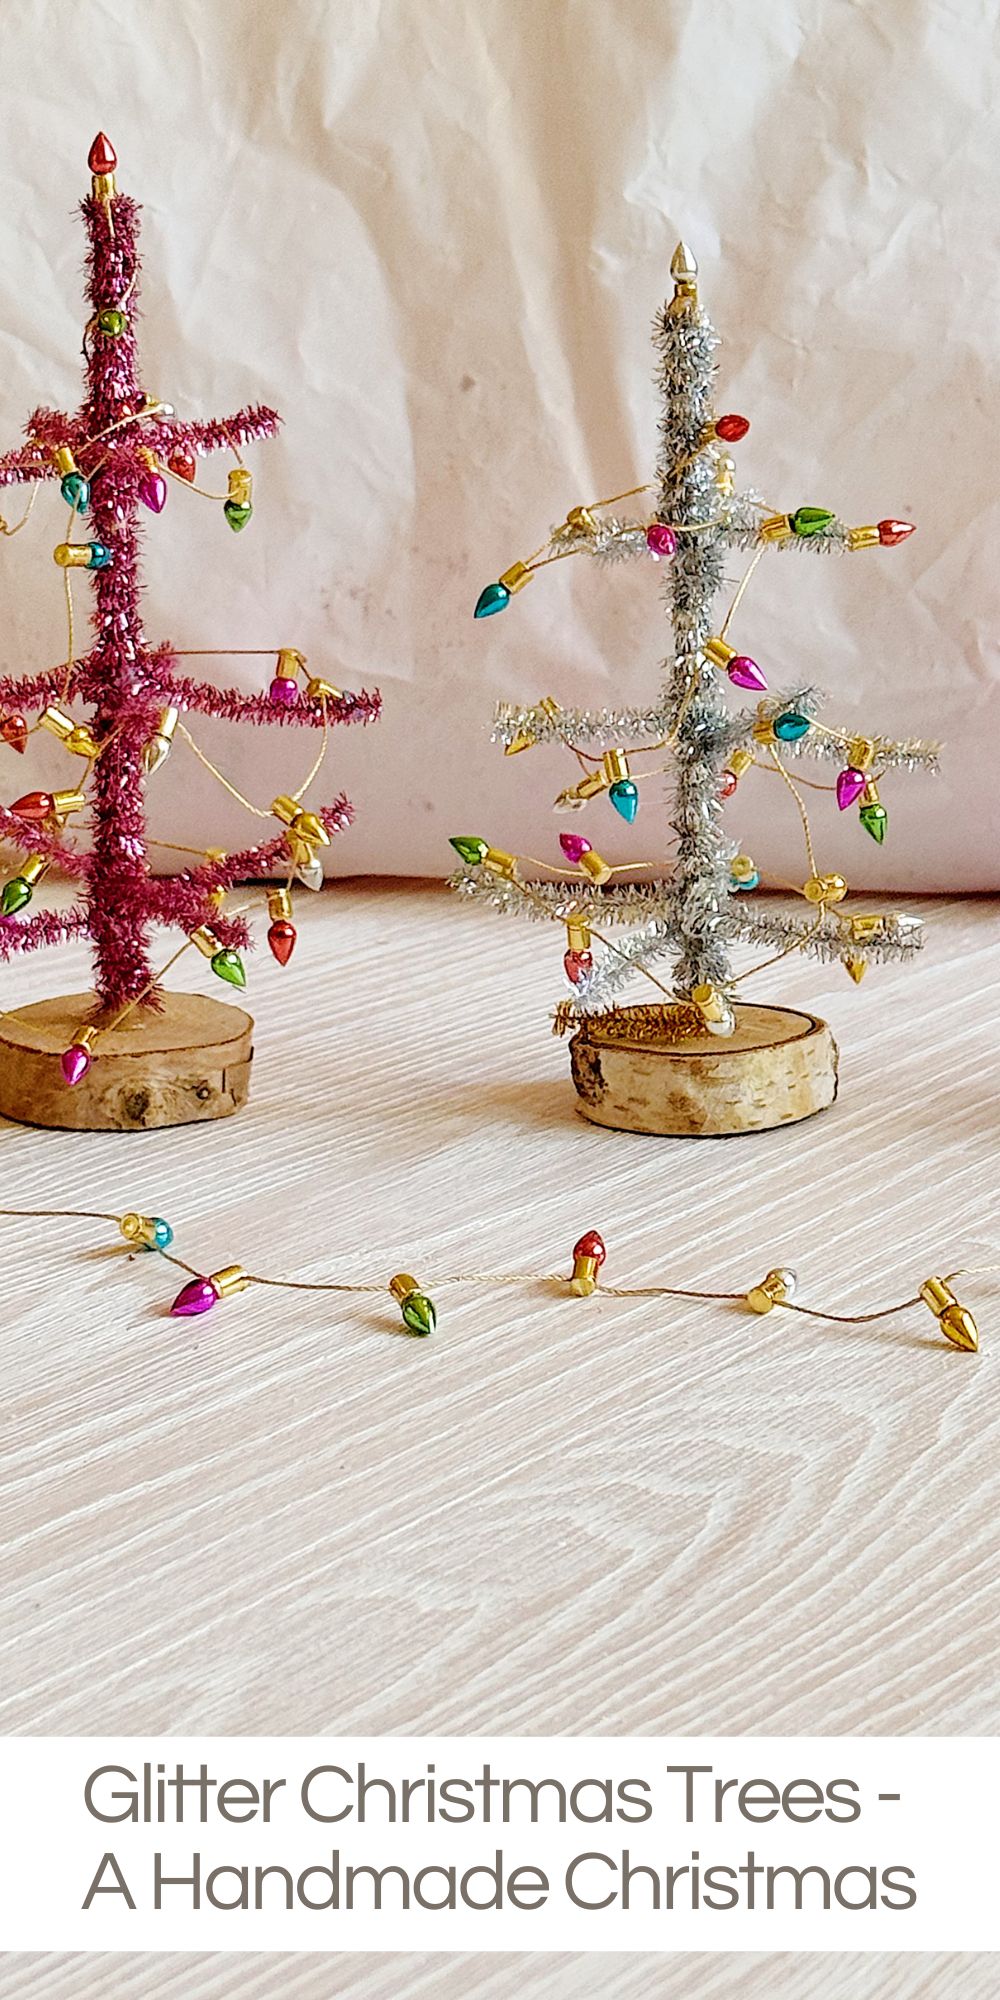

It’s week nine of my 16-week series titled A Handmade Christmas, and today I am sharing Glitter Christmas Trees inspired by one of my favorite stores, Anthropologie.
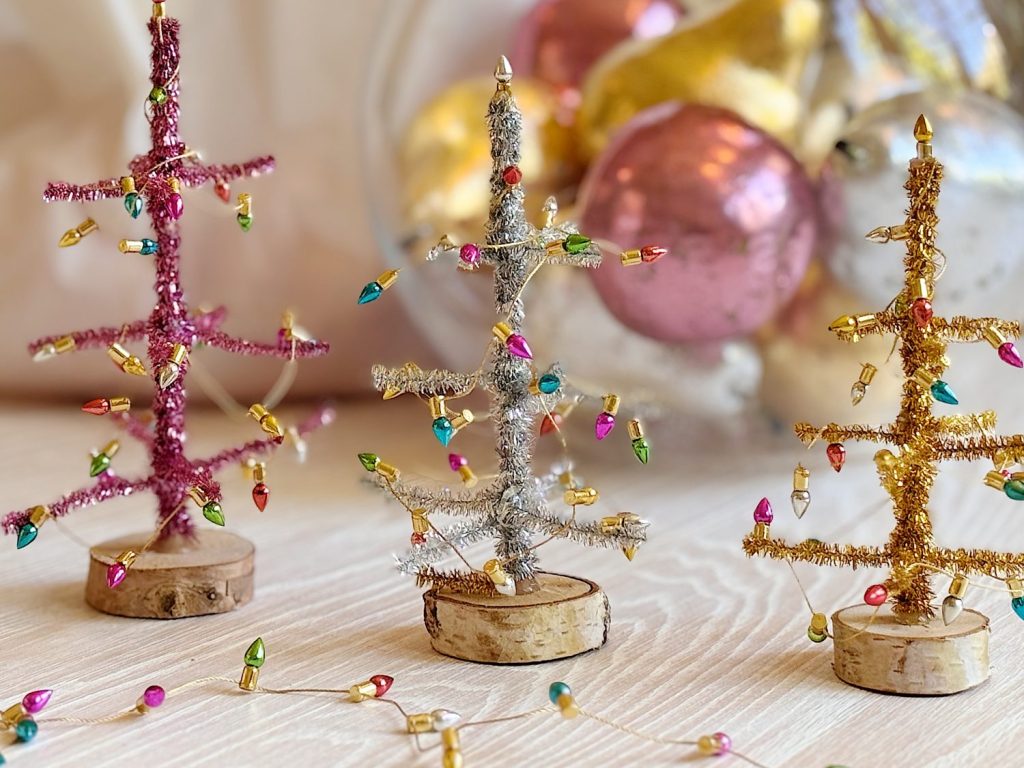
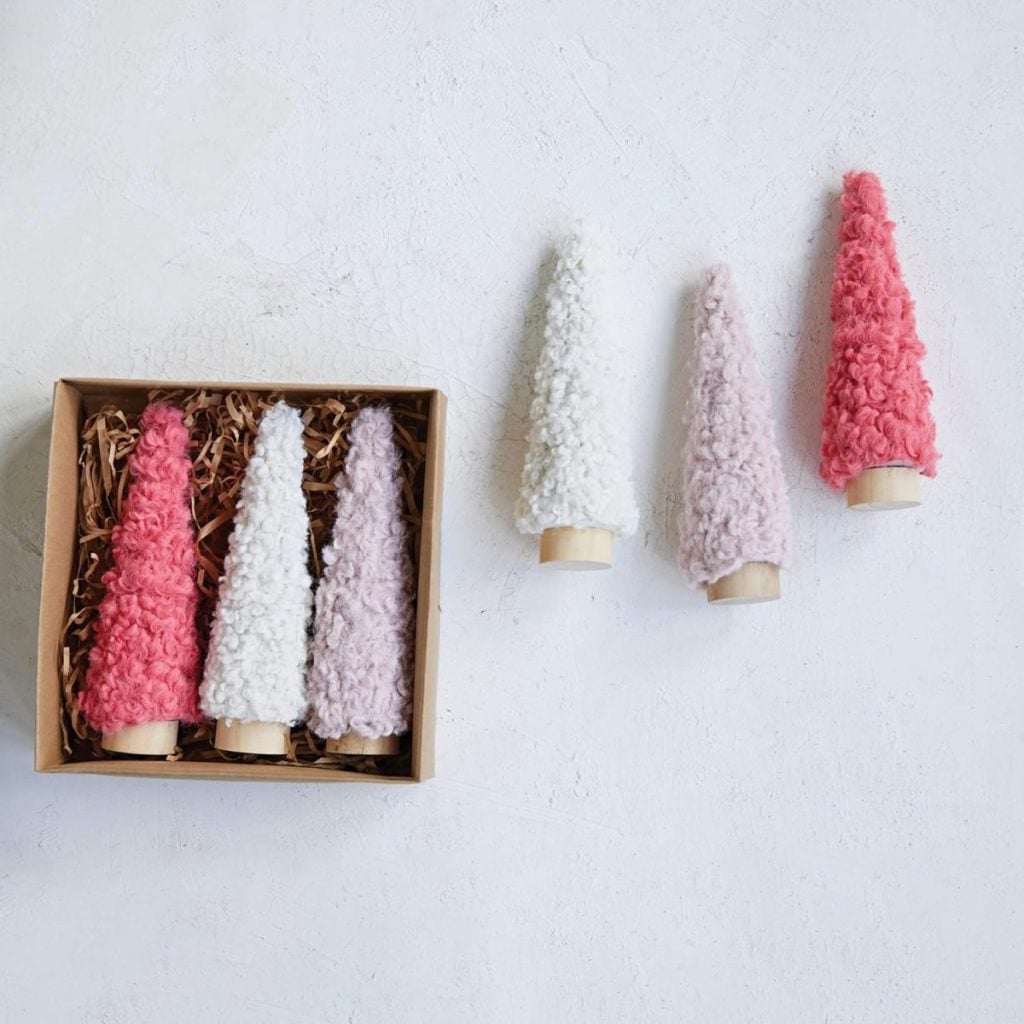
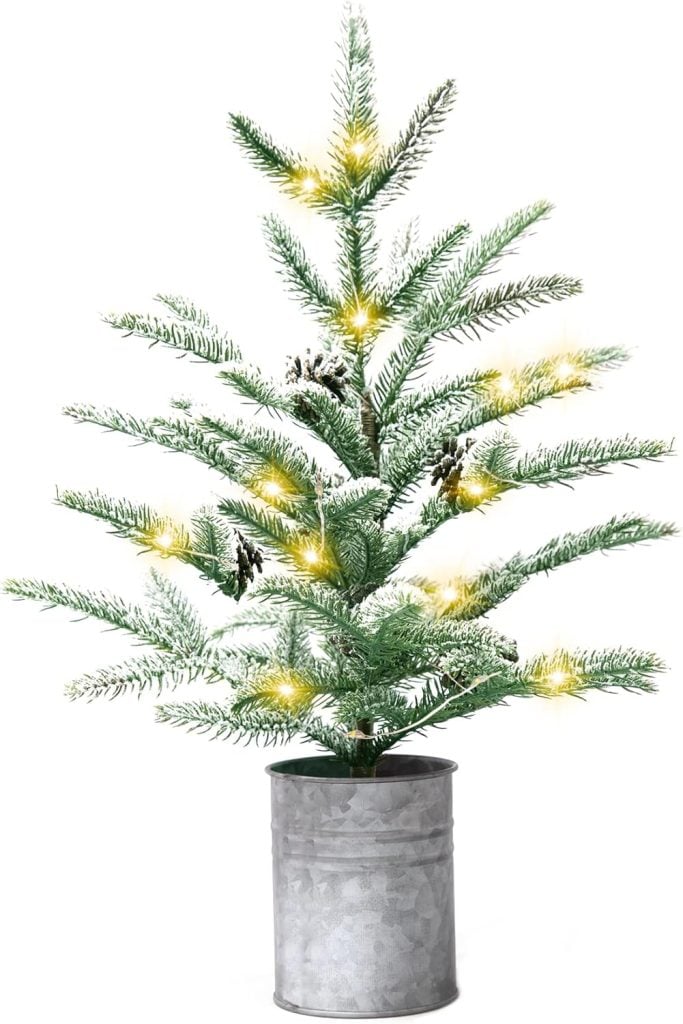
There is nothing I love more during the holidays than a good handmade Christmas project. When I spotted the cutest miniature glitter trees on the Anthropologie website, I immediately fell in love with their vintage charm. But there was just one tiny problem… the price. I knew right away I could make them for less.

Glitter Christmas Trees
Whenever I like something that isn’t quite right, I make it myself.
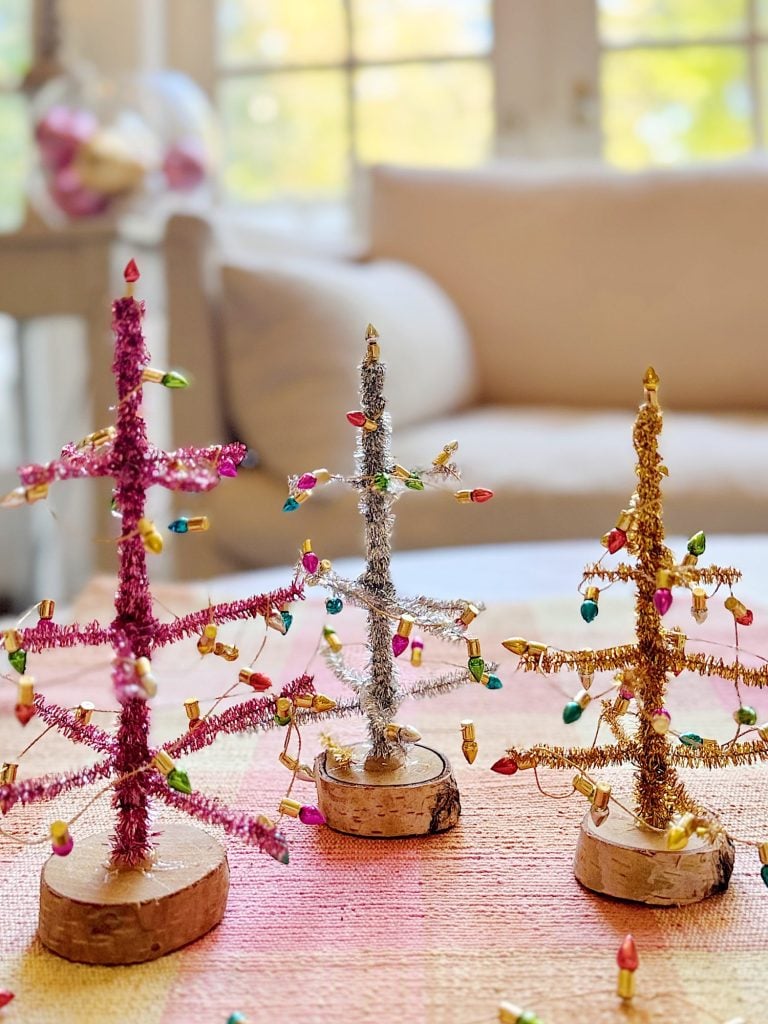
Not only are these Glitter Christmas Trees easy to make, but they are also incredibly fun and totally customizable. You can choose the size, the color, the ornaments, the sparkle level … everything!
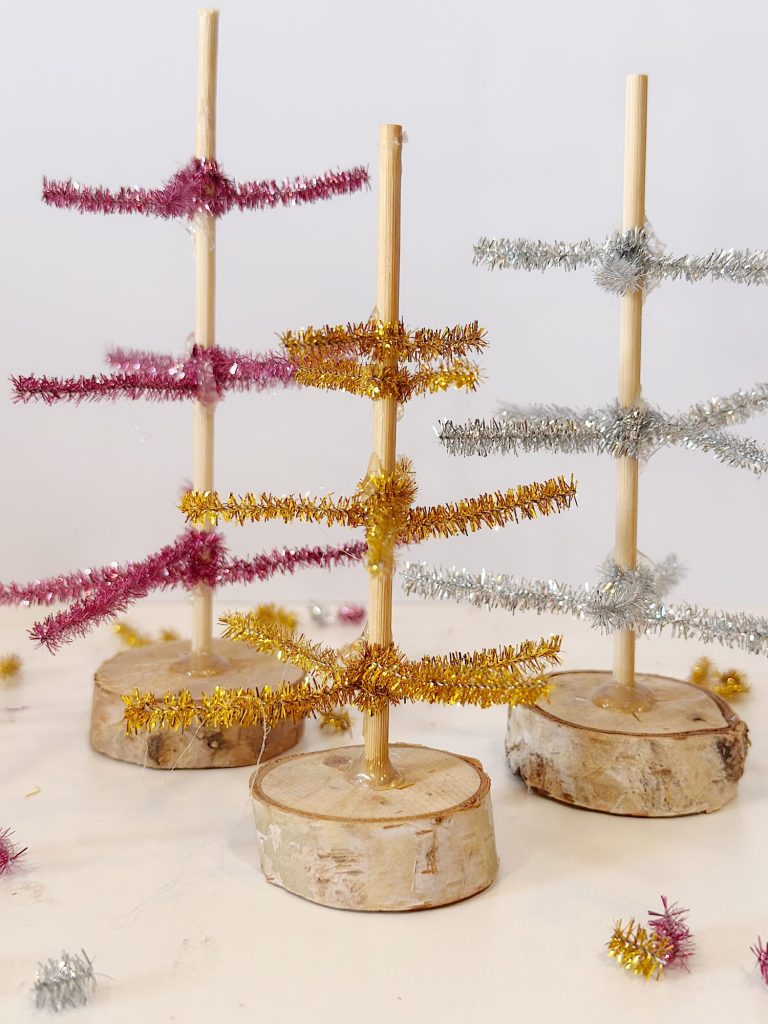
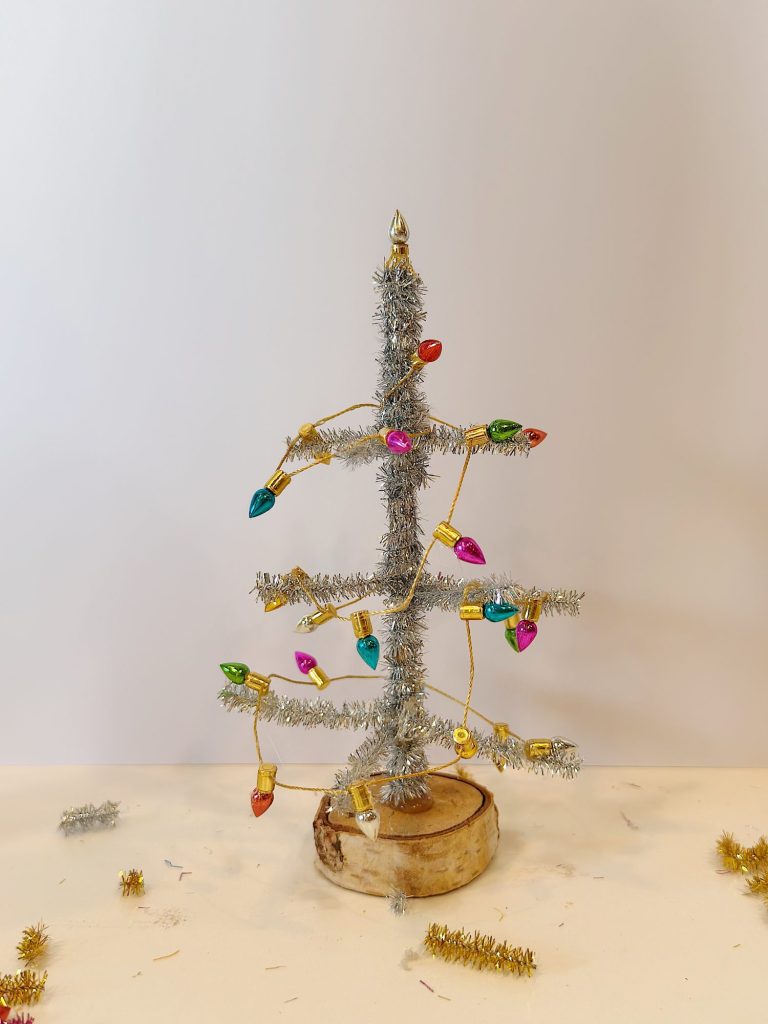
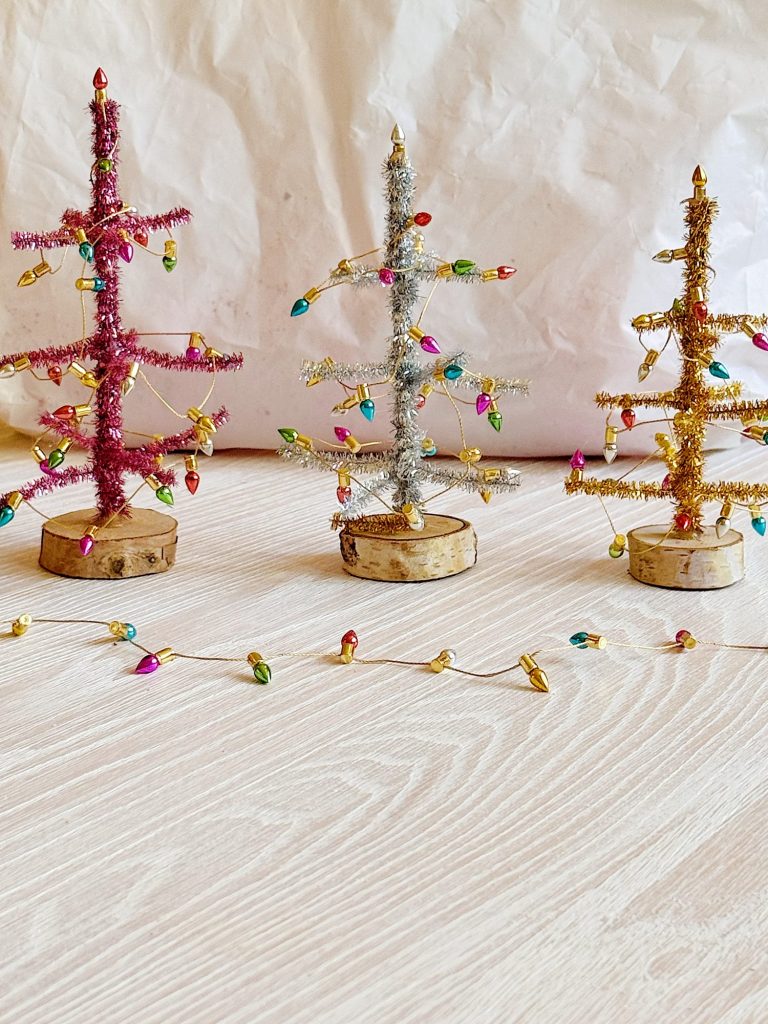
I made mine using glitter pipe cleaners, wood bases, wooden branches for stems, and some mini Christmas lights. And let me tell you, they turned out so much better than I imagined.
Welcome to this week’s edition of A Handmade Christmas — let’s make some glitter magic!
Why You Will Love These Glitter Christmas Trees
- They look high-end and whimsical
- They can be made in any size you want
- They are a great craft for both adults and kids
- They bring the perfect amount of sparkle to mantels, shelves, and tabletops
- They cost a fraction of the price of the retail version
Plus… glitter pipe cleaners are just FUN
If you want a holiday craft that instantly makes you smile — this is it.
Supplies You Will Need

Here’s what I used to make mine (and you can make as many as you’d like). I onlt made three, but you can make about twenty of these for $20.
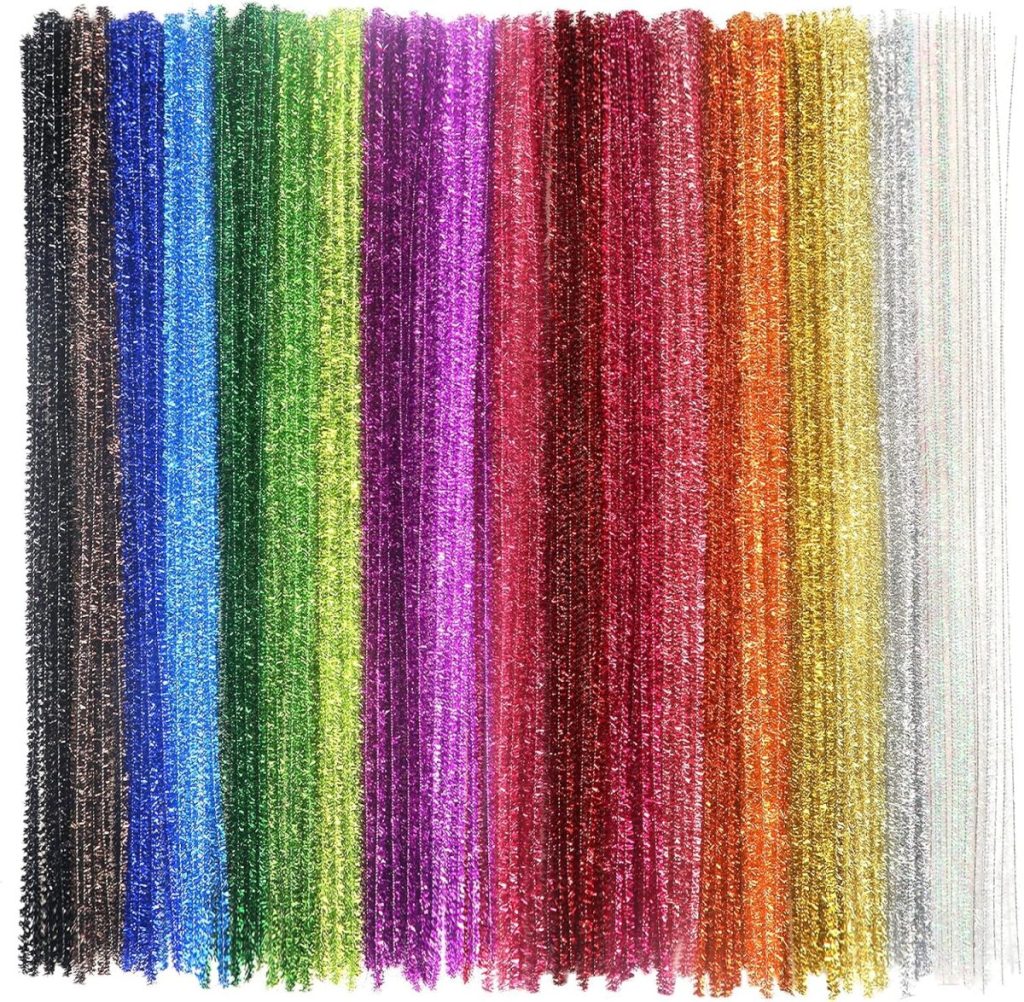
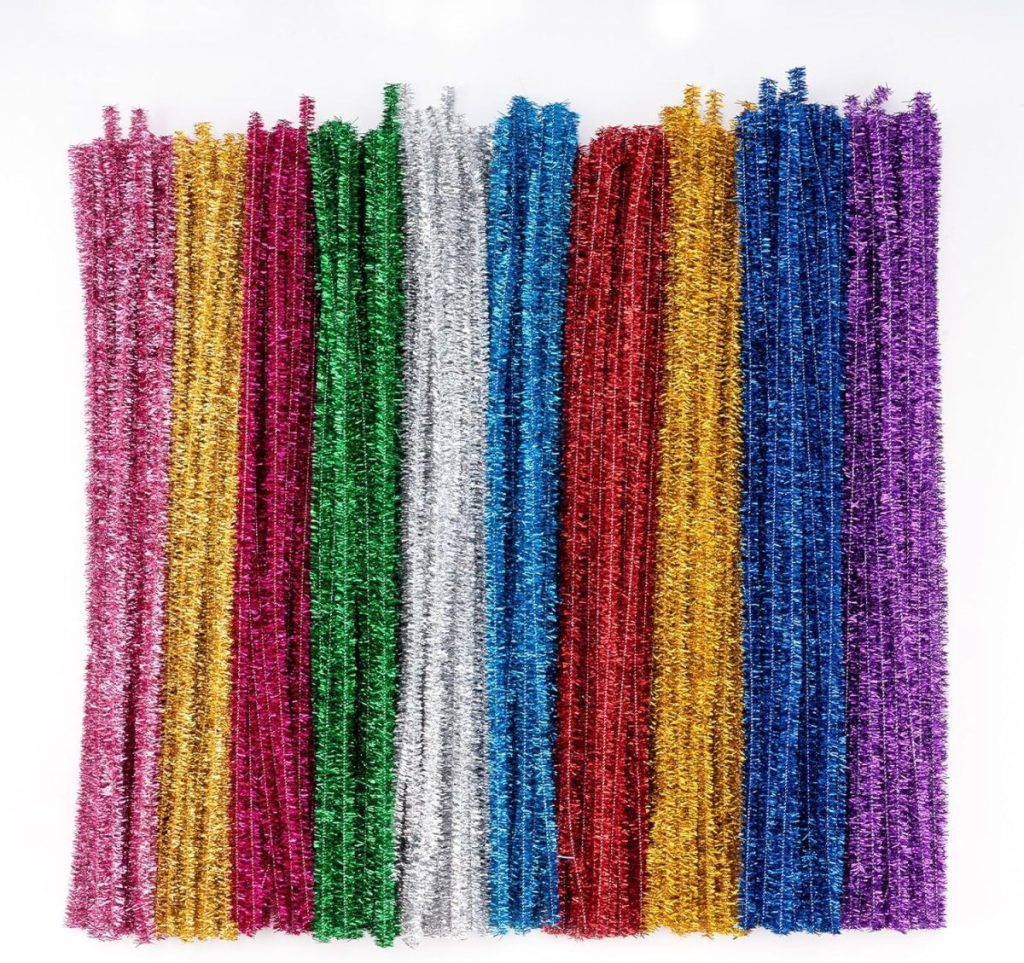
- Glitter pipe cleaners (also called tinsel stems)
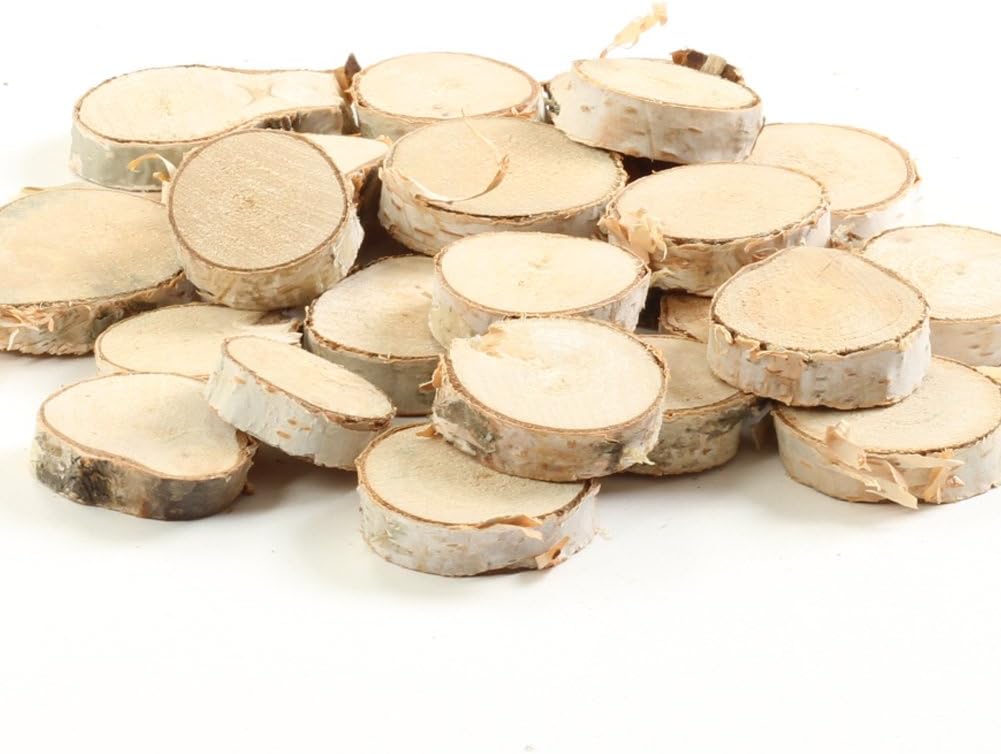
Choose any color : metallic green, silver, gold, pink, white, etc. - Wood bases
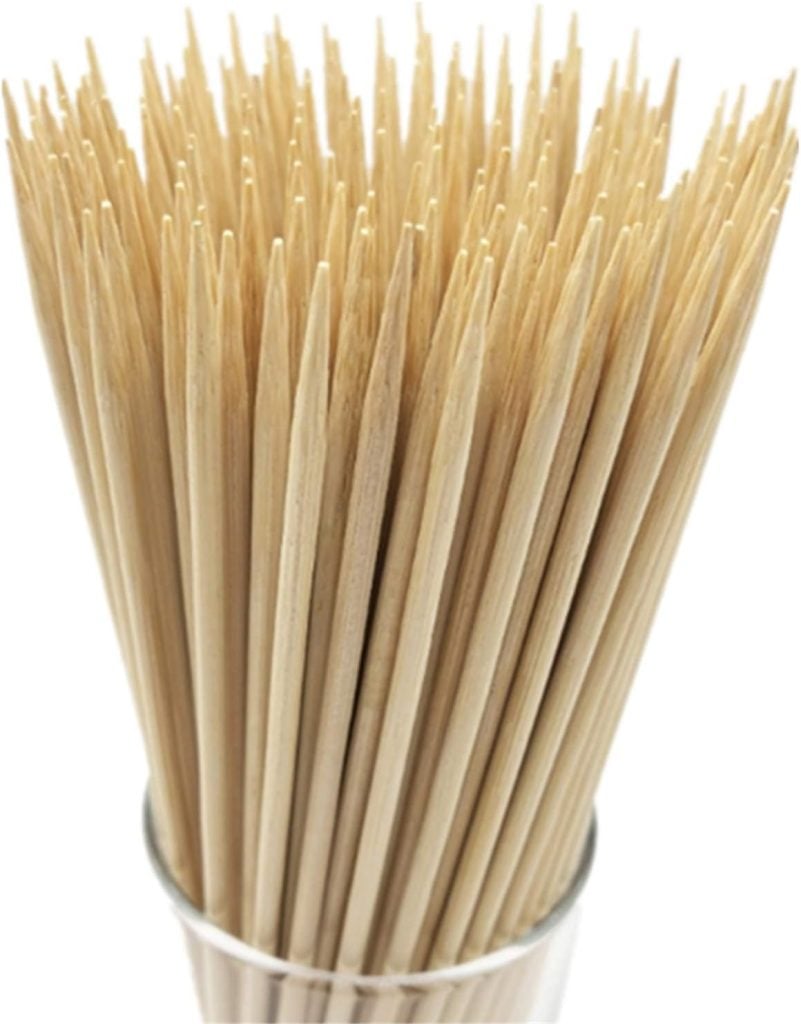
Wood blocks or round slices work beautifully - Wooden skewers
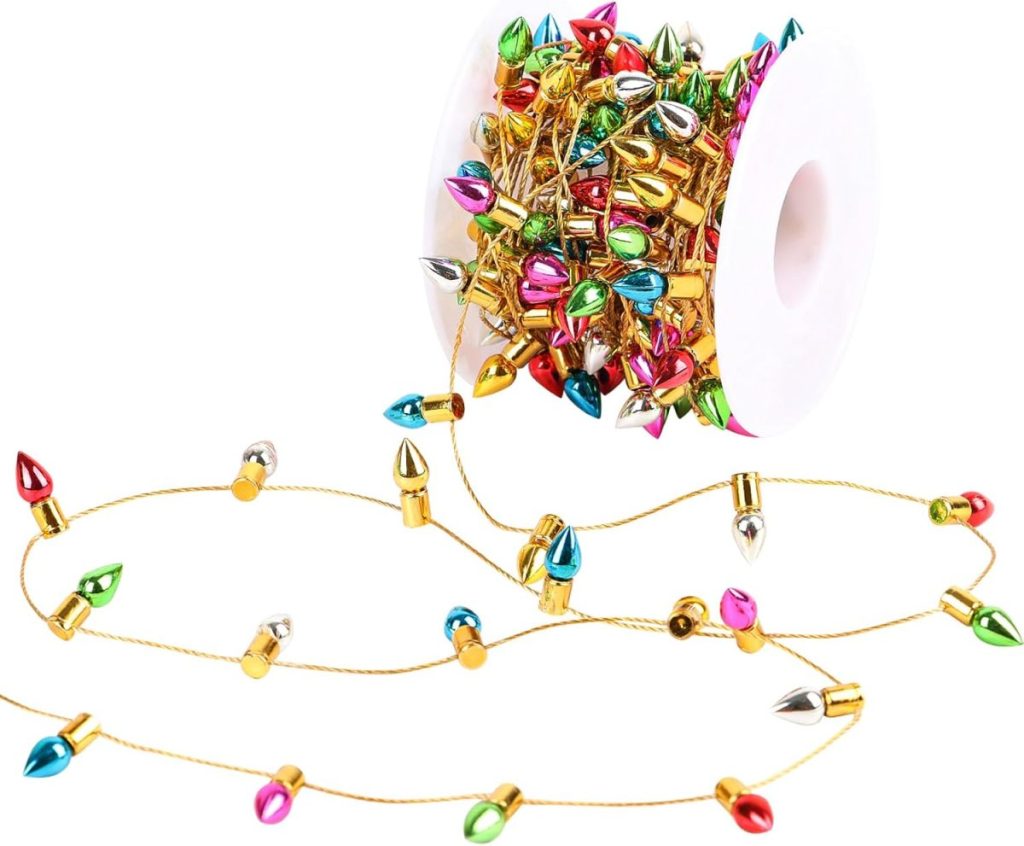
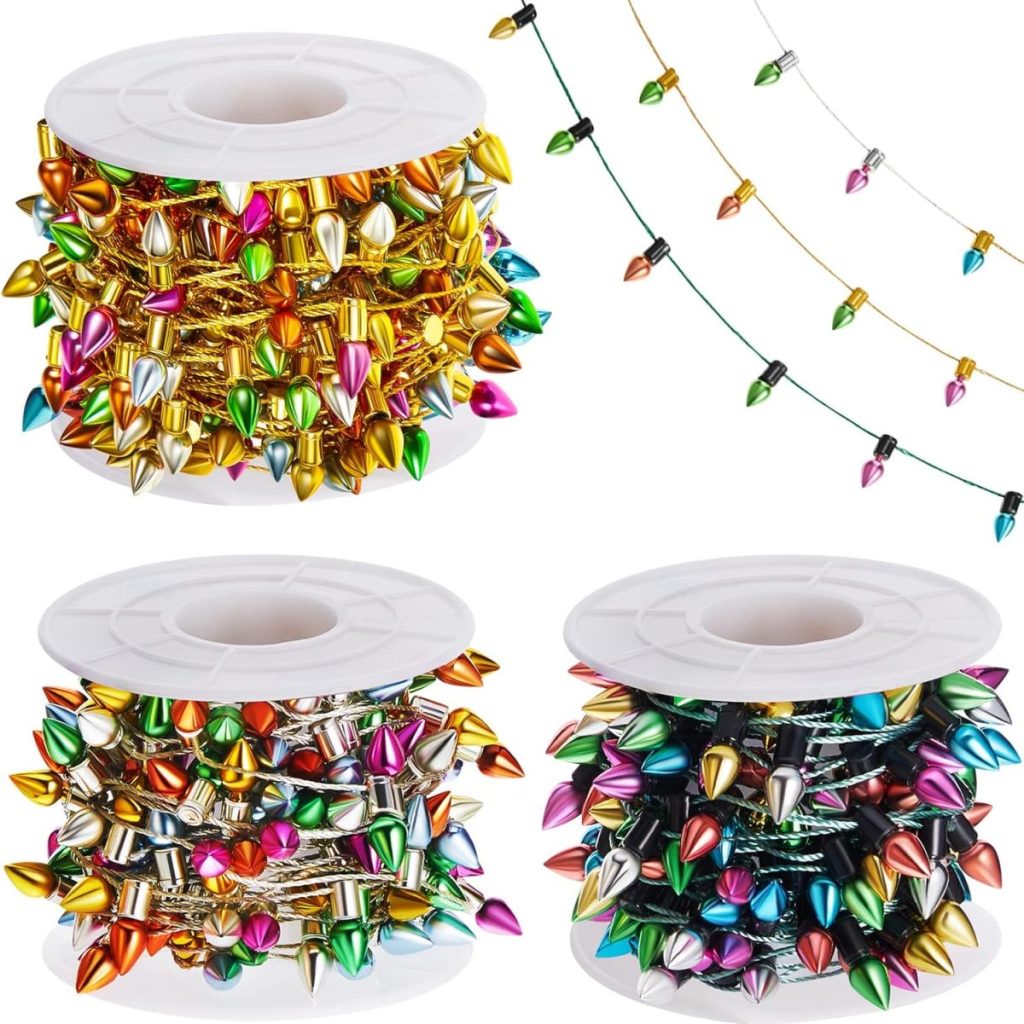
This is your trunk! - Mini Christmas lights
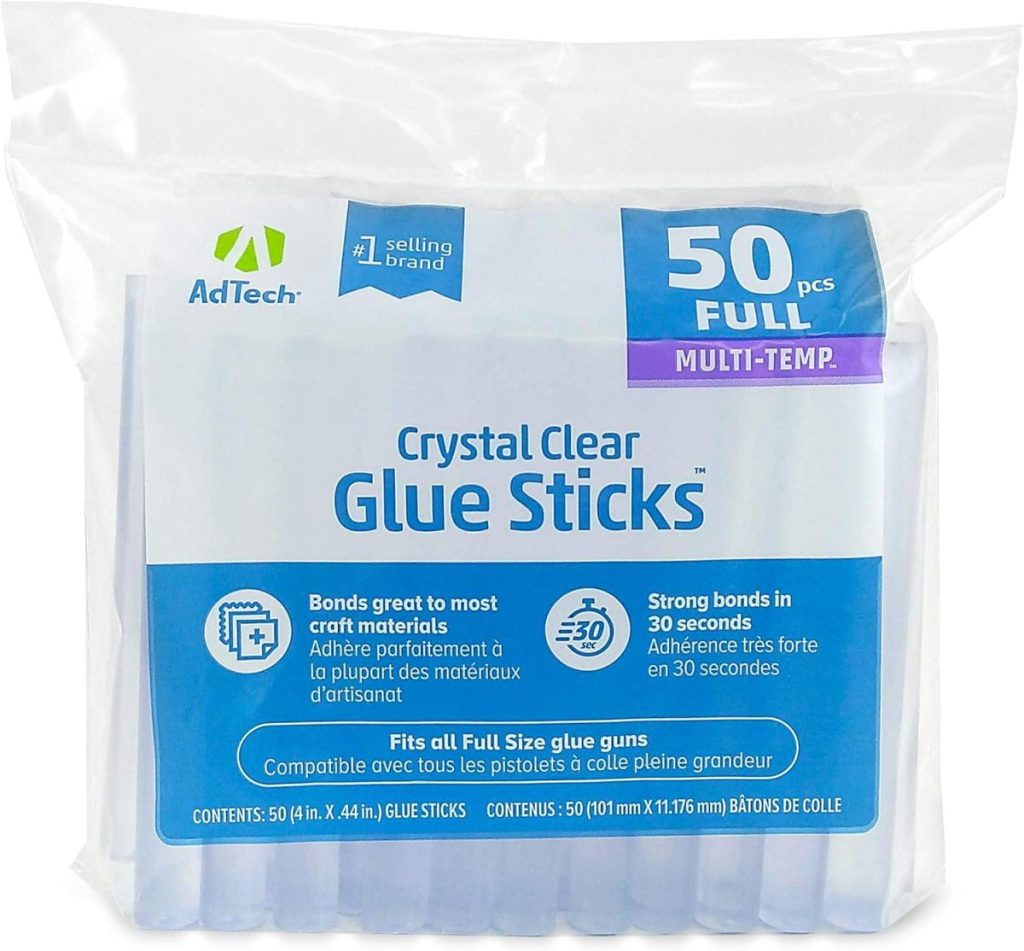
- Hot glue gun + glue sticks
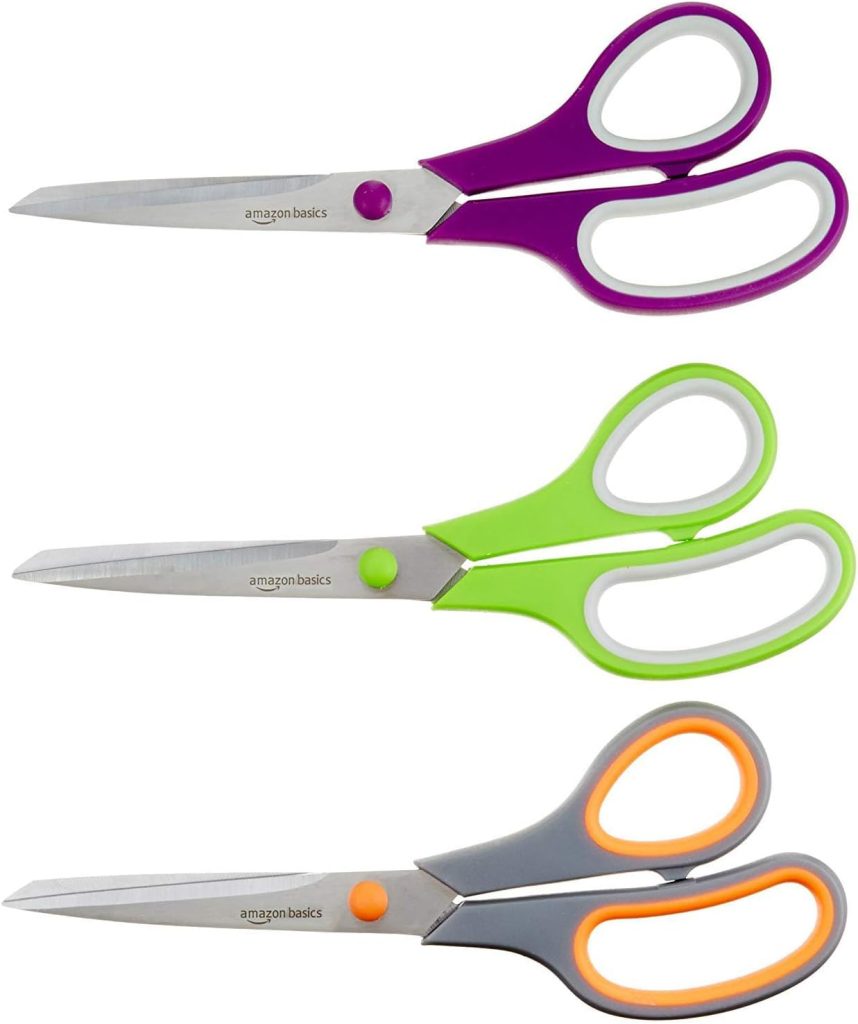
- Scissors or wire cutters
- Drill (optional, if you want to create pre-drilled holes for stability) I used a screwdriver and a hammer.
I may occasionally use affiliate links on this blog, which means I earn a small commission if you purchase through the link. The price will be the same whether you use the affiliate link or go directly to the vendor’s website using a non-affiliate link.

How to Make Glitter Christmas Trees
These come together FAST — once you make one, you’ll want to set up a whole forest.
#1 Build the Tree Shape

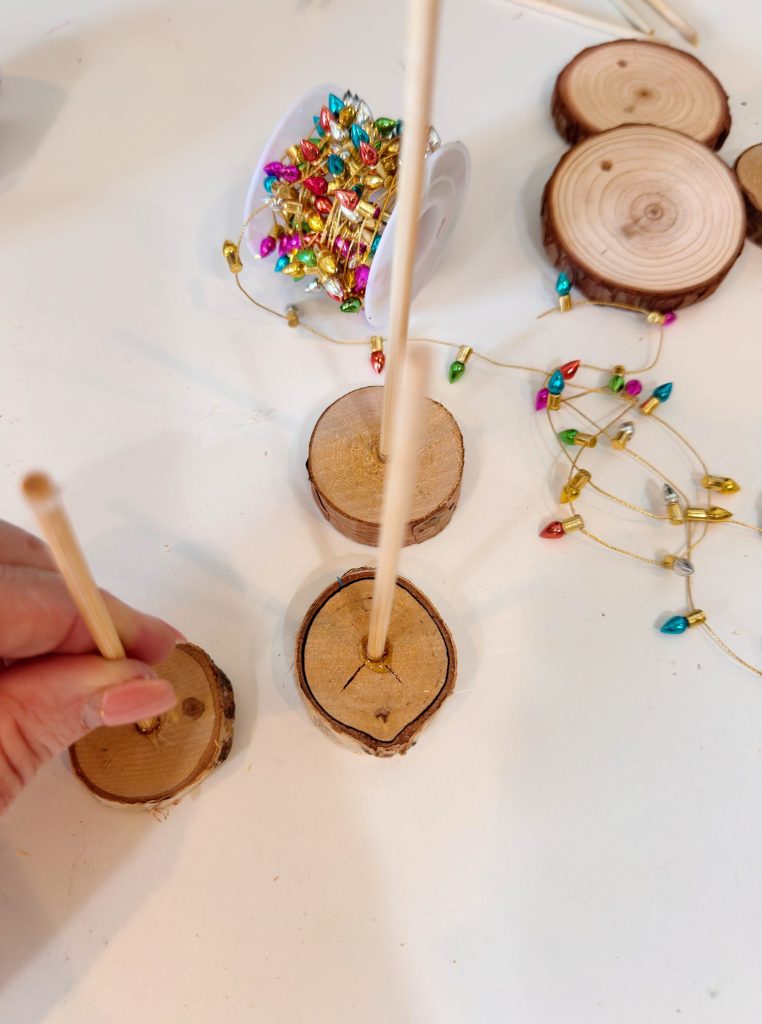
Use your wooden branch or dowel as the trunk. Use a Phillips head screwdriver and a hammer to drill a hole in the middle of the wood disc. This helps the skewer to stand up more firmly.
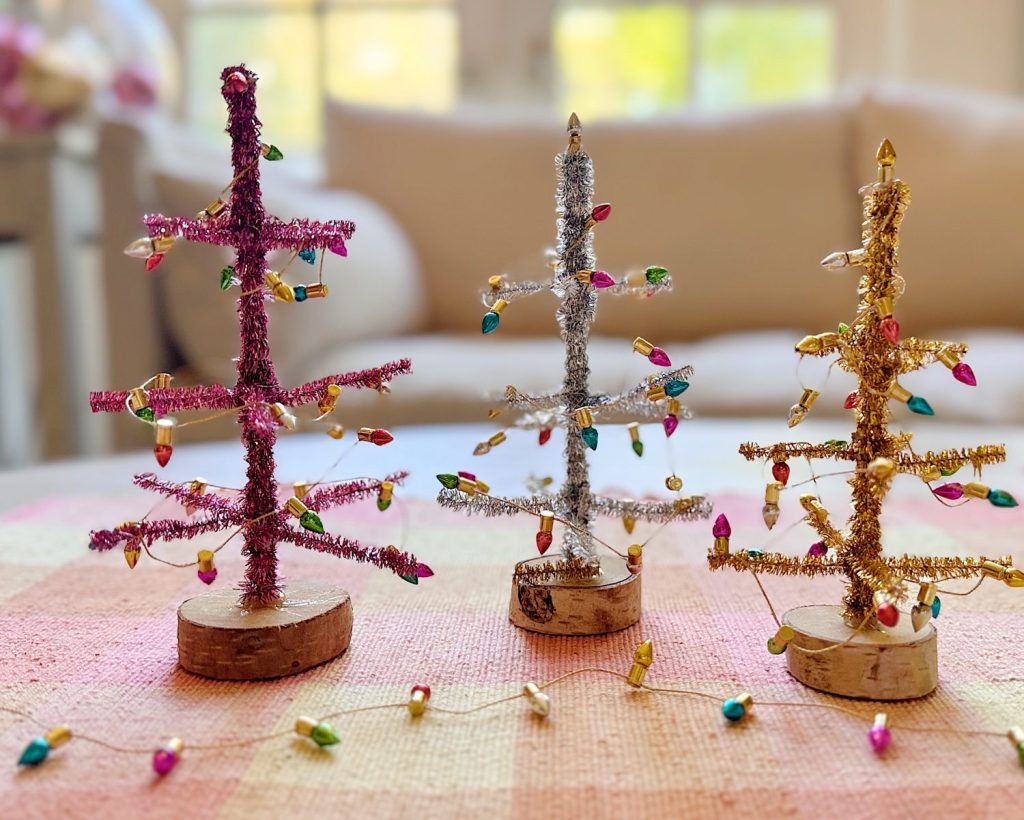
Cut the wooden skewers about 5 ” tall. I used three different heights, 5″, 4″, and 3.5″ tall.
Use hot glue to attach your trunk securely to the wood base.
#2 – Create the Branches
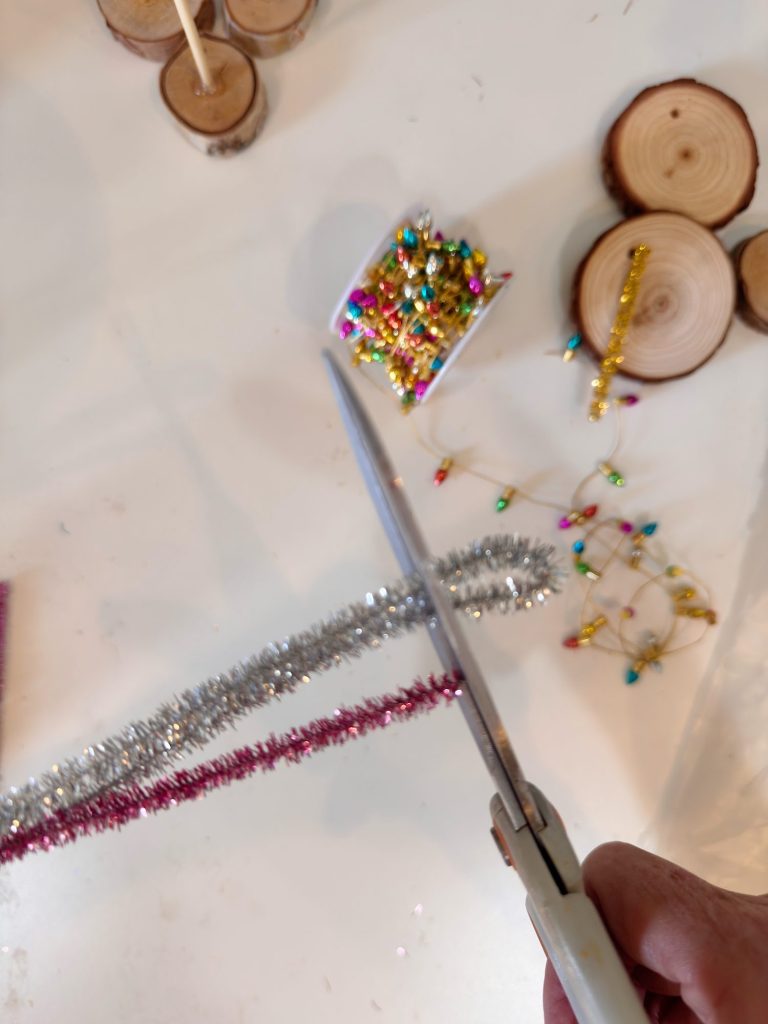
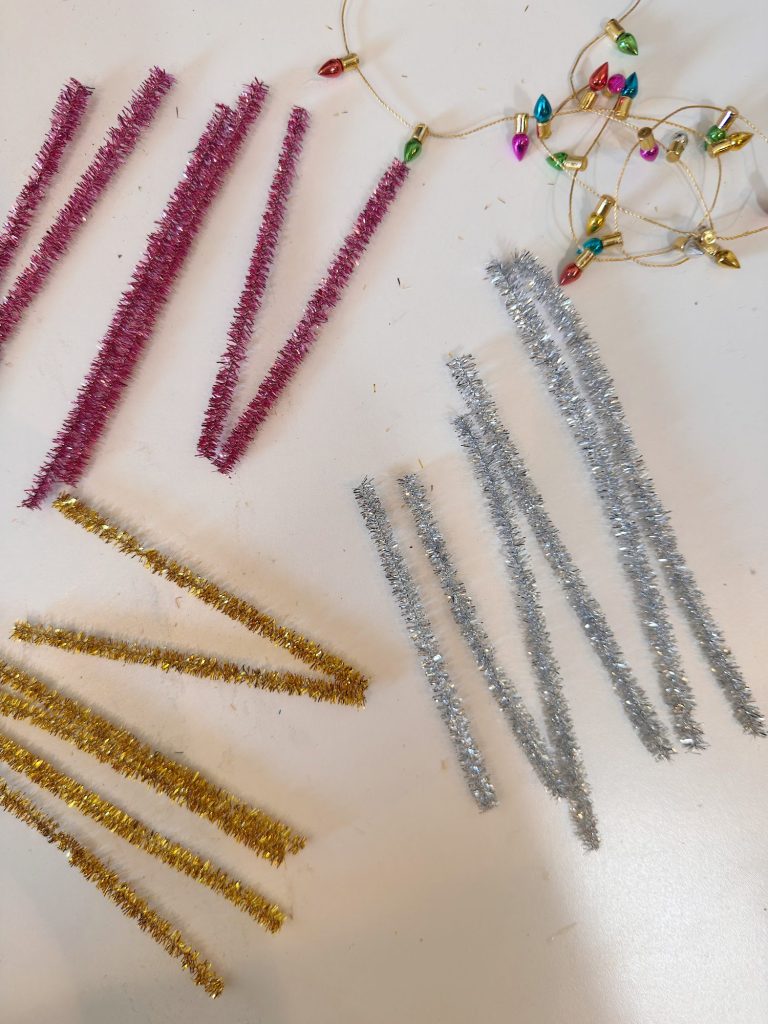
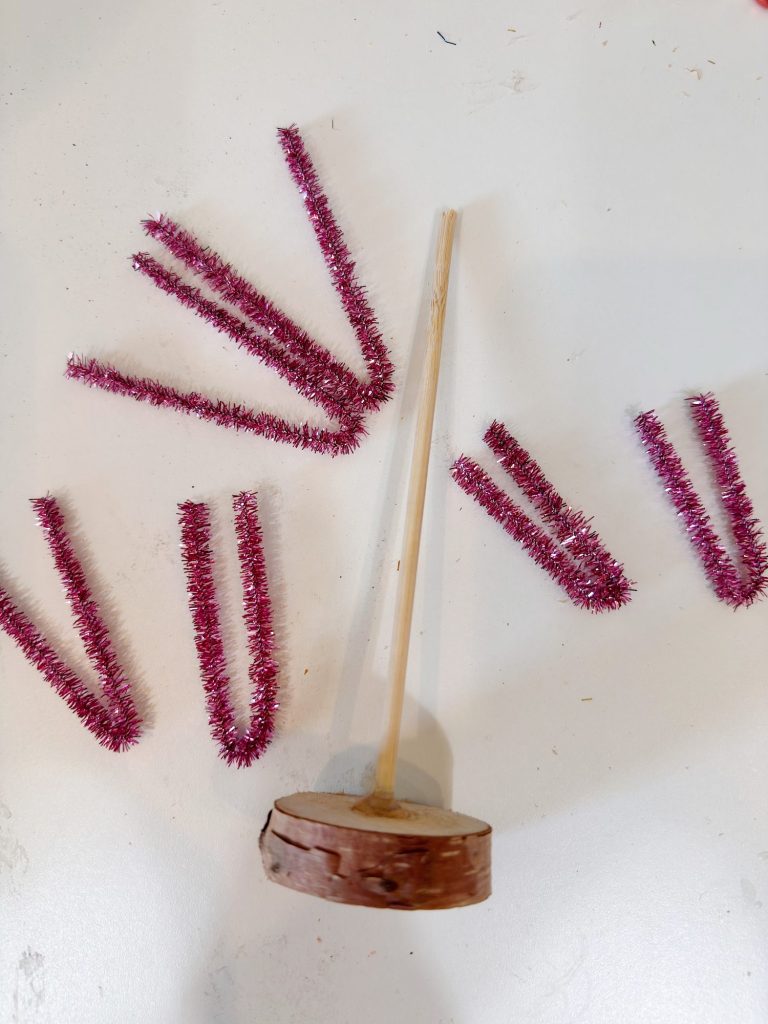
Cut your glitter pipe cleaners into these sections. You need two of each.
- 5″ pieces for the next layer
- 4″ pieces
- 3″ pieces
Fold each pipe cleaner in half.
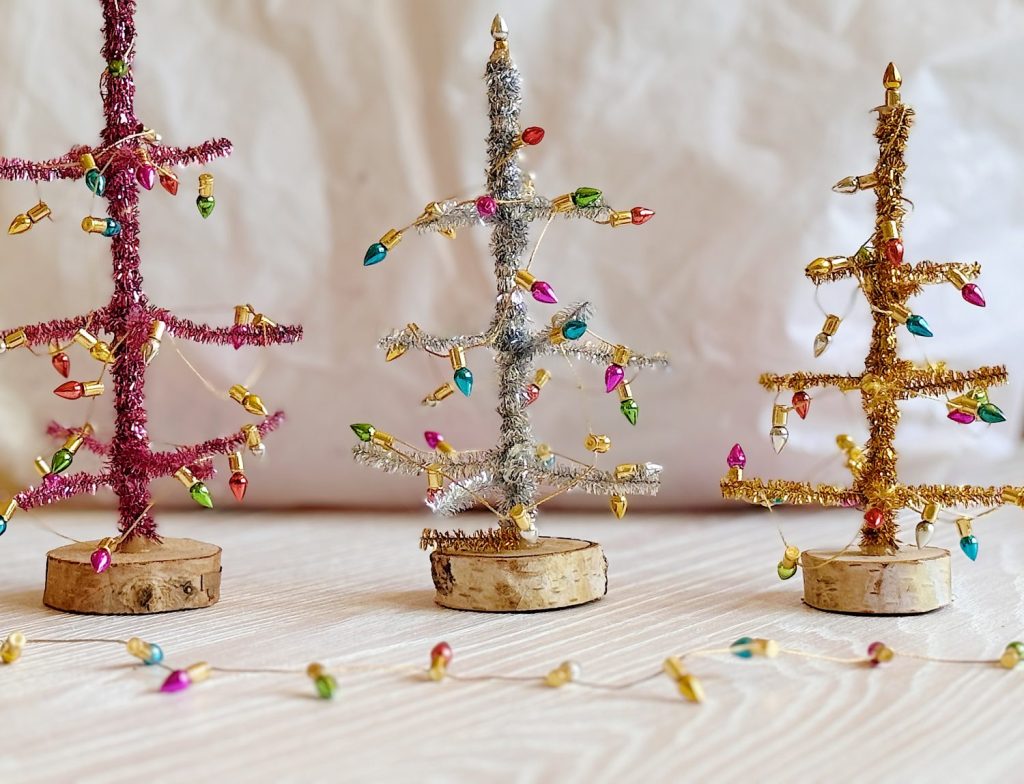
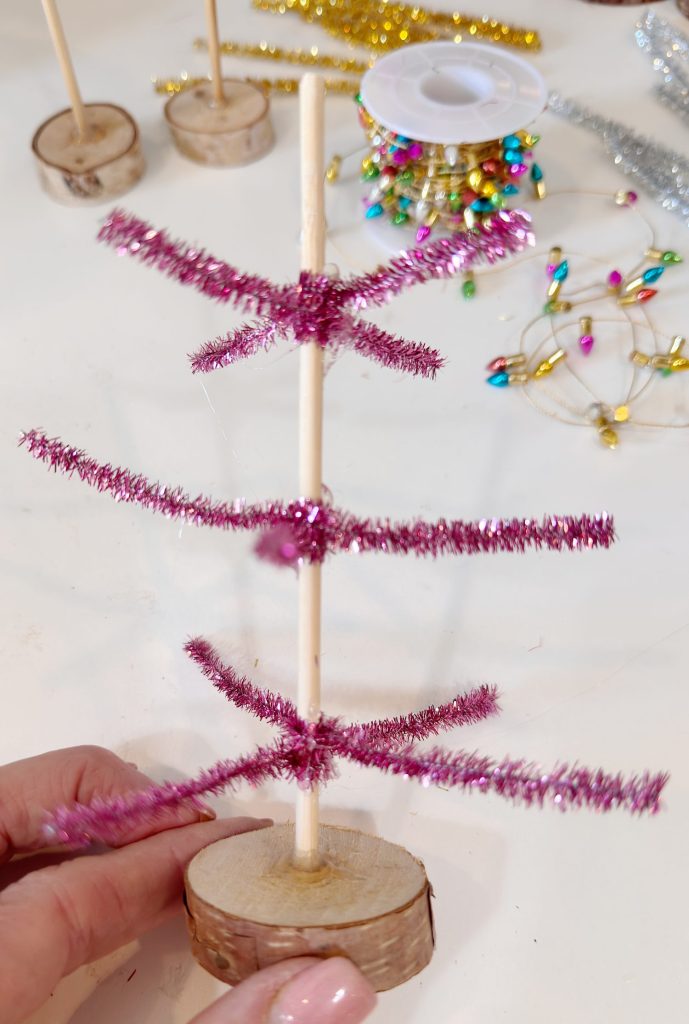
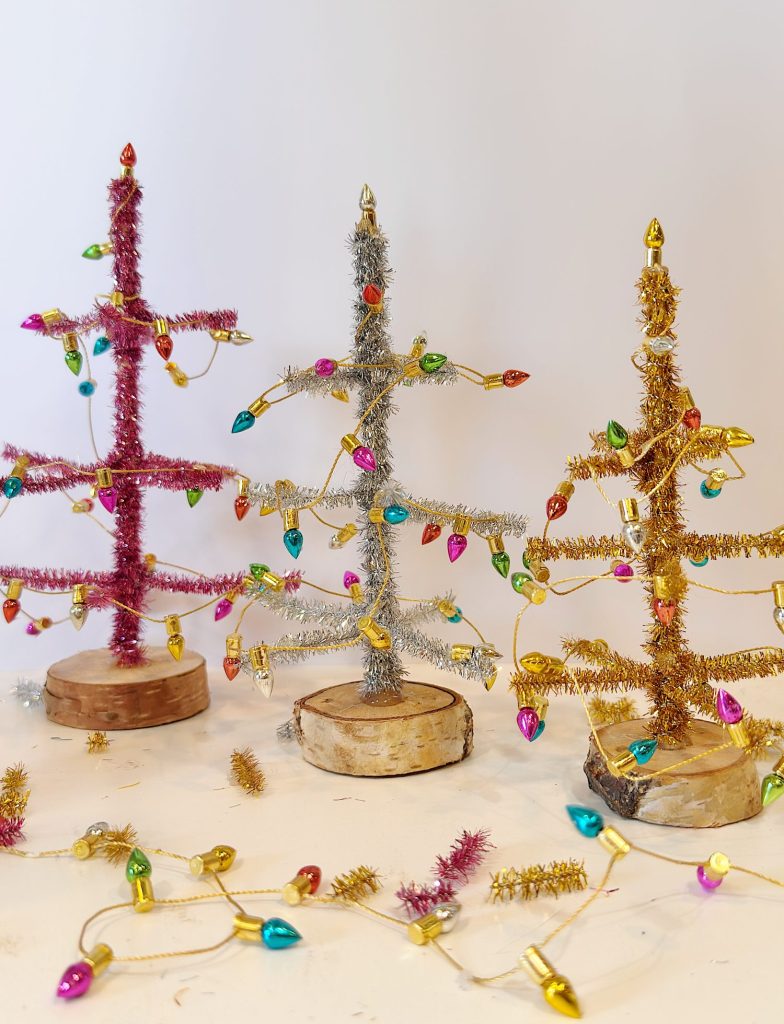
You’ll want 2–3 branches at each level, depending on how full you want your tree. I used two branches, folded, which yielded four branches at each level. I made three levels of branches.
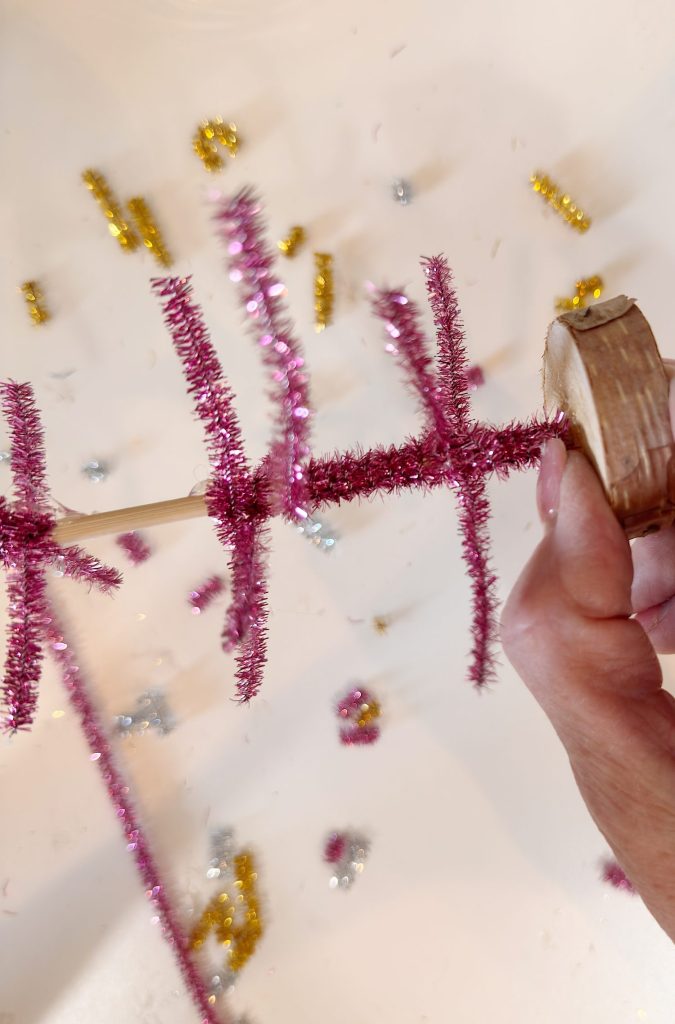
#3 – Add the Branches to the Tree
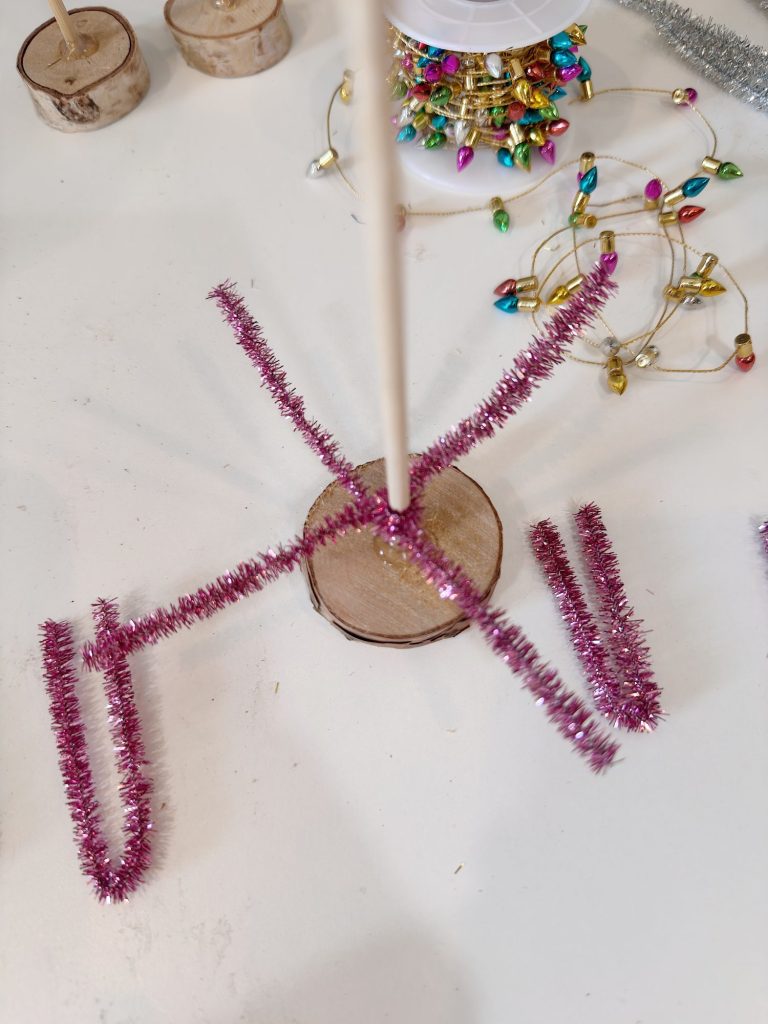
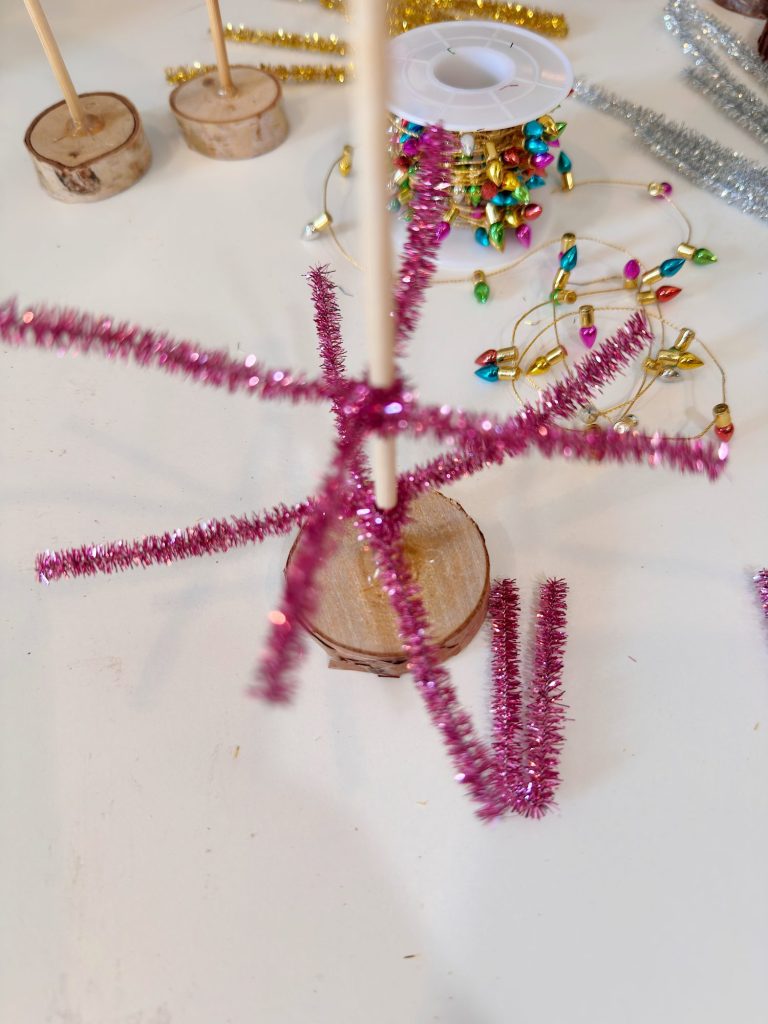
- Wrap your longest pipe cleaner pieces around the trunk and twist to secure at the bottom of the tree.
- Space them evenly around the trunk
- Move up the trunk and add the shorter pieces as you go
- Continue until you reach the top.
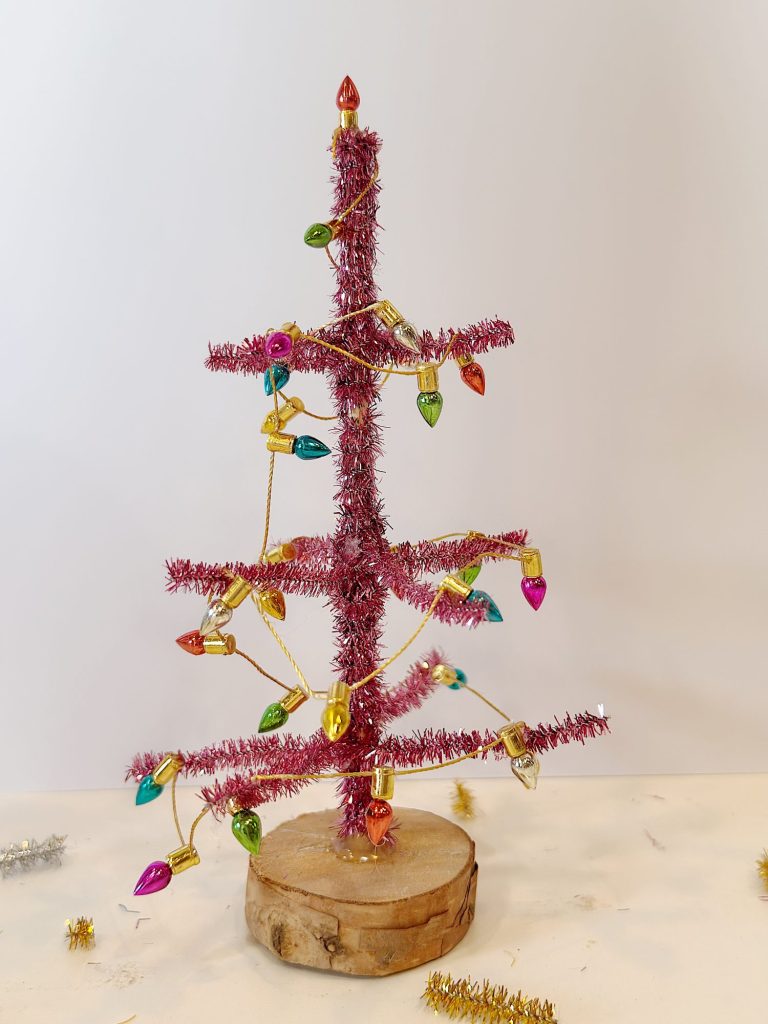
The layered lengths create a beautiful tapering tree shape.
#4 – Secure to the Base

Wrap pipe cleaners around the base to hide the wood. Secure ends with hot glue.
#5 – Optional: Add Mini Lights
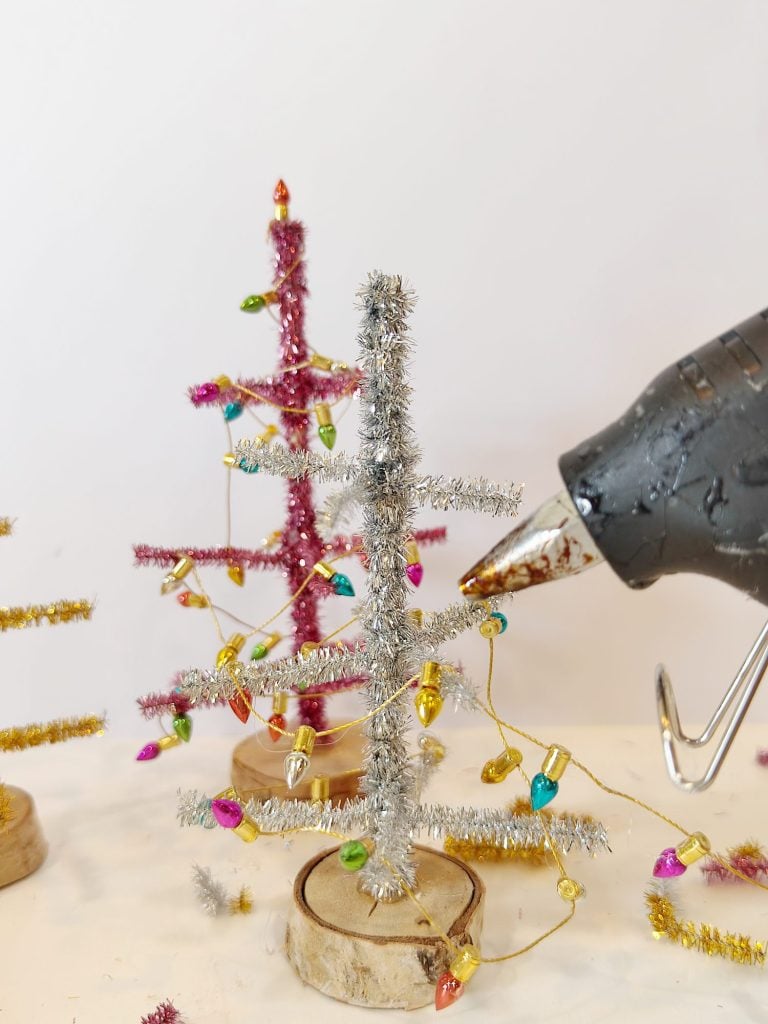
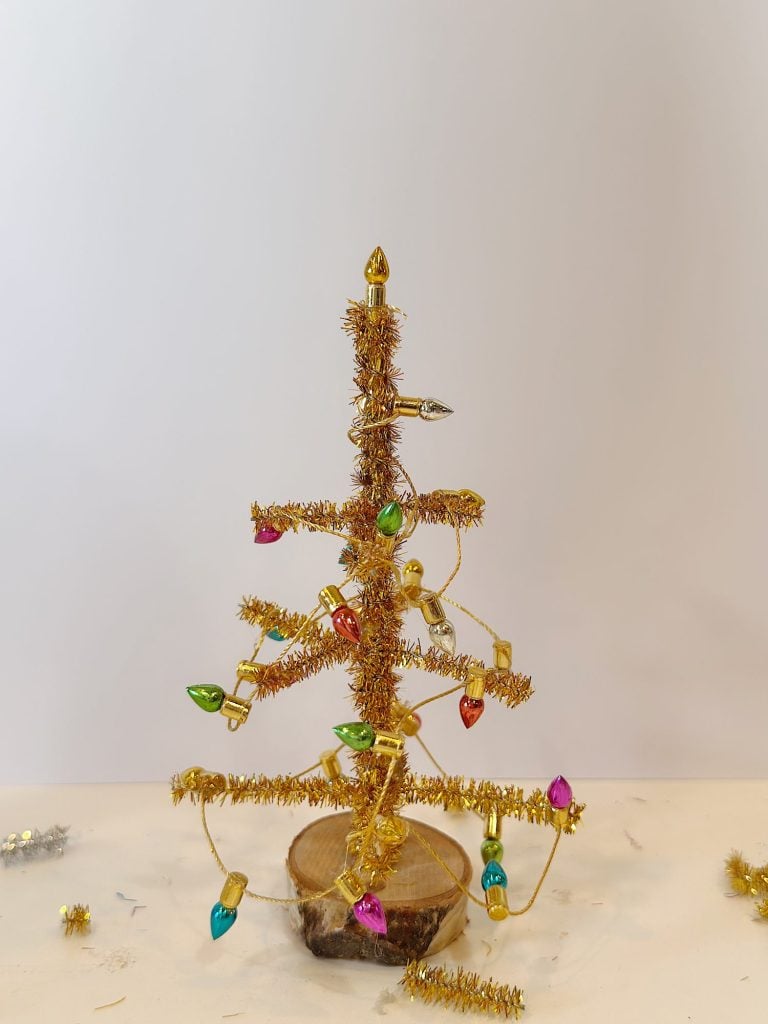
This is where the magic happens!
- Wrap a short strand of mini LED lights around the tree
- Or hot glue tiny ball ornaments to the ends of branches
- Or do both … more sparkle is always a good thing!
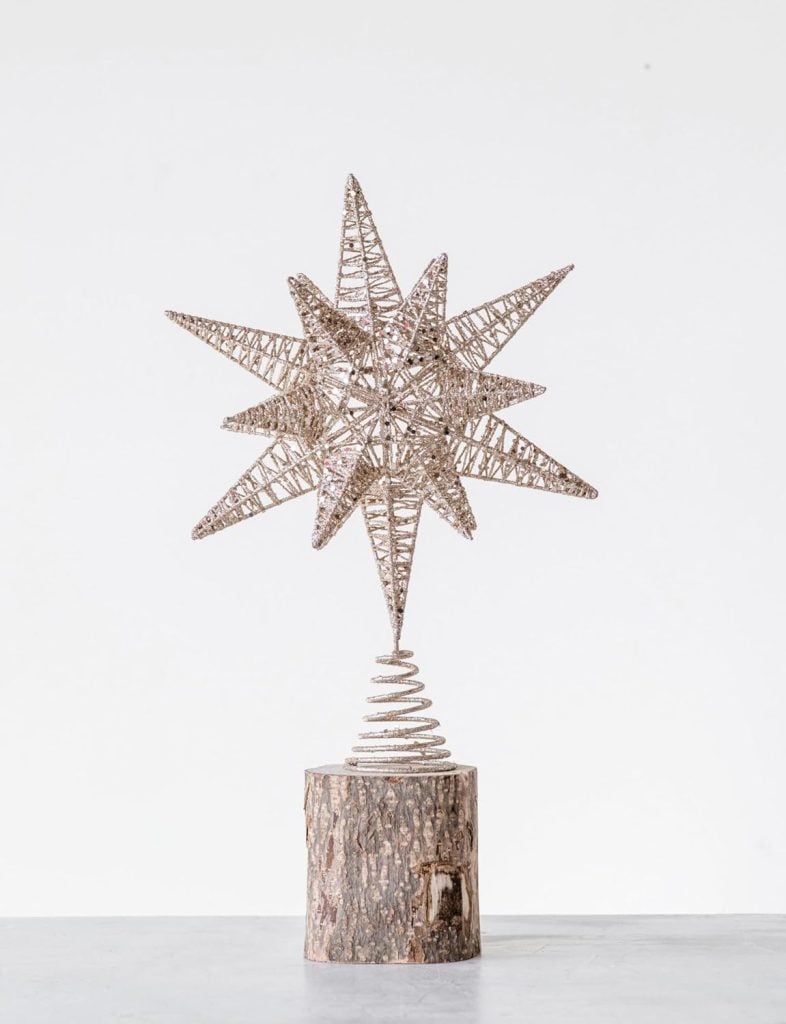
You can also add a small bead or gem at the top as a tree topper. I just added one of the lights.
Tips for Styling
A few ideas to make your forest even more fabulous:
- Mix heights — create a grouping of 3–7 trees
- Use different colors — metallic pastels are so fun!
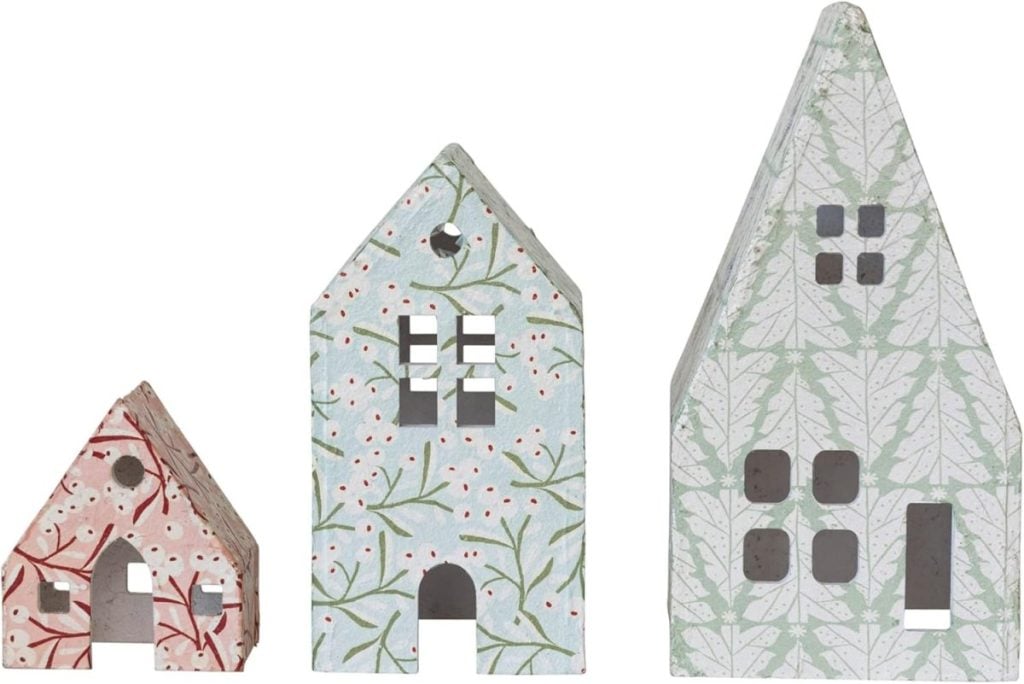
- Add to a holiday village for instant charm
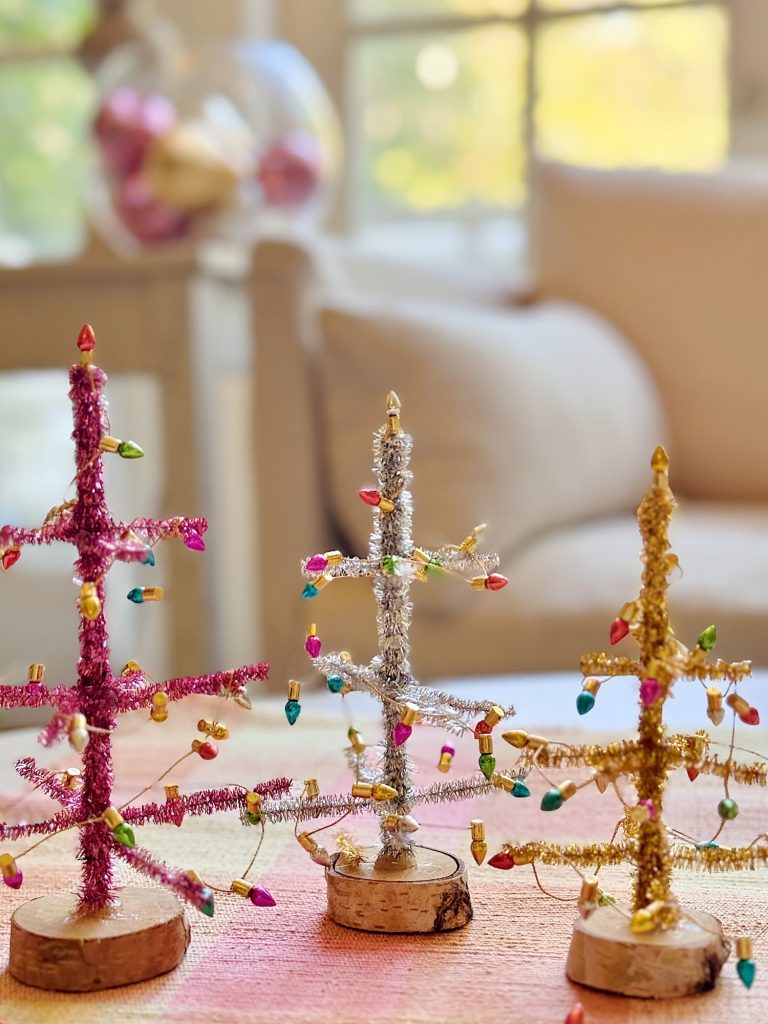
- Create a winter centerpiece for your dining table
- Tuck them into bookshelves to surprise guests with sparkle
These trees are tiny — but they make a significant visual impact.


Customization Ideas
These are so easy to tailor to your holiday theme:
| Color Palette | Looks Best With |
|---|---|
| Silver + White | Classic winter wonderland |
| Pink + Mint + Gold | Whimsical vintage magic |
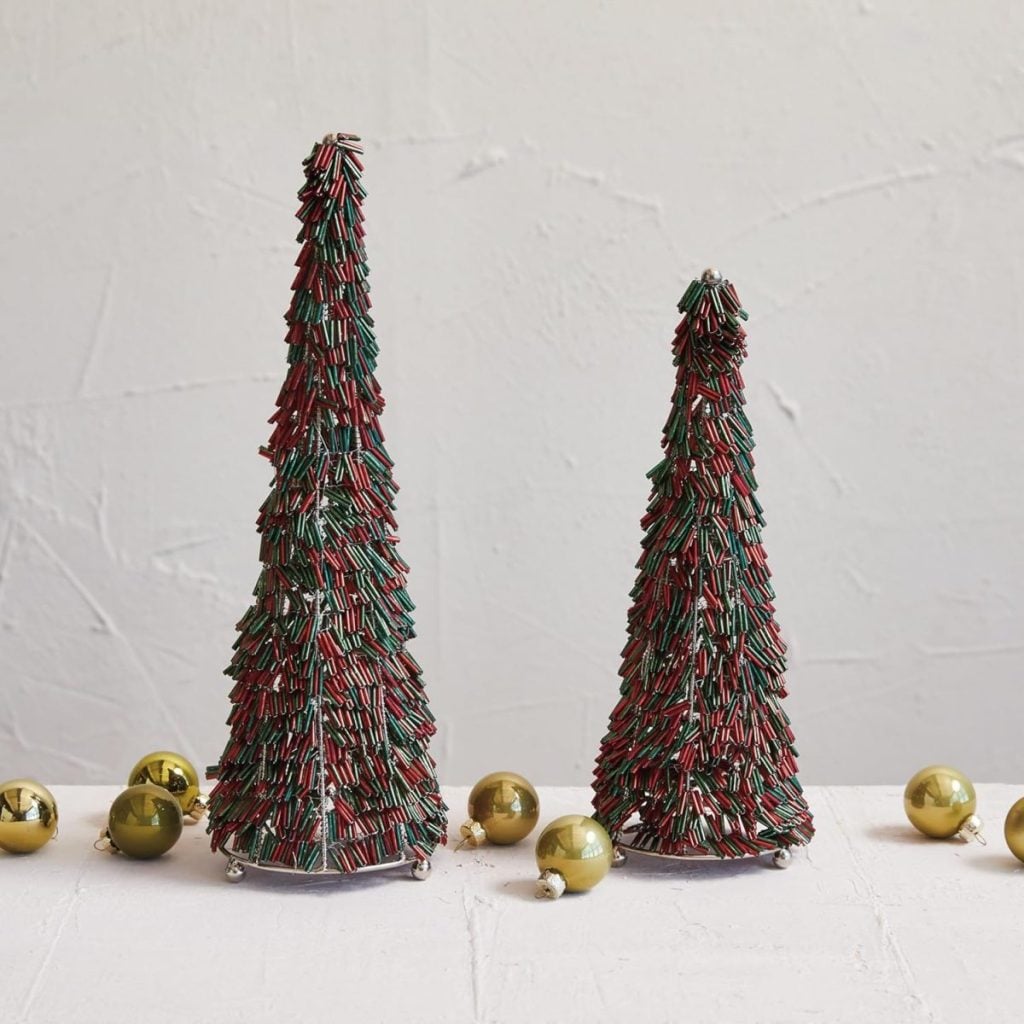
| Green + Red | Traditional farmhouse |
| Champagne + Copper | Elegant and modern |
| Multicolor | Family-friendly + playful joy |
You can also swap out the base:
- Birch wood slices for rustic charm
- Painted wooden cubes for a modern look
- Glittered clay shapes for even more sparkle
You can’t go wrong — have fun experimenting!
Decorating With Glitter Trees
Where should they go? Everywhere! Here are my favorite spots:
The Mantel
Cluster them around garlands and candles for a stunning centerpiece.
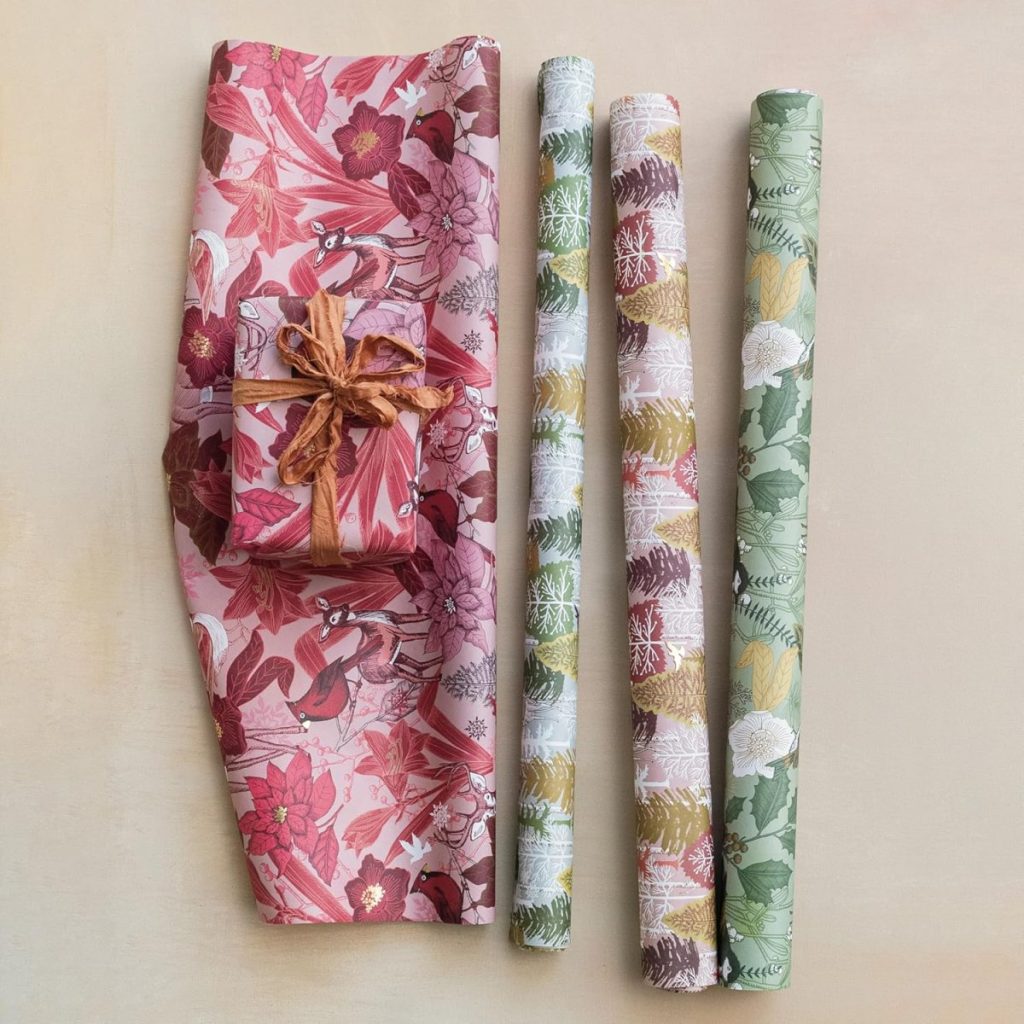
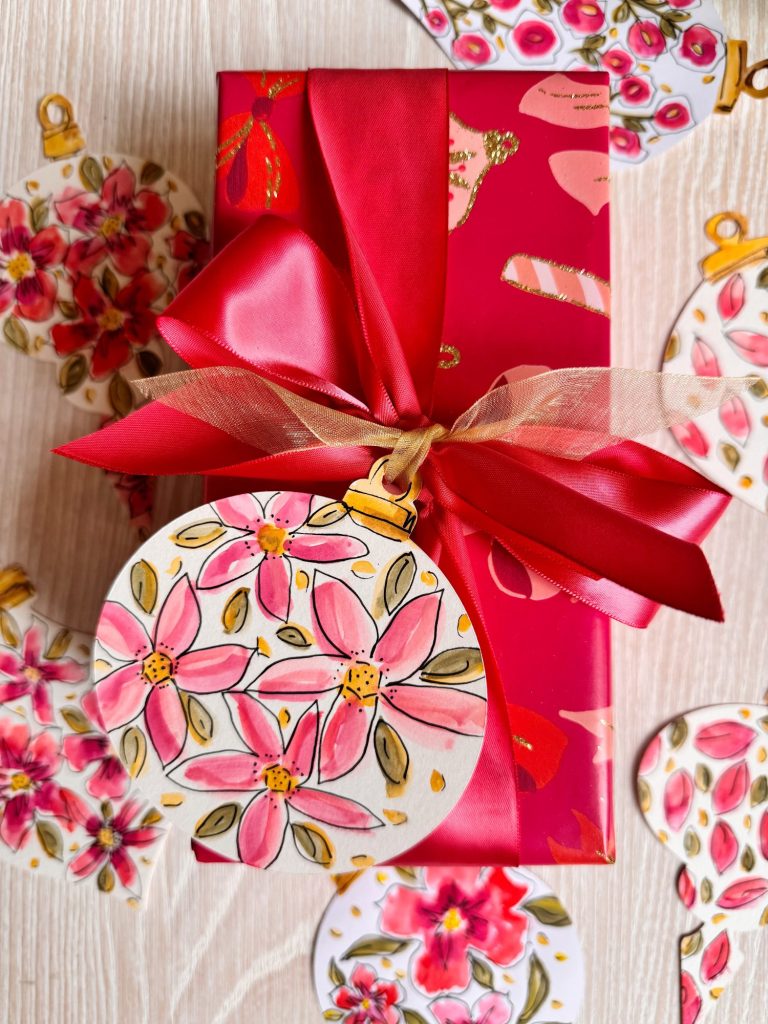
On Gift Packages
Tie a small tree onto a wrapped present — the cutest extra gift!
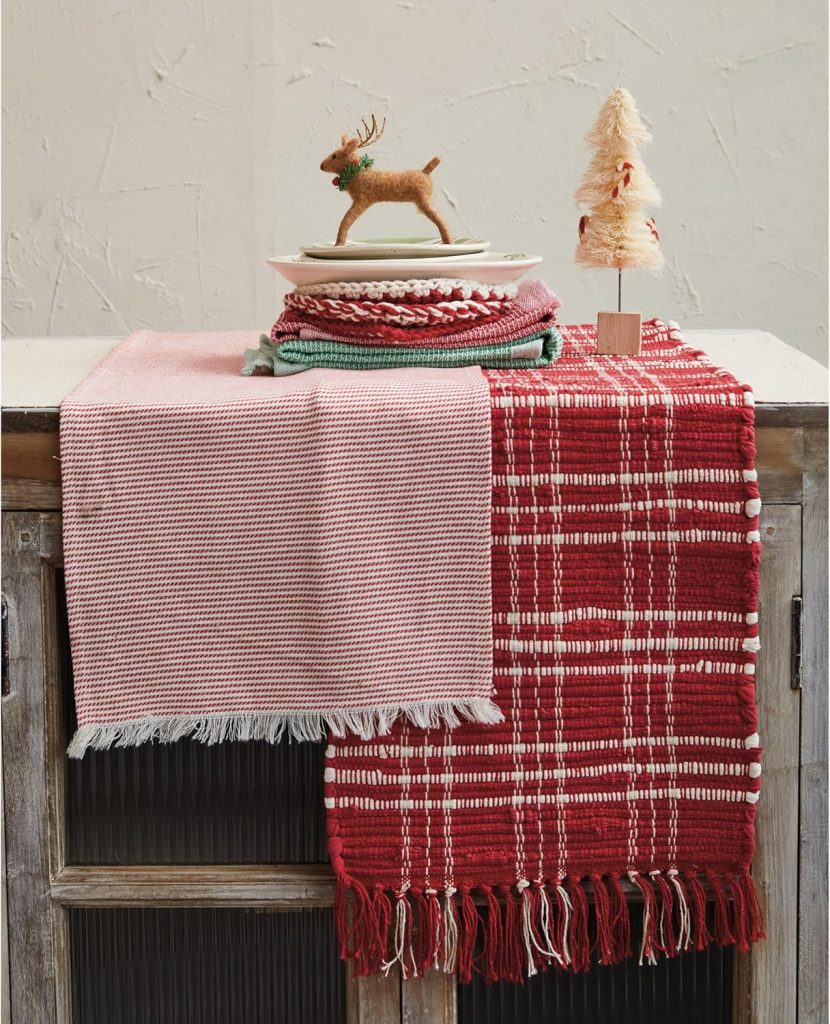
Holiday Tables
Use them as part of each place setting or as a festive runner.
Bookshelves
Tuck 1–2 between books for joyful pops of Christmas.
Window Sills
Let them shine in the natural light — the glitter sparkles beautifully.
Bedrooms & Kids’ Spaces
They add magic without taking up space.
These trees instantly make any corner feel ready for Christmas.


A Handmade Christmas Tradition
Part of the joy of handmade holiday decor is the memories created along the way. These Glitter Christmas Trees are a fantastic project to do:
- With friends at a crafting party
- With kids (just help with the hot glue!)
- As a family night activity with hot cocoa and Christmas music playing
There’s something special about decorating your home with pieces you made yourself — they hold meaning, they tell a story, and they are uniquely yours.
Sixteen Weeks of A Handmade Christmas
Here are the first nine weeks of A Homemade Christmas. Can you believe I have only seven more still to share!
If you create these Glitter Christmas Trees, please tag me as I love seeing your handmade holiday magic!

If you enjoy my blog, you can sign up to receive my updates here.
.Sixteen Weeks of A Handmade Christmas
- – Week 1
Latest Posts
-
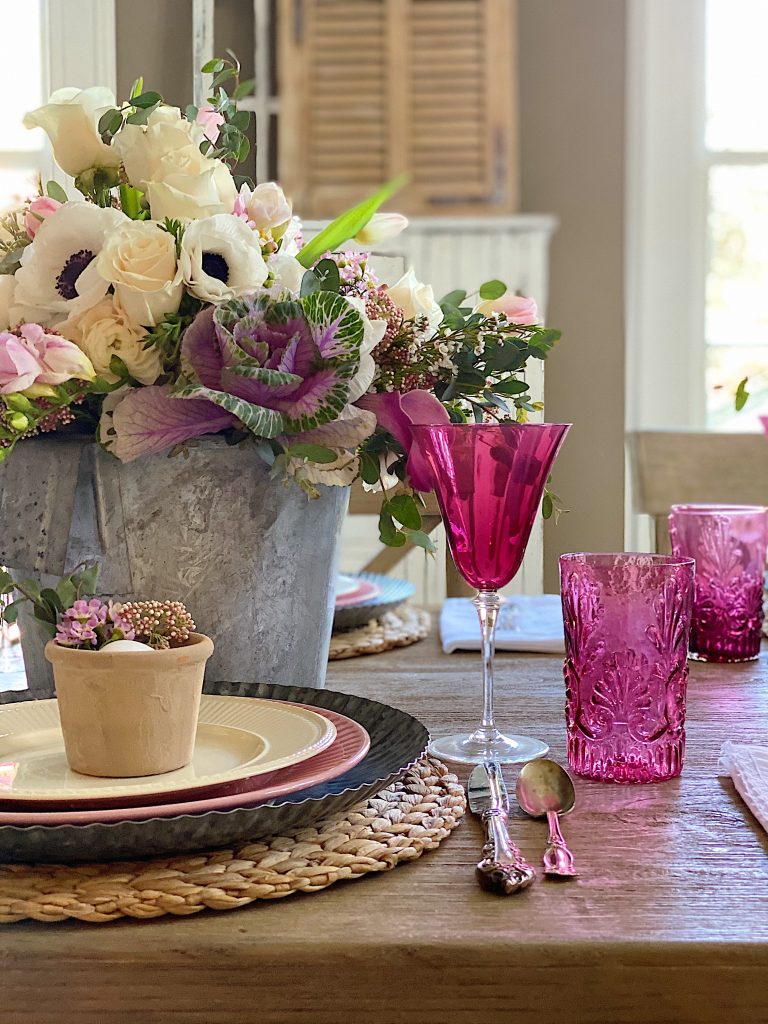
How to Set a Beautiful Table with Easter Colors
I am so excited to share my Easter brunch table ideas. I love the bright Easter colors and can’t wait to share the florals, table setting, and fun glassware. Easter Brunch is one of my favorites. I already shared my favorite Easter Brunch recipes. Today, I set a table and love how these Easter colors…
-
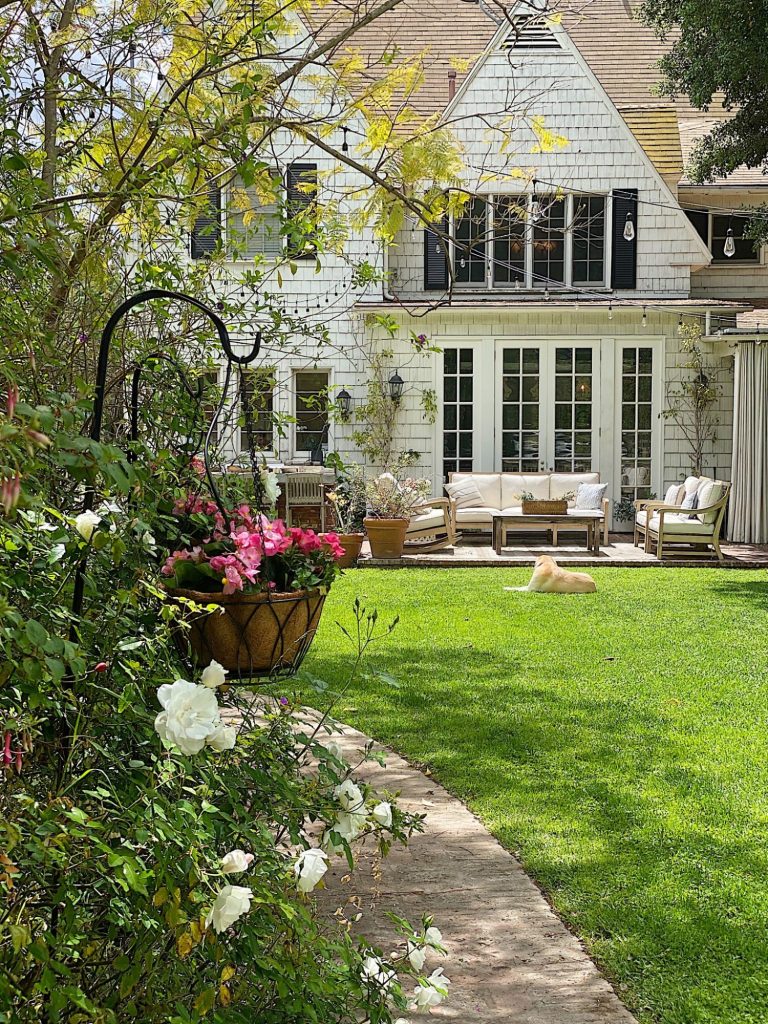
Five Easy Steps to Adding Hanging Planters in Your Yard
Today, I am sharing how I created the hanging planters in our backyard. I love mine so much! Hanging planters look lovely in any yard. My hanging planters have been looking awful all winter long. Here are five easy steps to add (or redo) hanging flower baskets in your yard. Adding hanging planters is a…
-
Spring Cleaning and Sunday Morning Coffee
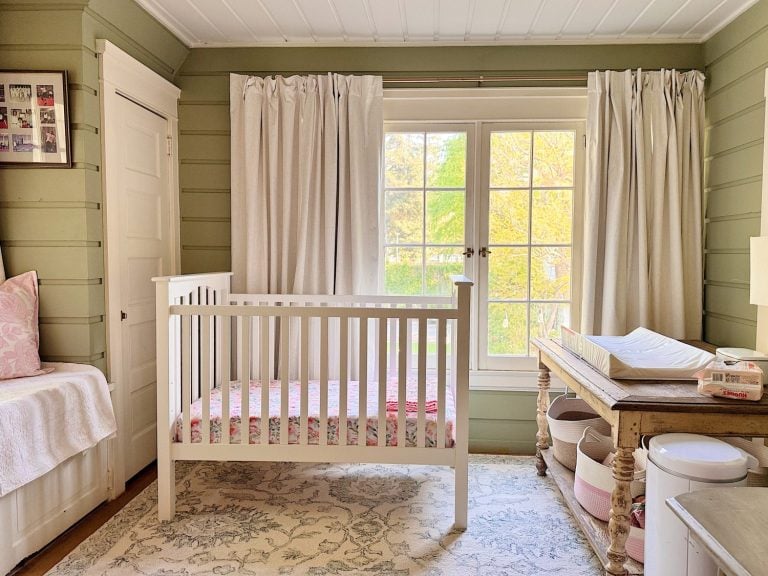
I don’t know about you, but every spring I feel this strong pull to refresh something in our home, and this year I started in a place that might surprise you. It’s Spring Cleaning time! The very first room on my spring-cleaning list was our nursery. And yes, I know that sounds a little unexpected,…
-
Best Easter Brunch Egg Dish: Loaded French Onion Frittata
Easter brunch is one of those special meals where the table is complete, the laughter is loud, and the food is nothing short of spectacular. If you want to wow your guests with something savory, cheesy, and unforgettable, let me introduce you to your new Easter brunch hero: a Loaded French Onion Frittata.

My Recent Instagram Posts

You can pin the image below to your boards on Pinterest (click the Pin button in the top left corner) or follow me on Pinterest!
For more real-time updates, follow me on Instagram @My100YearOldHome