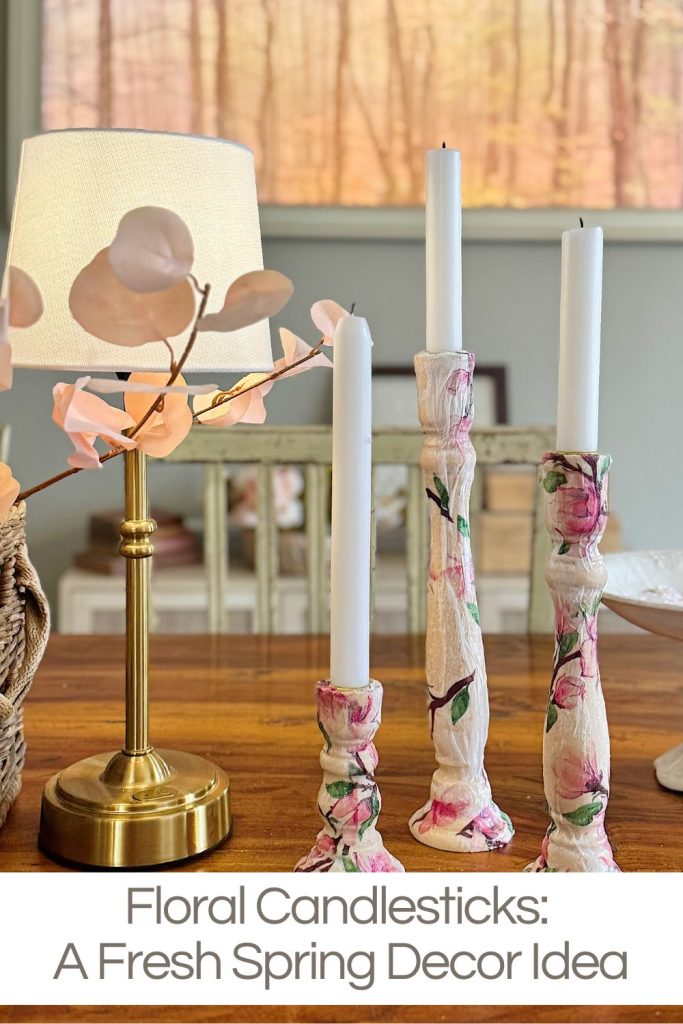
Floral Candlesticks: A Fresh Spring Decor Idea

As the seasons change and winter fades away, it’s time to refresh our homes with spring decor that feels light, airy, and full of life.
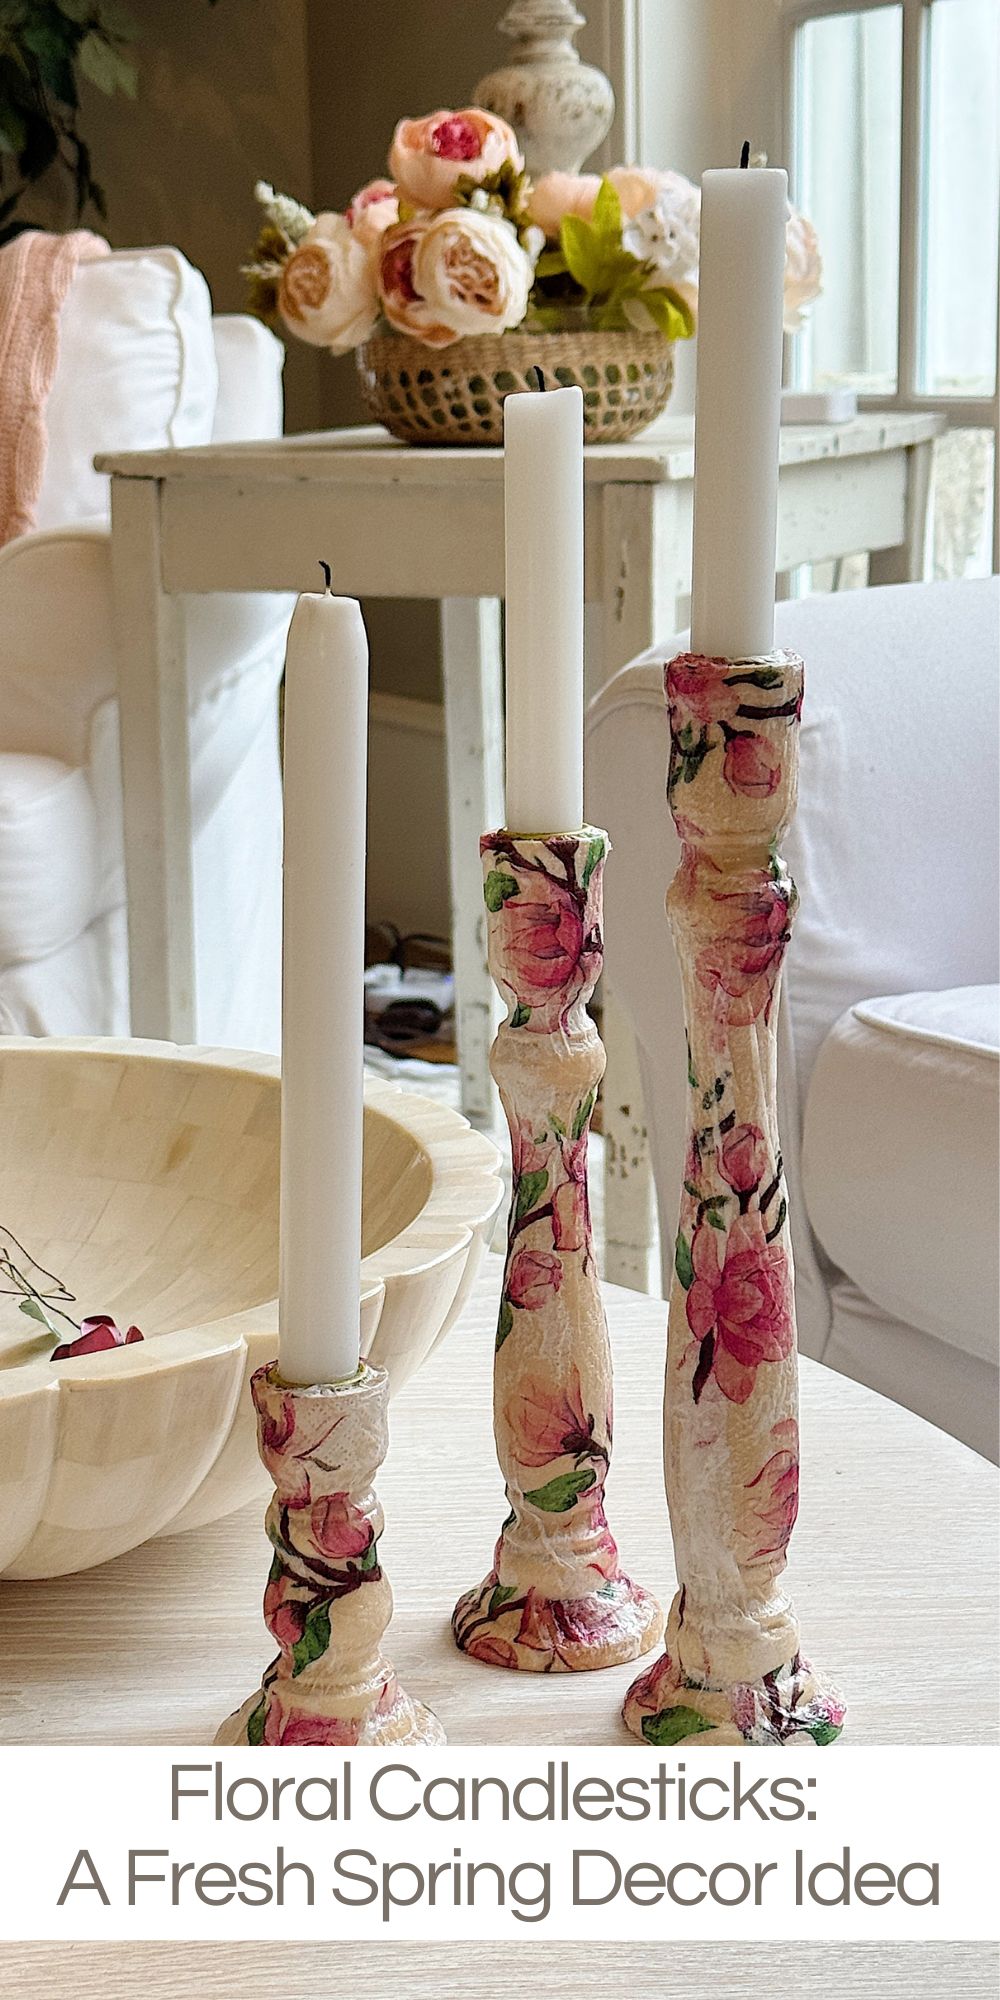
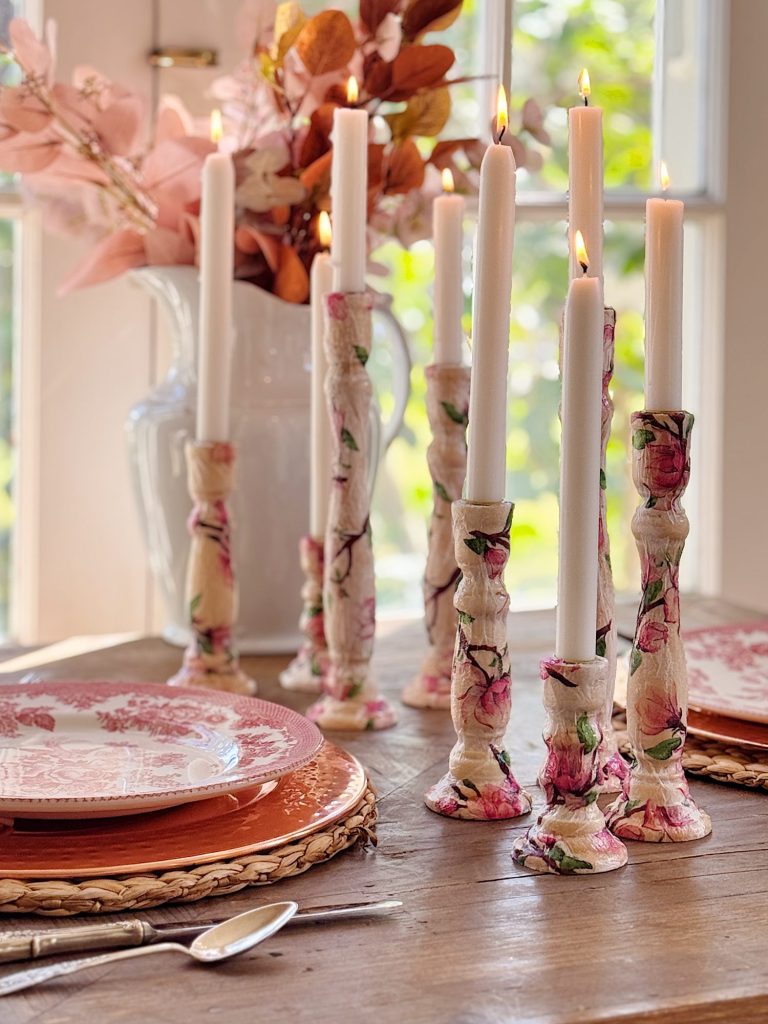
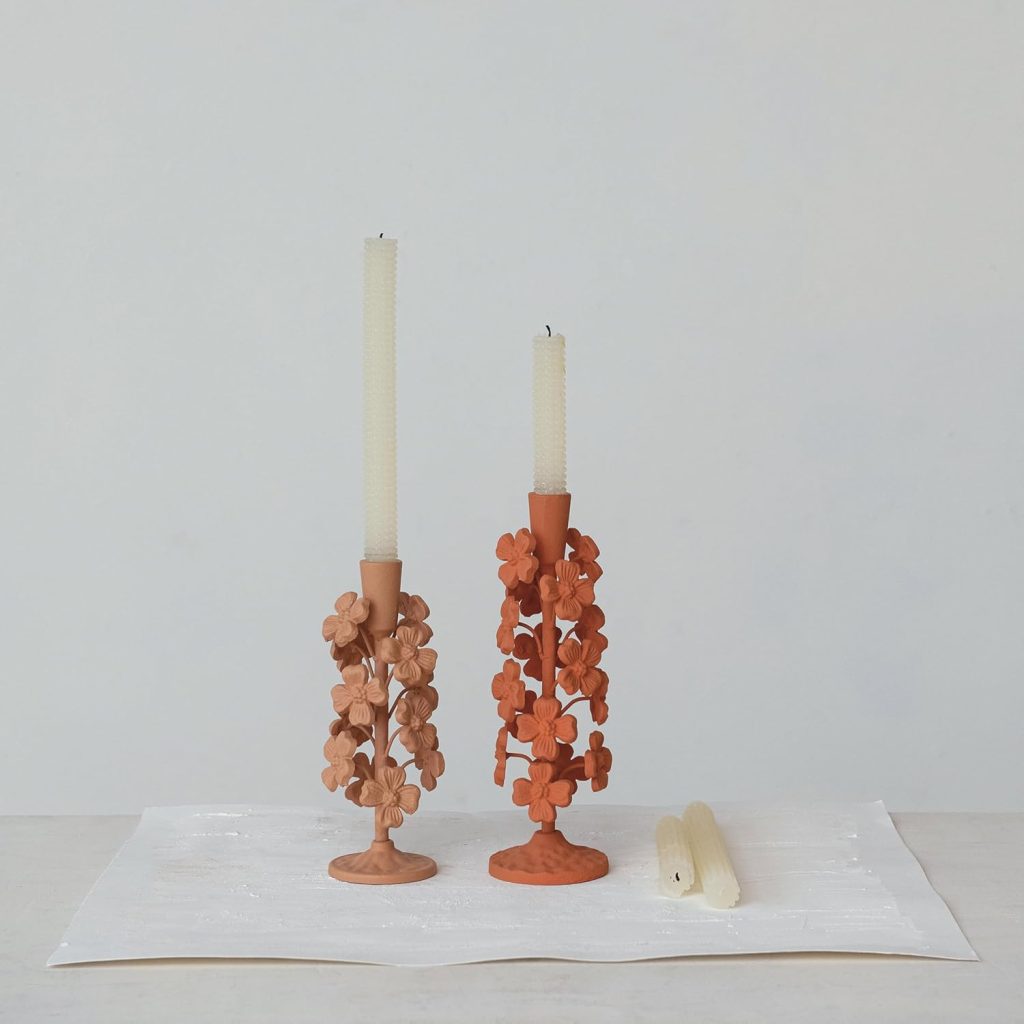
One of my favorite spring decor ideas this year is floral candlesticks—a simple yet elegant DIY project that adds a beautiful seasonal touch to any table setting.


DIY Spring Decor Ideas
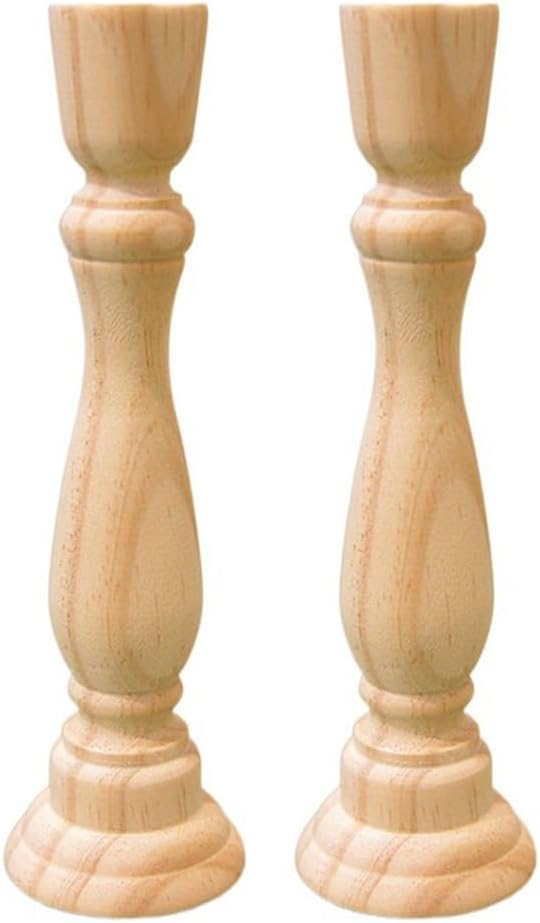
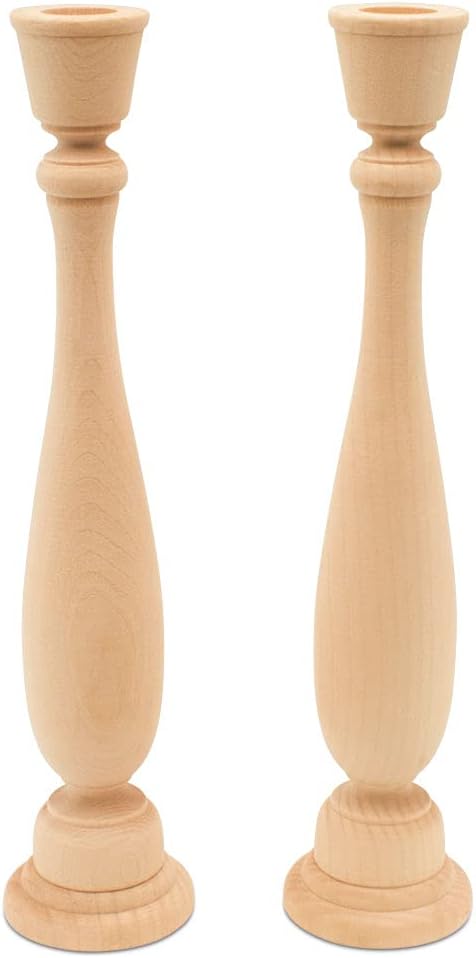
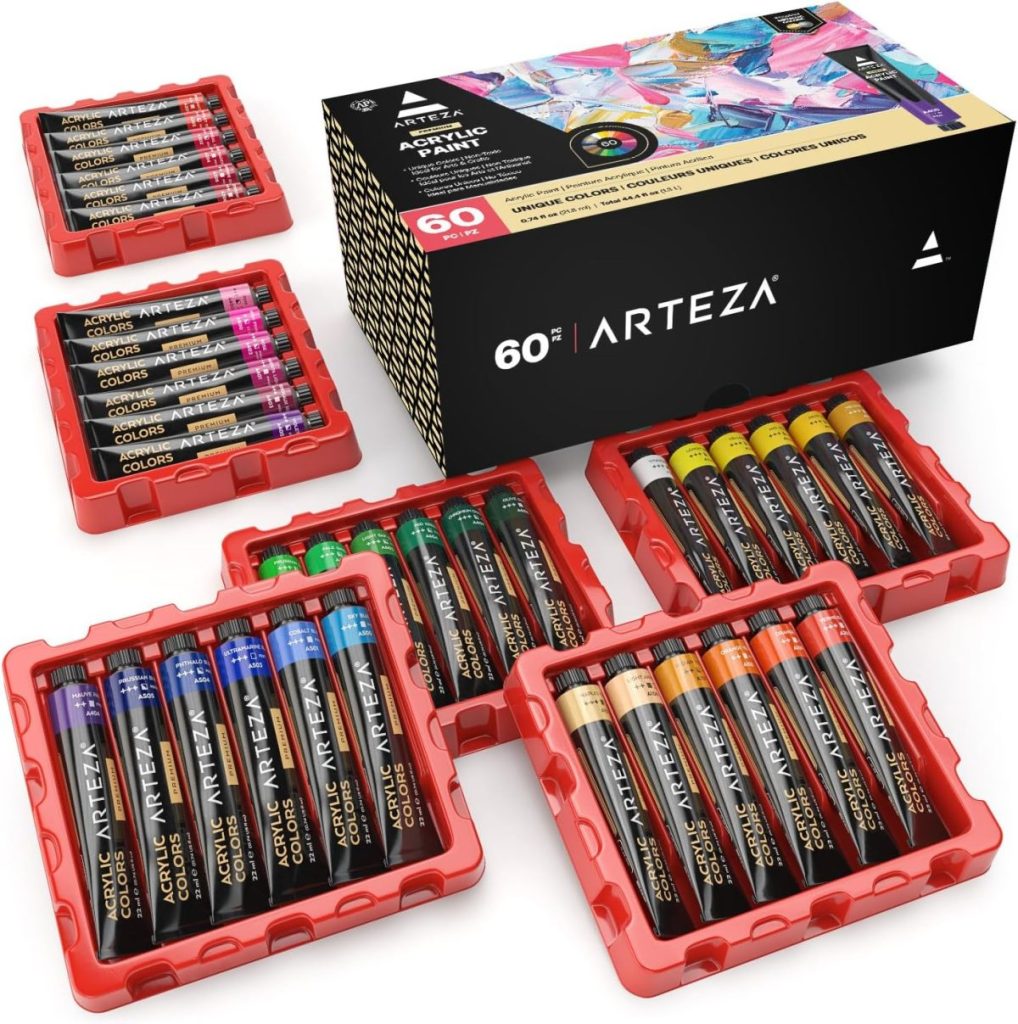
This craft was so easy to make, requiring only a few materials: unpainted wooden candlesticks, paper napkins, and Mod Podge.
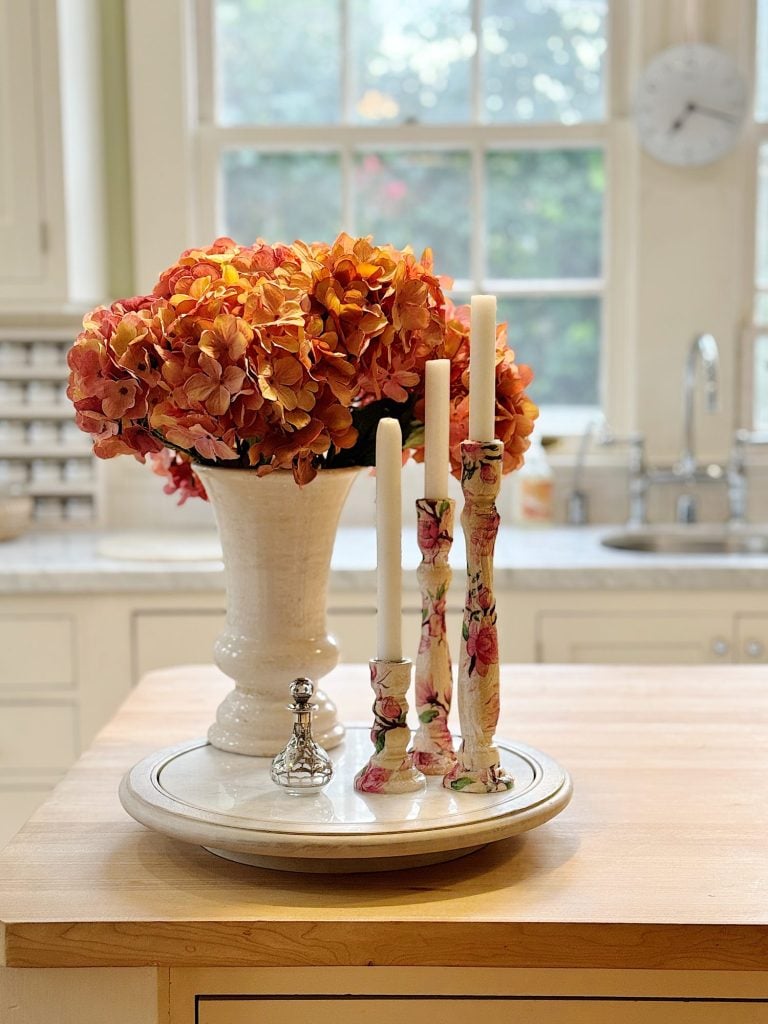
The result? Delicate floral designs that look hand-painted, adding a soft and romantic feel to any room.
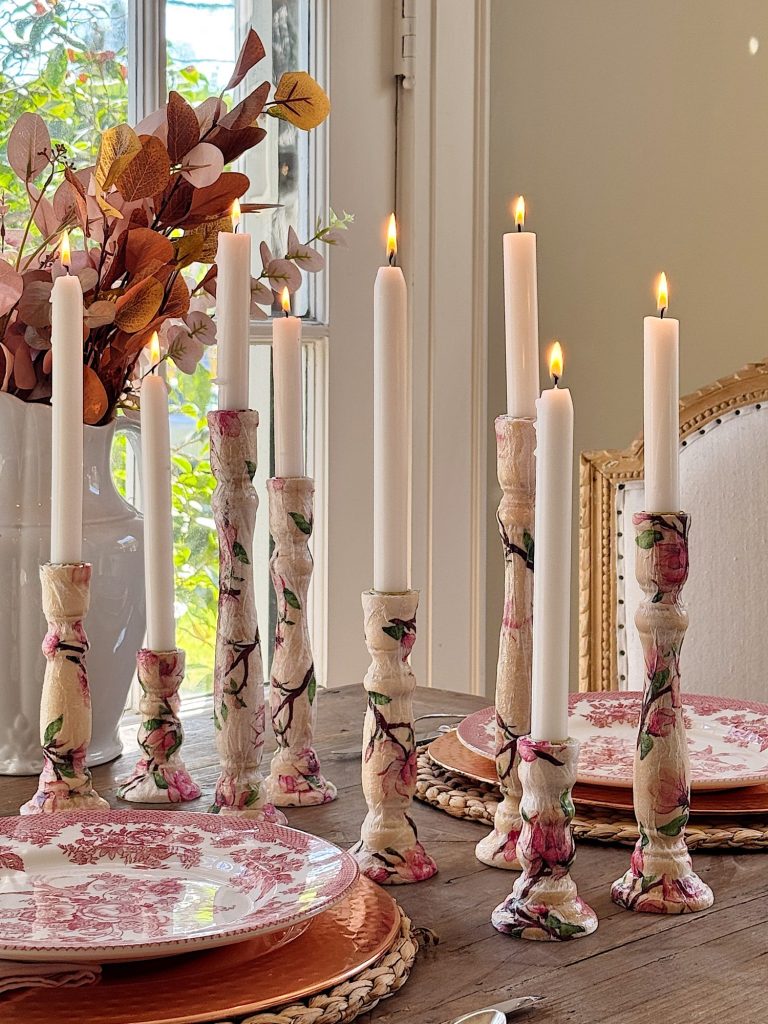
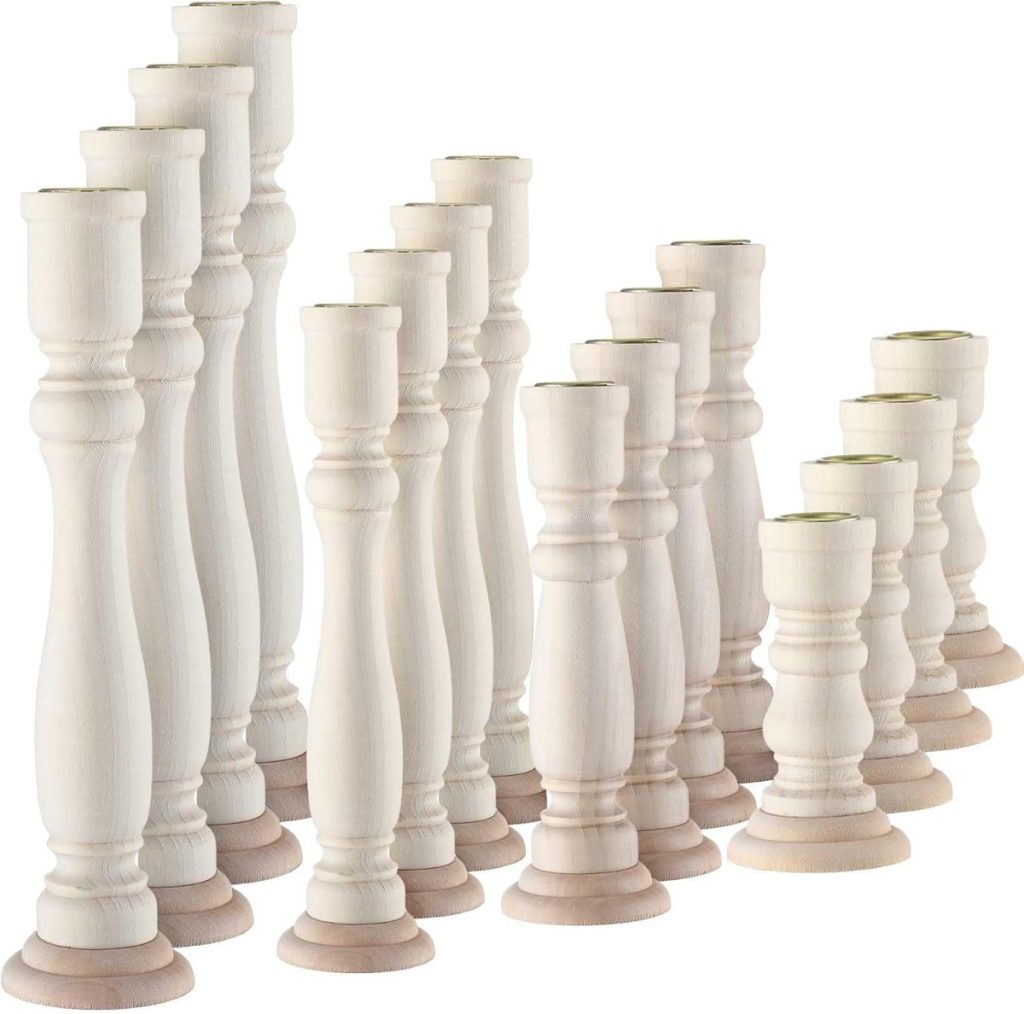
I made a set of eight floral candlesticks and used them to create a stunning, intimate tablescape in our living room for a romantic dinner with my husband. The flickering candlelight against the floral patterns was magical. Let me walk you through how you can create these lovely spring-inspired candlesticks for your home!
I may sometimes use affiliate links on this blog, which means I earn a small commission if you purchase via the link. The price will be the same whether you use the affiliate link or go directly to the vendor’s website using a non-affiliate link.
Why Floral Candlesticks Are the Perfect Spring Decor Idea
Spring is all about new beginnings, fresh flowers, and soft colors; these floral candlesticks perfectly capture that essence. They bring a touch of nature indoors, making them ideal for:
- Spring table centerpieces
- Romantic dinners or special occasions
- Easter celebrations
- Everyday decor on mantels, bookshelves, or coffee tables
This DIY project is budget-friendly and can be customized with any floral napkins or colors to match your style.

Materials You’ll Need
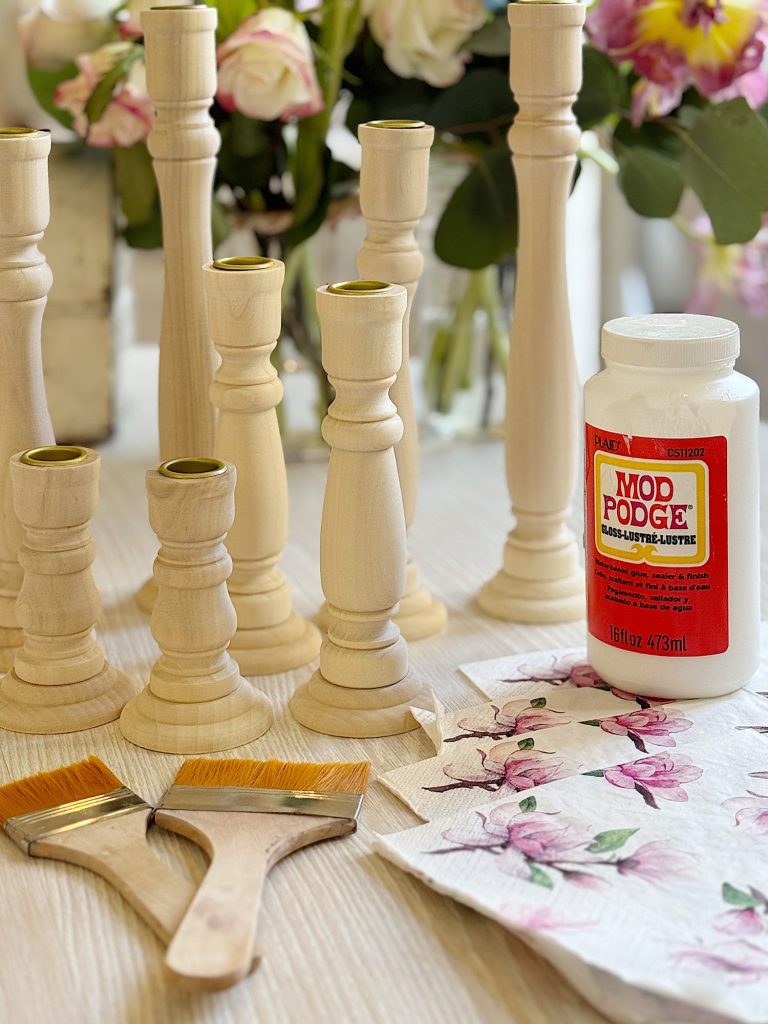
Before you start, gather these simple materials:
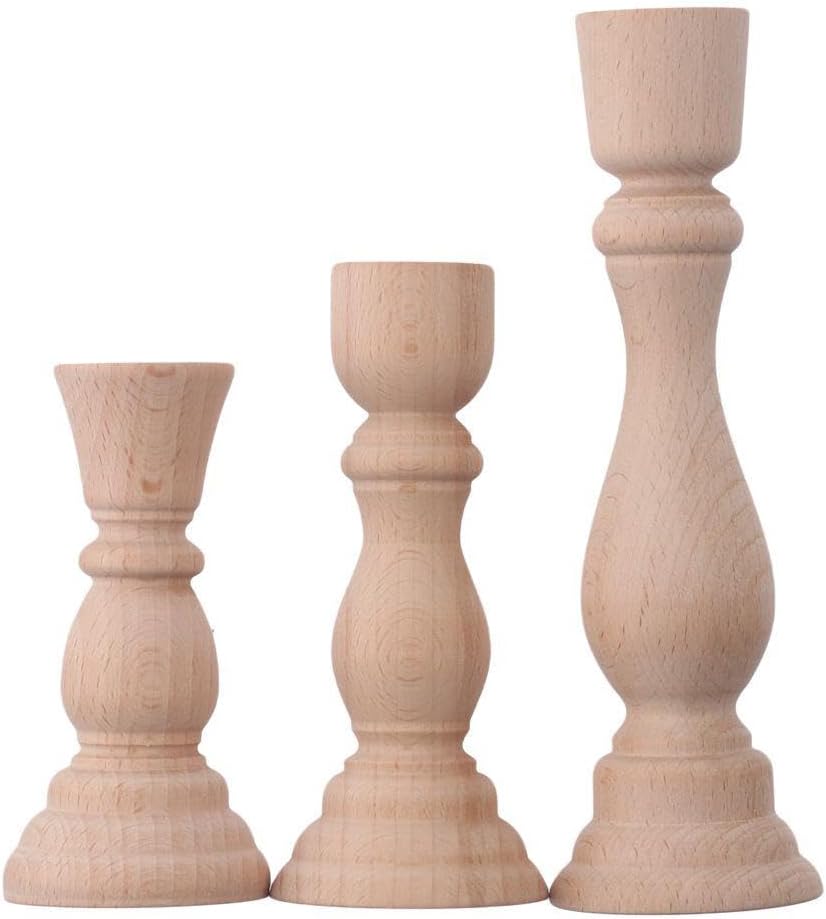
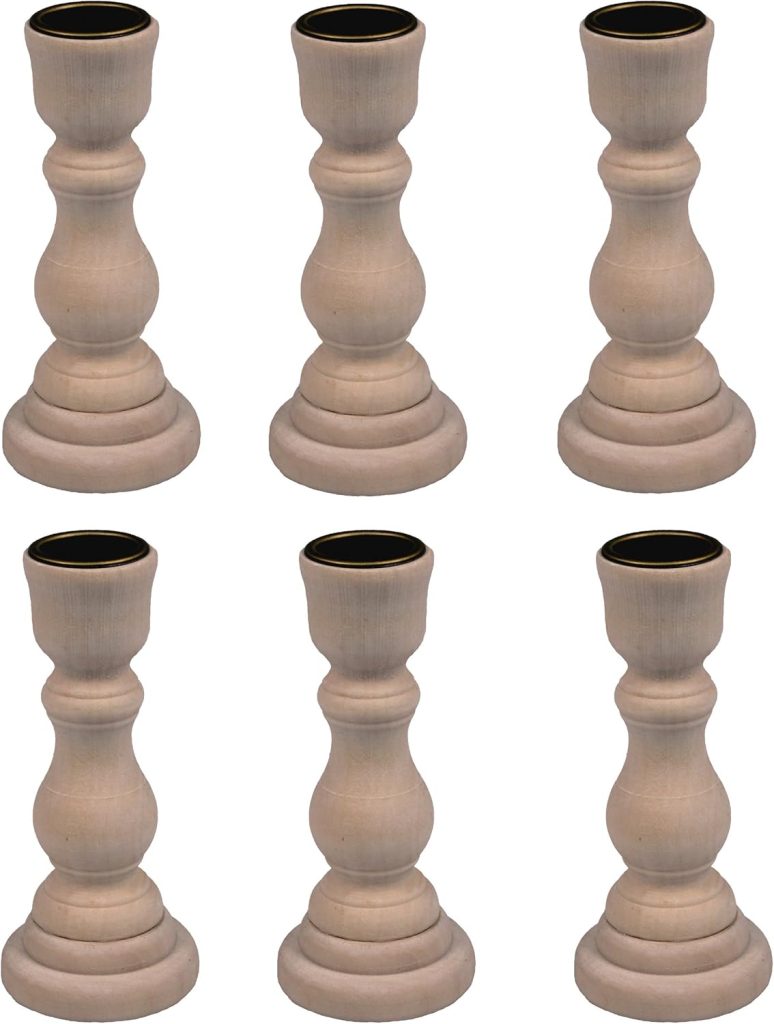
- Unpainted wooden candlesticks (any size or shape)
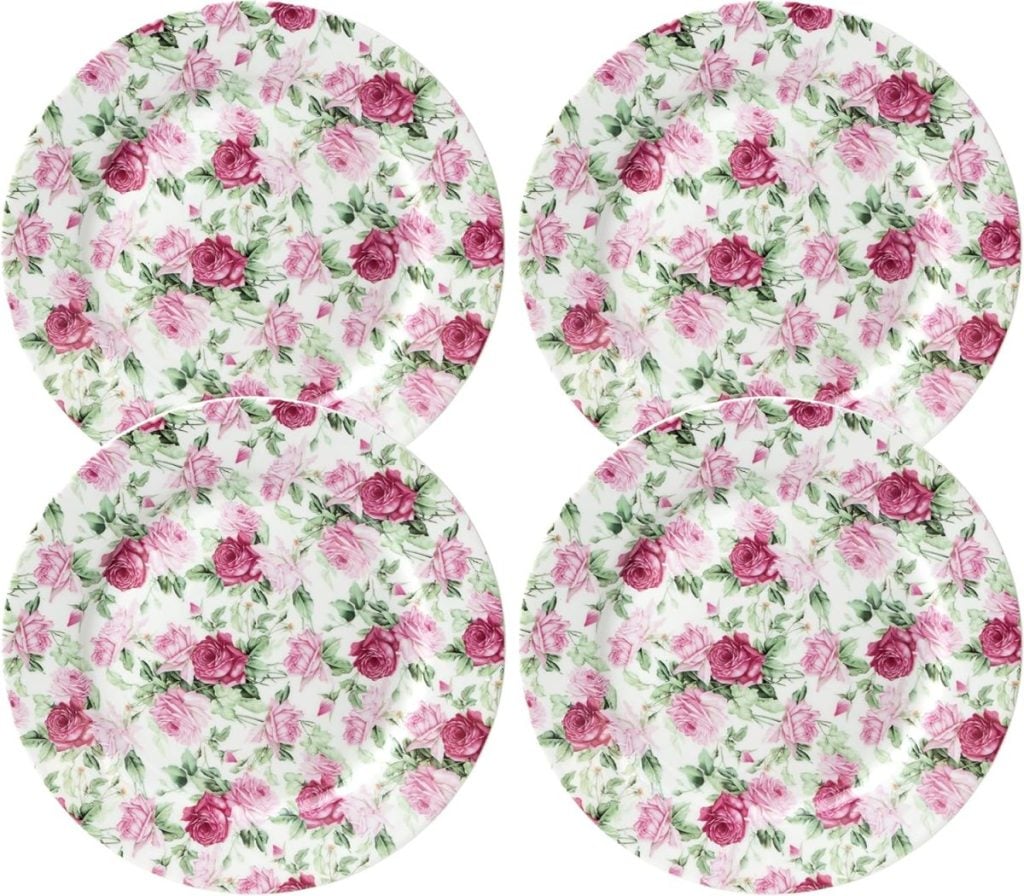
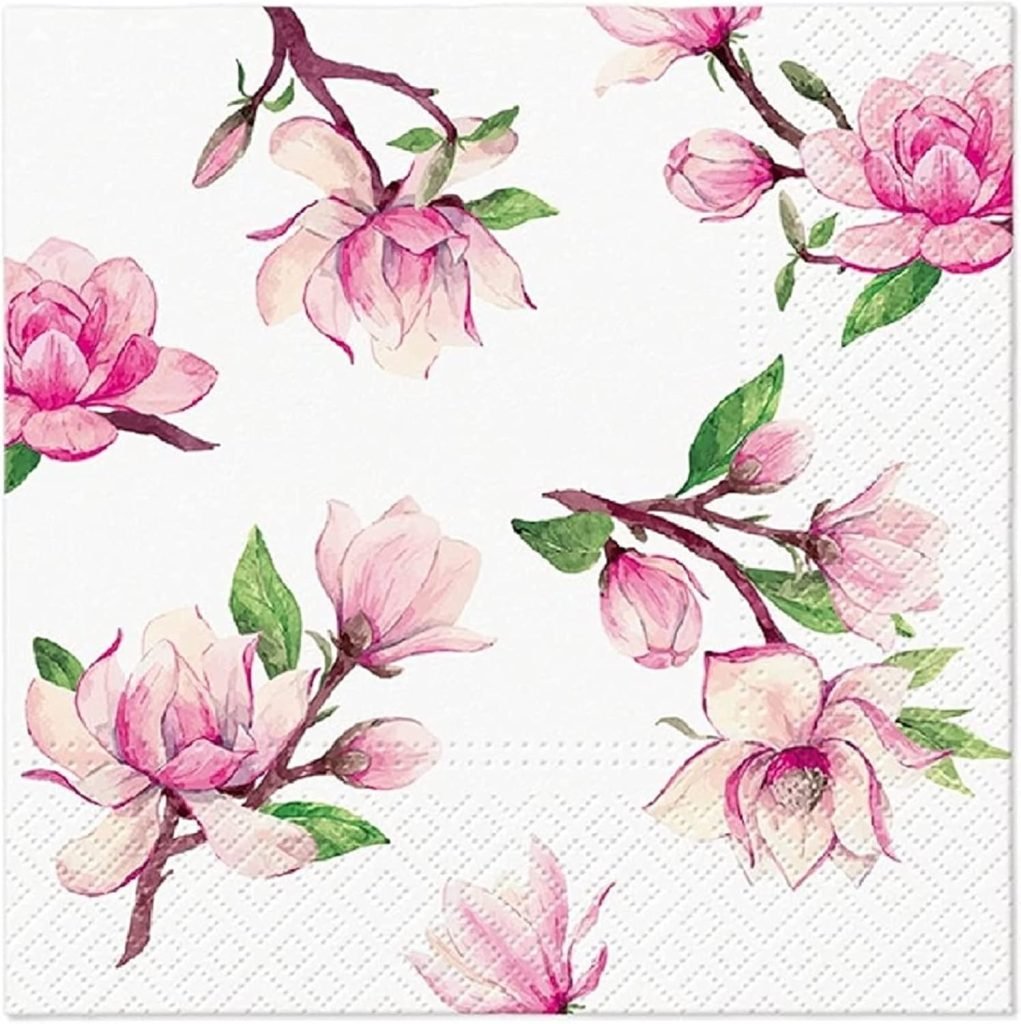
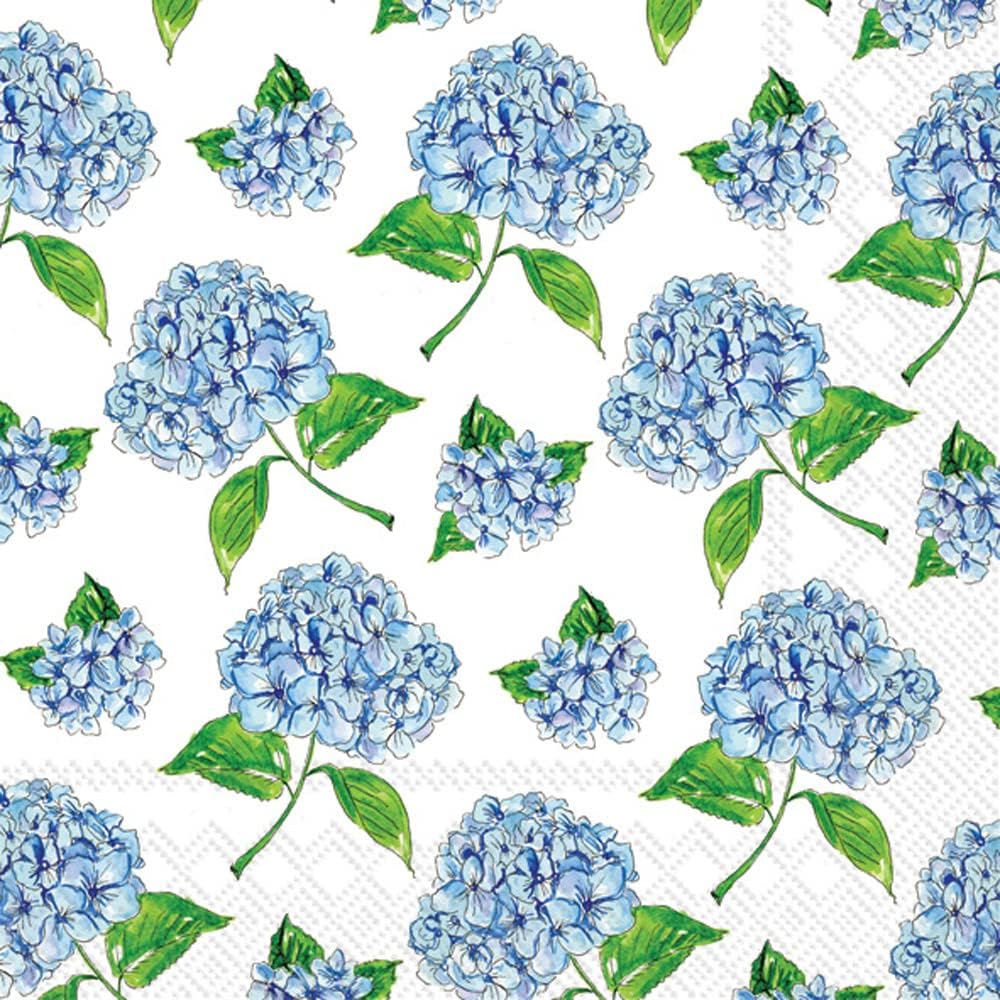
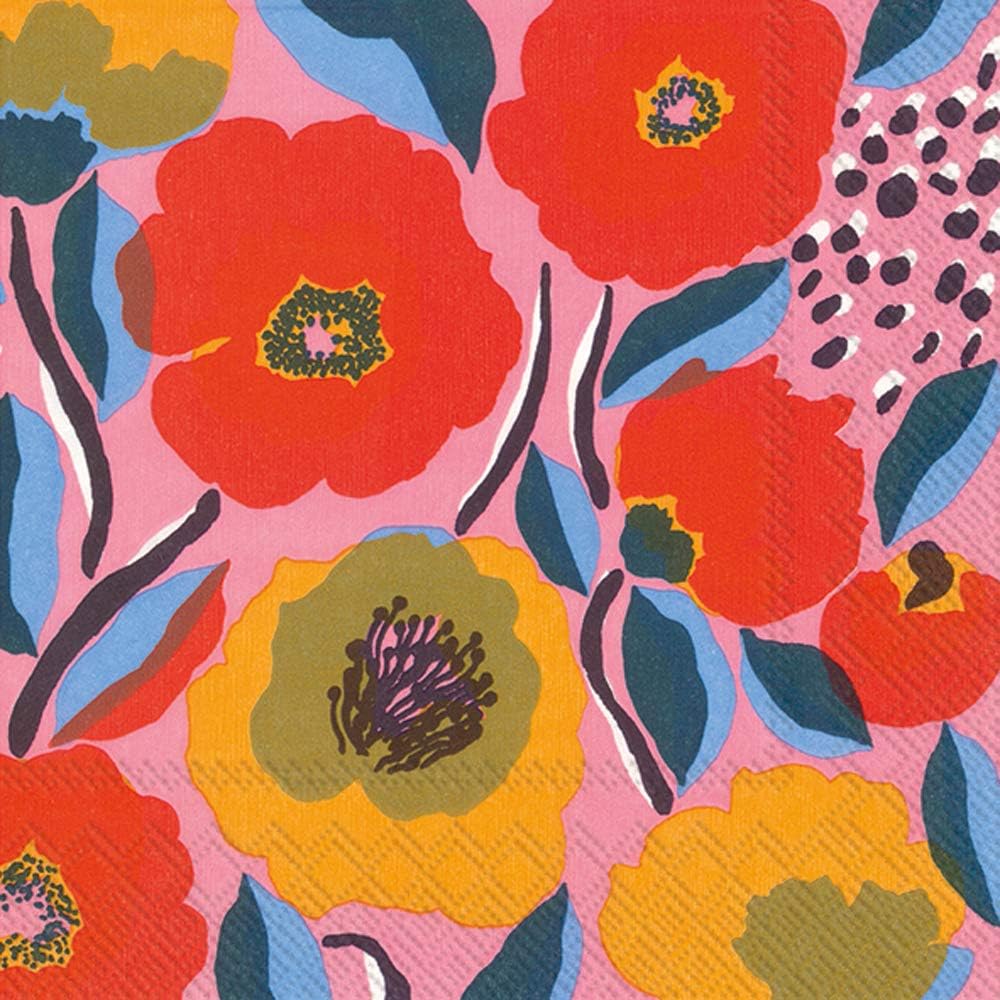
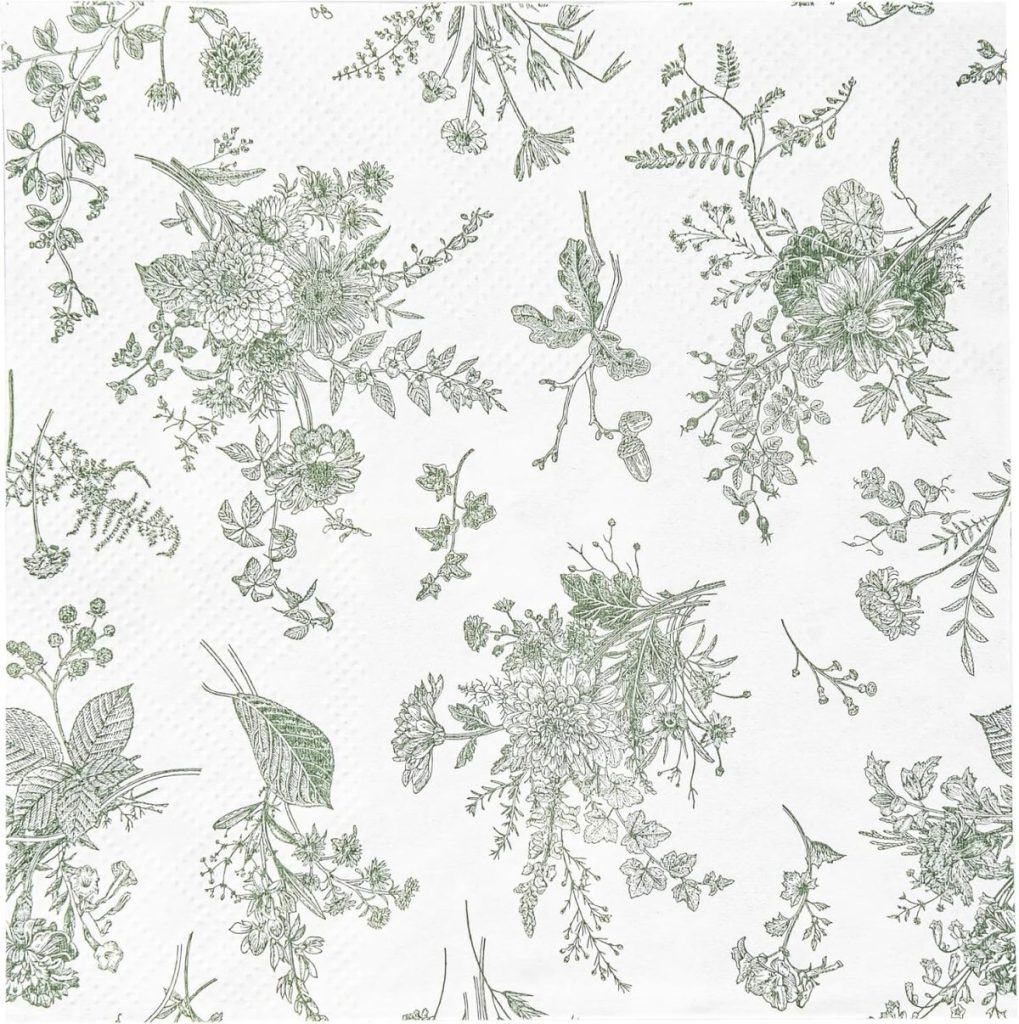
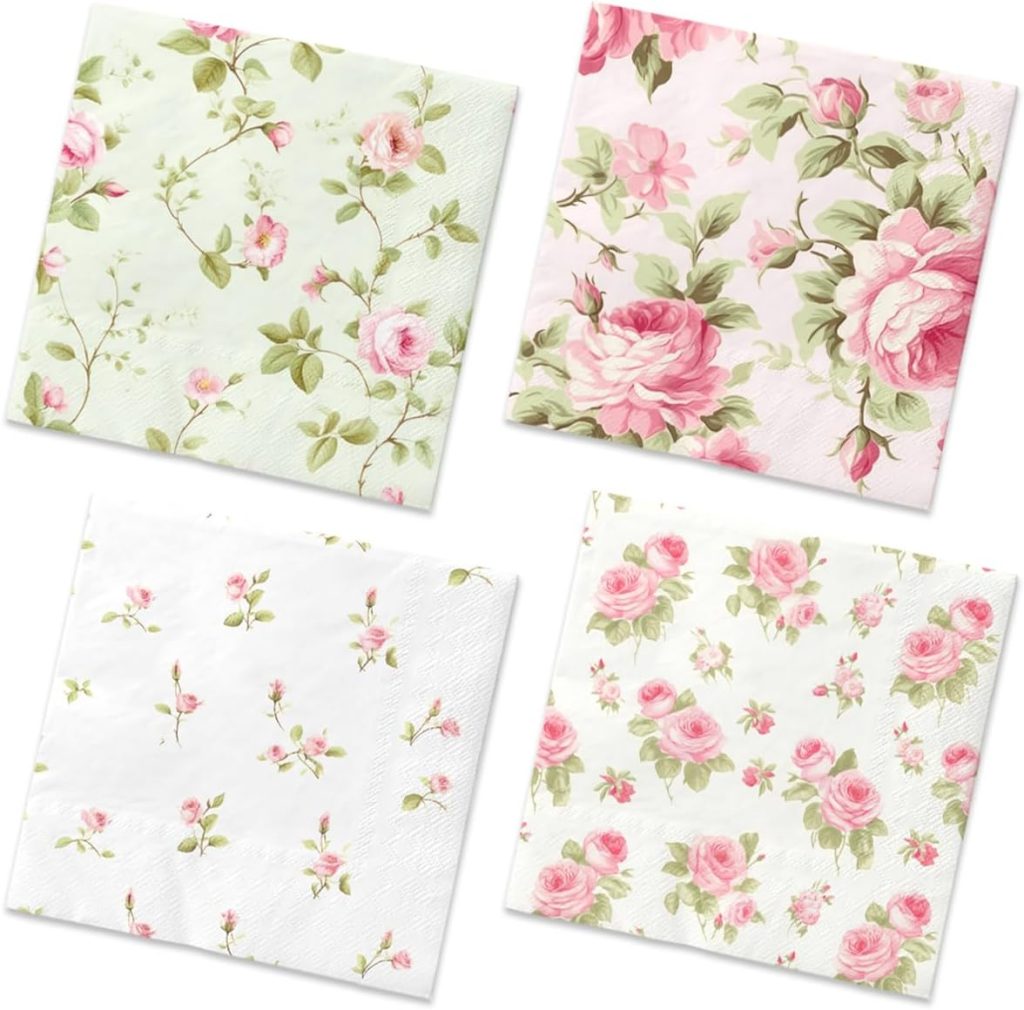
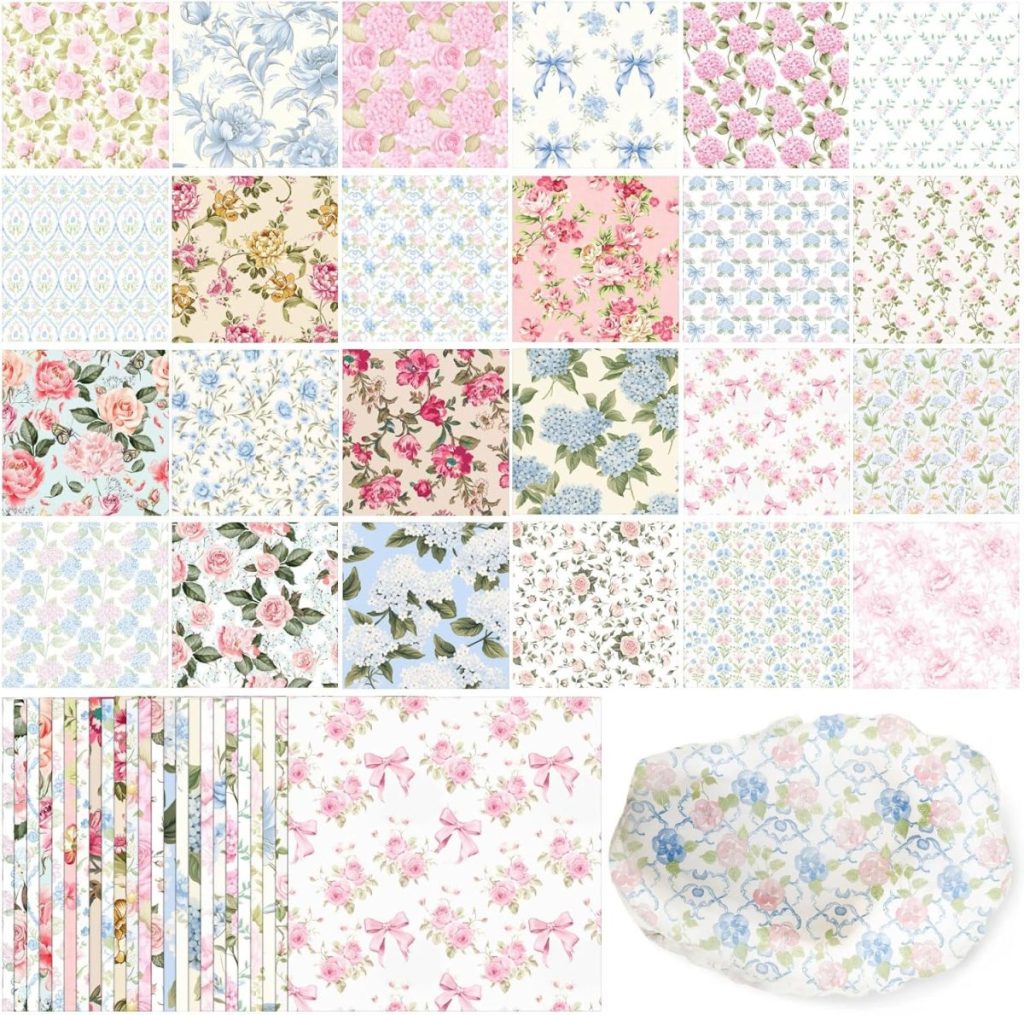
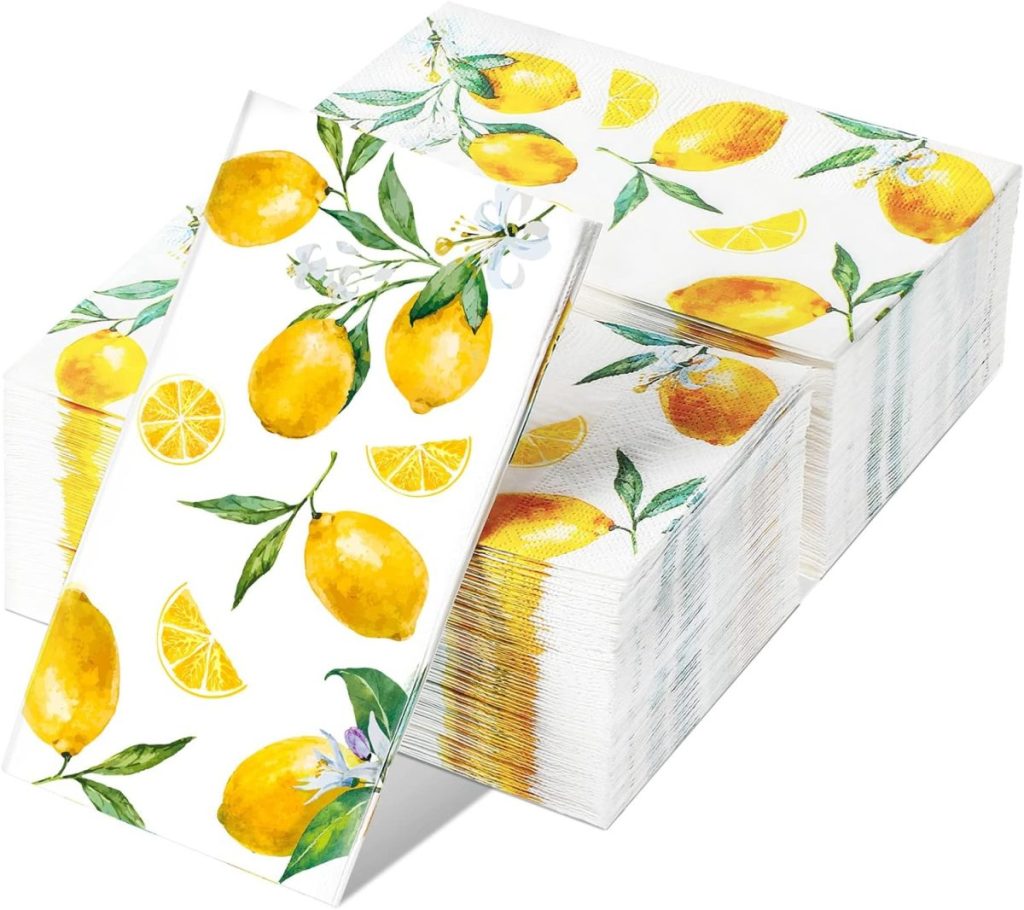
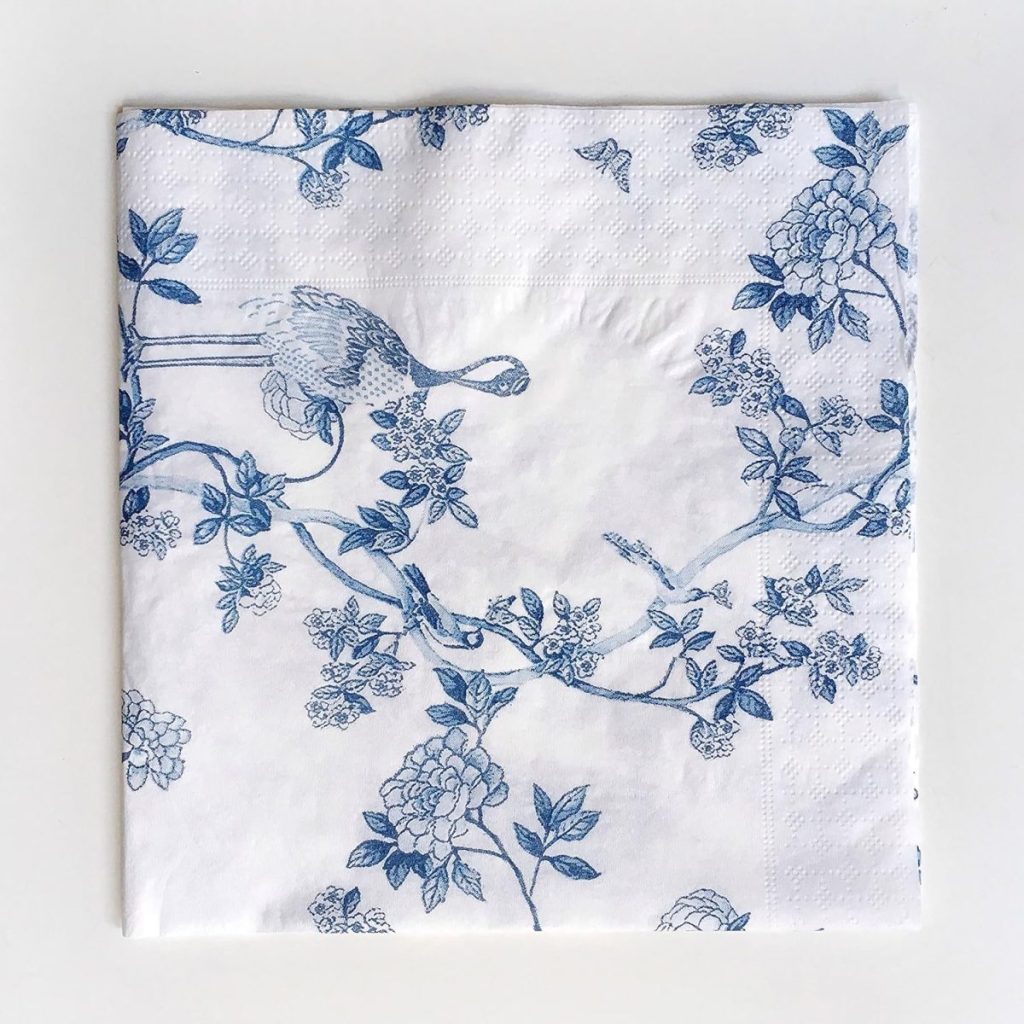
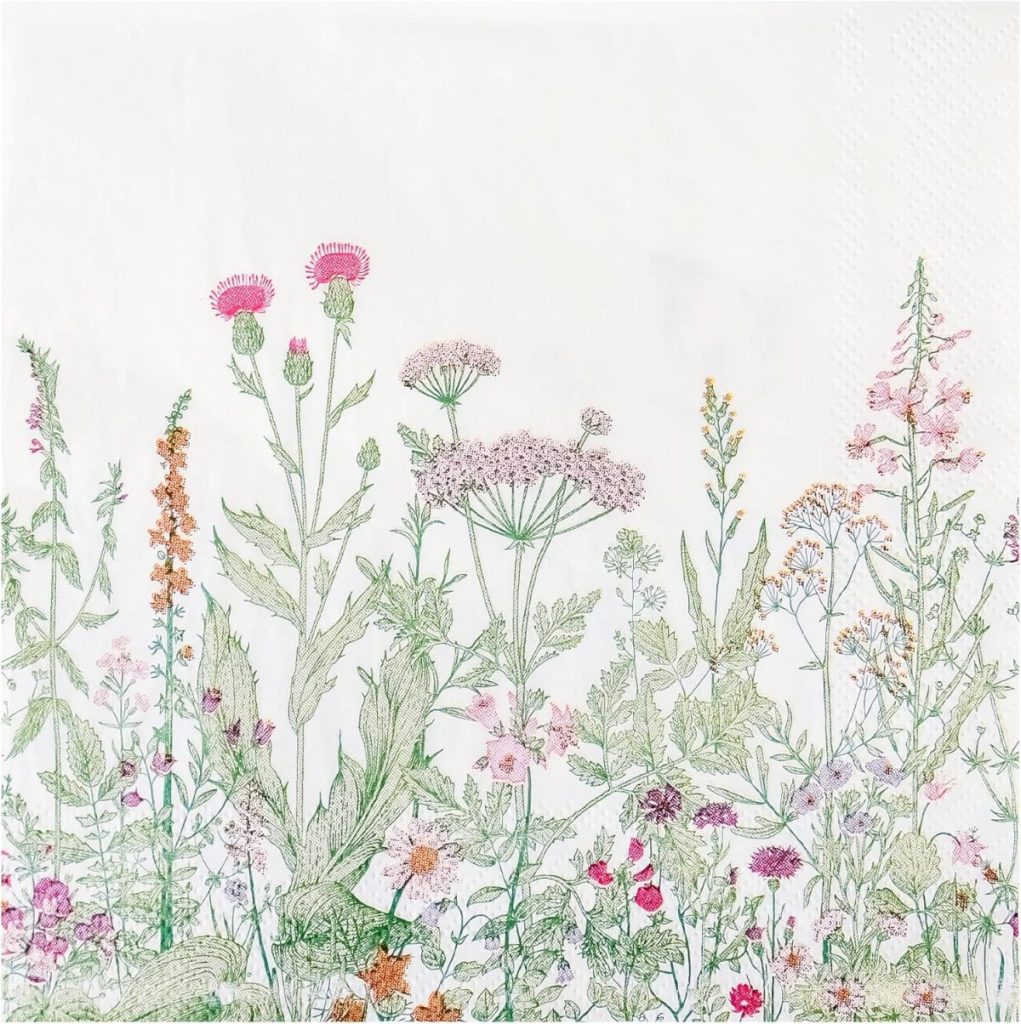
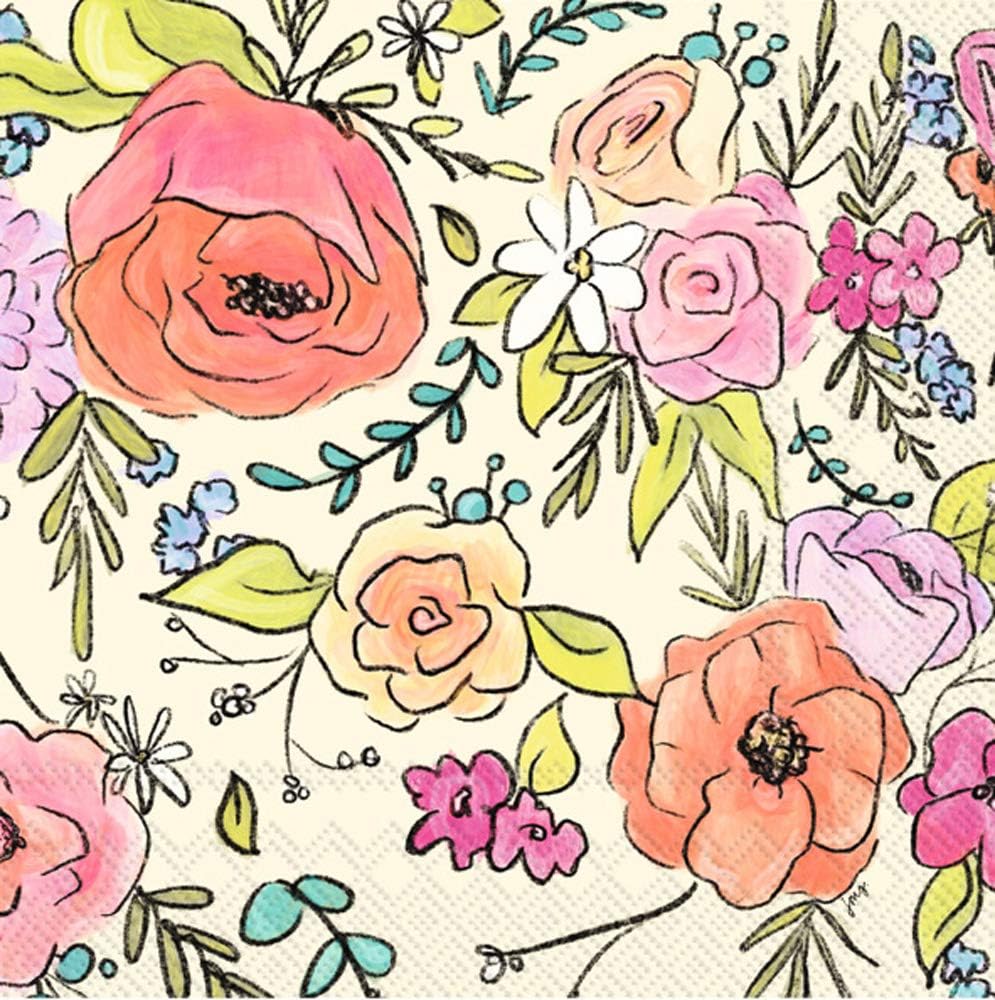
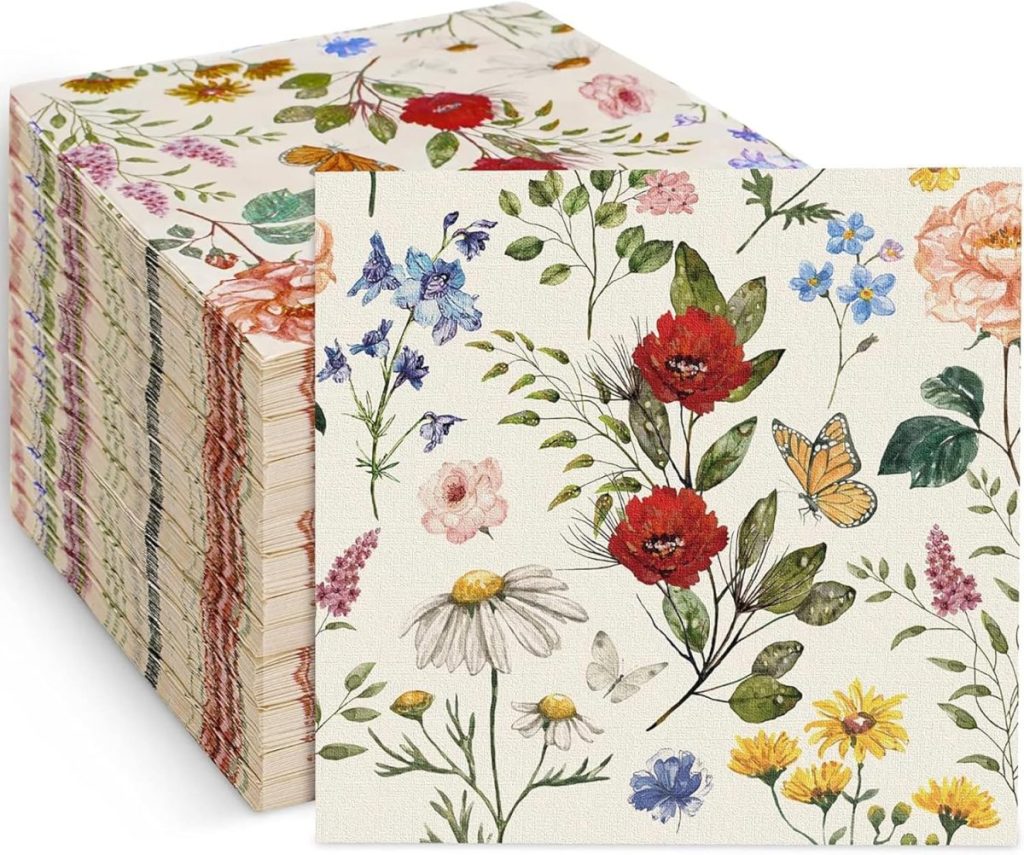
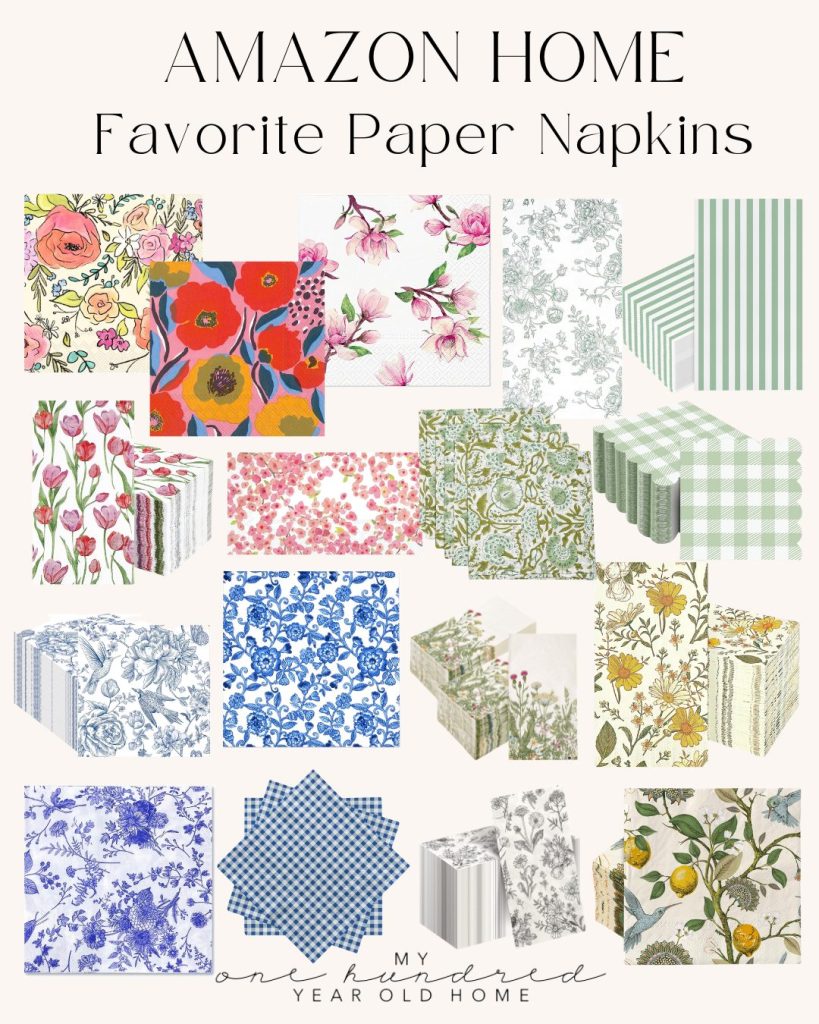
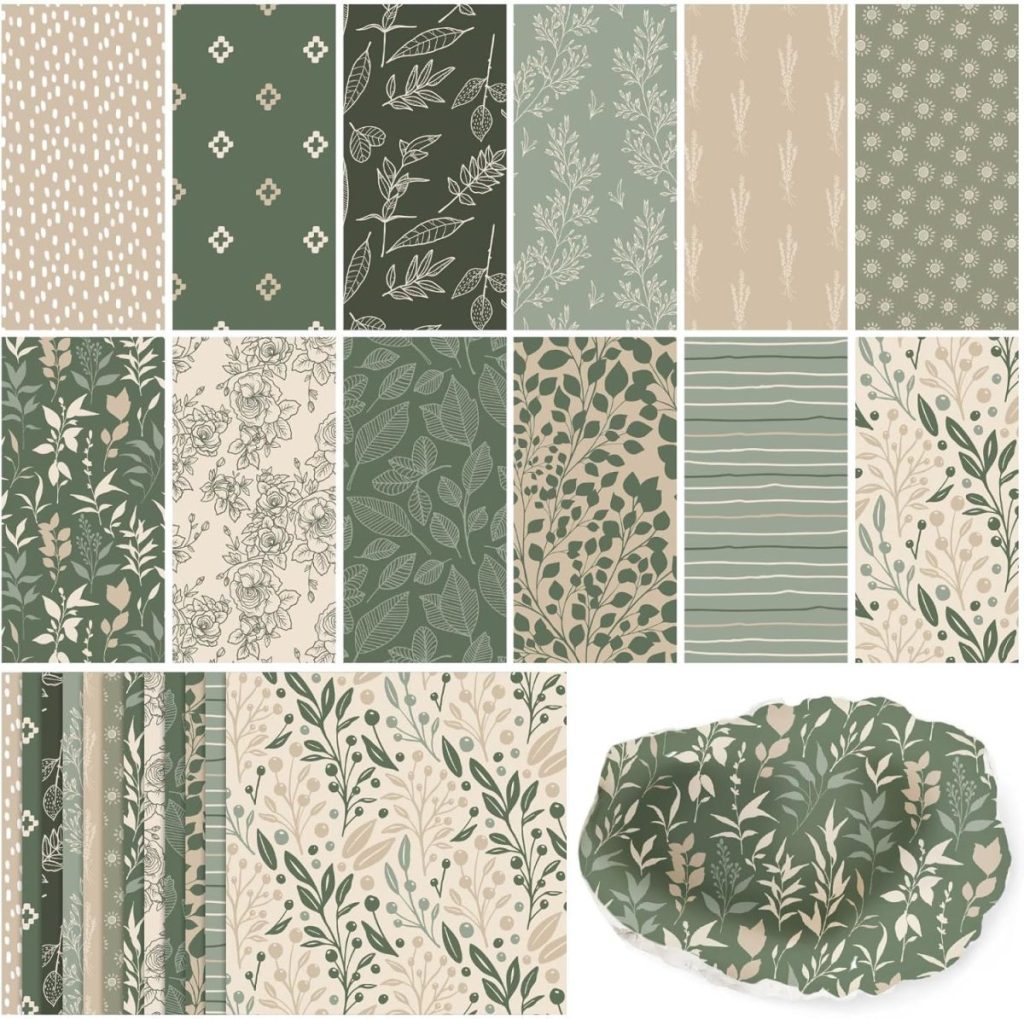
- Decorative paper napkins with a floral print
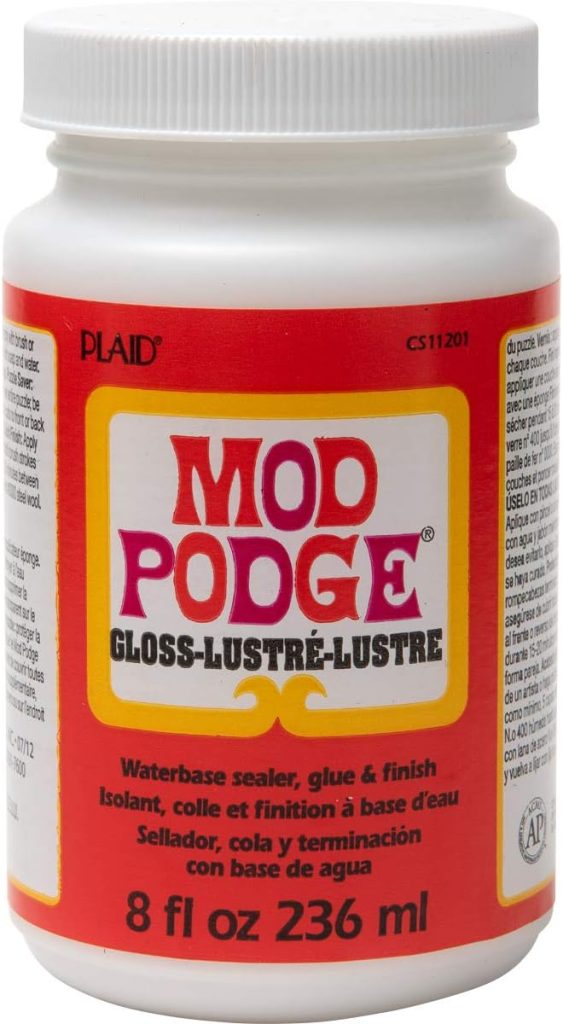
- Mod Podge (Matte or Glossy)
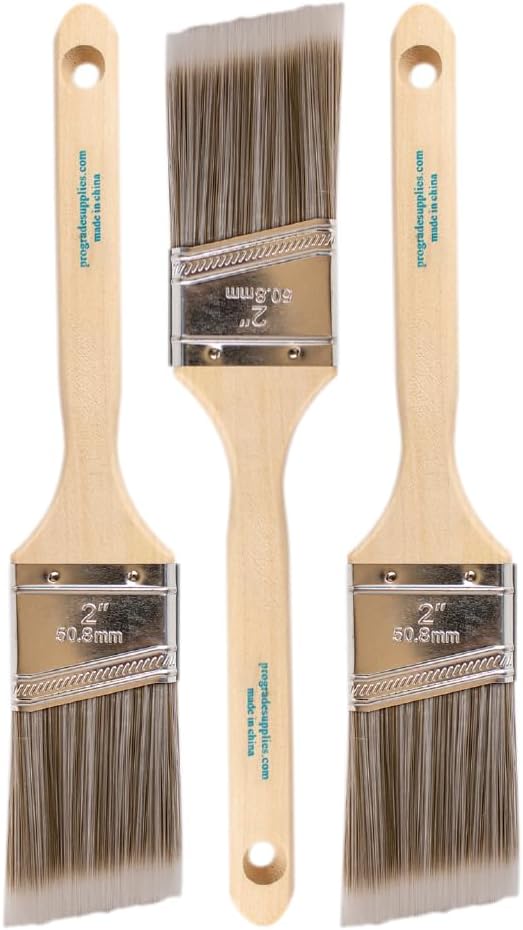
- Foam brush or paintbrush
- Scissors


Step-by-Step Instruction
Step 1: Prepare Your Candlesticks
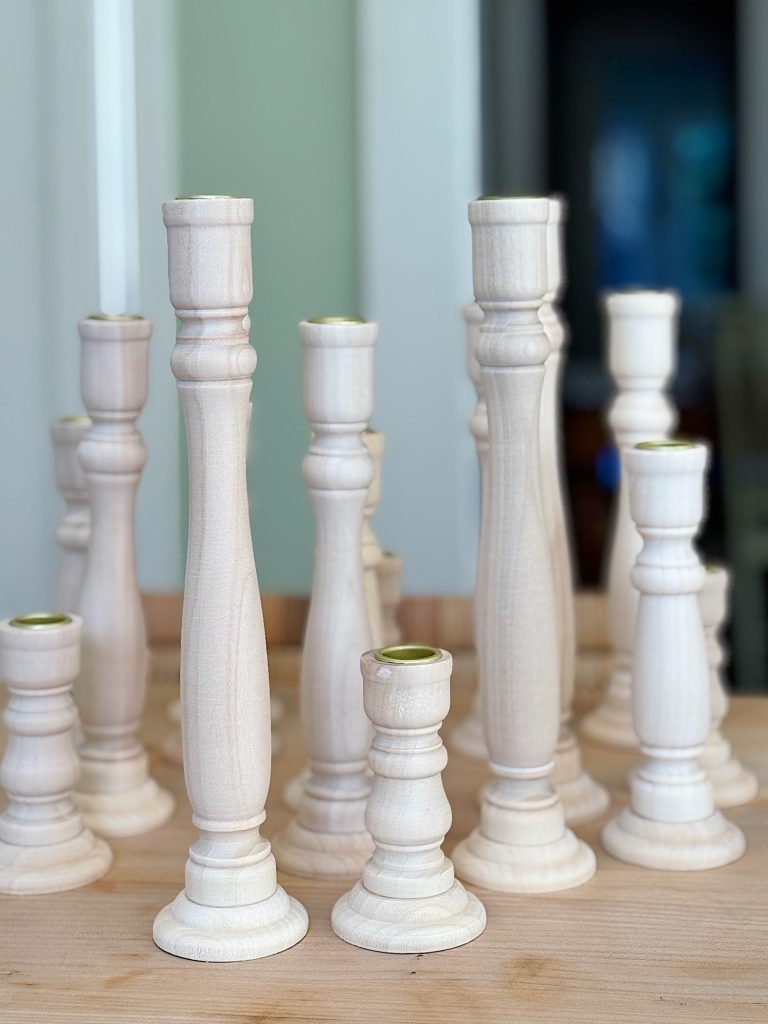
Start with clean, unpainted wooden candlesticks. If the surface is rough, you can lightly sand them for a smoother finish, but this step is optional.
Step 2: Cut the Paper Napkins to Fit
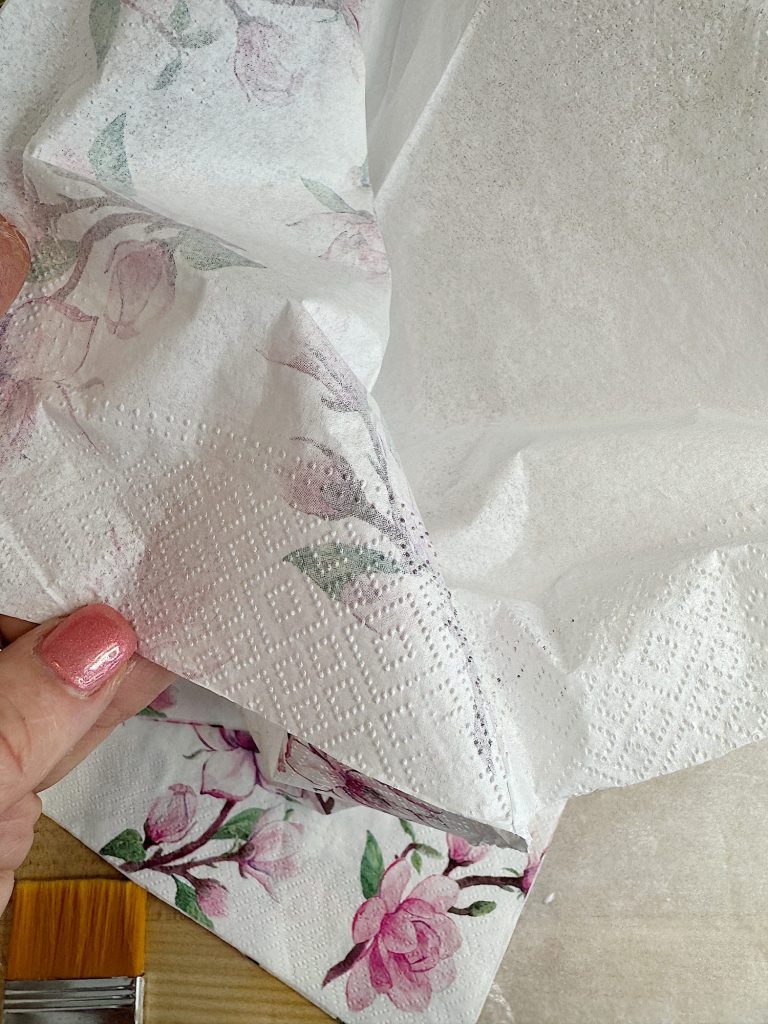
- Take your decorative floral paper napkin and separate the layers—most napkins have two or three thin layers, and you’ll want to use just the top printed layer.

- Measure and cut a piece of the napkin to fit around the width of the candlestick (don’t make it too small), leaving a bit of space at the top and bottom for a clean finish.
Step 3: Apply the Mod Podge & Napkin
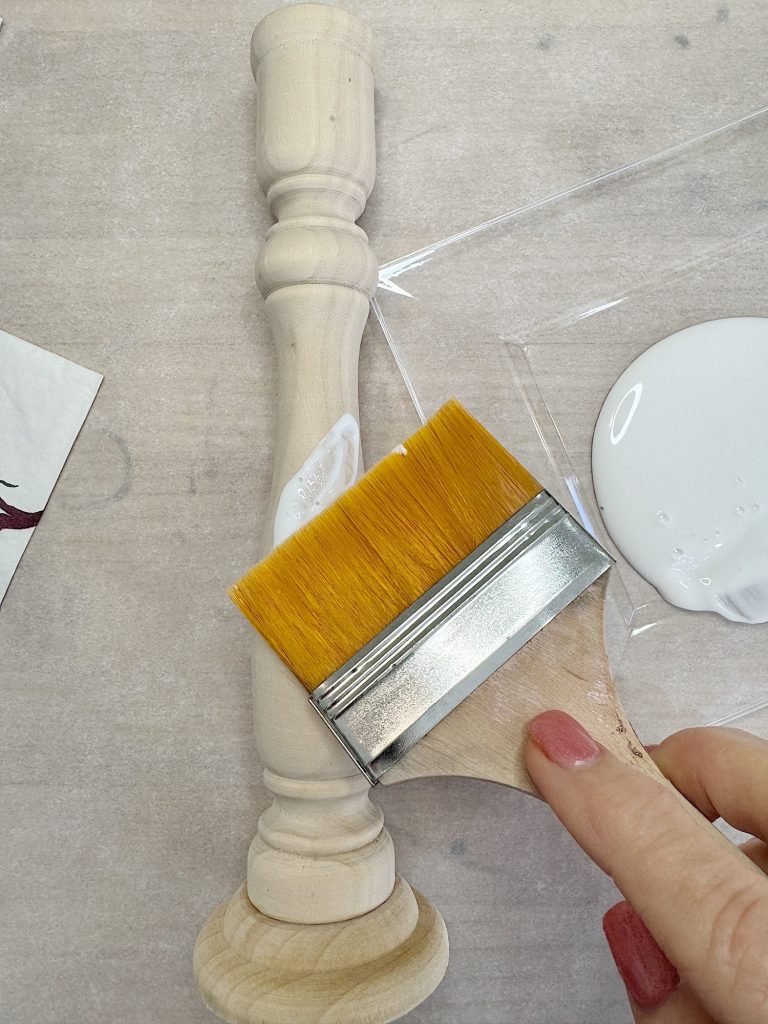
- Using a foam brush or paintbrush, apply a thin layer of Mod Podge around the surface of the candlestick.
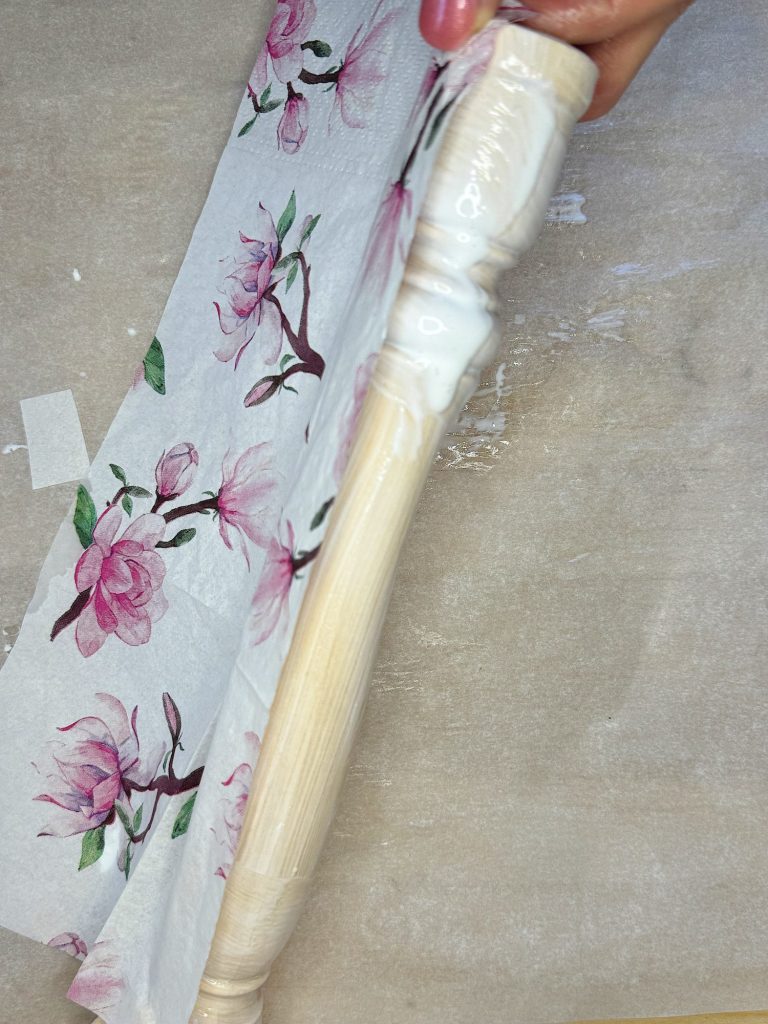
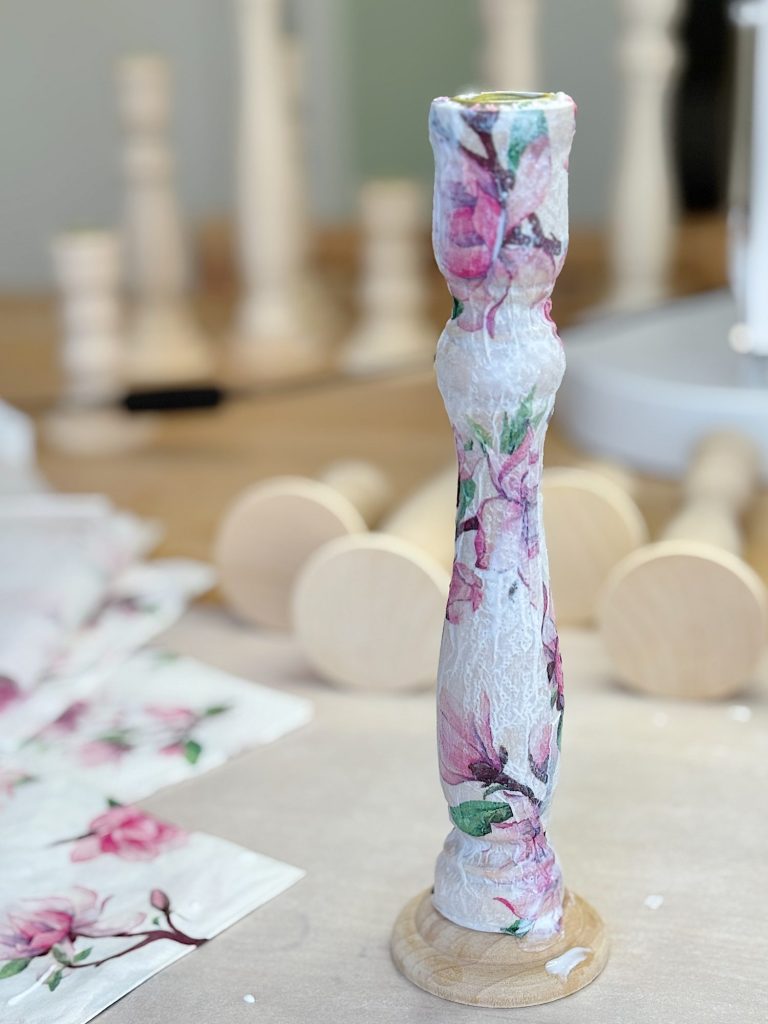
- Press the napkin onto the candlestick, smoothing it out as you go. Align the top edge neatly while avoiding excess glue at the bottom so your candlestick sits straight.
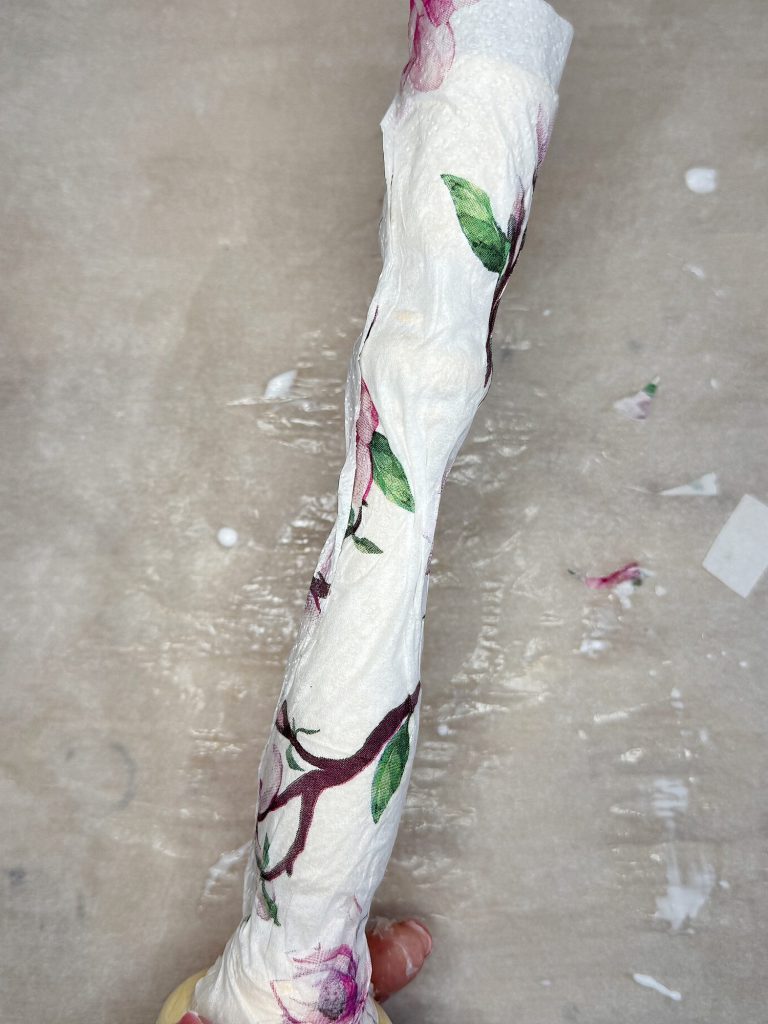
- If wrinkles form, carefully smooth them with your fingers or a dry brush, but don’t worry about perfection—slight creases can add to the charm!
Step 4: Seal the Napkin with Another Layer of Mod Podge
- Once the napkin is completely dry, apply another thin coat of Mod Podge on top to seal and protect the design.
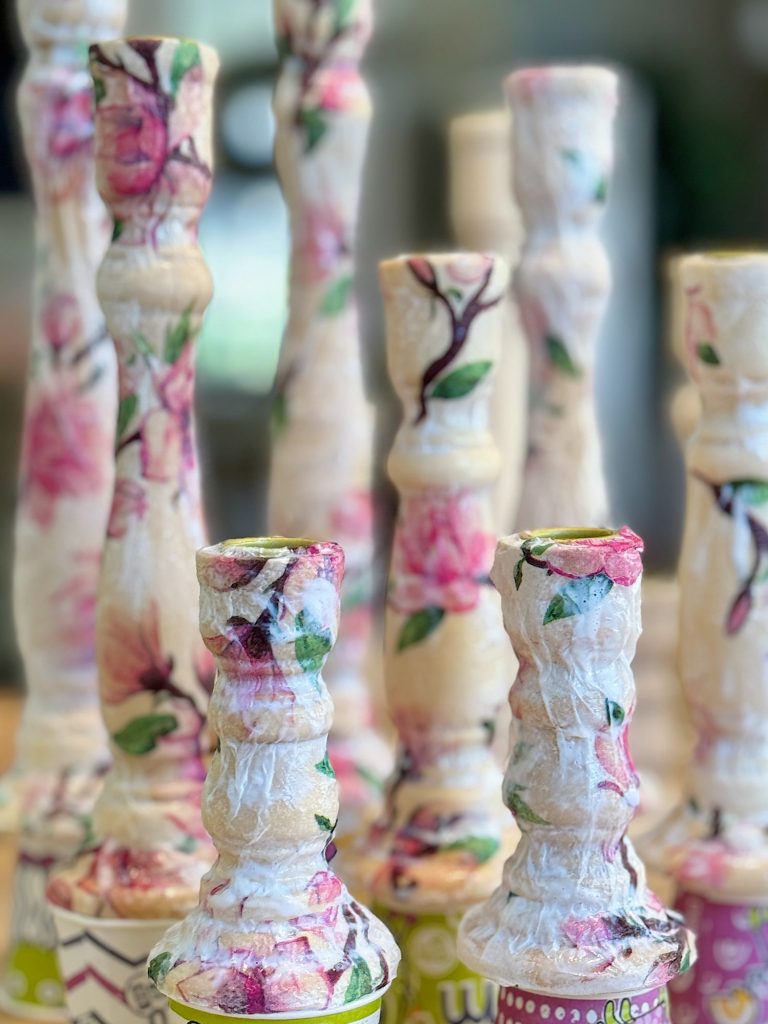
- Let it dry thoroughly before using. I placed the candlesticks on top of dixie cups so they wouldn’t stick to the countertop.
That’s it! Your floral candlestick holders are ready to brighten up your home.

Setting the Scene: A Romantic Spring Tablescape

Once I finished my set of eight floral candlesticks, I wanted to put them to good use. I decided to set up a small square table in our living room for a cozy, intimate dinner with my husband.
Here’s how I styled them for a beautiful spring tablescape:
- Tablecloth & Linens – I used a soft, neutral tablecloth with delicate lace-trimmed napkins to enhance the vintage charm.
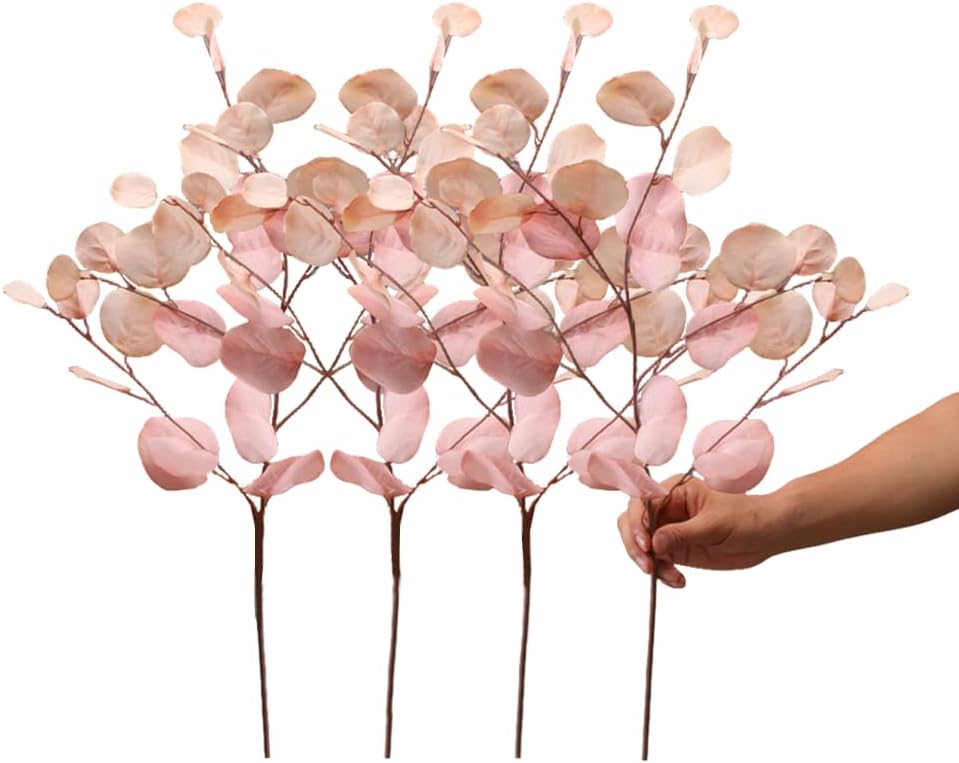
- Floral Centerpiece – A simple vase with fresh tulips and eucalyptus tied everything together.
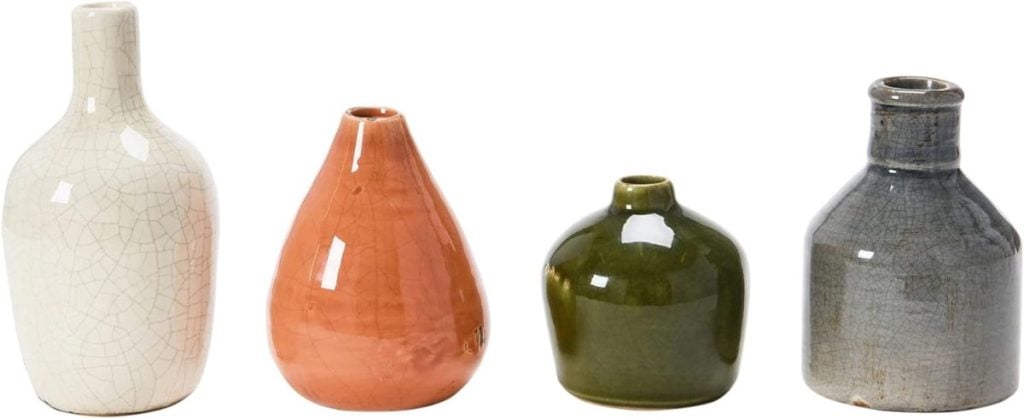
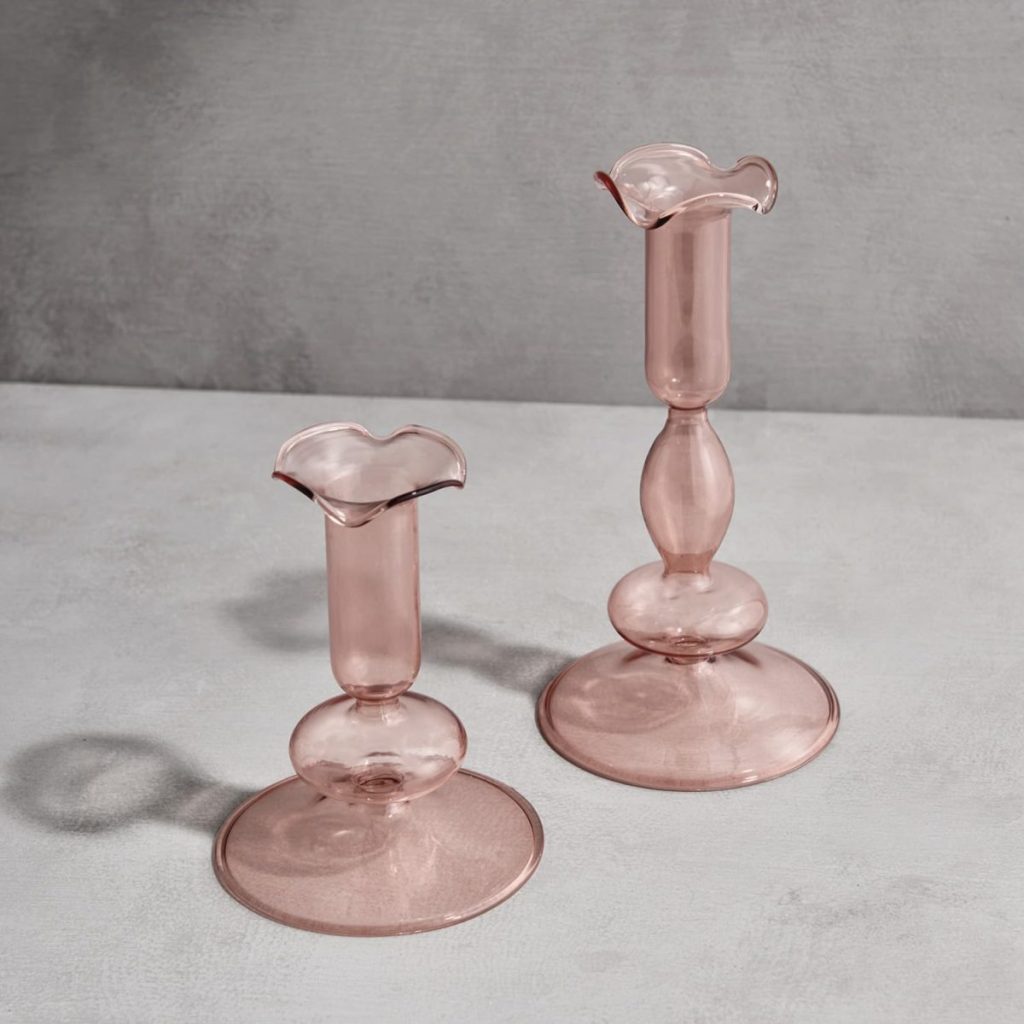
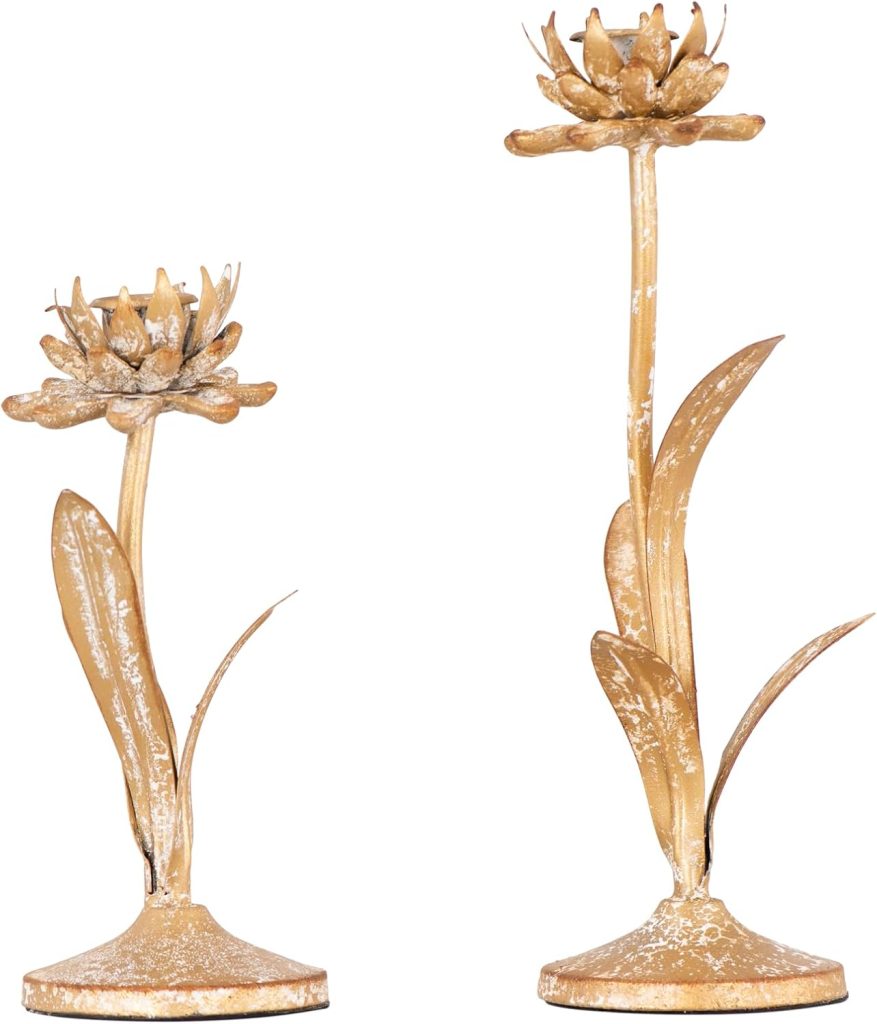
- Candlesticks & Holders – I placed the floral candlesticks in mismatched brass and wooden holders to create dimension.
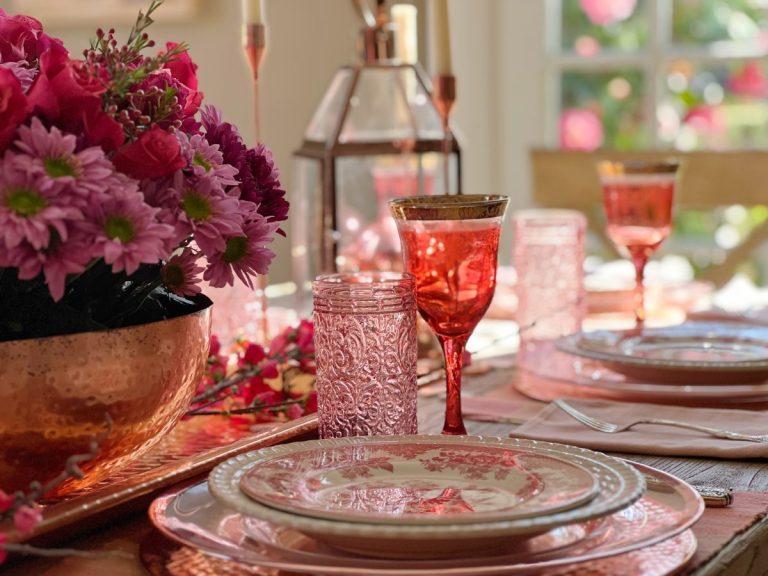
- Dinnerware & Glassware – Classic white plates, gold utensils, and crystal wine glasses added a touch of elegance.
As the sun set, we lit the candles, and the warm glow against the floral designs created the most romantic atmosphere. It was such a special evening, and these candlesticks made it feel extra magical.
Ways to Incorporate Floral Candlesticks into Your Spring Decor
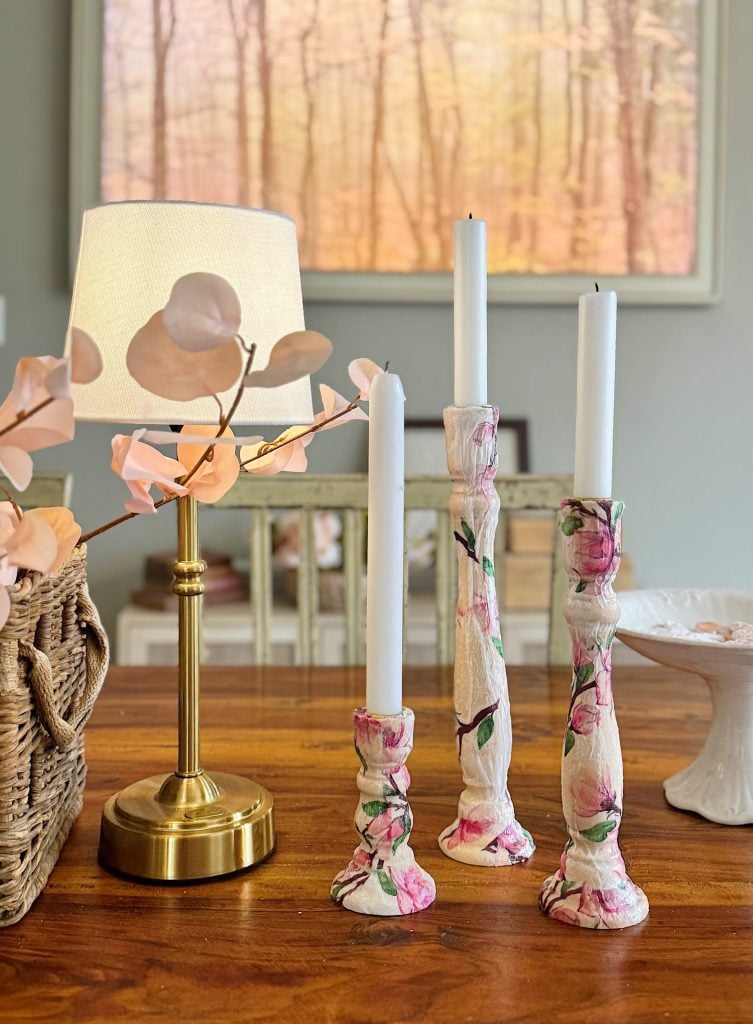
These floral candlesticks aren’t just for tablescapes—they can be used all around your home! Here are a few more ways to display them:
- On a fireplace mantel – Arrange a few candlesticks alongside spring garlands or small vases.
- As an entryway accent – Place a set of two or three on an entry table to create a warm, welcoming vibe.
- On bookshelves – Mix them with books, framed pictures, and trinkets for a charming display.
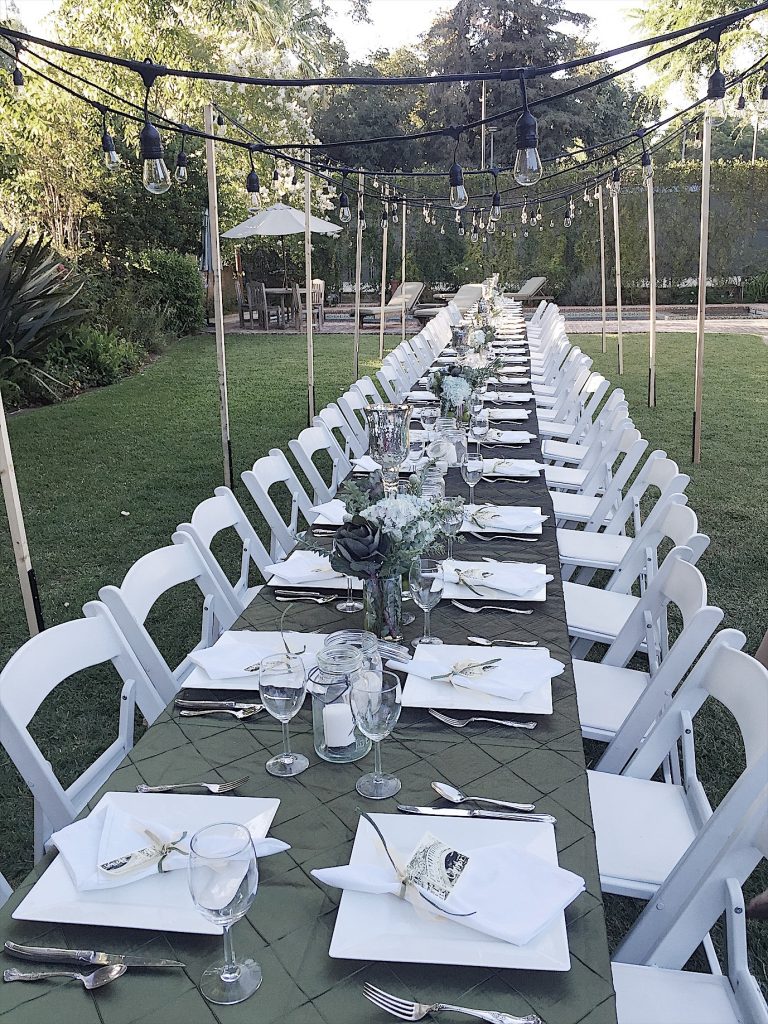
- For outdoor gatherings – These candlesticks will add an elegant touch to your outdoor table if you’re hosting a spring brunch or garden party.

Customization Ideas for Your Floral Candlesticks
One of the best parts about this DIY spring decor idea is how easily you can customize it to fit your style:
- Try Different Napkin Designs – If florals aren’t your thing, use napkins with botanical, vintage, or watercolor prints.
- Experiment with Colors—For a layered look, paint the candlesticks a soft pastel shade before applying the napkin.
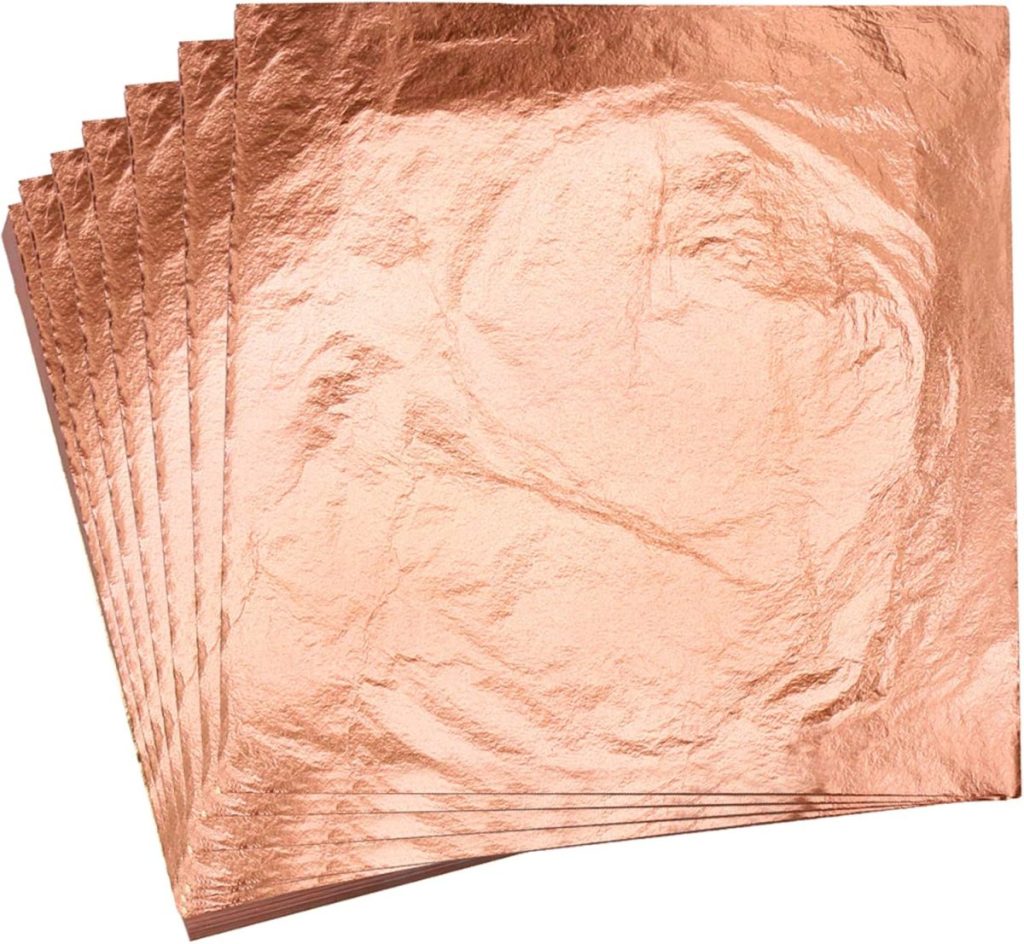
- Use Gold Leaf for a Luxe Effect – Adding gold leaf accents to the edges creates a more elegant, high-end finish.
No matter how you customize them, these candlesticks will be a stunning addition to your spring decor!
Final Thoughts
I love these floral candlesticks—they were even more beautiful than I imagined! Not only were they easy to make, but they also brought a fresh, spring-inspired charm to my home.
I highly recommend trying this craft if you want new spring decor ideas. Whether you use them for a romantic dinner, Easter brunch, or everyday home styling, they add an elegant and seasonal touch to any space.
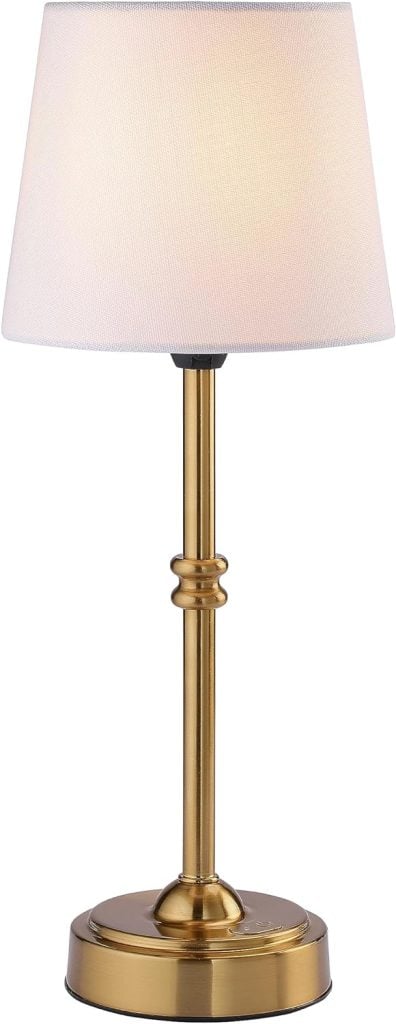
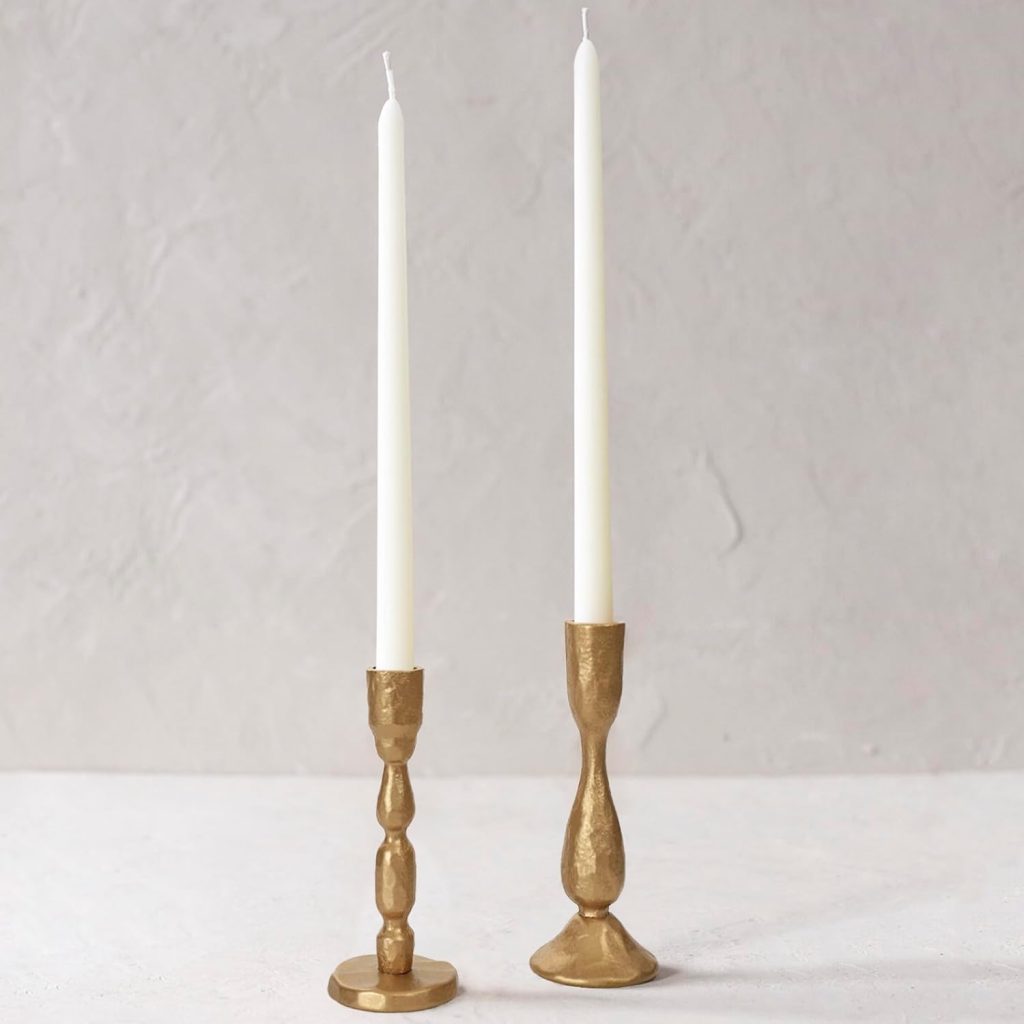
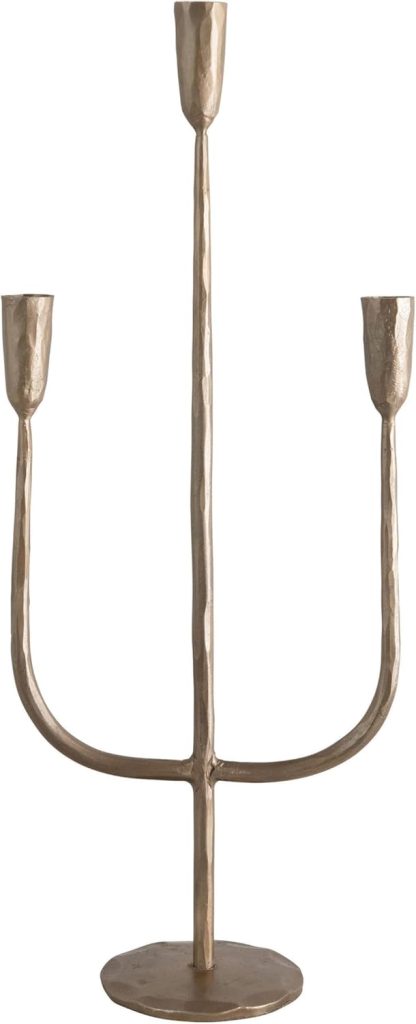
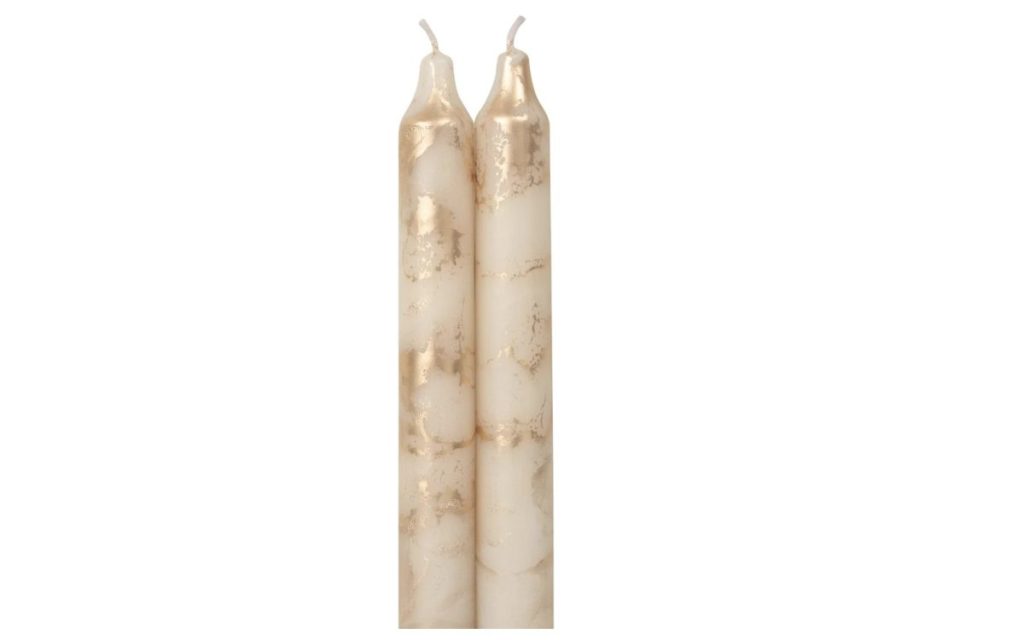
My Favorite Candle Holders & Tapers


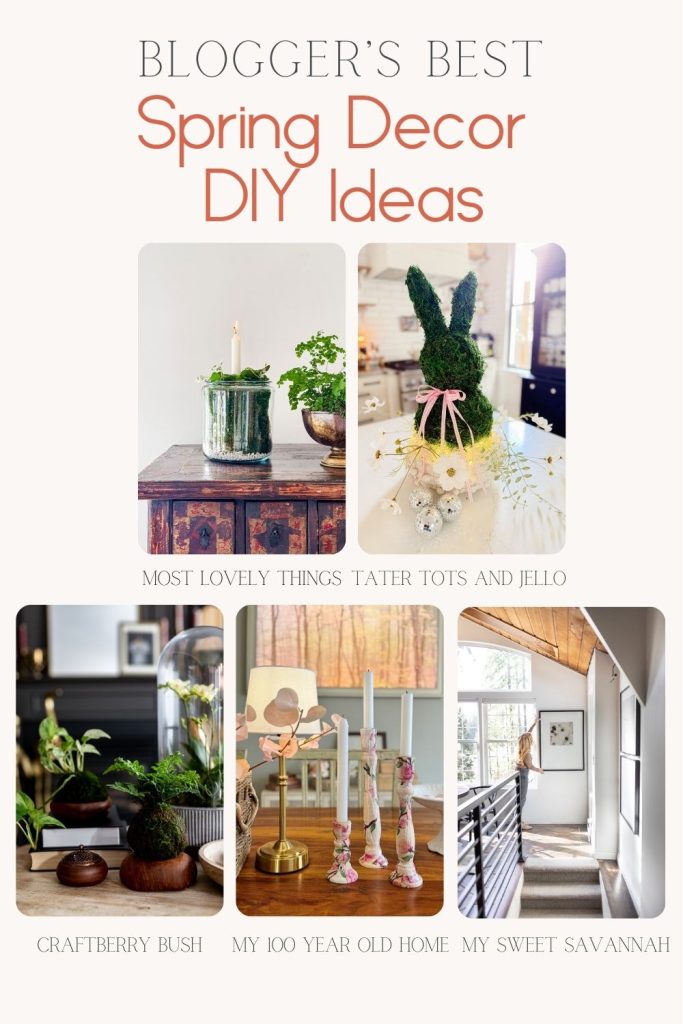
Blogger’s Best Spring Decor DIY Ideas!
Here are more Spring DIY ideas from some of my favorite bloggers.
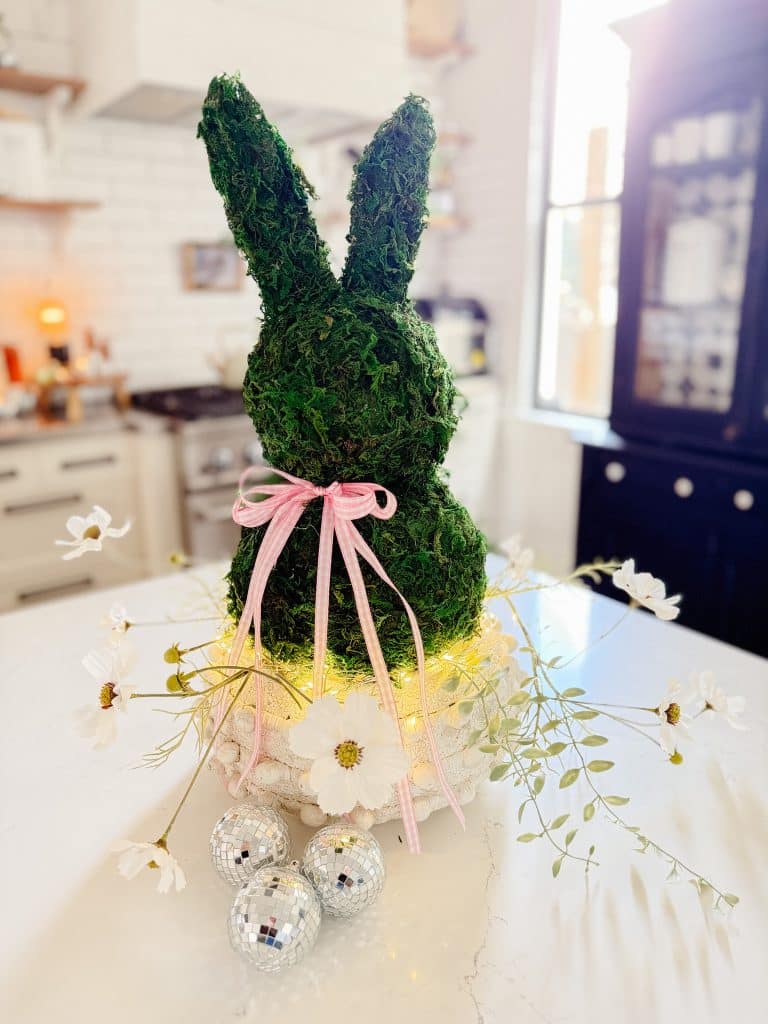
DIY Spring Moss Bunny Topiary | Tatertots and Jello
If you make one craft this spring, let it be a charming Moss Bunny Topiary that will add a whimsical touch to your seasonal decor.
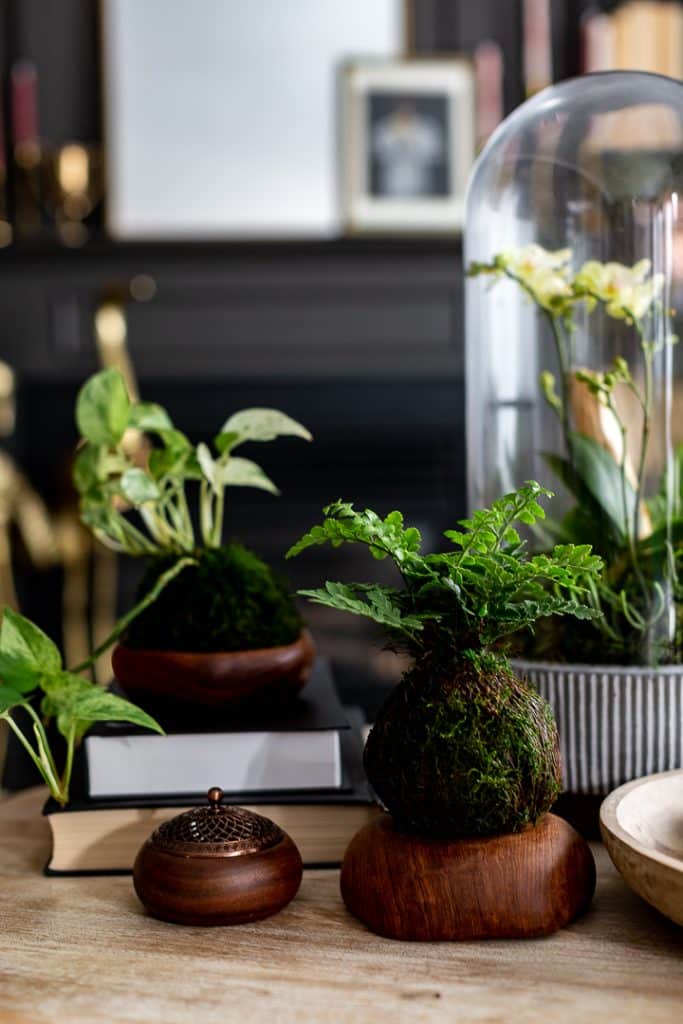
How to Make a Moss Ball Planter | Craftberry Bush
A kokedama or moss ball is a beautiful Japanese style of displaying plants. Perfect to welcome spring or any time of year.
Spring Paw Print Craft: DIY Pet Art | My Sweet Savannah
Create a fun, personalized piece of art with your pet this spring! This easy DIY paw print craft uses non-toxic paint to capture your pet’s paw prints on fabric, making a unique keepsake for your home.
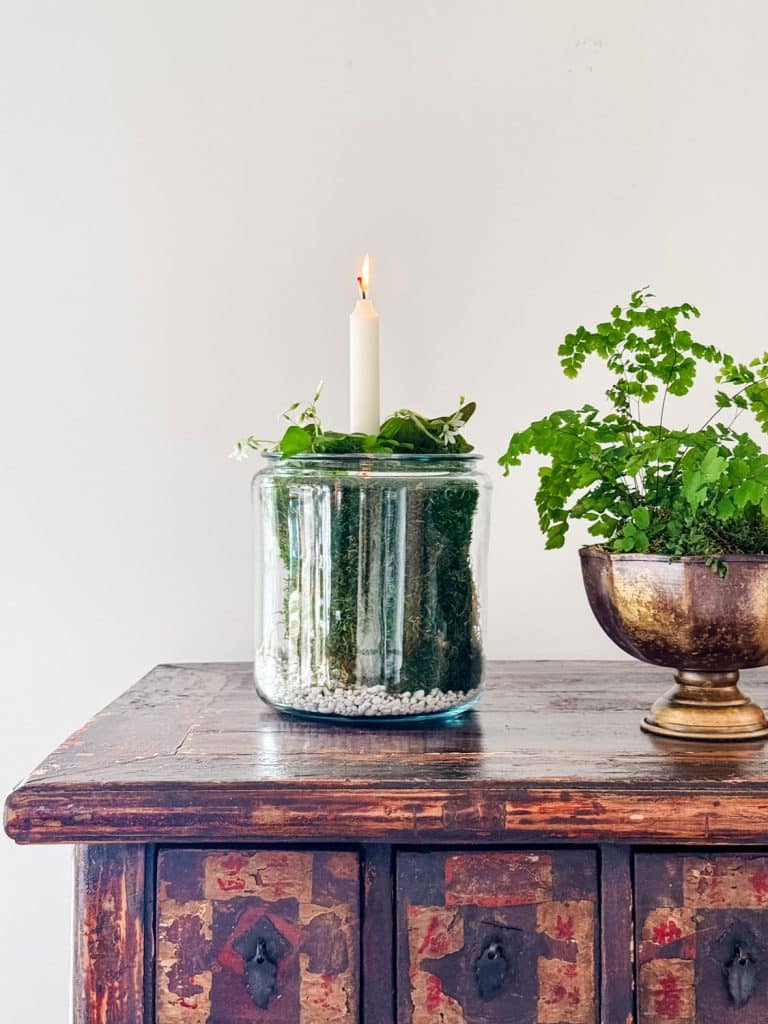
Make a Shamrock Terrarium in a Glass Jar | Most Lovely Things
Make a simple spring terrarium with a grocery store shamrock plant and a glass jar.
Latest Posts
-
Best Easter Brunch Egg Dish: Loaded French Onion Frittata
Easter brunch is one of those special meals where the table is complete, the laughter is loud, and the food is nothing short of spectacular. If you want to wow your guests with something savory, cheesy, and unforgettable, let me introduce you to your new Easter brunch hero: a Loaded French Onion Frittata.
-
The Best Spring Pillow DIY – A Handmade Spring
There are certain projects that start as an idea and quietly turn into something you love far more than you expected, and this Spring pillow is exactly that. As part of my A Handmade Spring series, I wanted to create something soft, beautiful, and full of texture, and this pillow checked every box. This pillow…
-
DIY Clay and Metallic Foil Easter Eggs
With Easter just around the corner this week, I decided to create something special and truly unique for my spring décor … handmade clay and metallic foil Easter eggs. These little works of art are soft, pastel, and subtly shimmery, and they’re a beautiful way to add a handmade touch to your Easter celebrations. While…
-
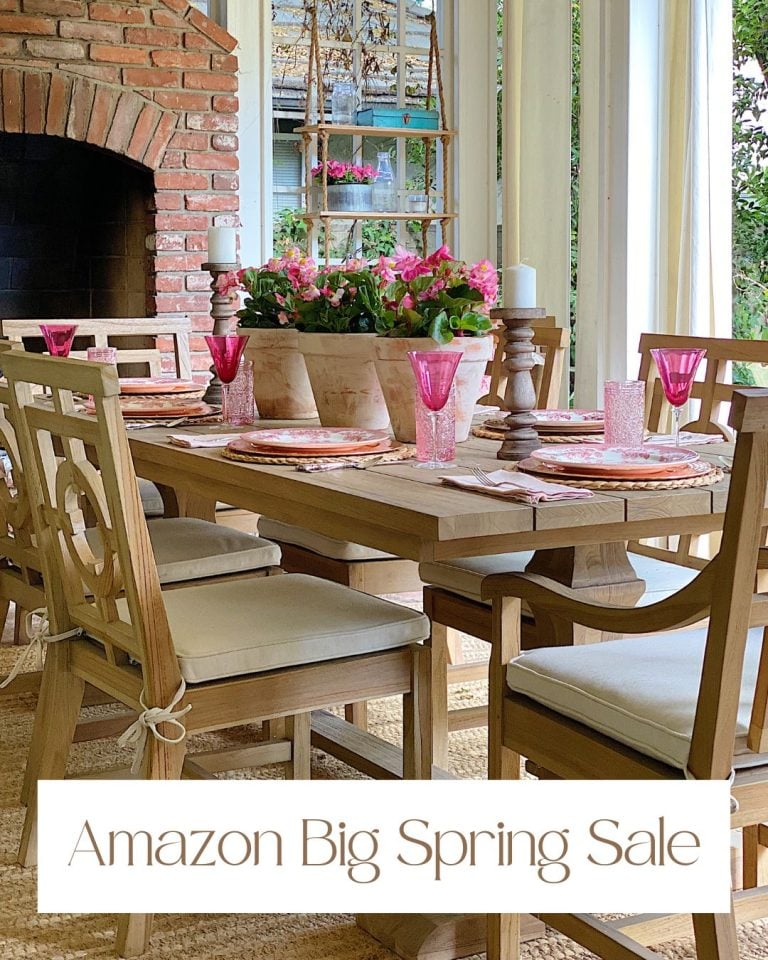
The Amazon Big Spring Sale is Here!
The Amazon Big Spring Sale is here! It runs from March 25th (today) through March 31st, and here are some of the best Amazon Deals ever! There are millions of deals available, and today I will help you find the best ones for everything you need. Now is the perfect time to shop for Spring.


My Recent Instagram Posts

You can pin the images below to your boards on Pinterest (click the Pin button in the top left corner) or follow me on Pinterest!
For more real-time updates, follow me on Instagram @My100YearOldHome

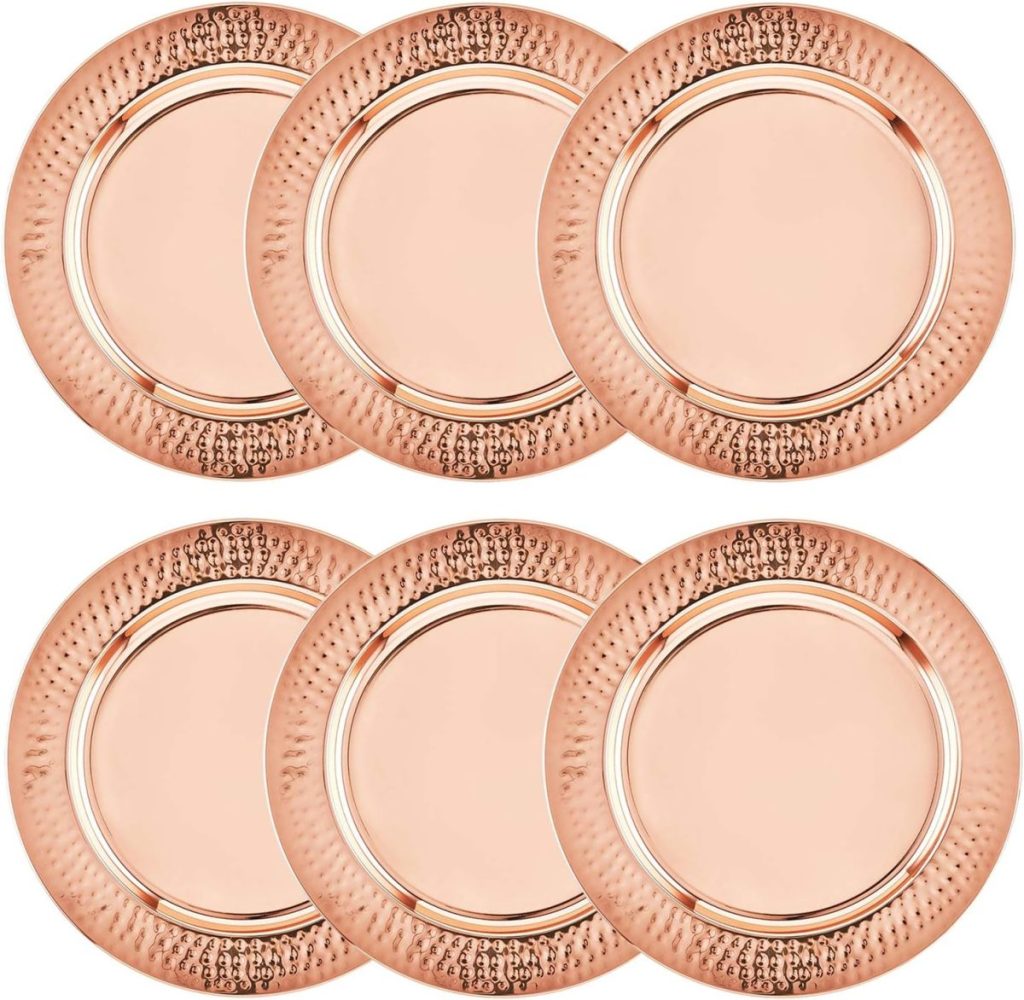
Leslie, these are beautiful. I think to decoupage the edge of chargers to match would be beautiful.