DIY Velvet Christmas Ornaments – A Handmade Christmas
It’s hard to believe we’ve reached week thirteen of my A Handmade Christmas series! Here are my handmade velvet ornaments.
Every week, I look forward to creating this series: sixteen weeks of handmade holiday projects designed to bring creativity, warmth, and personal touches into your home.
Velvet Christmas Ornaments – A Handmade Christmas
We’ve made everything from clay plates to embroidered ornaments, from glitter trees to gift tags. And now, for this week’s project, I wanted to create something beautifully simple — something that captures the soft, cozy feel of Christmas and looks elegant enough to display year after year.
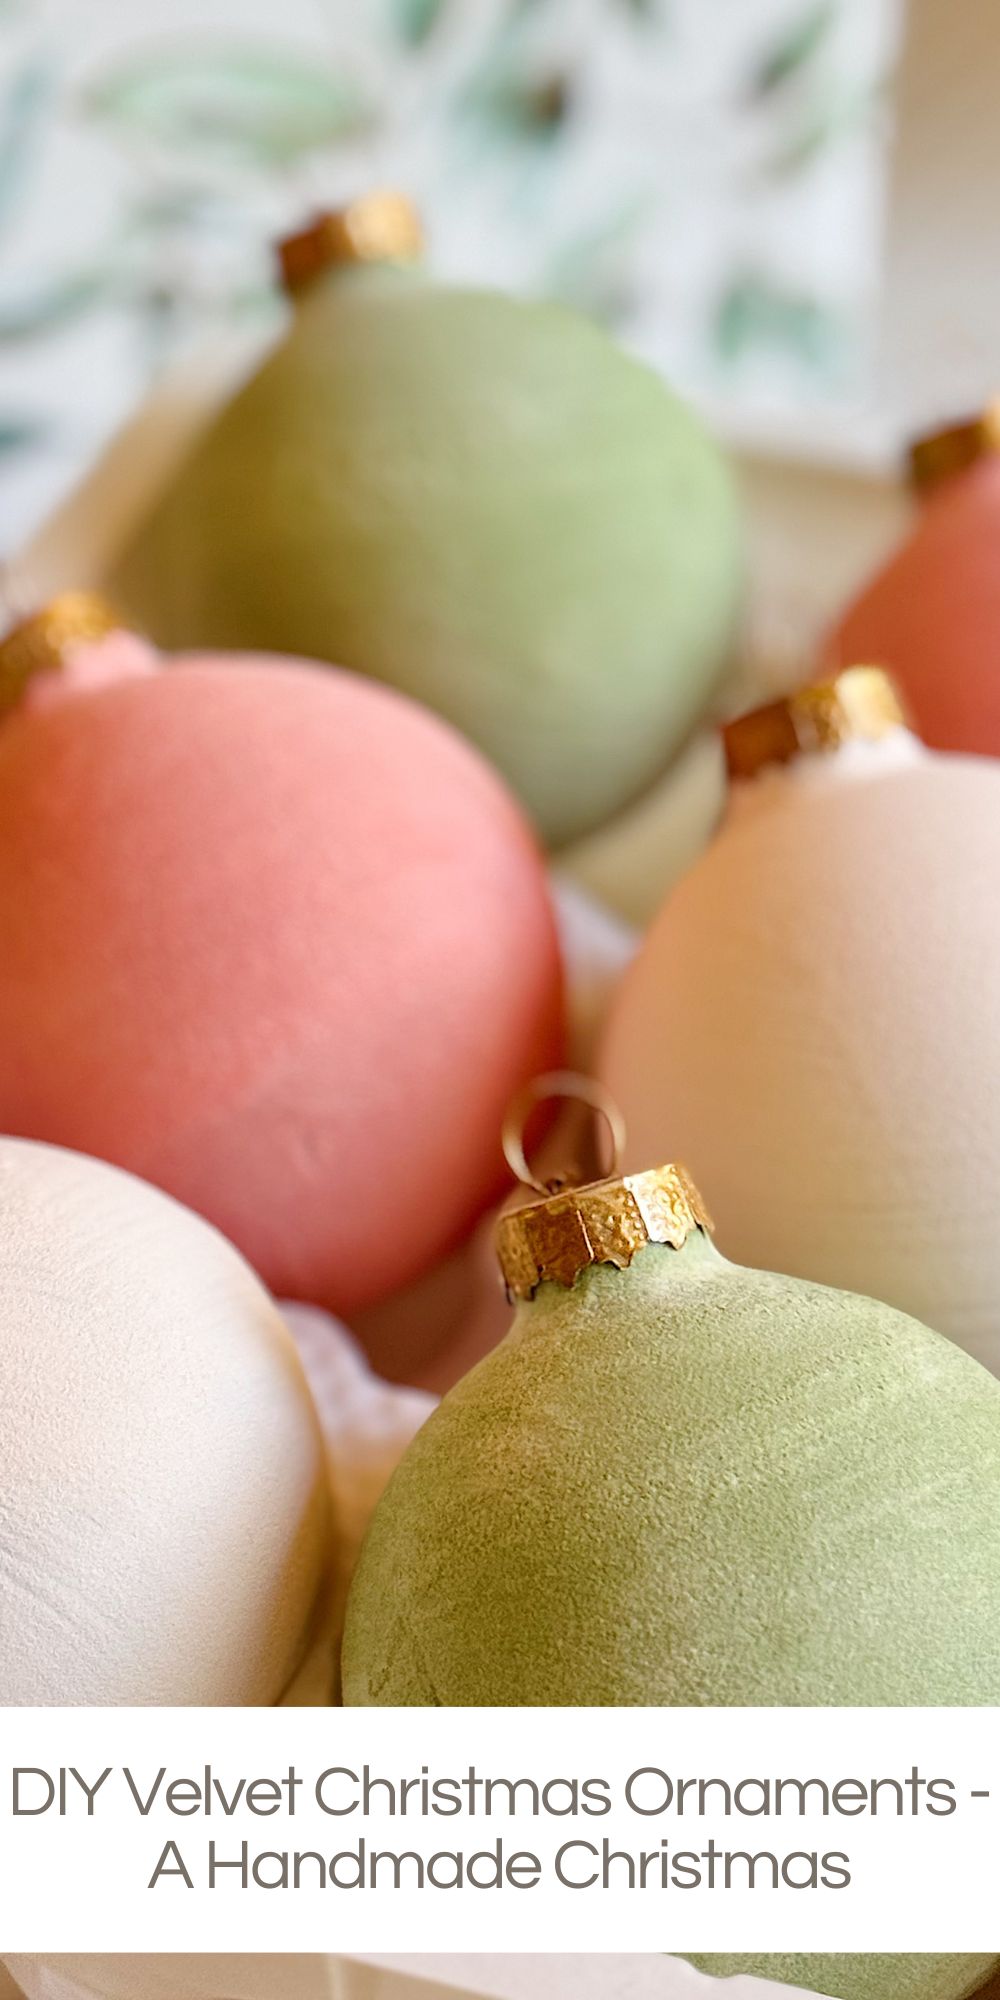
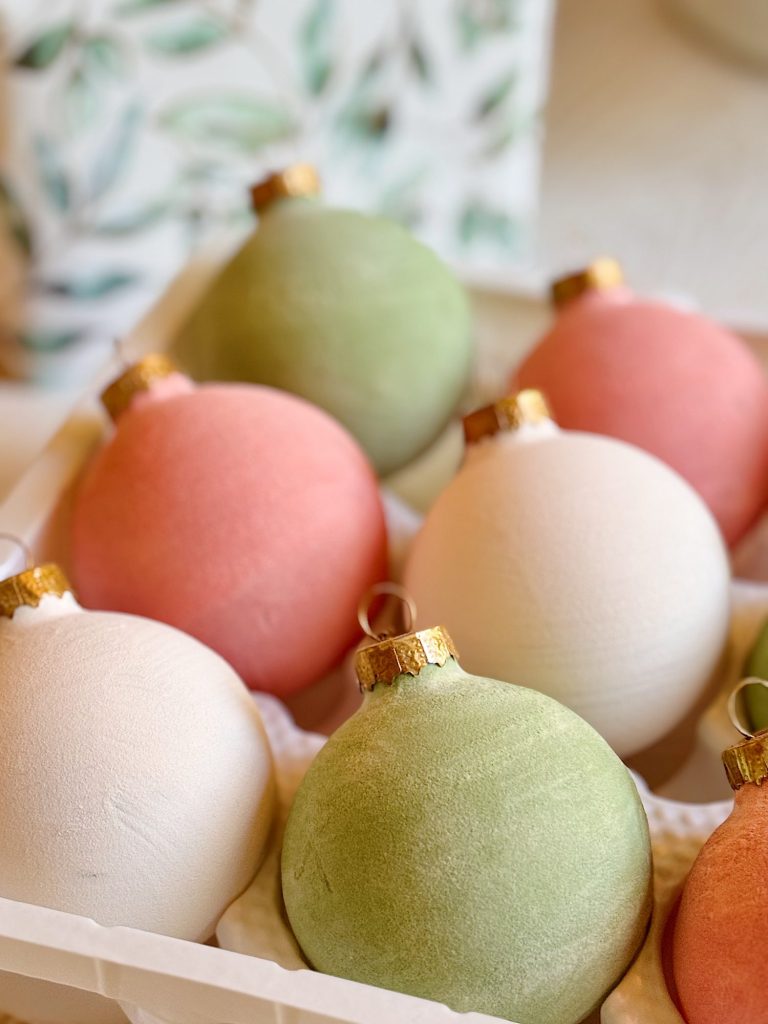
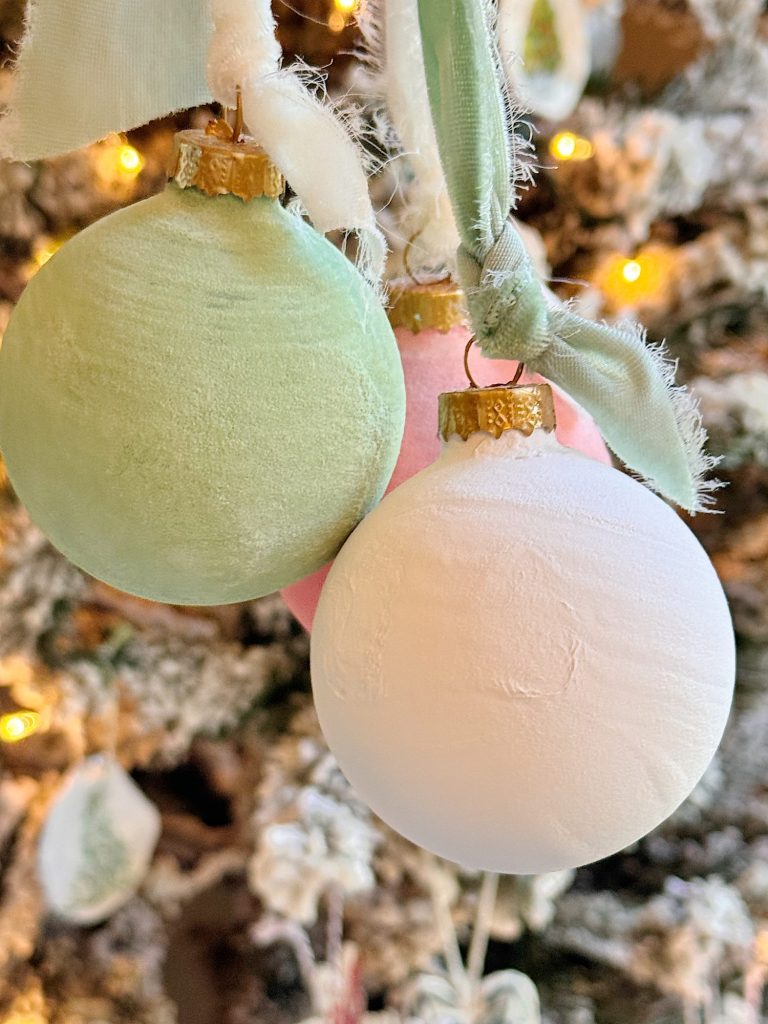
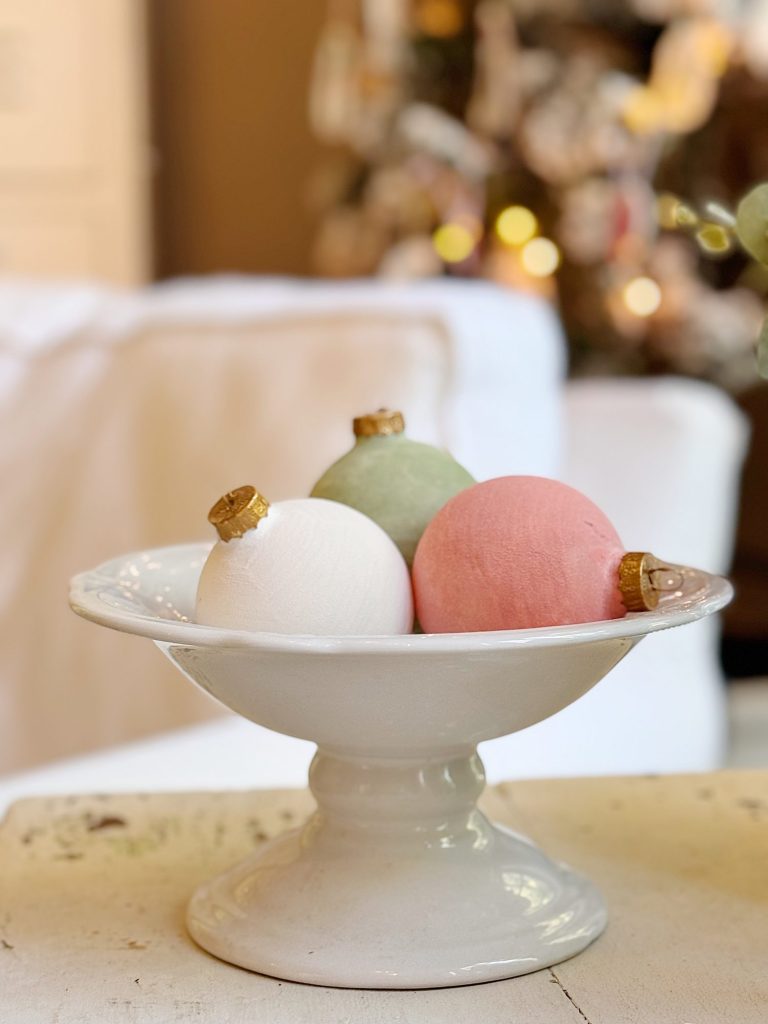
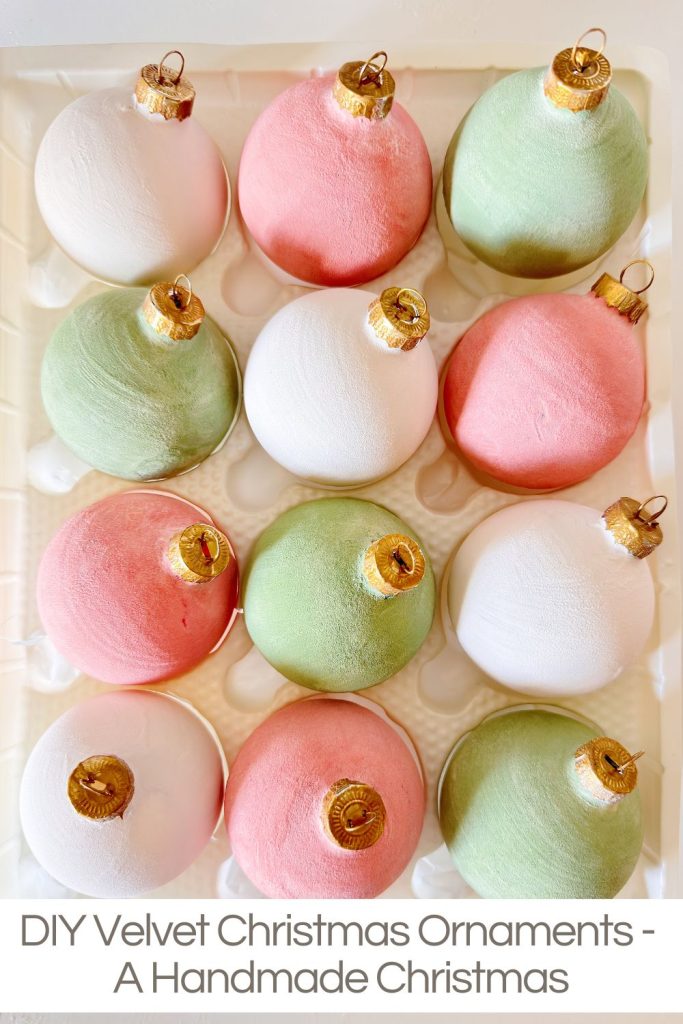
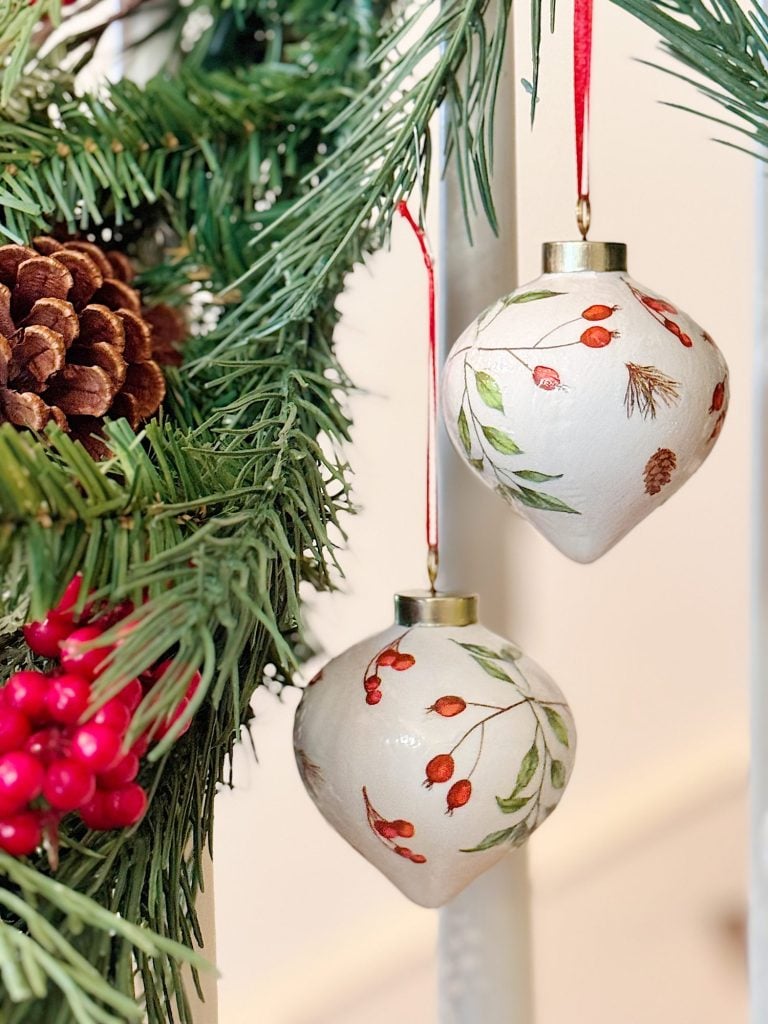
So today, I’m sharing how to make Velvet Christmas Ornaments. The most stunning, touchable ornaments you can make with just a few supplies. They’re lush, elegant, and look like something you’d find in a high-end boutique. The best part? You only need four things to make them: ornaments, paint, baking soda, and wooden skewers. That’s it!
This DIY is easy, affordable, and so satisfying to create. The result is a velvety matte finish that looks and feels luxurious, with just the right amount of shimmer from the gold-painted ornament tops and soft ribbon bows.
If you’ve ever wanted to elevate your Christmas tree with something special, this is the project for you.
A Handmade Christmas: Week Twelve
Each project in this series has felt like a little celebration of the season, and this one feels like just that.
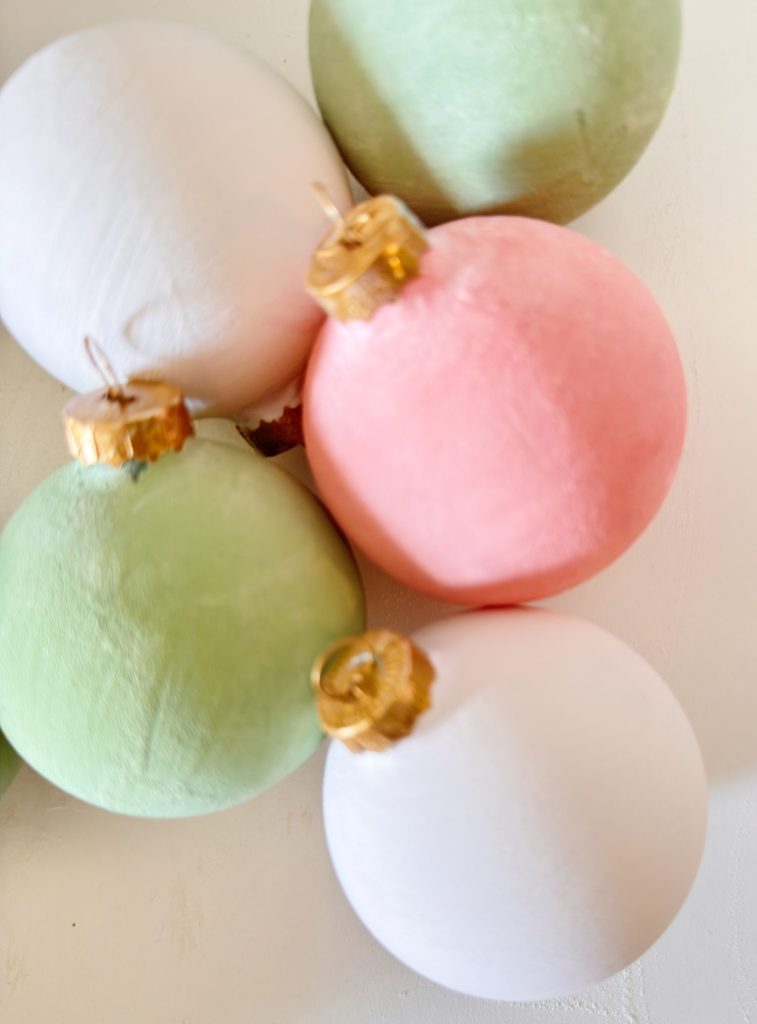
There’s something magical about the way these velvet ornaments catch the light. They have this beautiful, tactile texture that makes you want to reach out and touch them. And because they’re painted by hand, each one has its own character; no two ornaments are exactly alike.
When I first tried this method, I was honestly surprised by how easy it was. I’ve used baking soda in craft projects before to create texture on vases and pottery, but when I applied it to ornaments, I was blown away by the soft, matte finish it created. Once dry, it really does look and feel like velvet!
These ornaments are perfect for your own tree, of course, but they also make beautiful handmade gifts. Tie one onto a wrapped present, or hang a few on a garland for a touch of understated elegance.
Supplies You’ll Need
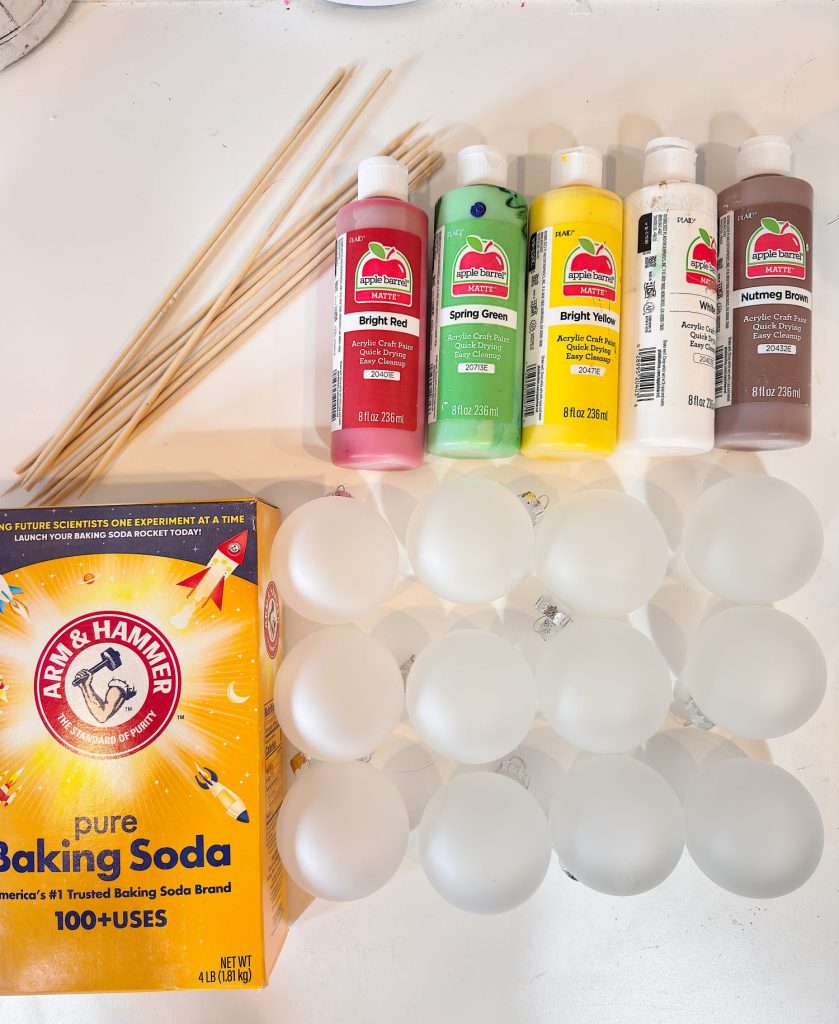
The beauty of this project lies in its simplicity: it requires only a few materials. You might even have everything you need at home already!
You’ll need:
- Plain ornaments (glass or plastic both work)
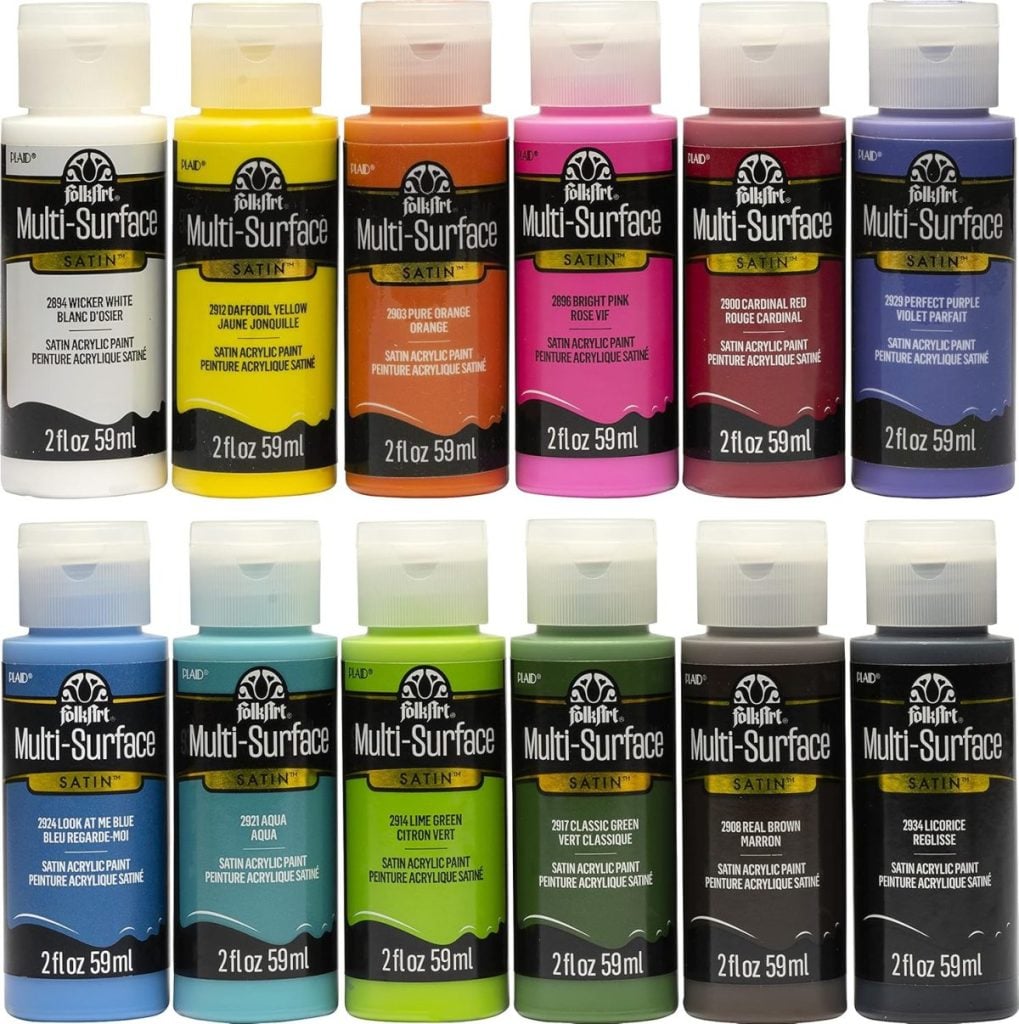
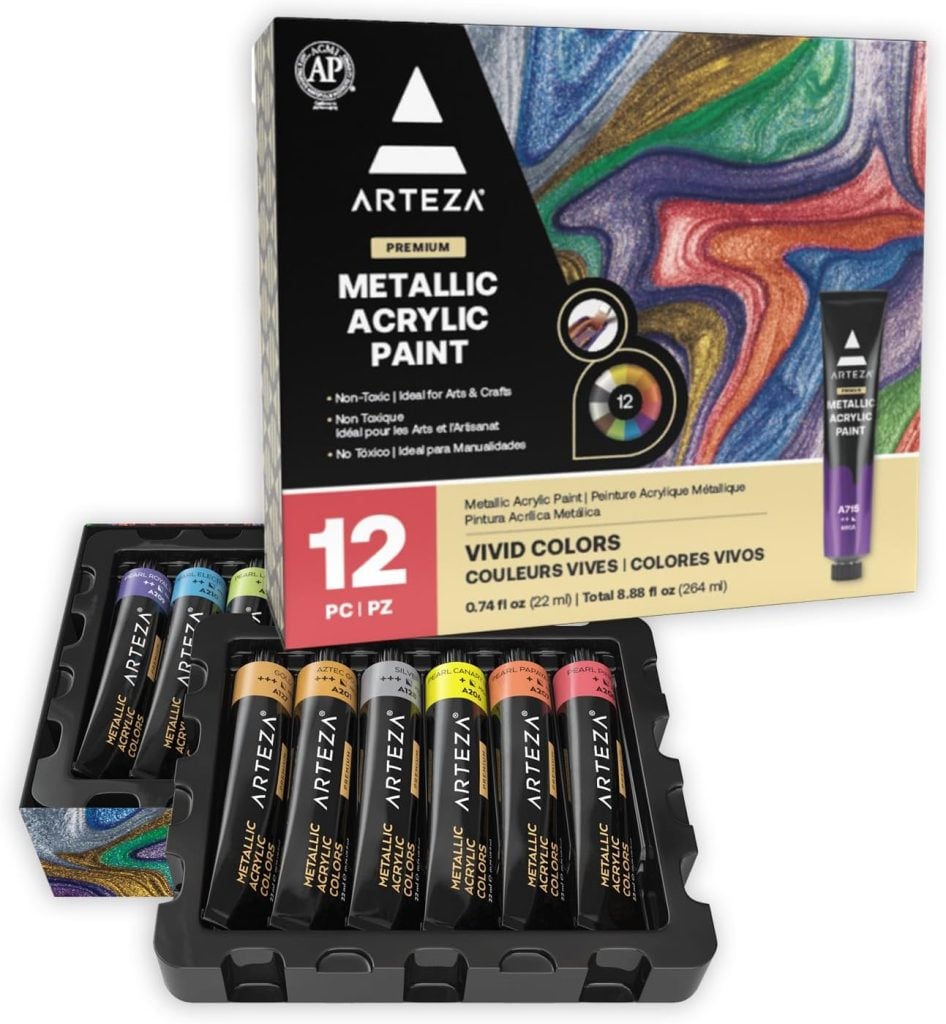
- Acrylic paint (in your desired colors)
- Baking soda
- Soft paintbrush
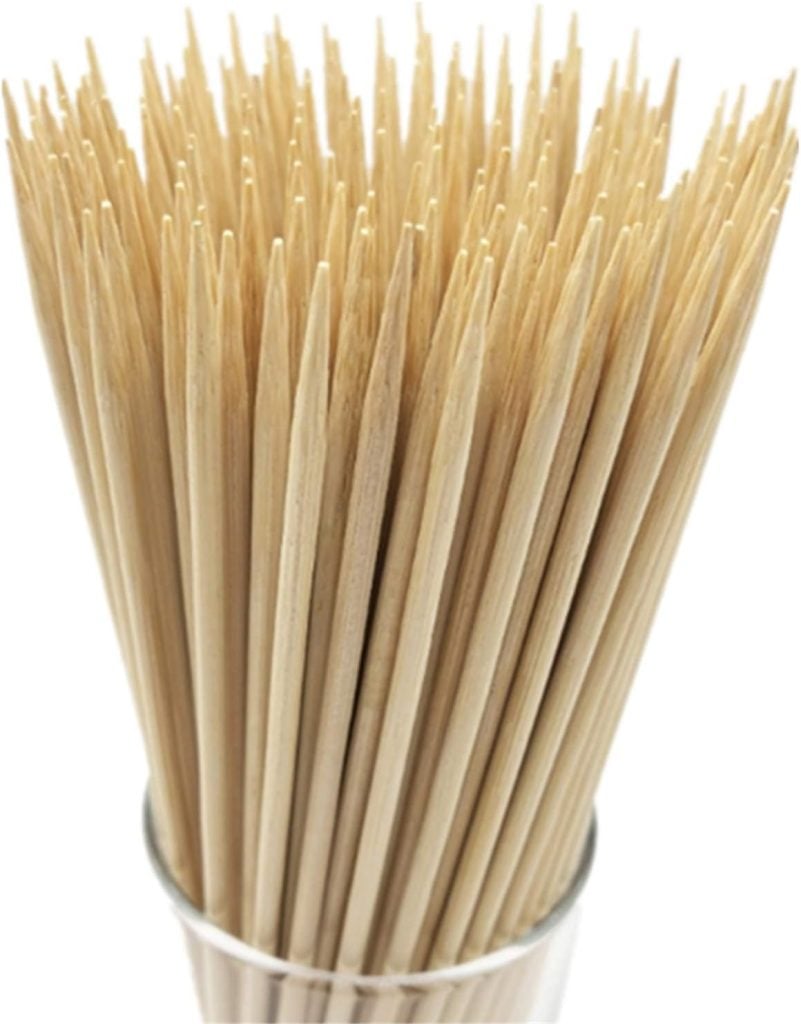
- Skewers to help hold the ornaments while painting
- Small bowl for mixing
- Gold paint (for the ornament hangers)
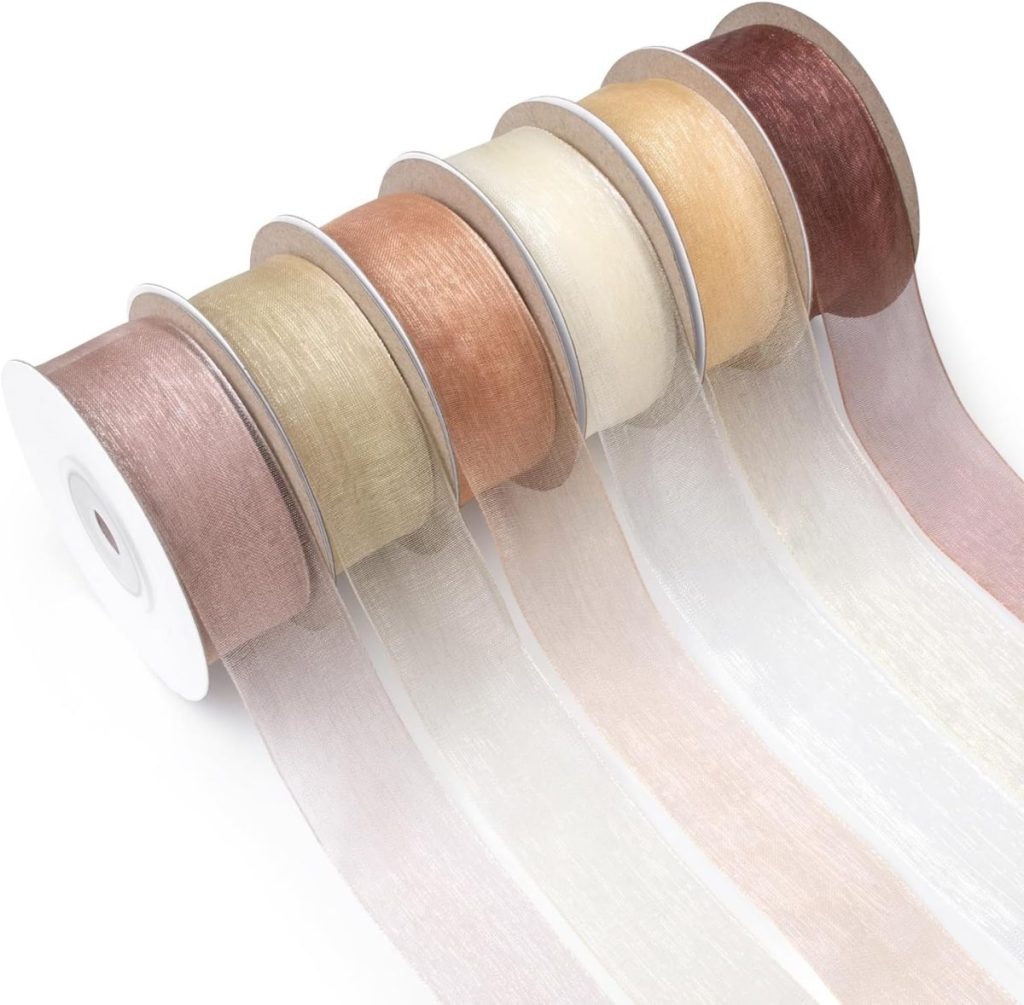
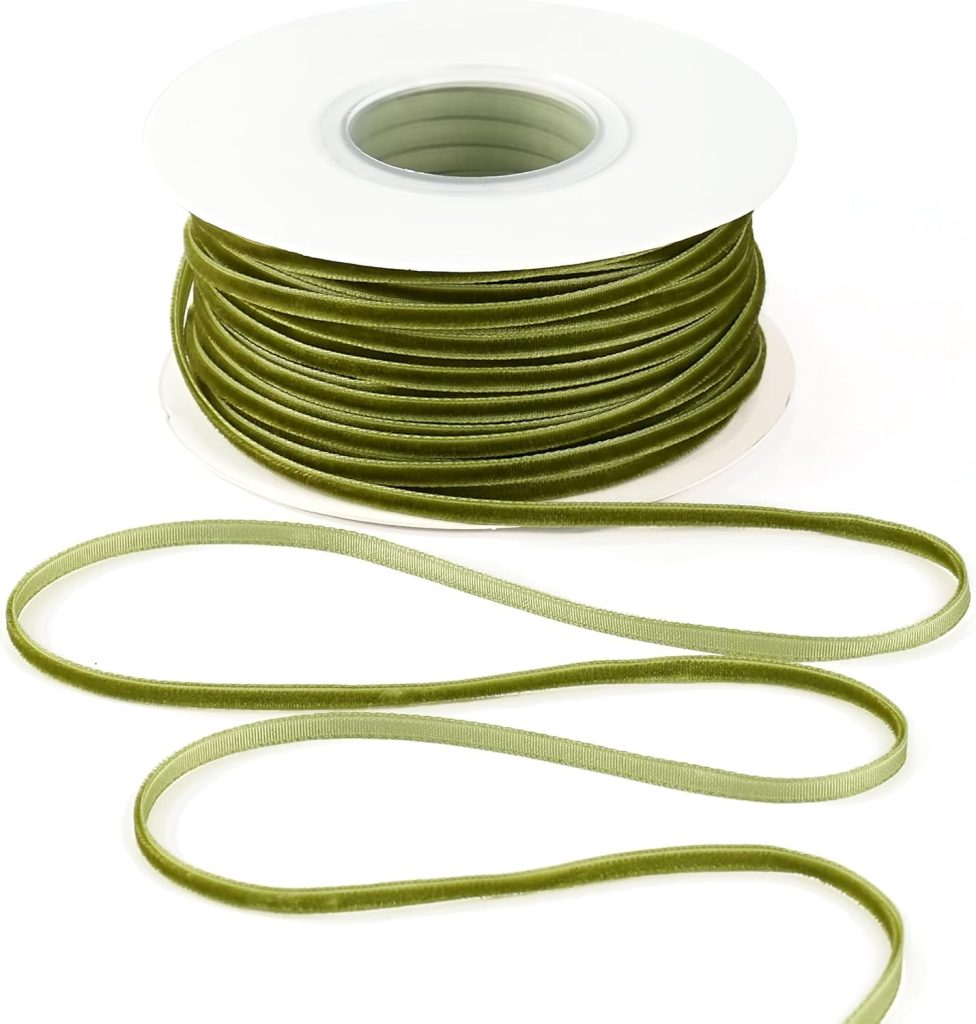
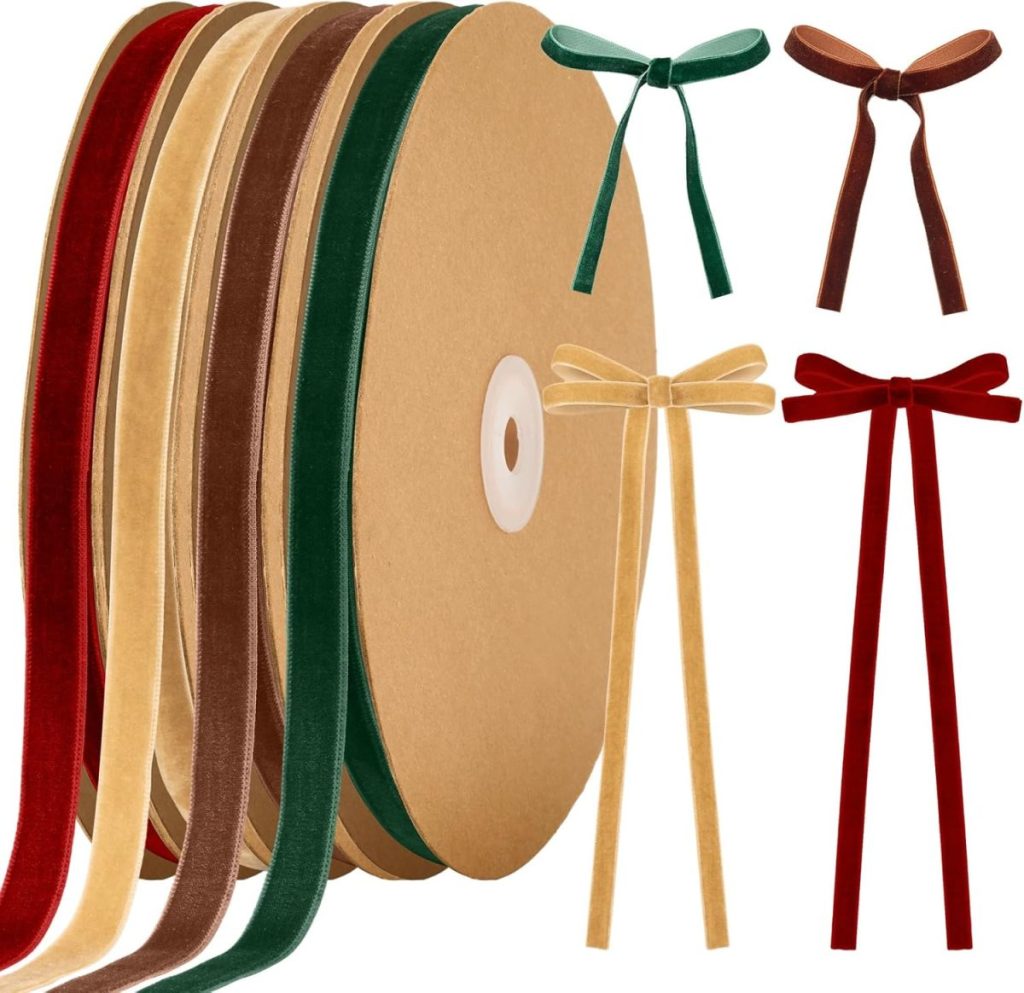
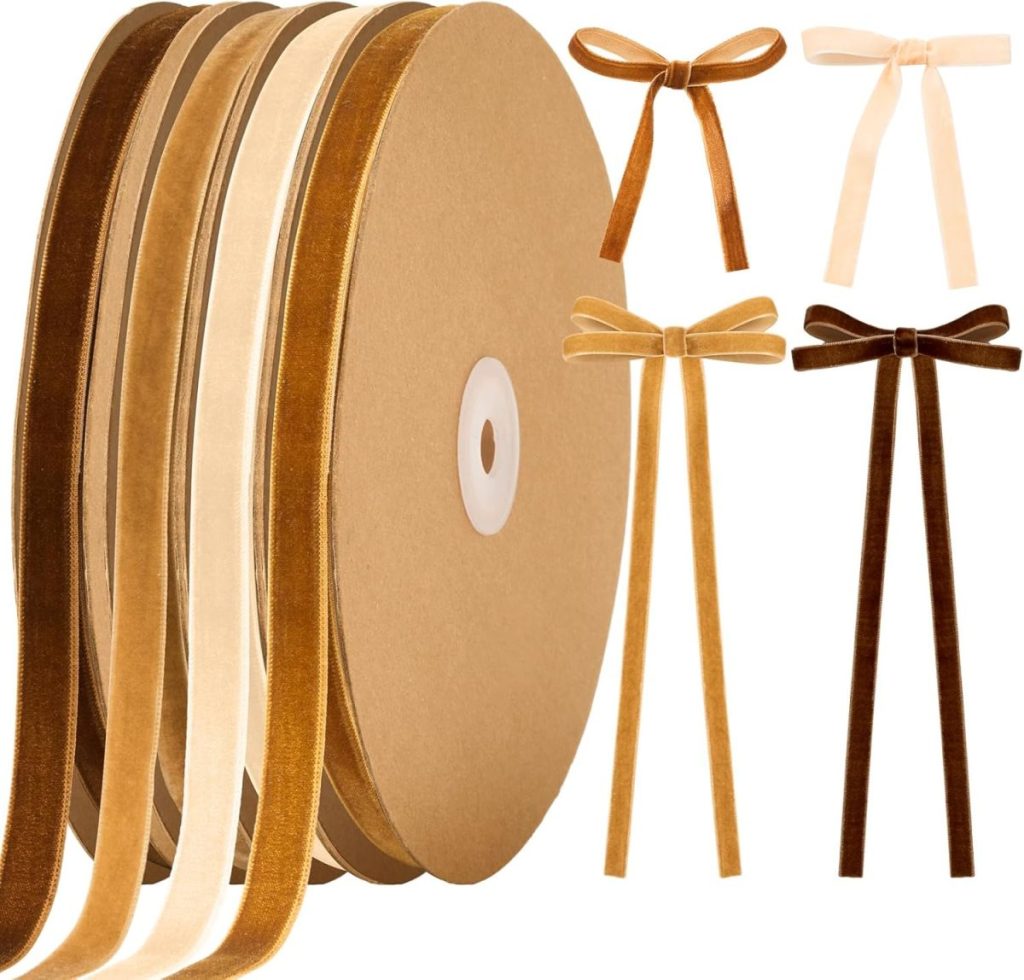
- Velvet ribbon or thin fabric ribbon for hanging
- Paper towel or newspaper (to catch excess baking soda)
On this blog, I may sometimes use affiliate links, which means I earn a small commission if you purchase through them. The price will be the same whether you use the affiliate link or go directly to the vendor’s website using a non-affiliate link.
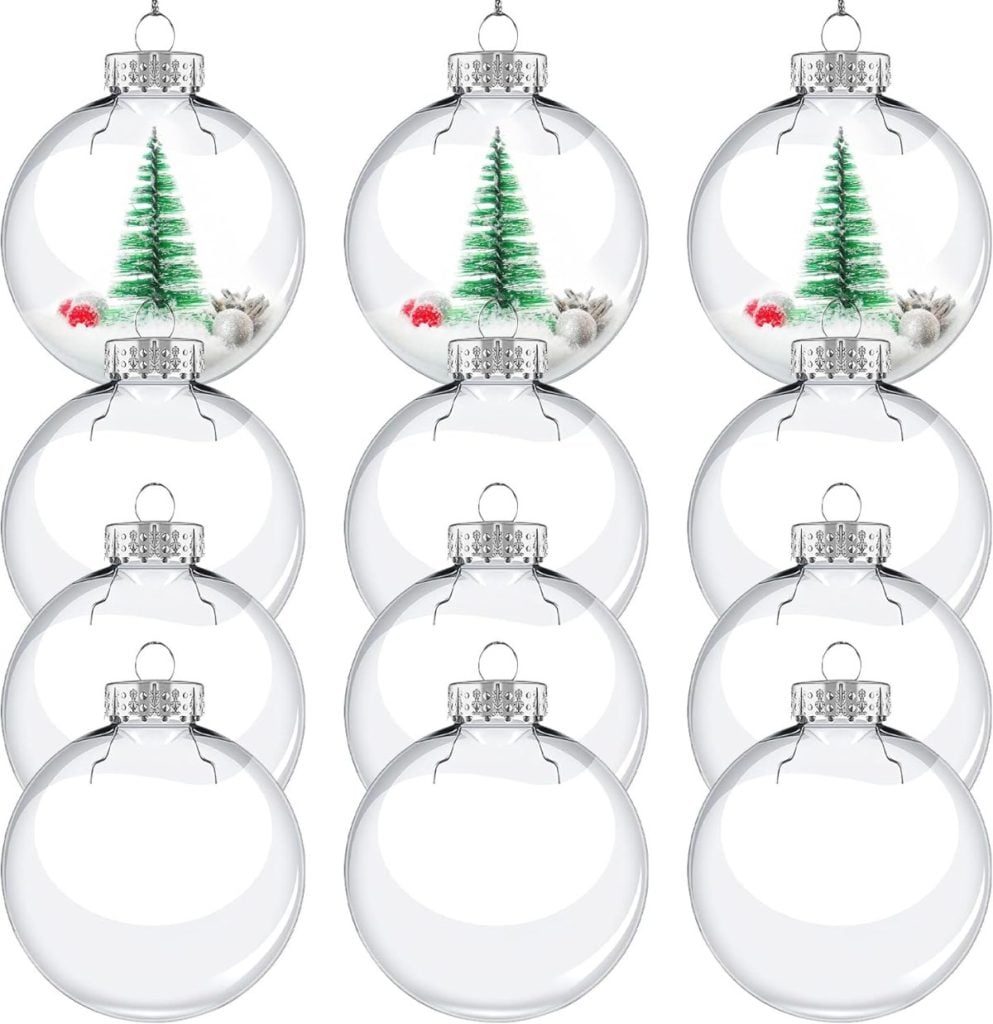
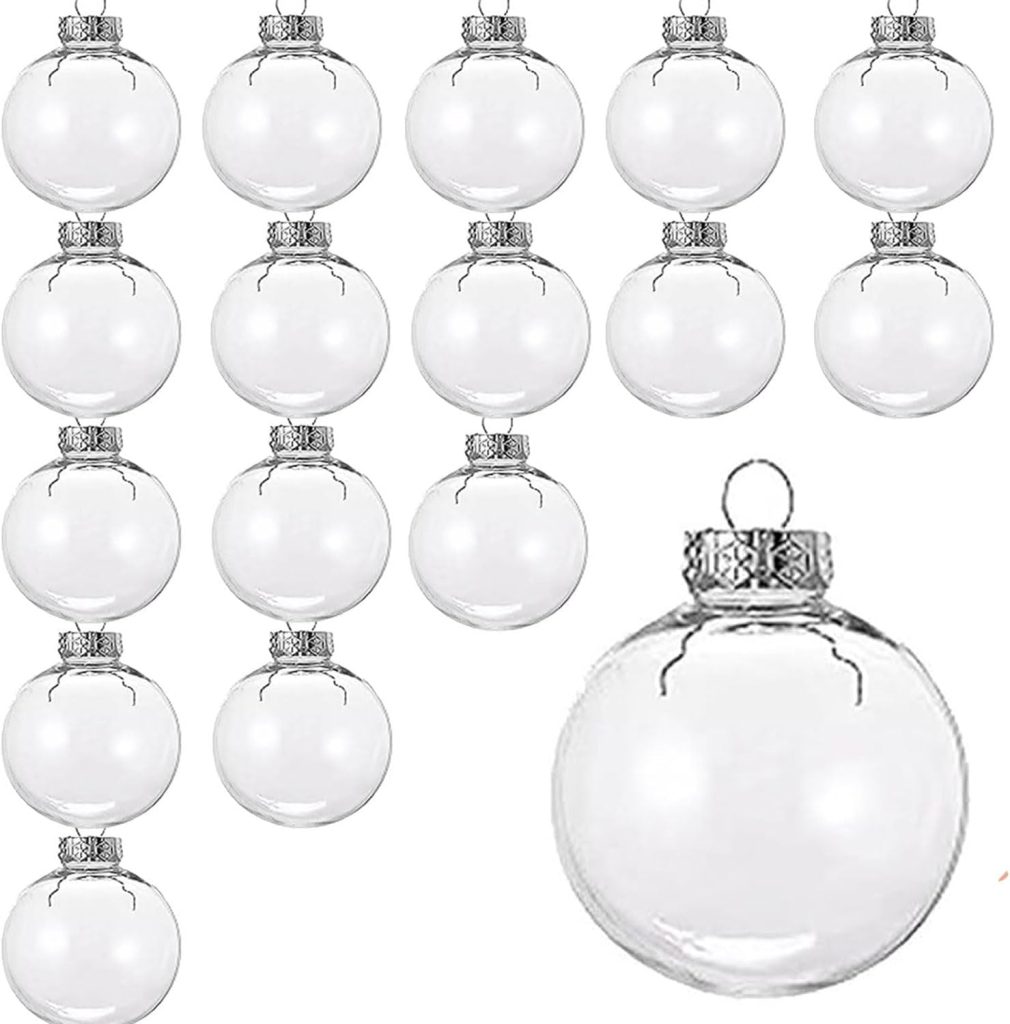


Choose Your Ornaments and Colors
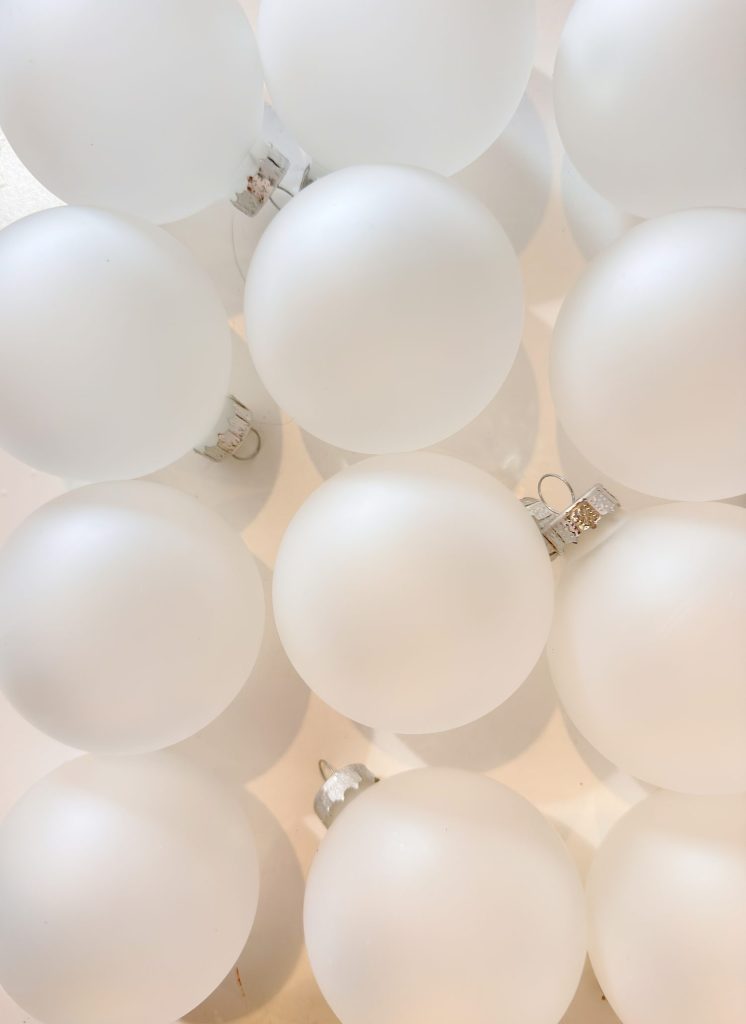
Start with plain ornaments. You can use clear (or matte) glass ornaments or inexpensive plastic ones. I think the glass ones work beautifully.
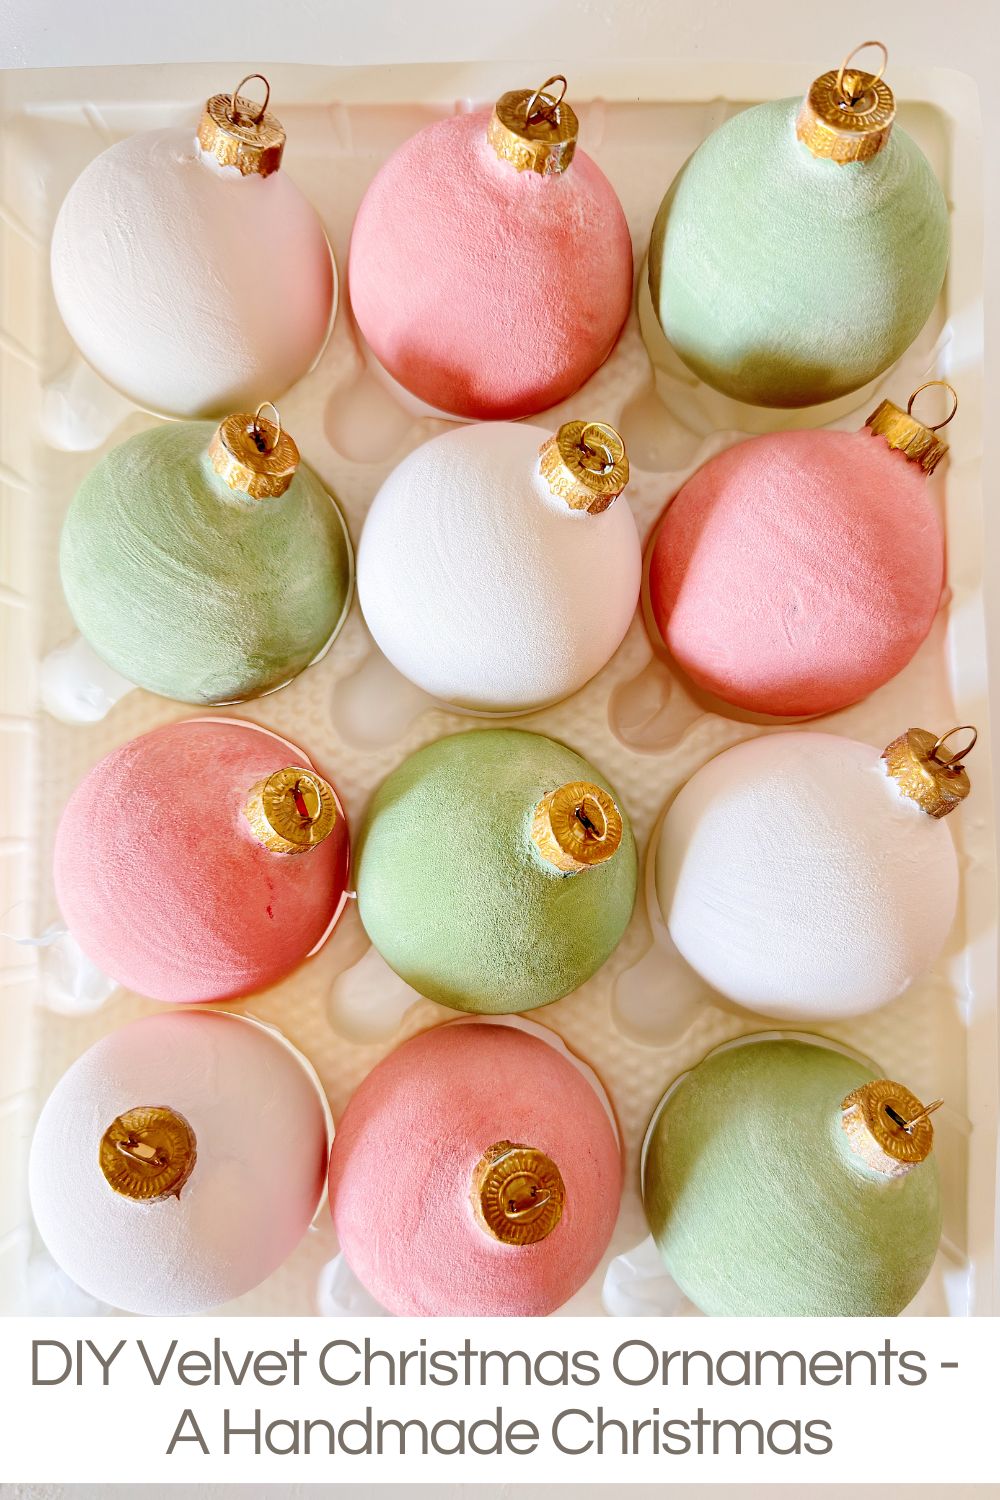
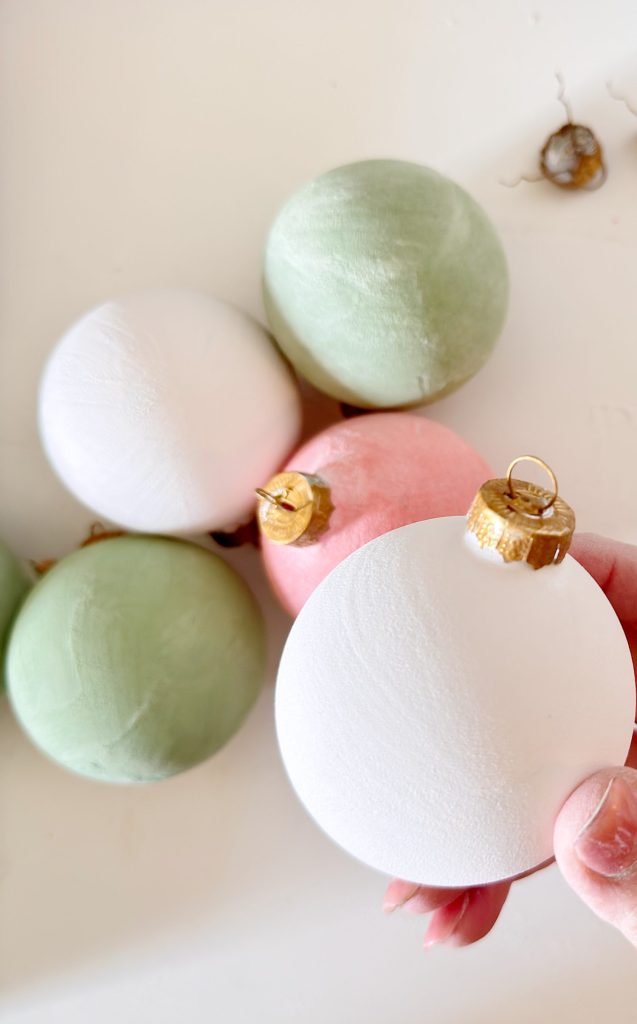
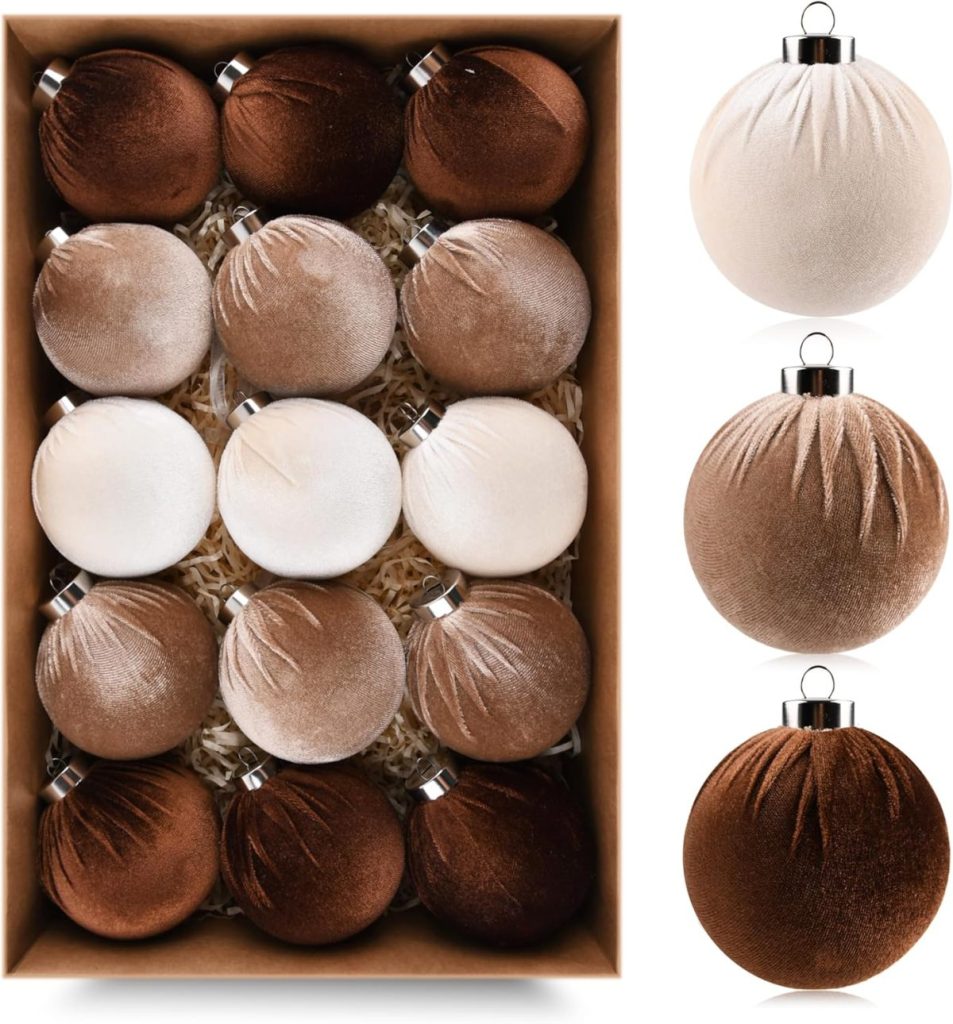
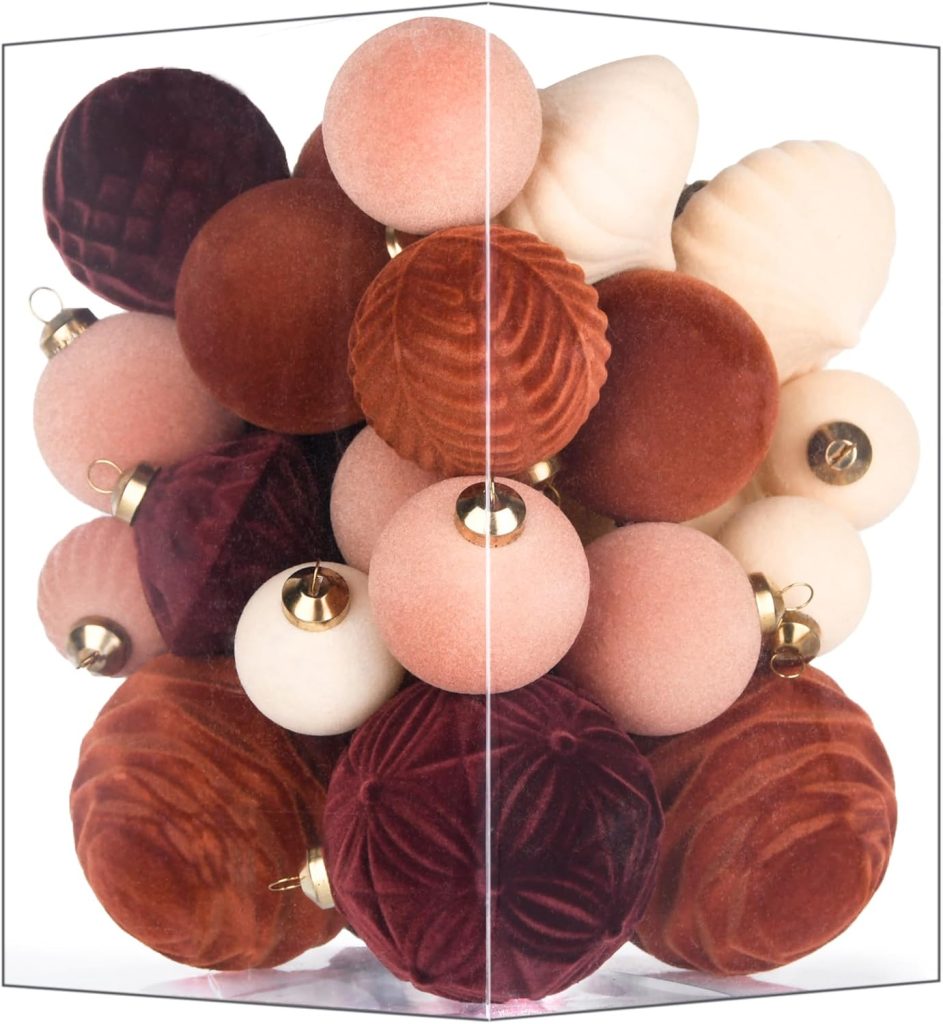
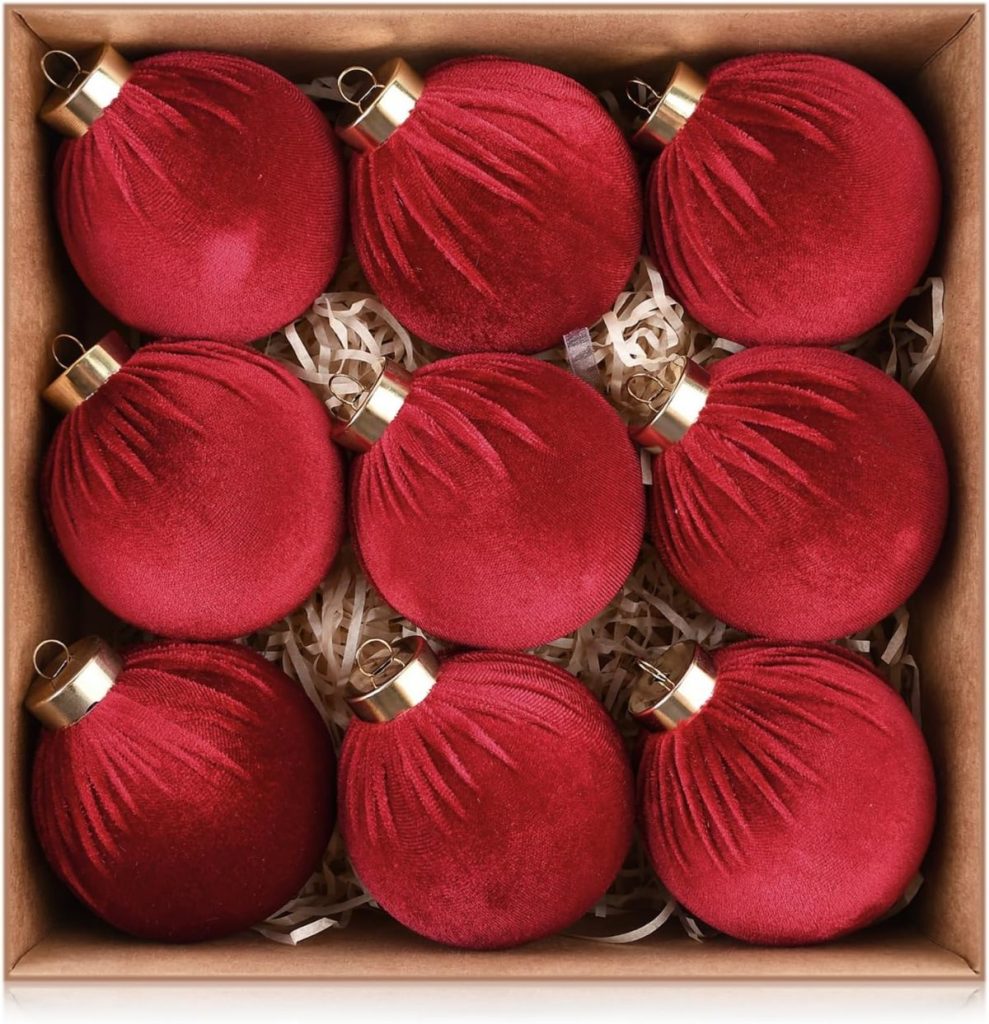
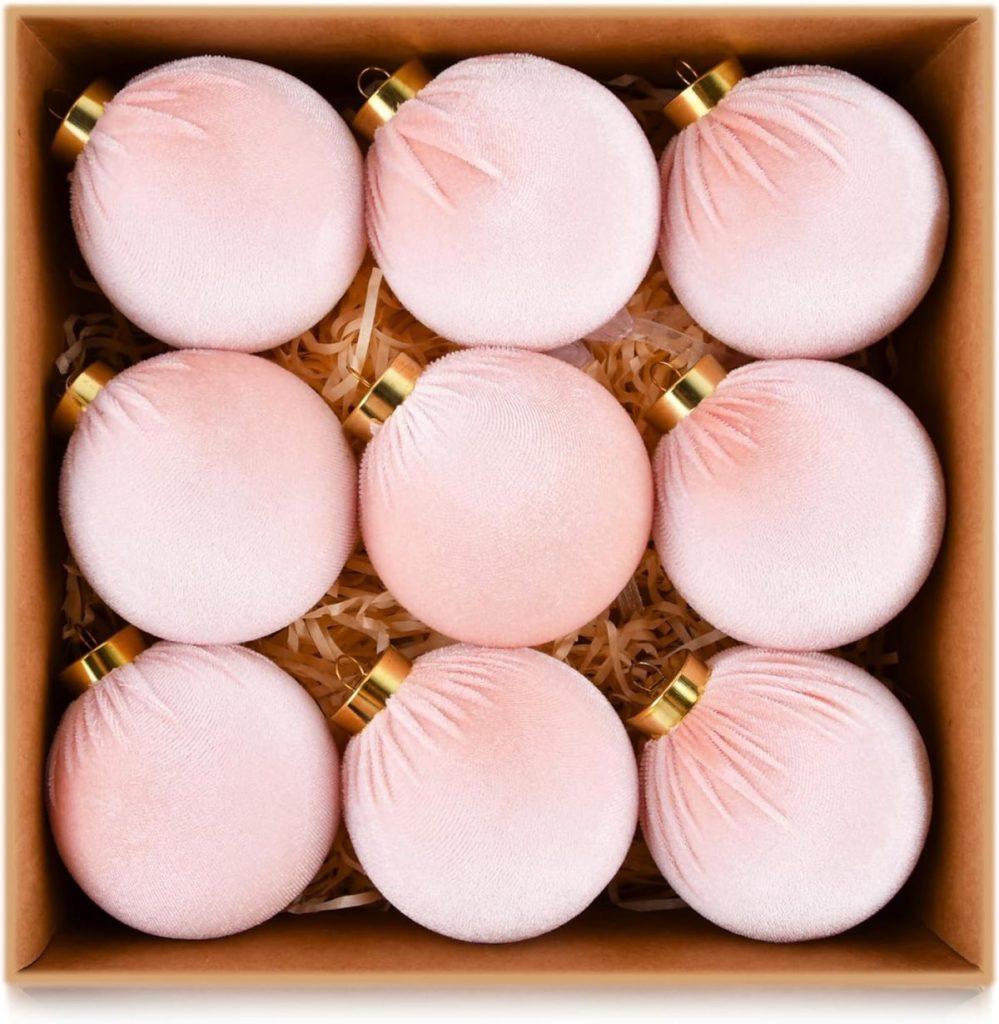
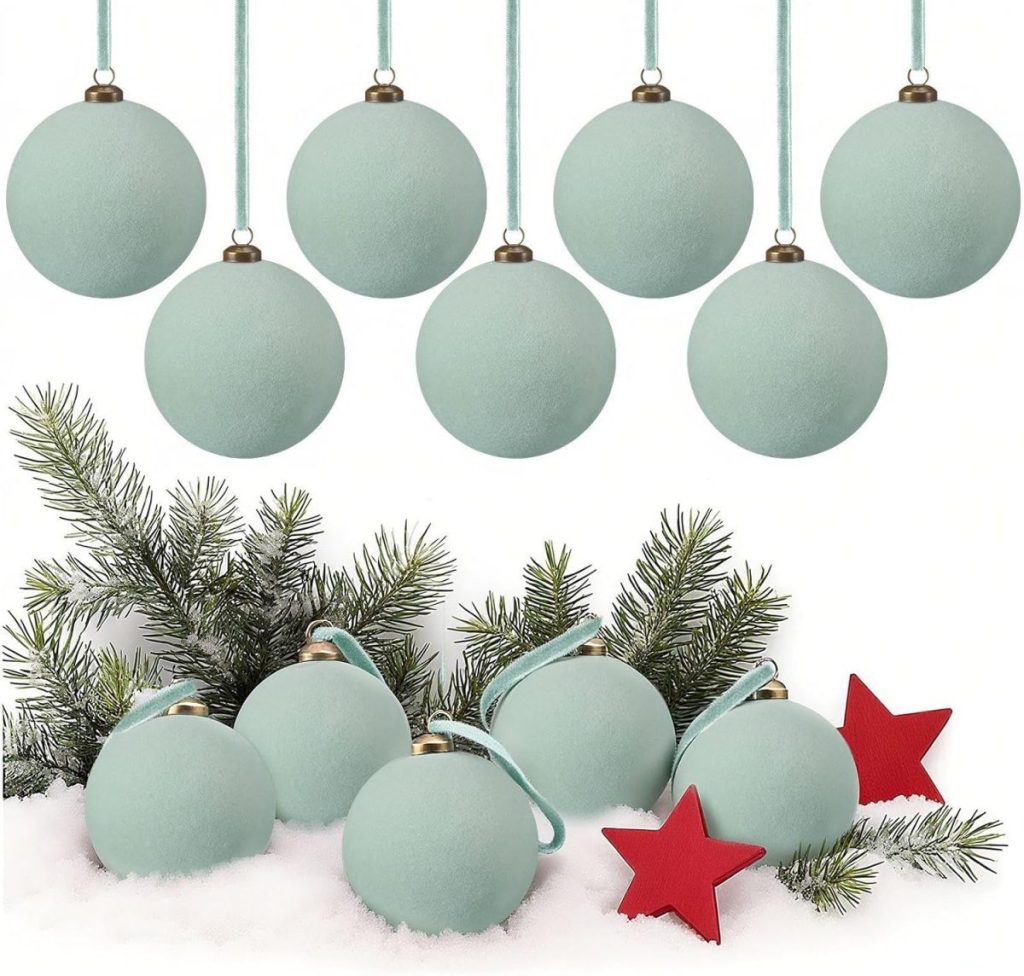
For my ornaments, I chose a color palette that feels timeless and soft: warm white, blush pink, and sage green. But honestly, any color can work; deep forest green, dusty blue, cranberry red, or even matte black would all look stunning with this technique.
If you’re working with shiny ornaments, don’t worry, as the paint will adhere just fine.
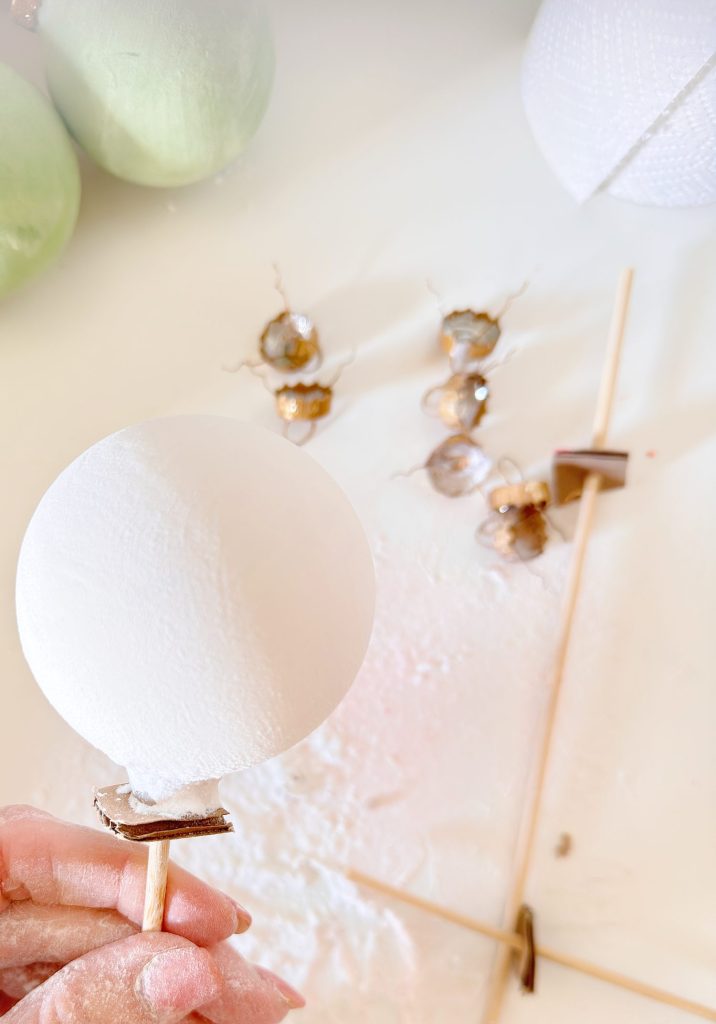
Step 1: Secure the Ornaments
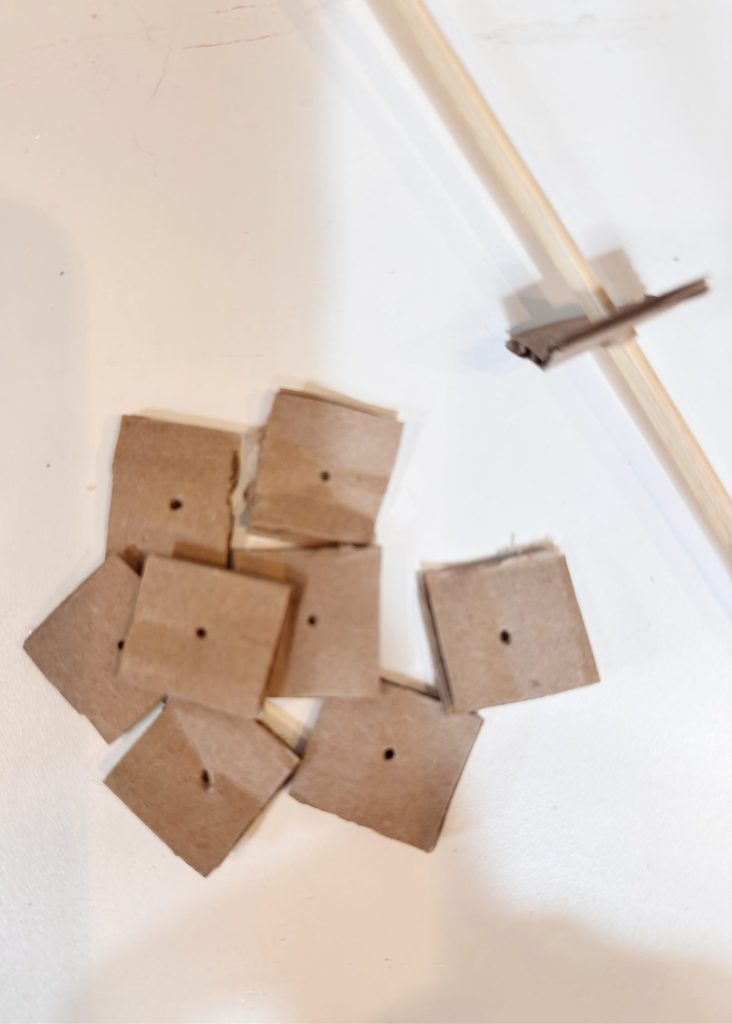
It’s really important that you don’t touch the ornaments while painting and adding the baking soda. So I made up a clever way to secure them.
I used a skewer and tiny pieces of cardboard. Use a sharp object to poke a hole in the cardboard and feed it through the skewer. Place the skewer inside the ornament, then add some hot glue to the rim. Secure the cardboard and stick it in a cardboard box to hold the ornament vertically.
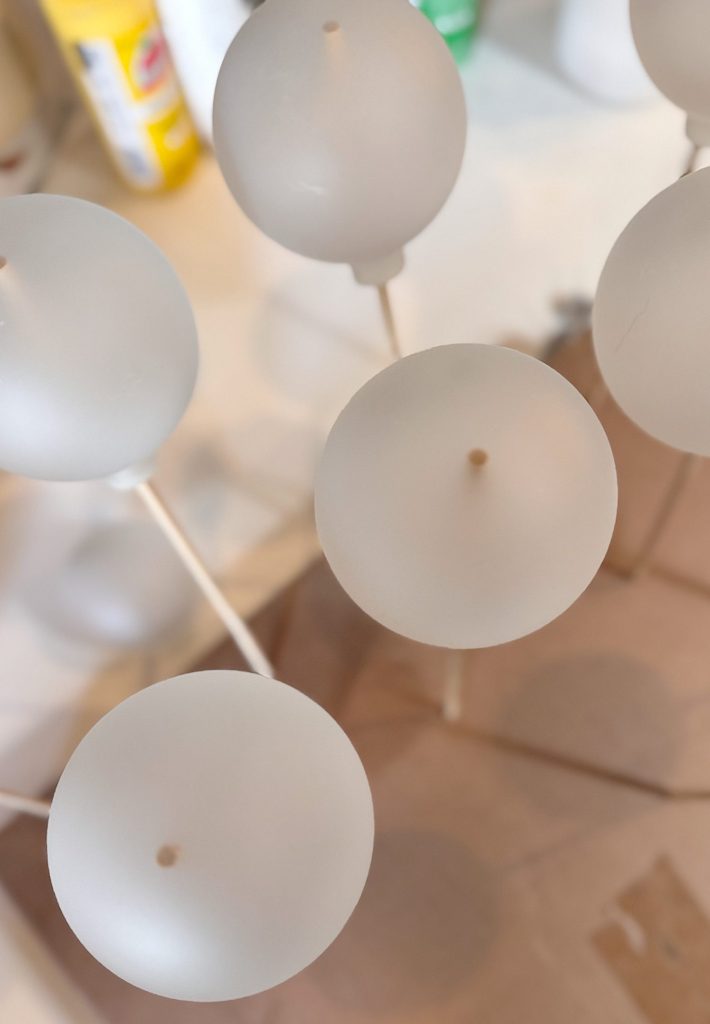
Step 2: Paint the Ornaments
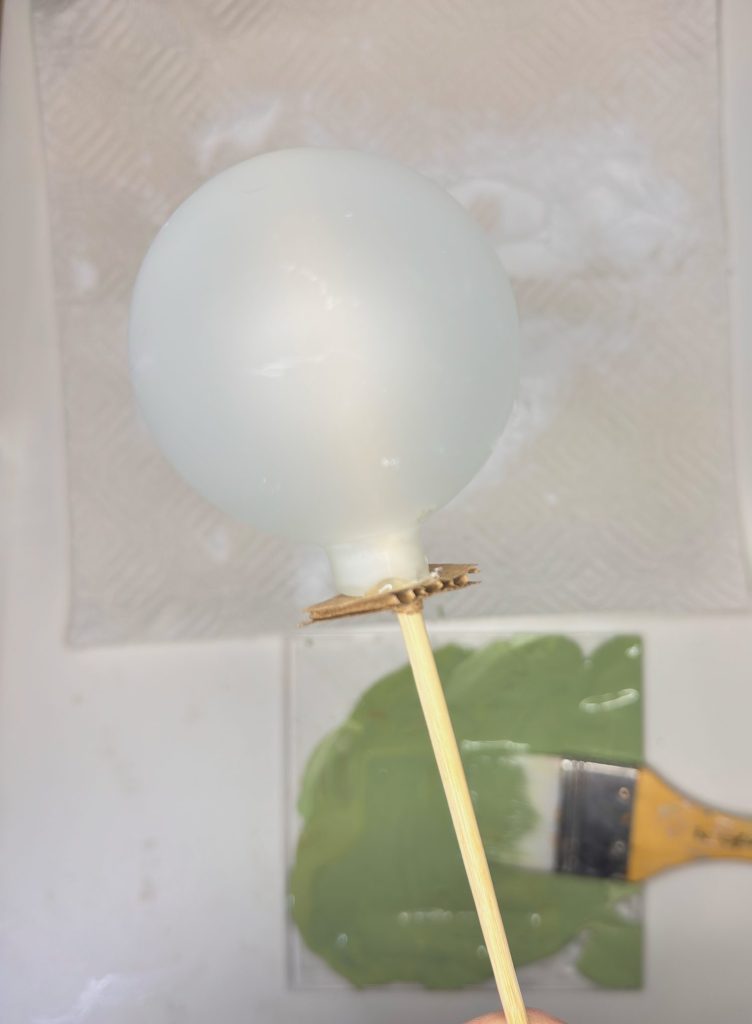
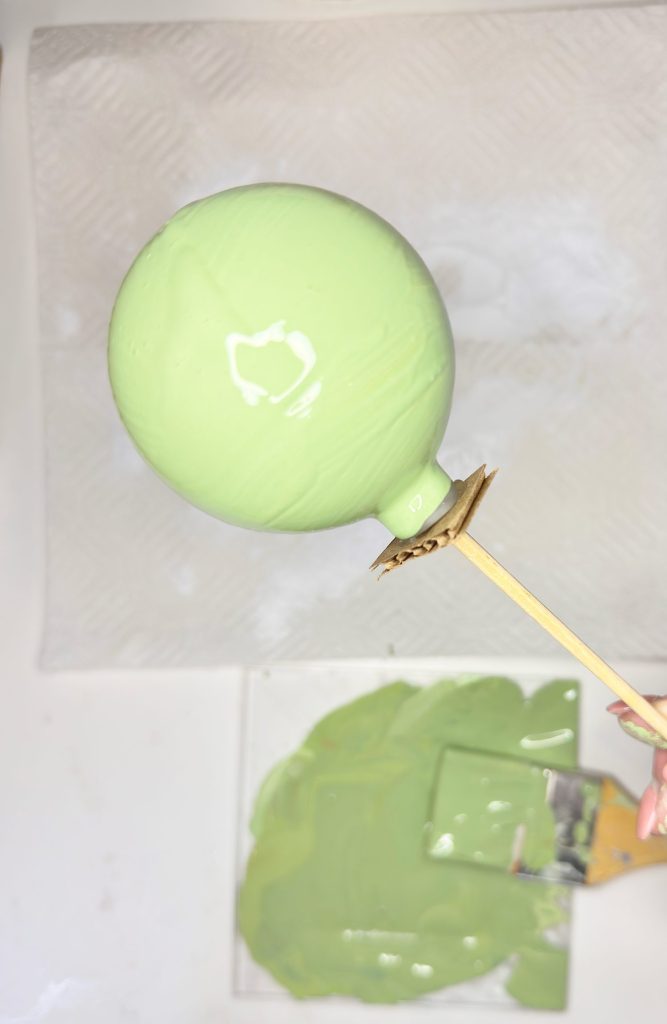
Using a soft paintbrush, apply a generous coat of paint to each ornament. You can either hold them by the top hook or set them on a paper towel as you work.
The paint doesn’t have to be perfect. You’ll be covering it with baking soda next, so brush strokes are fine.
Tip: If you’re painting several ornaments, it helps to stick the hooks into a piece of foam or an empty egg carton so they can dry upright later.
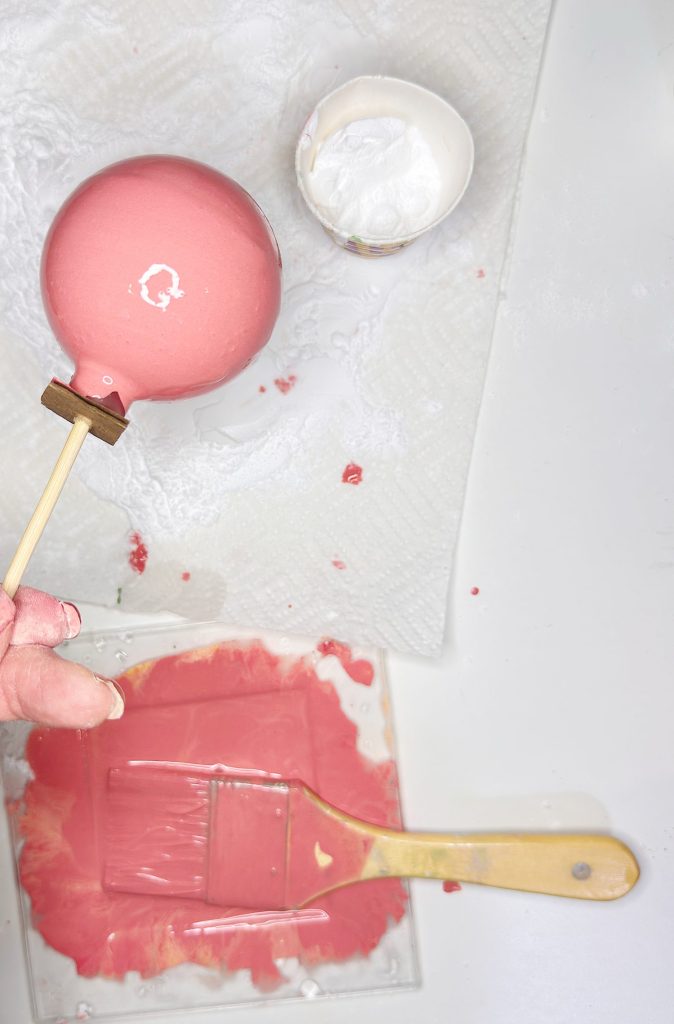
Step 3: Add the “Velvet” Texture
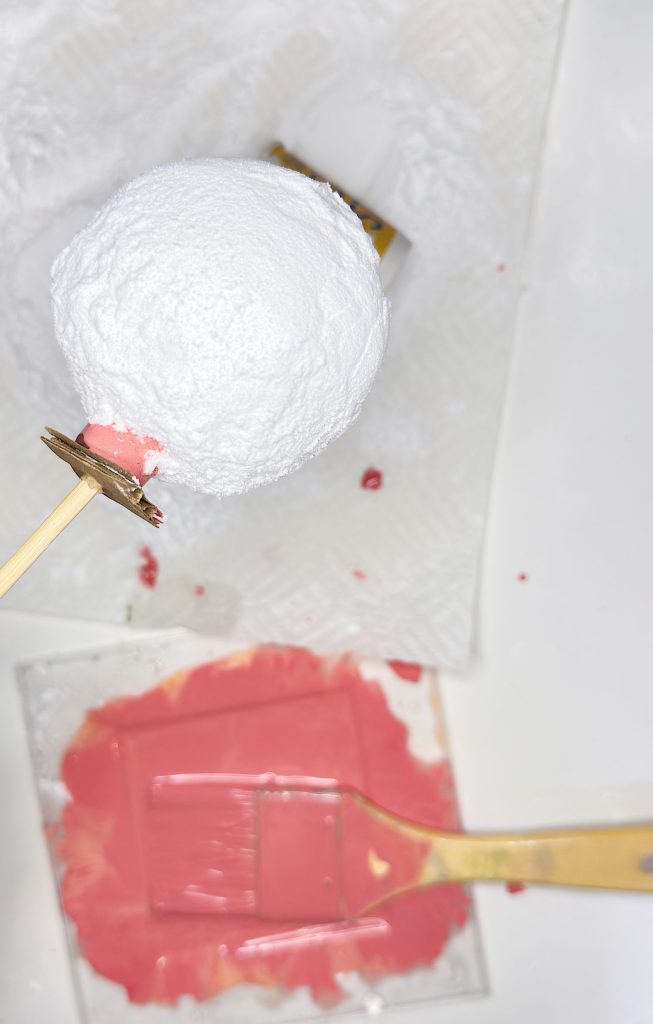
While the paint is still wet, it’s time to create that luxurious velvet finish.
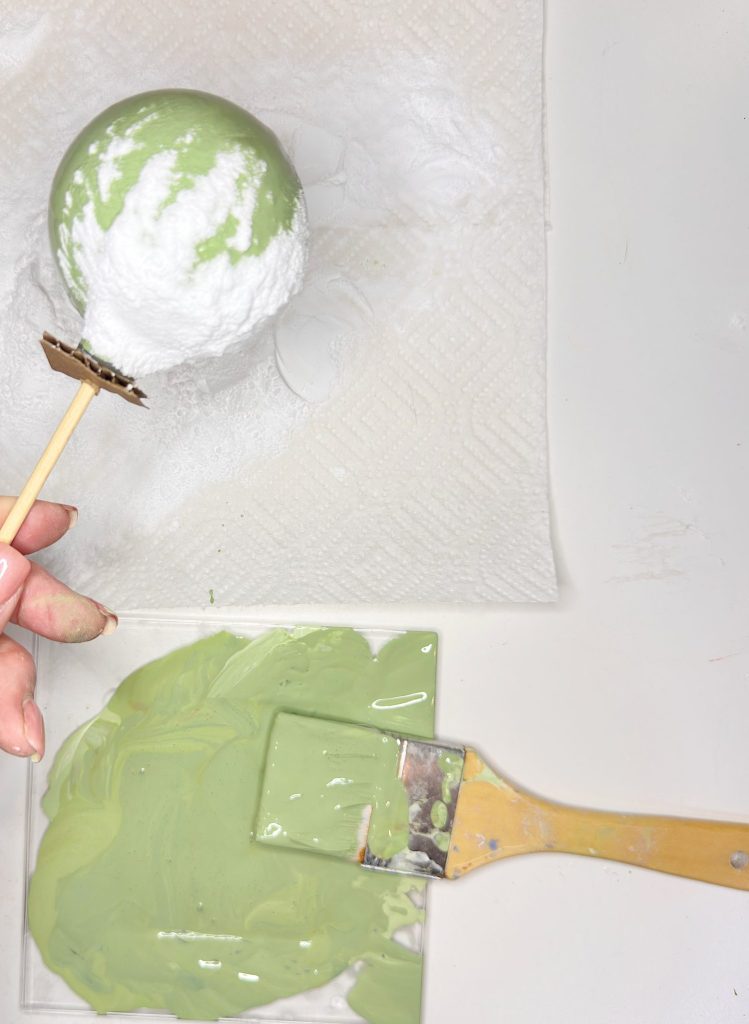
Take your ornament and sprinkle baking soda evenly over the surface. You can use a spoon or your fingers, whatever feels easiest. The key is to ensure the baking soda covers the ornament entirely while the paint is still tacky, so it adheres evenly.
Once it’s coated, gently tap off the excess. Don’t worry if it looks a little uneven right now; that soft, velvety texture will come together as it dries.
Let the ornament sit undisturbed until it’s completely dry. Depending on the humidity, this process can take anywhere from a few hours to overnight.
Step 4: Shake Off the Excess
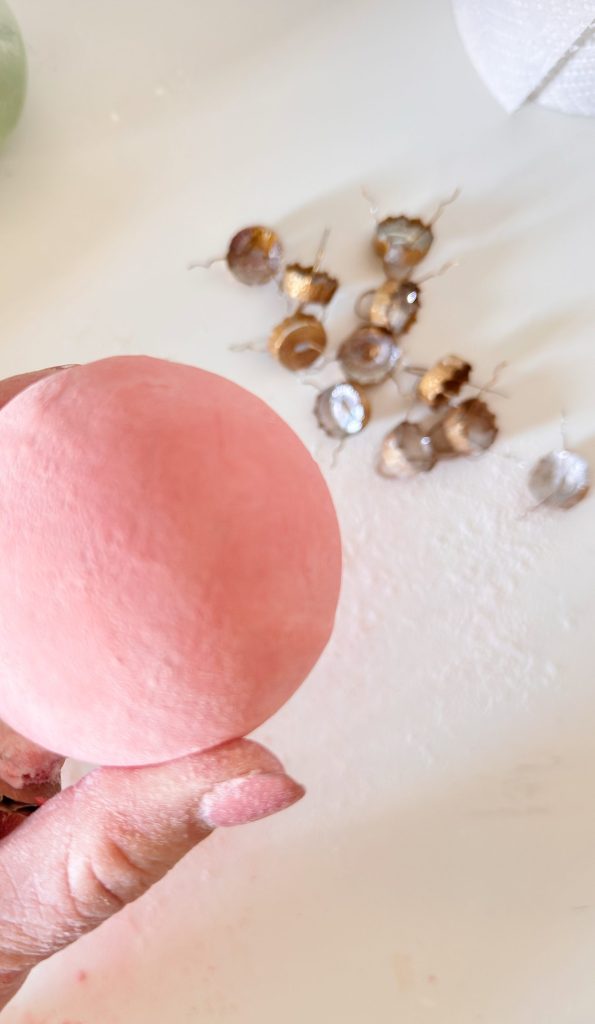
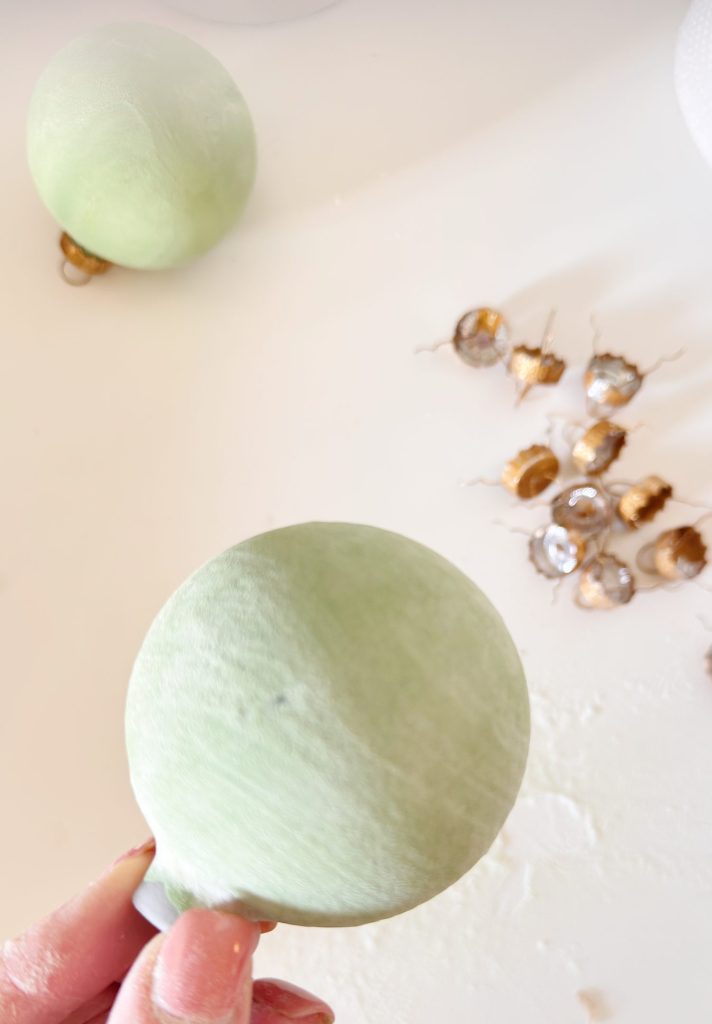
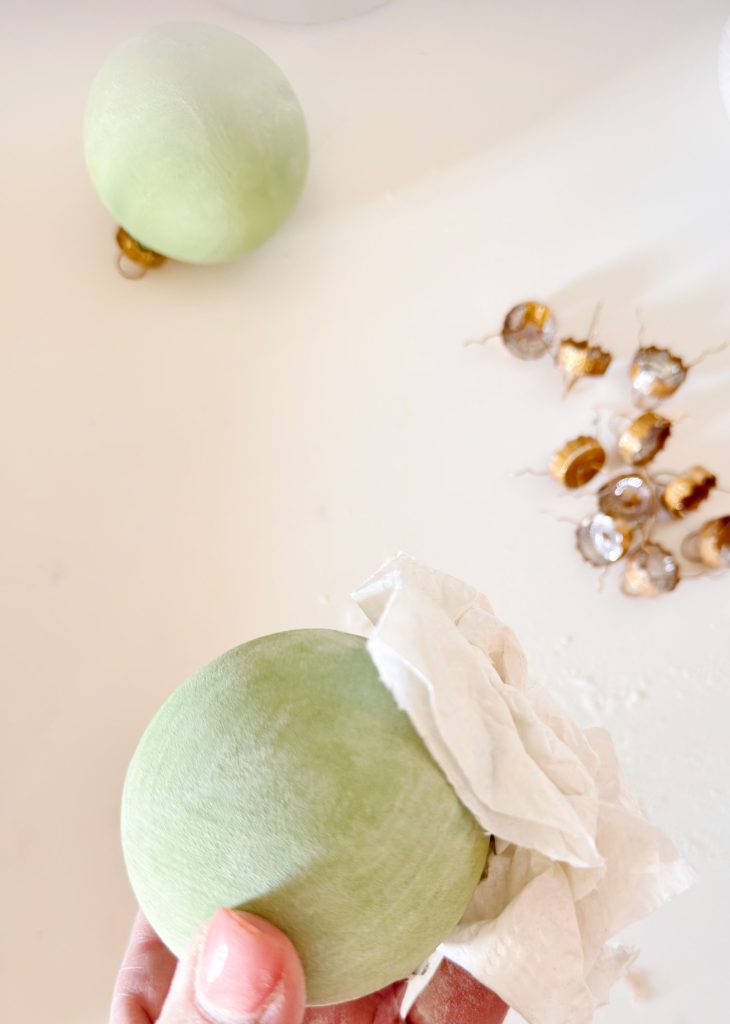
Once your ornaments are fully dry, pick them up and gently shake or brush off any loose baking soda. Gently use your fingers to remove any excess baking soda. If needed, use a paper towel. You’ll be left with a beautifully soft, matte texture that resembles velvet perfectly.
I love how tactile these ornaments are; they don’t just look cozy, they feel cozy too.
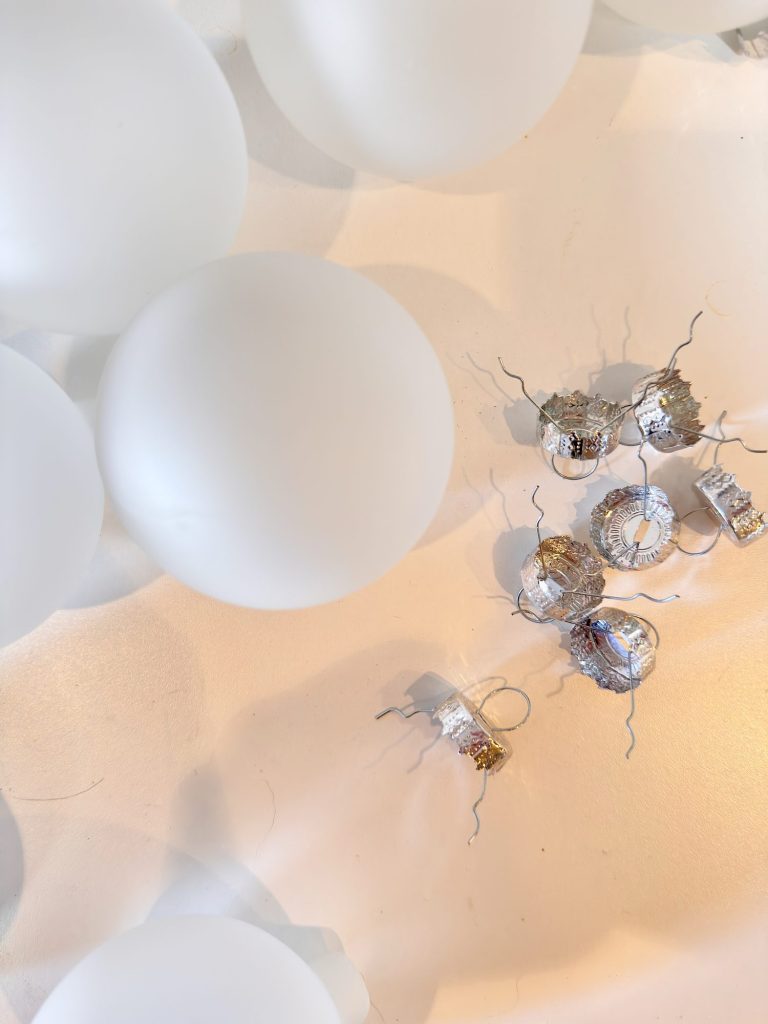
Step 5: Paint the Ornament Tops Gold

To add a little sparkle, use metallic gold paint to coat the ornament hangers. Use a small brush and a steady hand for this part.
This small detail makes a big difference. The gold accent gives the ornaments a polished, high-end look that contrasts beautifully with the soft matte texture of the “velvet.”
Let the gold paint dry completely before handling.
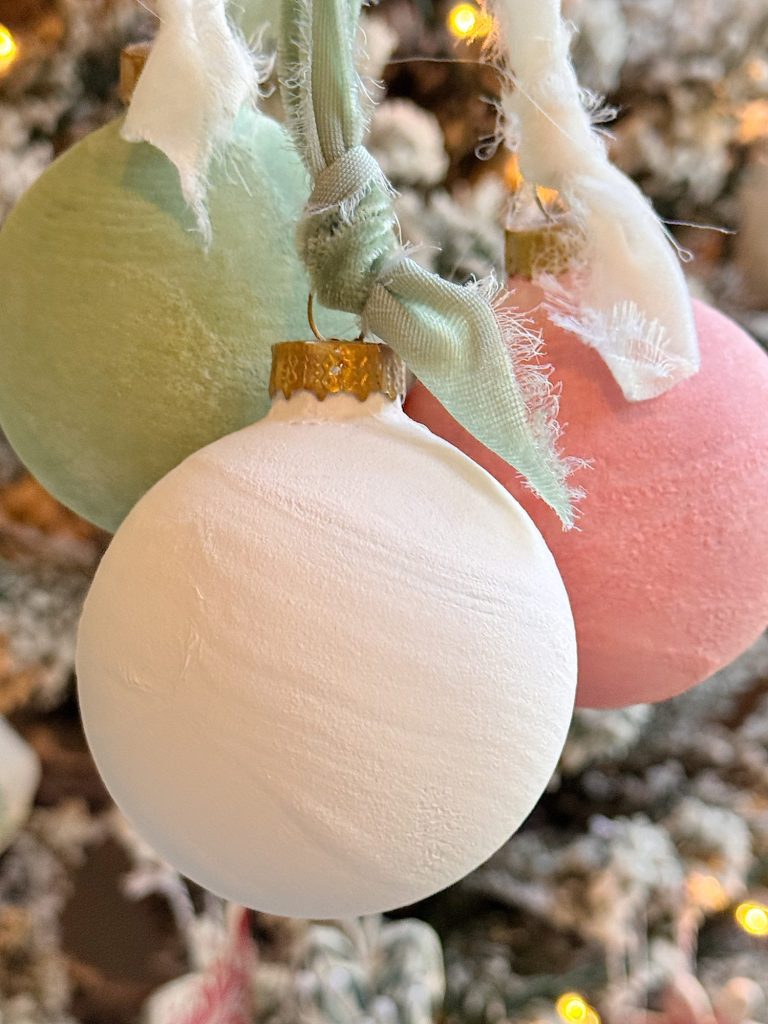
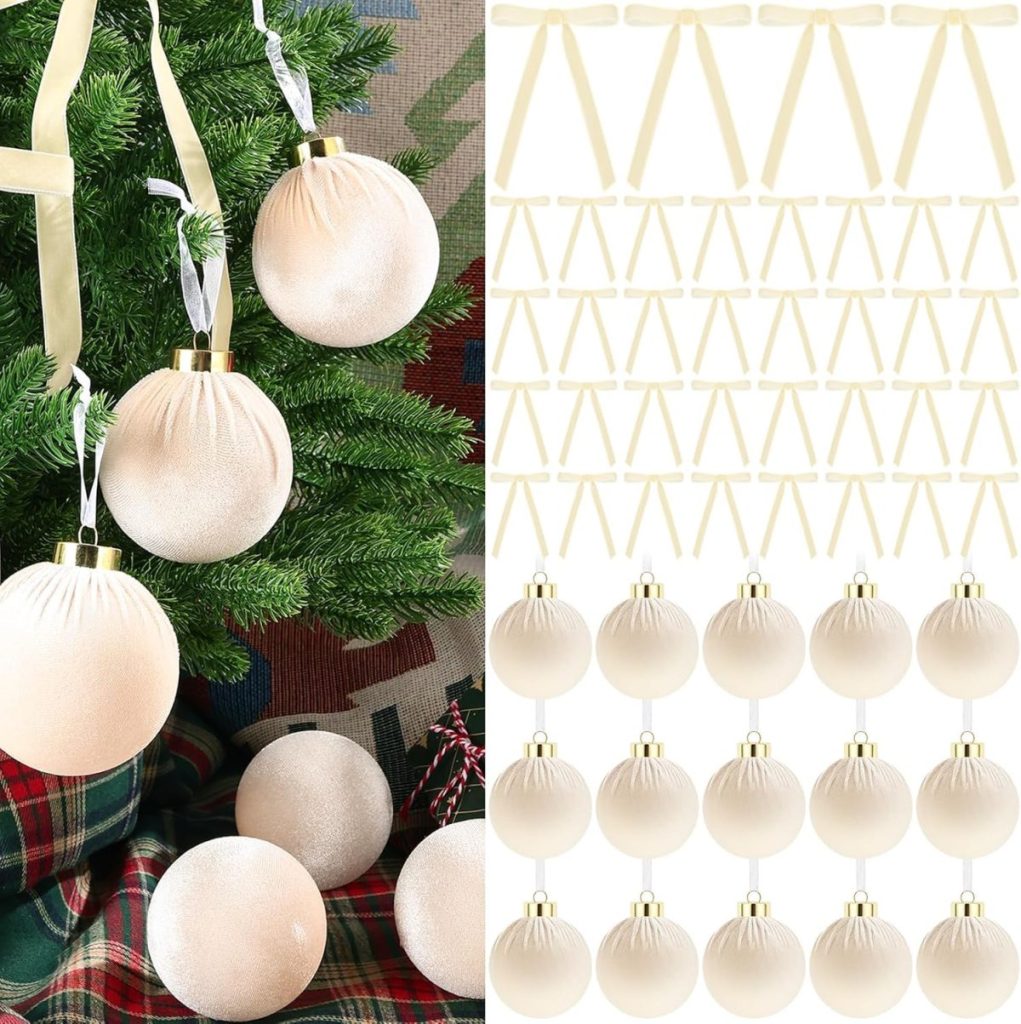
Step 6: Add Velvet Ribbon
The final step is my favorite … adding the ribbon!
Cut a piece of velvet ribbon in your preferred color (I love a rich sage green or soft champagne tone). Loop it through the ornament hook and tie it in a bow or a simple knot, depending on the desired look.
The ribbon completes the ornament and enhances the soft, romantic texture of the baking soda finish.
Display and Enjoy
Now for the fun part, styling your ornaments!
You can hang them on your Christmas tree, of course, but they also look beautiful displayed in a bowl or on a garland. I love using them as gift toppers, too, as they’re such a lovely handmade touch for wrapped presents.
If you’re hosting guests this season, try setting one at each place setting with a small tag. They make wonderful keepsakes for friends and family.
These ornaments are surprisingly durable once dry, and they’ll last for years if stored carefully.
Tips for Perfect Velvet Ornaments
- Experiment with color. This project works beautifully in neutral tones, but it’s just as striking in jewel tones or metallic shades. Try a deep emerald green or a rich plum for a more dramatic look.
- Don’t overdo the baking soda. A light, even coating is all you need. Too much can make the surface look chunky rather than smooth.
- Mix your paint and baking soda if you prefer a subtler texture. Combine 1 part paint to 1 part baking soda for a creamy, velvety finish. I didn;t try this but would love to know if it works.
- Use real velvet ribbon if you can — the texture pairing is just dreamy.
Why I Love This Project

There’s something so special about the way these ornaments feel in your hand … soft, textured, and perfectly imperfect. They remind me of vintage ornaments you might find in a little antique shop, the kind that tell a story.
I love how simple they are to make, yet how elevated they look once finished. They’re proof that you don’t need fancy materials or complicated steps to create something beautiful. Sometimes, the magic is in the simplest details, a touch of paint, a sprinkle of baking soda, and a velvet bow.
It’s also a fantastic project to do with family or friends. Set out your supplies, put on some Christmas music, and enjoy an afternoon of crafting together. You’ll end up with a table full of unique ornaments, each one with its own personality and charm.
A Handmade Christmas
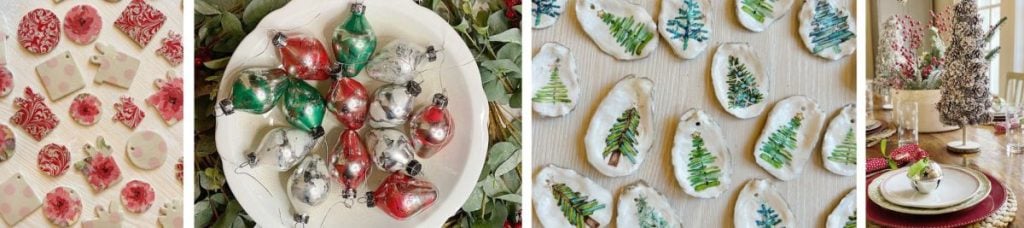
Every handmade project we’ve created together this season has brought a little more joy and intention into the holidays. From textured clay and glitter trees to embroidered ornaments and coastal-inspired decor, each week has been a celebration of creativity, warmth, and connection.
That’s what A Handmade Christmas is all about — slowing down, making things with love, and cherishing the simple act of creating something beautiful with your own hands.
These velvet ornaments capture that perfectly. They’re easy, elegant, and meaningful. Every time I look at them on our tree, I’m reminded that handmade doesn’t have to mean complicated; it just has to come from the heart.
Here’s to a holiday season filled with beauty, creativity, and connection, and to a home filled with the kind of warmth that only handmade touches can bring.
Merry Christmas, my friends. 🎄
If you enjoy my blog, you can sign up to receive my updates here.
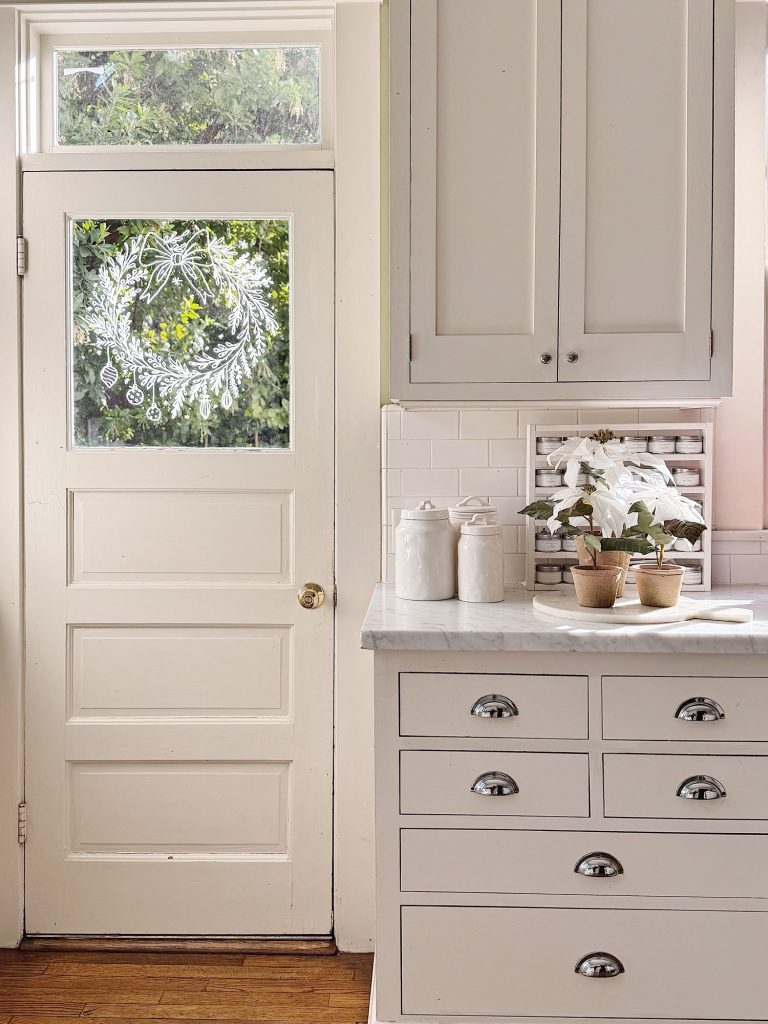
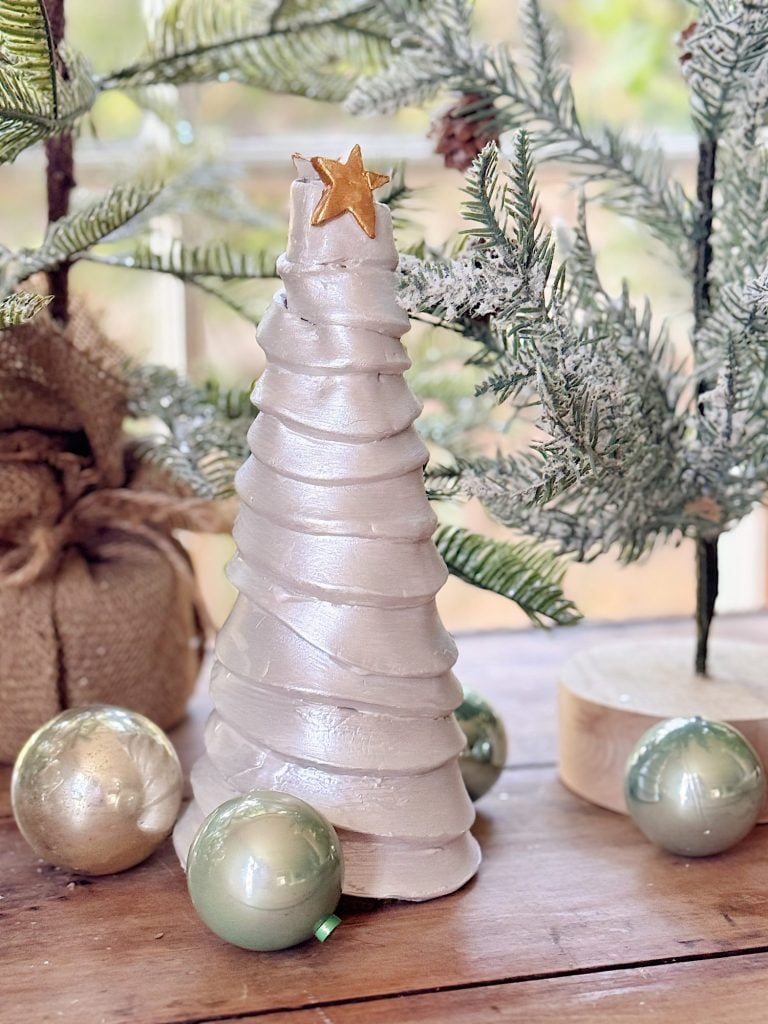
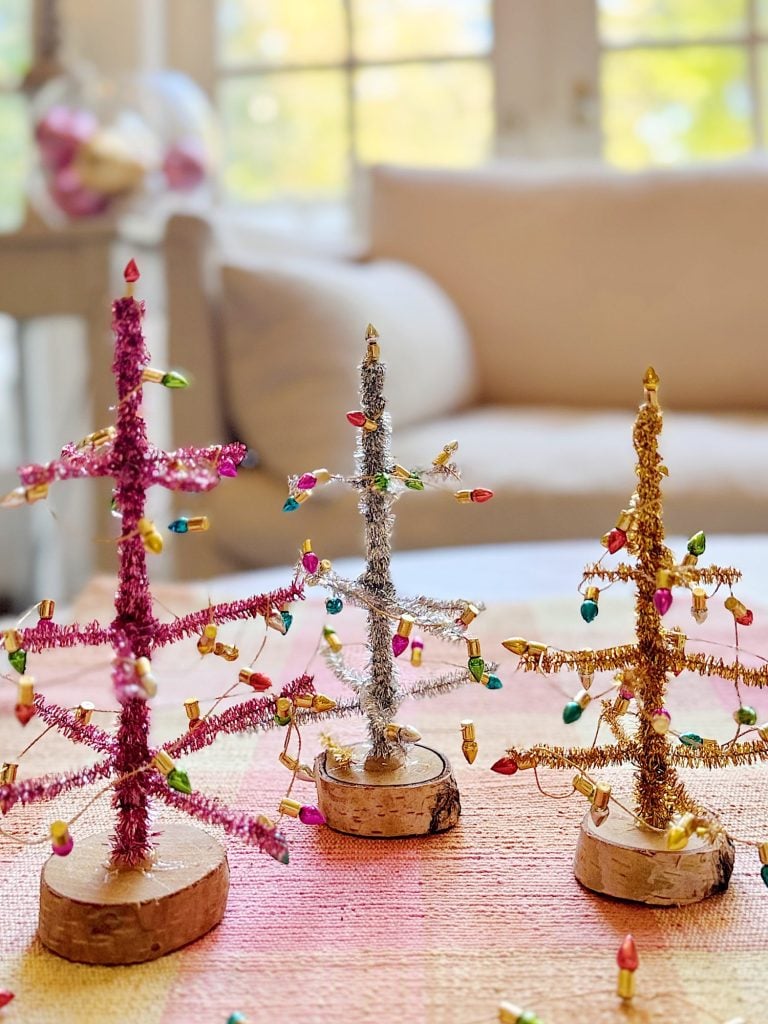
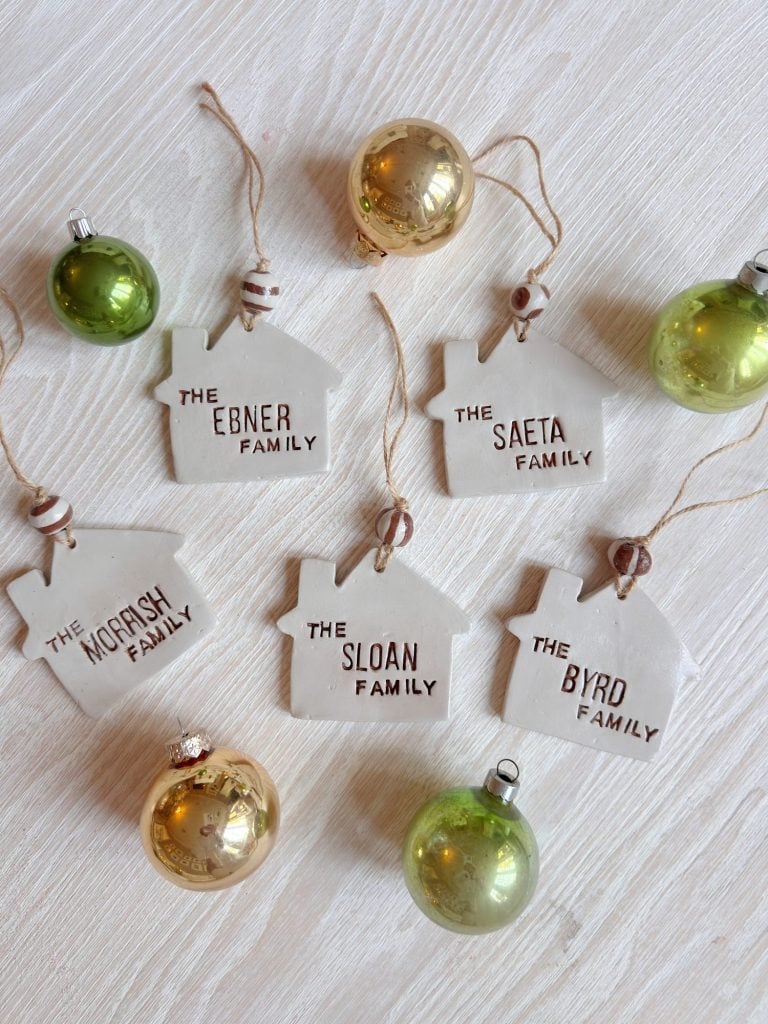
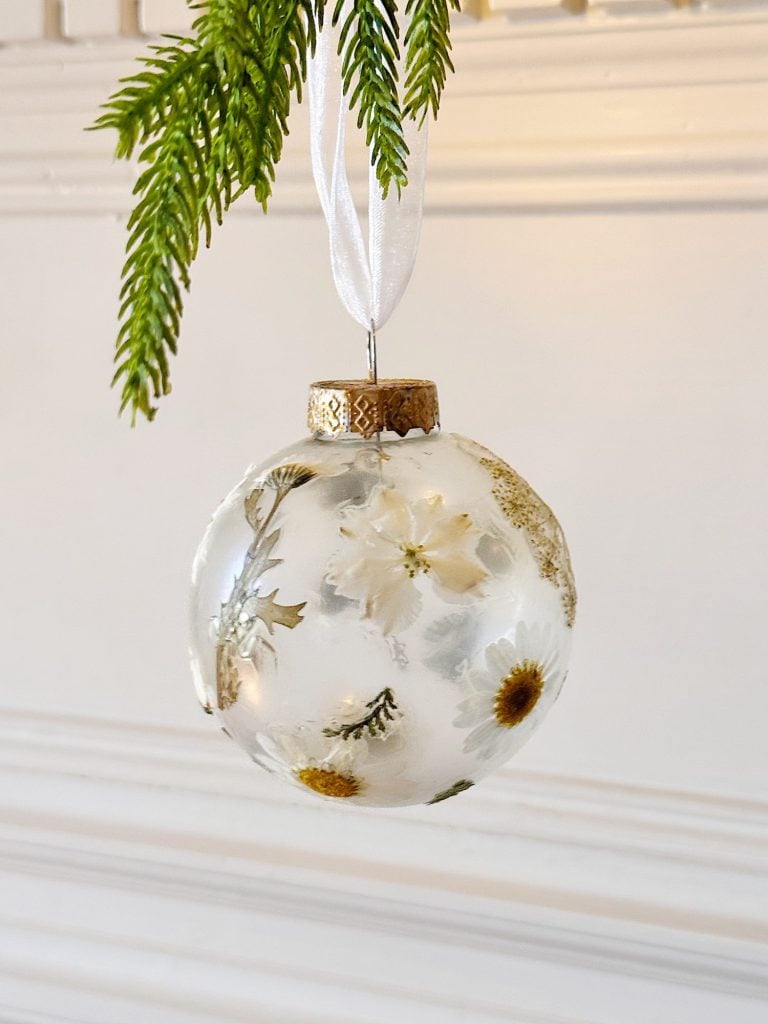
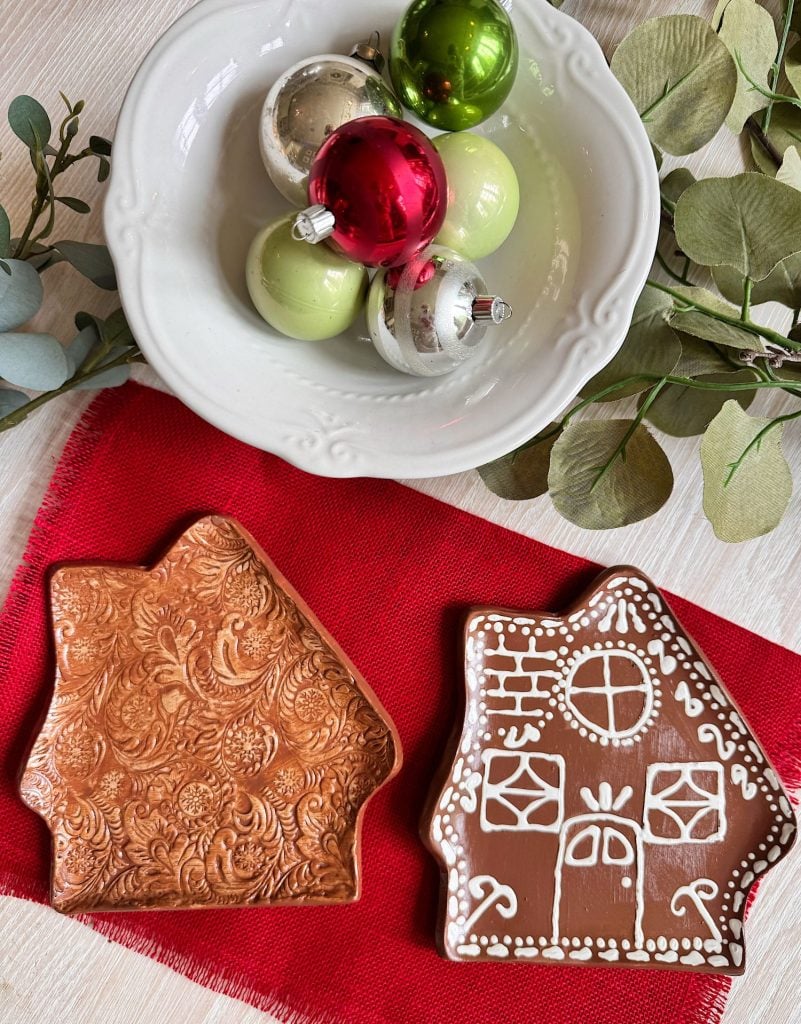
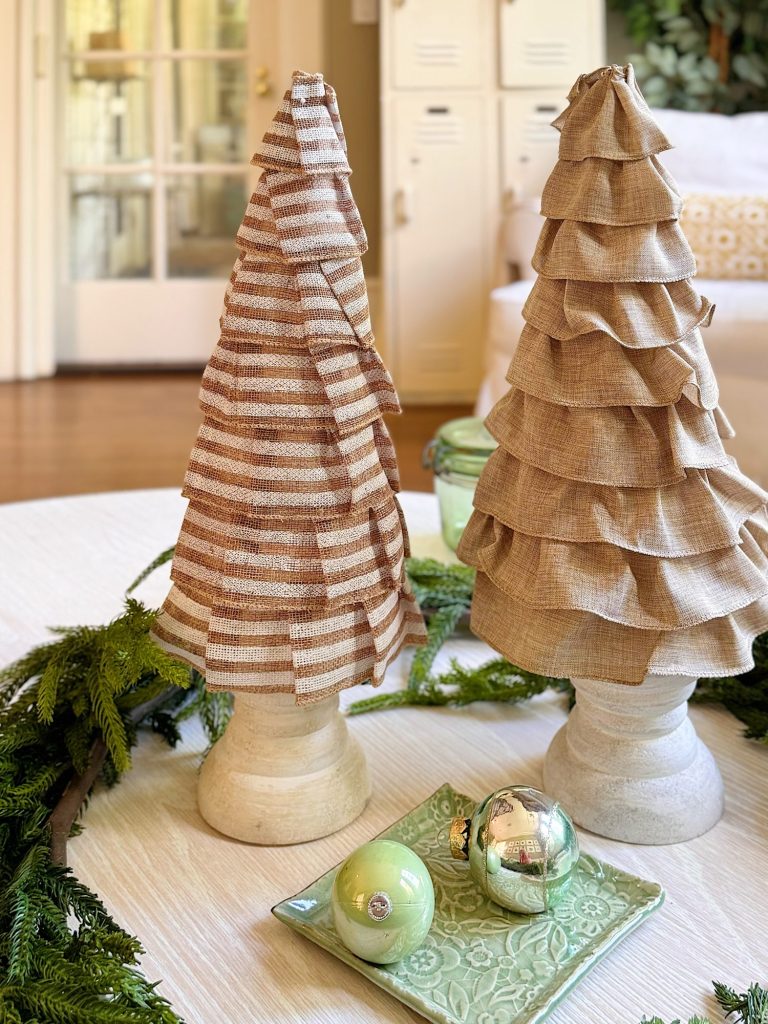
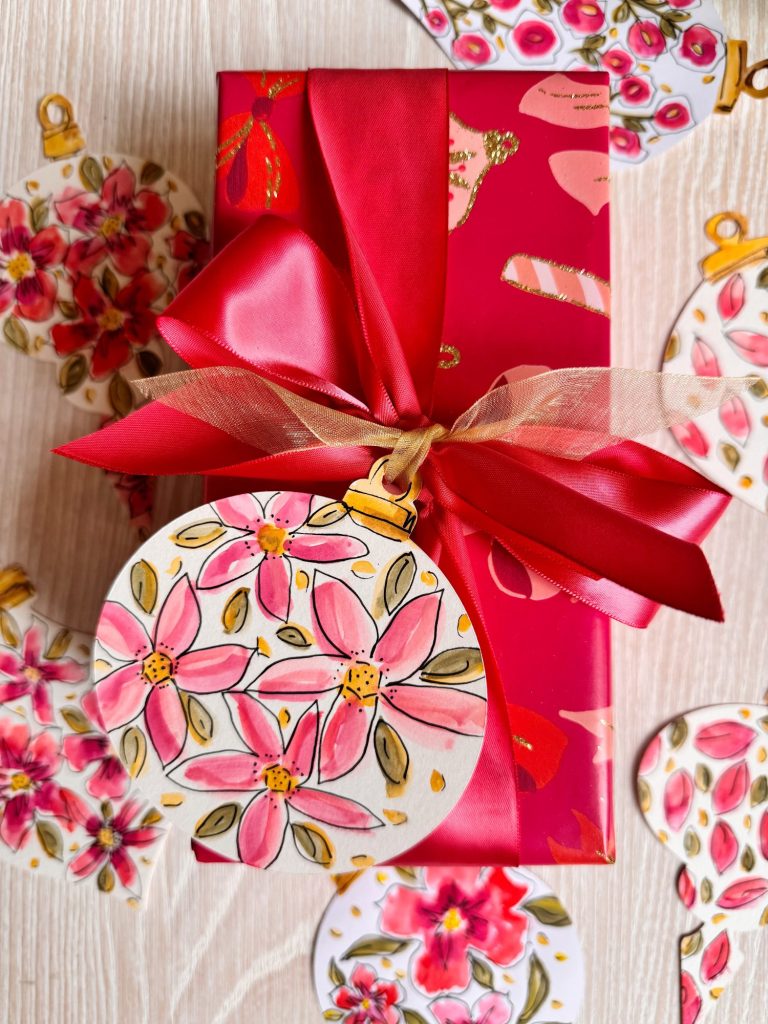
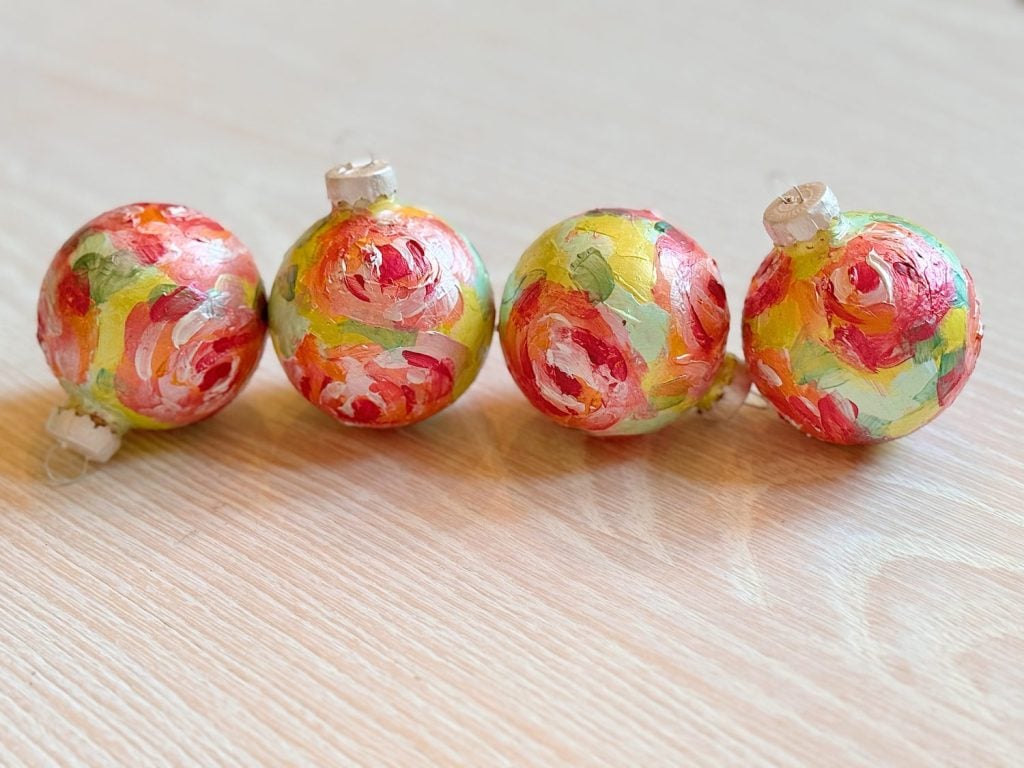
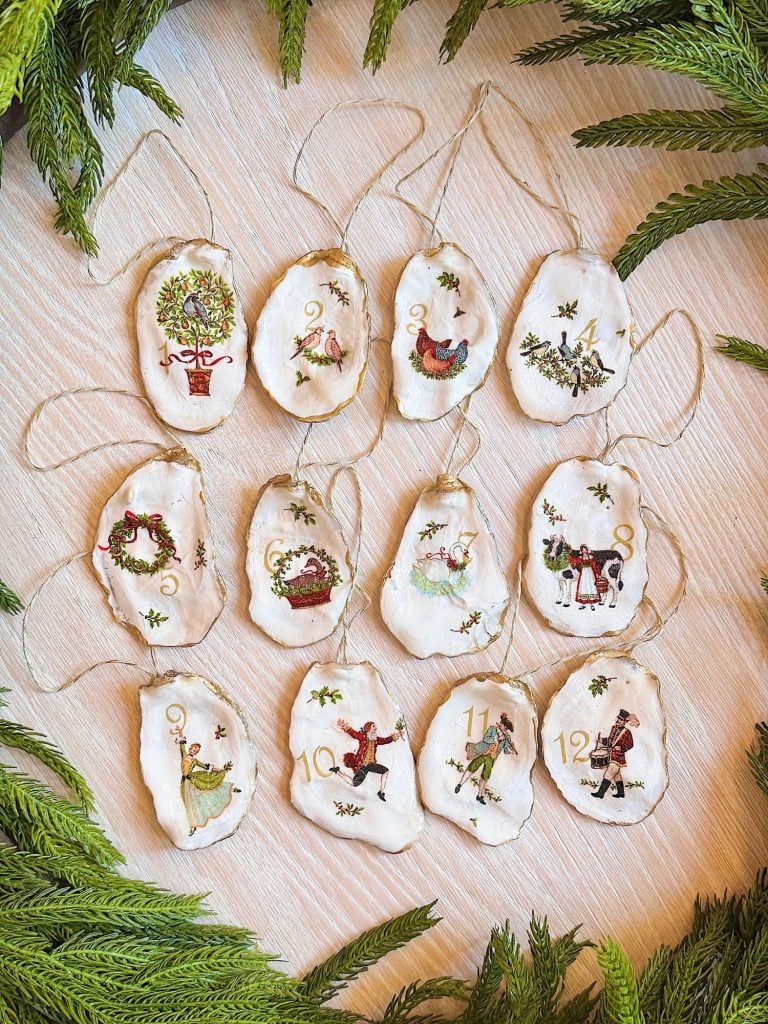
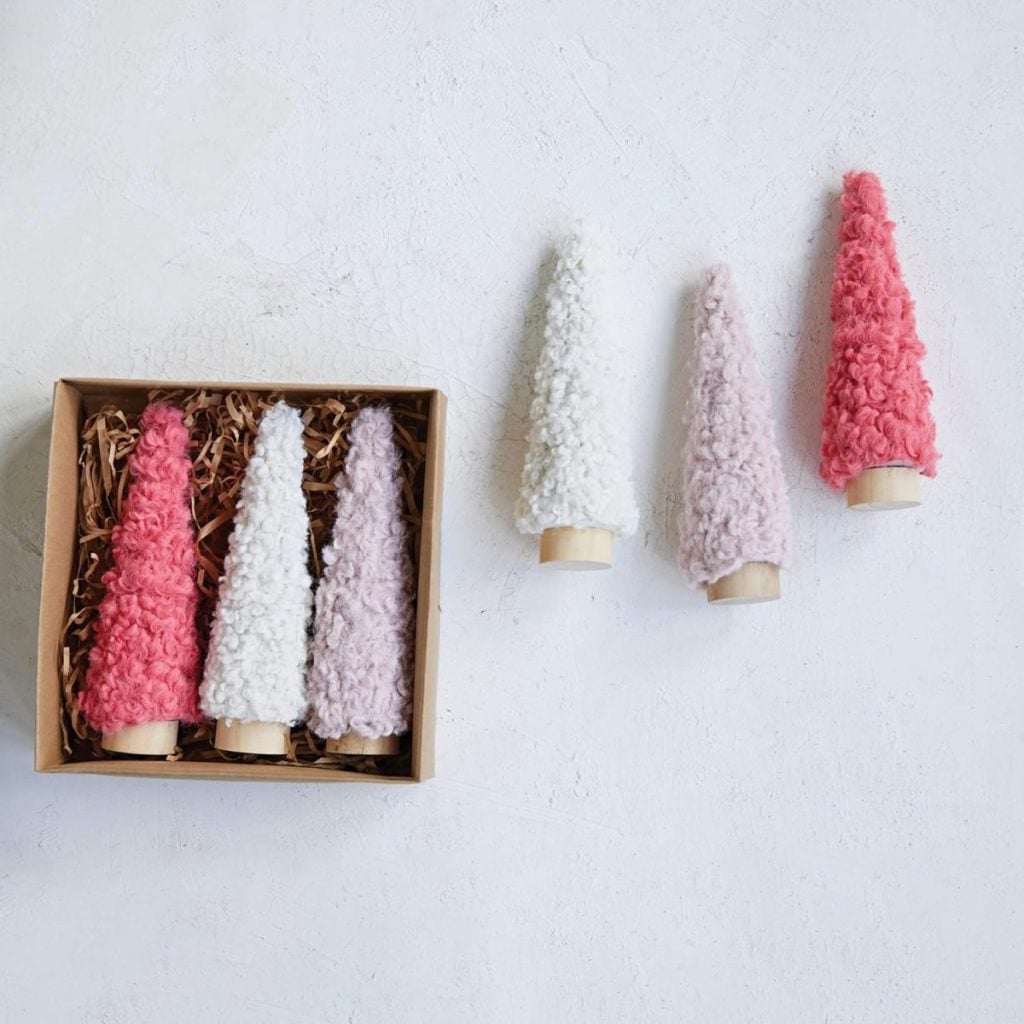
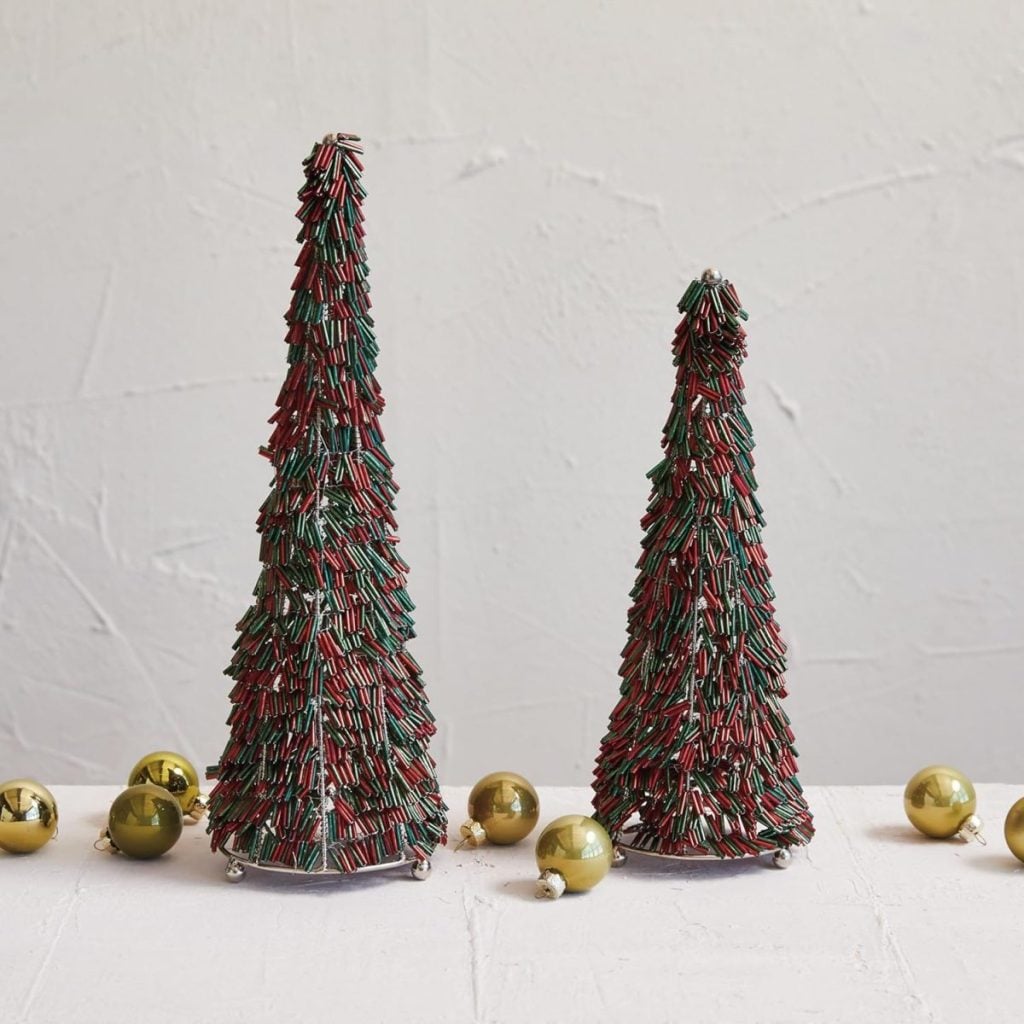
.Sixteen Weeks of A Handmade Christmas
Here are the first thirteen weeks of A Homemade Christmas. Can you believe I only have three more still to share!


Latest Posts
-
Best Easter Brunch Egg Dish: Loaded French Onion Frittata
Easter brunch is one of those special meals where the table is complete, the laughter is loud, and the food is nothing short of spectacular. If you want to wow your guests with something savory, cheesy, and unforgettable, let me introduce you to your new Easter brunch hero: a Loaded French Onion Frittata.
-
The Best Spring Pillow DIY – A Handmade Spring
There are certain projects that start as an idea and quietly turn into something you love far more than you expected, and this Spring pillow is exactly that. As part of my A Handmade Spring series, I wanted to create something soft, beautiful, and full of texture, and this pillow checked every box. This pillow…
-
DIY Clay and Metallic Foil Easter Eggs
With Easter just around the corner this week, I decided to create something special and truly unique for my spring décor … handmade clay and metallic foil Easter eggs. These little works of art are soft, pastel, and subtly shimmery, and they’re a beautiful way to add a handmade touch to your Easter celebrations. While…
-
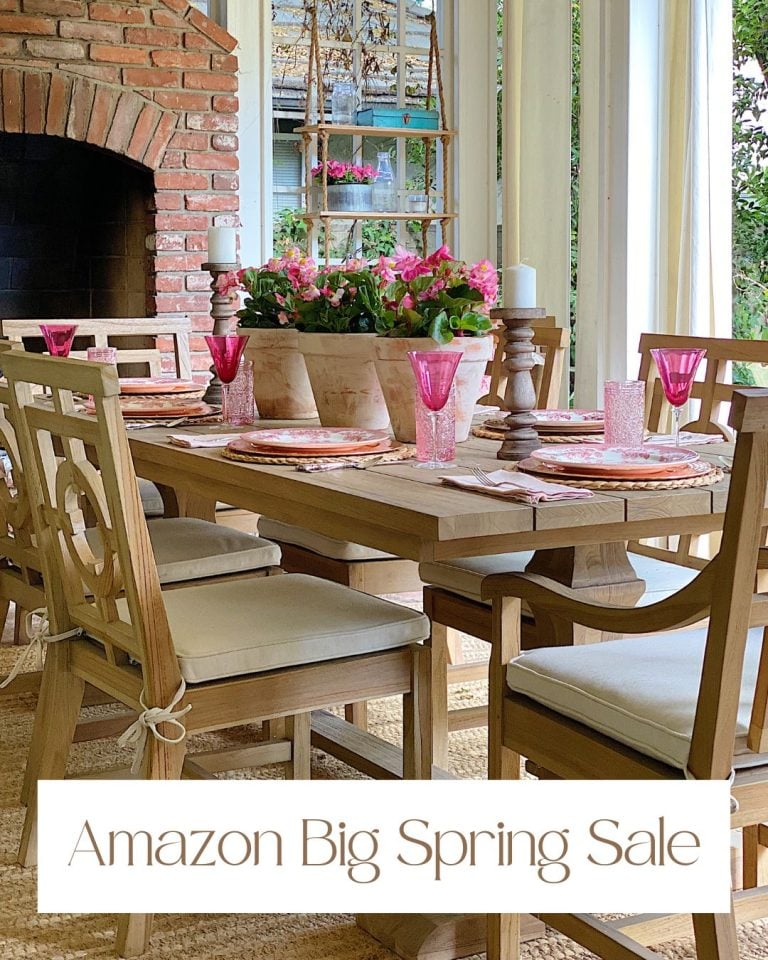
The Amazon Big Spring Sale is Here!
The Amazon Big Spring Sale is here! It runs from March 25th (today) through March 31st, and here are some of the best Amazon Deals ever! There are millions of deals available, and today I will help you find the best ones for everything you need. Now is the perfect time to shop for Spring.


My Recent Instagram Posts

You can pin the image below to your boards on Pinterest (click the Pin button in the top left corner) or follow me on Pinterest!
For more real-time updates, follow me on Instagram @My100YearOldHome