DIY Pillow Covers // A Gift for All Seasons
I love the gift I made which I called “A Gift For All Seasons”. The gift included one down pillow and six DIY pillow covers for all of the seasons.
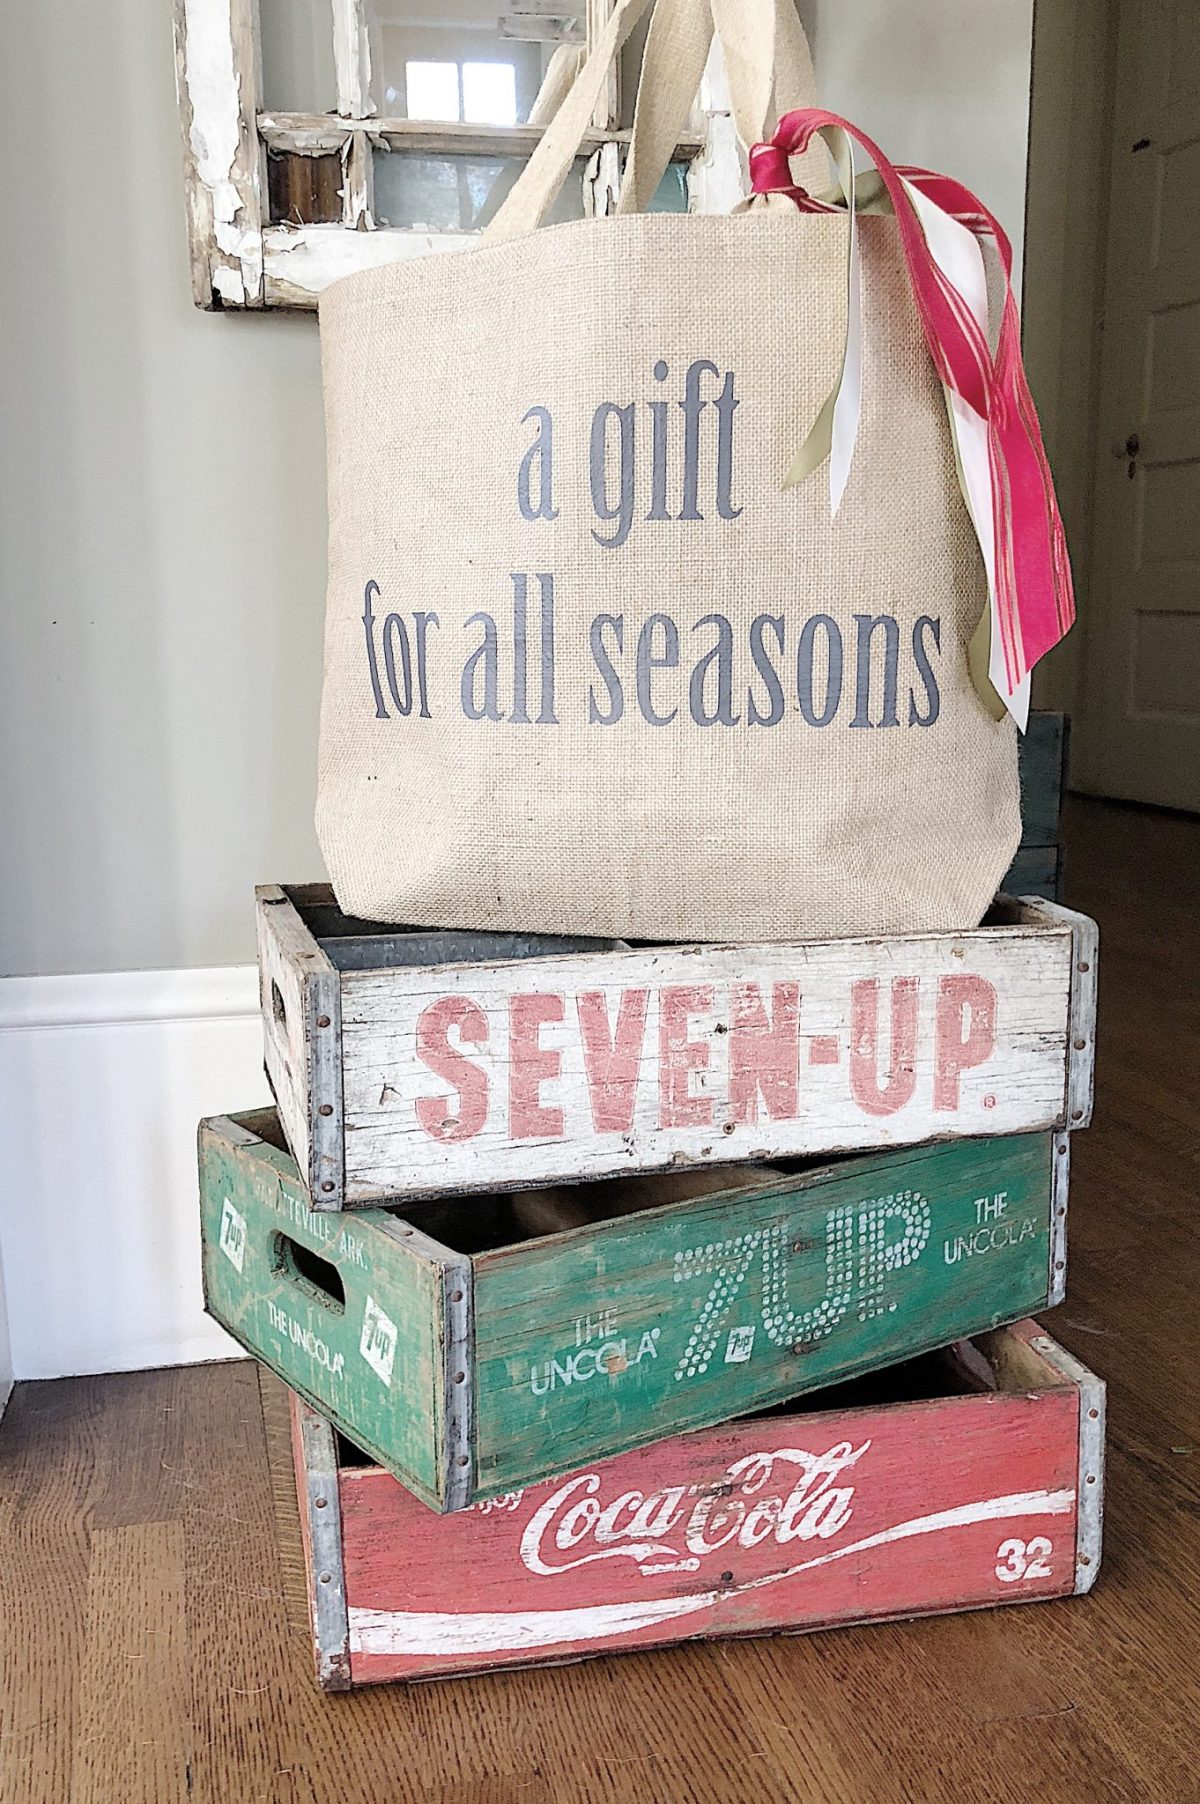 Every year I try to come up with the perfect homemade gift for my family members. I am not exaggerating when I say I have been doing this since I was eight years old. Fortunately, I think the gifts have gotten better as the years have progressed! And look at the DIY Pillow covers I made.
Last year’s gift was called “A Gift For All Seasons” and included DIY pillow covers. Over the past few years, I have developed an obsession with pillows. I love the ones that have a great saying on them and I thought it might be fun to make a gift that includes one down pillow and six pillow covers that can be changed each season throughout the year.
There was no doubt in my mind that I would create these pillows with my Silhouette machine. Of course, a Cricut machine would also work perfectly. I did a little shopping on the Silhouette Design store and found some fabulous designs to use for some of the pillows. The others I just designed myself using some very fun fonts.
If you don’t have a Silhouette or Cricut machine then you should probably read this blog post. Because I am pretty sure you are going to want to add one of these to your Christmas list!
What You Will Need for DIY Pillow Covers
- Silhouette or Cricut Machine
- Cutting Mat
- Cutting Blade
- Silhouette Studio®
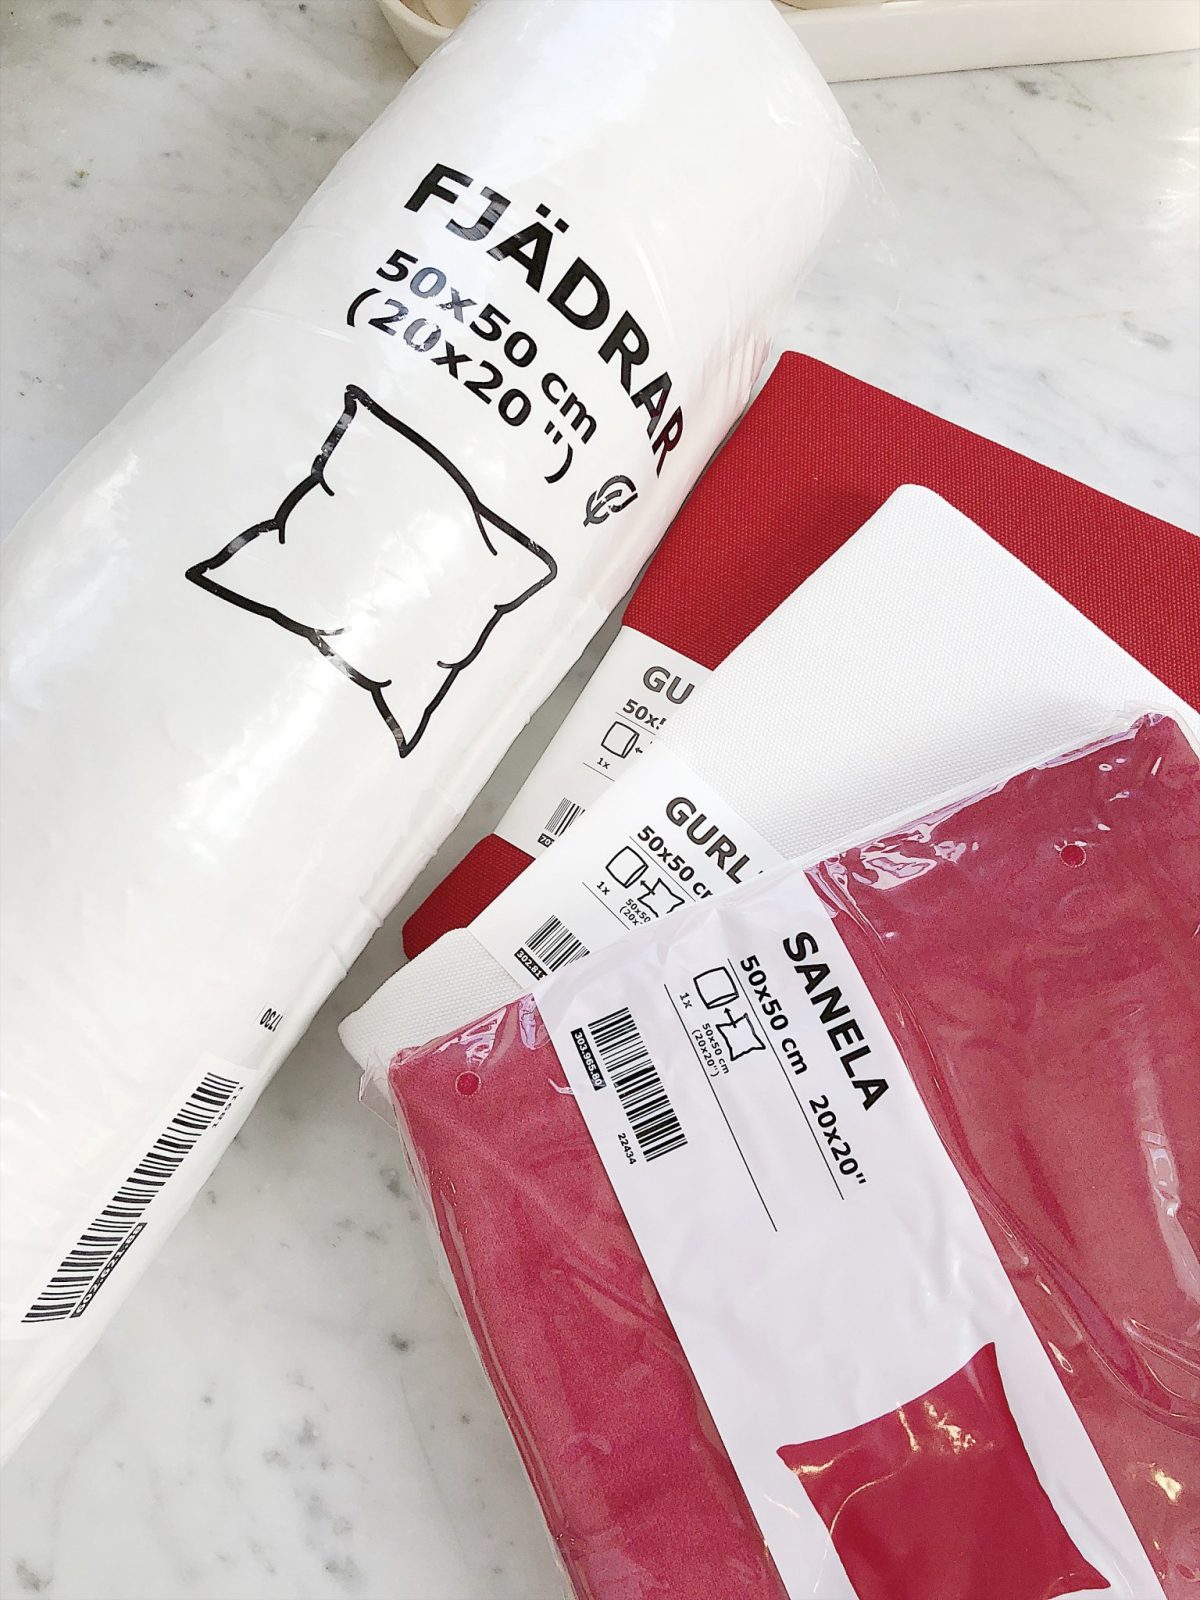
- Pillow Covers 20″ x 20″ – IKEA
- Pillow Insert 20″ x 20″ – IKEA
- Heat Transfer material in assorted colors
- Canvas, Jute, or Burlap Bag
I bought the blank pillow covers at Ikea and a local home decor store. All pillows are 20” square. The GURLI IKEA pillow costs $4.00 and the linen one I purchased was $8.00. I was so excited to find these as they were very inexpensive and I was thrilled not to have to make the pillow covers myself. The FJADRAR down pillow insert is also from IKEA and it cost $6.00. I also bought a burlap bag to hold the pillow and covers from Amazon. It was less than $10.00.
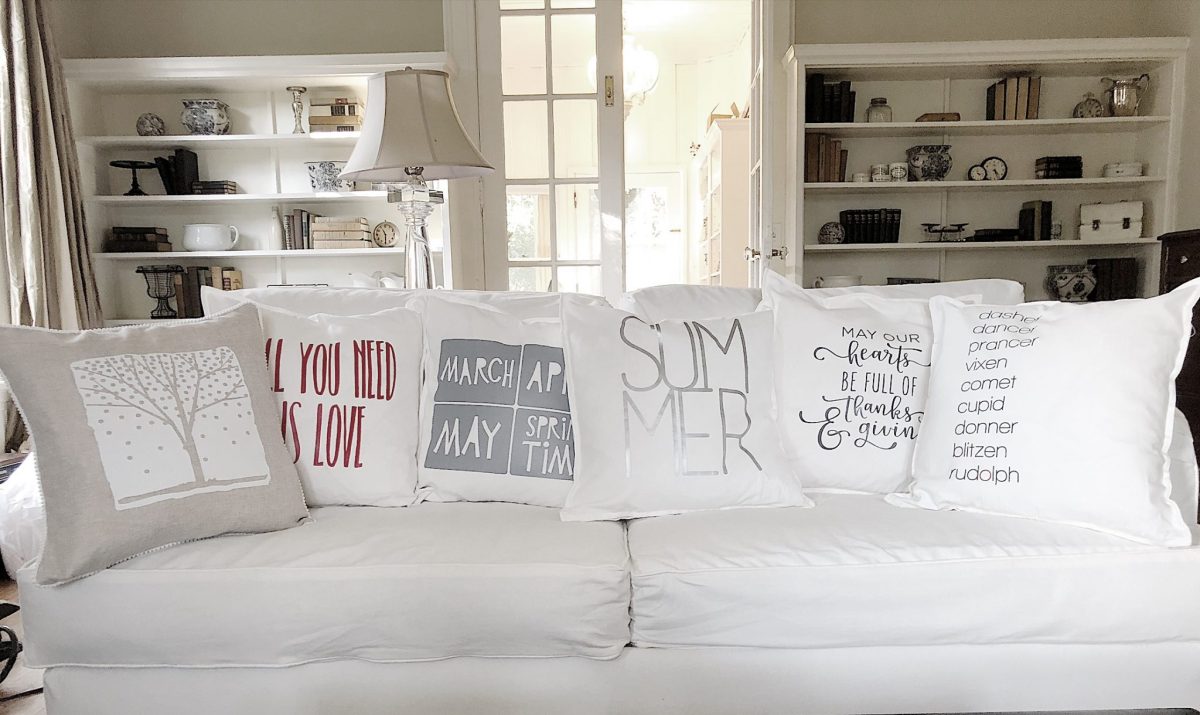
I decided to include six seasonal DIY pillow covers with the gift, which included Winter, Valentine’s Day, Spring, Summer, Fall (Thanksgiving) and Christmas. Here are the designs I selected.
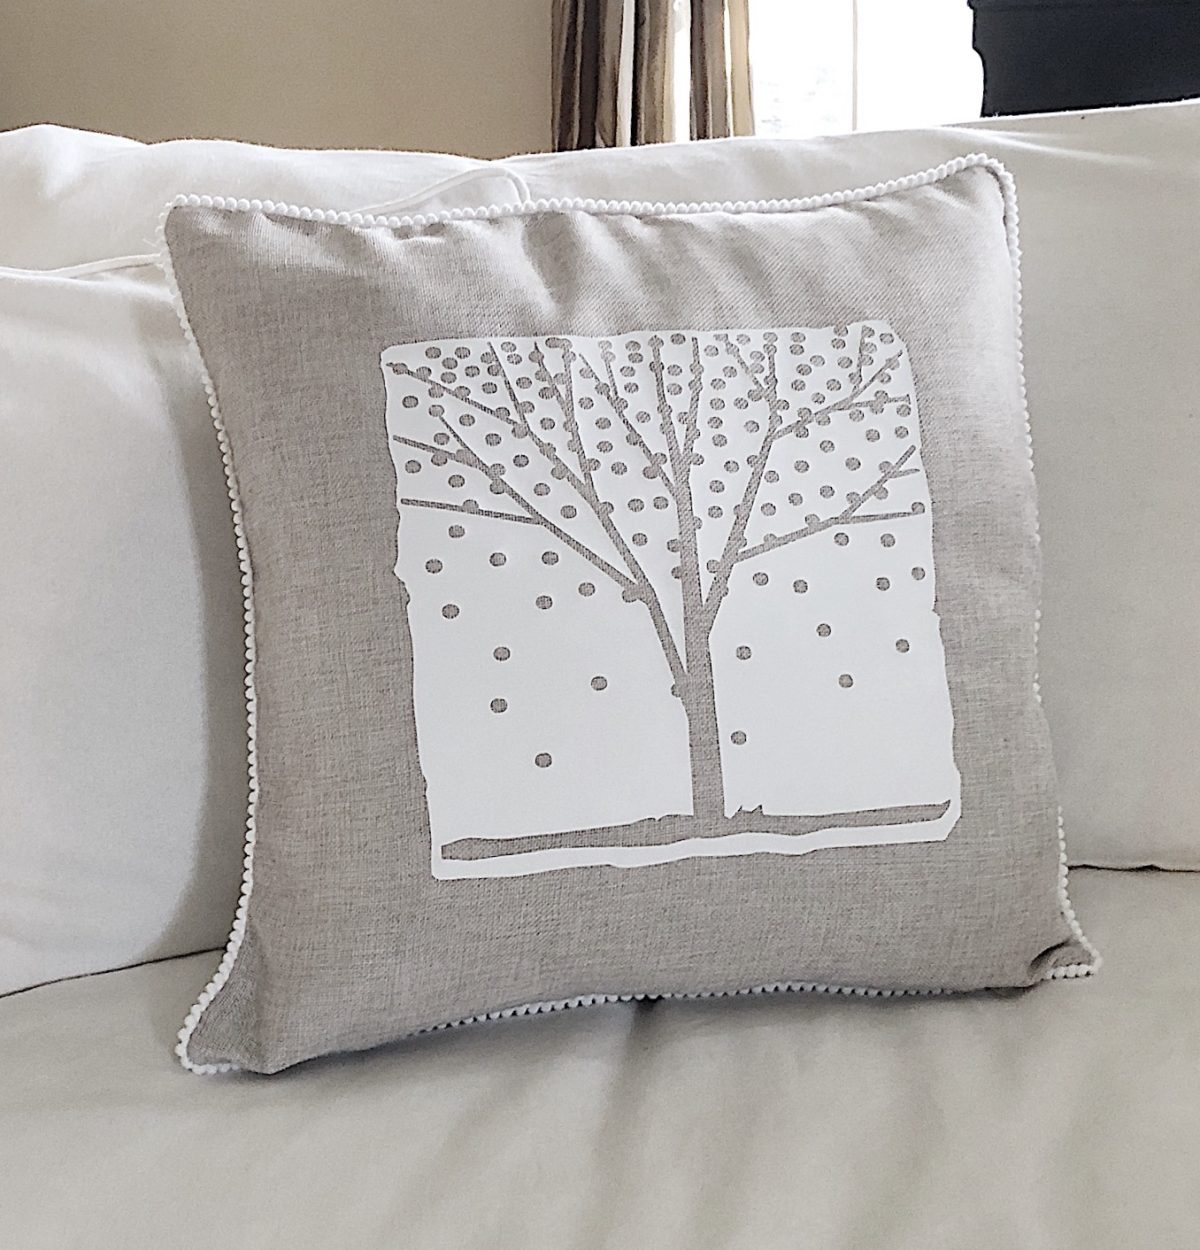
Winter
The design is from the Silhouette Design Store (Design ID#12579) and it is called Winter Tree by Hero Arts.
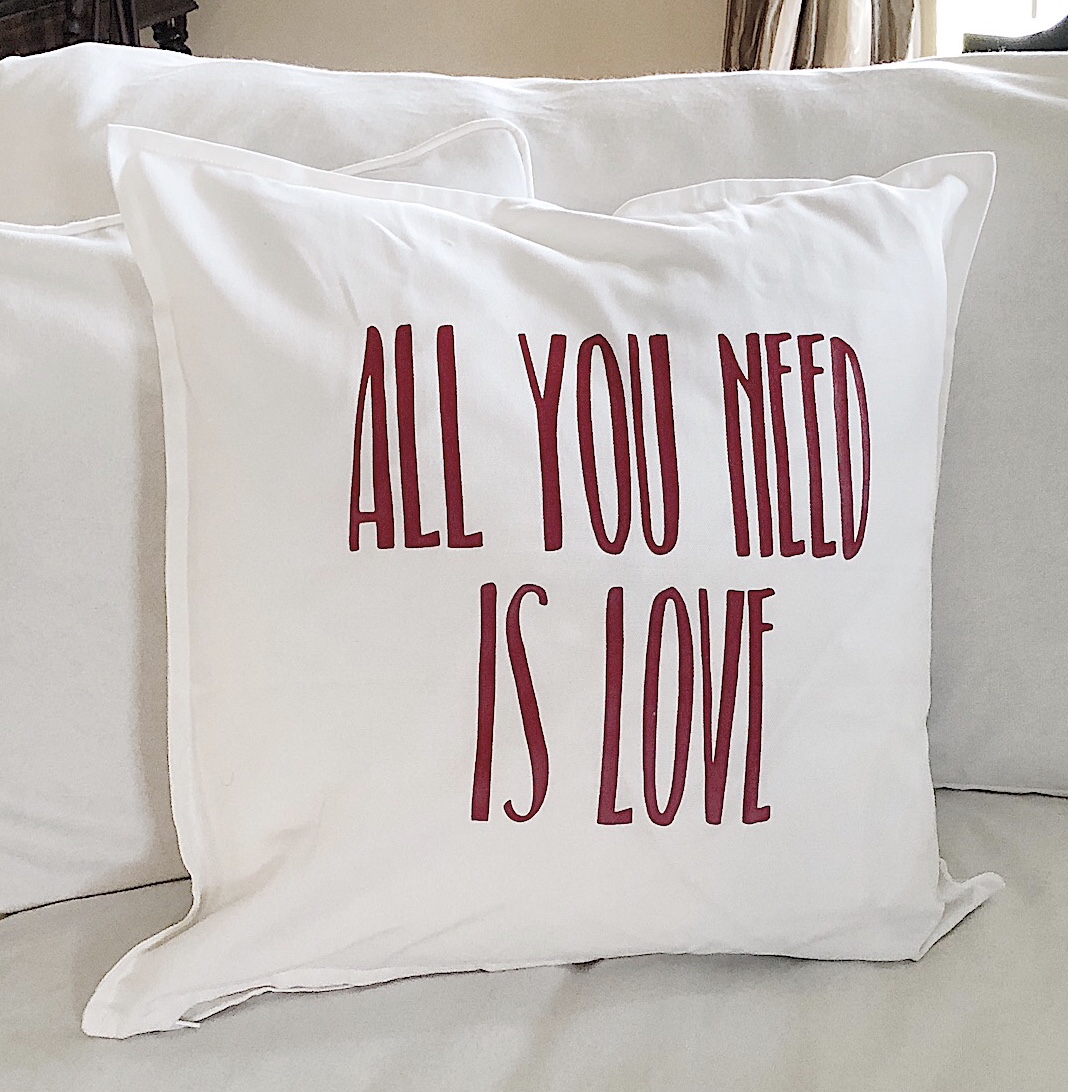
Valentine’s Day
I designed this myself with the font Belacu and the lettering size is 320.
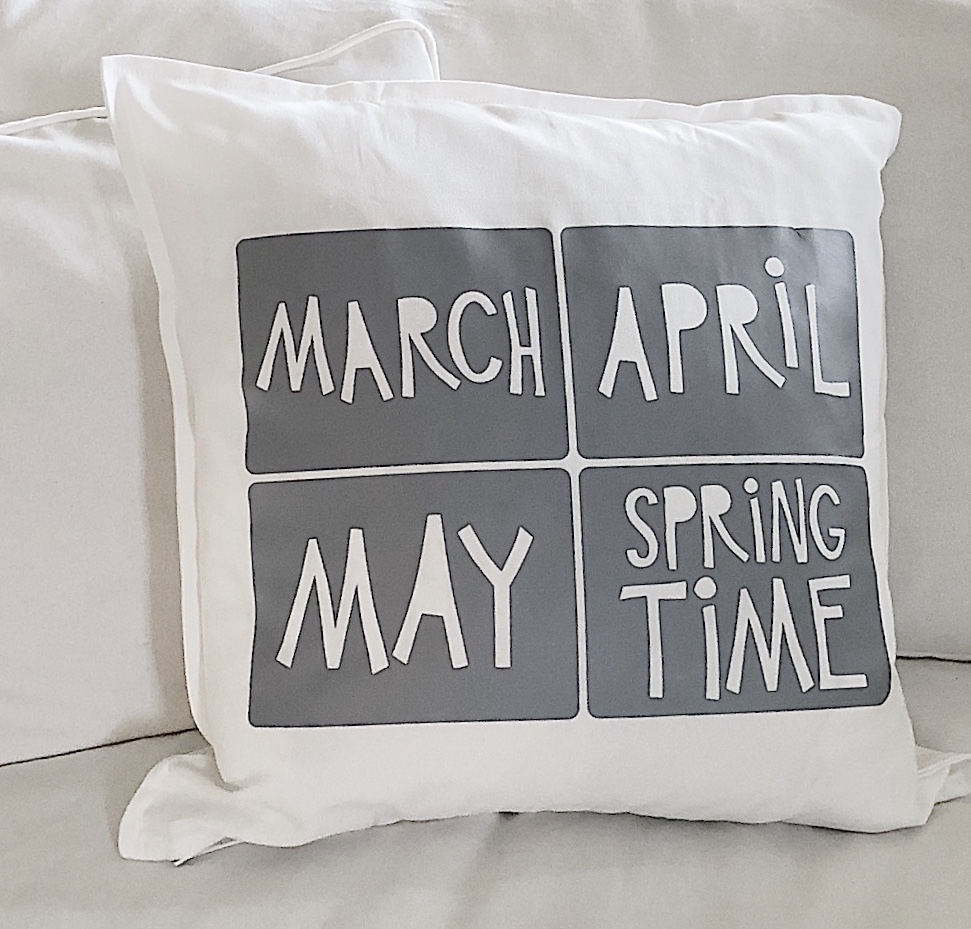
Spring
The design is from the Silhouette Design Store (Design ID#45551) and it is called 3×4 Spring Journaling Cards Horizontal by Jennifer Wambach.
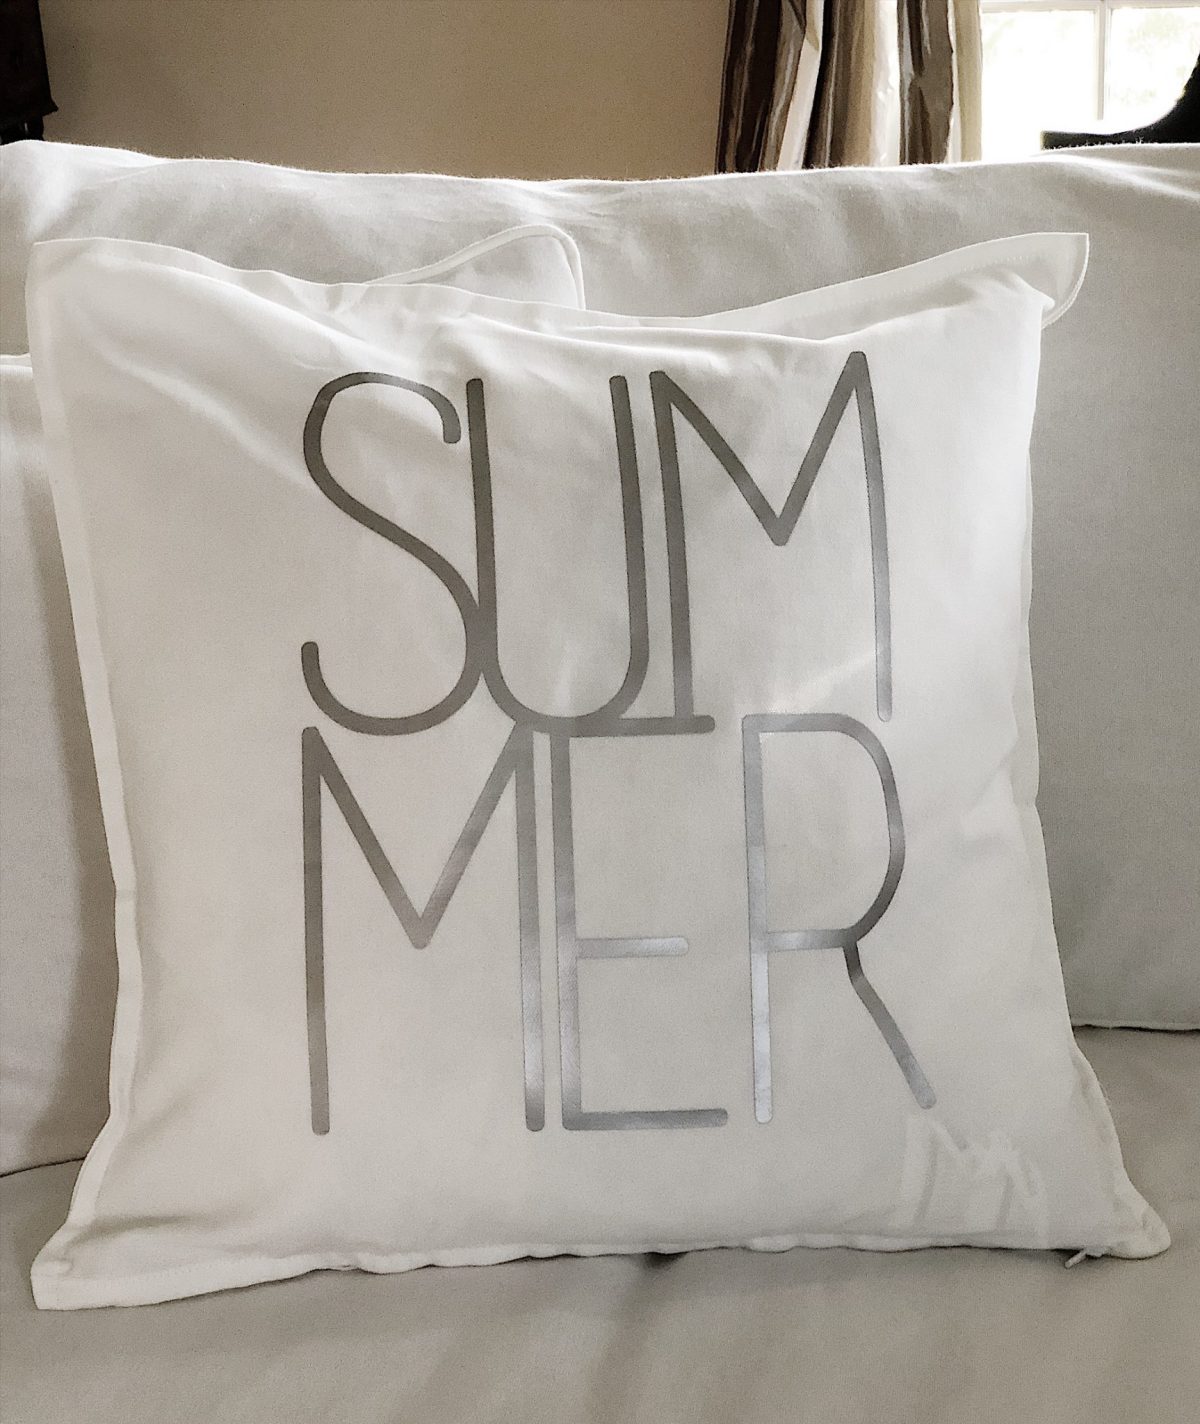
Summer
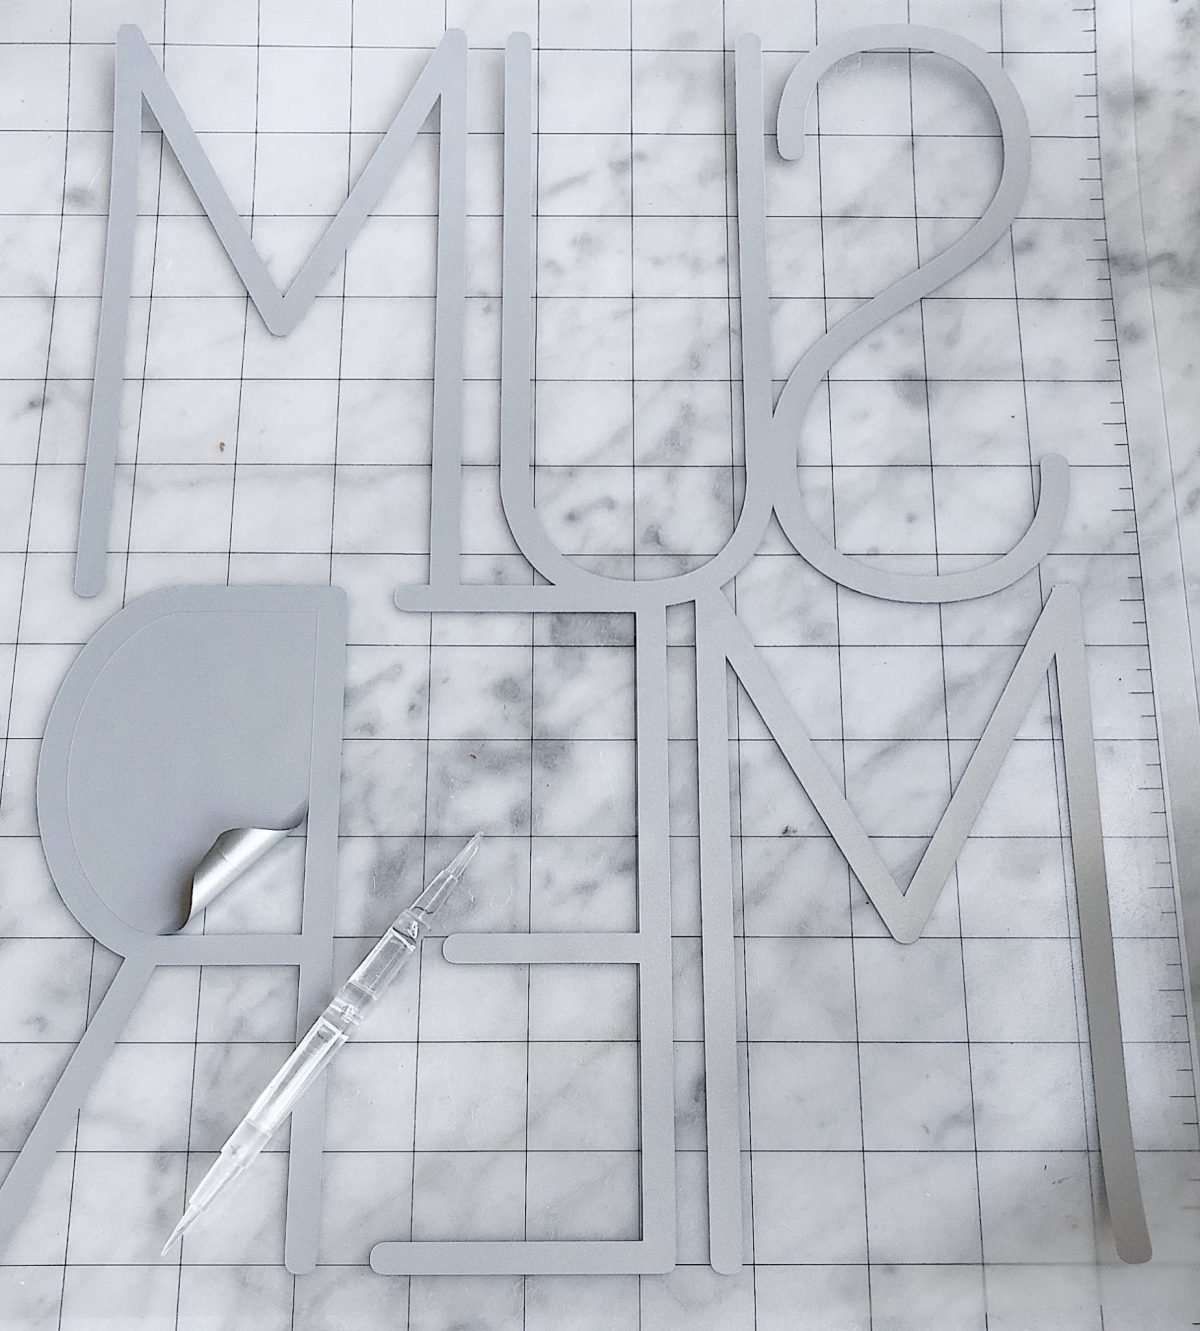
The design is from the Silhouette Design Store (Design ID#91015) and it is called Stacked Summer by Simple Stories.
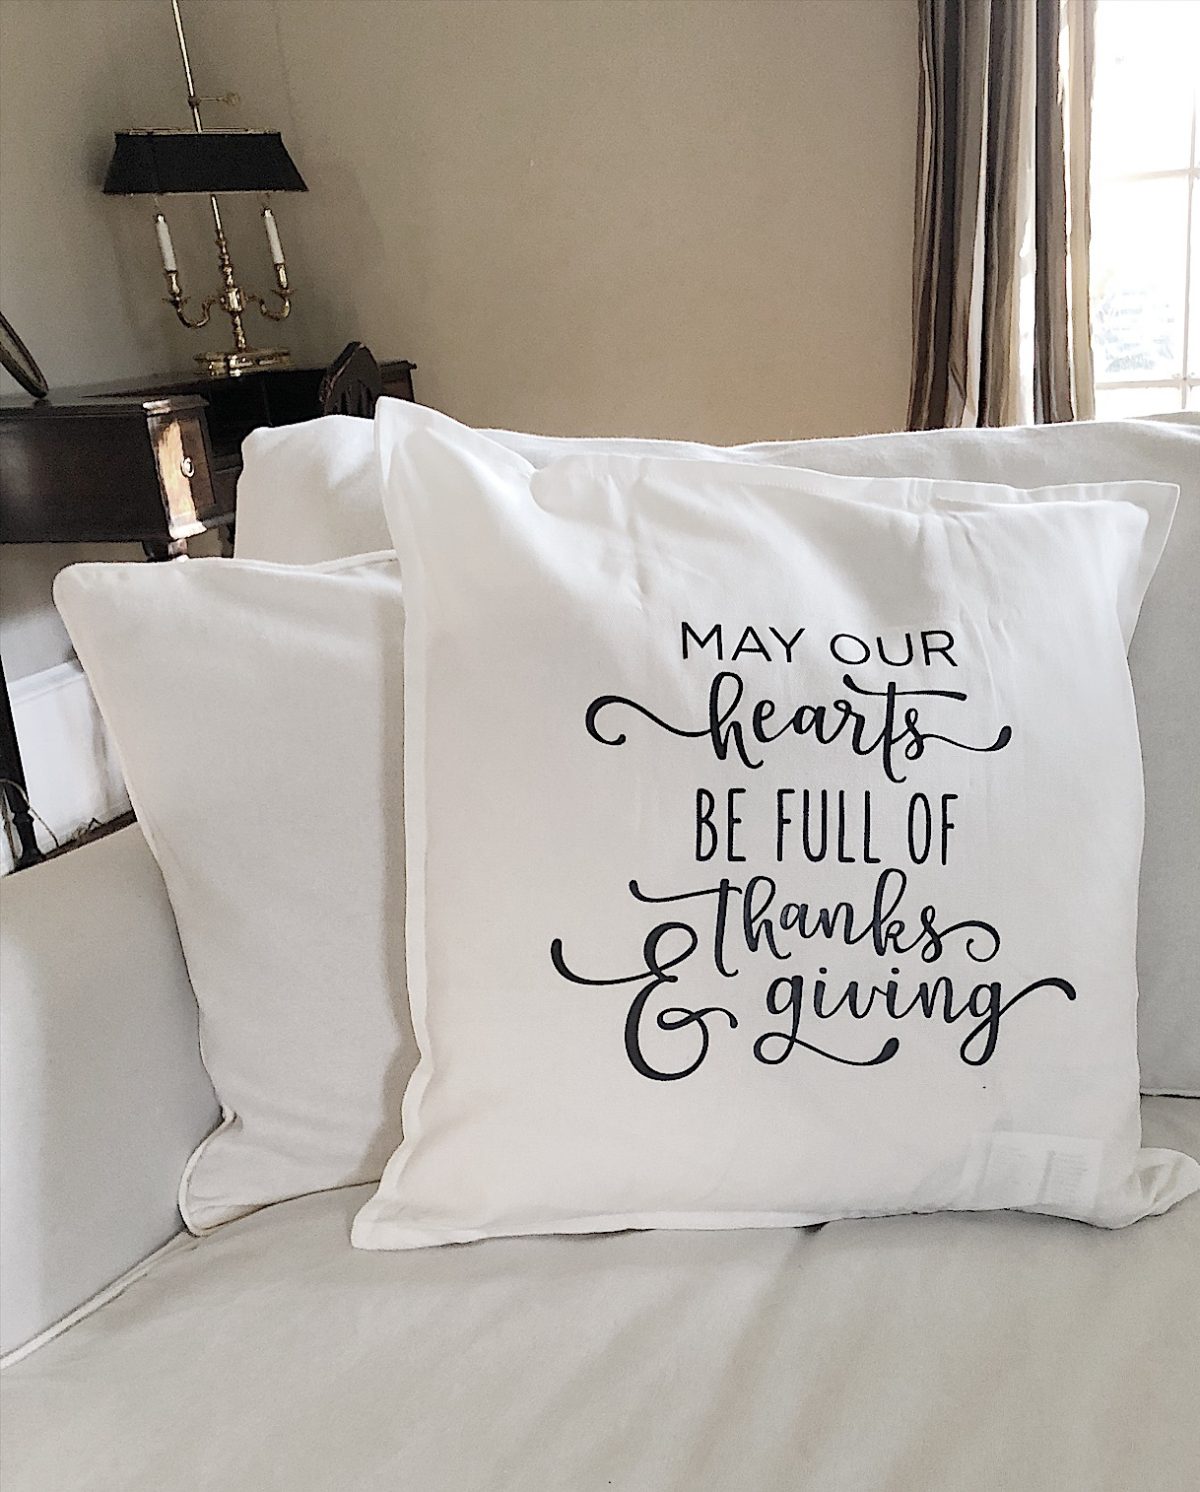
Fall
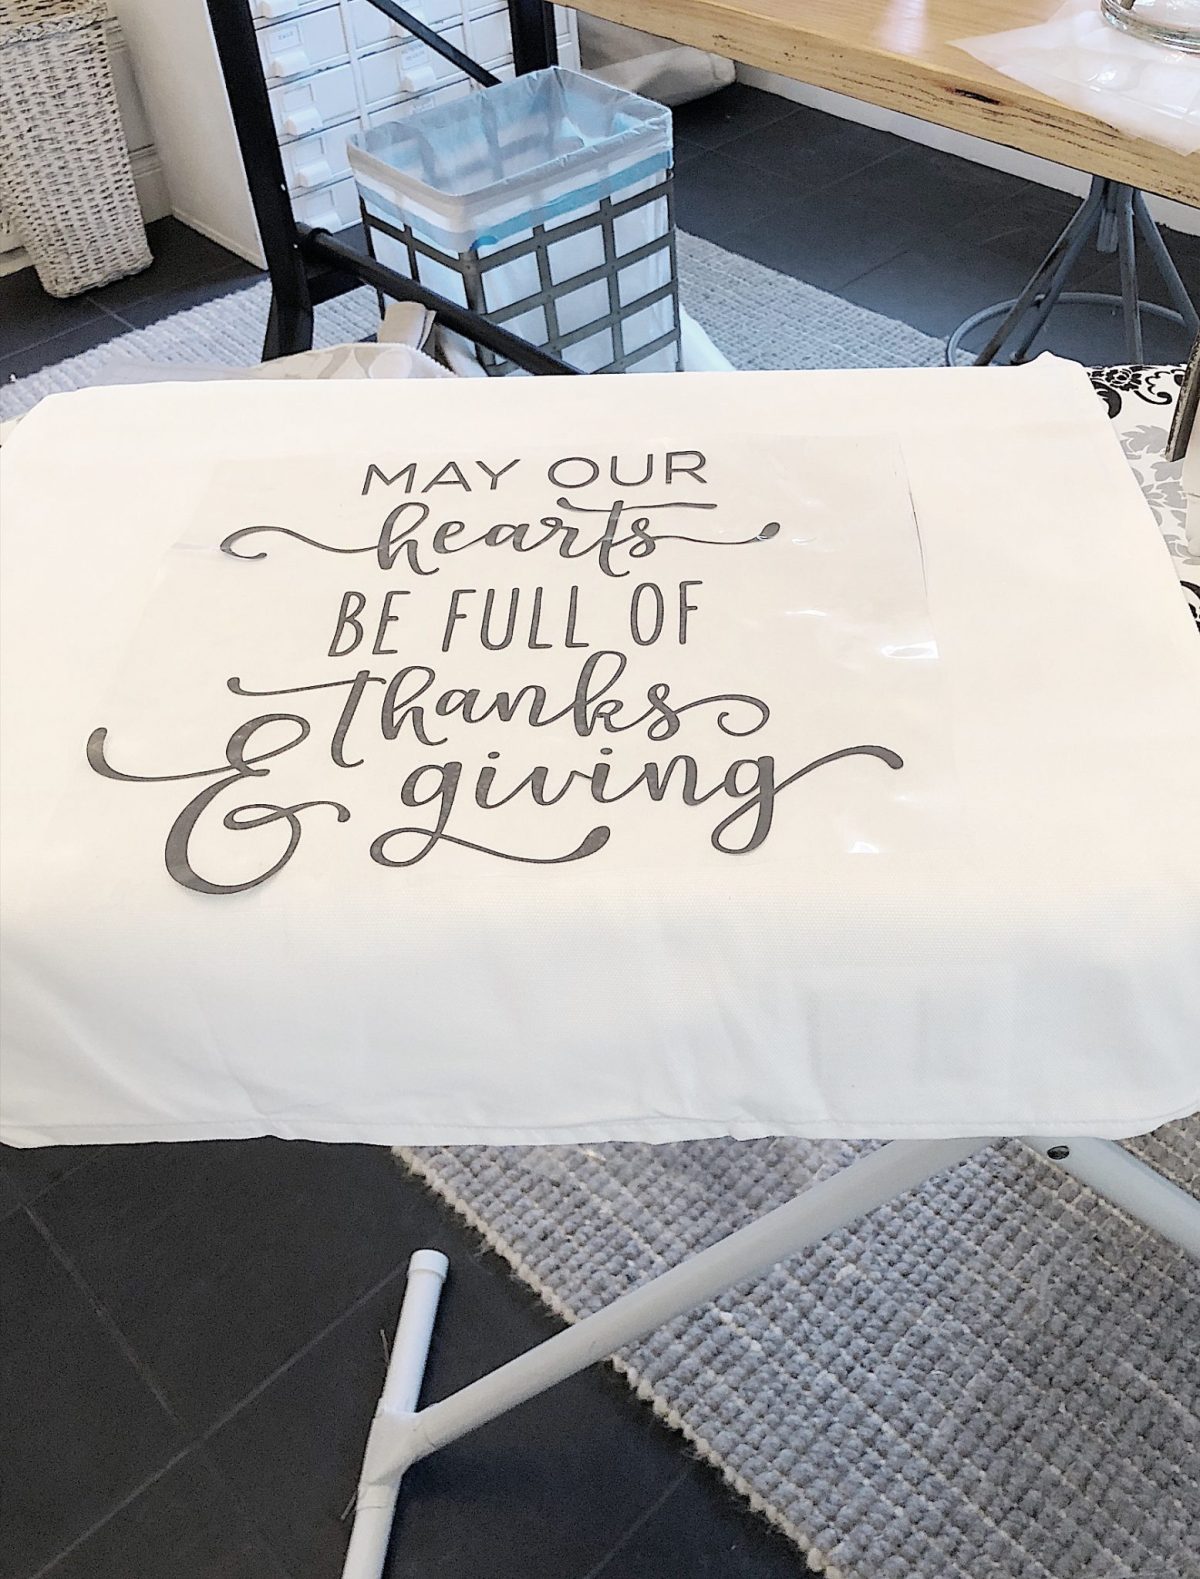
The design is from the Silhouette Design Store (Design ID#227618) and it is called May Our Hearts be Full of Thanks and Giving by Kolette Hall.
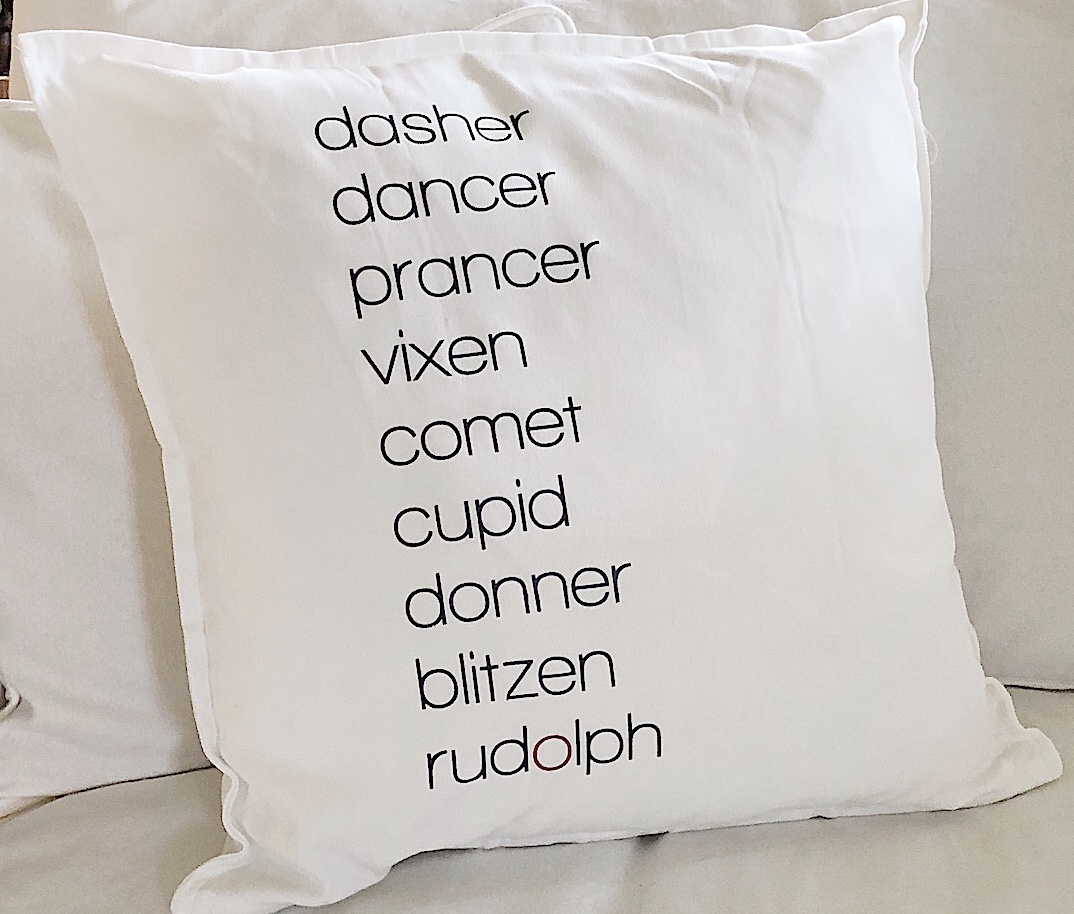
Christmas
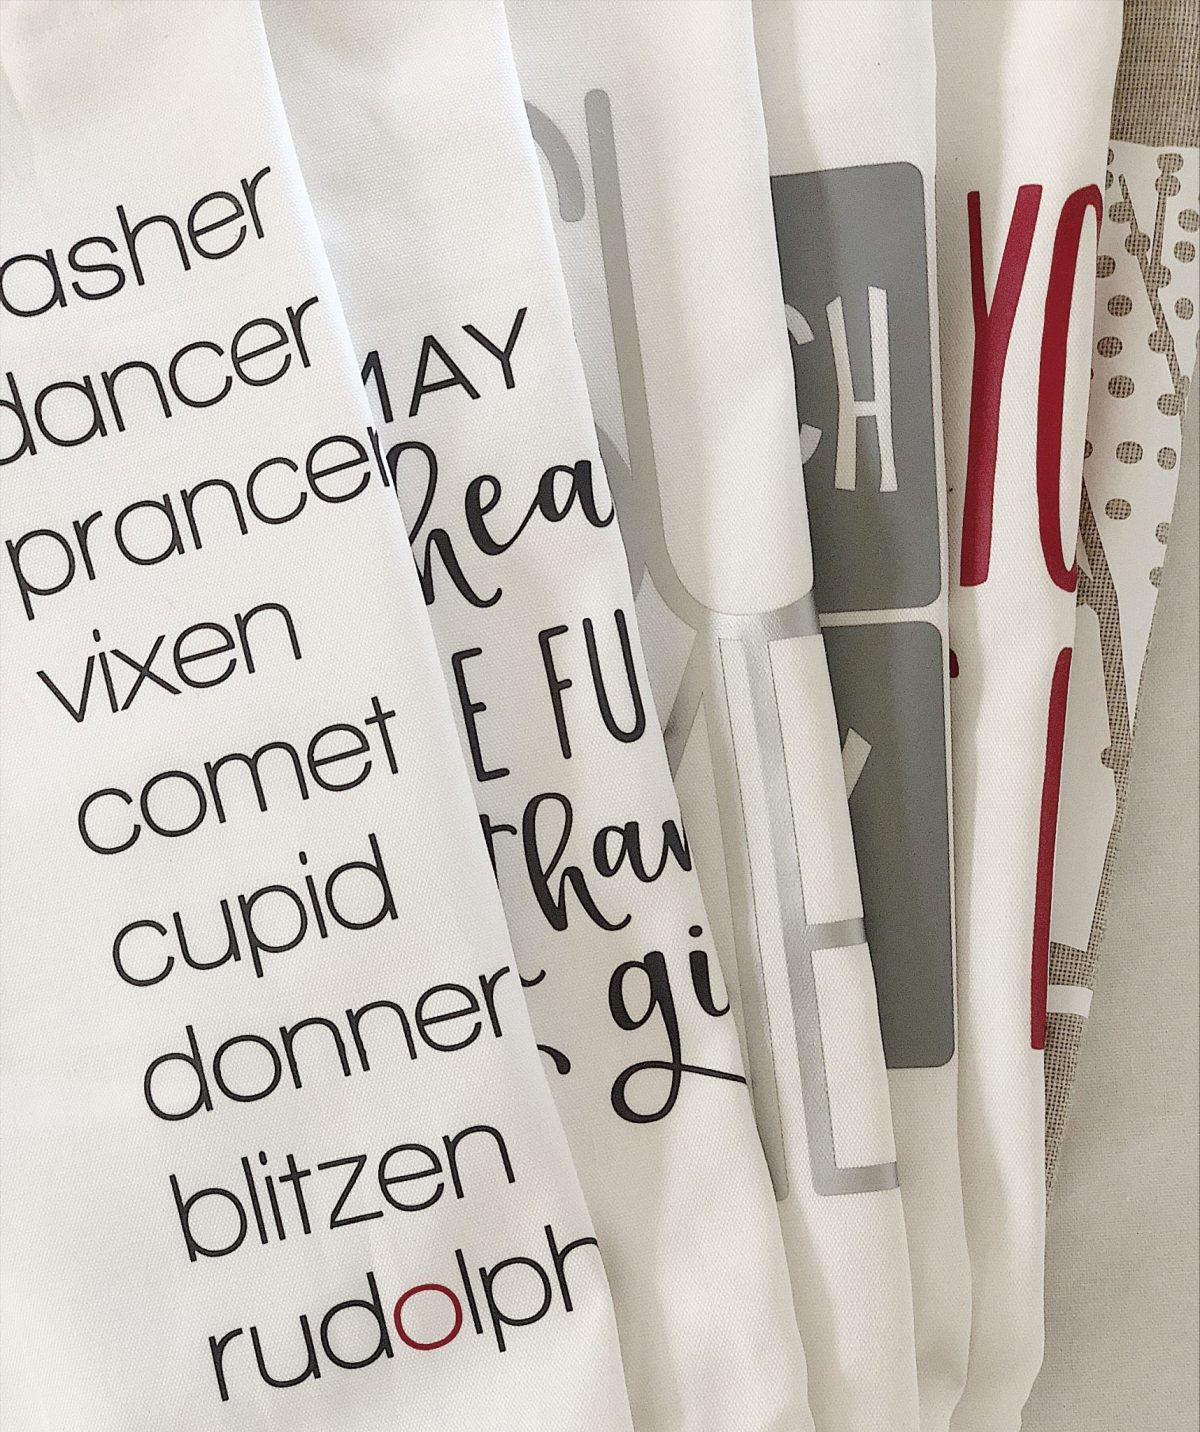
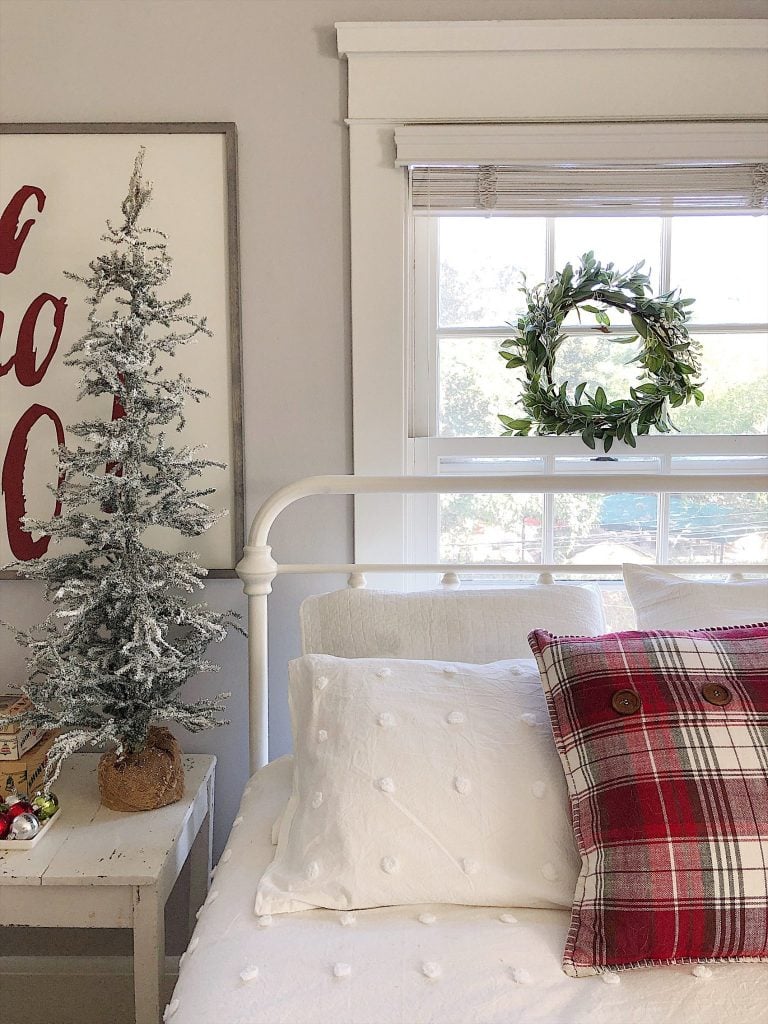
I designed this one myself using the font Walkway Bold in the size 110. Note the red “o” on Rudolph’s name.
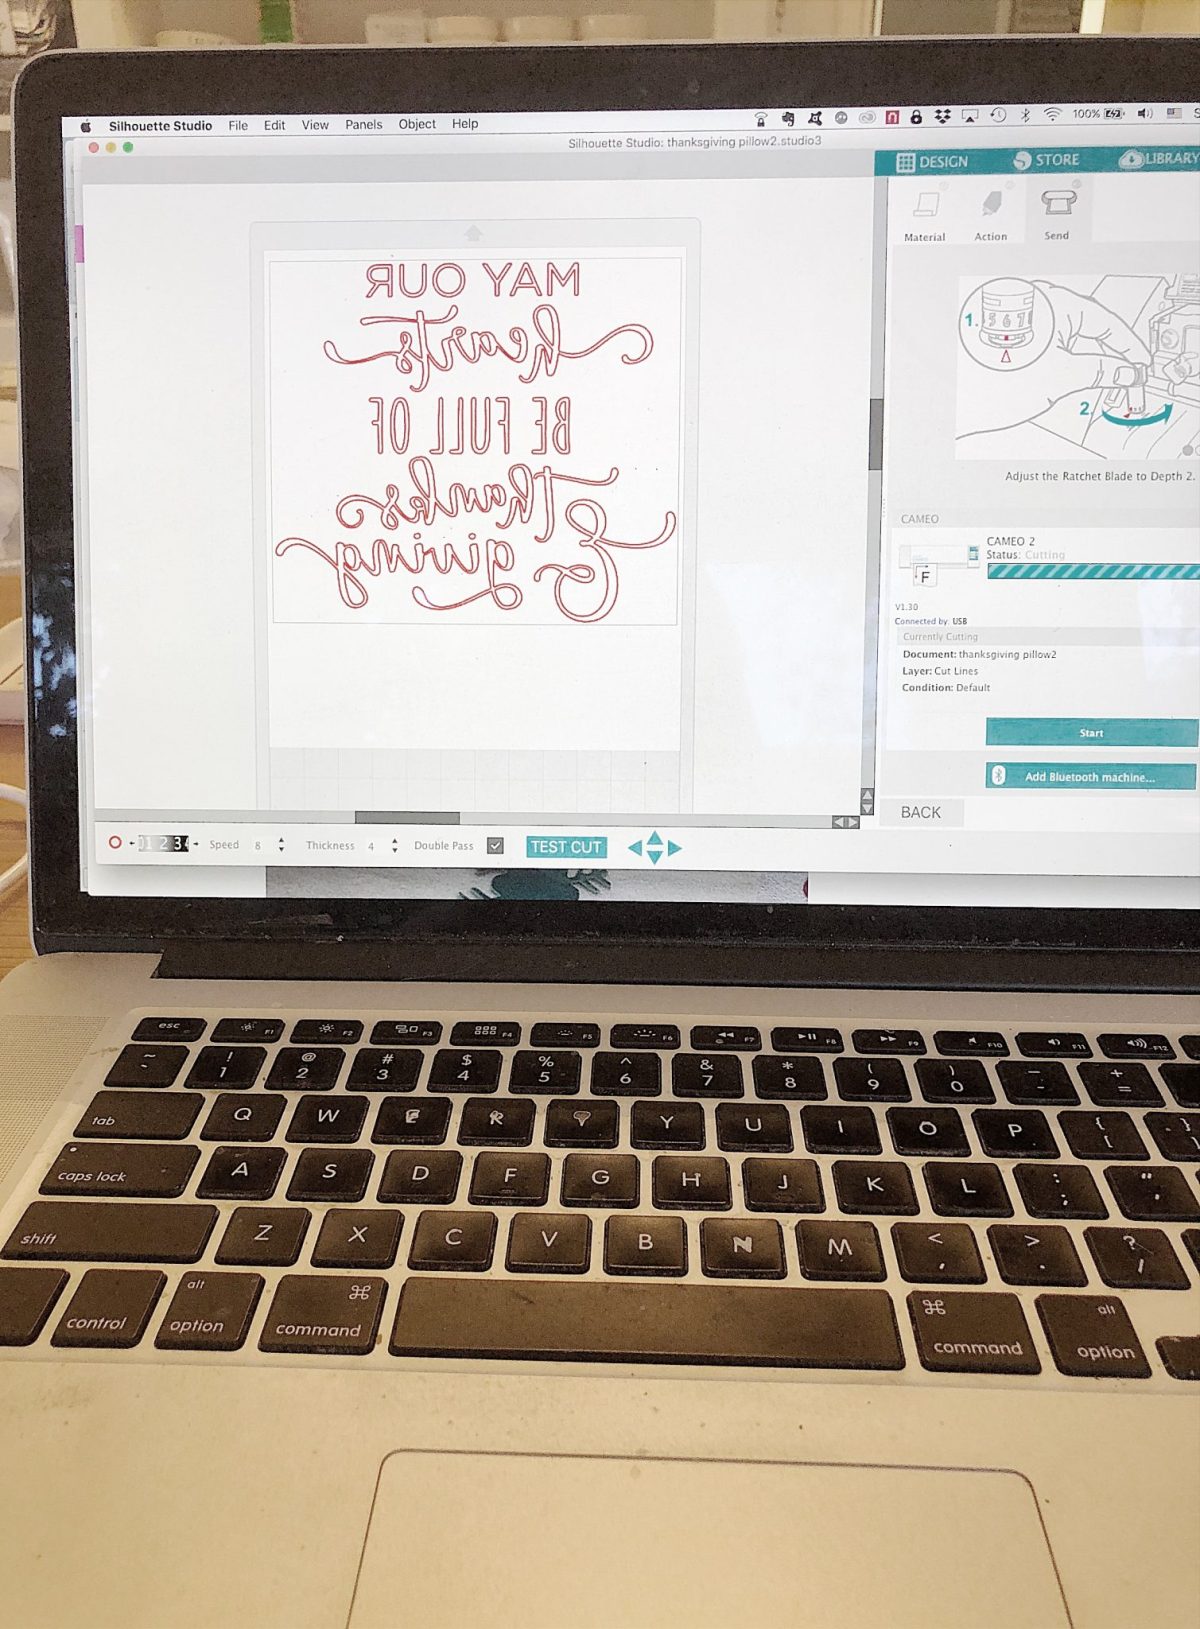
I enlarged all of the designs to fit my 12” x 16” cutting map so that they would cover the maximum amount on the pillow. The most important thing you have to remember when using heat transfer material is that you need to flip your words horizontally since you are cutting out the design backward. To do this, just select OBJECT from the top menu, then select MIRROR and then select FLIP HORIZONTALLY. Be sure and select the heat transfer material (I used smooth) and set the blade to the suggested setting.
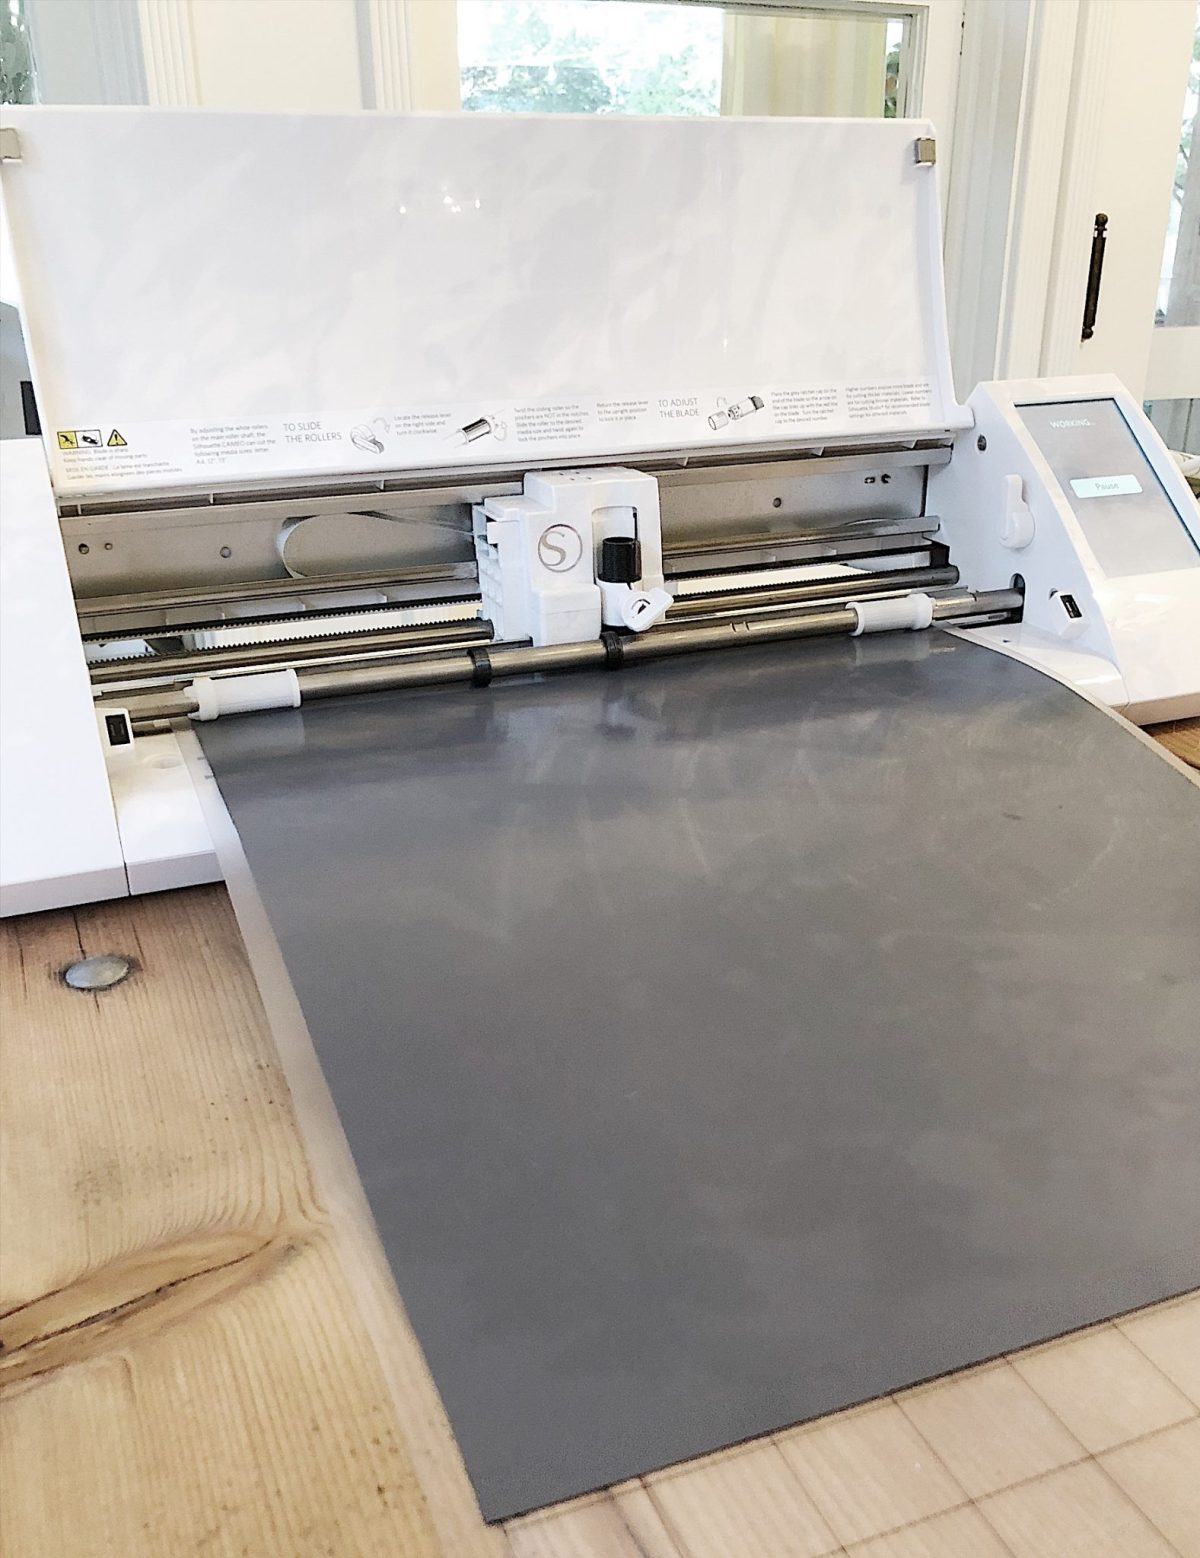
Then you are ready to cut!
Using a weeding tool, remove the excess heat transfer material from your design.
It’s easy to iron on the design to the pillow cover. Just measure to make sure it is centered (I use my clear cutting mat!) and be sure to use an ironing use cloth and a non-steam high setting. Carefully peel off the backing and iron again with the cloth. You are all set!
I hope you enjoy making this gift as much as I have. It really is a gift for all seasons!
For more real-time updates, follow me on Instagram @My100YearOldHome



Love this!! Thanks so much for sharing!!
Oh my God! Best idea ever!
Love them all!
What a clever idea and an awesome gift! And thank you for sharing your tutorial. I have a Silhouette that I use mainly for cutting fabric to appliqué but the vinyl is a bit easier since no sewing involved.
I am wondering what size bag you used
It’s 22x16x6. I got it on amazon.
Thank you! Love your project!
Amazing!! I love this and think you’re awesome for giving them as family gifts. ????
Thank you! That is so sweet.
Loving this idea!!
What a fantastic idea!!!!! It’s always difficult coming up creative and unique gifts. These fit the bill for sure!!!!! I’m going to have to make some! Thanks for the fabulous ideas!! I love your posts!
I am so glad you enjoy this! Thank you.
Love this idea! I have a Cricut and all I see is iron on vinyl rolls. It shows it on fabric such as t shirts but do you know if this would work? I don’t want it to look like plastic! Thanks for sharing! 💞