DIY Clay and Metallic Foil Easter Eggs
With Easter just around the corner this week, I decided to create something special and truly unique for my spring décor … handmade clay and metallic foil Easter eggs.
These little works of art are soft, pastel, and subtly shimmery, and they’re a beautiful way to add a handmade touch to your Easter celebrations. While they’re perfect for this season, the best part is that they’re durable and timeless. So if you make them now, you can enjoy them for years.


DIY Clay and Metallic Foil Easter Eggs – A Beautiful Handmade Easter Craft
I was inspired by a craft I previously shared on the blog where I worked with air-dry clay, but this time, I wanted to try something new.
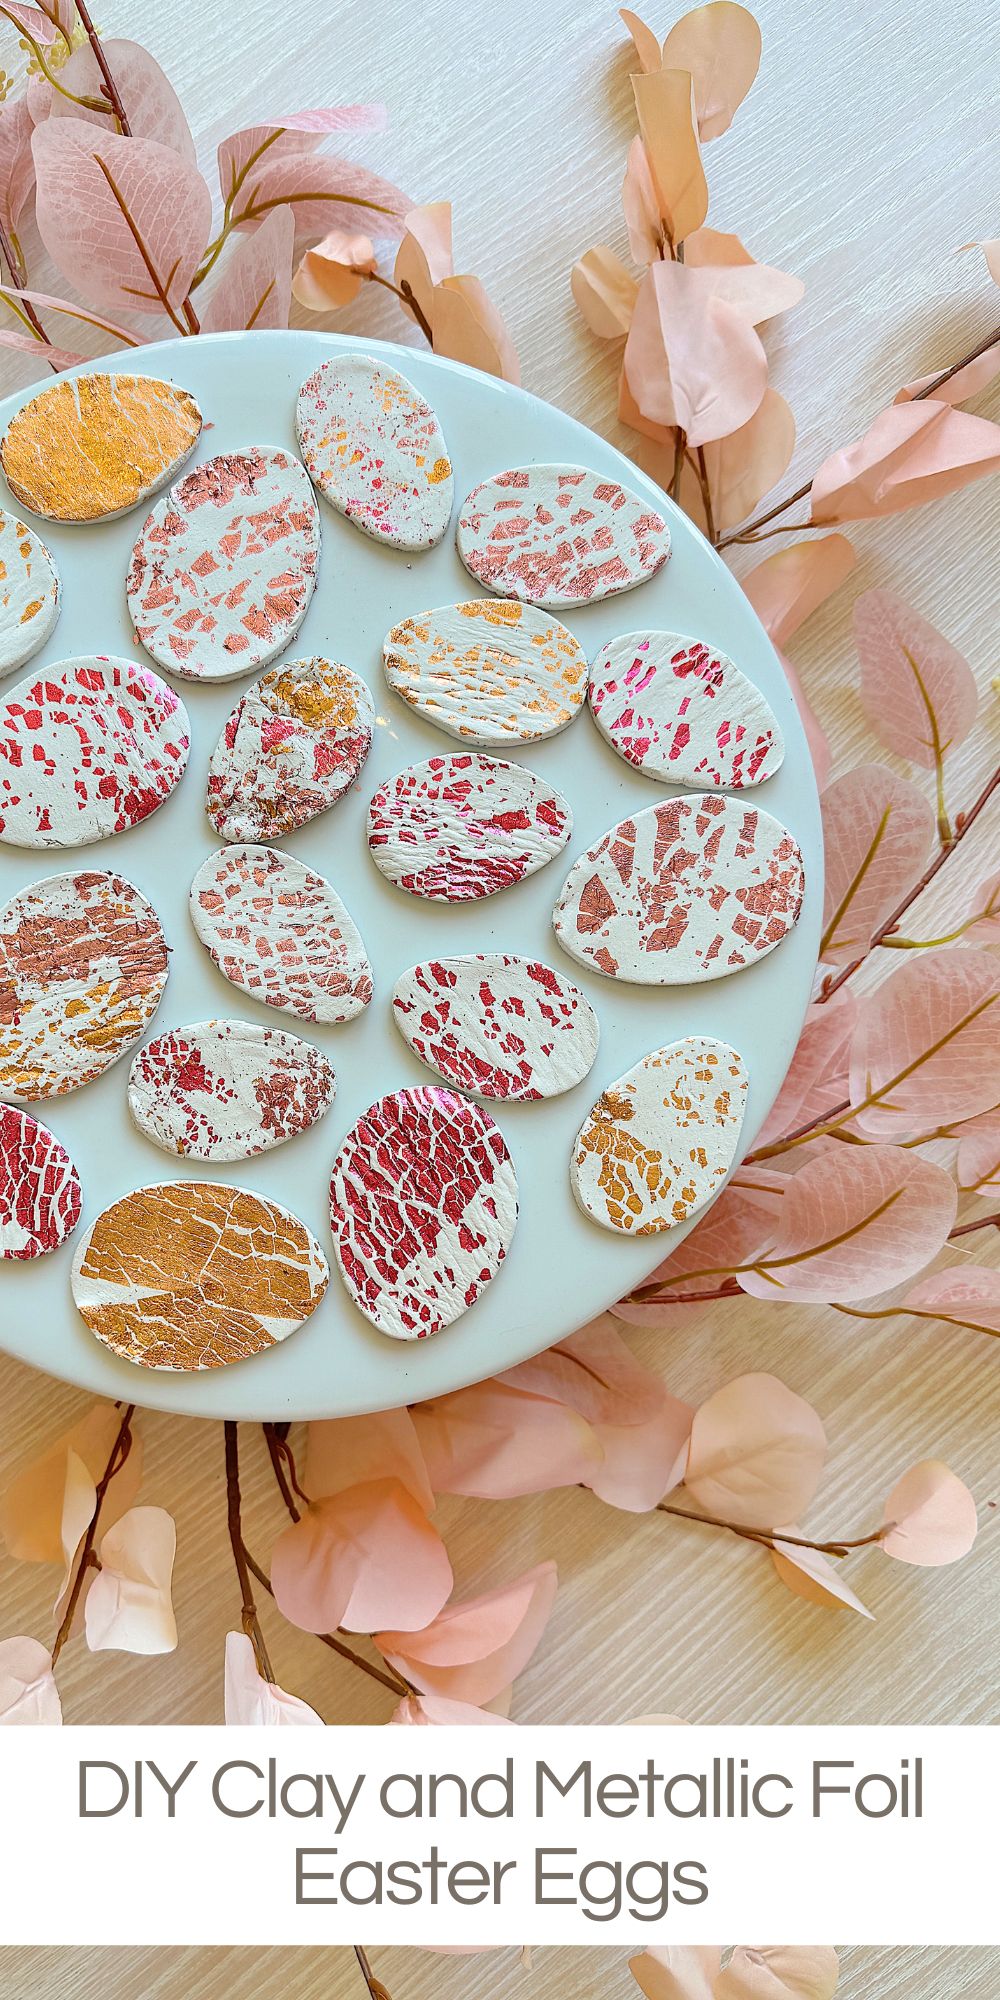
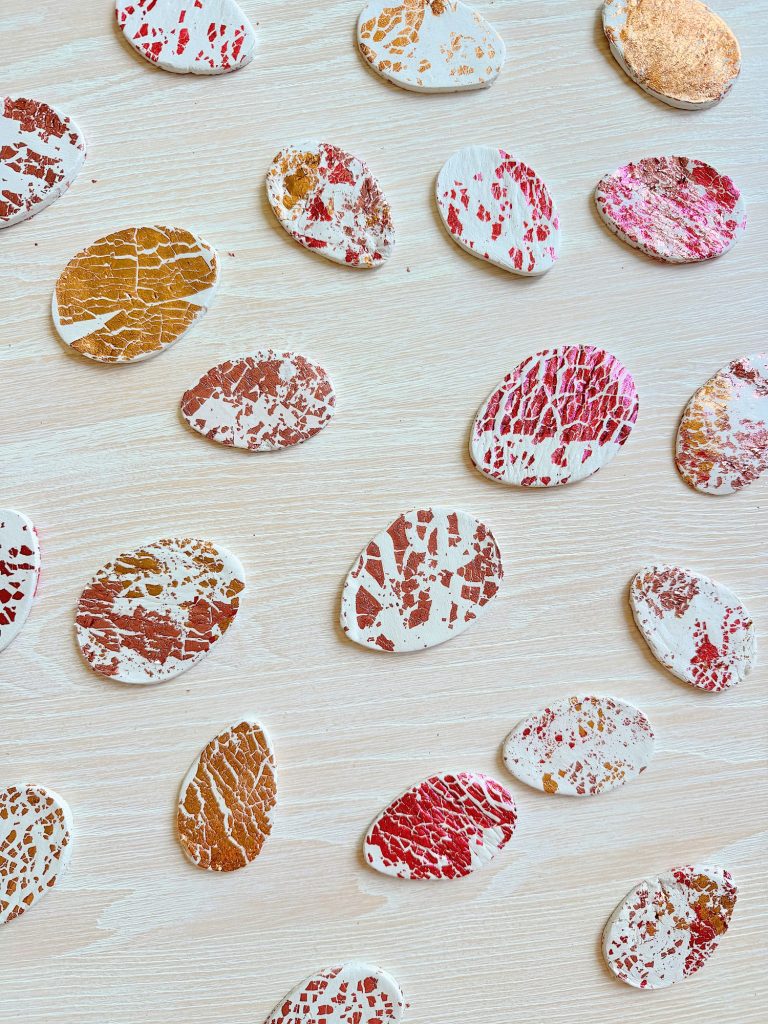
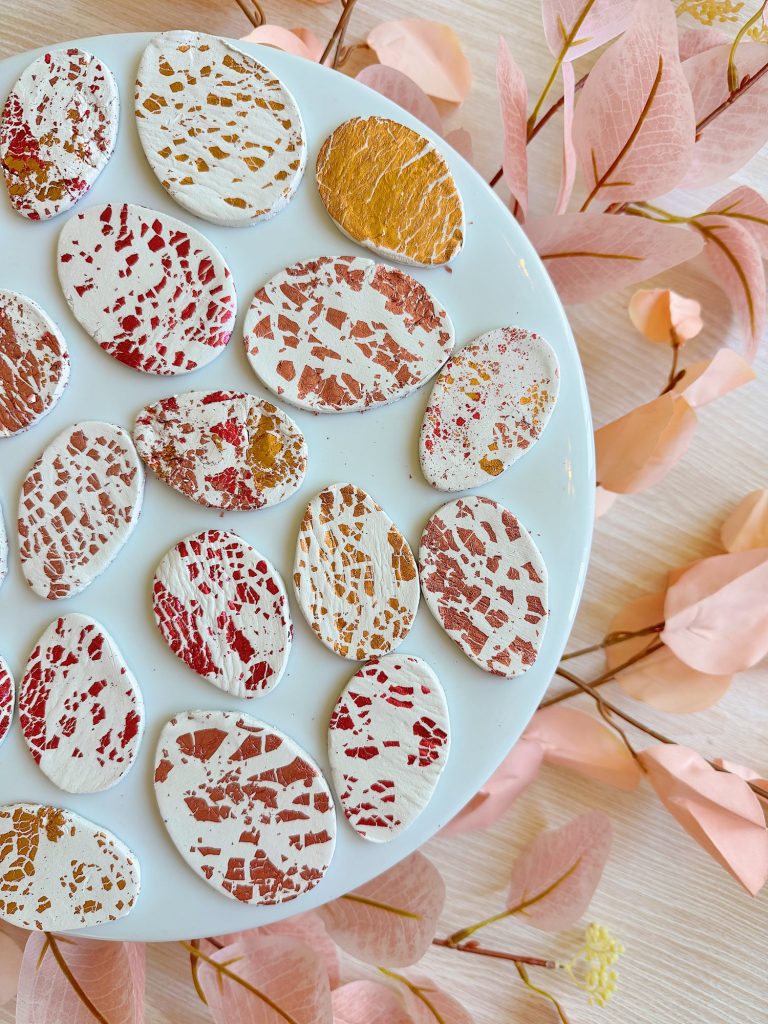
For these eggs, I mixed metallic foil flakes directly into the air-dry clay before rolling and cutting out my shapes. The result is a soft, marbled shimmer that catches the light beautifully.
I also experimented by applying Clay Glaze to a few of the finished eggs, giving them a high-shine finish while leaving others matte and subtle.
Now I can’t decide, do I love the shiny eggs or the pastel foil-swirled eggs more?
Whichever finish you prefer, this project is simple, relaxing, and perfect now, even if Easter is almost here, so you’re ready to decorate with them next year. Below, I’ll walk you through the DIY process and share my favorite ways to style these adorable Easter eggs throughout your home.
On this blog, I may use affiliate links, which means I earn a small commission if you make a purchase via the link. The price will be the same whether you use the affiliate link or go directly to the vendor’s website using a non-affiliate link.

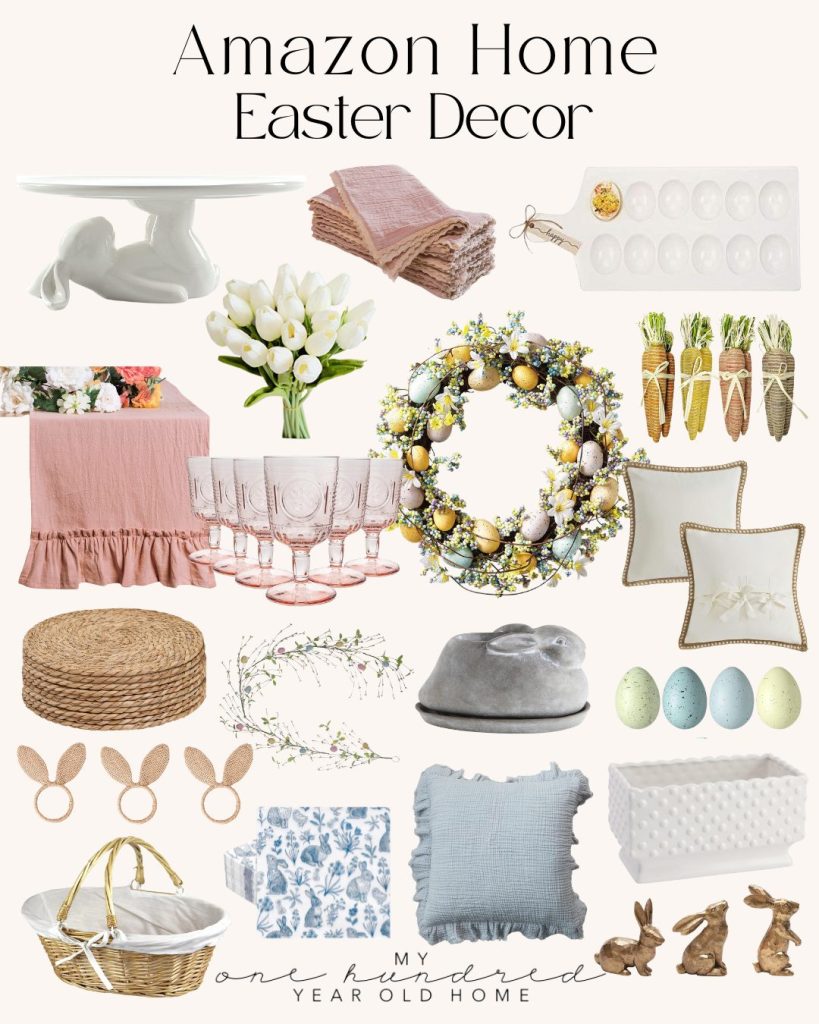
Shop some amazing Easter deals happening right now!

Shop Every Deal By Category
Tap on any link to Shop by category for millions of deals.
- Spring Home Refresh (Home Decor)
- Kitchen Upgrades on Sale (Kitchen)
- Smart Home Must-Haves (Electronics)
- Entertainment Upgrades on Sale (TV & speakers)
- Warm Weather Style Finds (Apparel)
- Spring Cleaning Game-Changers (Cleaning)
- Backyard Glow-Up Deals (Patio Season Must-Haves)
- Spring Break Deals (travel, clothes, etc)
- Sell-Out Alert Deals (biggest % off)
Materials Needed

Here’s what you’ll need to make your own clay and metallic foil Easter eggs:
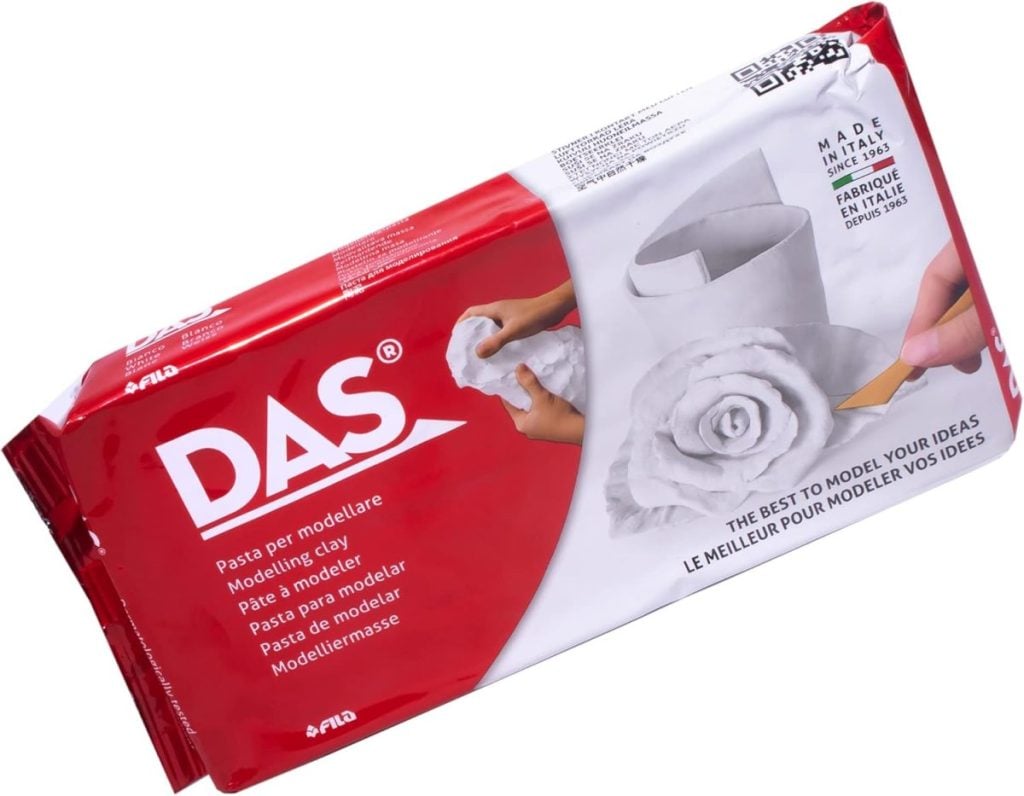
- Air-dry clay (white or natural)
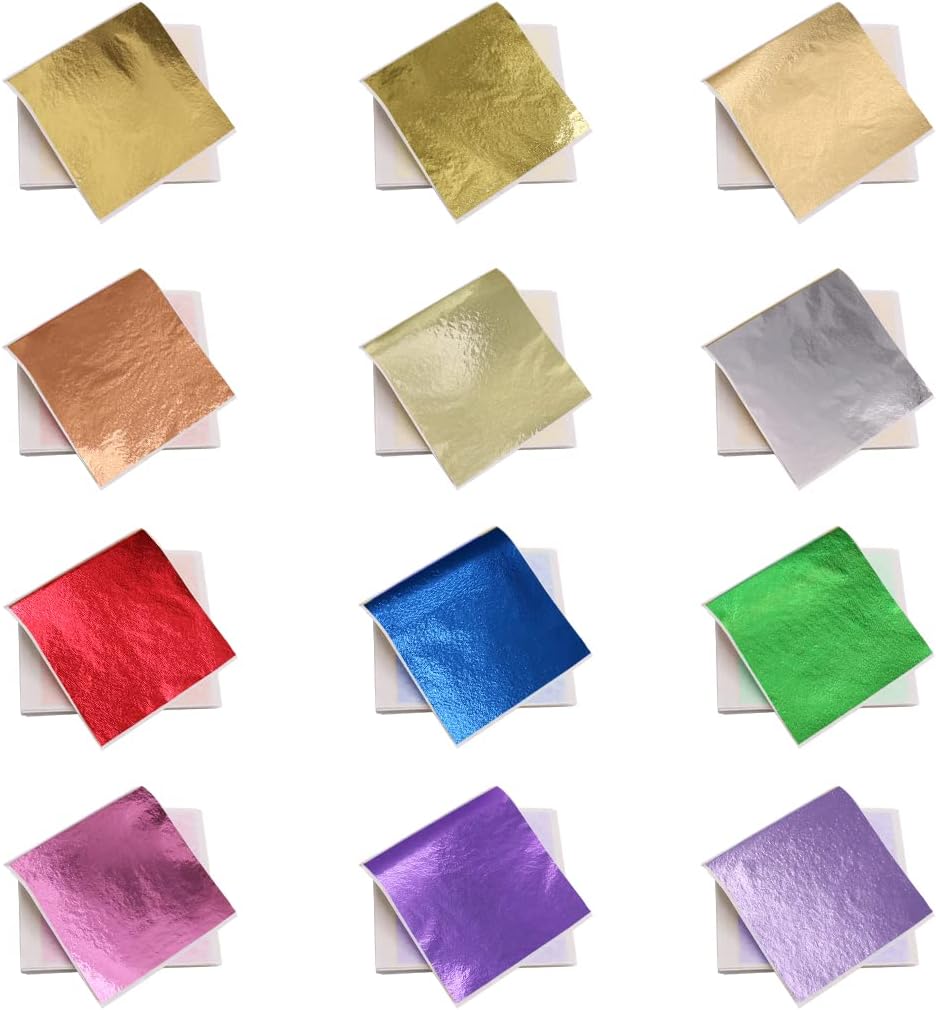
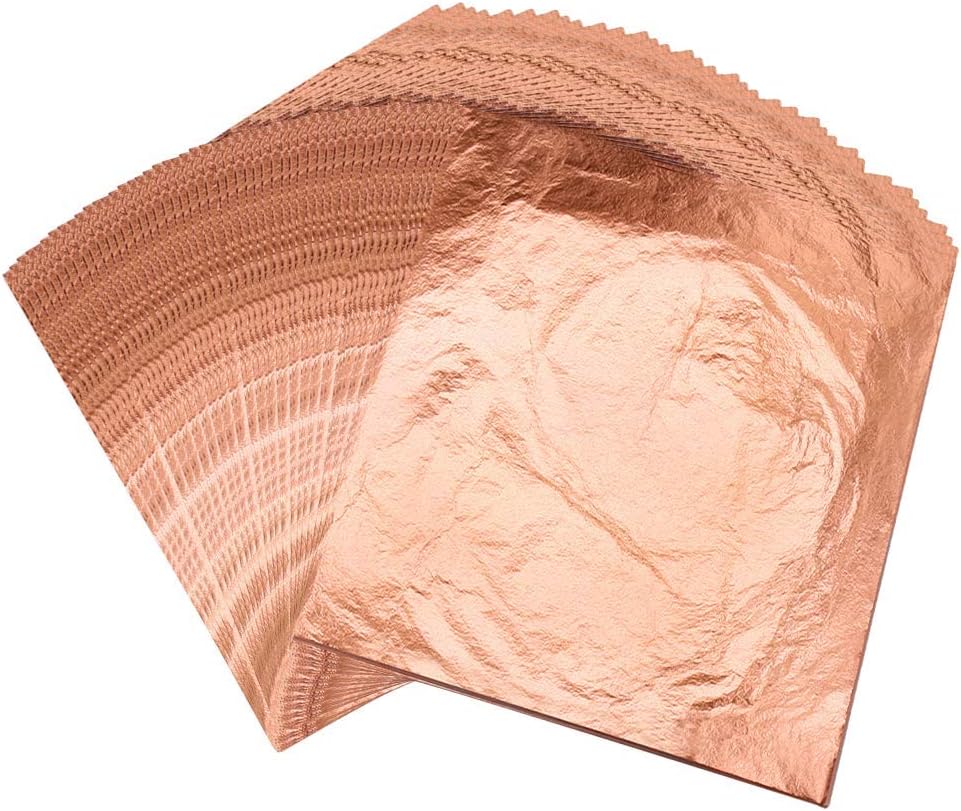
- Metallic foil flakes (gold, rose gold, copper, or mixed)
- Egg-shaped cookie cutters
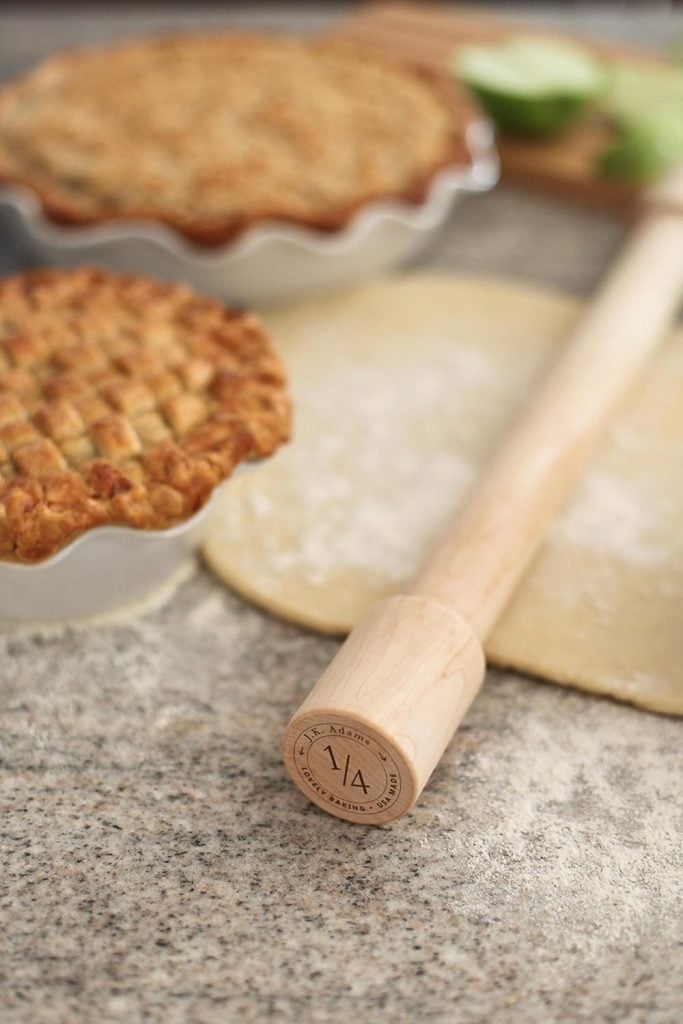
- Rolling pin (smooth, 1/4″ raised)
- Clay Glaze (optional, for a glossy finish)
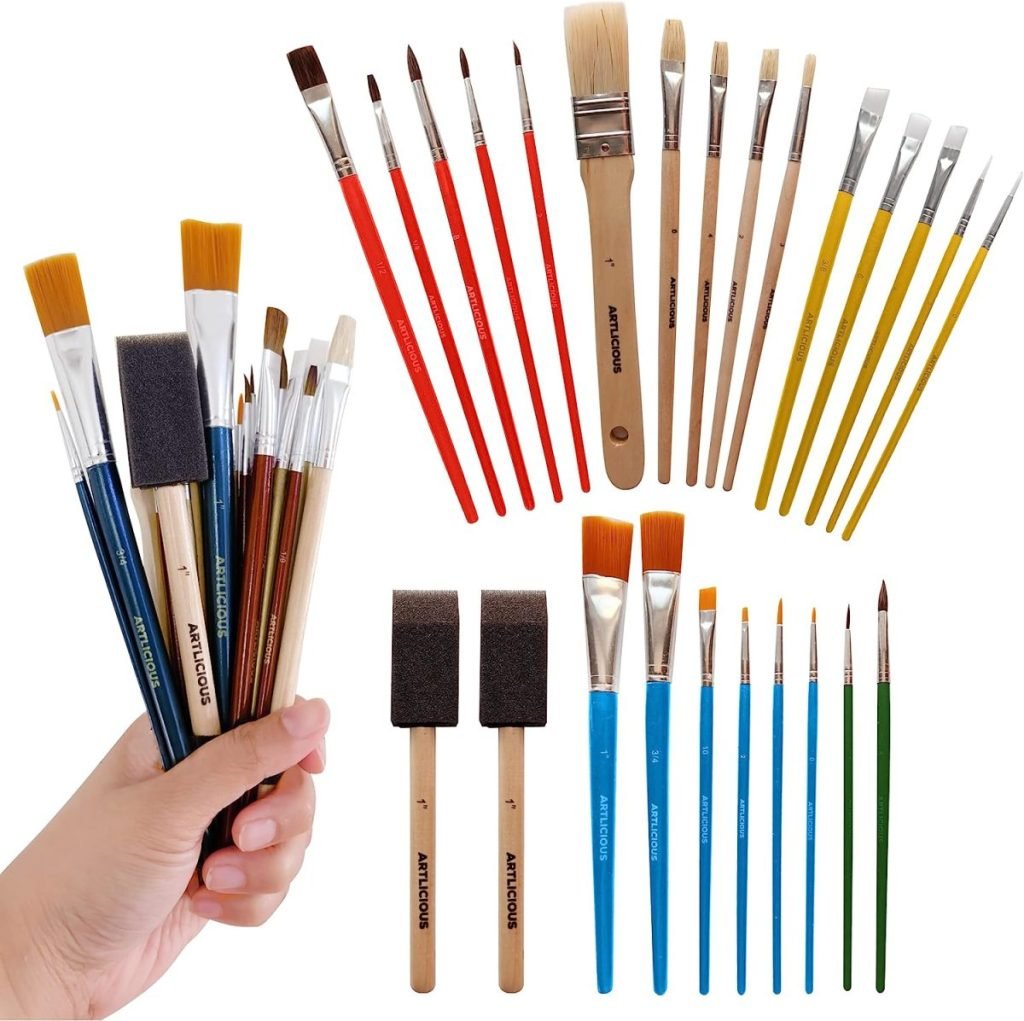
- Soft paintbrush
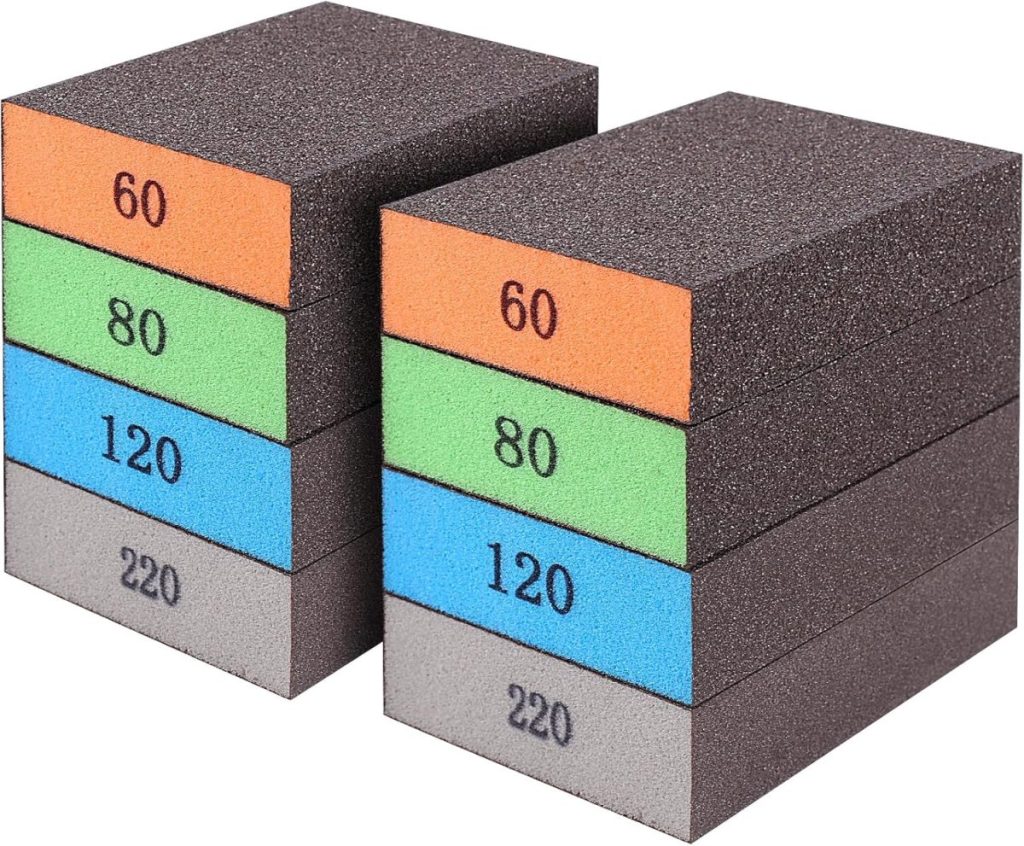
- Sanding sponge or fine sandpaper (for smoothing edges)
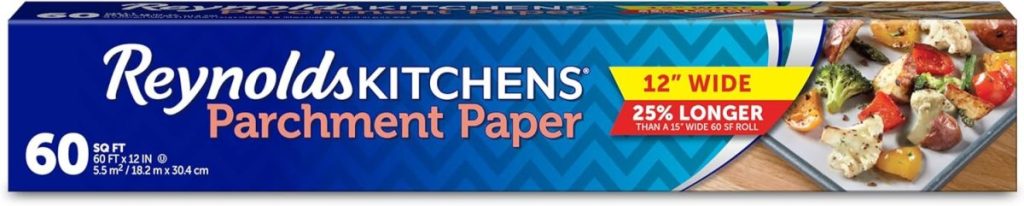
- Wax or parchment paper (for rolling surface)


How to Make Clay and Foil Easter Eggs
Step 1: Prep the Clay
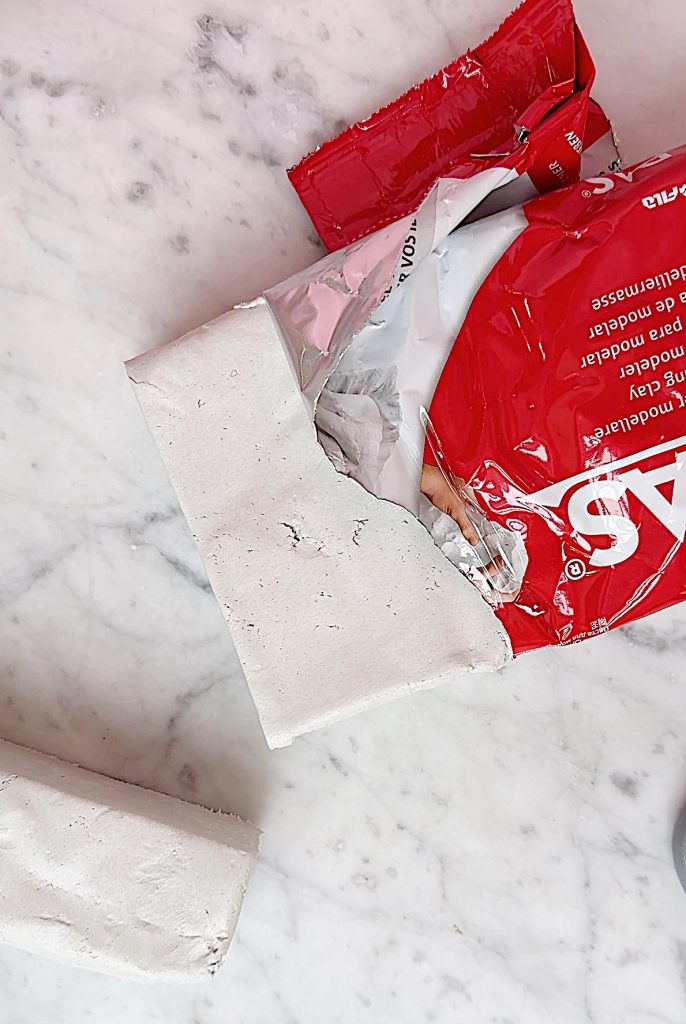
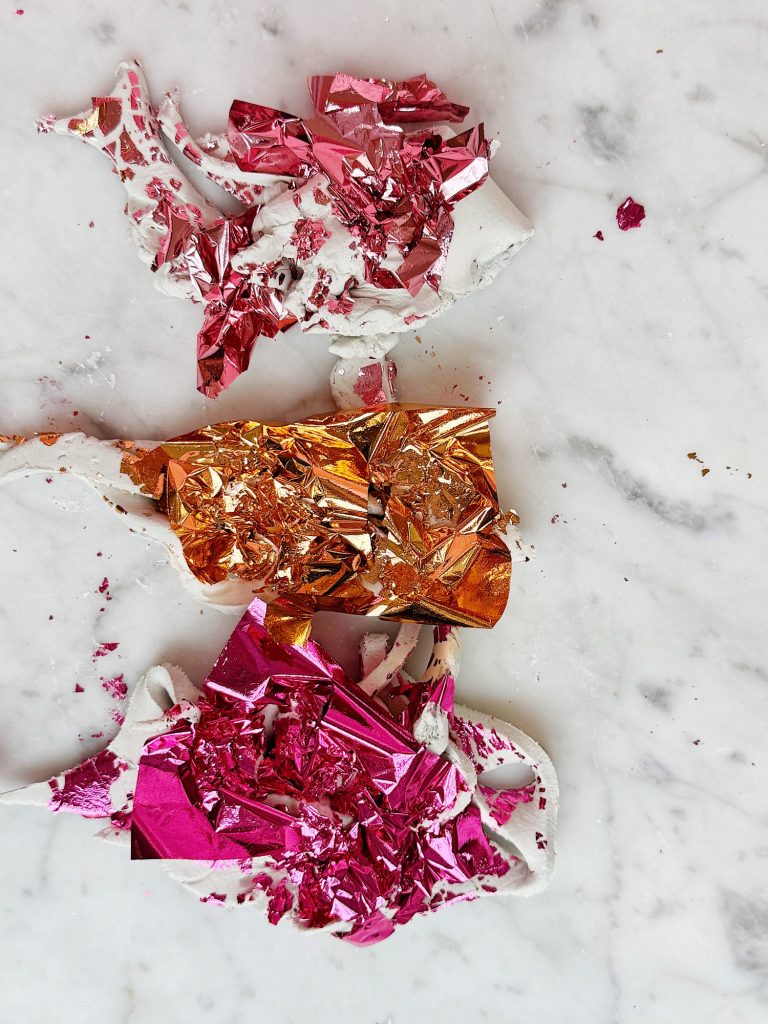
I used three different colors of foil, so I cut off a section of clay for each one. Begin by pulling off a handful of air-dry clay and kneading it until it’s soft and pliable. You want it smooth and workable before you add any foil.
Step 2: Add the Metallic Foil
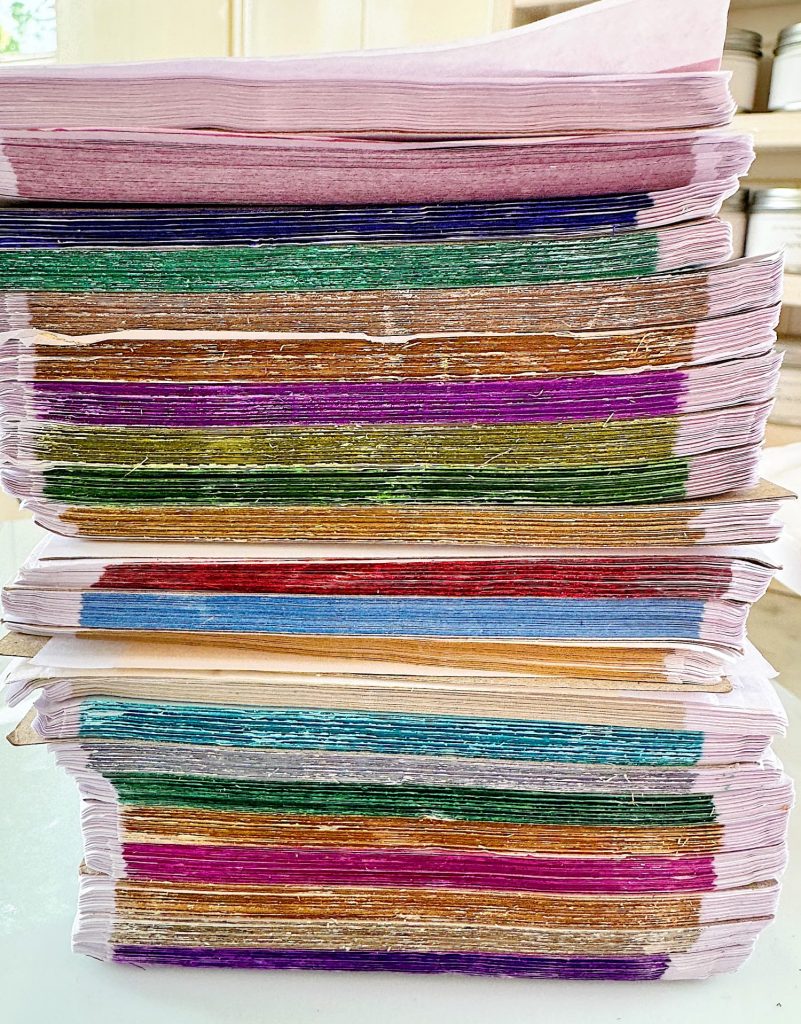
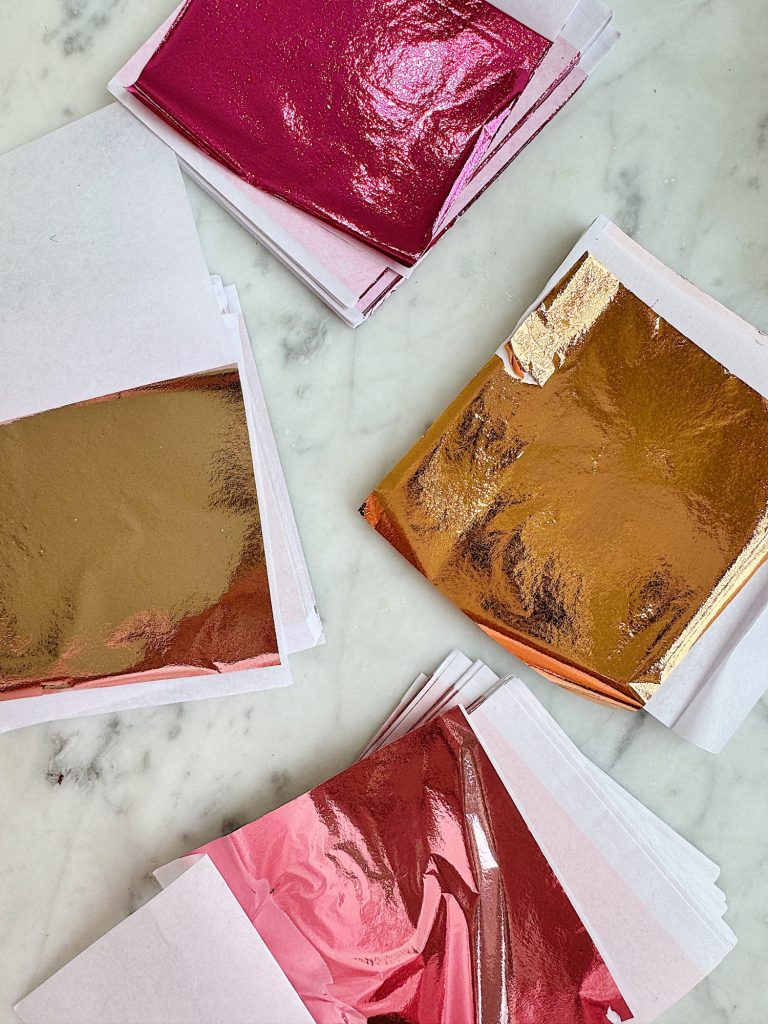
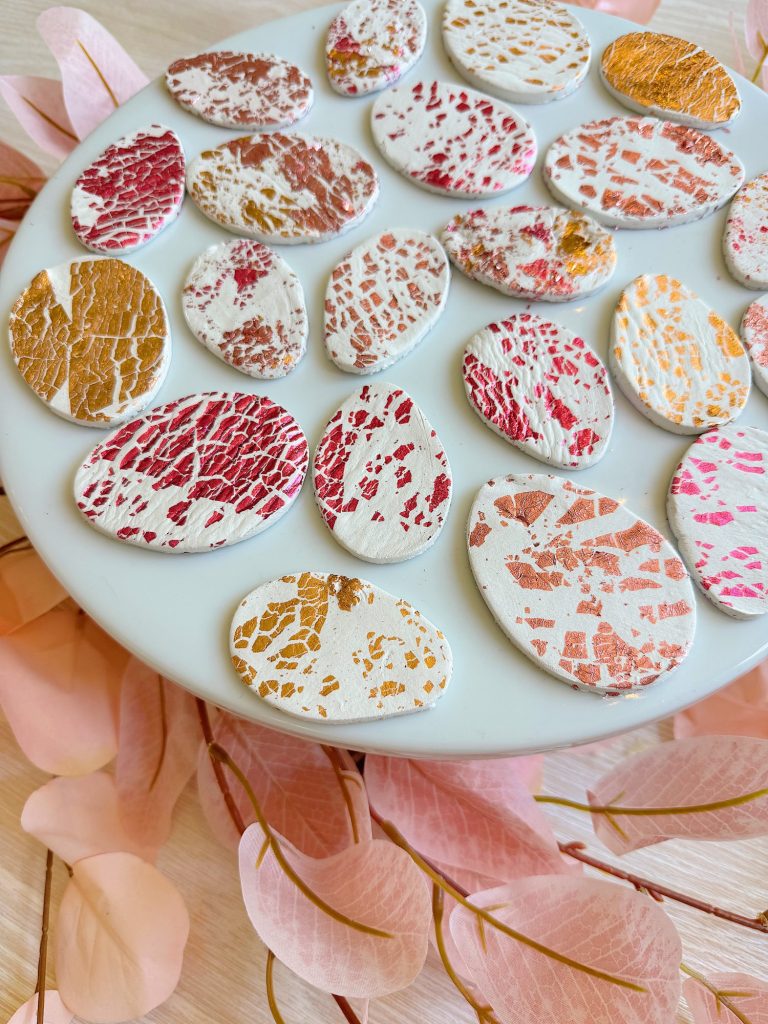
I had so many colors to choose from and decided to use a pink and orange theme.
I know that is not a surprise!
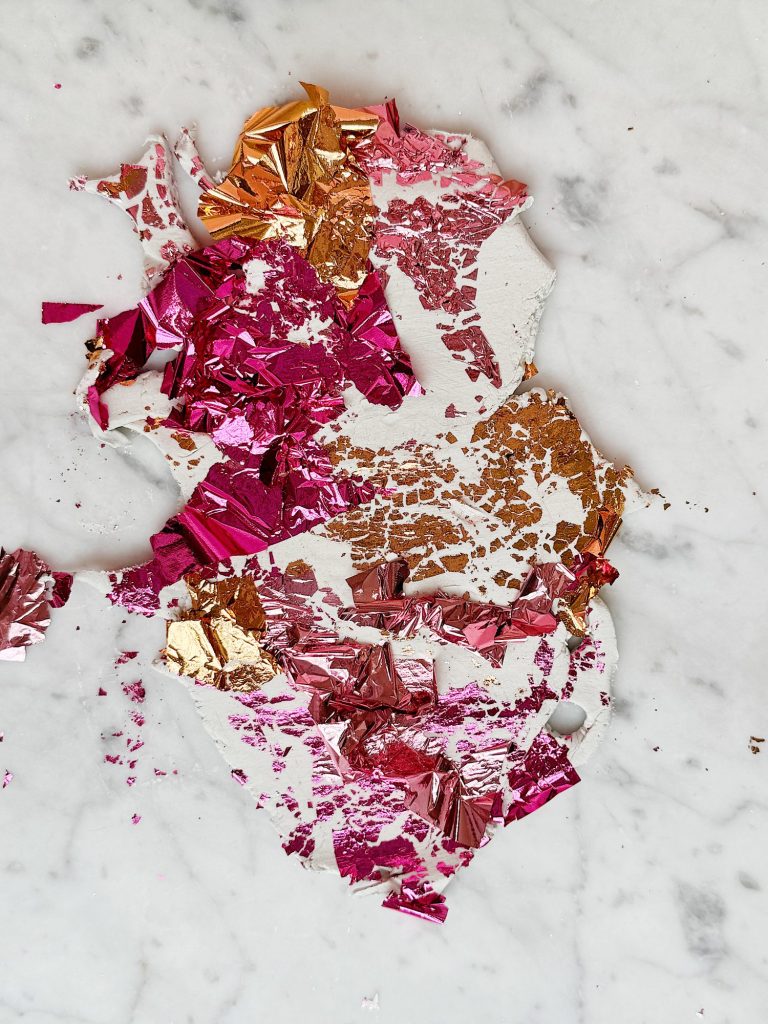
Place the metallic foil flakes on top of the clay and gently fold them into the clay. Don’t overmix, as you want the foil to swirl through the clay in uneven patches to get that beautiful marbled effect when you roll it out. You can use as much or as little foil as you’d like, depending on how bold or subtle you want the shine to be.
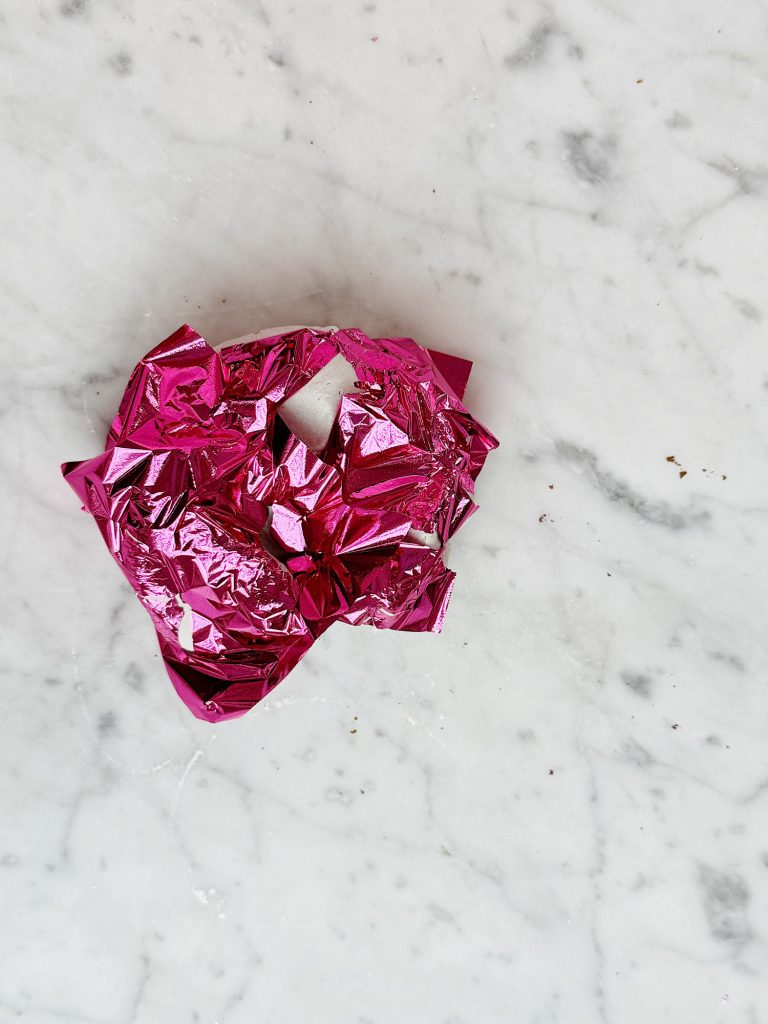
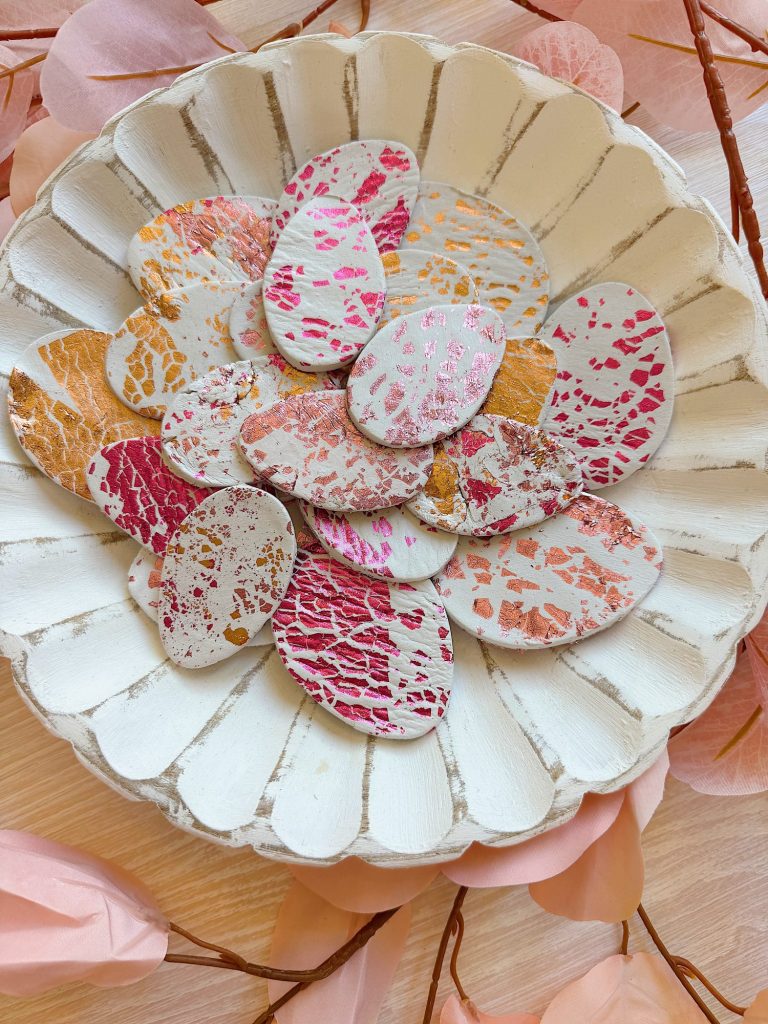
This part of the process is so much fun because each batch of clay looks slightly different. Some of my eggs ended up with dense flecks of rose-gold foil, while others had a hint of pink shimmer. It’s impossible to make two that look the same, and that’s part of the charm!
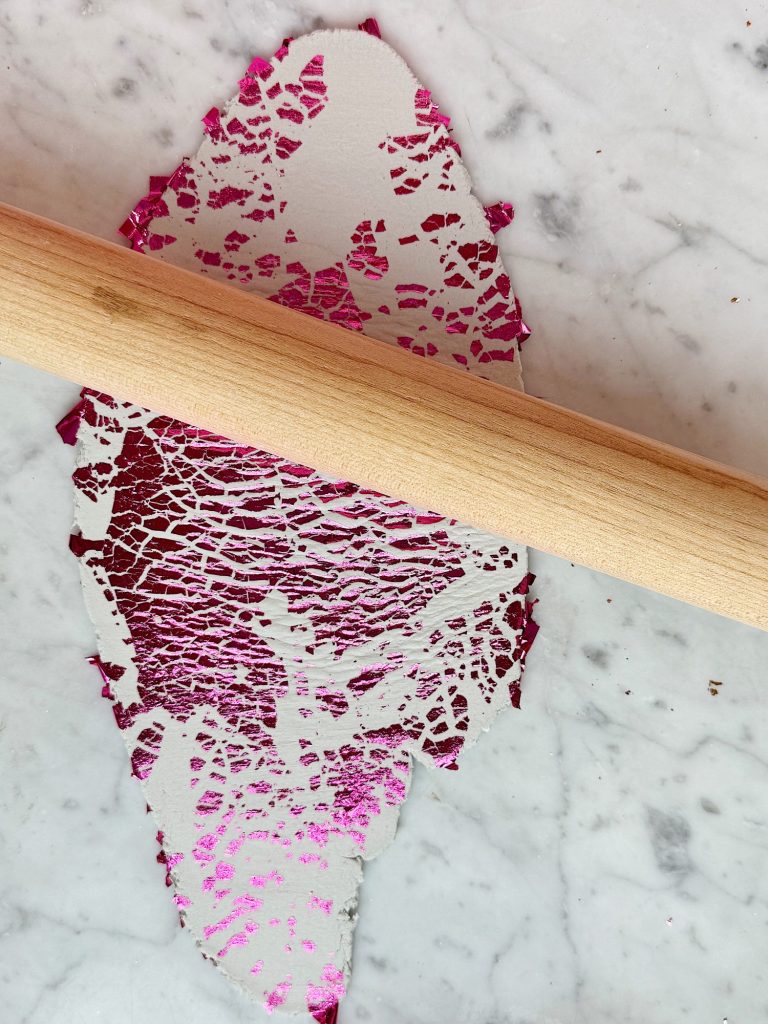
Step 3: Roll Out the Clay
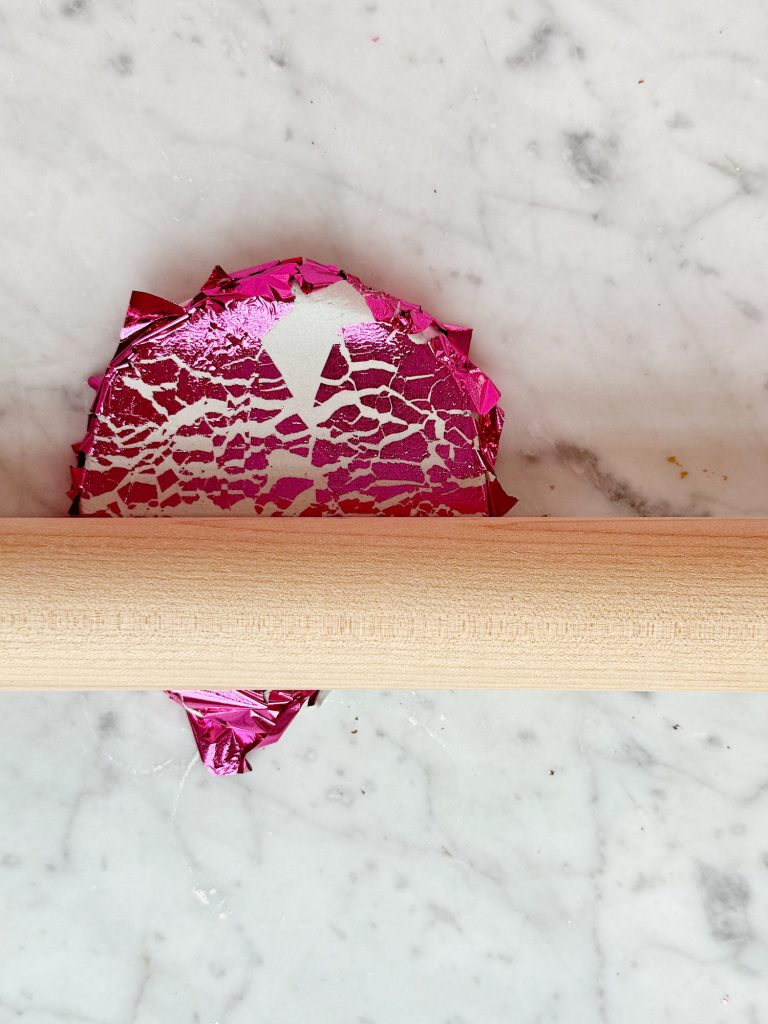
Place your mixed clay on wax or parchment paper and use a smooth rolling pin to roll it to a ¼” thickness. Use a pre-set rolling pin to keep your thickness consistent so your eggs dry evenly. If you see a foil piece peeking out or sticking up, gently press it back down with your fingers or the rolling pin.
Step 4: Cut Out the Egg Shapes
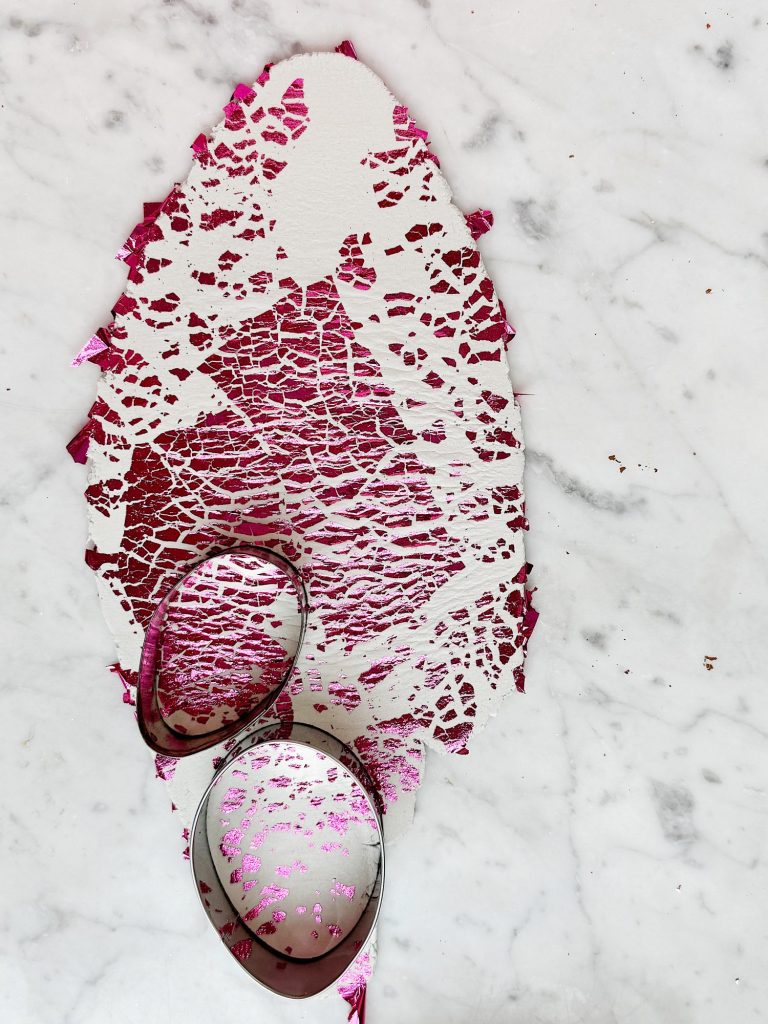
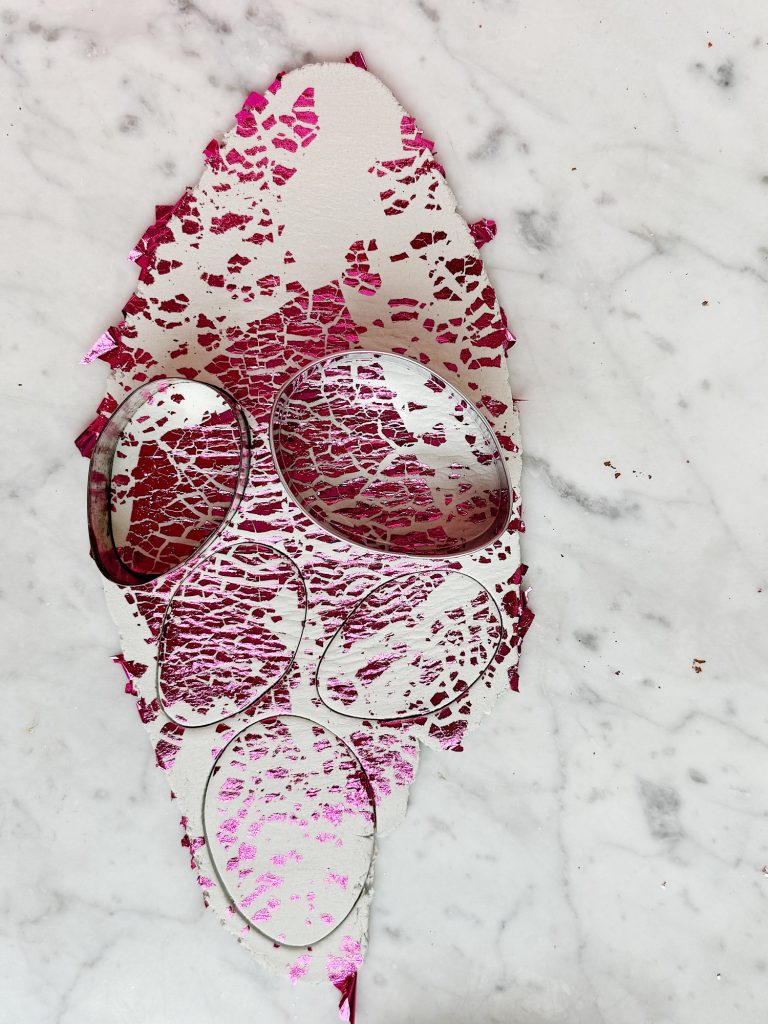
Use an egg-shaped cookie cutter to cut out your shapes.
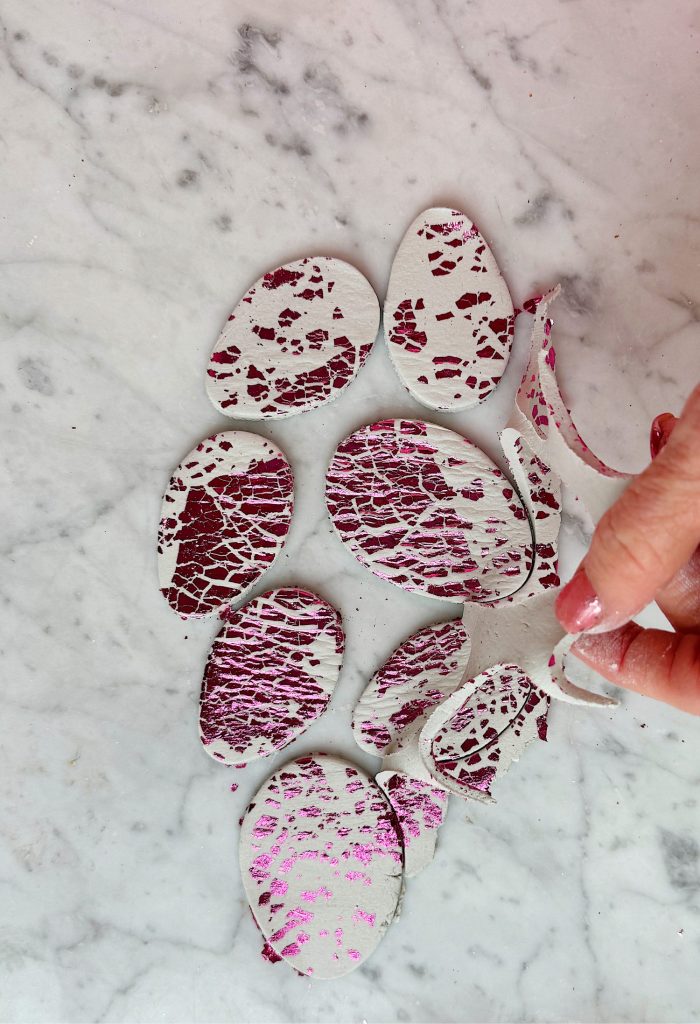
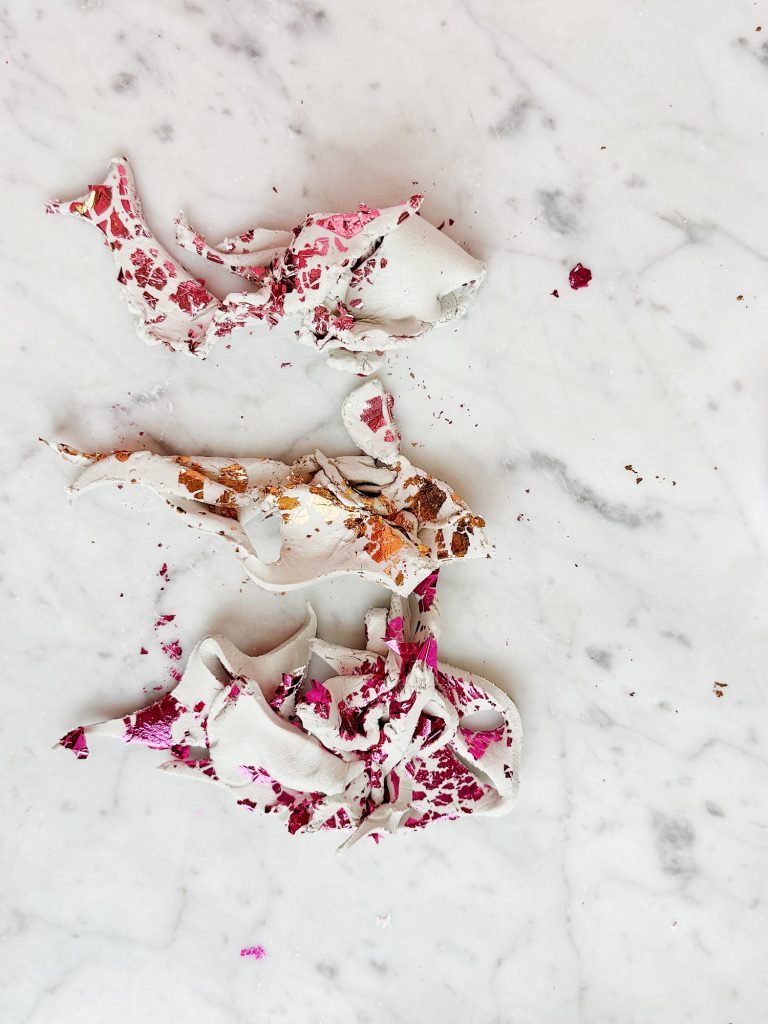
Gently peel away the extra clay and set your eggs aside. If any edges are rough or the foil sticks out awkwardly, you can smooth them with your finger or wait until the clay dries and lightly sand the edges.
If you’d like to turn your eggs into ornaments or hanging décor, poke a small hole at the top with a straw or skewer now.
Once I cut out the three different sets of eggs, I decided to mix the leftover clay and cut more! Here is how simple it was to do.

Step 5: Let Dry Completely
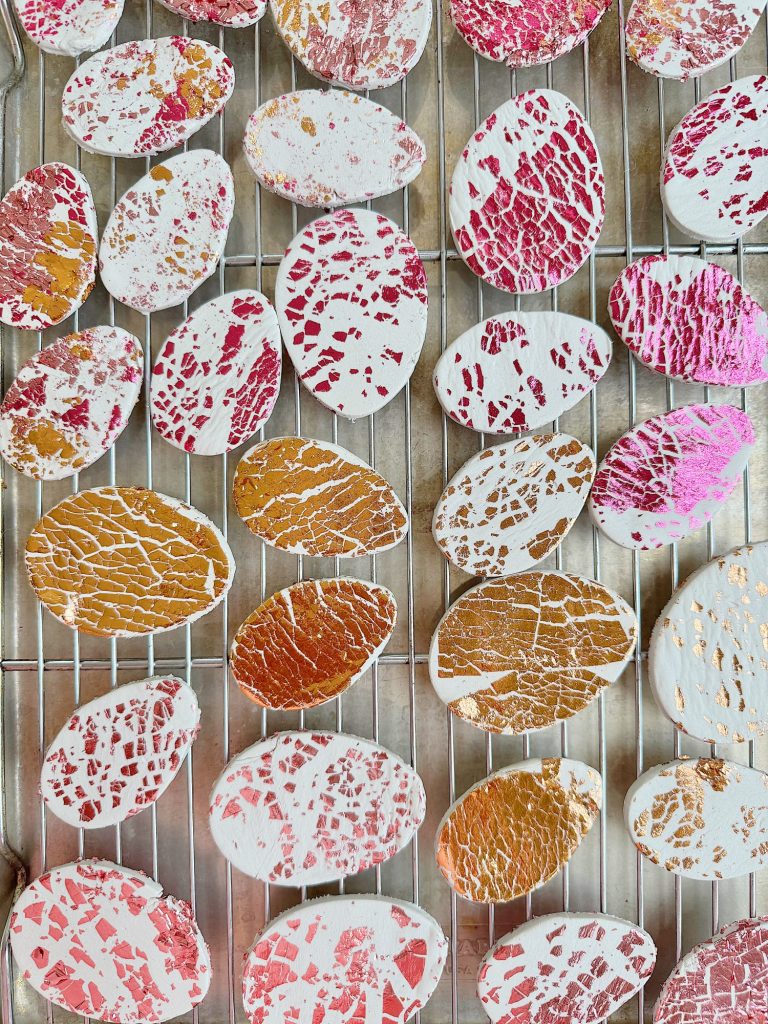
Place your eggs on a parchment-lined tray and let them air dry thoroughly. Usually 24 to 48 hours, depending on thickness and humidity. Flip them over halfway through the drying process to ensure even drying on both sides.
I dried mine in the oven, which only took 30 minutes. Set the temperature to 250 degrees and place on a baking rack. It’s so much faster!
Once dry, lightly sand the edges with a delicate sanding sponge or soft sandpaper to smooth them out and give them a clean, finished look.
Step 6: Apply Clay Glaze
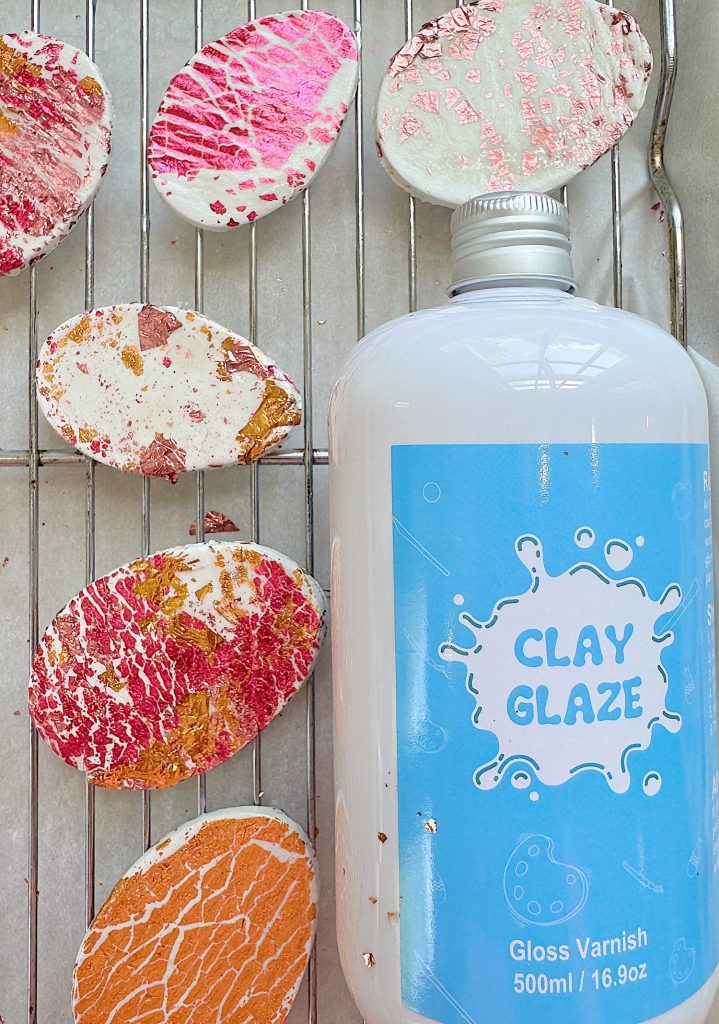
I love sealing my clay projects and used Clay Glaze on the finished eggs. The glaze gives them a beautiful, high-shine finish, making the foil shimmer even more. Use a soft paintbrush to apply a thin, even coat, and let it dry completely before handling.
The results are gorgeous. I glazed most of them. The glazed eggs have a sleek, ceramic-like look, while the unglazed eggs maintain a more natural, matte texture with just a soft metallic shimmer. I honestly love both finishes and can’t decide which I like more!
What do you think, team shiny or team matte?
Ways to Use Clay Easter Eggs in Your Home
Now that you’ve created your beautiful clay Easter eggs, let’s talk about how to style them!
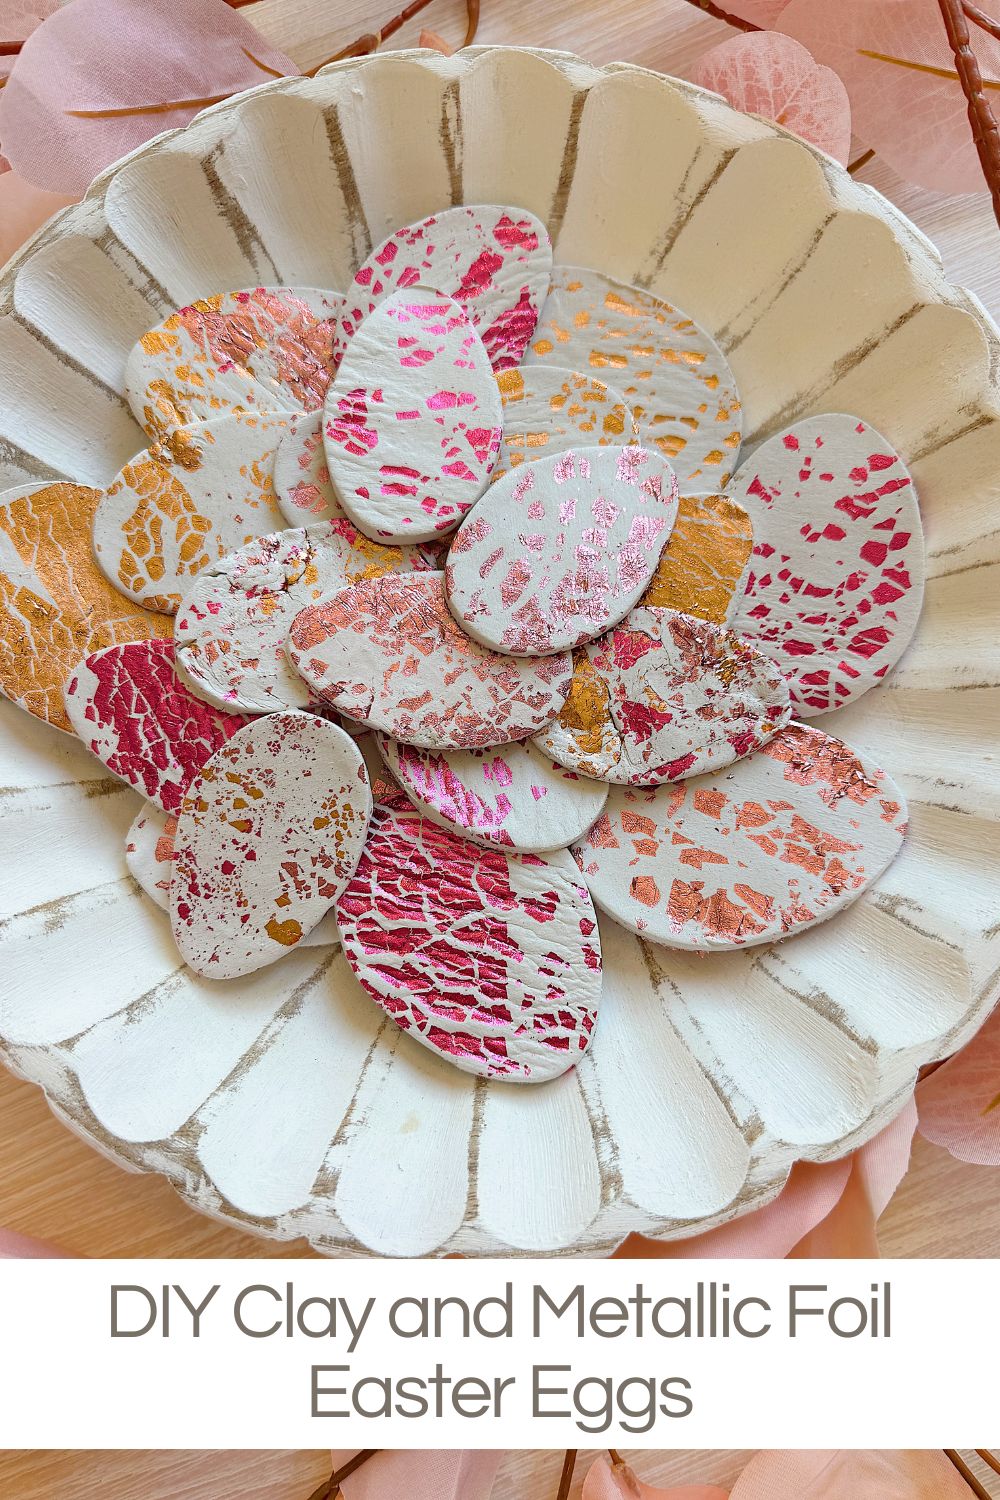
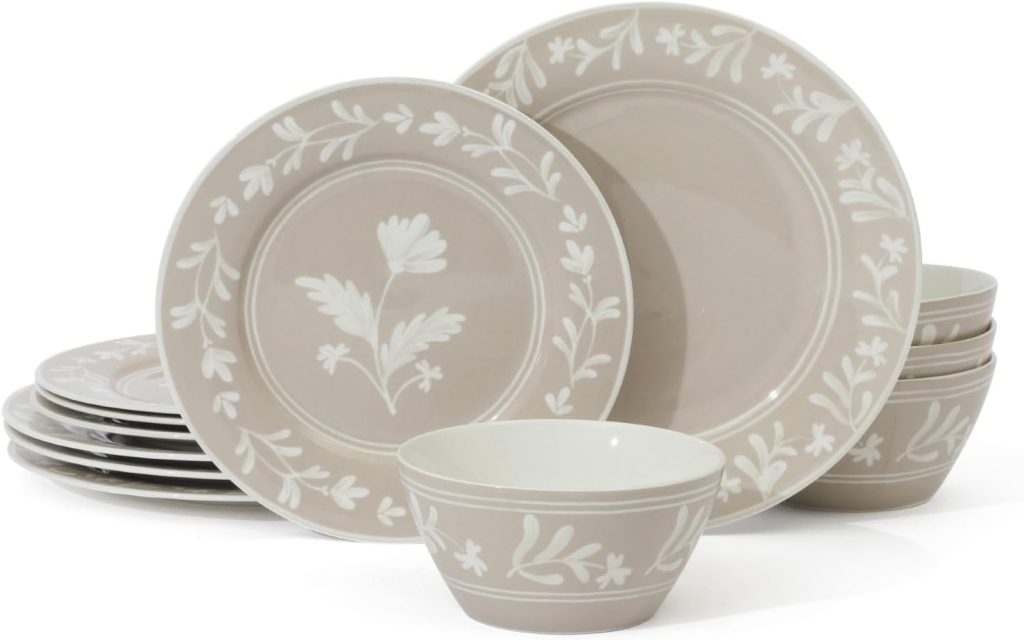
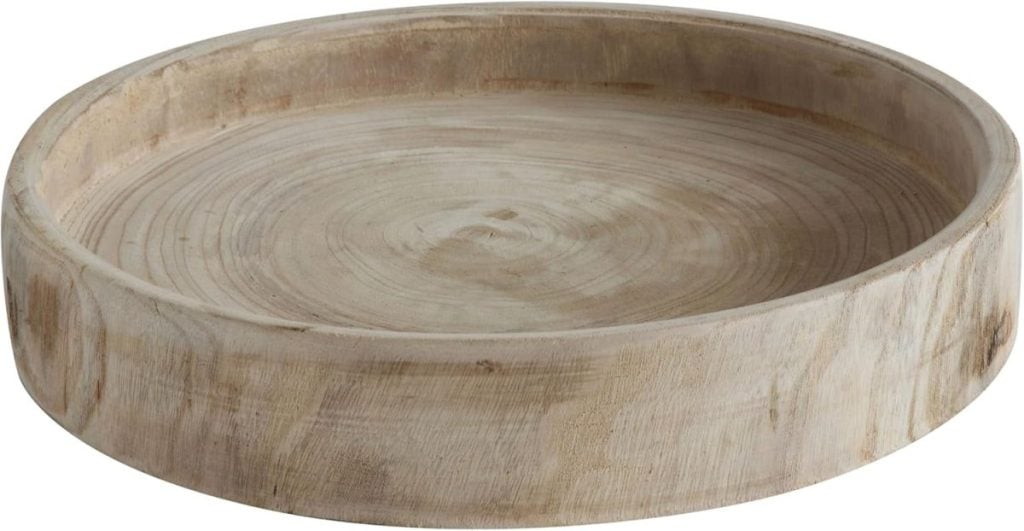
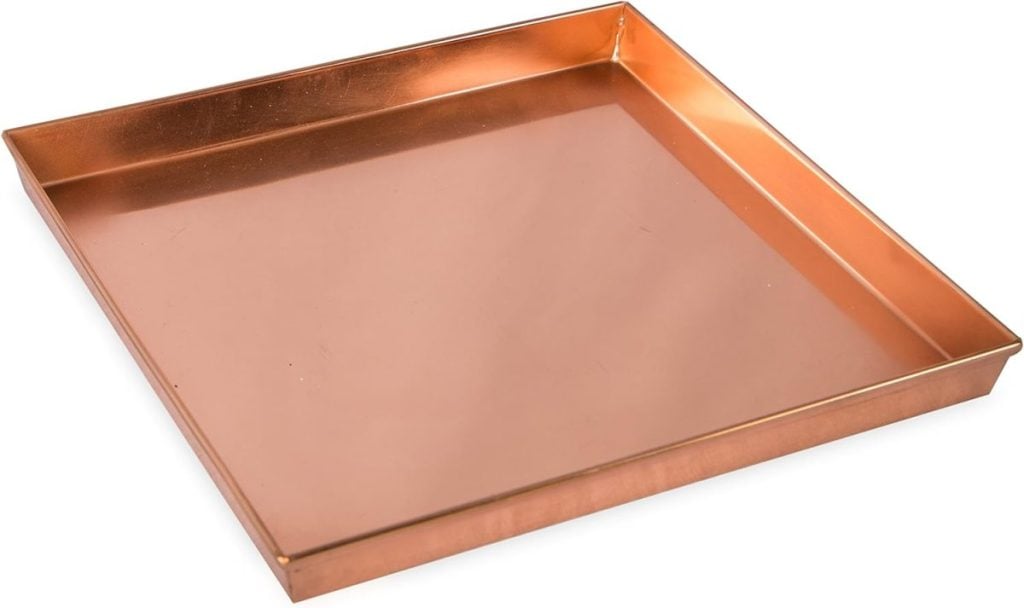
1. Nestled in a Bowl or Tray
Arrange a small collection of your eggs in a ceramic or wooden bowl, nestling them into paper grass, moss, or dried florals. This makes for an effortless centerpiece on your coffee table, kitchen counter, or entryway.

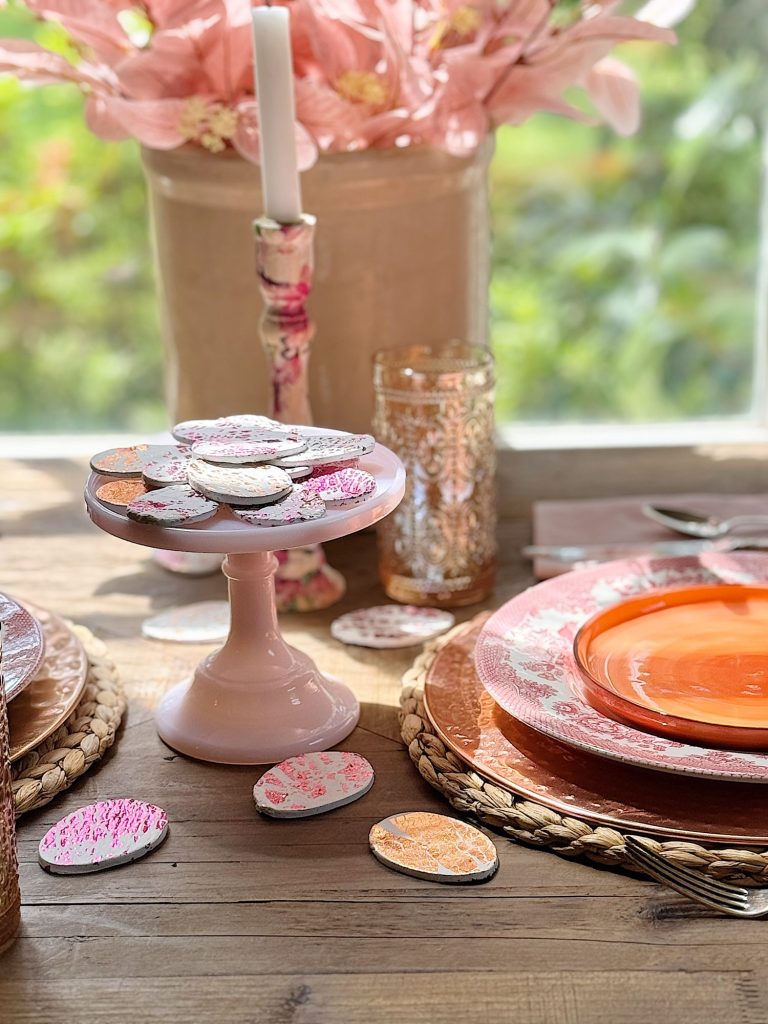
2. Part of an Easter Tablescape
Use your clay eggs as decor accents for your Easter table. Tuck one on each place setting, scatter a few along a floral centerpiece, or display them in small bowls or ramekins down the center of your table. The shimmer of the foil adds just the right touch of spring sparkle.

3. In an Easter Basket
Add your handmade eggs to Easter baskets as keepsake gifts. They make a beautiful complement to chocolate treats, ribbon, and other goodies.
4. On Shelves or a Mantel
Display the eggs in small clusters on bookshelves or mantels. Their soft metallic finish pairs beautifully with neutral spring décor and adds an artisan touch.
5. Hanging Décor
If you added holes before drying, thread ribbon or twine through and hang them on branches in a vase, or from cabinet knobs, doorknobs, or even as part of a garland.

Make Them Now, Enjoy for Years
Even though Easter is just around the corner, this project is perfect to make and store for next year. The clay eggs are sturdy and will last season after season if stored carefully. You’ll have a set of handmade spring décor that’s beautiful, meaningful, and creative.
Plus, this is a great project to do with friends, family, or even little ones. The foil adds a touch of magic, and the process is simple enough for crafters of all skill levels.
Final Thoughts

These clay-and-metallic-foil Easter eggs are among my favorite DIYs this season. Mixing the foil directly into the clay gave each egg a unique shimmer, and adding the glaze to most created two completely different, but equally beautiful, looks.
Whether you lean toward the soft matte finish or the bold shine, these eggs are a joy to make and even more fun to decorate.


Last Minute Easter Decor
Latest Posts
-
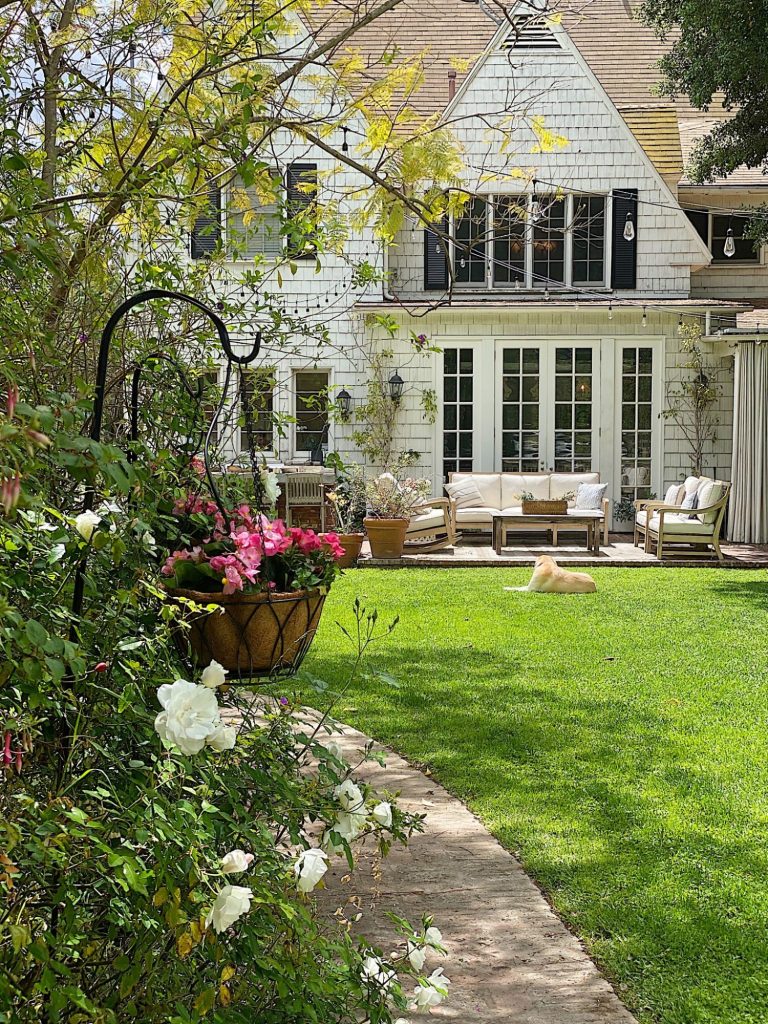
Five Easy Steps to Adding Hanging Planters in Your Yard
Today, I am sharing how I created the hanging planters in our backyard. I love mine so much! Hanging planters look lovely in any yard. My hanging planters have been looking awful all winter long. Here are five easy steps to add (or redo) hanging flower baskets in your yard. Adding hanging planters is a…
-
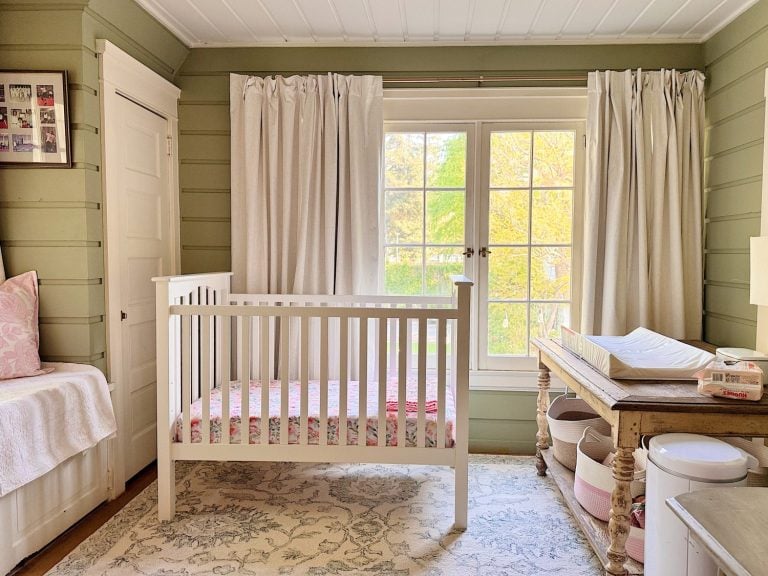
Spring Cleaning and Sunday Morning Coffee
I don’t know about you, but every spring I feel this strong pull to refresh something in our home, and this year I started in a place that might surprise you. It’s Spring Cleaning time! The very first room on my spring-cleaning list was our nursery. And yes, I know that sounds a little unexpected,…
-
Best Easter Brunch Egg Dish: Loaded French Onion Frittata
Easter brunch is one of those special meals where the table is complete, the laughter is loud, and the food is nothing short of spectacular. If you want to wow your guests with something savory, cheesy, and unforgettable, let me introduce you to your new Easter brunch hero: a Loaded French Onion Frittata.
-
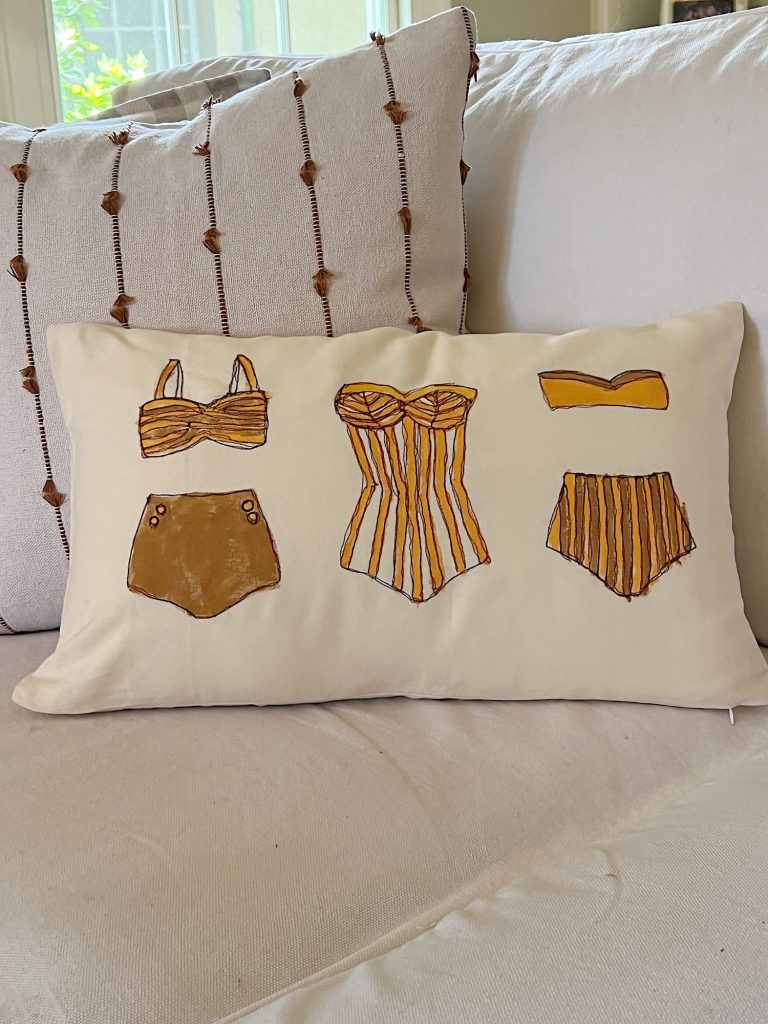
The Best Spring Pillow DIY – A Handmade Spring
There are certain projects that start as an idea and quietly turn into something you love far more than you expected, and this Spring pillow is exactly that. As part of my A Handmade Spring series, I wanted to create something soft, beautiful, and full of texture, and this pillow checked every box. This pillow…


My Recent Instagram Posts

You can pin the image below to your boards on Pinterest (click the Pin button in the top left corner) or follow me on Pinterest!

For more real-time updates, follow me on Instagram @My100YearOldHome

Nice post, really clear instructions. Do you think the clay eggs could hold up if left outside for a few days during Easter? Also, any tips on where to buy good quality metallic foil flakes without spending too much?