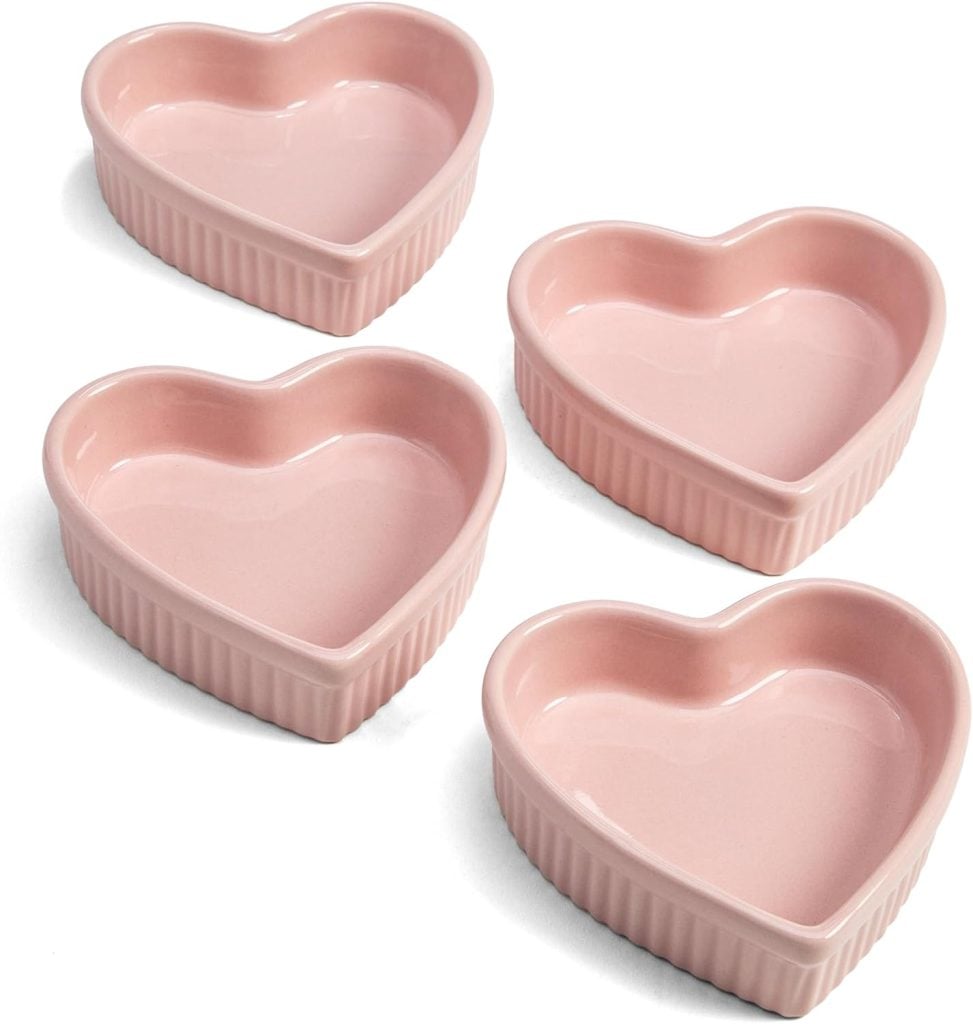
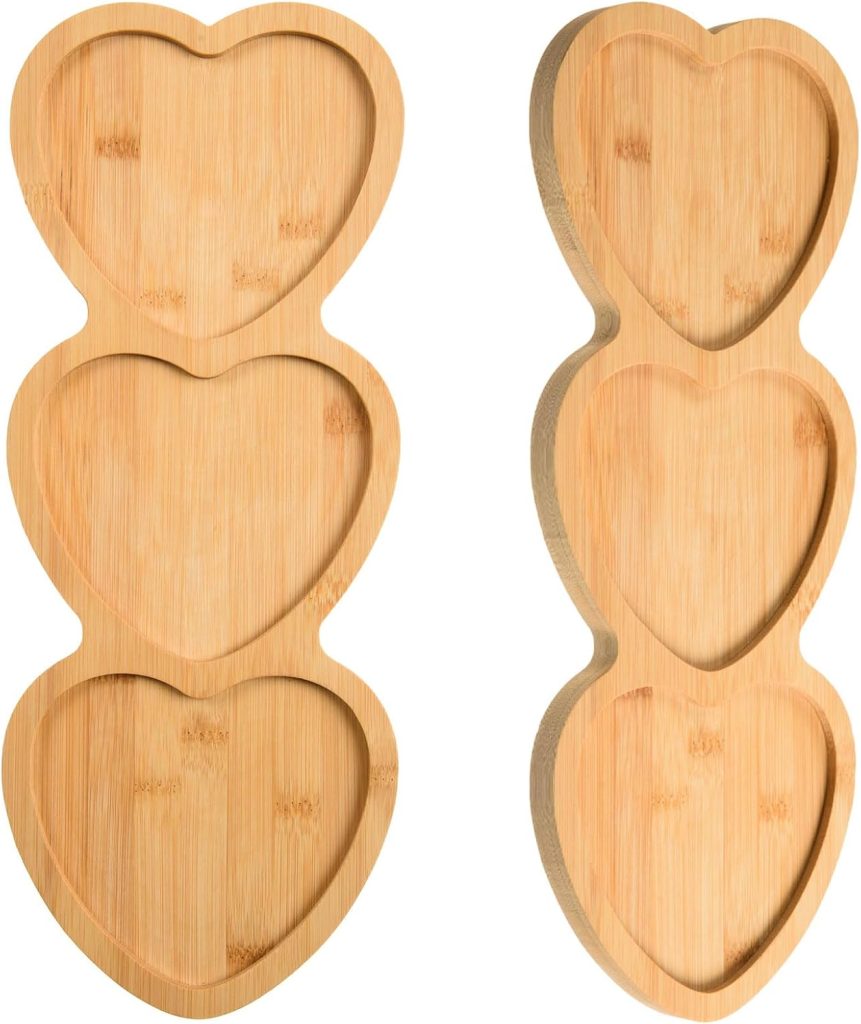
Clay Heart Ring Dishes
There’s something about working with clay that feels grounding and joyful at the same time. It’s hands-on, forgiving, and endlessly creative, and it worked well to make these Clay Heart Ring Dishes.
Lately, I’ve been reaching for air-dry clay again and again, especially when I want to make something meaningful but simple. That’s exactly how these Heart Ring Dishes came to be.


Clay Heart Ring Dishes
I wanted a small Valentine’s project that felt handmade, useful, and sweet without being over-the-top. These heart-shaped dishes check every box. They’re perfect for holding rings, earrings, or other little treasures, and they make thoughtful gifts for Valentine’s Day, birthdays, or even just because. Best of all, they’re surprisingly easy to make.
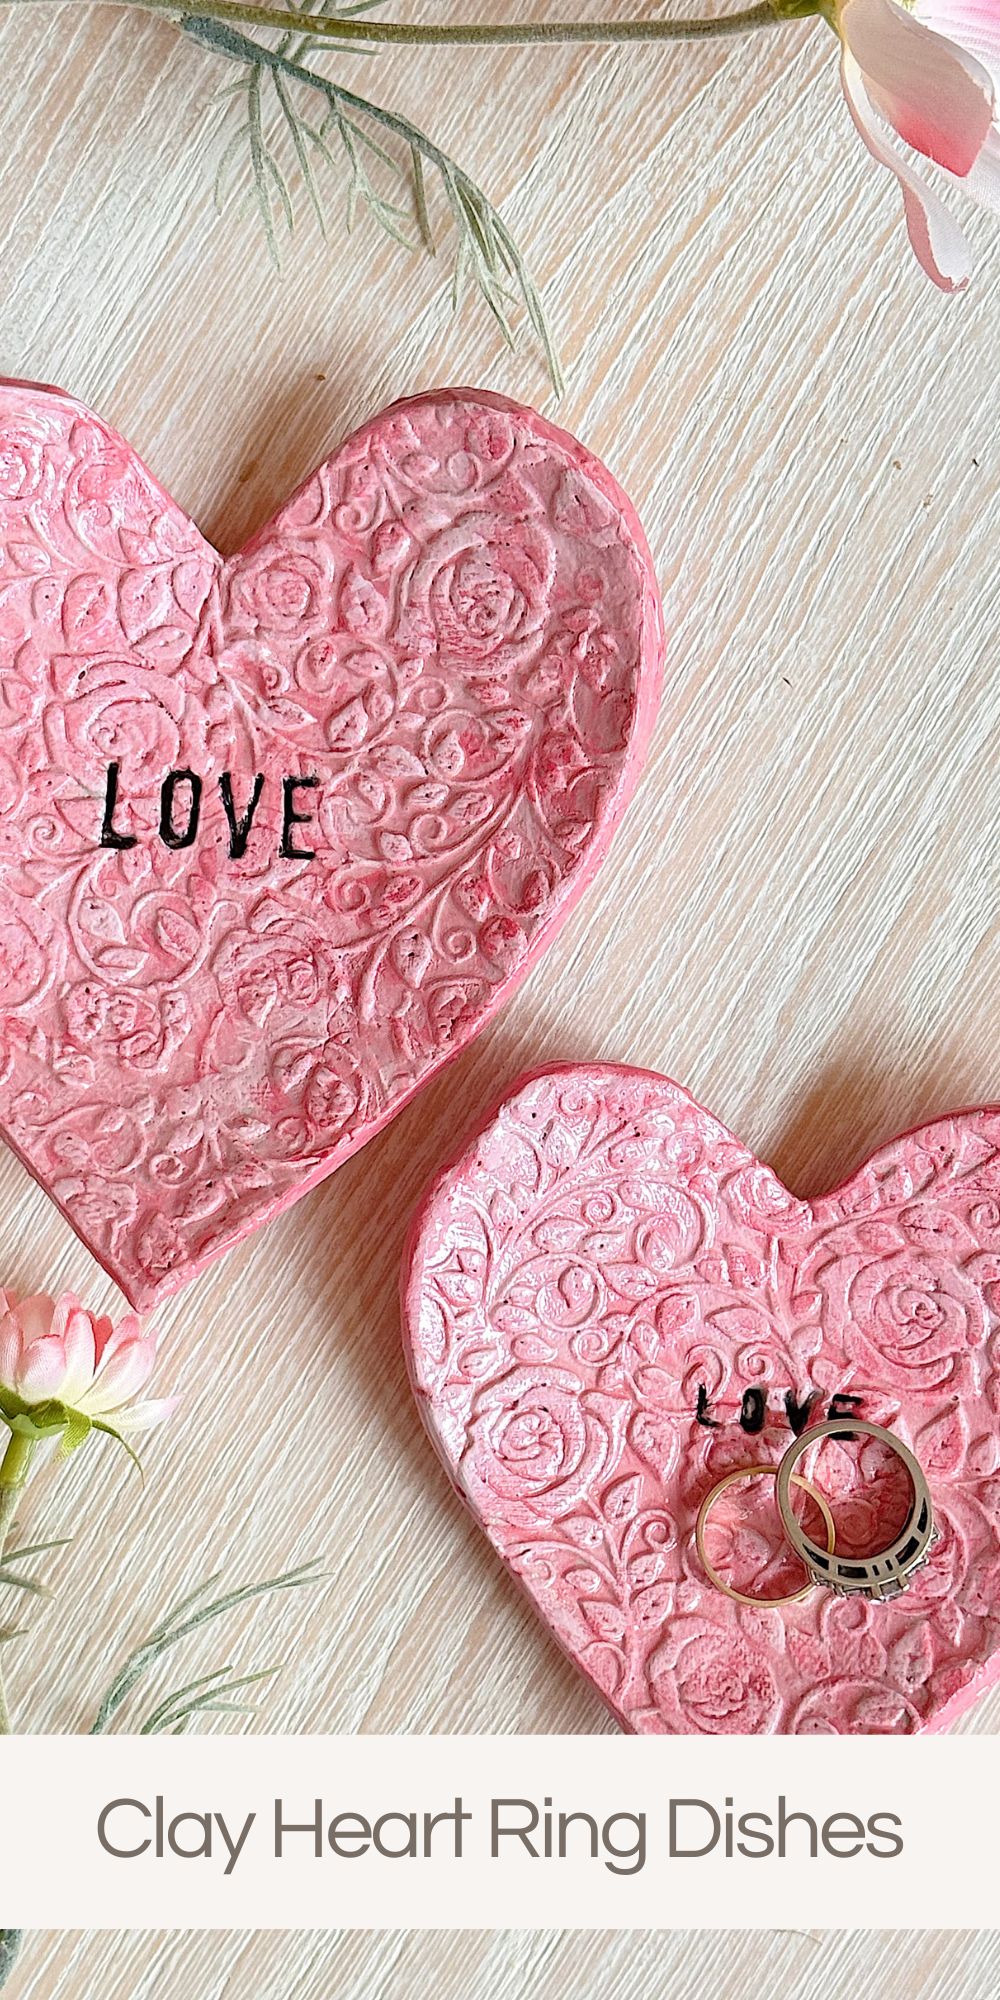
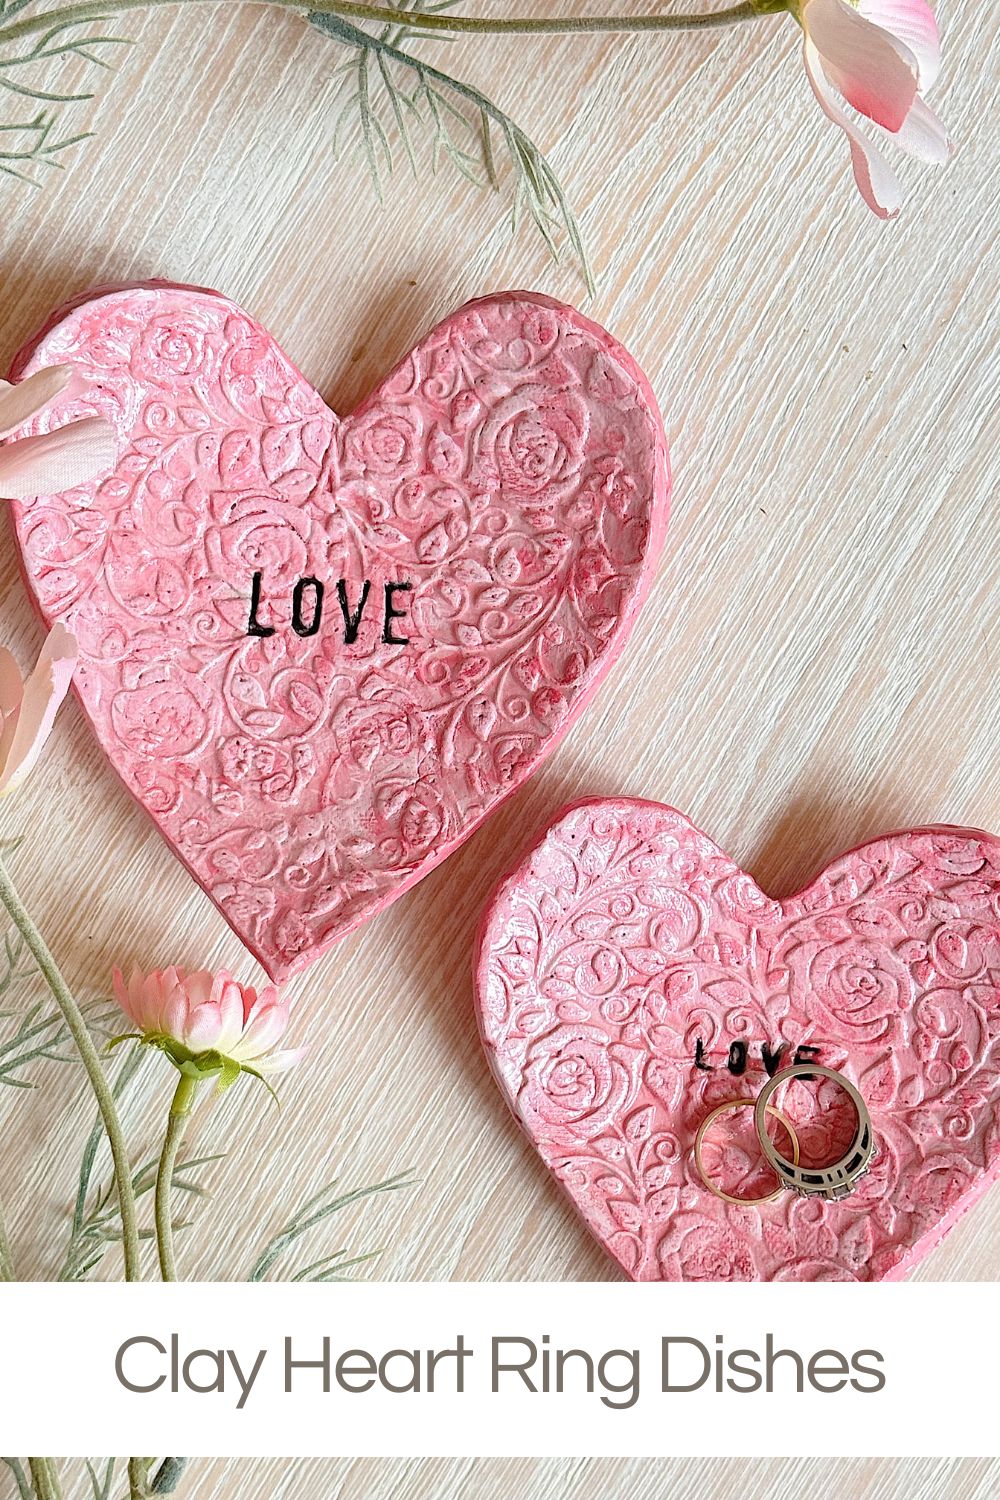
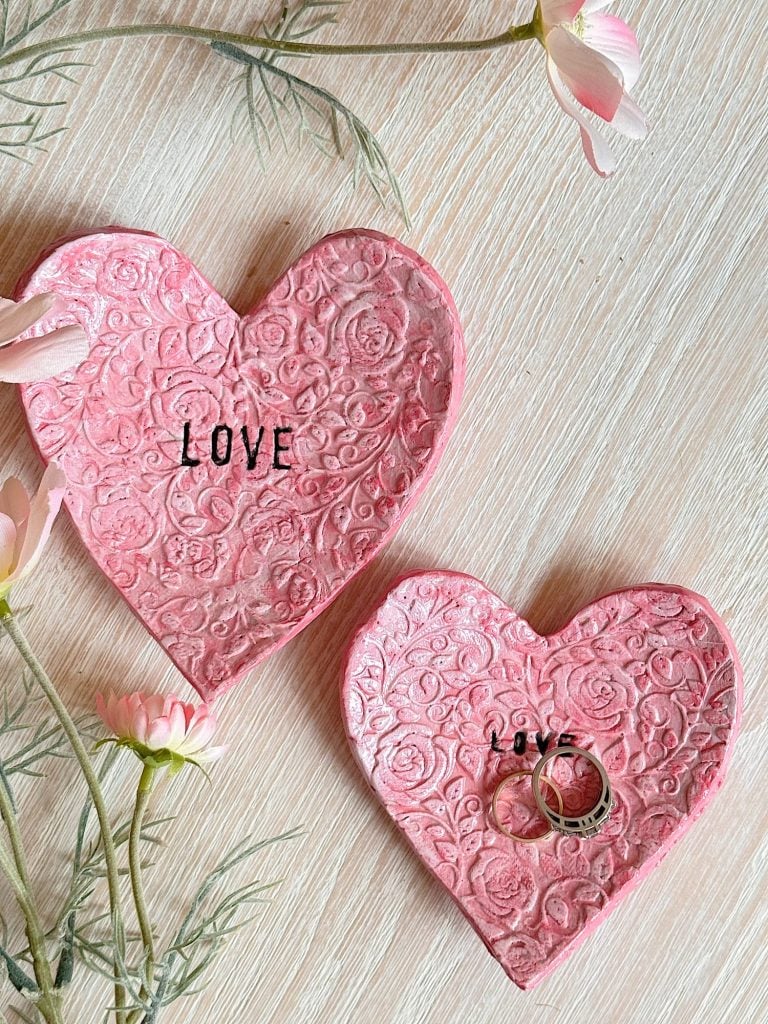
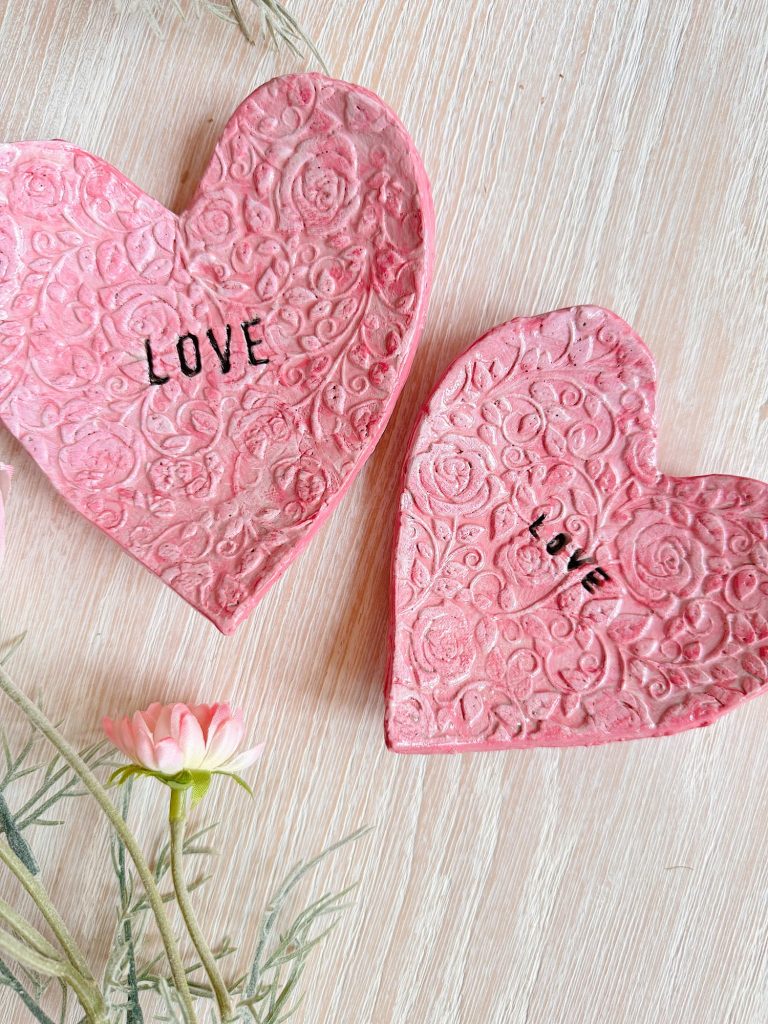
Using air-dry clay, a textured rolling pin, and clay alphabet stamps, I created heart-shaped ring dishes in two different sizes. Each one has its own personality, and that’s part of what I love most about this project. No two are exactly alike, and that’s what makes them special.
Why I Love Air-Dry Clay Projects

Air-dry clay is one of my favorite materials to work with because it’s accessible and stress-free. There’s no kiln involved, no complicated tools required, and very little cleanup. You can create beautiful, finished pieces with just a few supplies and a bit of time.
For projects like these clay heart ring dishes, air-dry clay is especially perfect. It holds texture beautifully, dries strong, and takes paint and glaze so well. Whether you’re new to crafting or have been making things for years, this is the kind of project that feels achievable and rewarding.
And let’s be honest, there’s something magical about turning a soft slab of clay into something that lives on a nightstand or dresser, holding the little things that matter.
I may sometimes use affiliate links on this blog, which means I earn a small commission if you purchase through the link. The price will be the same whether you use the affiliate link or go directly to the vendor’s website using a non-affiliate link.
Designing the Clay Heart Ring Dishes

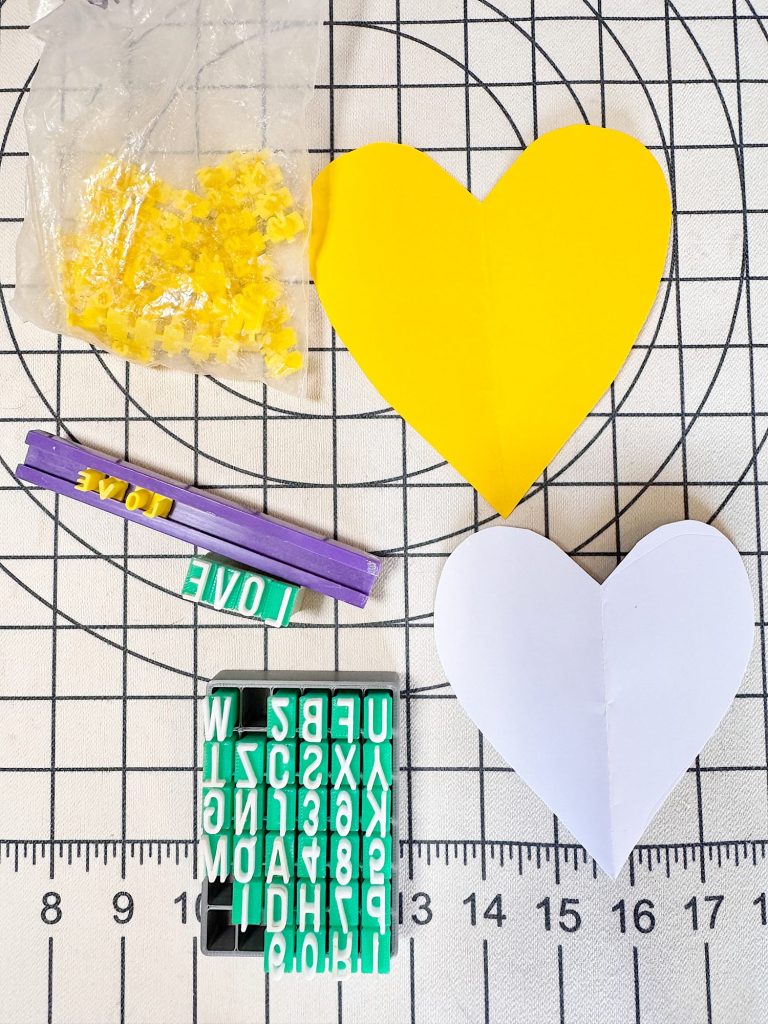
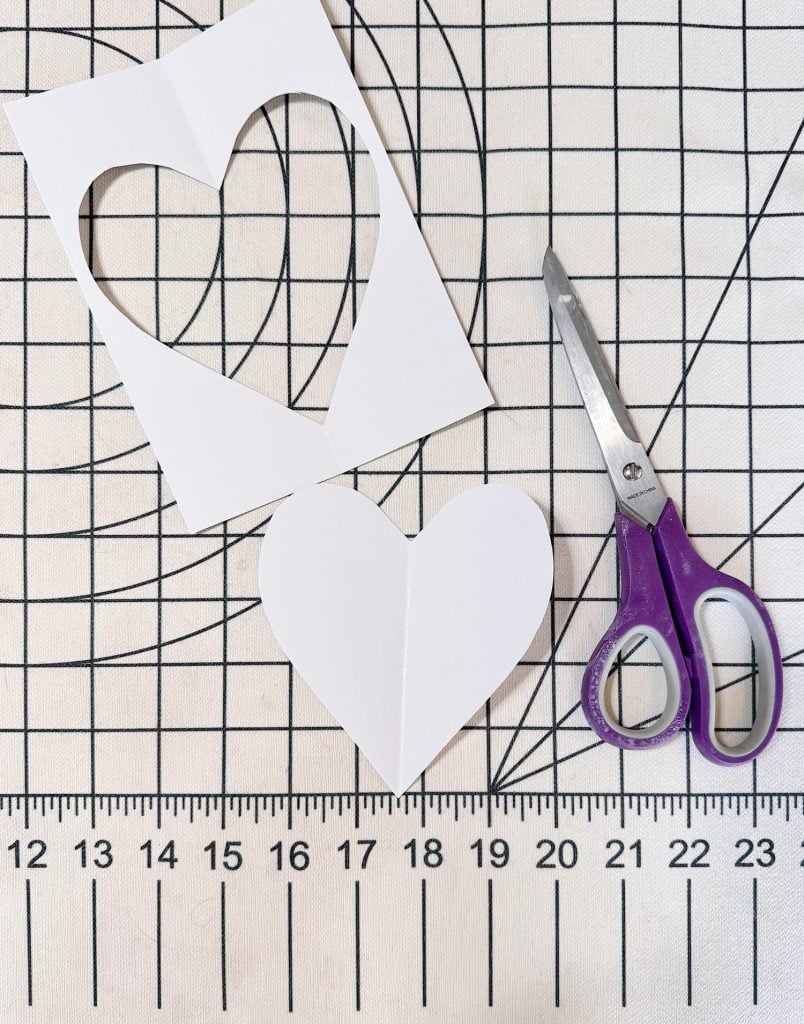
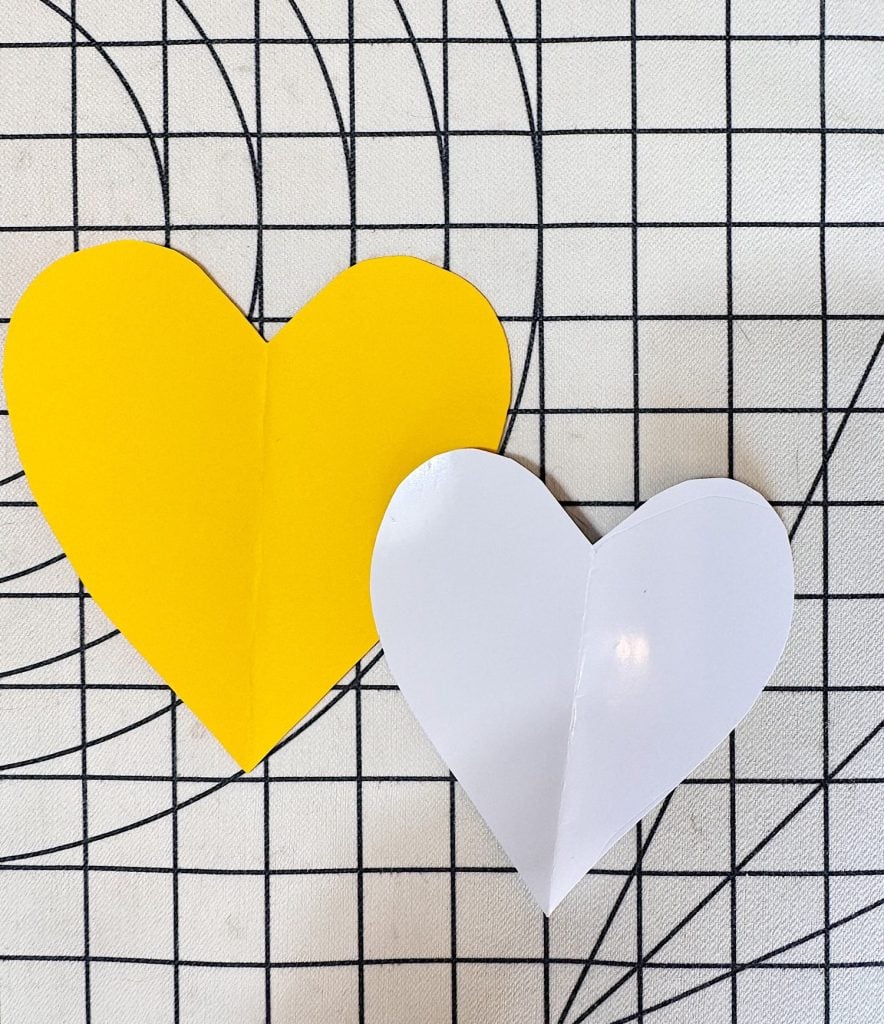
Before I even touched the clay, I spent a little time thinking about shape and size. I wanted these heart dishes to feel balanced, neither too big nor too tiny. I ended up creating my own heart template and cutting it into two sizes to add some variety.
Supplies Needed
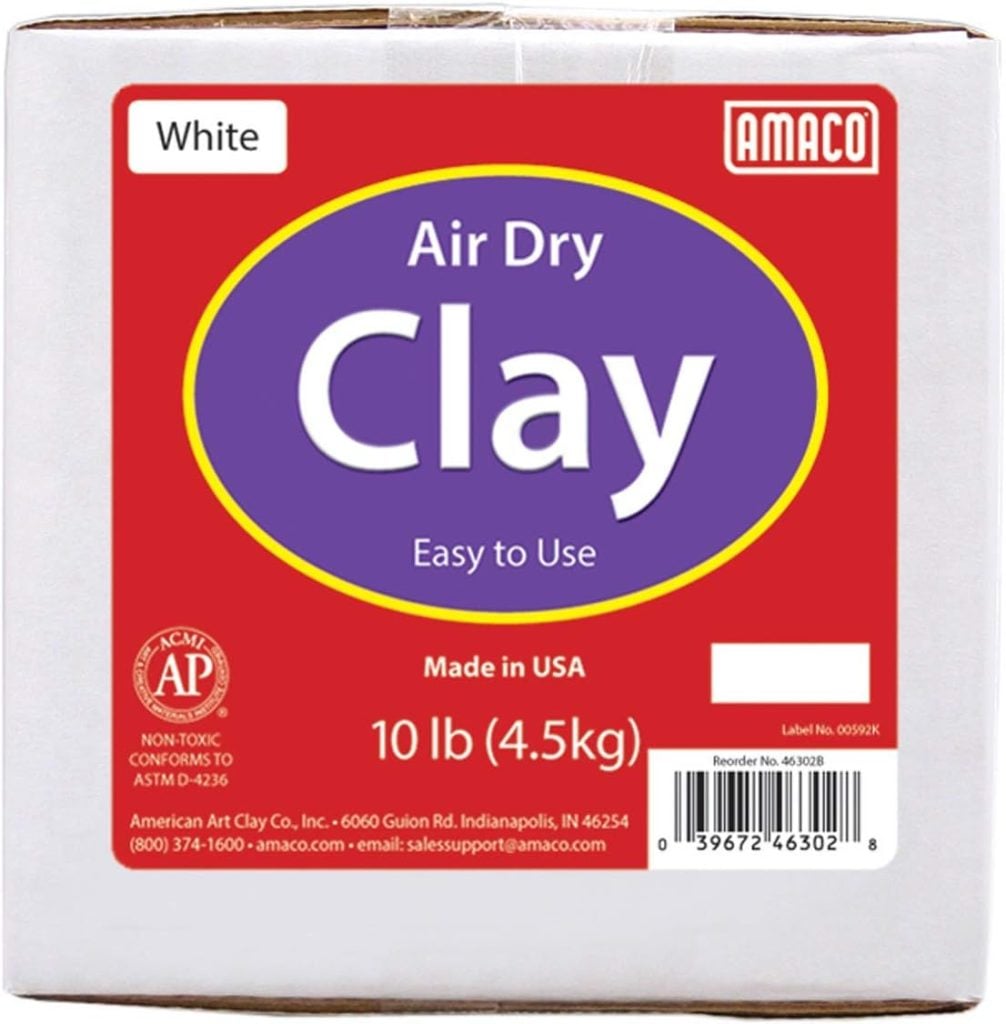
- Air Dry Clay: A pliable clay that’s easy to work with and bakes nicely.
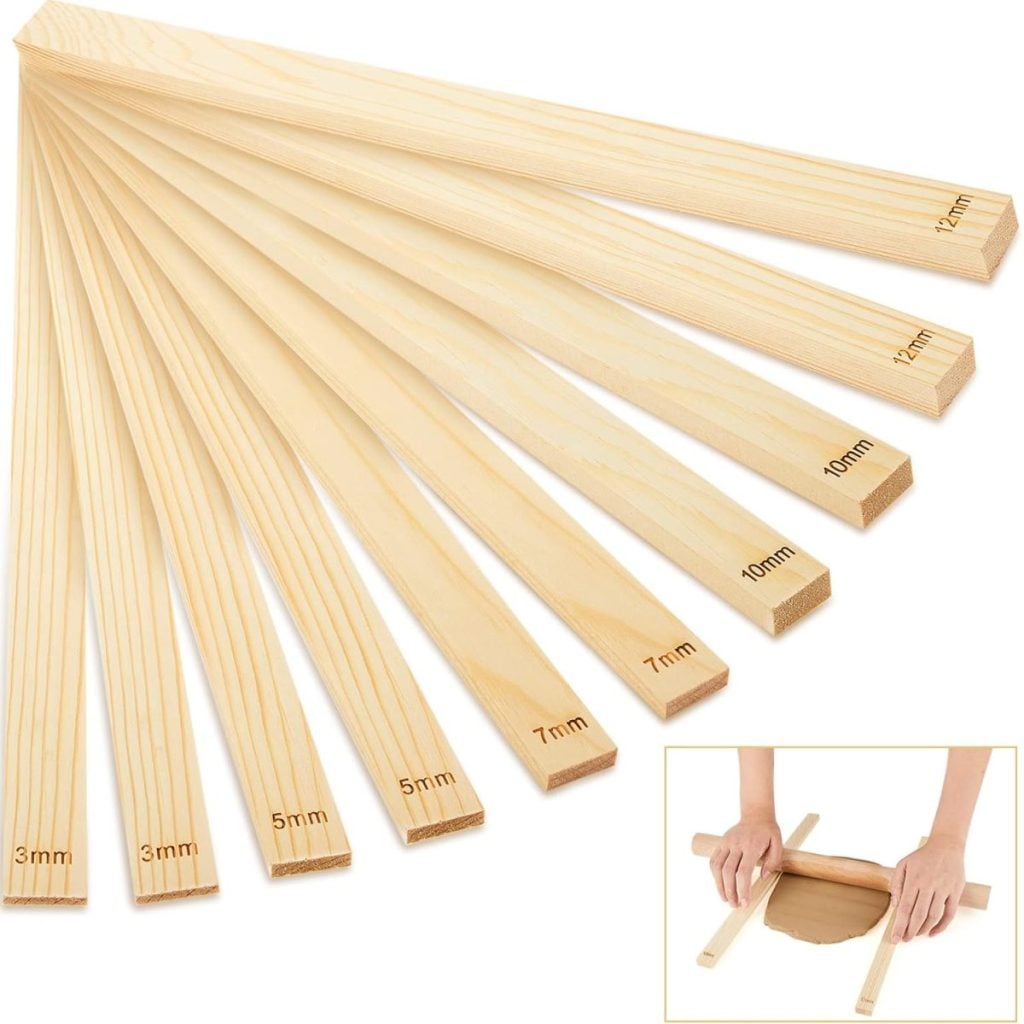
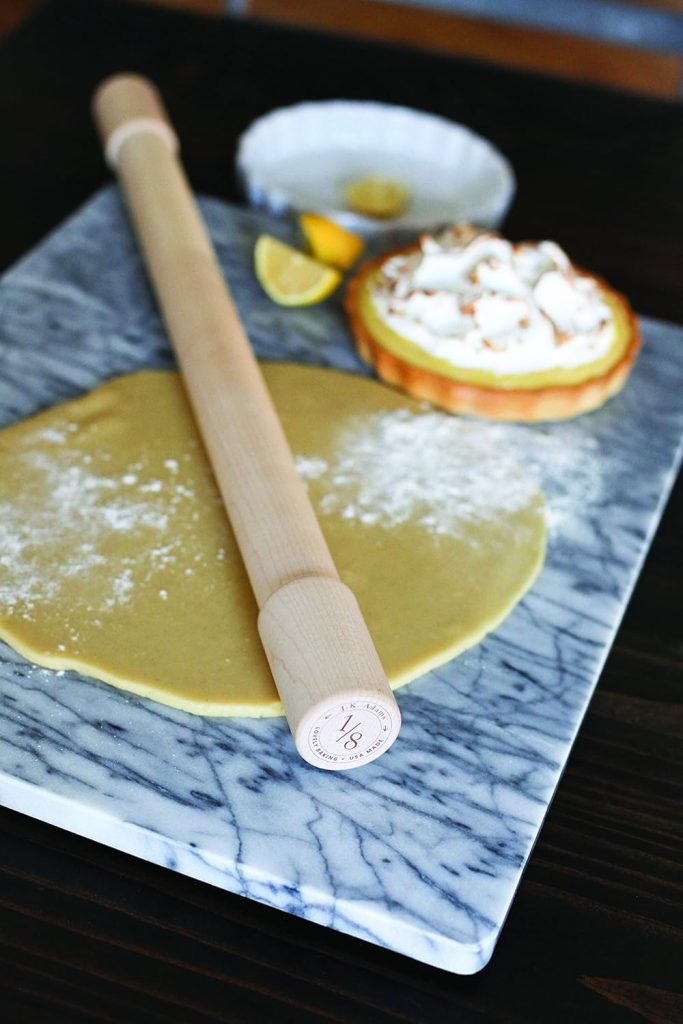
- rolling pin
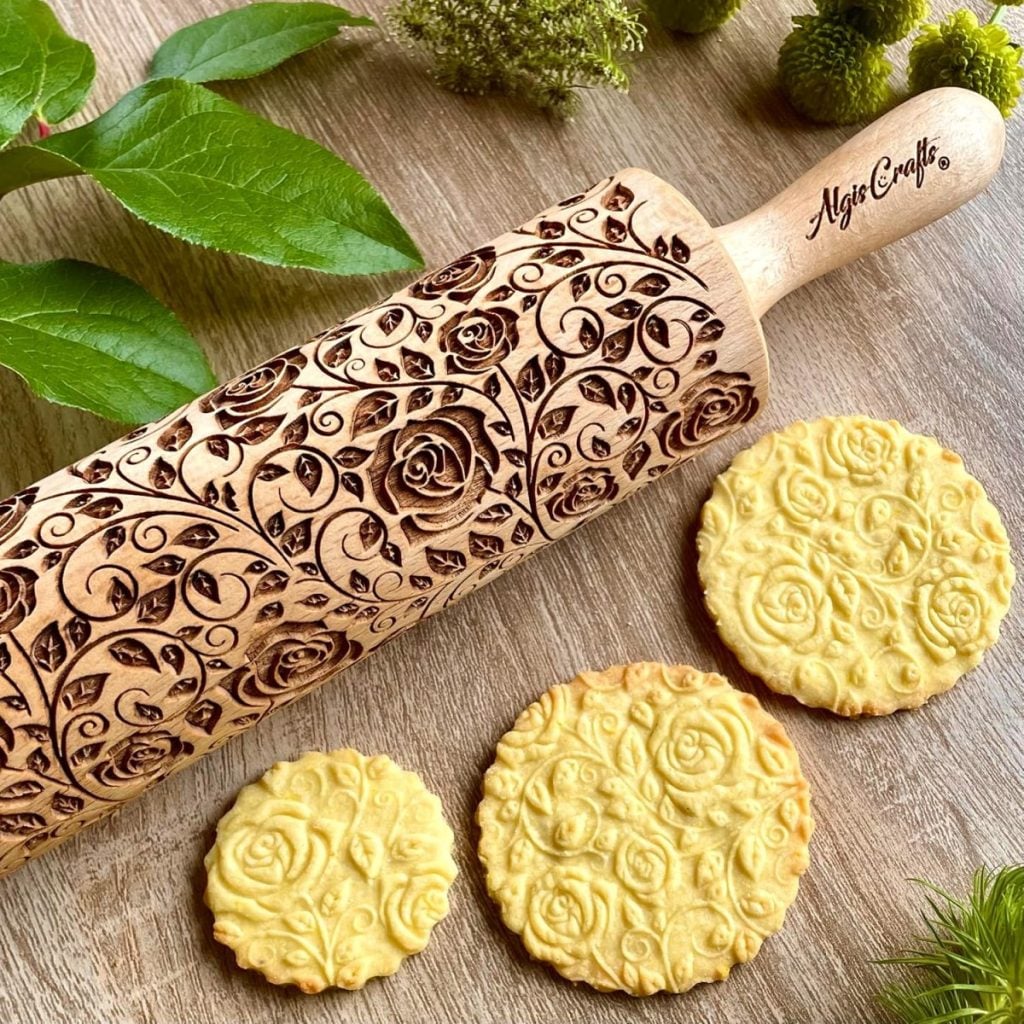
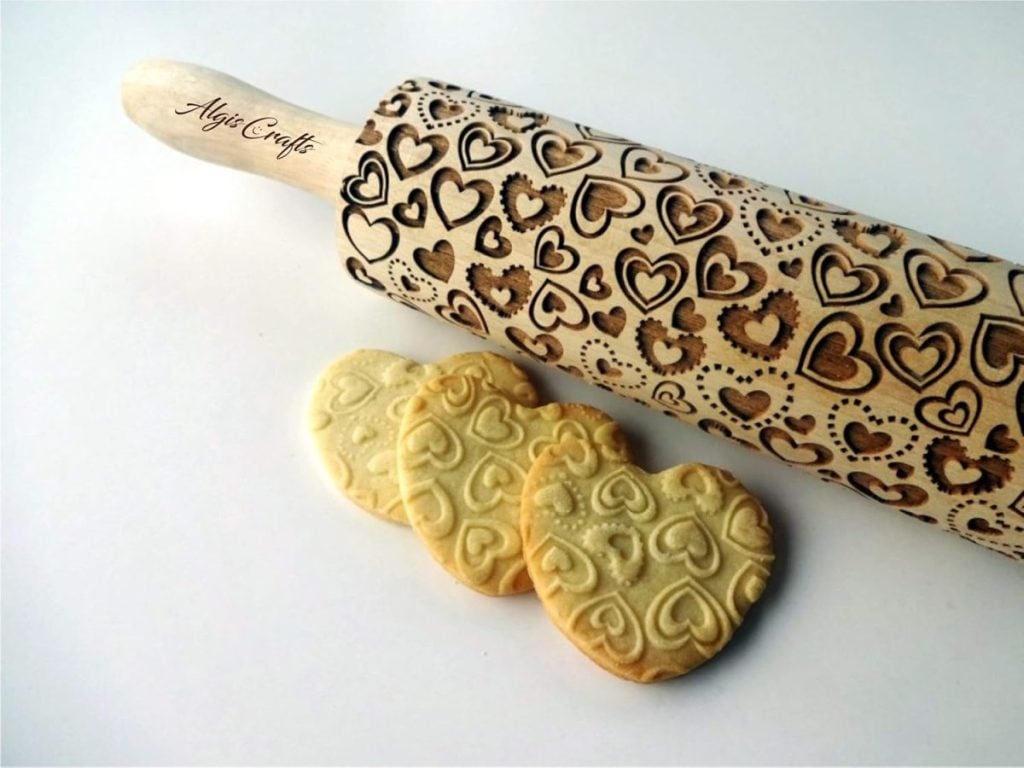
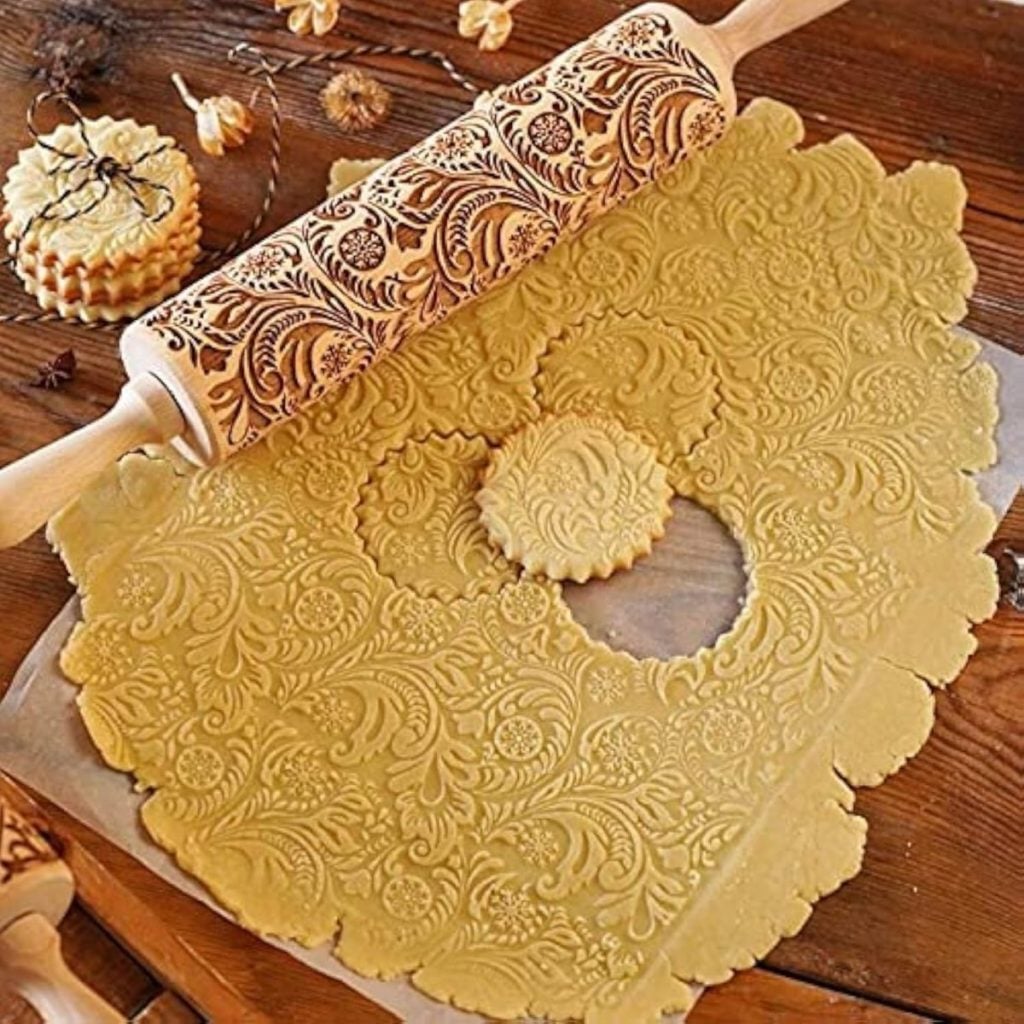
- Decorative Textured rolling pin. Look how many I found on Amazon!
- Cardstock to make your heart template
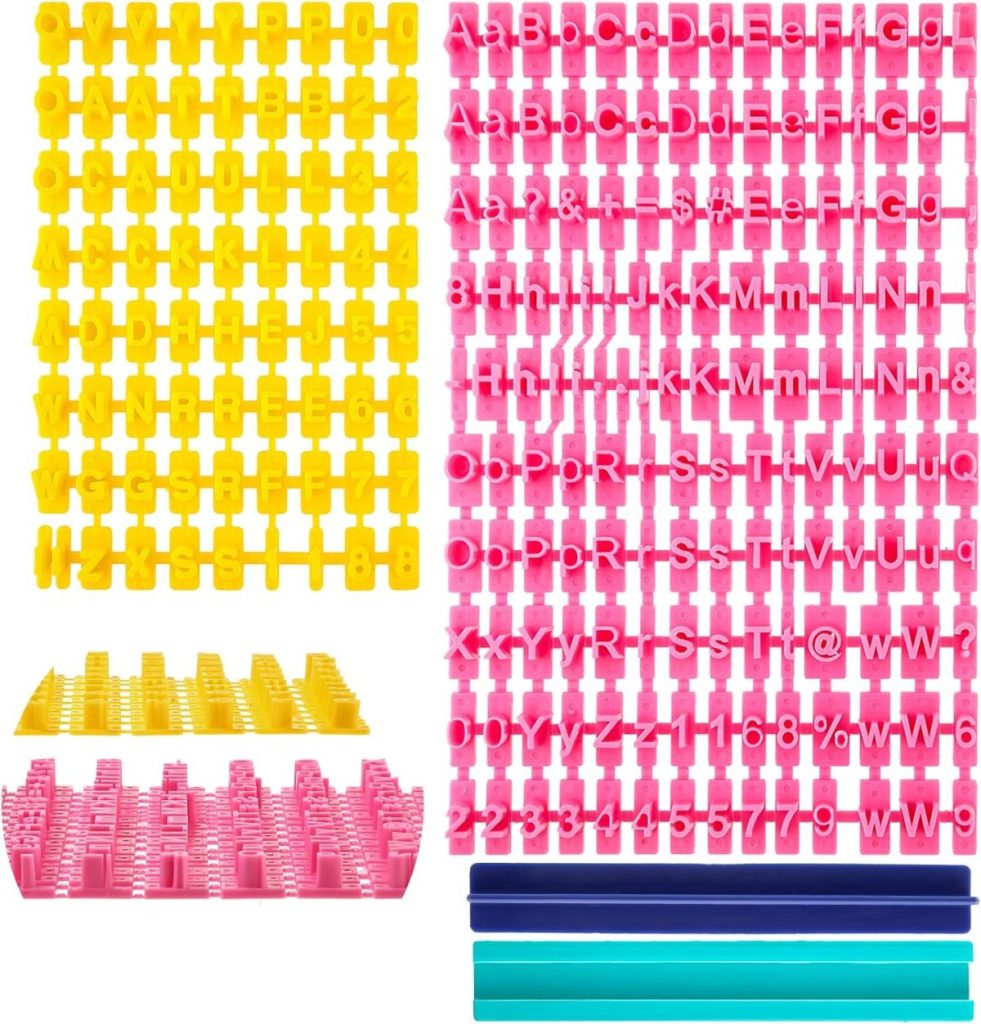
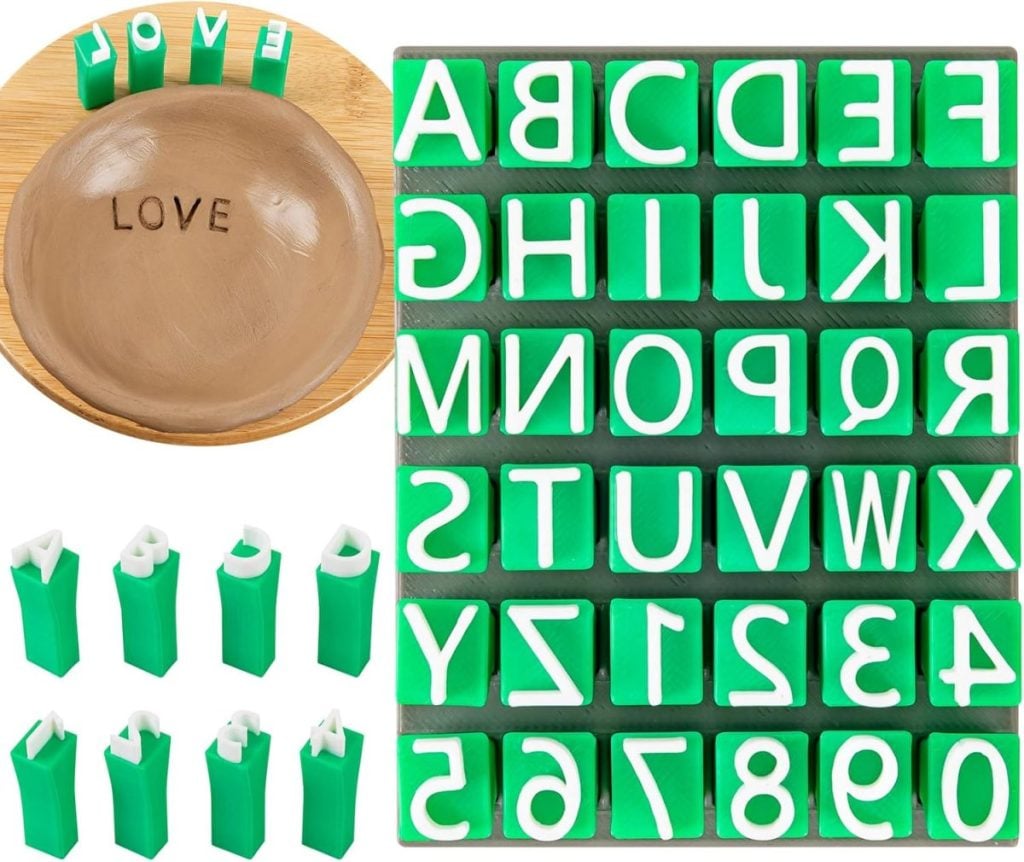
- Clay Alphabet Stamps
- Wax paper or a non-stick mat
- Scissors
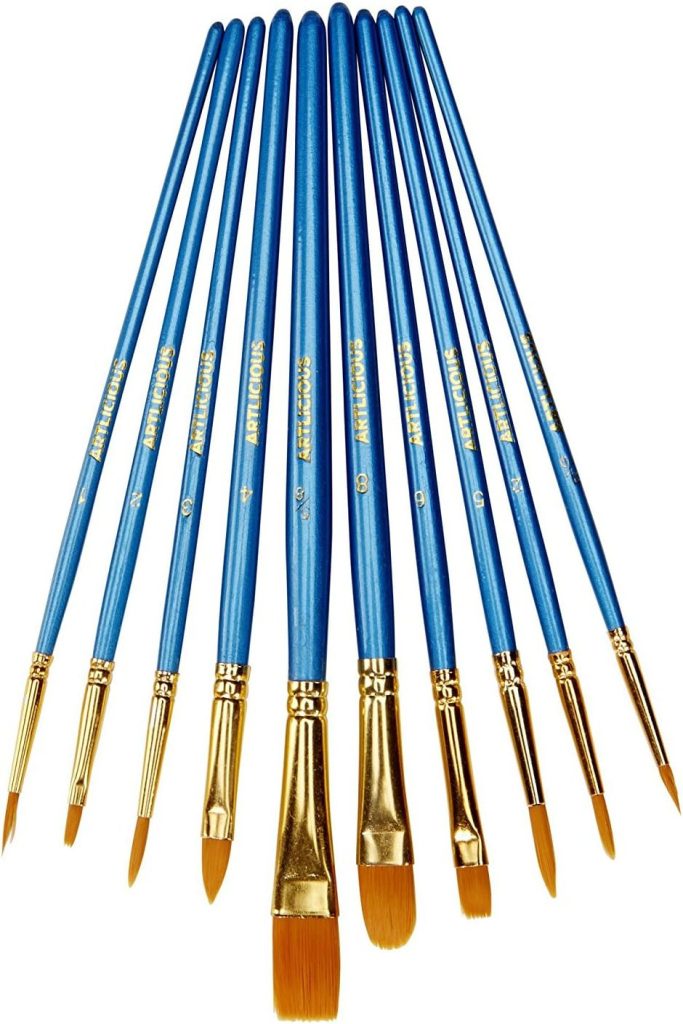
- Small paintbrush
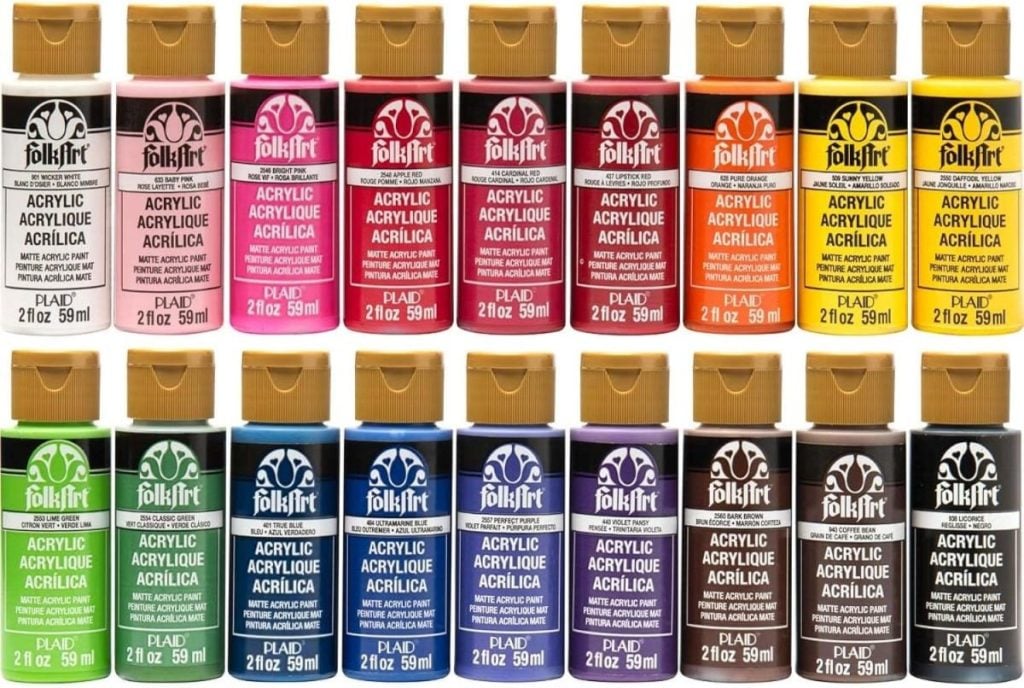
- Acrylic Paint
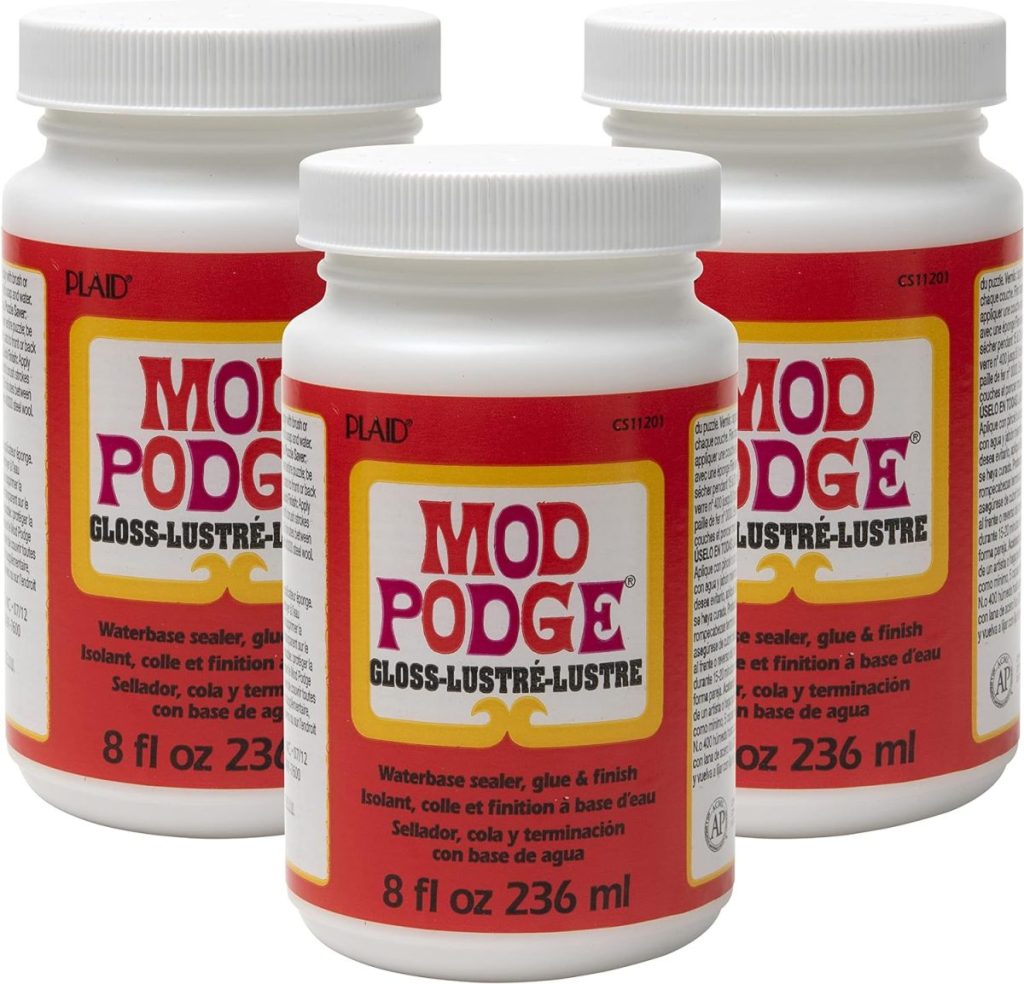
- Mod Podge
- Clay Glaze

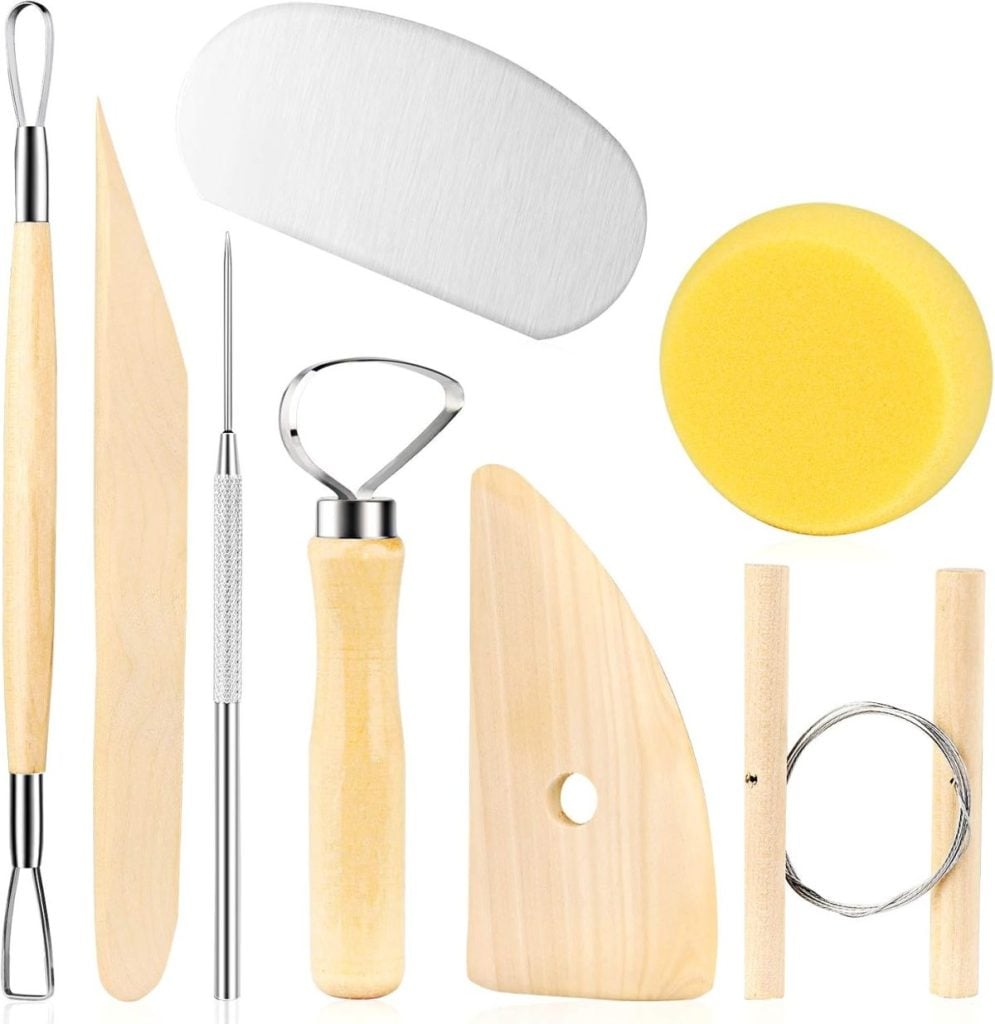
Optional Clay Tools
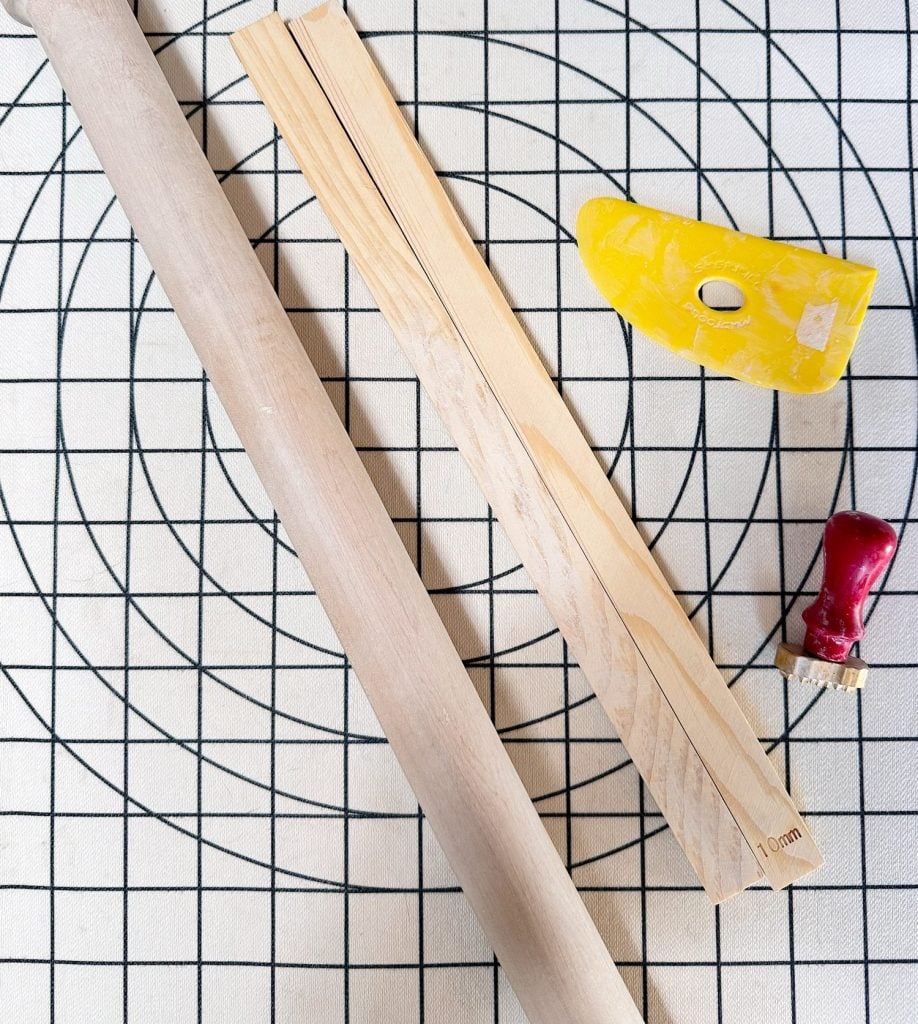
- 10 Pcs Pottery Teaching Rolling Mud Stick
- Edged Rolling Pin: To roll your clay into smooth, even layers.
- Clay Tools
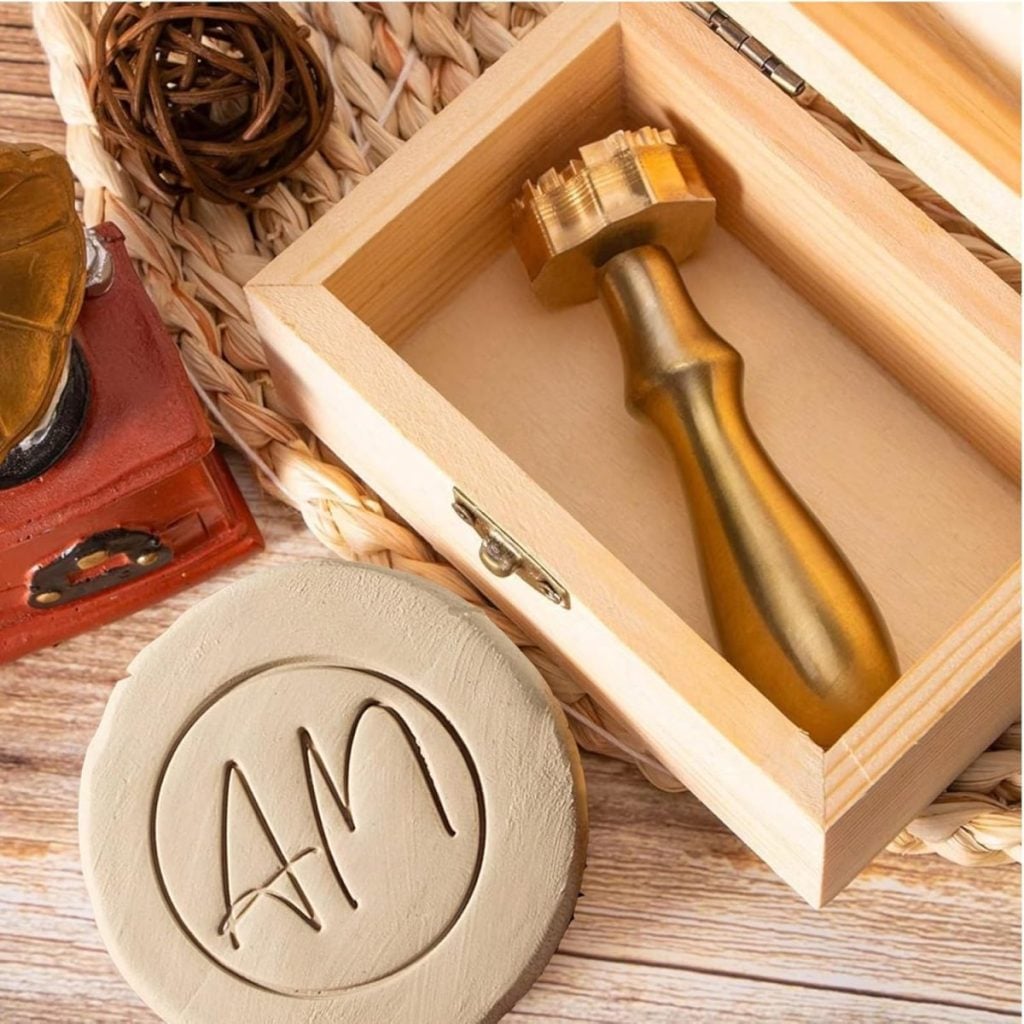
- Signature Stamp
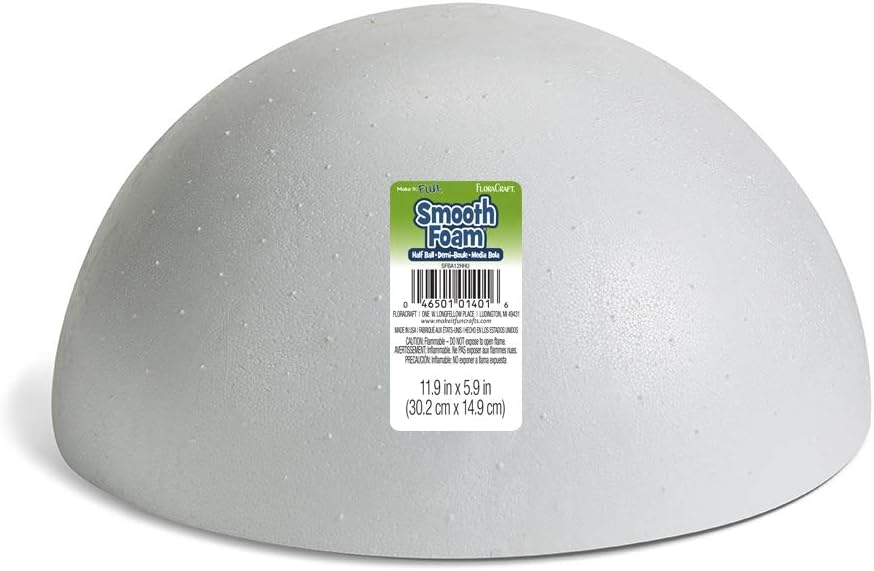
- styrofoam bowl shapes

One of the things I love about making your own templates is the freedom it gives you. You’re not limited by store-bought cutters, and you can adjust the shape until it feels just right. Once I had my heart templates ready, the rest of the process flowed easily.
To add interest and detail, I used a textured rolling pin to imprint a subtle floral pattern into the clay. This step instantly elevates the piece and gives the finished dish that beautiful, slightly vintage look. Texture is one of my favorite design elements, and clay is the perfect medium for it.
How I Made the Clay Heart Ring Dishes

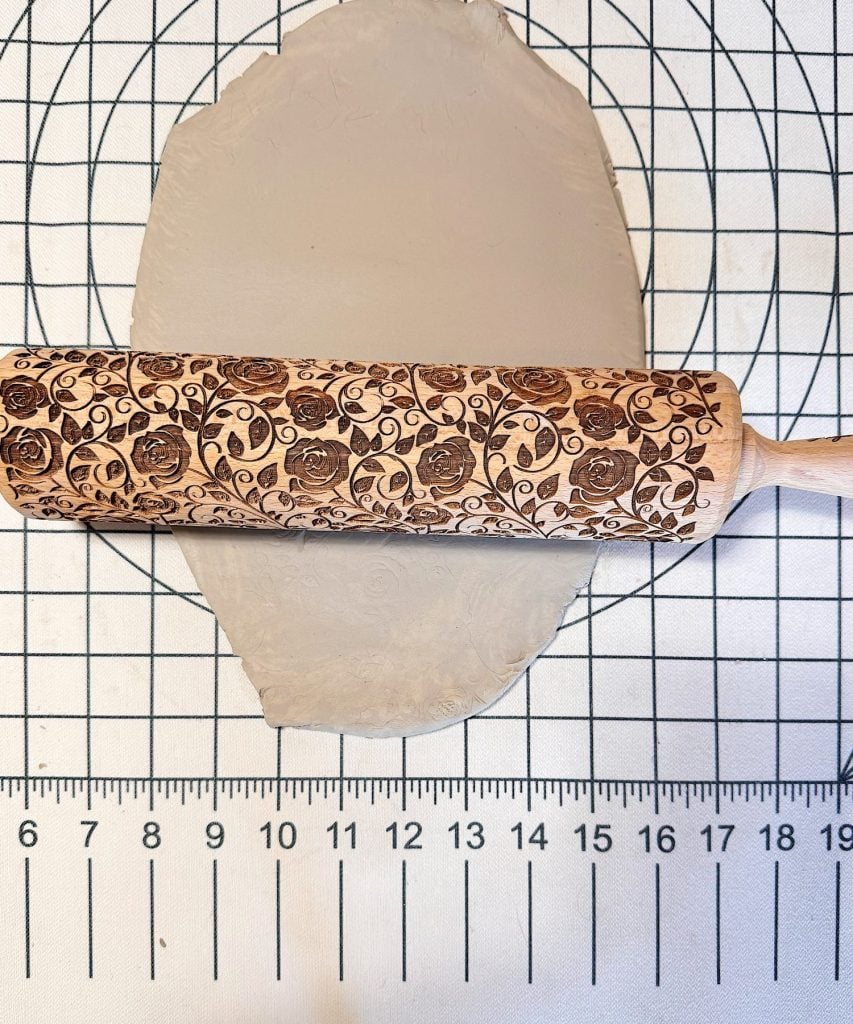
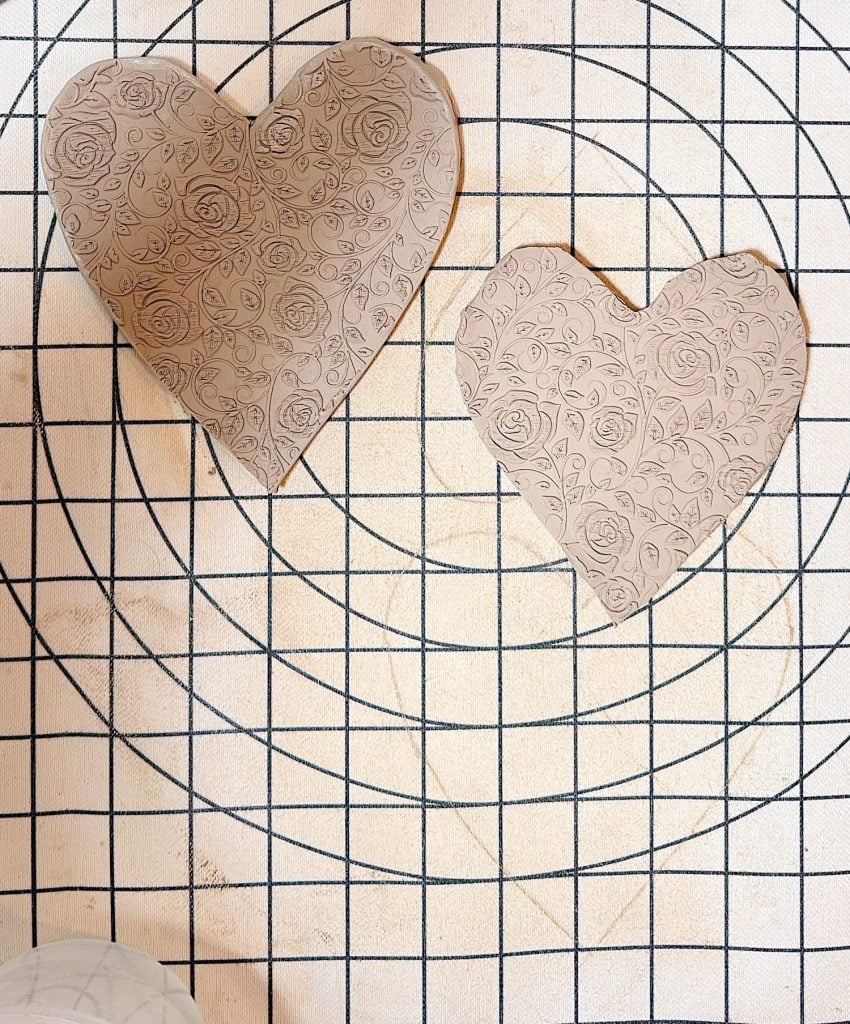
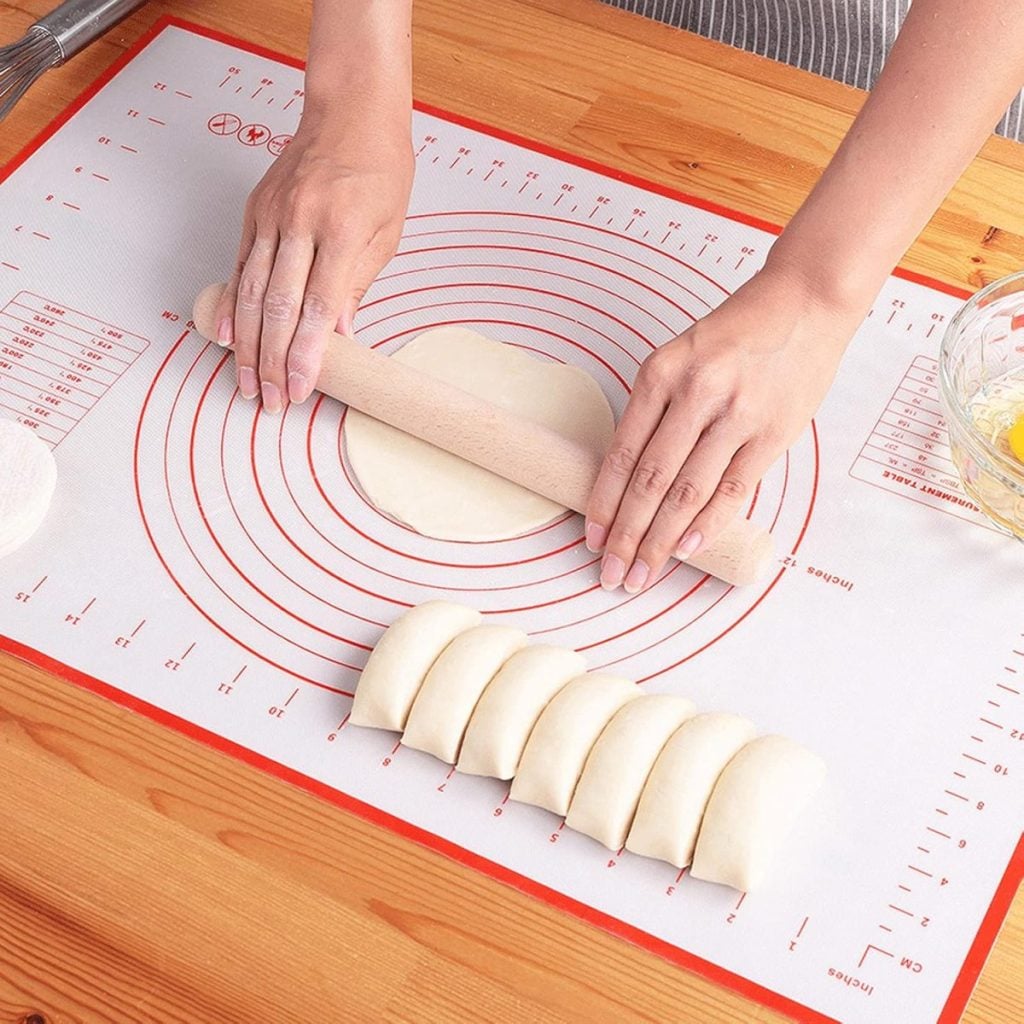
I started by rolling out the air-dry clay on a flat surface to an even thickness. Consistency here is important so the dishes dry evenly and don’t warp. Once the clay was rolled out, I used the textured rolling pin to gently press the pattern into the surface.
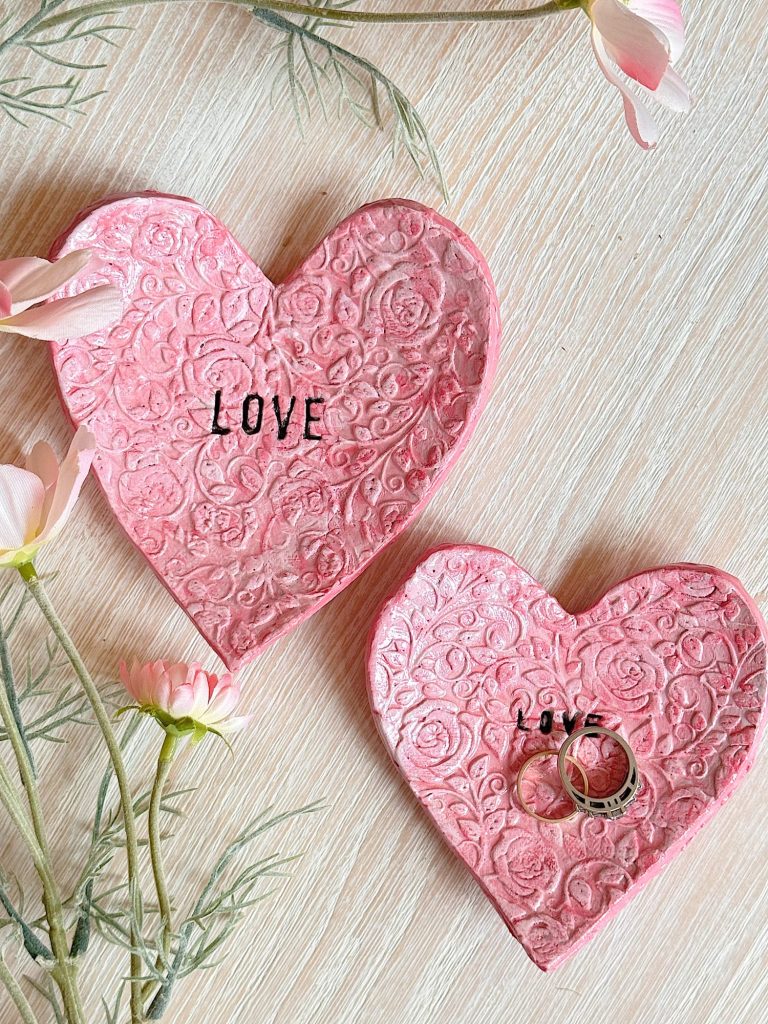
Next came the heart shapes. Using my homemade heart templates, I carefully cut out the shapes in two sizes. I love how the different sizes look together, especially when styled as a small grouping.
Adding Words with Clay Alphabet Stamps
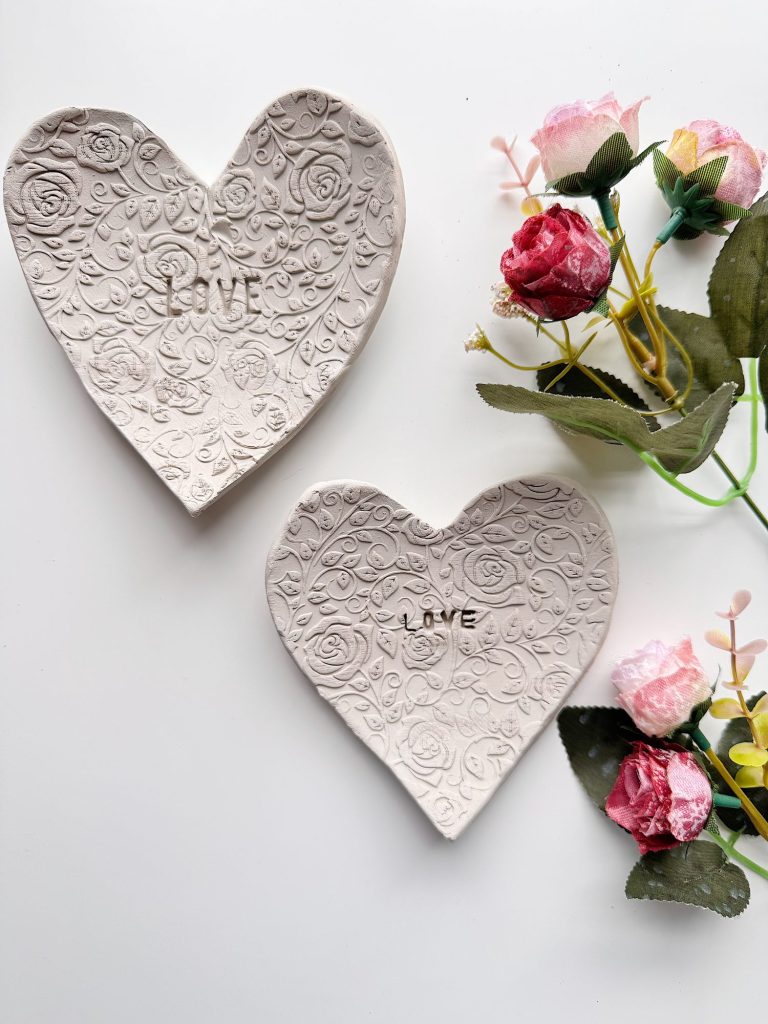
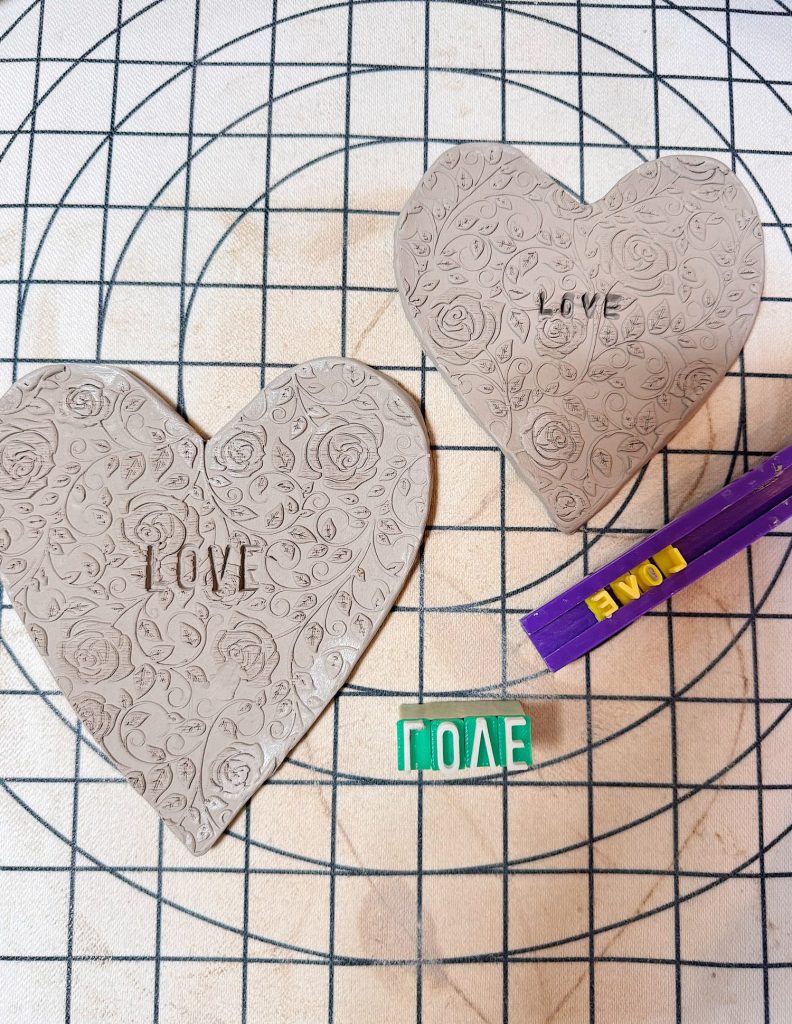
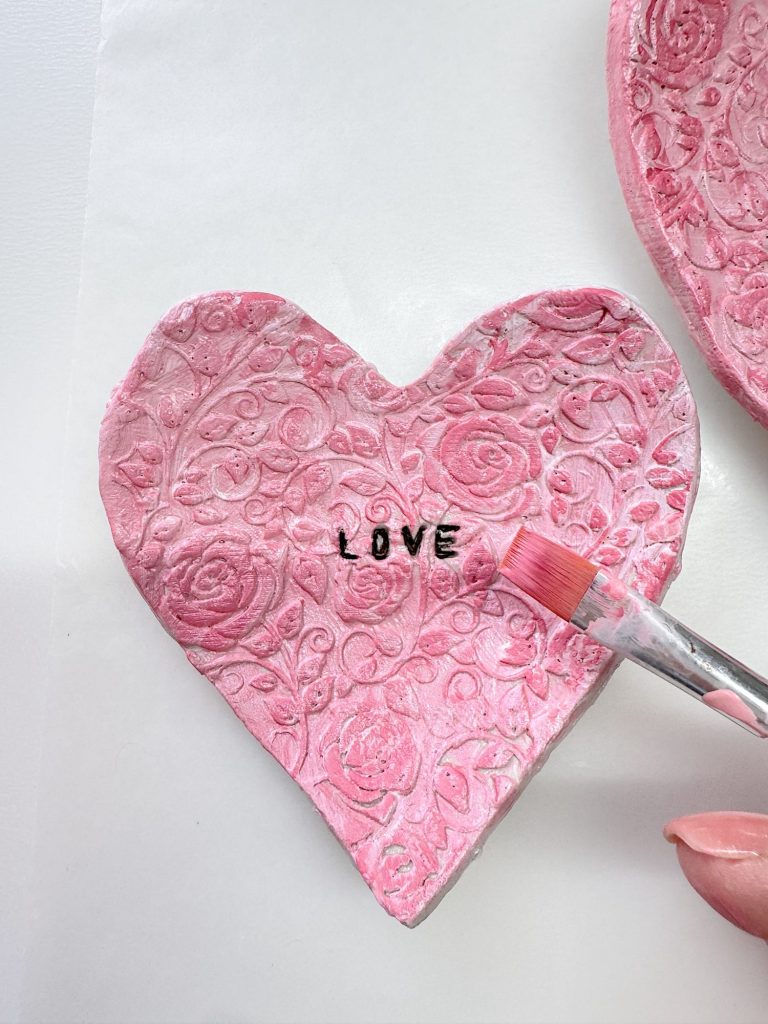
One of my favorite details on these heart dishes is the stamped lettering. I used clay alphabet stamps to add simple words like “LOVE” to the center of the hearts. This step is optional, but it adds such a charming, personal touch.
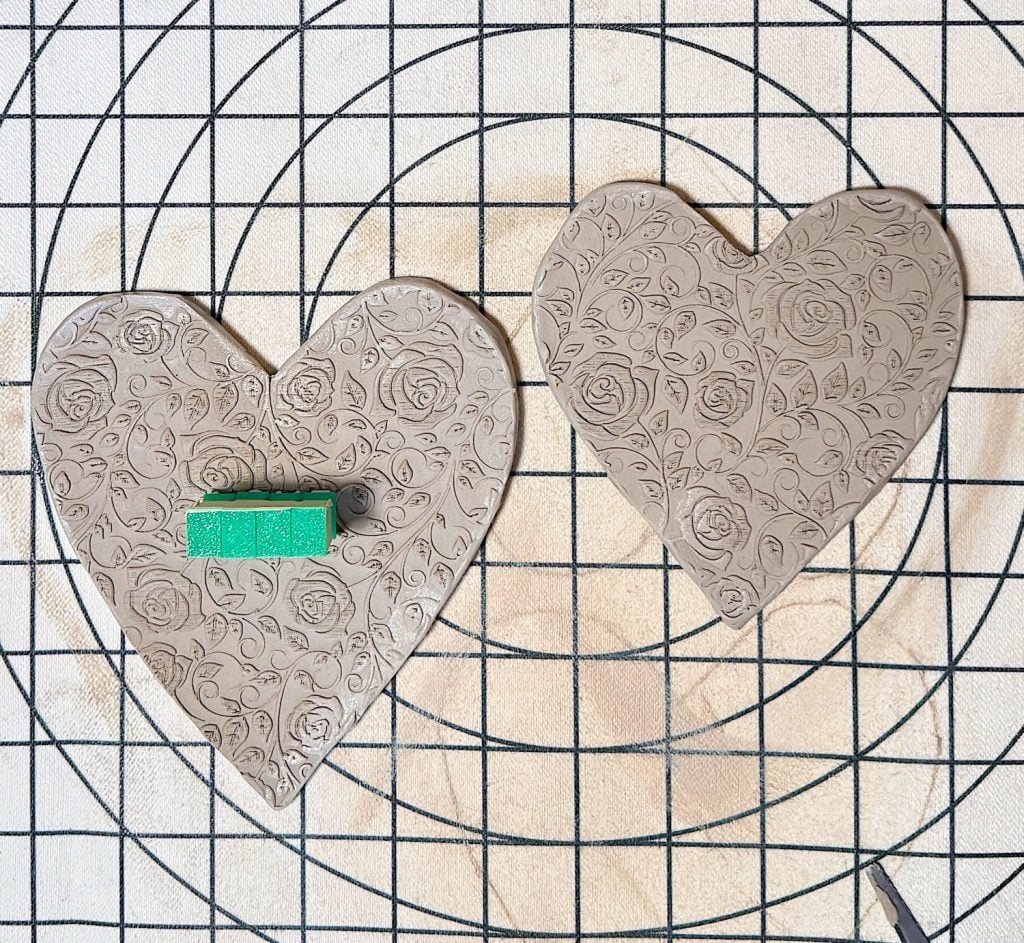
Stamping into clay is one of those techniques that looks harder than it is. The key is to press the stamps evenly and confidently. Light, hesitant pressure can cause uneven impressions, while a firm press gives you clean, readable letters.
I used two different-sized stamps and love how they turned out.
I love how the stamped words catch the paint later and become a subtle focal point on each dish. It’s a small detail, but it makes the finished piece feel intentional and special.
Shaping the Dishes
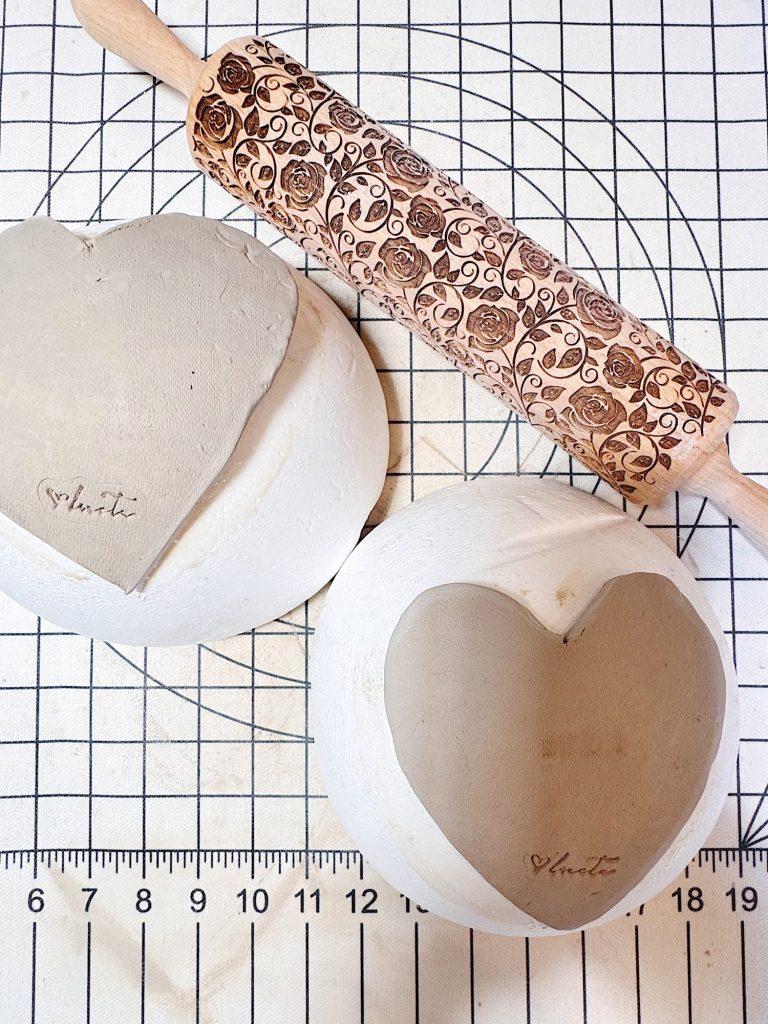
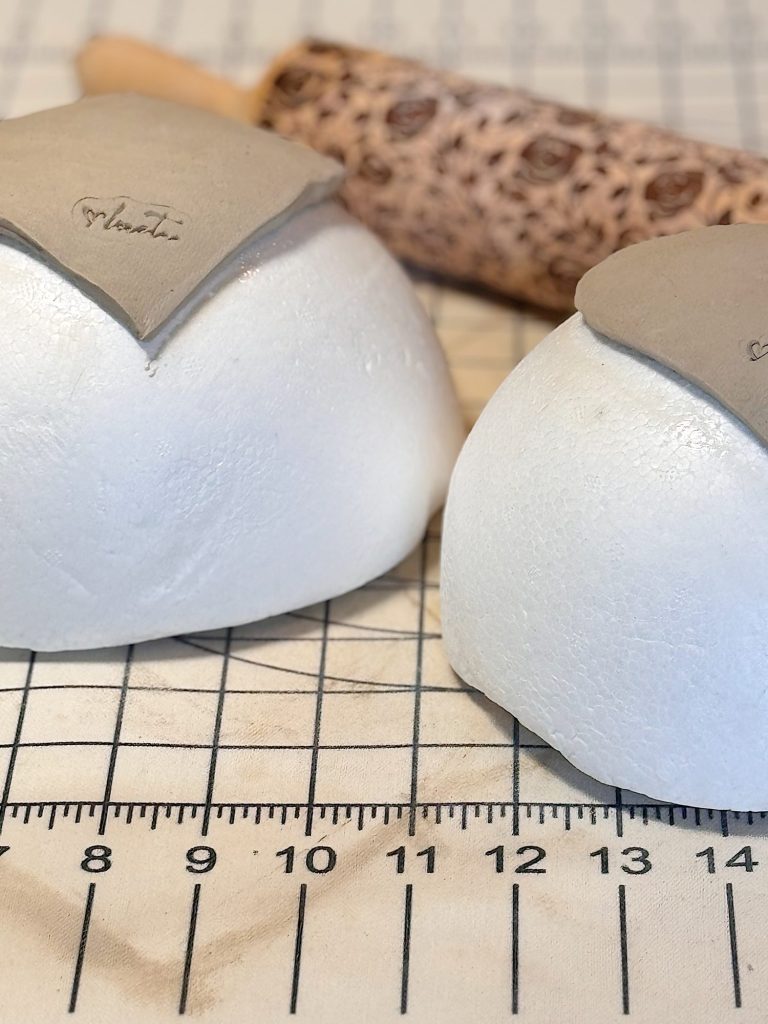
Once the hearts were cut, it was time to turn them into dishes. To do this, I placed each clay heart on a styrofoam bowl (any bowl would work) and gently pressed it into the curve. The bowls support the clay while it dries and help create that soft, shallow dish shape. This is such a simple trick, but it works beautifully.
Drying the Clay
I let the clay dry completely before moving on to the next step. Patience here really pays off. Fully dried clay is easier to paint and much less likely to crack or break.
You can dry it overnight or place it in the oven at 200 degrees for 15 minutes on each side. If the clay isn’t fully dry, let the clay dry by sitting in the sun or in a warm room.
Adding a Coat of Mod Podge
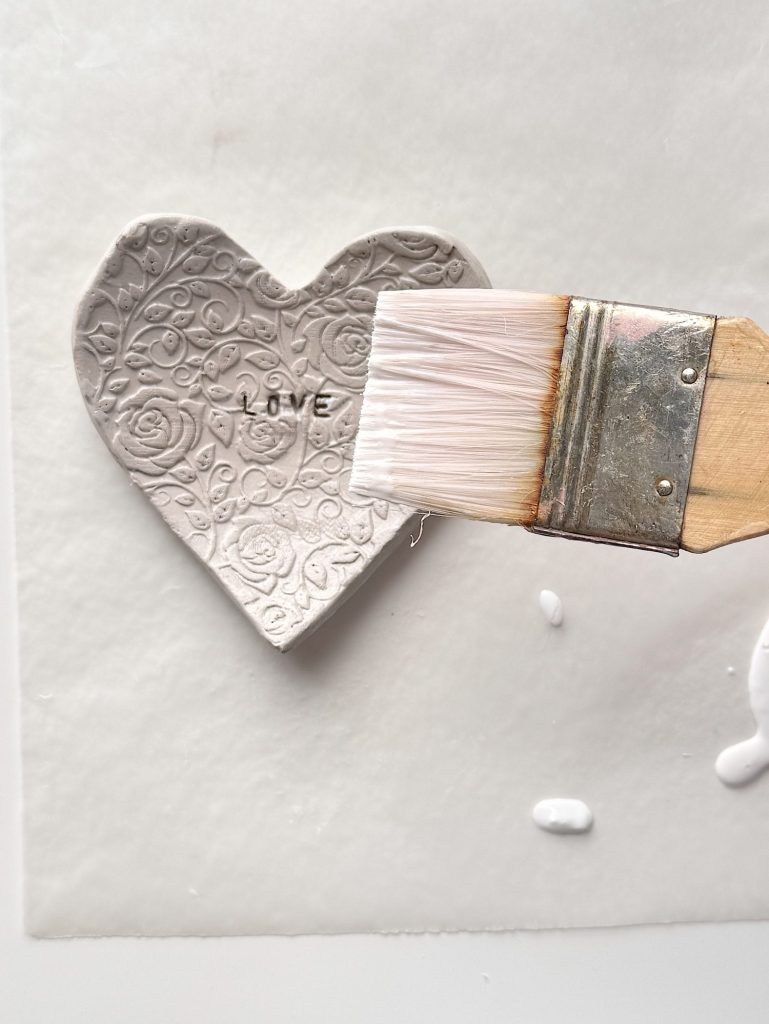
Before painting, I like to add a coat of Mod Podge. This seals the clay. If you don’t do this, the clay will absorb the paint, and you won’t get the kiln-dried look of pottery. Let it dry completely.
Painting the Clay Heart Ring Dishes
Once the clay was completely dry, it was time to bring these heart dishes to life with color.
I decided to paint the lettering brown so it would show up once I painted the dishes pink.

That’s optional and up to you.
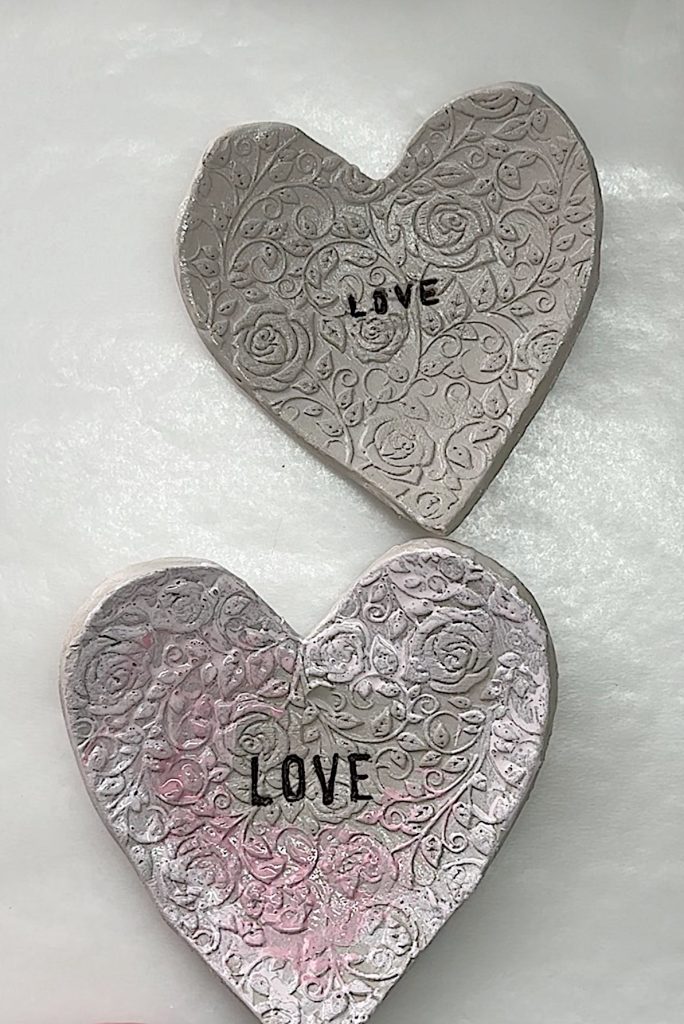
I chose soft shades of pink, layering the paint to highlight the texture created by the rolling pin.
Painting textured clay is so satisfying. The raised areas catch the lighter tones, while the recessed details create depth and dimension. I didn’t aim for perfection here. In fact, I love a slightly imperfect, handmade finish. It adds character and warmth.
You can absolutely customize the color palette to suit your style. Soft neutrals, bold reds, or even white with subtle shading would all work beautifully. This is one of those projects where you can truly make it your own.
Sealing with Clay Glaze
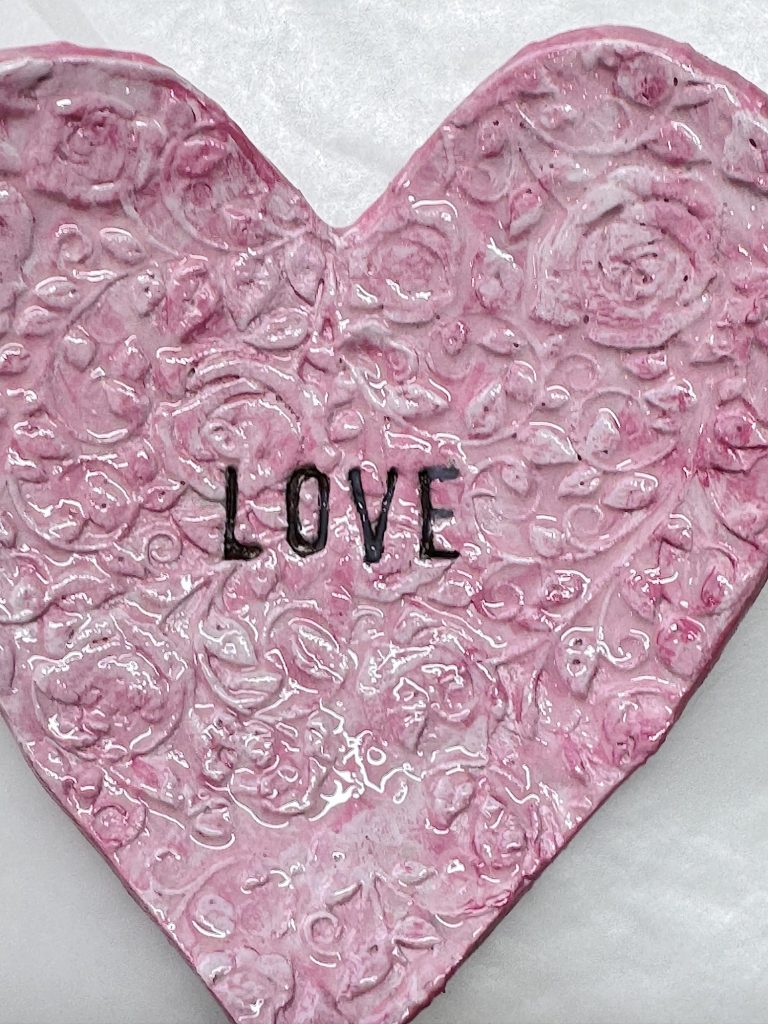
After the paint dried completely, I sealed each dish with Clay Glaze. This step is important because it protects the surface and gives the pieces a finished look.
Clay Glaze adds a soft sheen without making the dishes look overly shiny. It also helps make the surface more durable, which is especially important for something that will be used daily to hold rings or jewelry.
I always recommend sealing air-dry clay projects, especially functional ones. It’s a simple step that makes a big difference in longevity.
Watch the Video
Styling and Using the Heart Ring Dishes
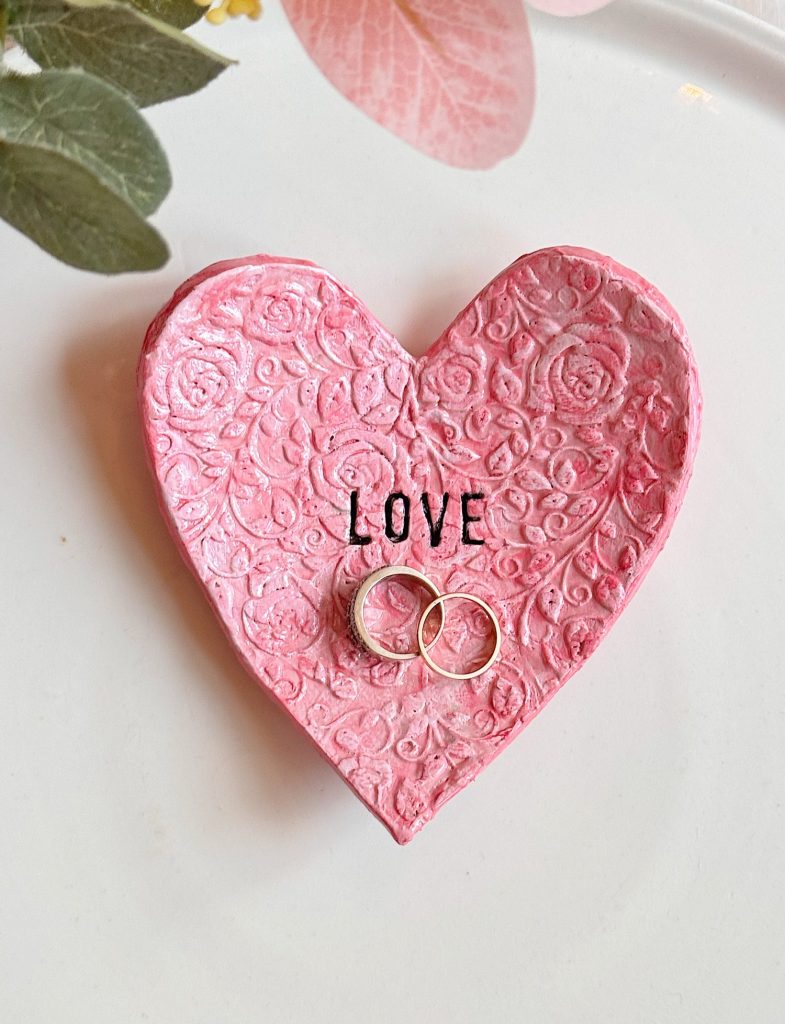
One of the reasons I love this project so much is how versatile these clay heart dishes are. They’re perfect for holding rings on a bedside table, earrings on a dresser, or even paper clips and pins in a craft room.
They also make wonderful gifts. Tied up with ribbon or tucked into a small gift box, they feel thoughtful and handmade in the best way. You could personalize them with different words, colors, or textures depending on who you’re gifting them to.
I love styling a few of them together on a tray or shelf, especially during Valentine’s season. They add a soft, romantic touch without feeling too themed or temporary.
Why This Project Works So Well
What makes these Clay Heart Ring Dishes such a great DIY is the balance between simplicity and impact. The materials are easy to find, the steps are approachable, and the finished pieces look far more intricate than the process actually is.

This is the kind of project that’s perfect for a quiet afternoon in the craft room. It’s relaxing, creative, and deeply satisfying. And when you’re done, you’re left with something beautiful and useful.
I love projects like this because they remind me why I enjoy crafting so much. It’s not about perfection. It’s about making something with your hands that brings a little joy into everyday life.
Final Thoughts
If you’ve been looking for a Valentine’s DIY that feels meaningful, creative, and doable, these Clay Heart Ring Dishes are it. They’re simple to make, easy to customize, and endlessly charming.
Whether you make one or a whole collection, I hope this project inspires you to pull out the clay, play with texture, and create something just for the joy of it. Handmade always tells a story, and these little heart dishes tell one filled with creativity, care, and love.
If you try this project, I would love to see how yours turns out. Happy crafting.

More Air Dry Clay Ideas
My Sweet Savannah

Air Dry Clay Valentine’s Day Heart DIY
This air-dry clay Valentine’s date heart diy shows you how to make stamped clay hearts for a reusable Valentine’s date jar.

Latest Posts
-
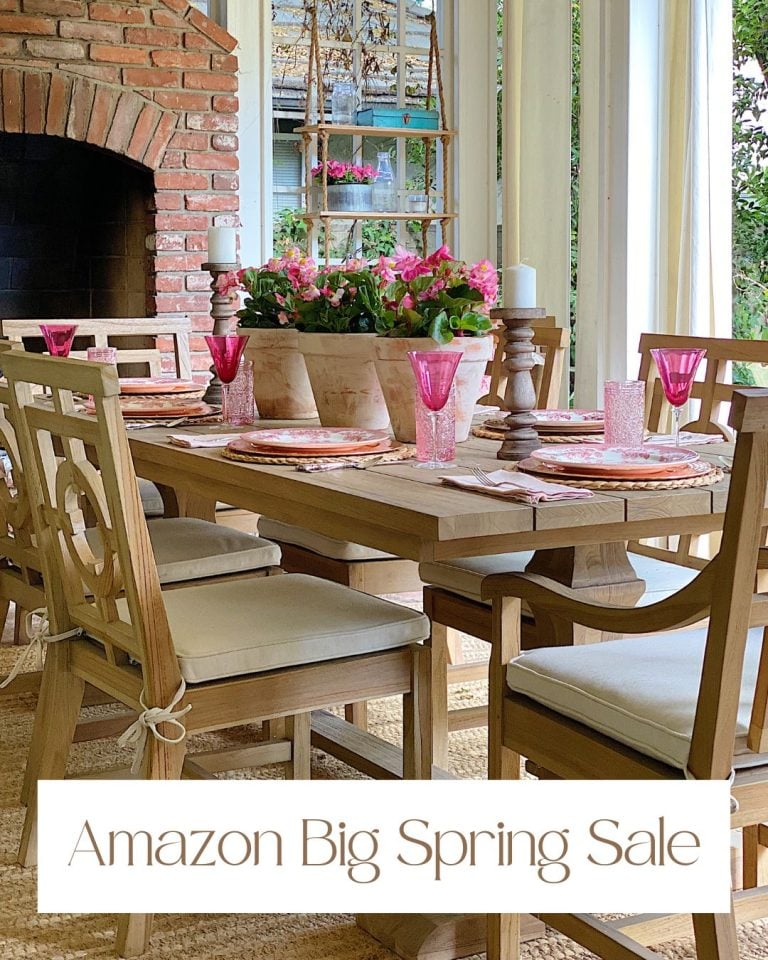
The Amazon Big Spring Sale is Here!
The Amazon Big Spring Sale is here! It runs from March 25th (today) through March 31st, and here are some of the best Amazon Deals ever! There are millions of deals available, and today I will help you find the best ones for everything you need. Now is the perfect time to shop for Spring.
-
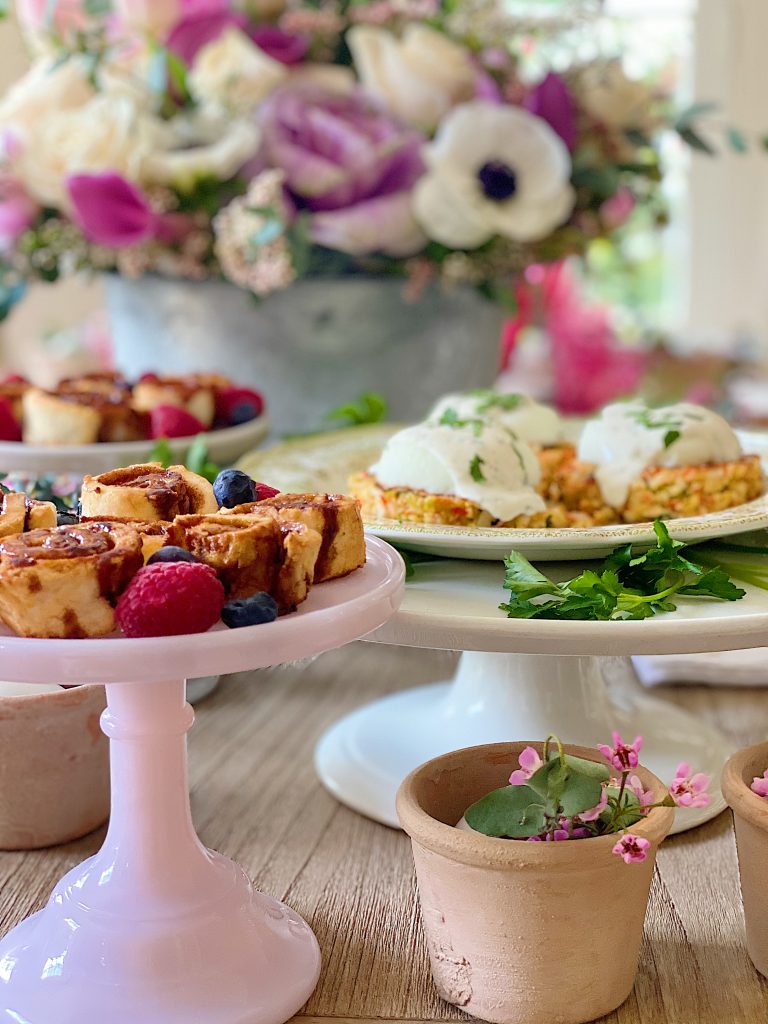
My Favorite Easter Brunch Recipe Ideas
Today, I am sharing some of my favorite Easter Brunch Recipe ideas. These recipes are amazing, and everyone in our family loved them! I used my favorite Easy Crab Cake recipe and created a menu with an “eggs benedict”-style entree, a new gluten-free cinnamon roll recipe, and fresh berries. This latest version of Eggs Benedict…
-
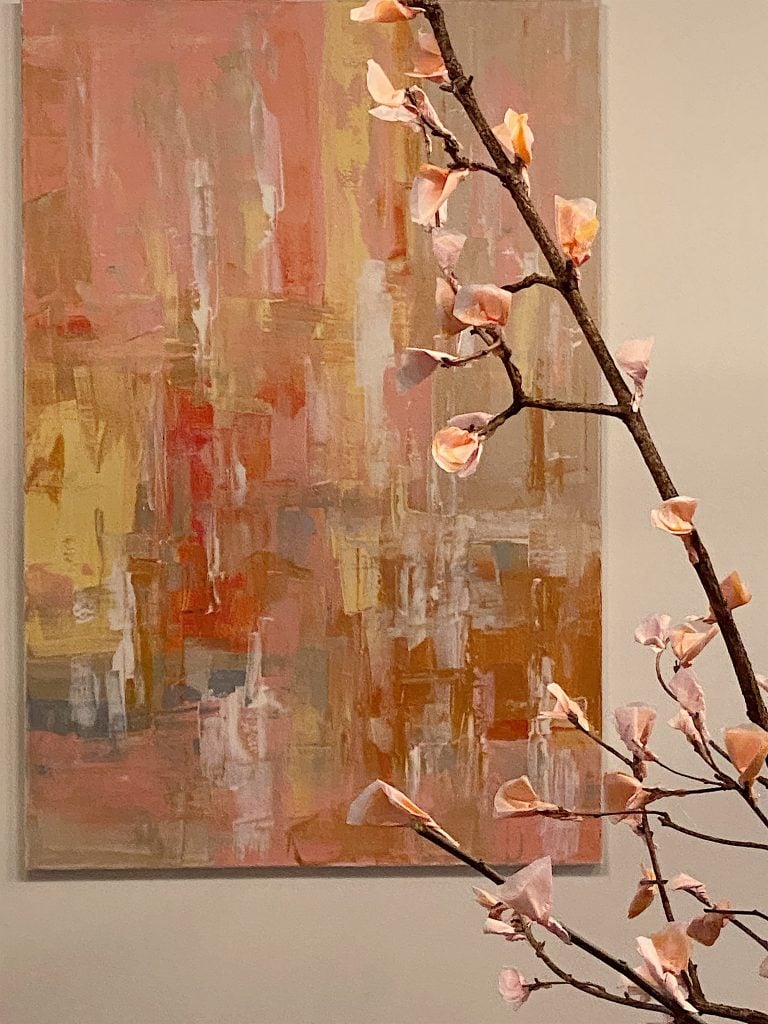
My Obsession with Abstract Wall Art
Abstract wall art, with its enigmatic allure and boundless interpretations, has long captivated the hearts of many, including myself. Believe it or not, I have ventured deep into the realm of abstract painting, creating expansive canvases as large as 12′ x 12′. I completed ambitious projects like painting thirty paintings in 30 days, inspired by…
-
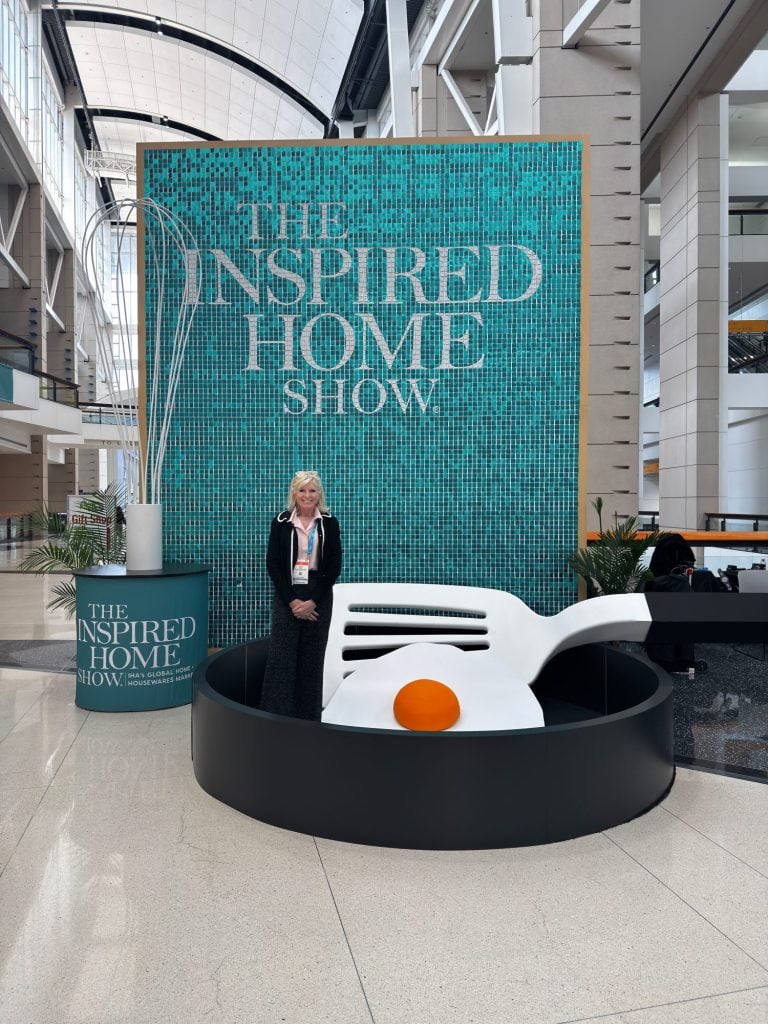
The Inspired Home Show and Sunday Morning Coffee
Last week I had the opportunity to attend The Inspired Home Show in Chicago once again, and I have to say, it was just as exciting and inspiring as I remembered. This show continues to be one of the most important events in the home and housewares industry, bringing together an incredible mix of brands,…
My Recent Instagram Posts

You can pin the image below to your boards on Pinterest (click the Pin button in the top left corner) or follow me on Pinterest!

For more real-time updates, follow me on Instagram @My100YearOldHome
