Tips to Entertaining in Your Own Backyard
Entertaining is my passion. I truly believe entertaining can be inexpensive and easy to do, but also look amazing! Today I am sharing a party I hosted for our family that you can host in your own backyard too!
Is there anything better than spending a warm summer day outdoors with your friends and family? Whether you’re grilling out, playing games, or just hanging out, entertaining in your own backyard is the best way to enjoy the good weather.
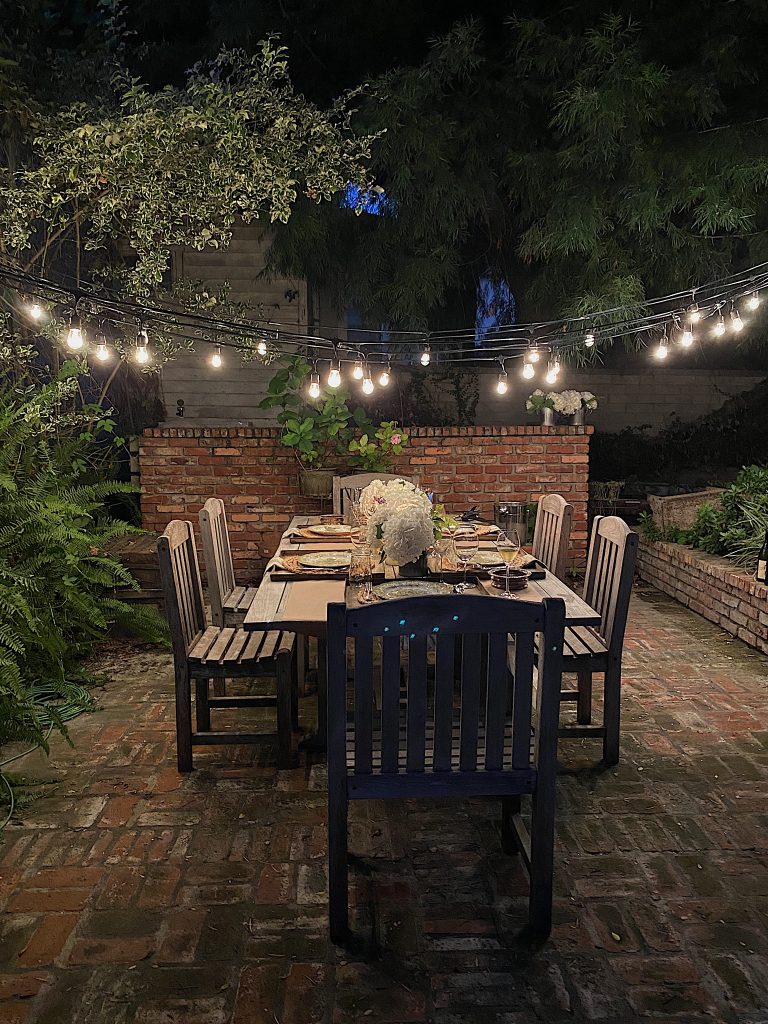
I love sharing my entertaining ideas with you. As you know, I hosted an intimate Summer Fun Outdoor Party this weekend in our California backyard. You all were so wonderful to follow along with me in my stories as I created the party. I thought it might be fun today to share another backyard party I hosted for our family. If I can inspire just one of you to entertain in your own backyard with this blog post, then my day has been made.
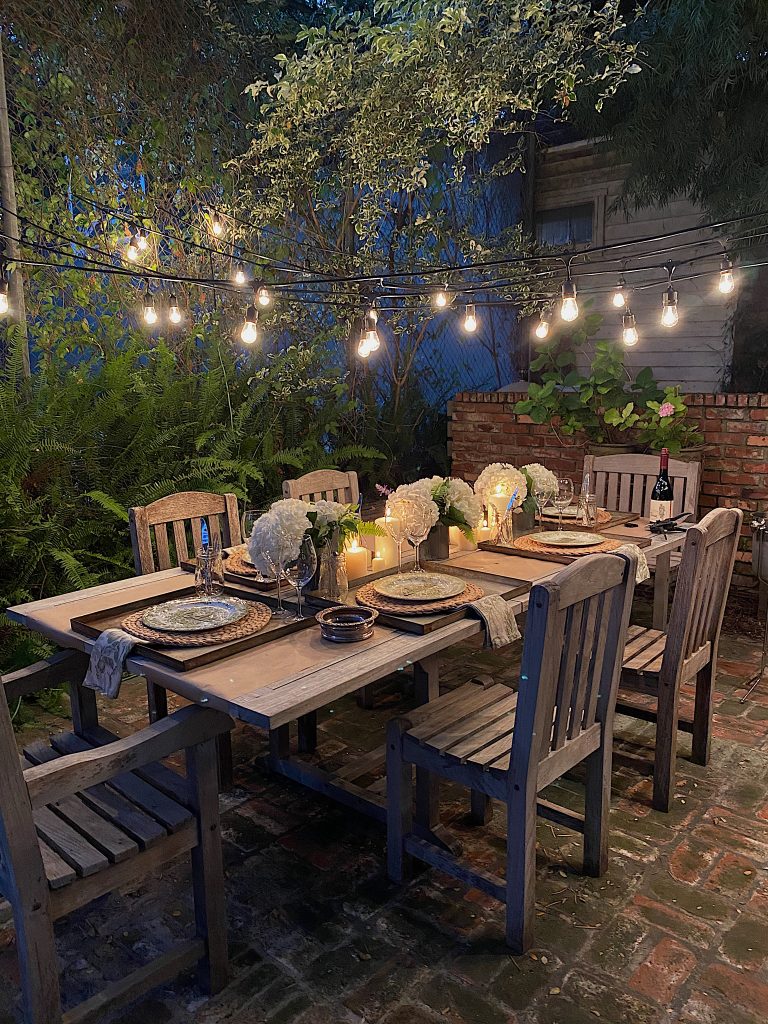
To me, the most important thing about entertaining is that it is inexpensive and easy to do. I never order flowers from a florist, as I arrange my own (often using grocery store flowers.) I always try to use items I already own and I always shop flea markets for things I can use to entertain.
My goal for every party is to create an awesome setting that makes every guest feel special. If possible, I try to create a backyard oasis for my dinner parties.
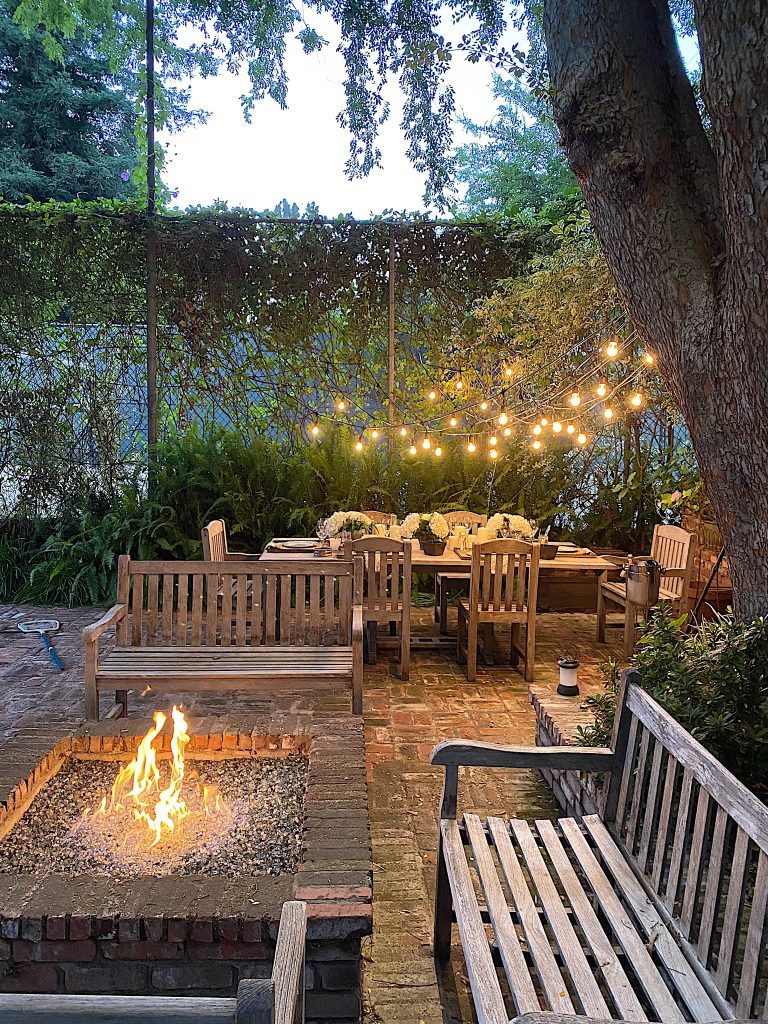
I have a lot of outdoor entertaining “tools” that I use for my parties. I have put together a collection of all of these items that are affordable and accessible. To find all of my outdoor entertaining favorites, click here.
The funny thing about this party is that I hosted it for our family on a Tuesday night.
We were still “staying at home” and after three months I am trying to find ways to keep myself entertained at home, I hosted another party.
Planning a dinner party is my favorite thing to do and my favorite guests are my family. So I planned a summer dinner party for my family in our own backyard.
Finding the Right Location in Your Own Backyard
One of the most interesting things about this party is the location.
I told my husband I wanted to do something in the backyard and he suggested this location.
The entire time I was staring at this space all I could think was “why haven’t I thought of this before”?
This area by our pool has always been a seldom-used sitting area. And a storage spot for the salt used for our pool. Haha.
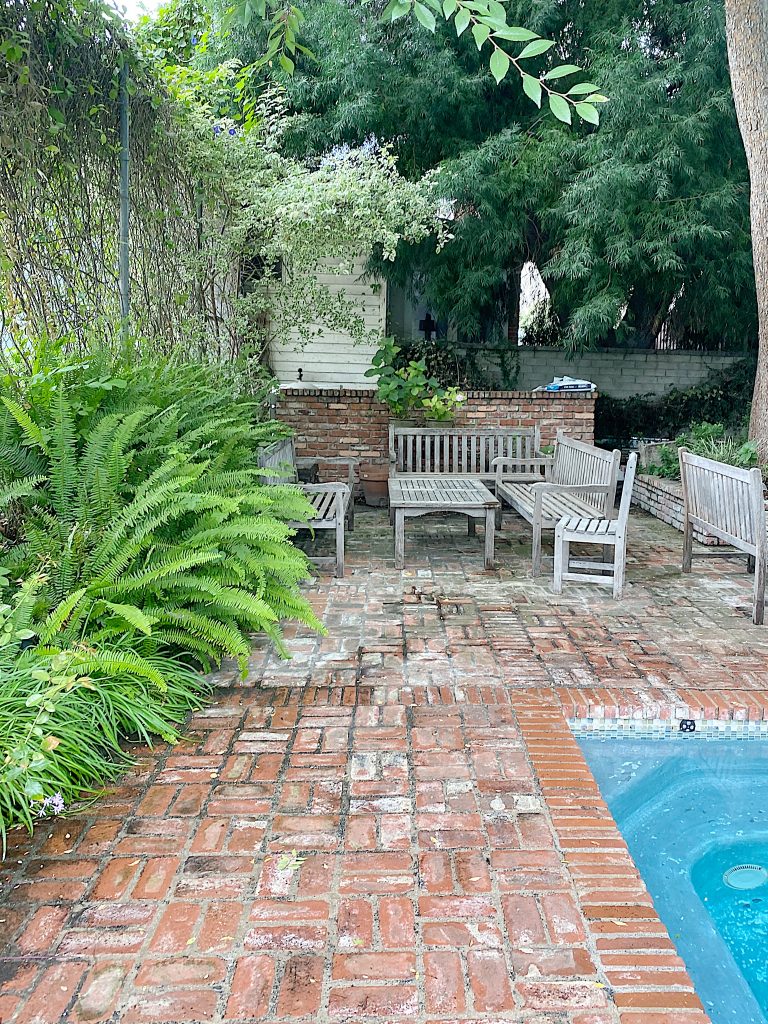
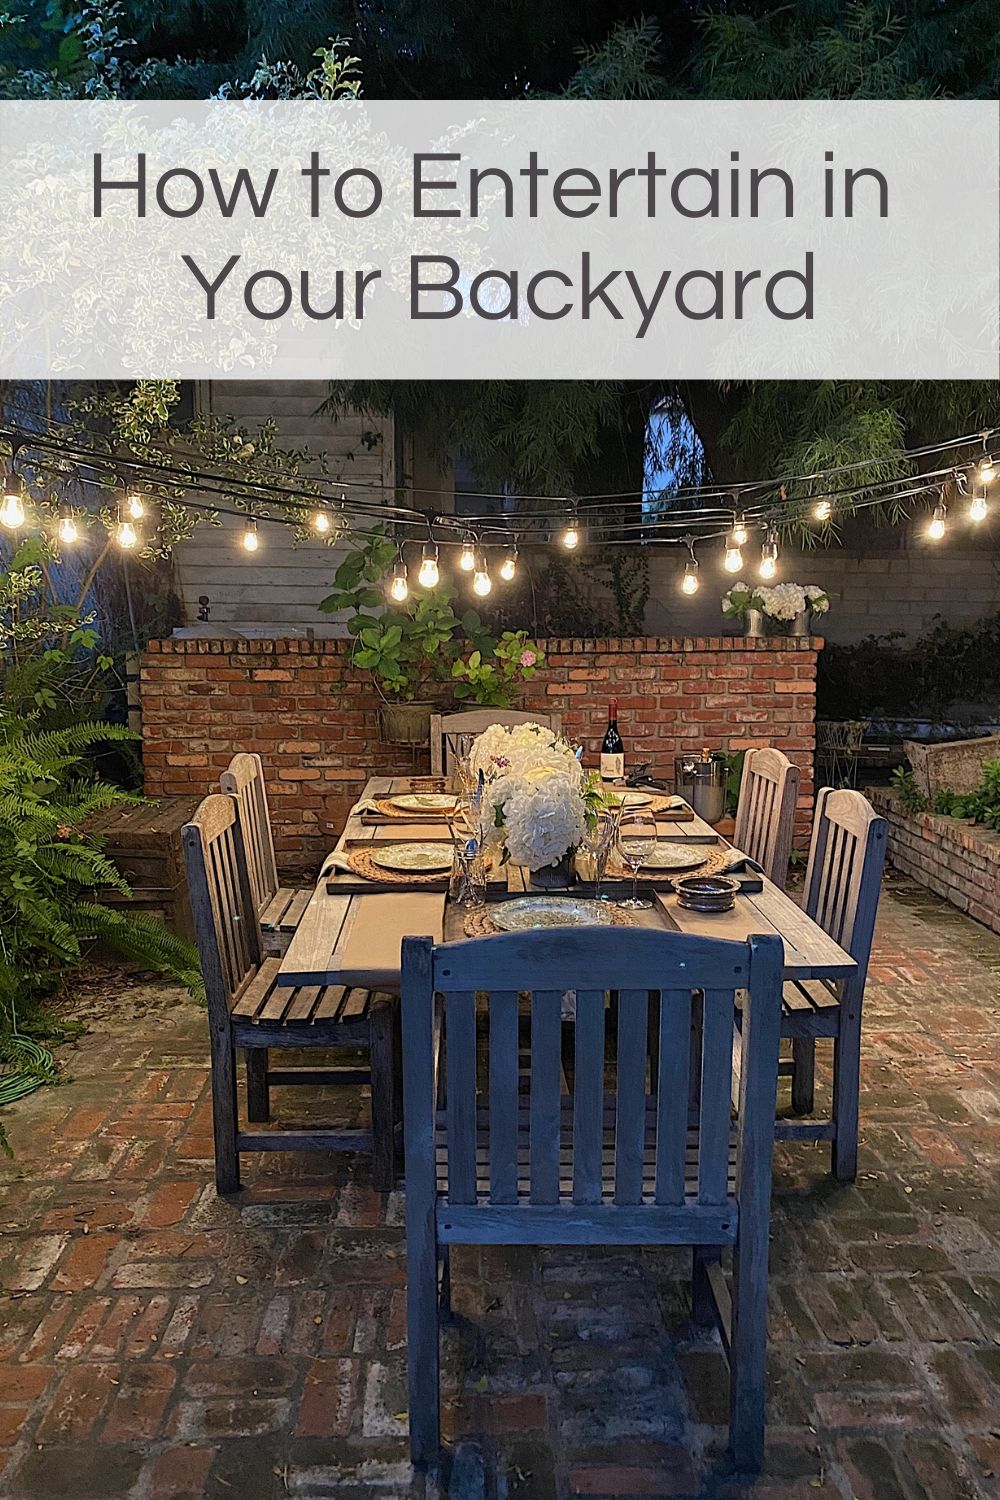
Dave and I moved the furniture and put our old teak table in this spot. A quick cleaning and I knew we had found the perfect location.
By the way, this is the same teak table I used for our dinner party this past weekend.
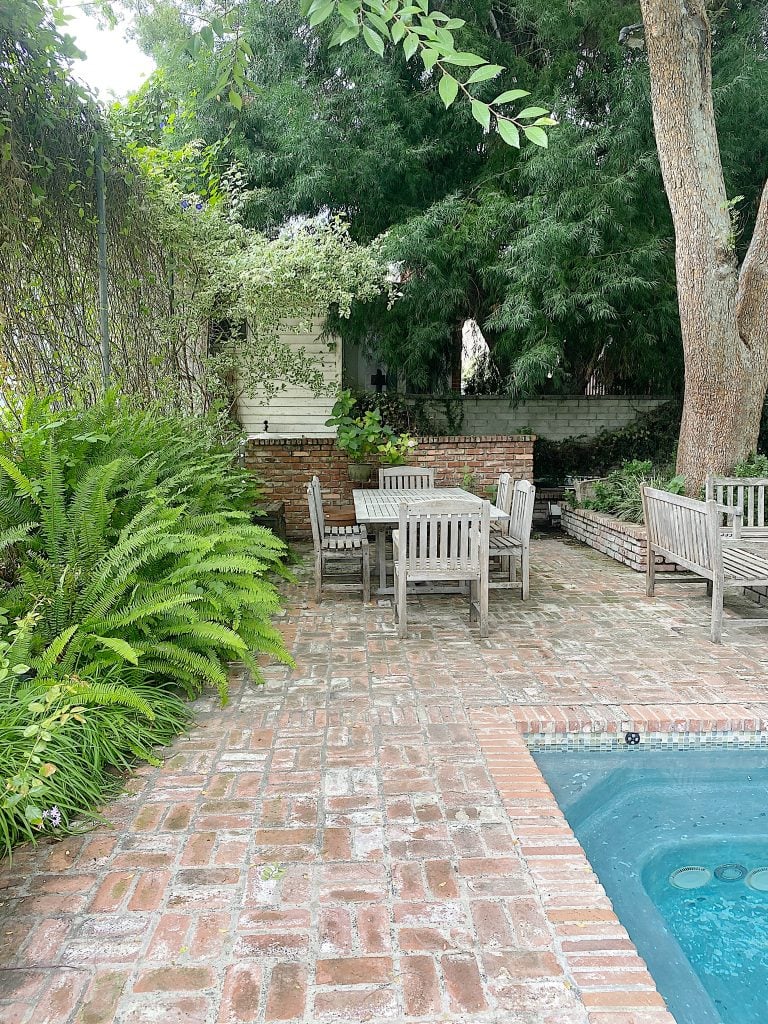
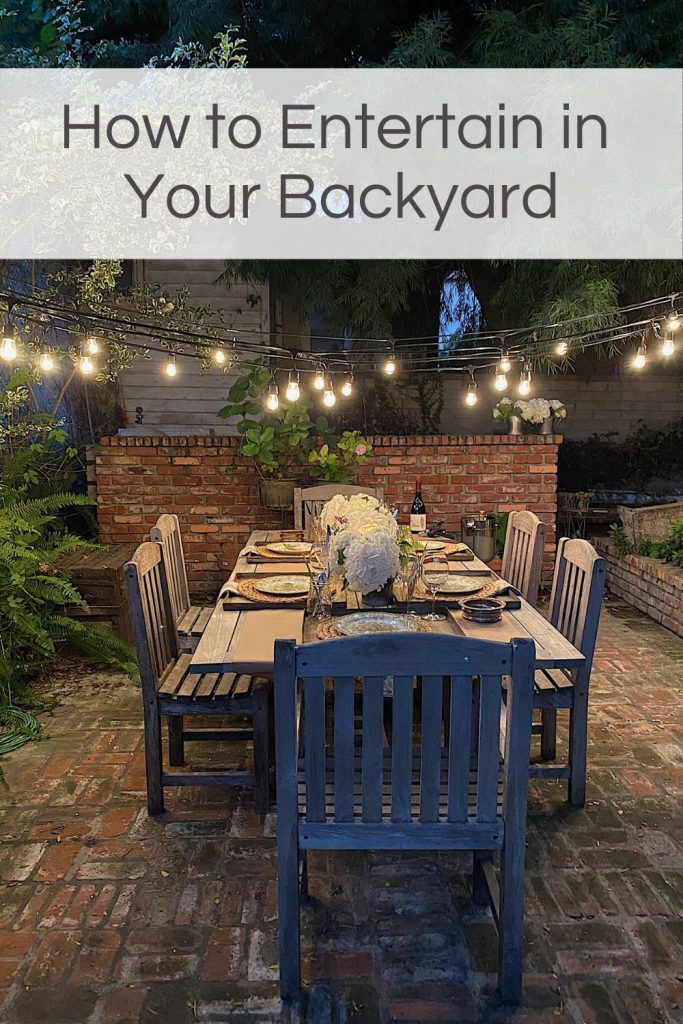
Ninety-nine percent of our outdoor dinners are on our back patio that is adjacent to our home. Selecting a location all the way in the back of our yard, near the pool and under the tree, was a fun surprise.
Is there somewhere in your backyard where you could host a dinner party that is fun and different? In the past, I have hosted dinner parties in the middle of our yard and on the other side of the pool.
I have to admit that after finding this spot, I found three more unexpected places where I want to host a dinner party in our yard.
We bought tour teak furniture thirty years ago in Bali. I promise that you don’t have to go to Bali to find quality but affordable teak furniture. See the teak tables I have listed below.
Picking a Theme for Your Backyard Party
When I plan a party I think the two most important tasks are finding the right location and picking a theme.
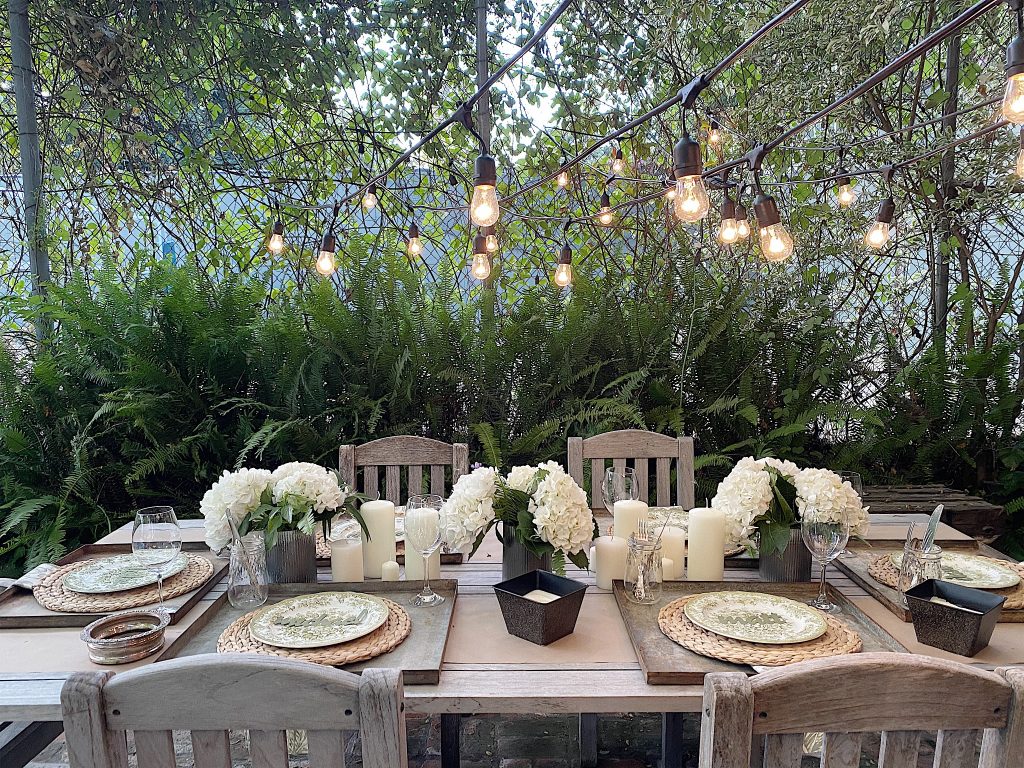
I knew I wanted to use a rustic theme and set a table to highlight the tree and greenery in this setting. So I set out to create a place where we could enjoy the outdoors in a casual but fun way.
Lighting in Your Own Backyard
Lighting is so important and I can’t even begin to tell you much I love to add lighting to our dinner parties.
(This party was last summer in our backyard and we have since added permanent hanging lights from AQ Lighting. They are so amazing!)
Over the years. I have accumulated five strings of the LED Outdoor Hanging Lights. I have used them to hang two different lengths, 24′ and 48′.
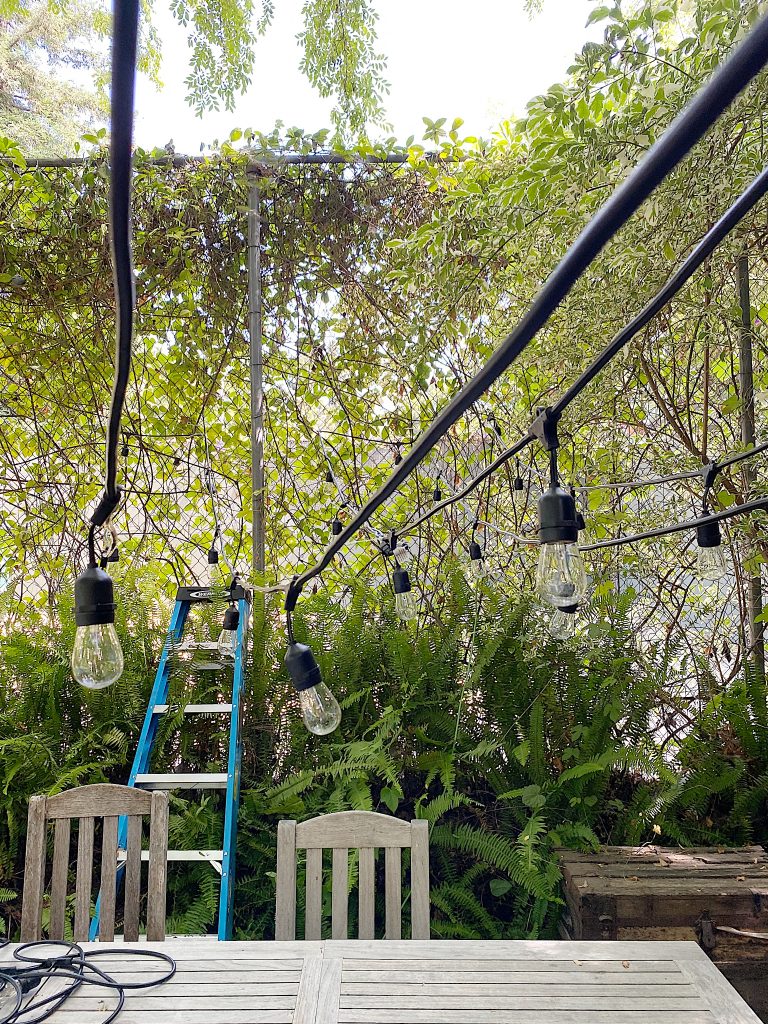
The secret to hanging lights is zip ties. I used the ties to attach the lights to the fence and the tree. If you want to hang lights to a tree it is easiest to either string them around the trunk or screw in a small hook into the trunk. (Adding a screw into a healthy tree shouldn’t harm it. If the tree is damaged or weak, it is not recommended.)
We have a non-voltage wire that runs up the back of our tree trunk so I attached the lights to the wire with zip ties.
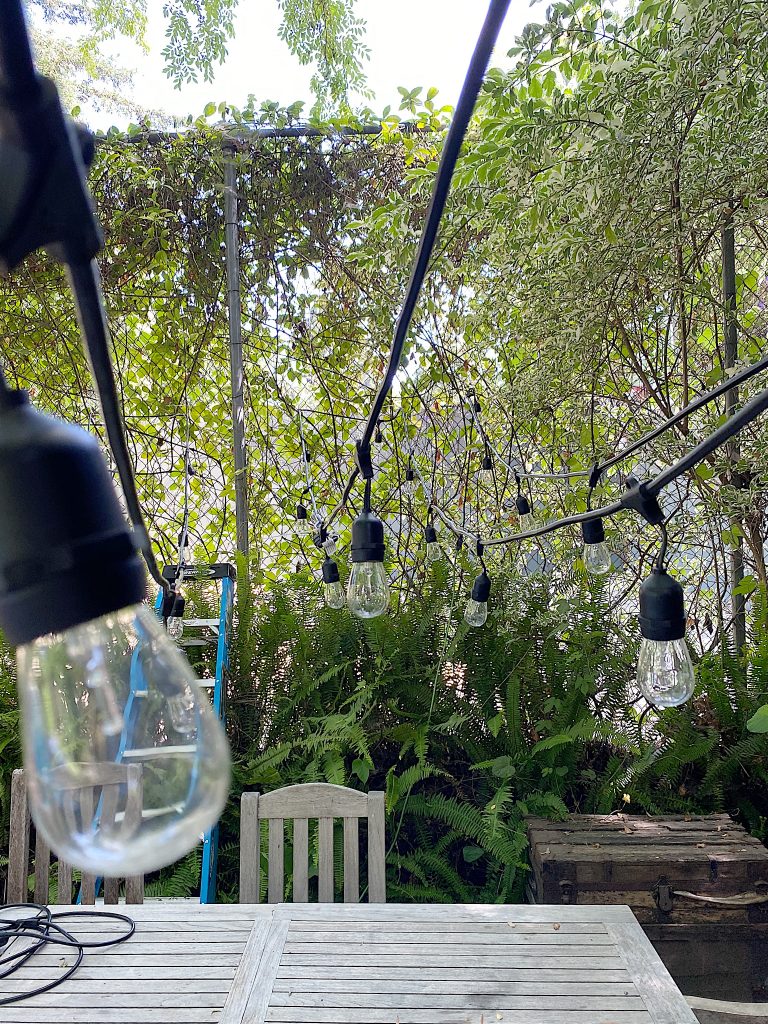
I strung the lights fairly low on purpose because I wanted to create an intimate dining area and also wanted the lights to show up in my photos. Ha! I strung them high enough so that everyone could sit comfortably but my tall family did have to duck a bit to sit down. I was perfectly fine with that. My boys? Not so much.
This is exactly the theme and feeling I wanted to achieve and you can do the same in your own backyard.
Setting the Table
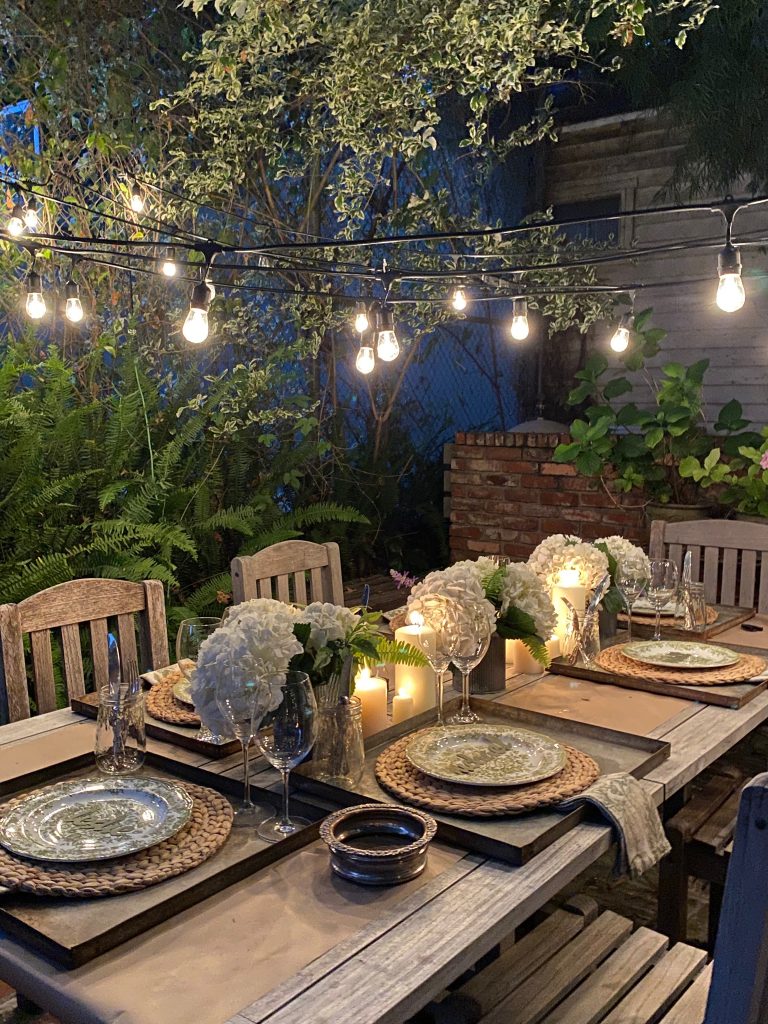
I mentioned that I wanted a rustic theme so I decided to use butcher paper as my “tablecloth”. It is incredibly cheap and looks amazing.
If I had more time I would have stenciled the butcher paper. Maybe next time!
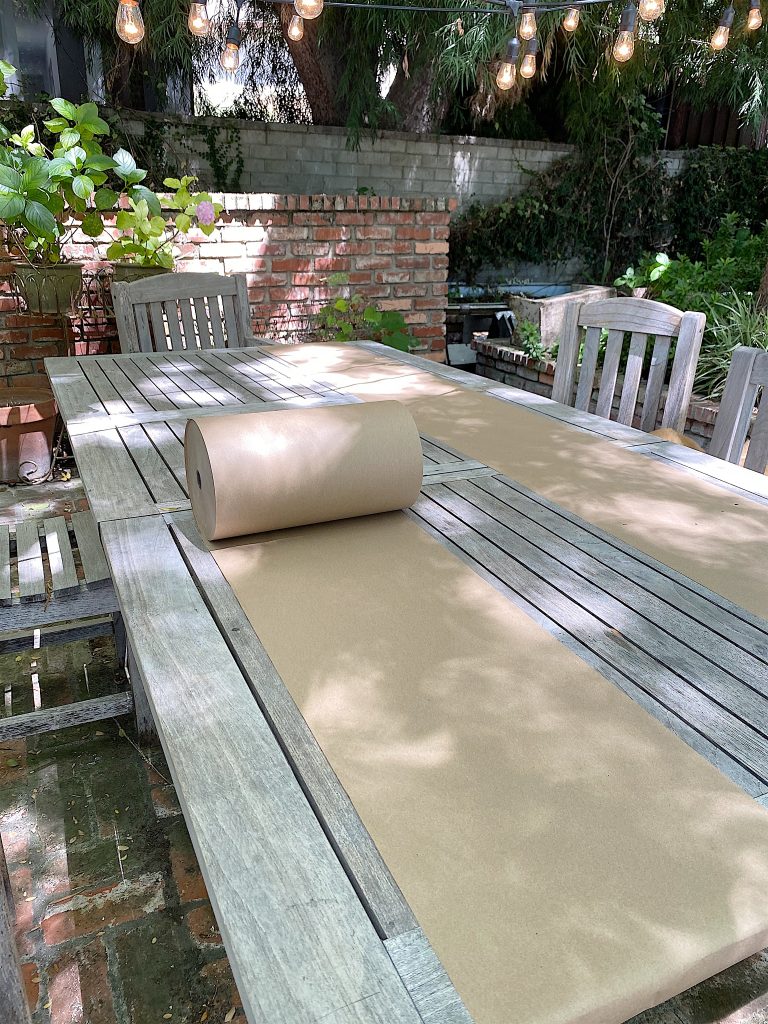
All I did was cut two strips of paper and tape them with painter’s tape to the underside of the table.
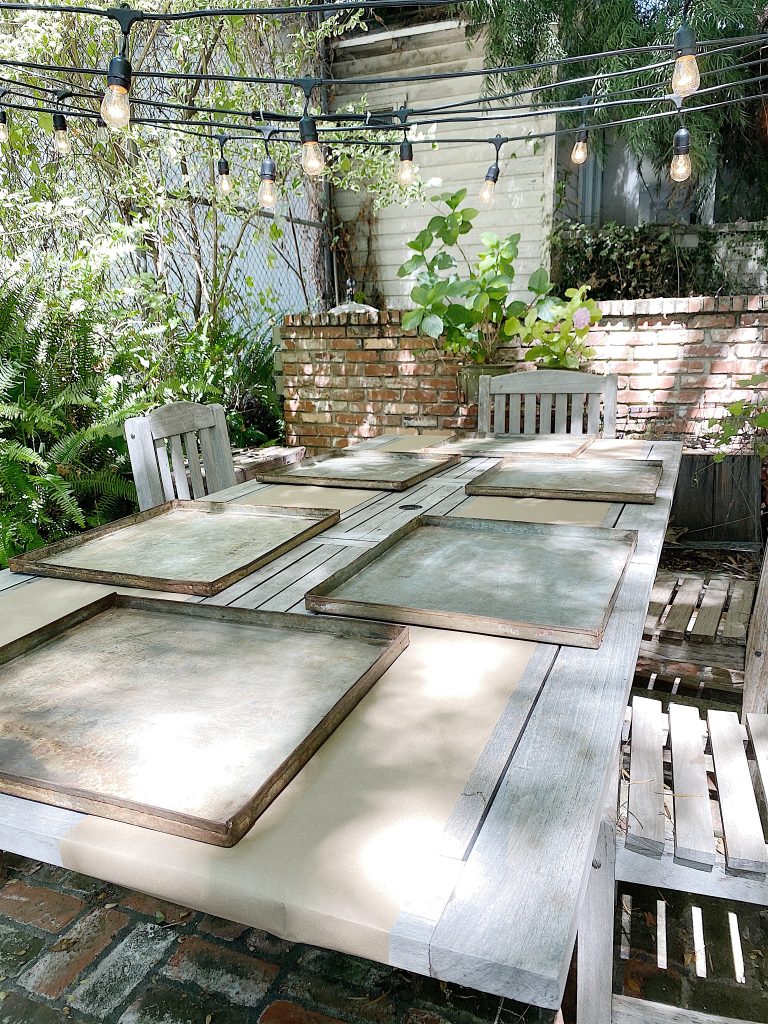
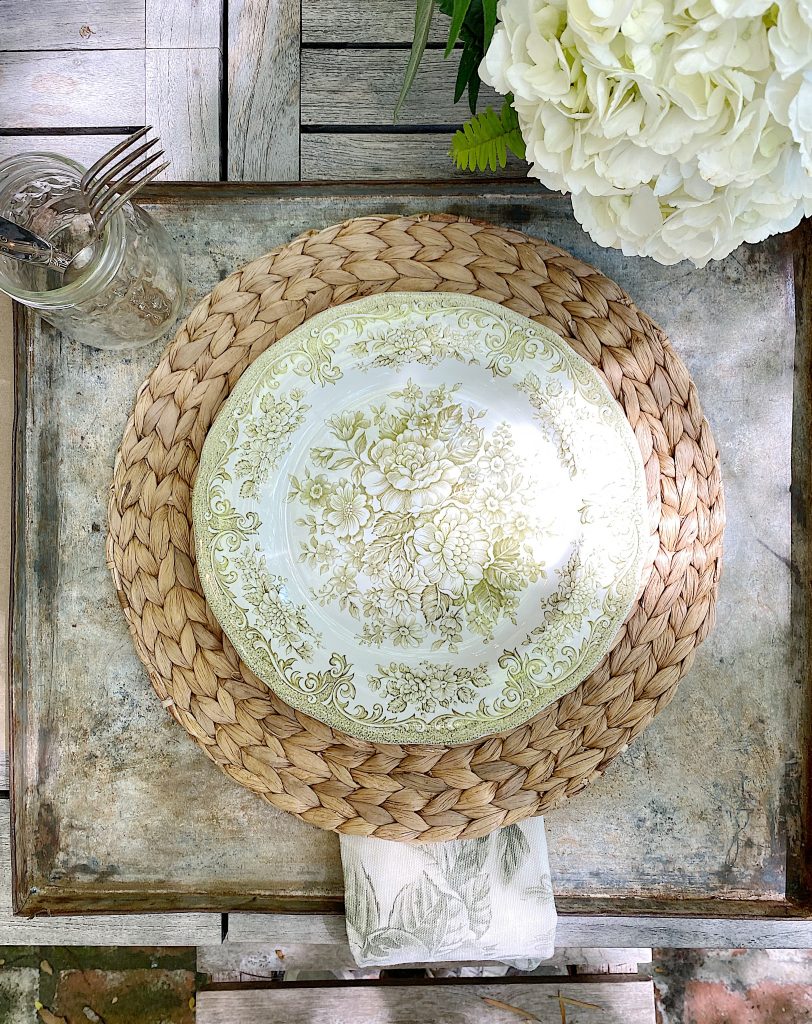
Next, I added vintage metal trays to use as chargers on the table. I saw these metal trays at the Rose Bowl Flea market many years ago and I bought all five of the ones they had. I searched for two years to find more with no luck. Then one day I walked into a vintage flea market and there was a huge stack of them! I now own eight and even though they are very rustic, I love them.
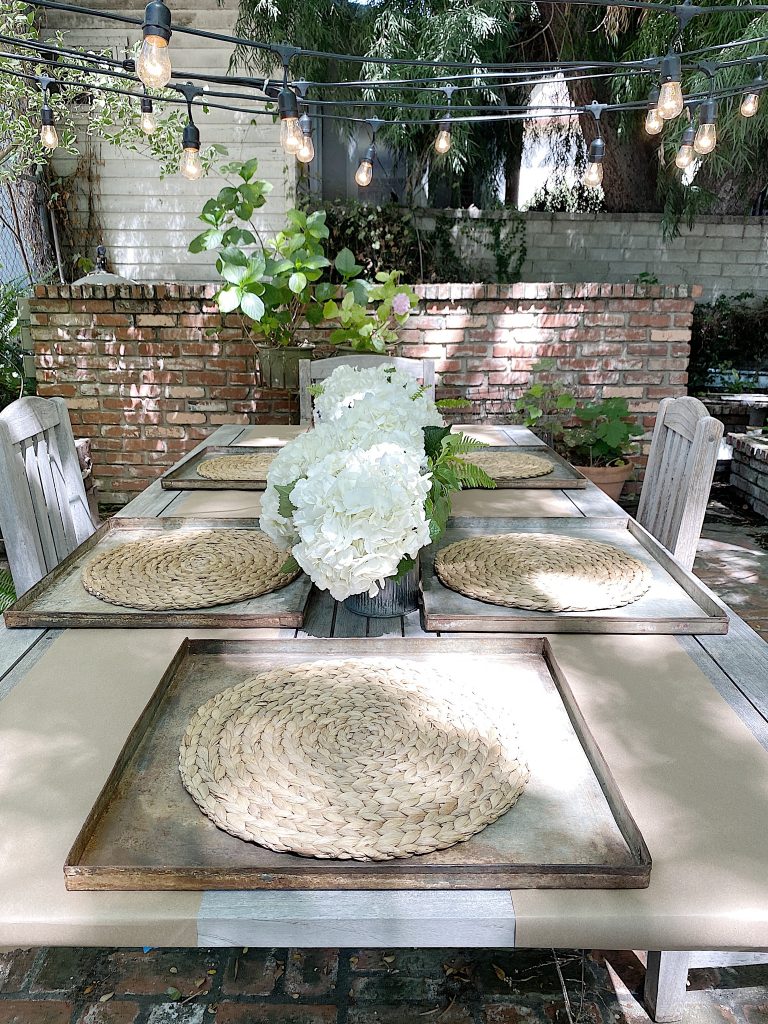
I added round woven placemats. One of these days I am going to make some square ones go inside these trays!
If you are enjoying my blog, you can sign up to receive my blog updates here.
.Creating the Floral Centerpieces
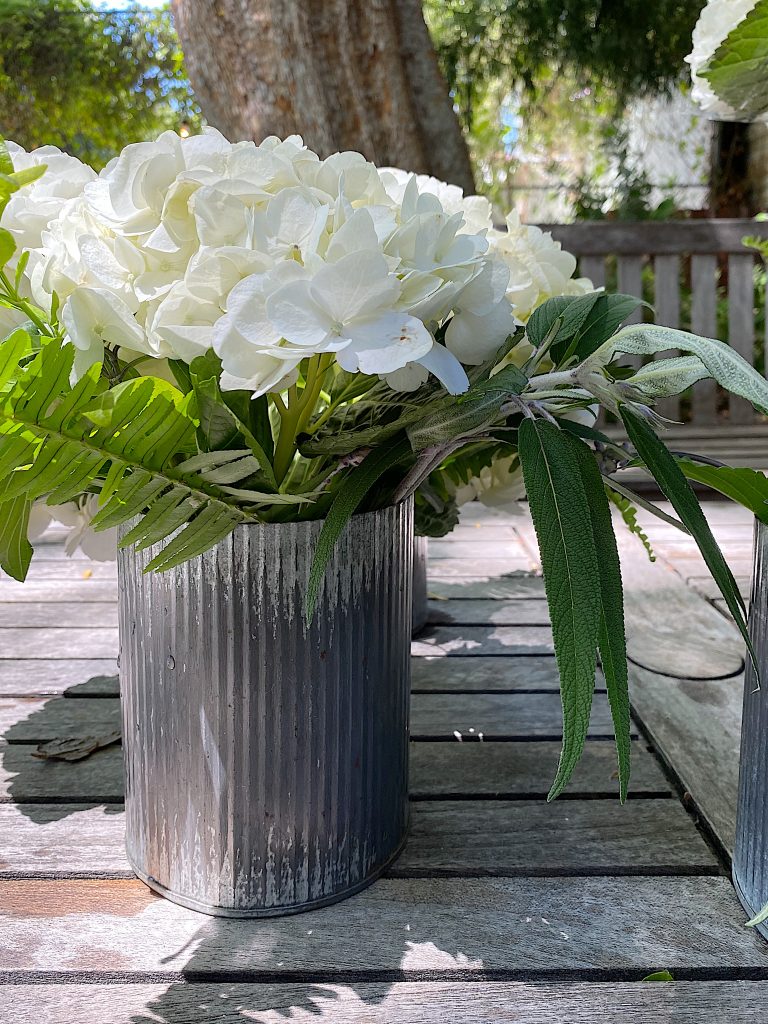
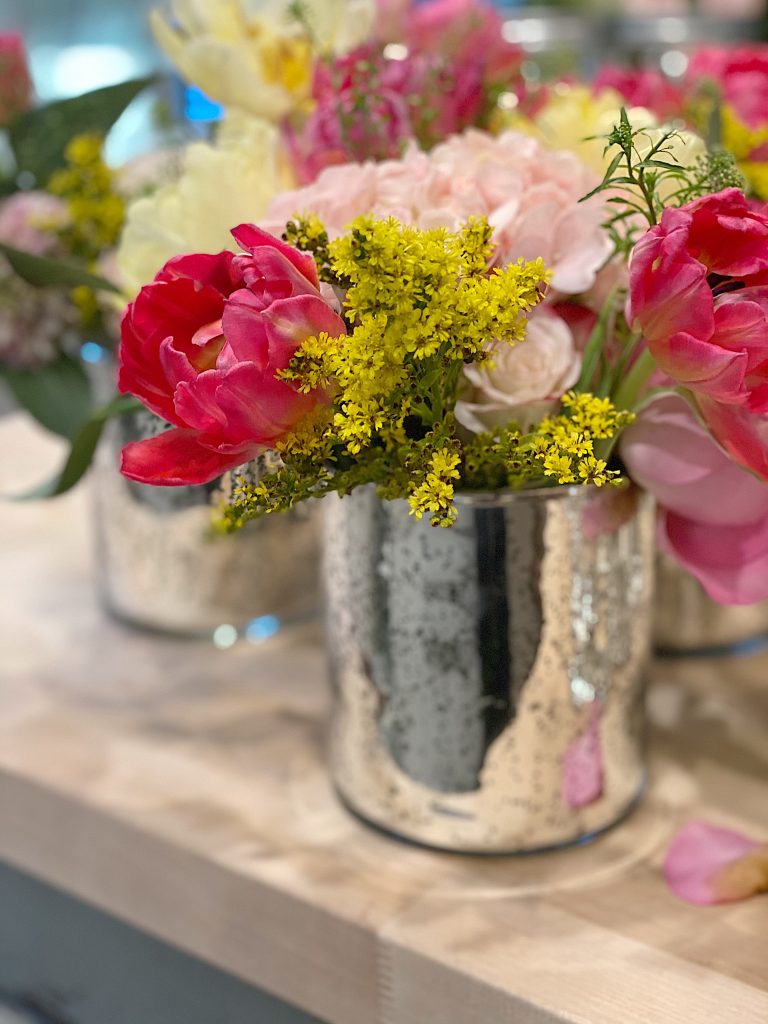
Arranging flowers is one of my favorite things to do, but I do have to admit that I always like simple and inexpensive. I found these hydrangeas at the grocery store and they look great!
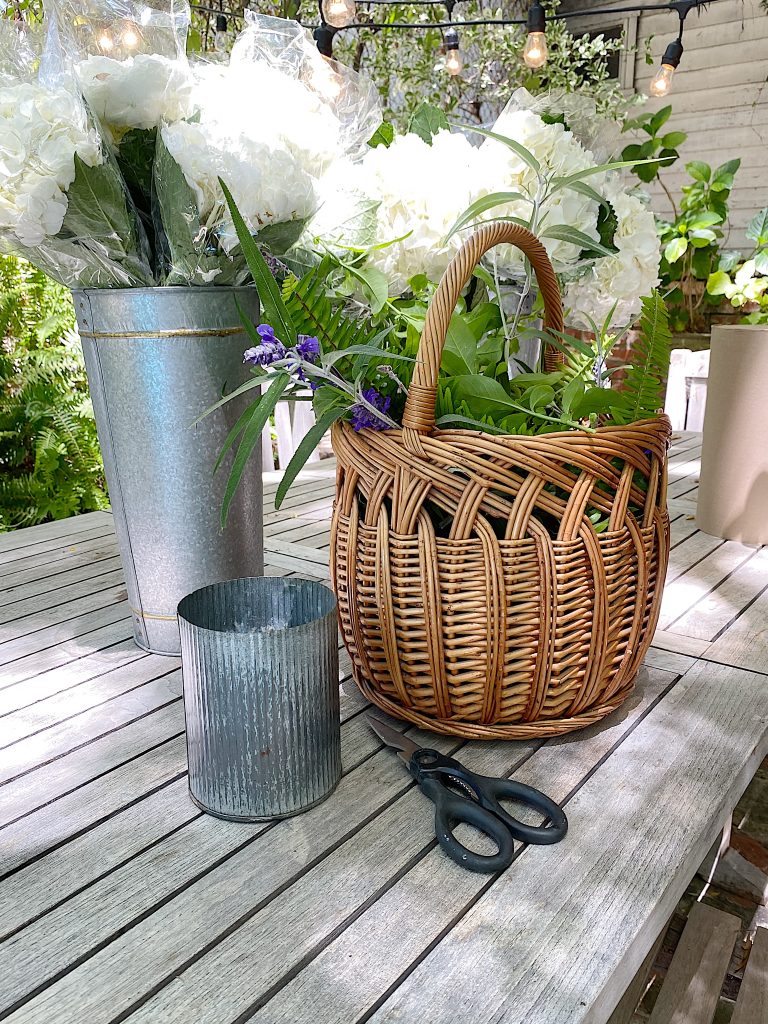
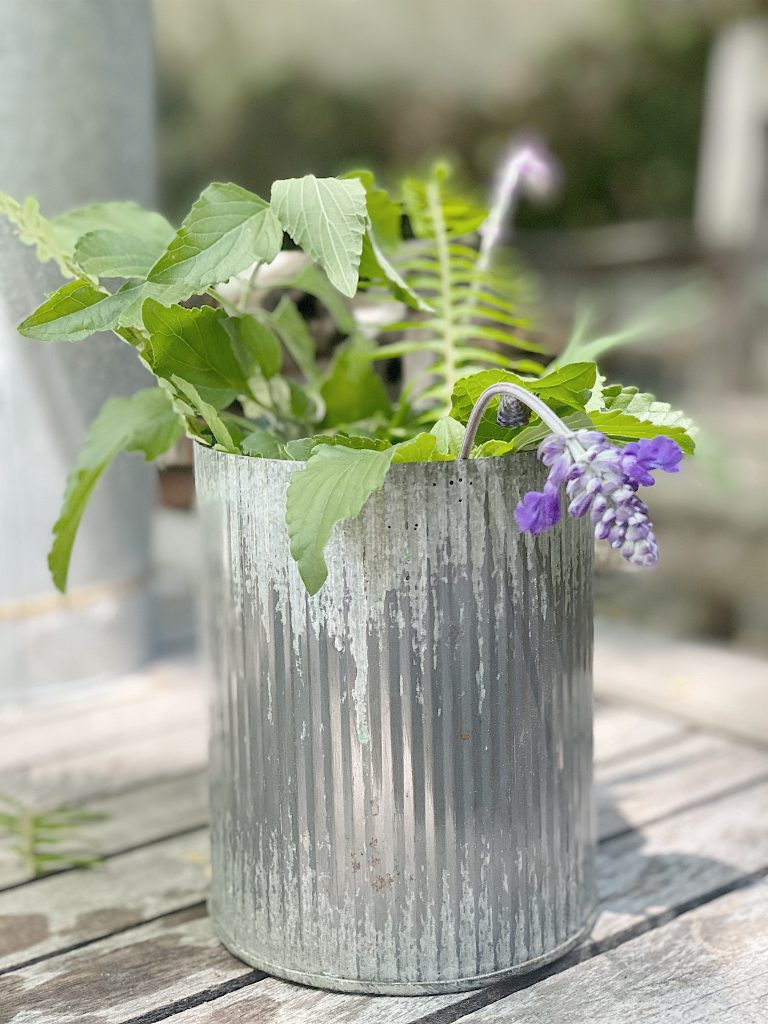
The grocery store didn’t have many greens to choose from, so I walked around our yard and cut whatever I thought would look good.
When I arrange flowers I always start with the greens. I filled each of these corrugated zinc pots with the cuttings from my yard.
Next, I added the hydrangeas and the arrangements were done. I made the centerpieces very low so that we could all enjoy great conversation at dinner.
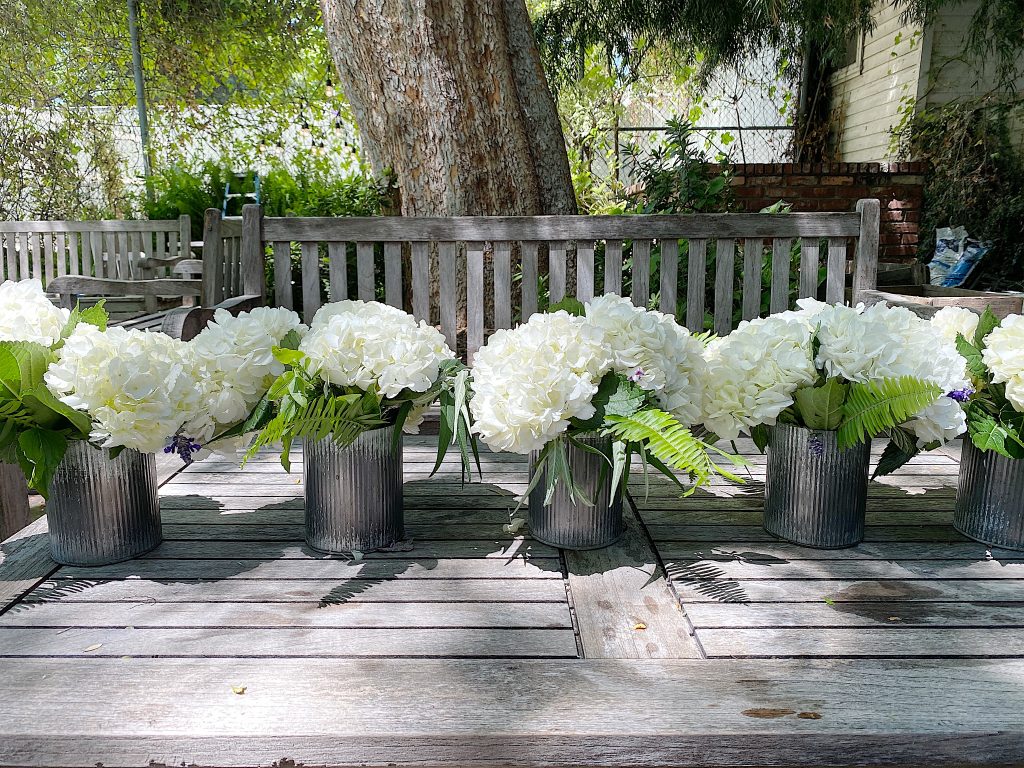
I made five arrangements and then realized I need more room on the table for glasses and candles. So I ended up using only three.
Adding the Tableware
Over the years I have collected a lot of vintage dining plates at flea markets and estate sales. I love these green plates so much and found these for $5.00 each at a vintage flea market.
The plates are Royal Staffordshire Avondale and I love the sage green color! (They are available here.) I also love these plates. With my floral napkins, they were perfect.
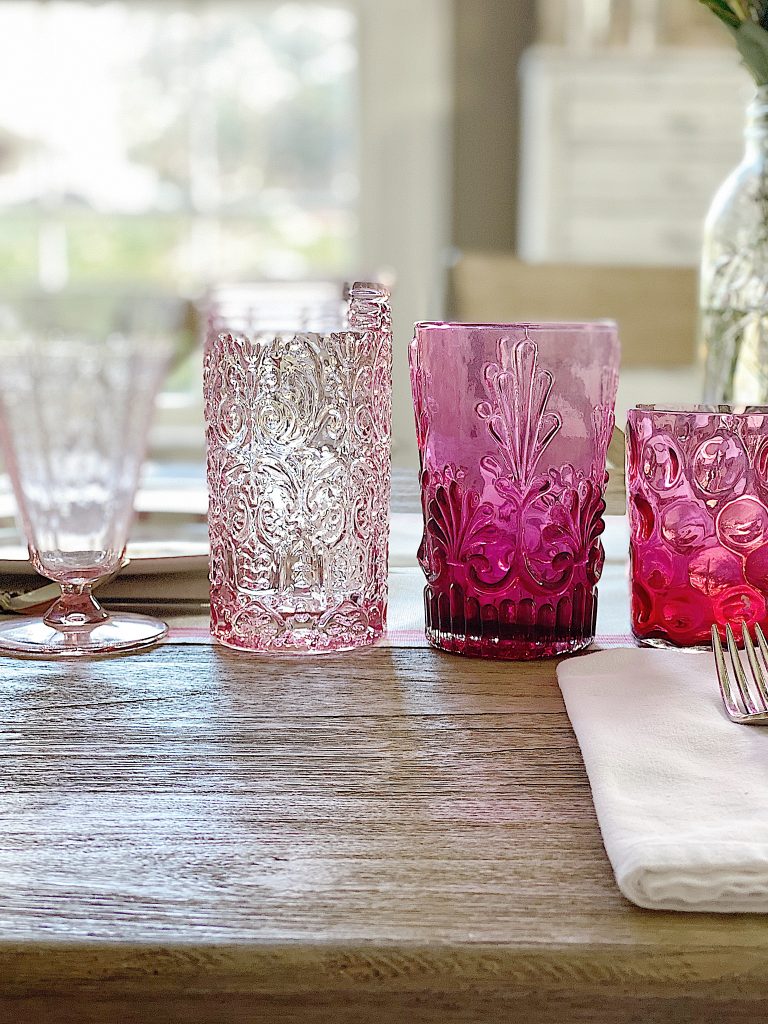
I use ball jars every single day and I love how they look with vintage china. Plus they are so inexpensive! I also opted to put the silverware in the ball jar water glasses for a fun touch.
Many of you have seen the place card name cutouts that I make with my Cricut Maker Machine. I made some new ones in sage green and used a different font. Aren’t they awesome?

They are so easy to make and I love how they came out.
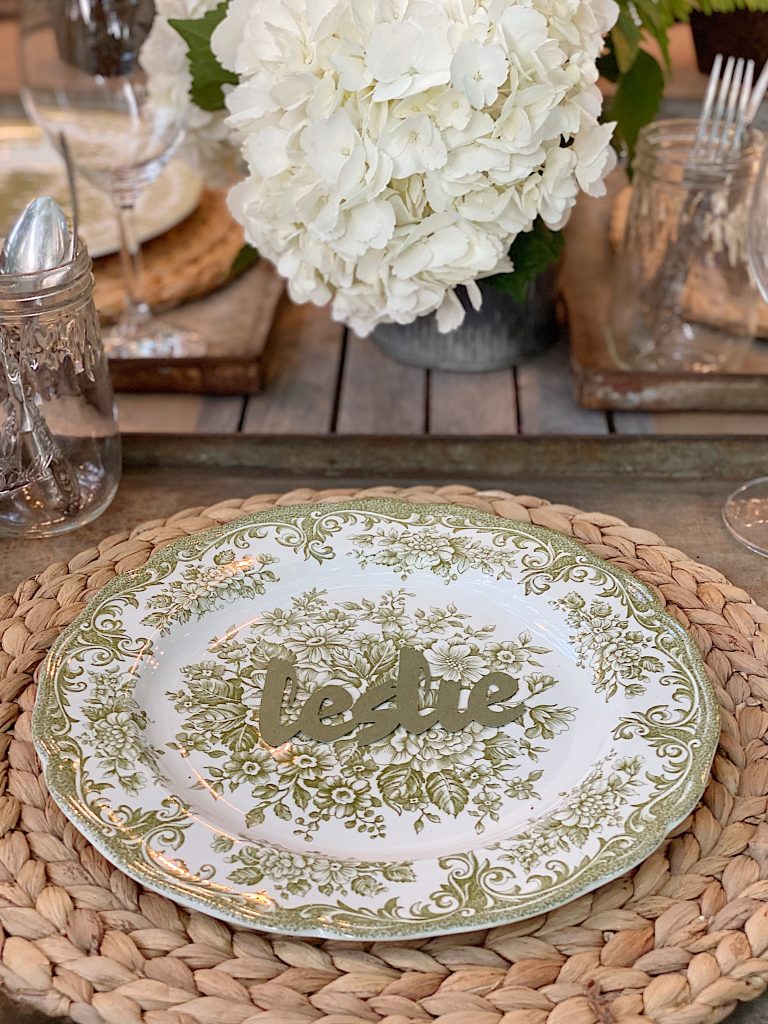
Once the table was set I knew my vision had come true!
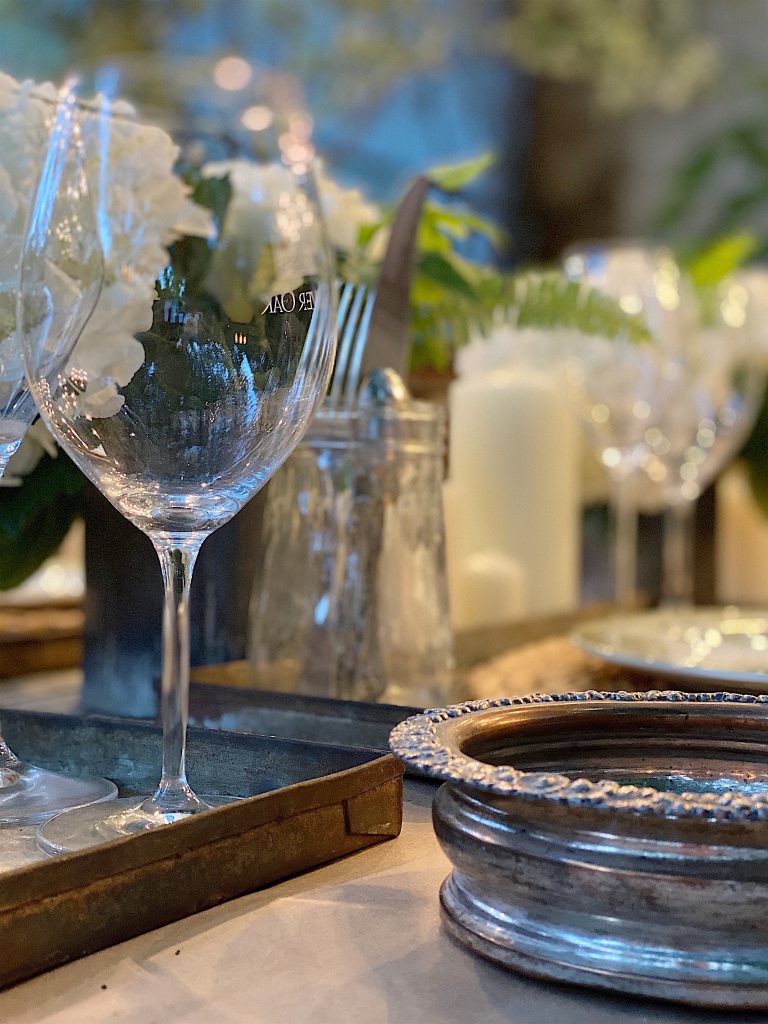
If you are looking for entertaining supplies, check out all of these items from Amazon Home.
The only thing I had left to do was to make the entire meal!
But I wasn’t worried because my daughter-in-law Charlotte is an amazing cook and we had so much fun cooking dinner together.
Click here to see the menu and recipes.
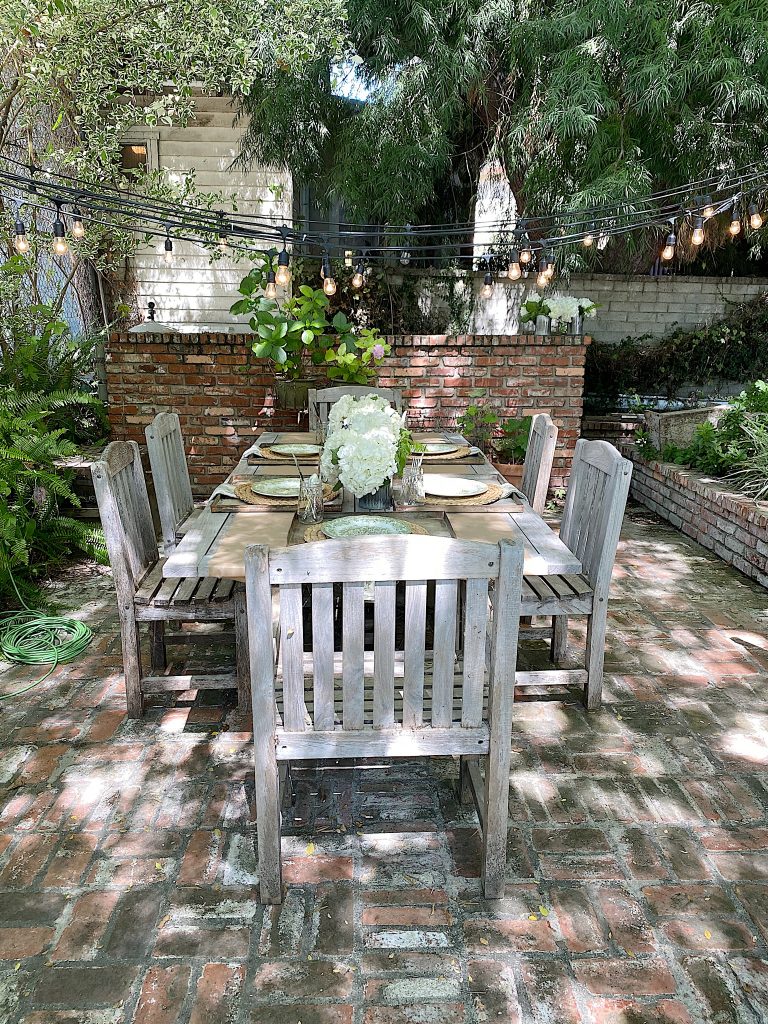
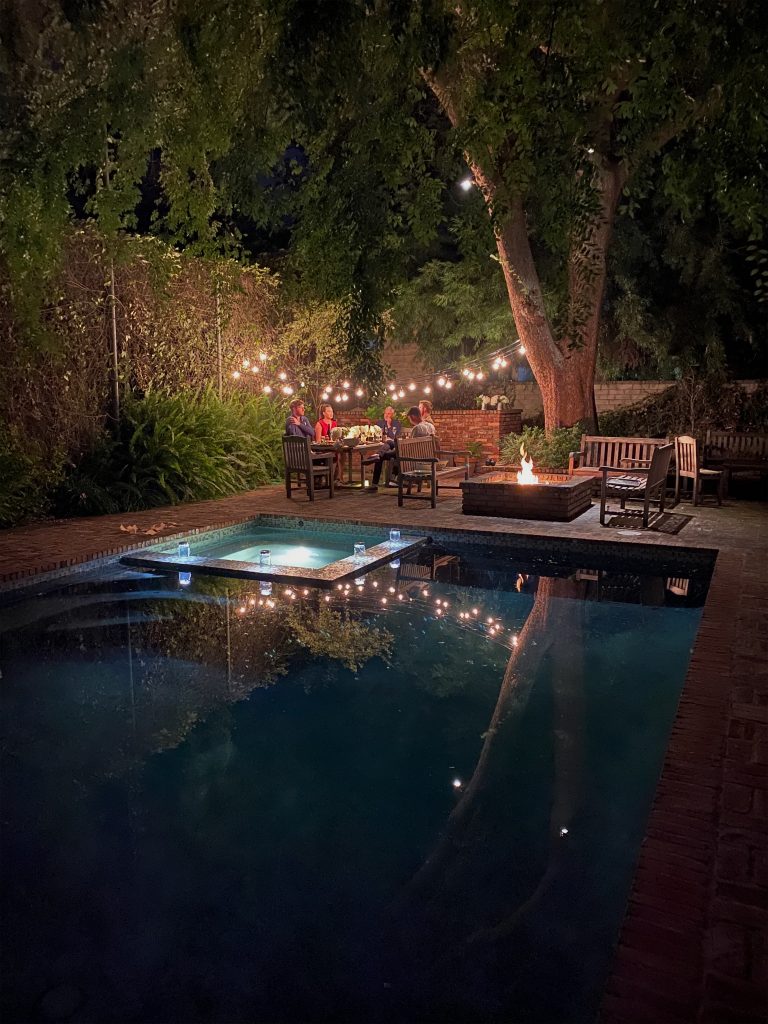
I knew once it got dark this was going to be the perfect location for a magical dinner party.
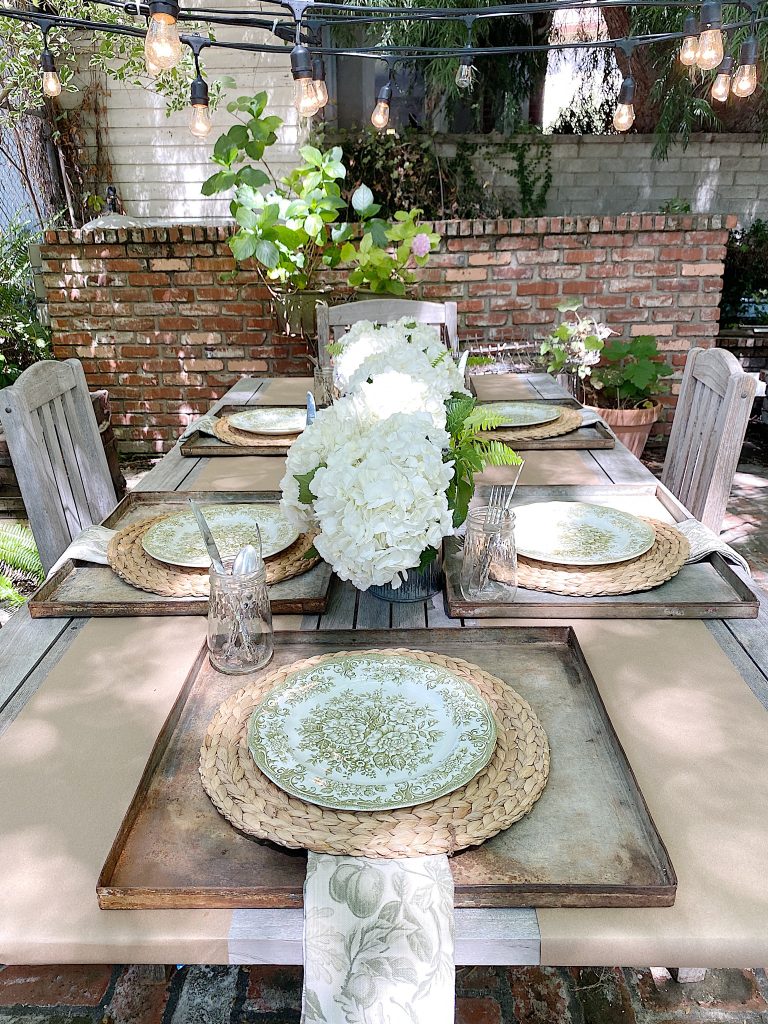
I added lots of candles to the table, including citronella candles to keep the bugs away.
Originally I had told everyone that we would dine at 7:30. Of course, it wasn’t even close to being dark so we moved it back to 8:45.

As it started getting darker, I lit the fire pit adjacent to our table. We put this firepit in when we added the pool about 14 years ago. I filled it with small lava rocks and four inches of firepit cut glass. The glass matches the glass tile in our pool. I think this was the start of my obsession with collecting sea glass!
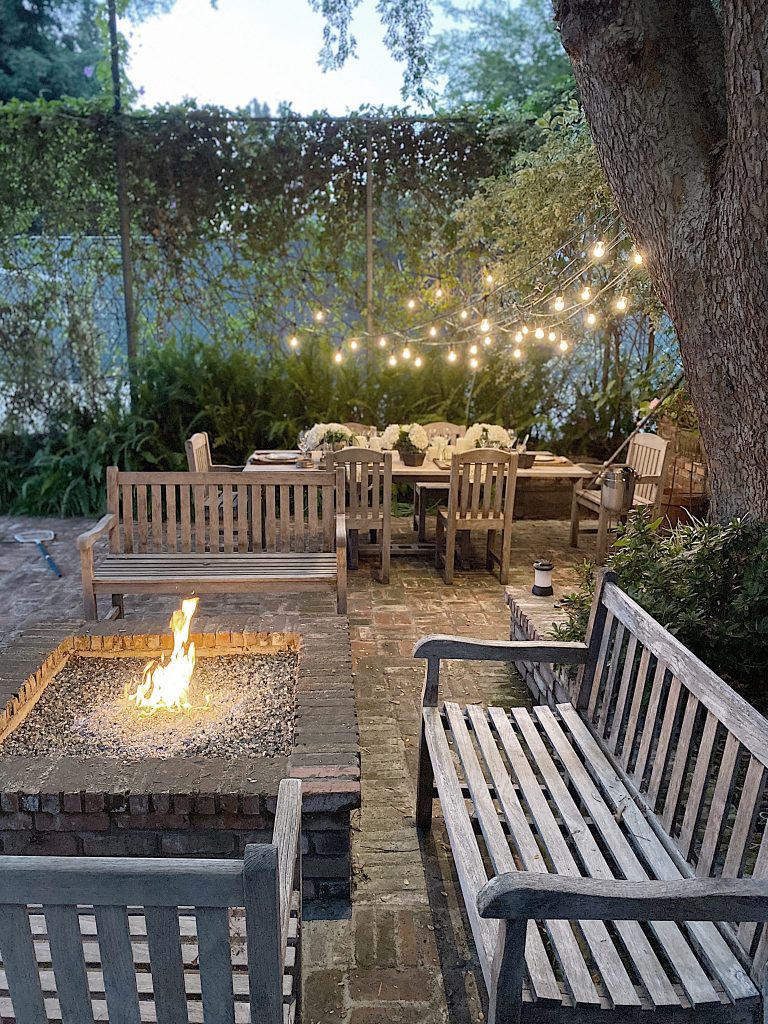
Isn’t this the perfect intimate backyard oasis?
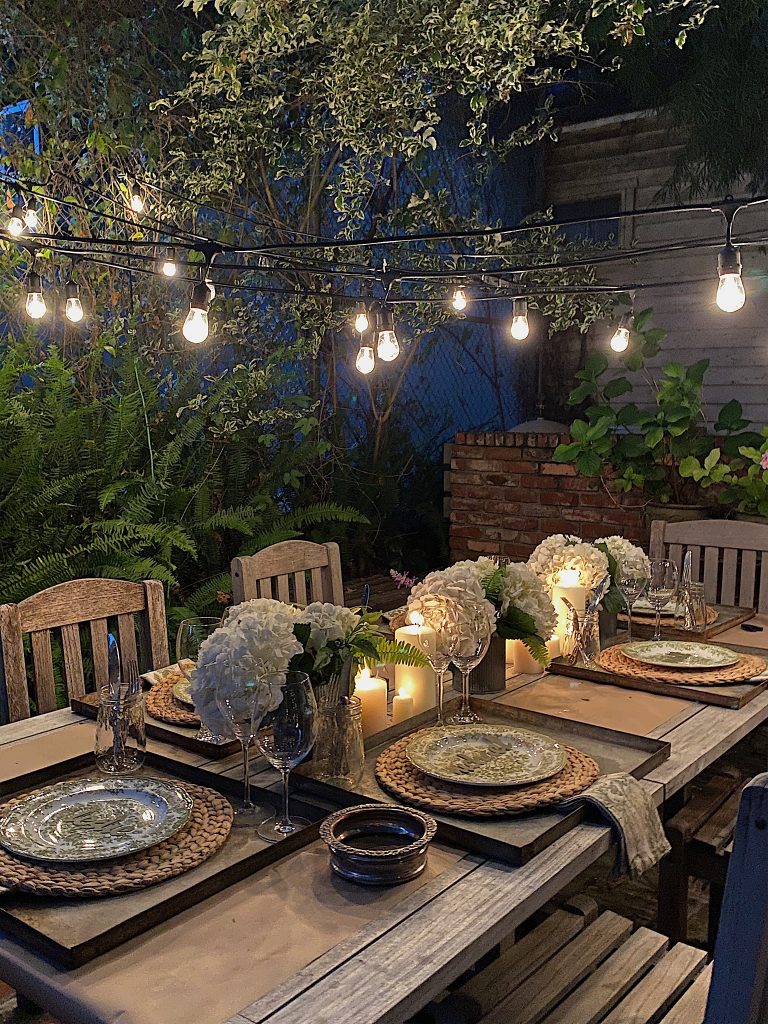
As you can see, the setting was absolutely incredible. It was truly a magical evening.
I hope you are thinking about a location in your yard you can set up a magical table for dinner.
Links to Items Seen in This Post


Pin the image below to your Entertaining or Outdoor boards on Pinterest (just click the Pin button in the top left corner). You can also follow along with me on Pinterest!
For more real-time updates, follow me on Instagram @My100YearOldHome



Beautiful job! You always seem to achieve perfection! I love it 💕💕💕
Magical is certainly the right word!
I see you use your outdoor lights strung quite a bit. Would you consider leaving them outside all summer?
So lovely! I also adore dinning outside. Sadly I have a super tiny yard and not enough room for a dining set up. Next house!!!
I would love some more info on how your pit fire works? I’m from Aus and have not seen this concept but it looks very cool! Do you burn a fuel in there? Is it warm? Or just for effect? Sorry forgot my manners with curiosity. Your blog is amazing, actually my fav, you do the things I wish I had the energy to do! Jo
It is soo neat to see your love of making things special. In my circles I find it quite rare for someone to go the extra mile to make things nice. I think a beautiful setting is all part of the dining experience and makes it even more special.
I have always talked about eating in different locations in ones house but I need to do the same outside. This post made me think of a place in our backyard that would be lovely. Right next to our waterfall. ♥
What a exquisite magical dinner party!
Wow!! Thanks for sharing . You really are an inspiration!
What a exquisite magical dinner party!
Wow!!
You have inspired me!!!! Thanks so much for sharing your backyard entertaining tips and I look forward to the next post as well. I think the lights take the cake!!!
Oh that’s GORGEOUS Leslie! I totally am thinking about making a space in our backyard! Your posts always lead me to decorating daydreams – thanks! 🙂
Just beautiful!!! I love how large your yard is, how you use it, and all the various possibilities!!! Truly blessed!! I’ll be purchasing some of those candles and the mosquito repeller. Thanks for sharing!! I’d love to see how the lights are attached to the back of the tree!😄
Thank you Debbie, I am so glad that you enjoy.
So pretty!! Love your backyard, it’s just dreamy!!
Thank you, Laurie!
I can definitely tell that entertaining is your passion, and you are excellent at it. Thank you for always inspiring. And I love those metal trays.
Thank you so much, Miche! That is such a compliment and I so appreciate you being here 🙂
A stunningly beautiful dinner party..love the look.
Thank you so much, Cookie!
How incredibly beautiful, I love when your blog pops up!!💘💝💖 Thank you!!!
Thank you, Wendy! So glad you are here to enjoy 🙂
What was your timeline for setting up? How early do you set your table etc.
Love the setting! Warm, magical …and yes,lighting is so important. Inspirational!!
Thank you, Caron!!
Loved this post. So fun, casual, beautiful. The metal trays caught my eye. They fit perfectly with your theme. I make all of my own floral arrangements as well.
WoW … just came across this blog post. Everything looks magical. I, too, love to entertain outdoors and now have some new ideas. Thank you!!
I am so glad this gave you new inspiration, Thank you Kathie!
I am so glad I found your site. I love all your ideas and decorating. Maybe when winter leaves and the snow is gone, I will try something like that as well. Probably just be for my husband and I, unless COVID suddenly decides to leave. We can hope.
I hear you MaryLou. I set a lot of tables for 2 these days. I am so happy that you are enjoying the site and all that I have to share. Have a great week!
I can’t wait until it gets warm enough to entertain outside! We have lights crisscrossed over a brick patio also and it makes it magical. I love your posts and I try to emulate what you do. You inspire me to want to try new things. It lifts my spirits! Thank you 😊
That sounds like an amazing space Linda. Isn’t it incredible how something as easy as string lights can turn something basic into something magical! Thank you for your kind words. I am so happy that you enjoy what I share. Have a great day!
So pretty. I have a question regarding how to get power to the tree that far from the house. Do you have wiring underground from the house to the tree? What is a no voltage wire? I have wanted to do this for years and wonder about the process of getting power from the house to the trees.
So very pretty. Questions? How do you get your ferns to be so large and lush? Next quesstion – wjat
so [
Jean, I ran an extension cord off of the flat part of my roof into the tree. Perhaps not best recommended by an electrician 🙂 I am having it redone soon, so stay tuned for professional DIY guidance on how to achieve lighted trees!