The Best Spring Pillow DIY – A Handmade Spring
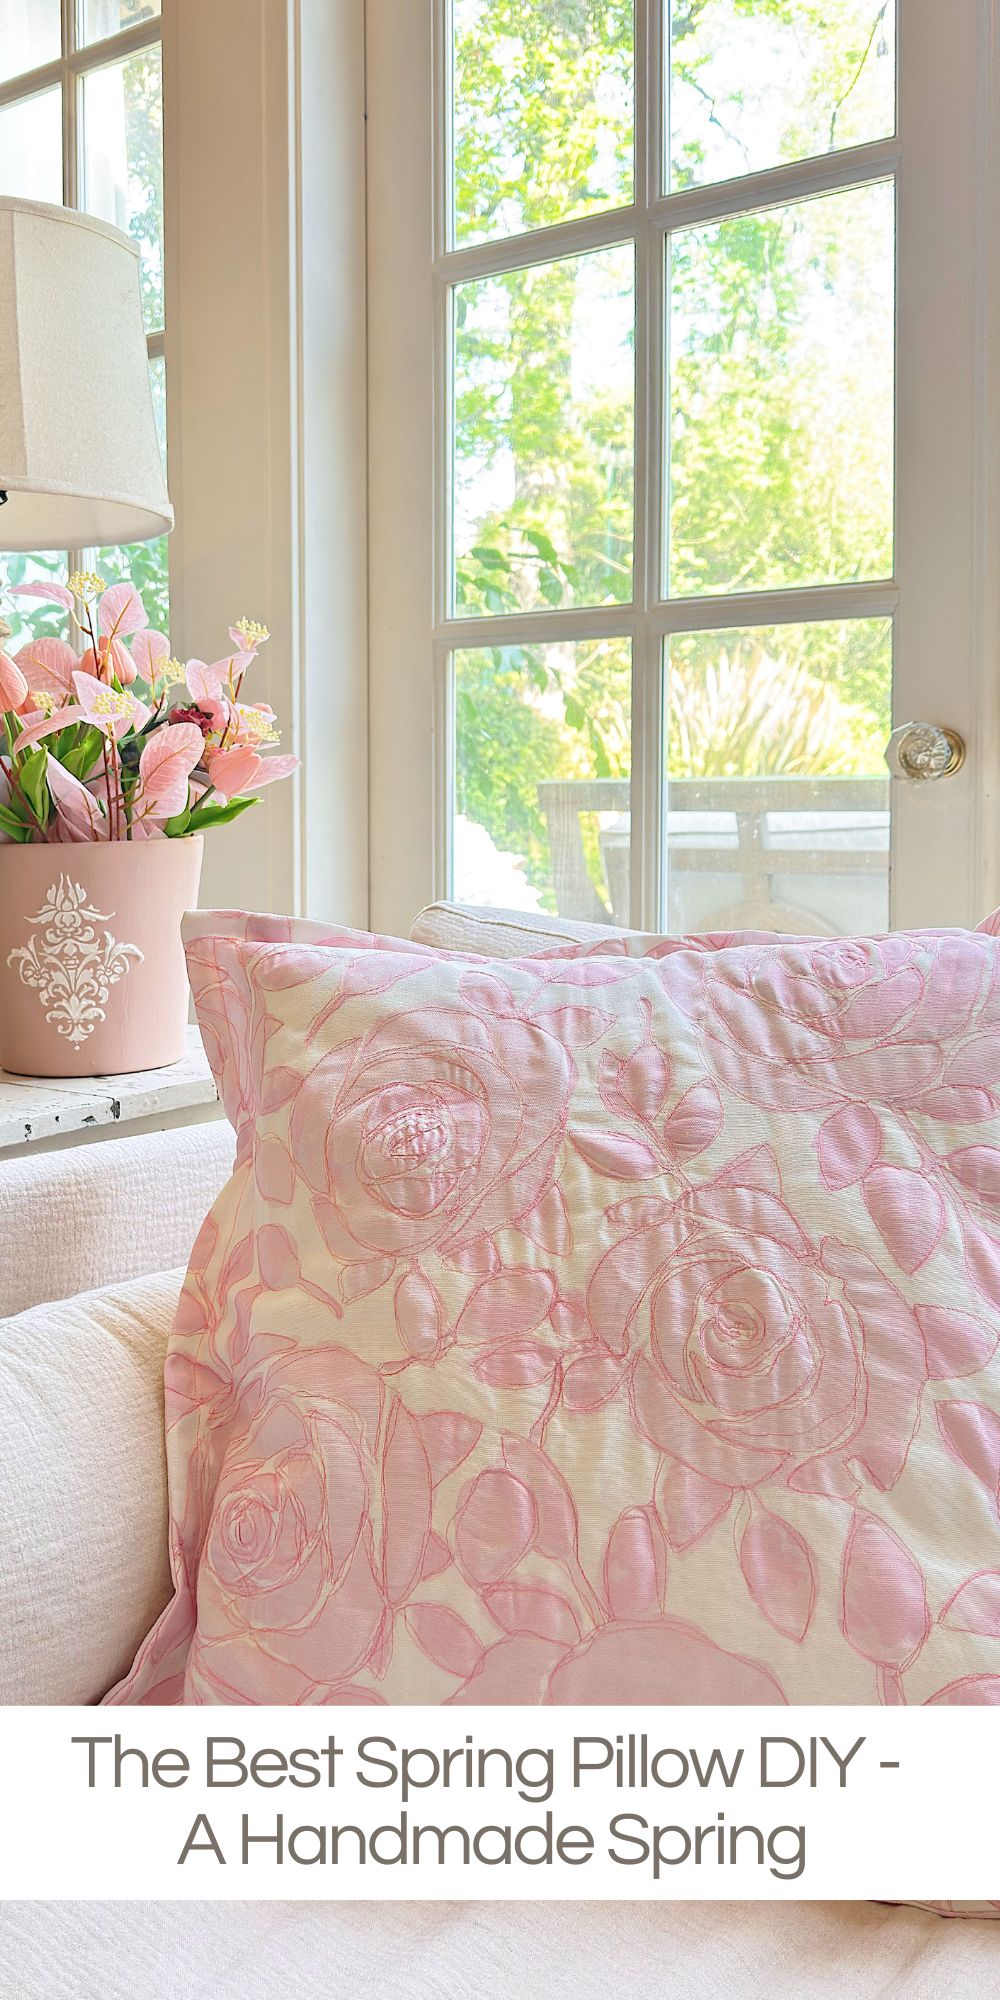

There are certain projects that start as an idea and quietly turn into something you love far more than you expected, and this Spring pillow is exactly that.
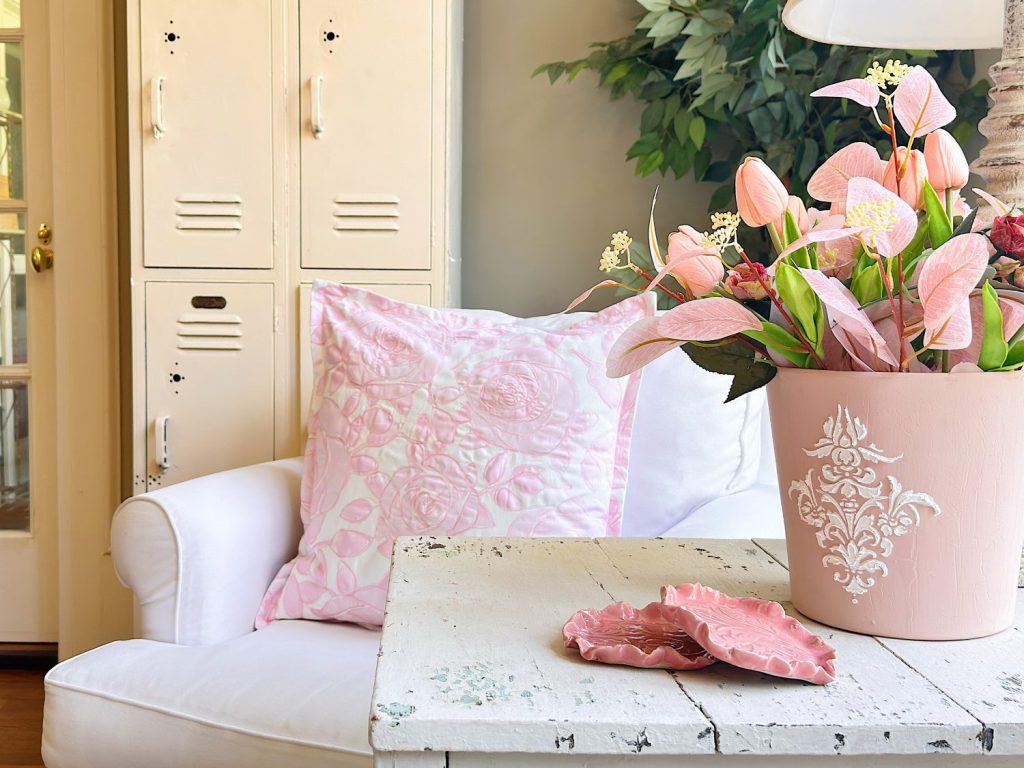
As part of my A Handmade Spring series, I wanted to create something soft, beautiful, and full of texture, and this pillow checked every box. This pillow is one of those projects that looks incredibly detailed but is actually very achievable, even if you have never tried free-motion stitching before.


The Best Spring Pillow DIY – A Handmade Spring
There are certain projects that start as an idea and quietly turn into something you love far more than you expected, and this pillow is exactly that.
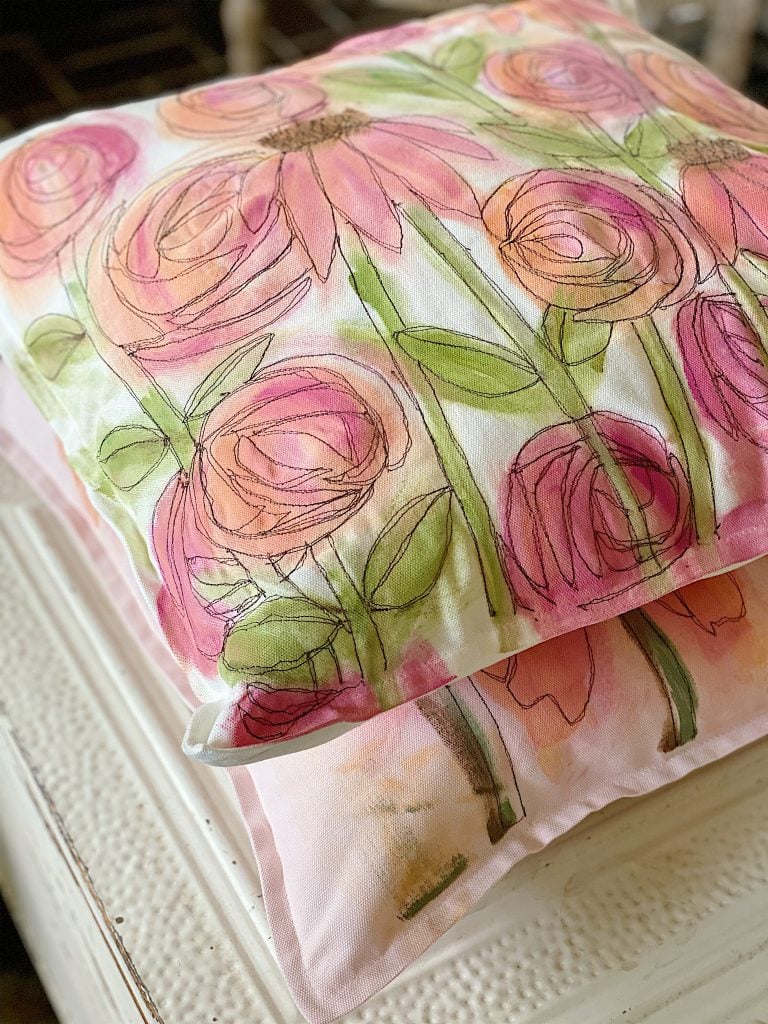
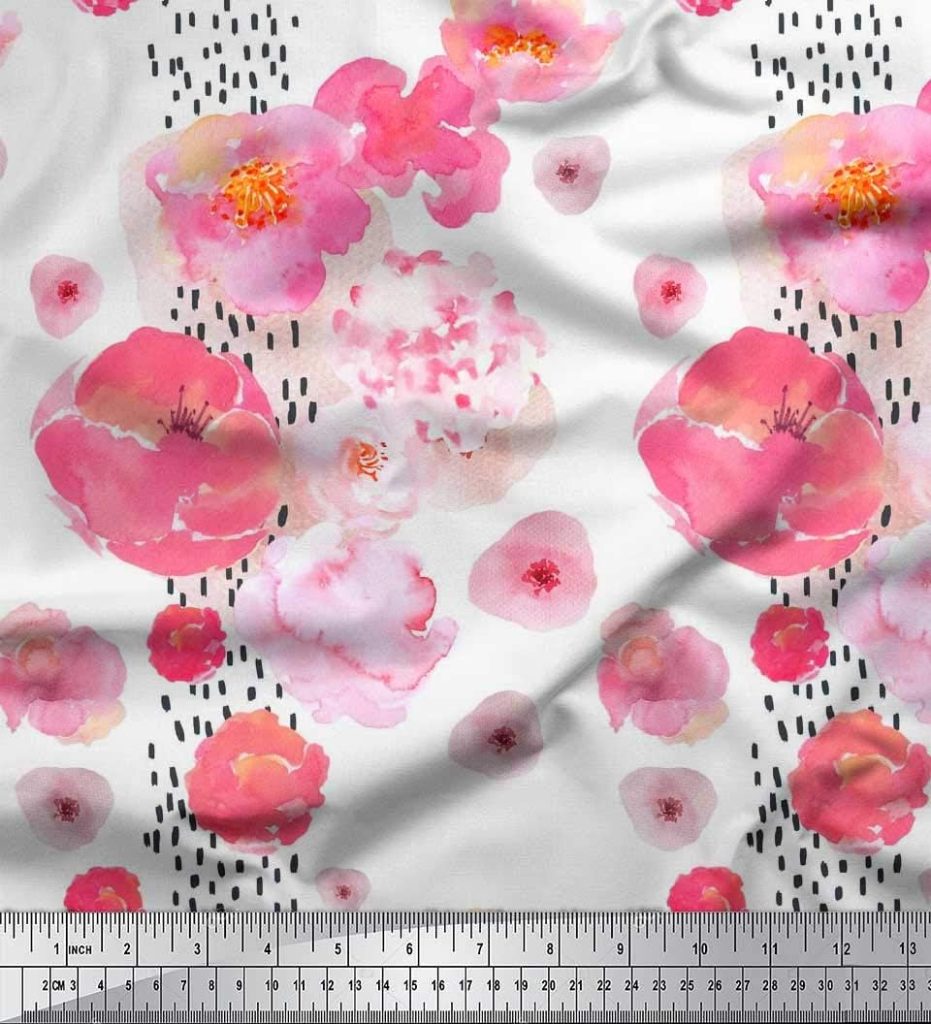
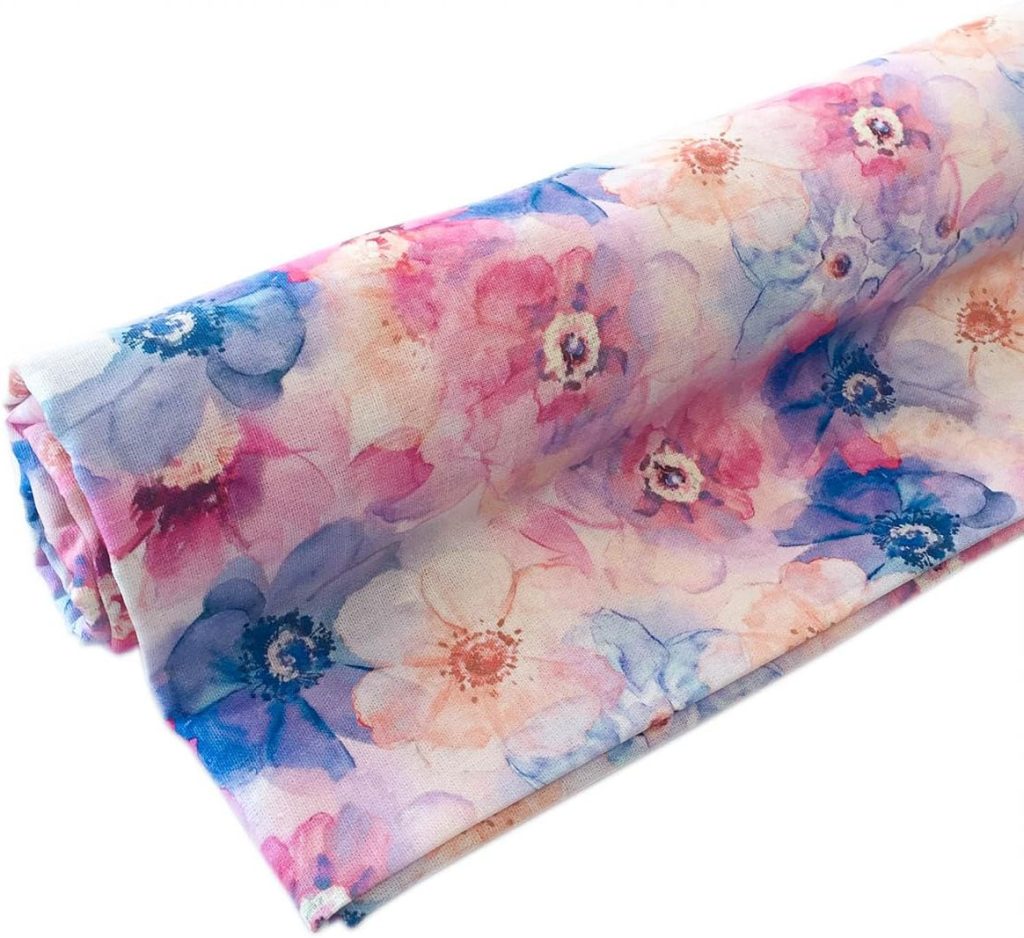
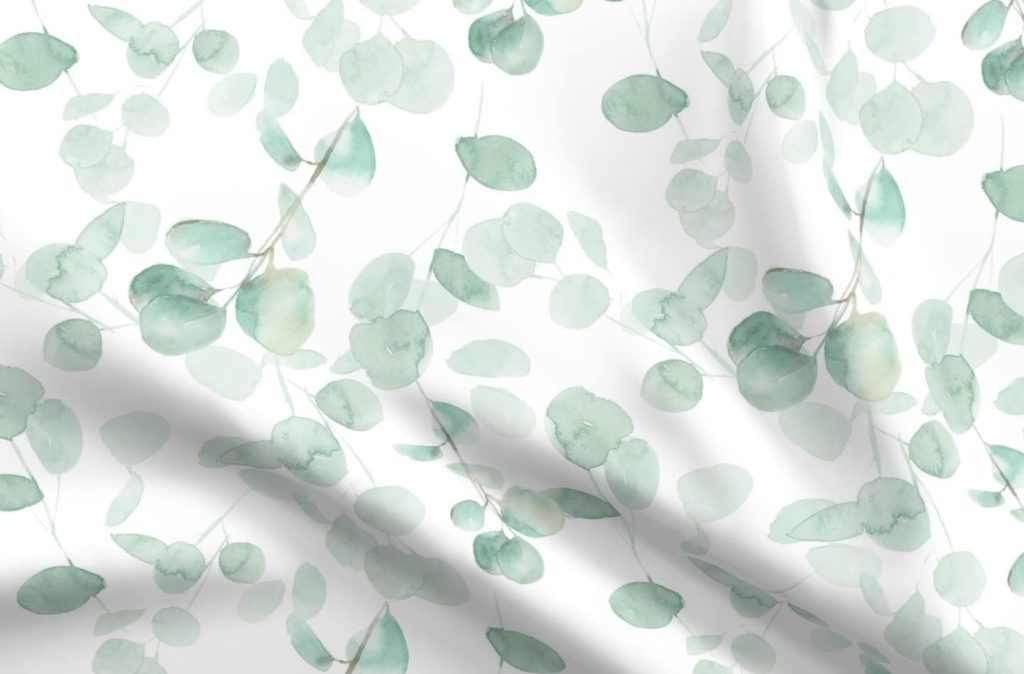
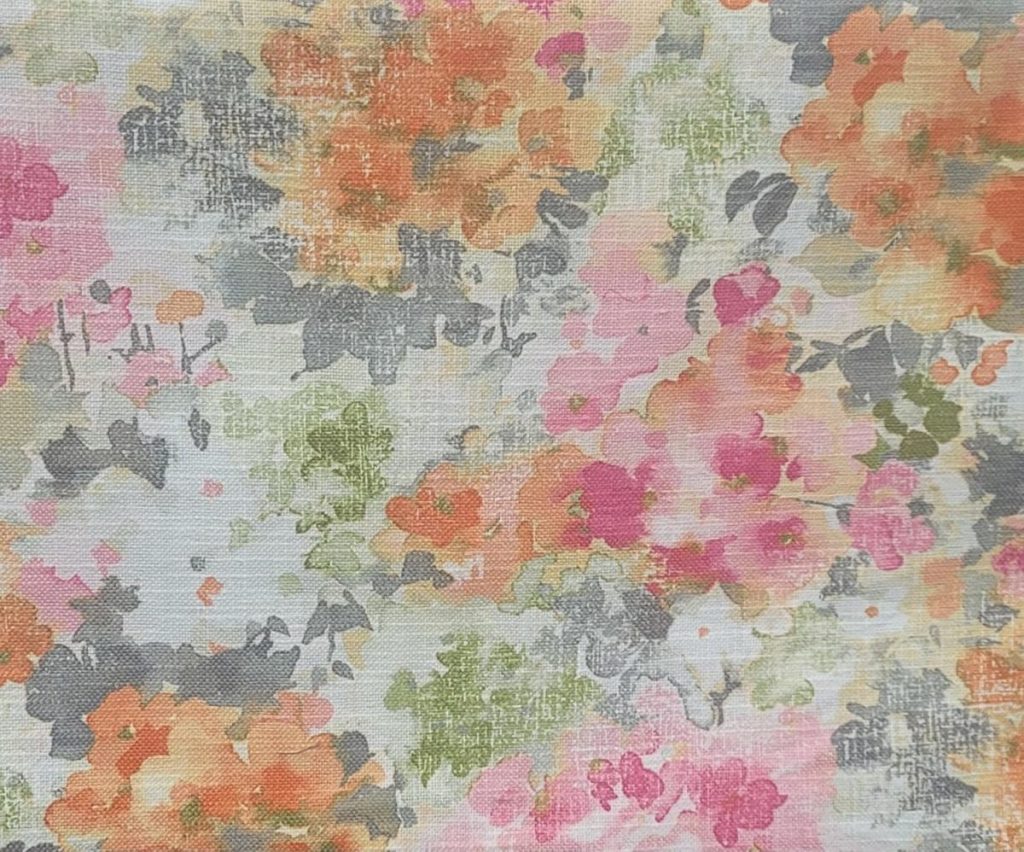
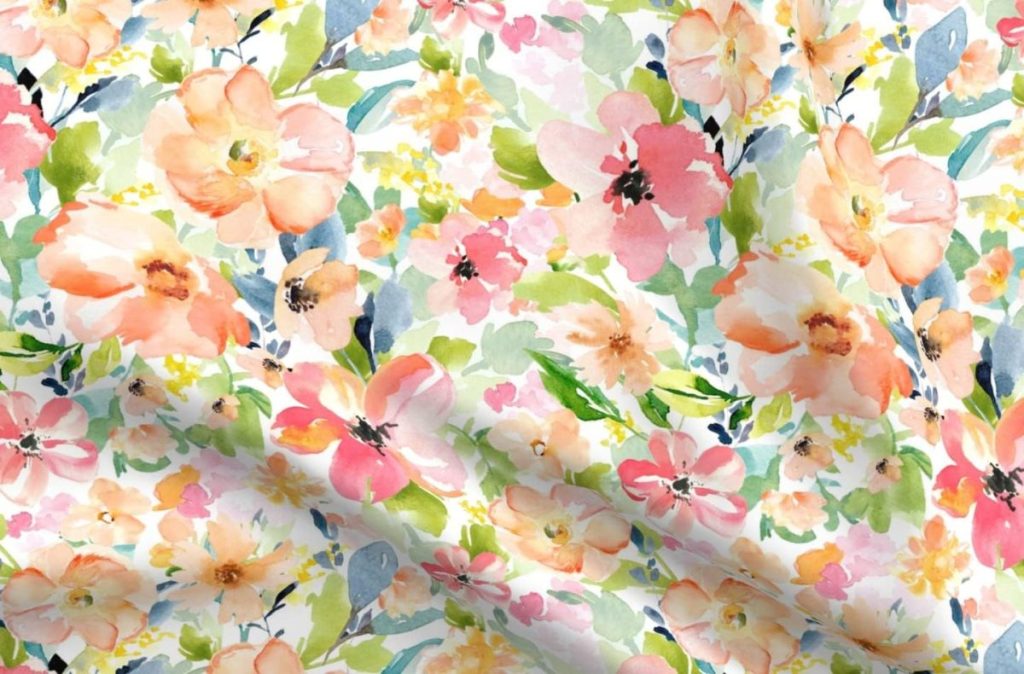
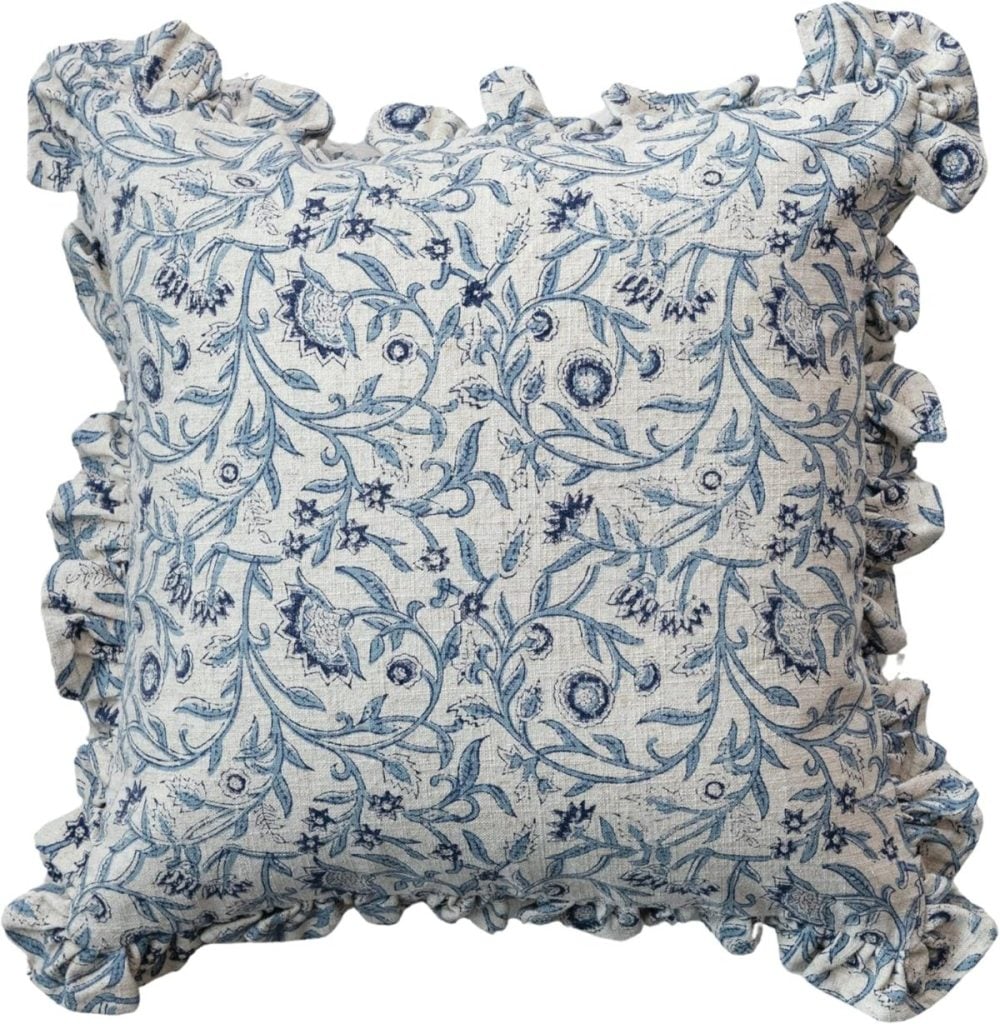
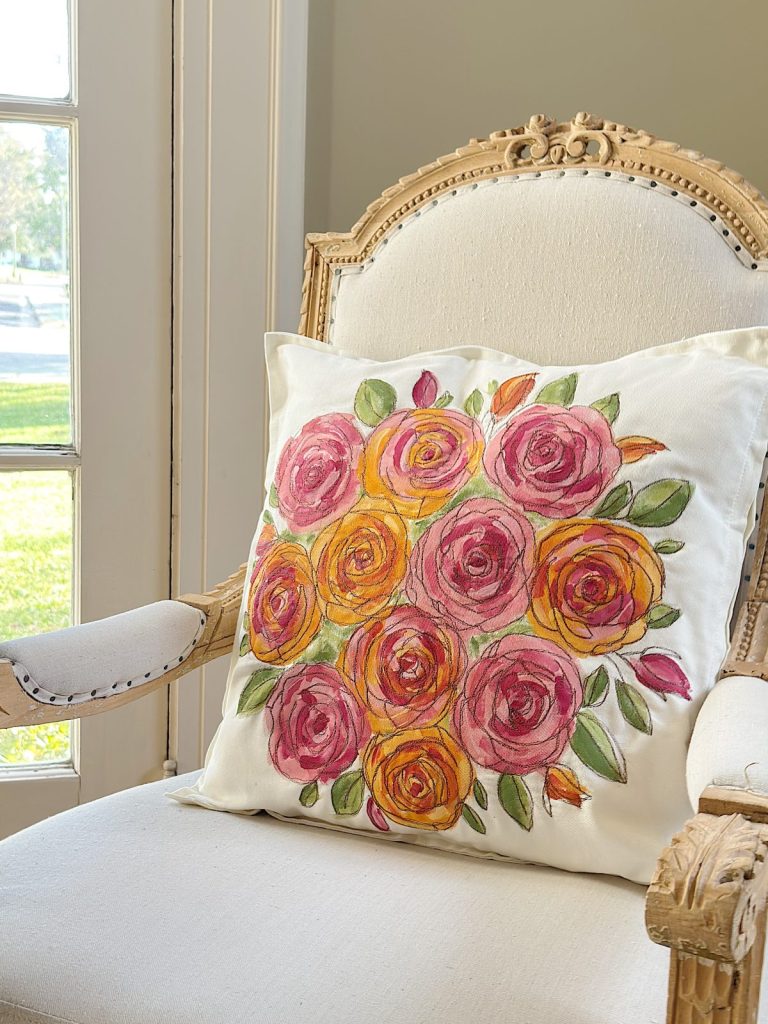
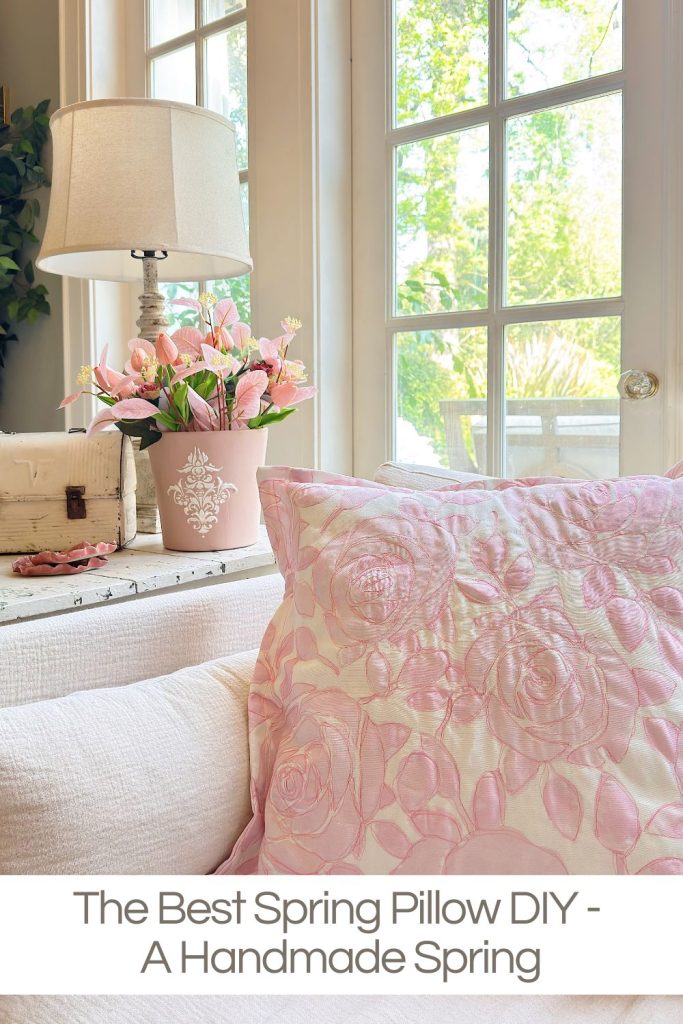
As part of my A Handmade Spring series, I wanted to create something soft, beautiful, and full of texture, and this pillow checked every box. I started with a floral fabric that already had a delicate, painterly feel, but I wanted more depth.
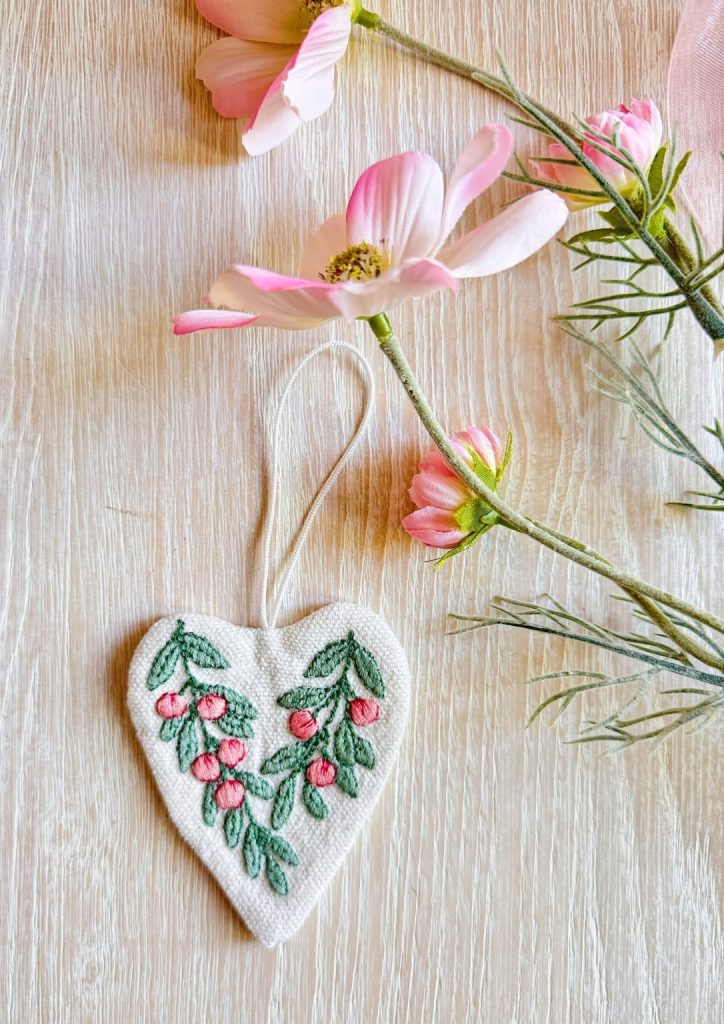
So I added free motion stitch embroidery over the entire design, carefully tracing the flowers and leaves with thread. What surprised me most was how much the stitching transformed the fabric. It didn’t just enhance the pattern, it gave it a vintage, almost heirloom look that feels collected rather than made.
This pillow is one of those projects that looks incredibly detailed but is actually very achievable, even if you have never tried free-motion stitching before.
Why I Love This Pillow
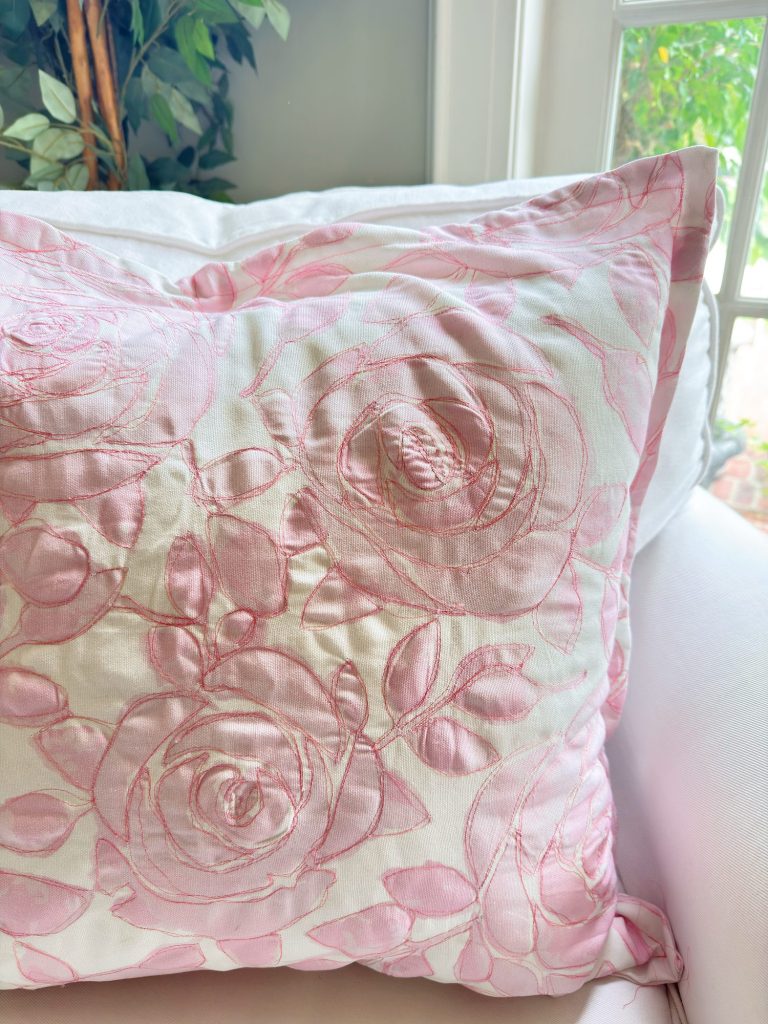
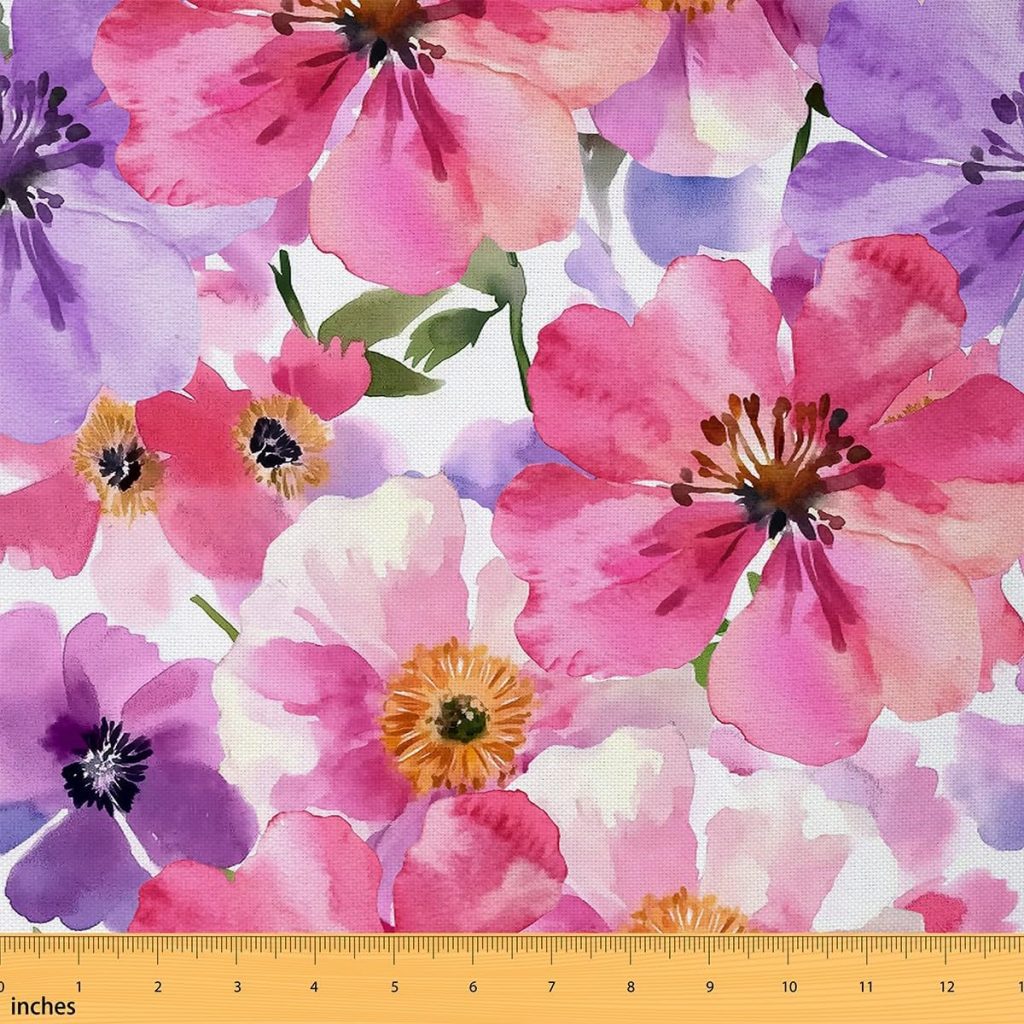
There is something about stitched details that instantly makes a piece feel special. The soft pink thread layered over the floral pattern adds dimension, movement, and just enough imperfection to give it that handmade charm.
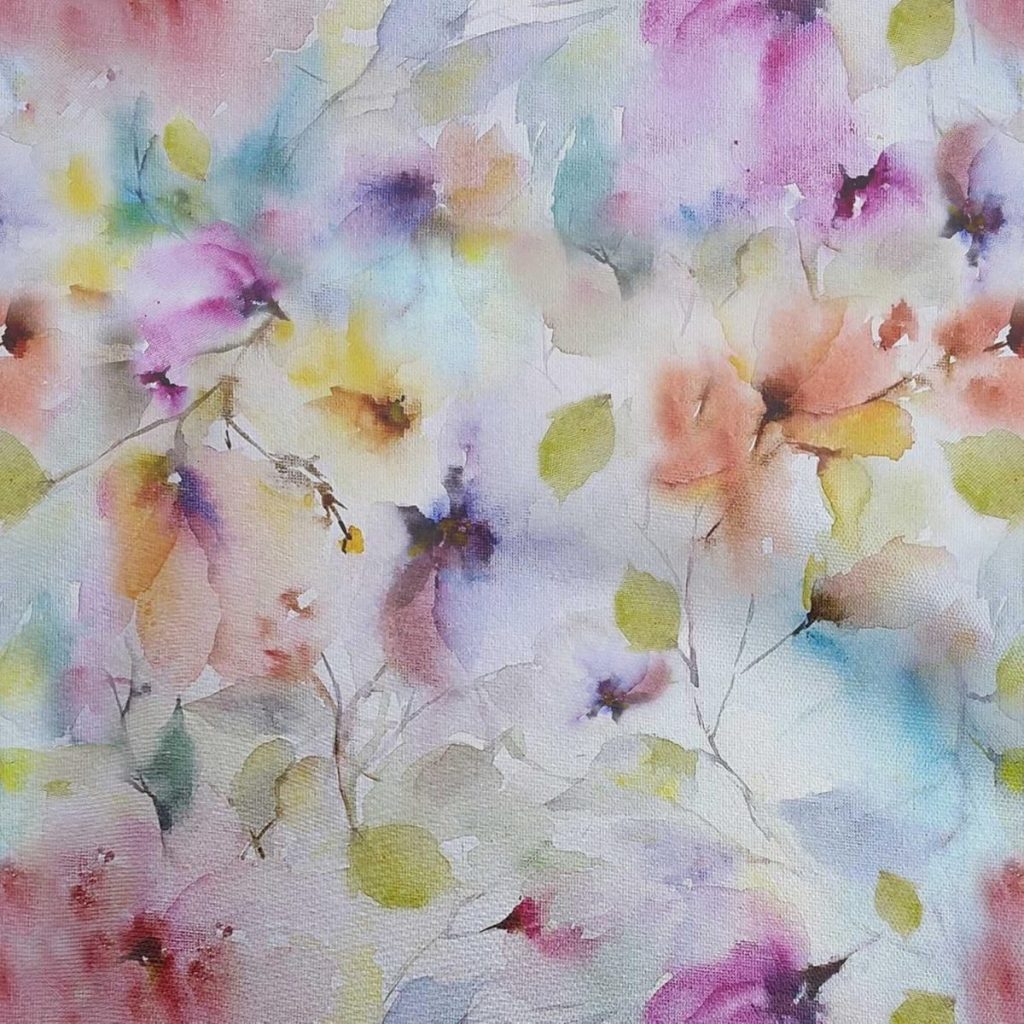
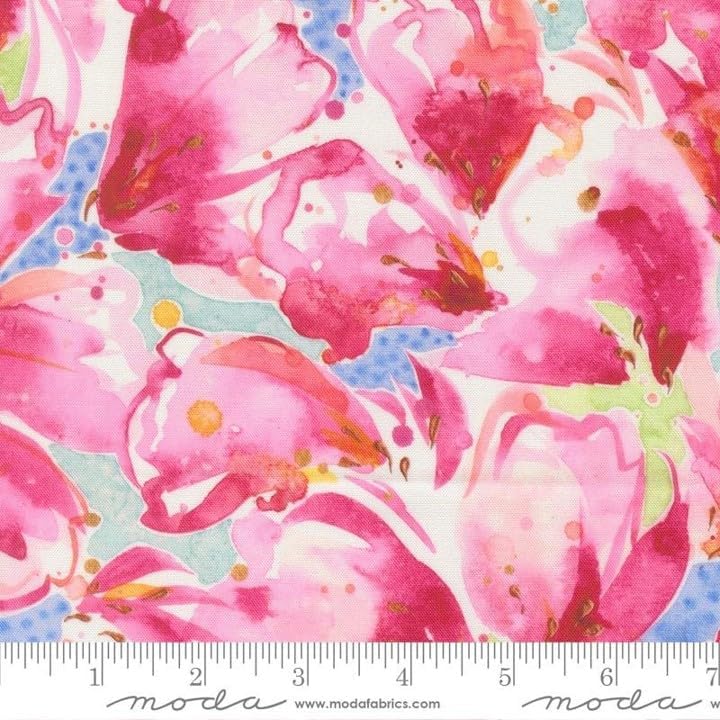
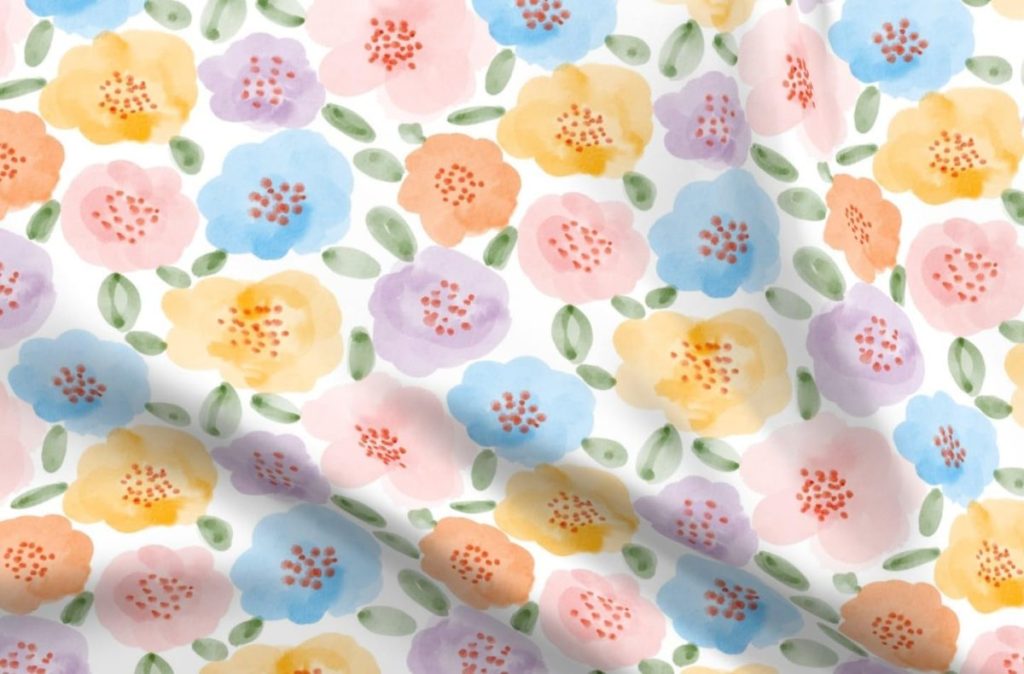
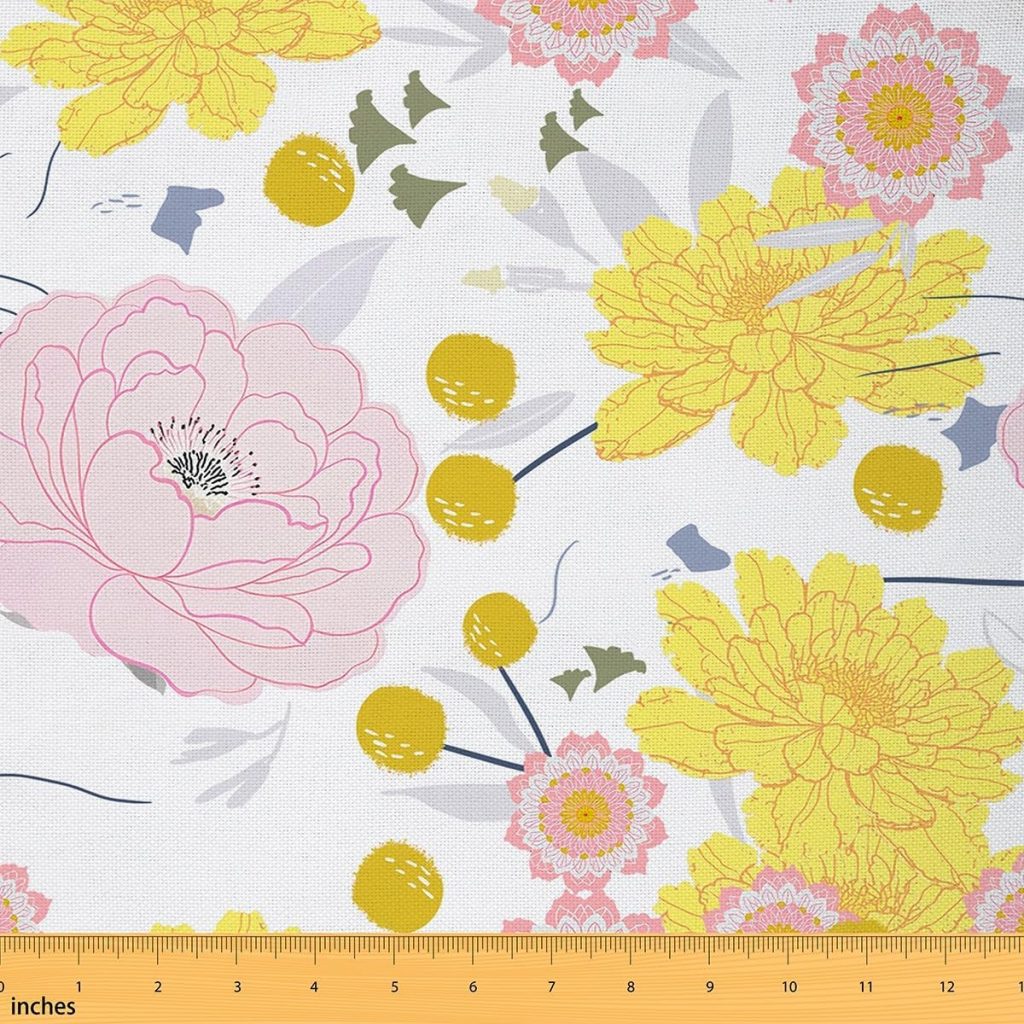
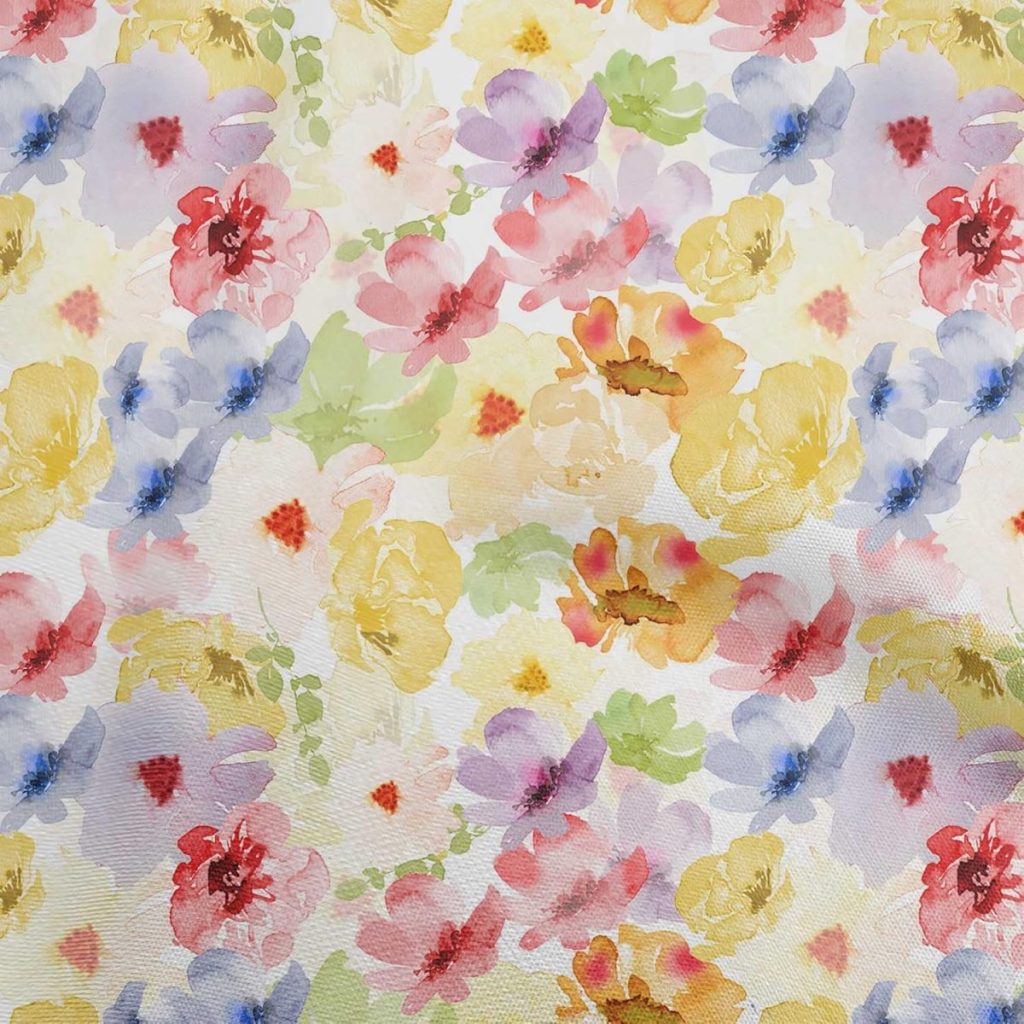
I especially love how this technique works with fabrics that have an undefined or watercolor-style pattern. Florals are my favorite, but any soft print works beautifully. The stitching does not need to be perfect. In fact, the slightly imperfect lines are what make it feel organic and artistic.
And the best part is that you can completely customize it. Change the thread color, choose a different fabric, or make a set of pillows that all coordinate but are slightly different.

Big Spring Sale is still happening, and we’re sharing some of our fav home deals!
On this blog, I may use affiliate links, which means I earn a small commission if you make a purchase via the link. The price will be the same whether you use the affiliate link or go directly to the vendor’s website using a non-affiliate link.


Tap on any link to Shop by category for hundreds of deals.
- Spring Home Refresh (Home Decor)
- Kitchen Upgrades on Sale (Kitchen)
- Smart Home Must-Haves (Electronics)
- Entertainment Upgrades on Sale (TV & speakers)
- Warm Weather Style Finds (Apparel)
- Spring Cleaning Game-Changers (Cleaning)
- Backyard Glow-Up Deals (Patio Season Must-Haves)
- Spring Break Deals (travel, clothes, etc)
- Sell-Out Alert Deals (biggest % off)
What Is Free Motion Stitch Embroidery?
If you have never tried free motion stitching before, this is the perfect project to start with.
Free motion stitching allows you to “draw” with your sewing machine. Instead of the machine feeding the fabric in a straight line, you guide it yourself in any direction. This means you can trace shapes, outline patterns, and create flowing designs.
It might sound intimidating, but it really isn’t. Once you get the feel for it, it becomes incredibly relaxing and even a little addictive.
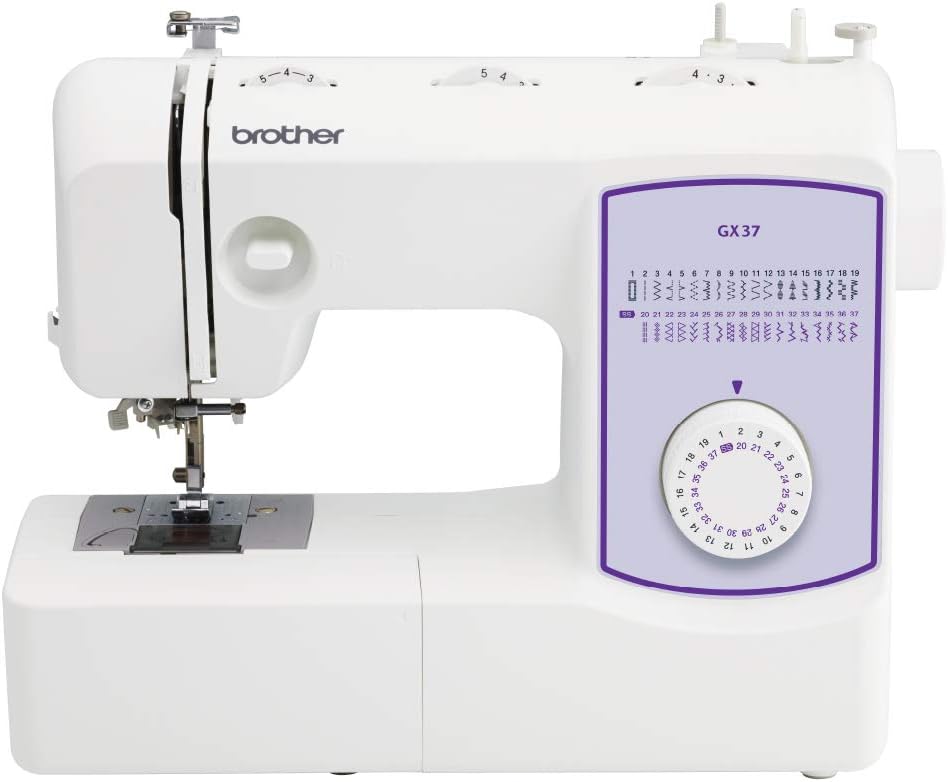
What You Need for Free Motion Stitching
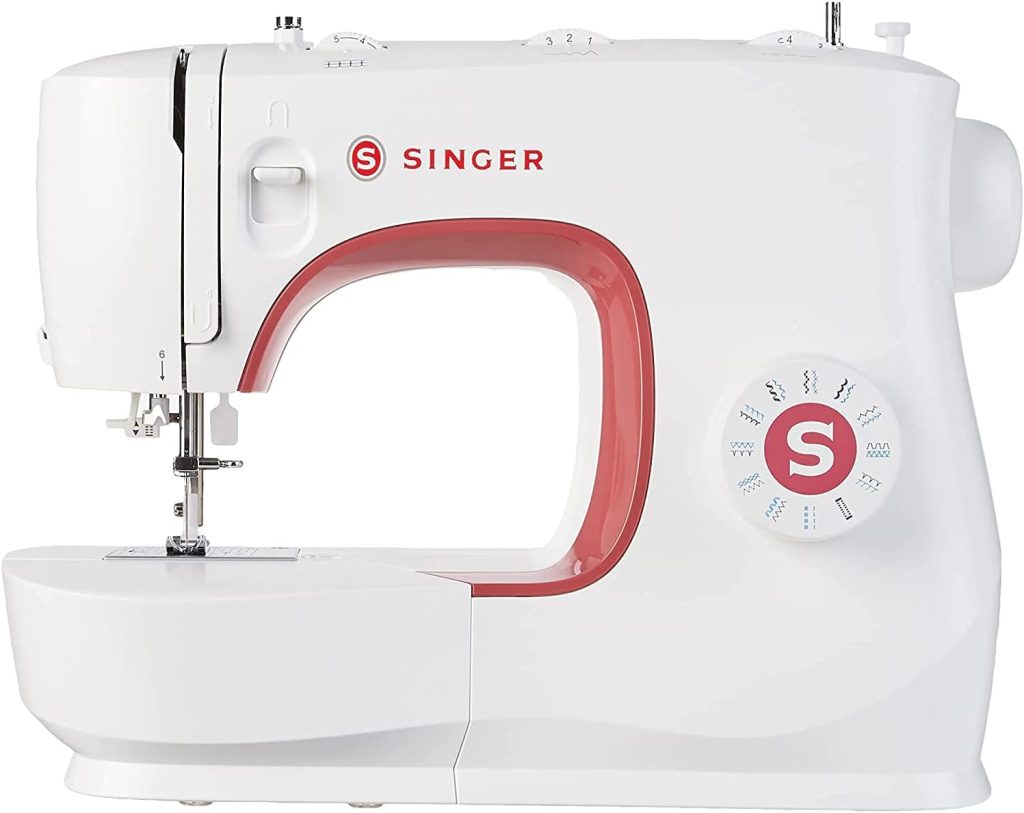
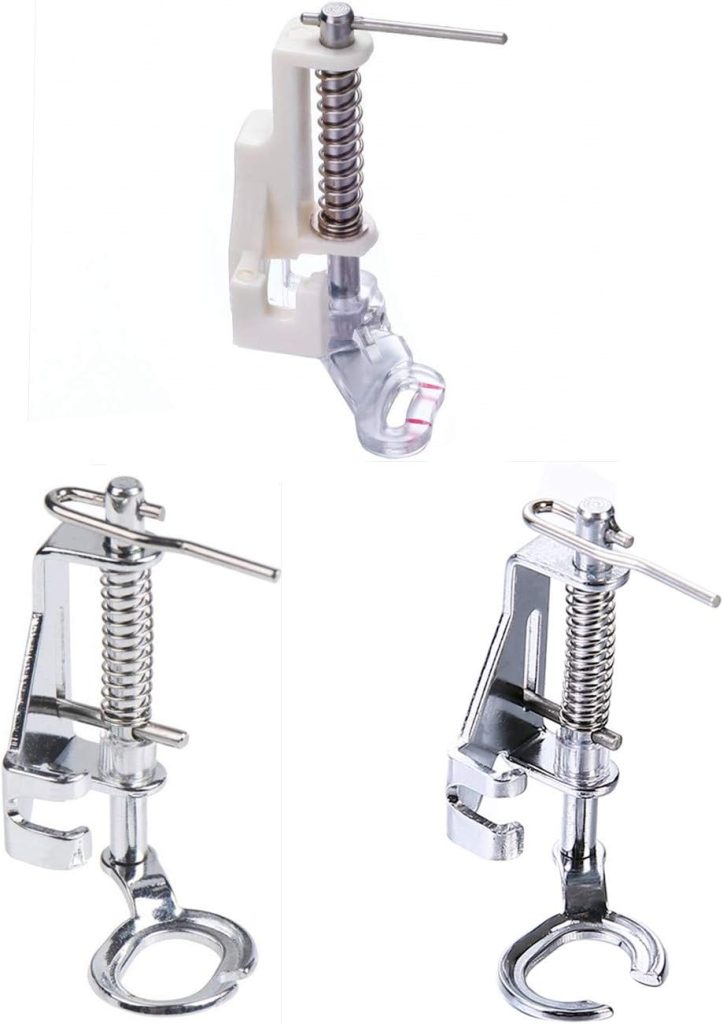
- A sewing machine with a free-motion or darning foot
- Feed dogs lowered or covered
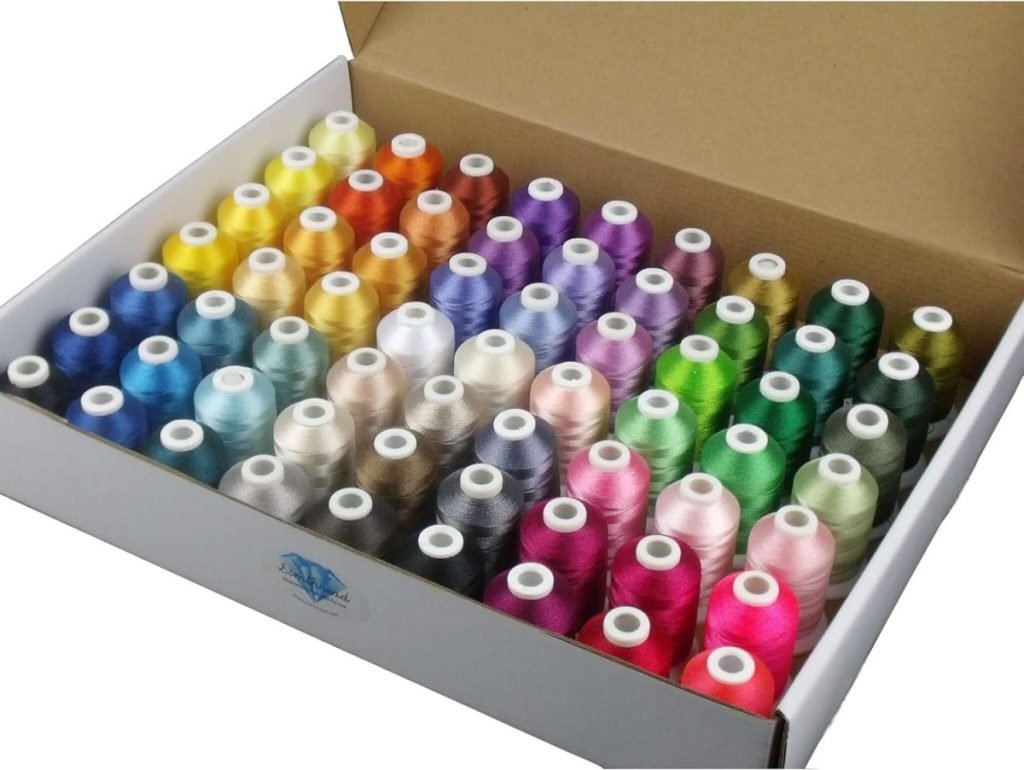
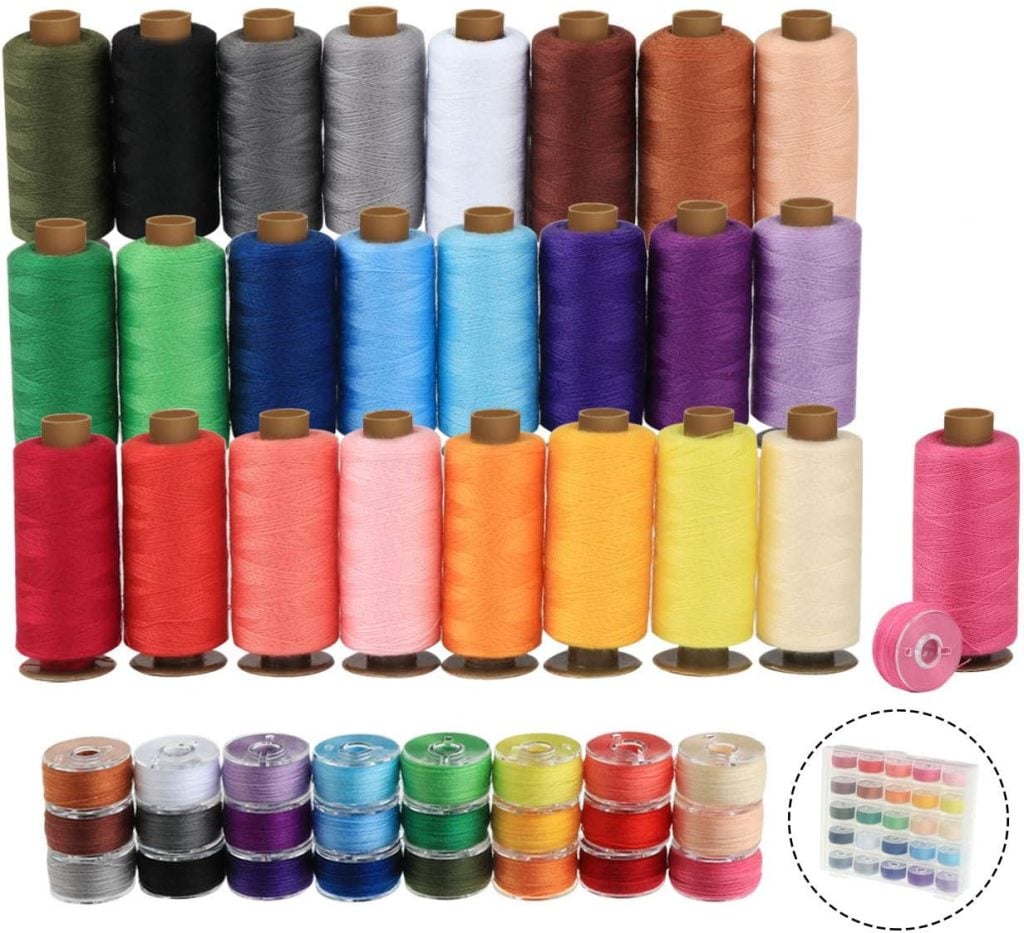
- Embroidery thread
- A steady, even sewing speed
- A willingness to embrace imperfect lines
The key is to move your fabric smoothly while keeping your machine running at a consistent speed. Think of it like drawing with a pencil. Your hands guide the movement, not the machine.
Supplies
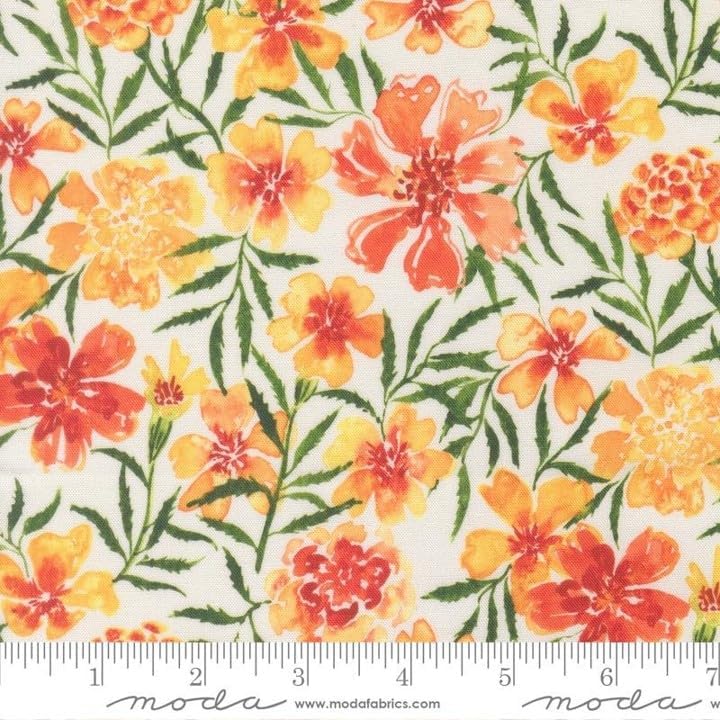
- Floral fabric (or any soft patterned fabric)
- Embroidery thread
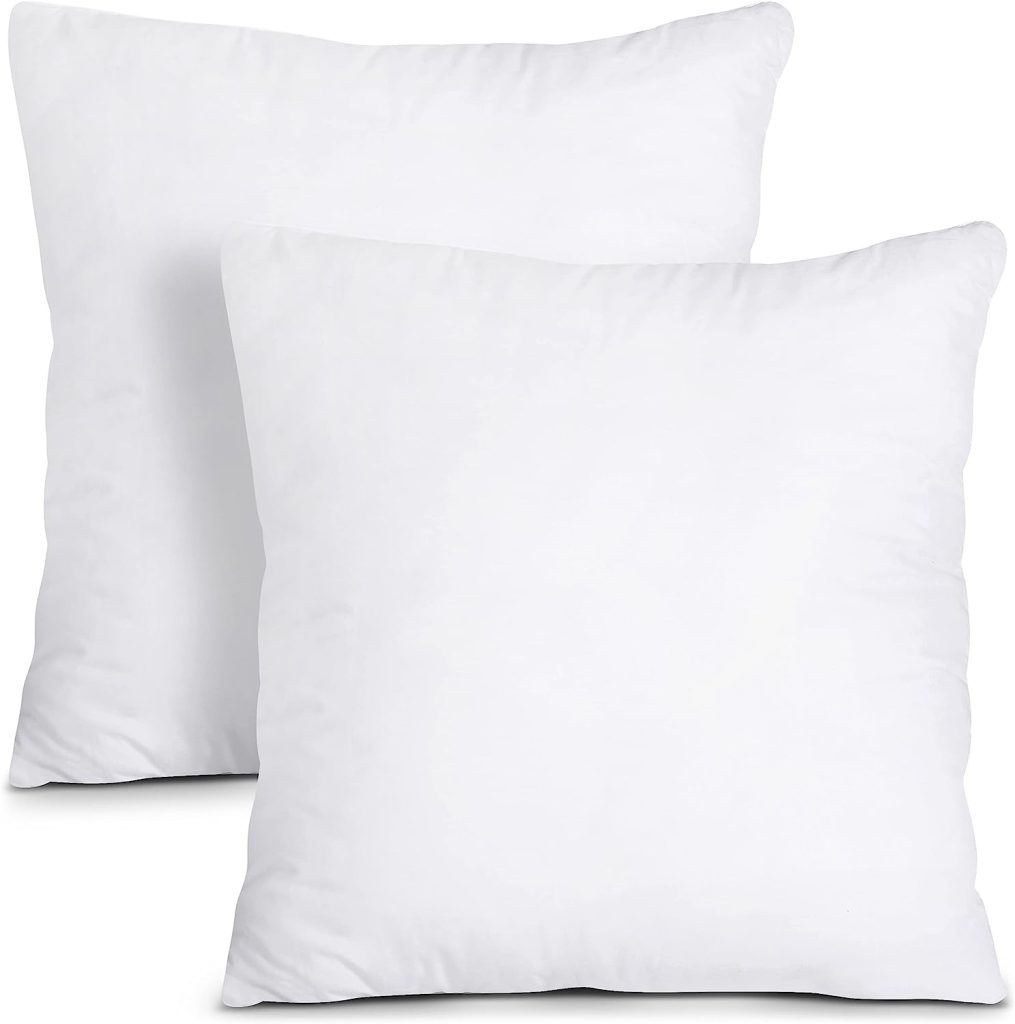
- 22” pillow insert
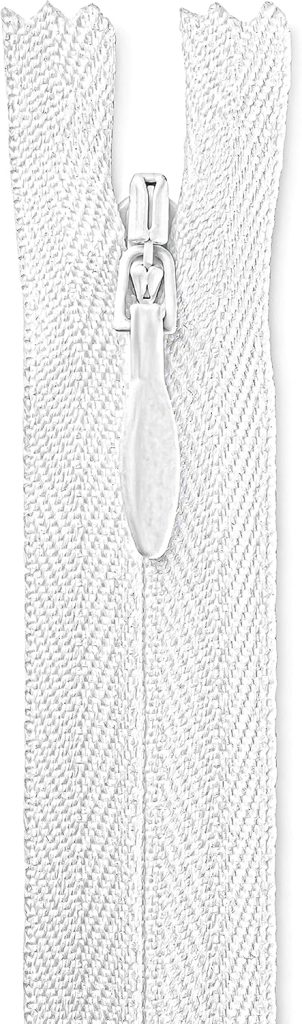
- 22” white zipper
- Sewing machine
- Free motion/darning foot
- Scissors or rotary cutter
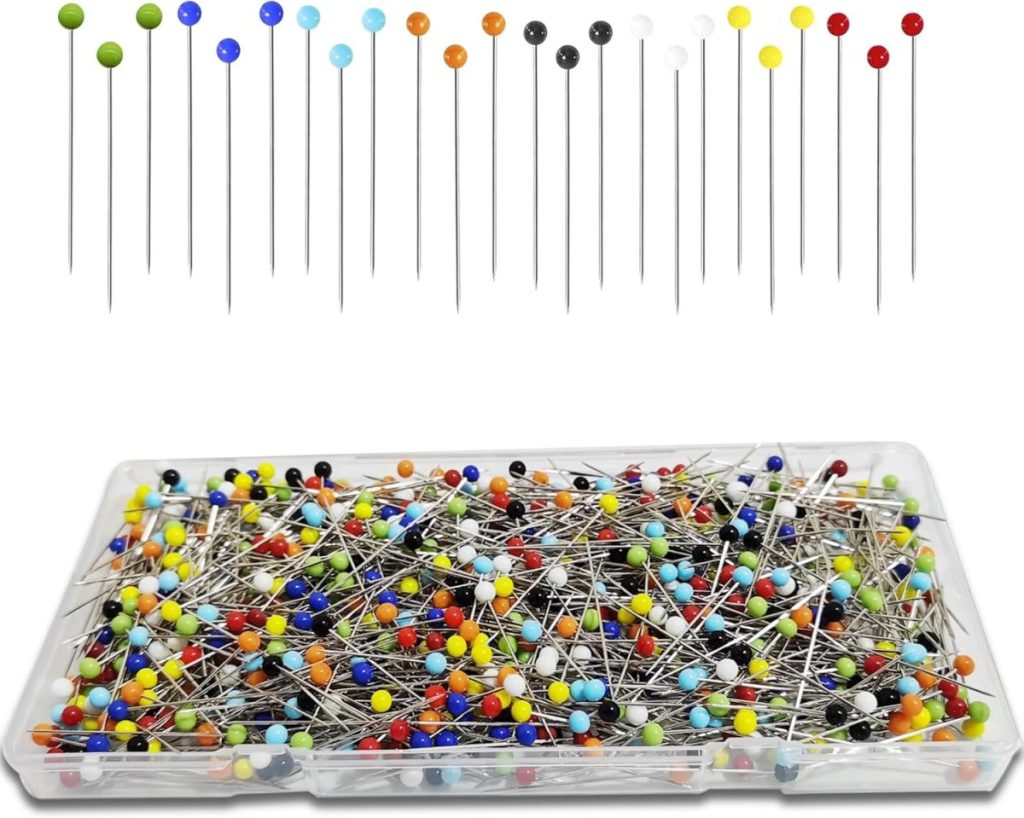
- Pins or clips

Fabric Cuts
- (2) 23” x 23” squares
- (1) 4” x 23” strip (for zipper panel)
Finished pillow size: 20” square
Step 1: Prepare Your Fabric
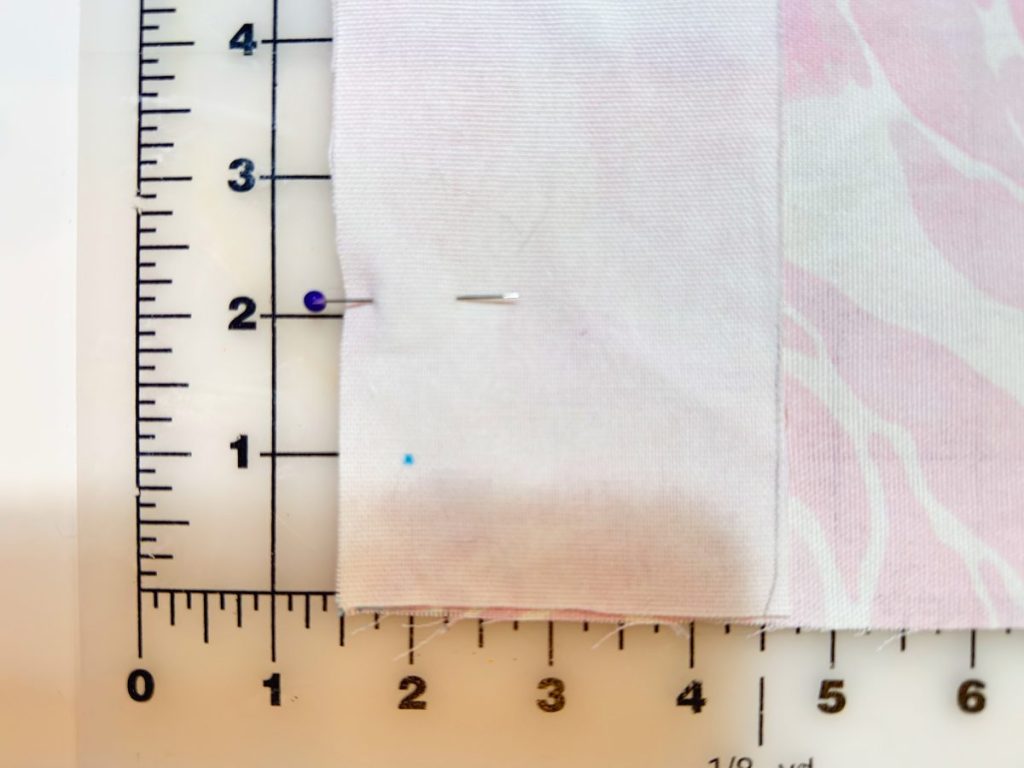
Start by cutting your fabric pieces. I cut two 23” squares for the front and back and one 4” x 23” strip for the zipper section.
Press your fabric well before you begin. This makes a big difference when stitching, especially with detailed embroidery.
Step 2: Free Motion Stitch the Front Panel
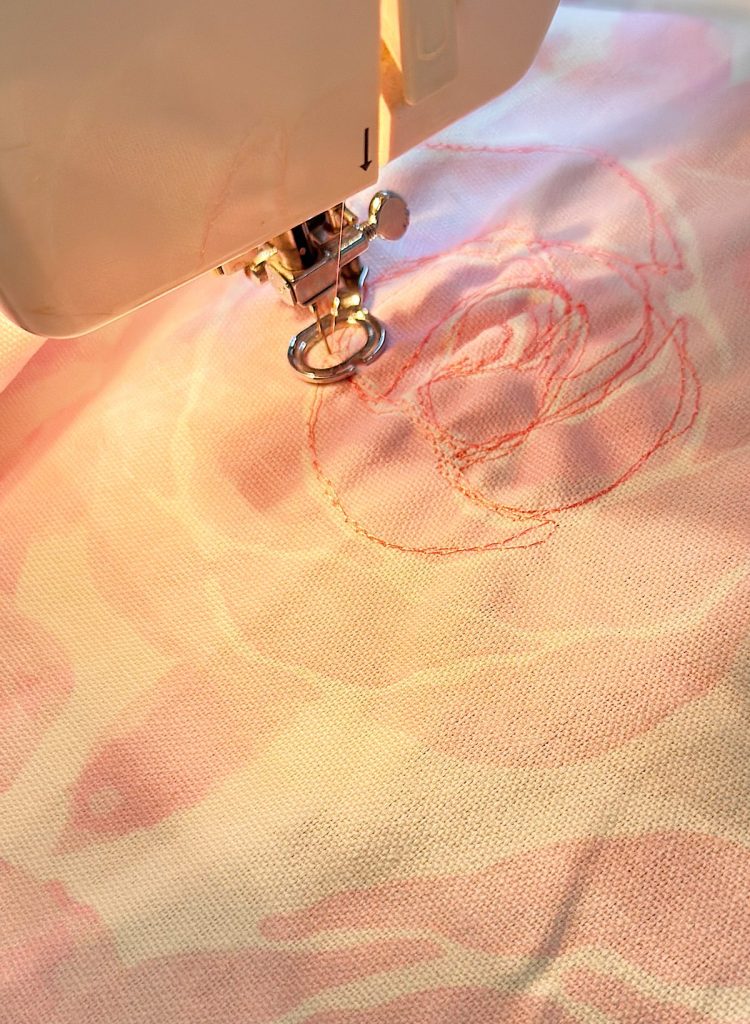
This is where the magic happens.

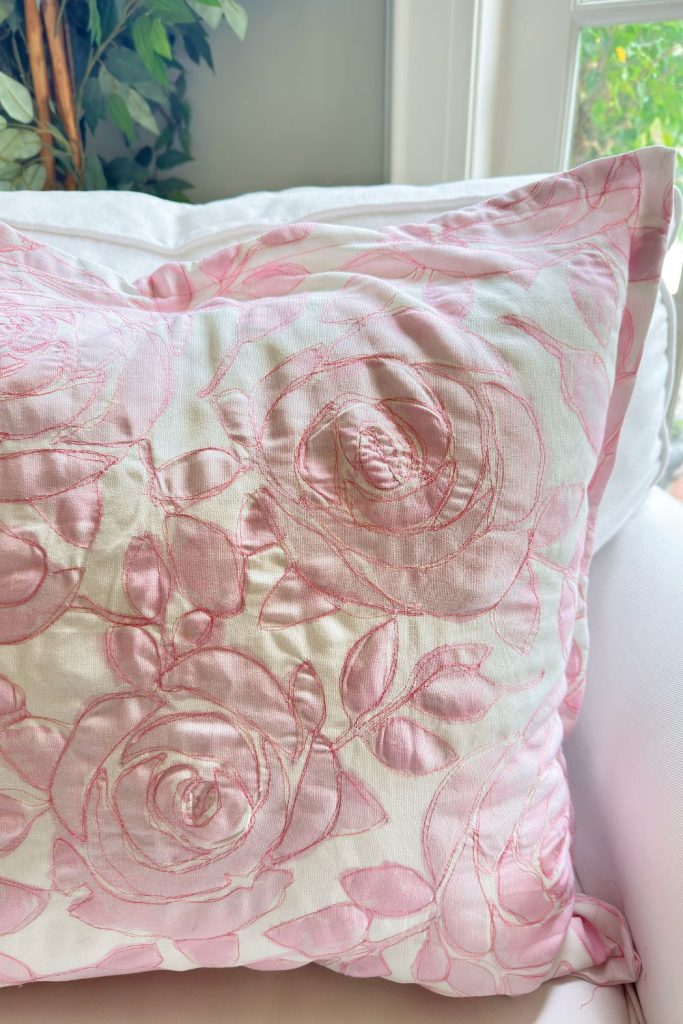
Place your front fabric piece under the needle and begin stitching directly on top of the printed design. I focused on outlining the flowers and leaves, following the natural shapes in the fabric.
Tips for Success:
- Start slowly until you get comfortable
- Keep your hands relaxed and guide the fabric gently
- Do not worry about perfection
- Overlap lines occasionally for a more textured look
- Use embroidery thread for a slightly raised, more visible stitch
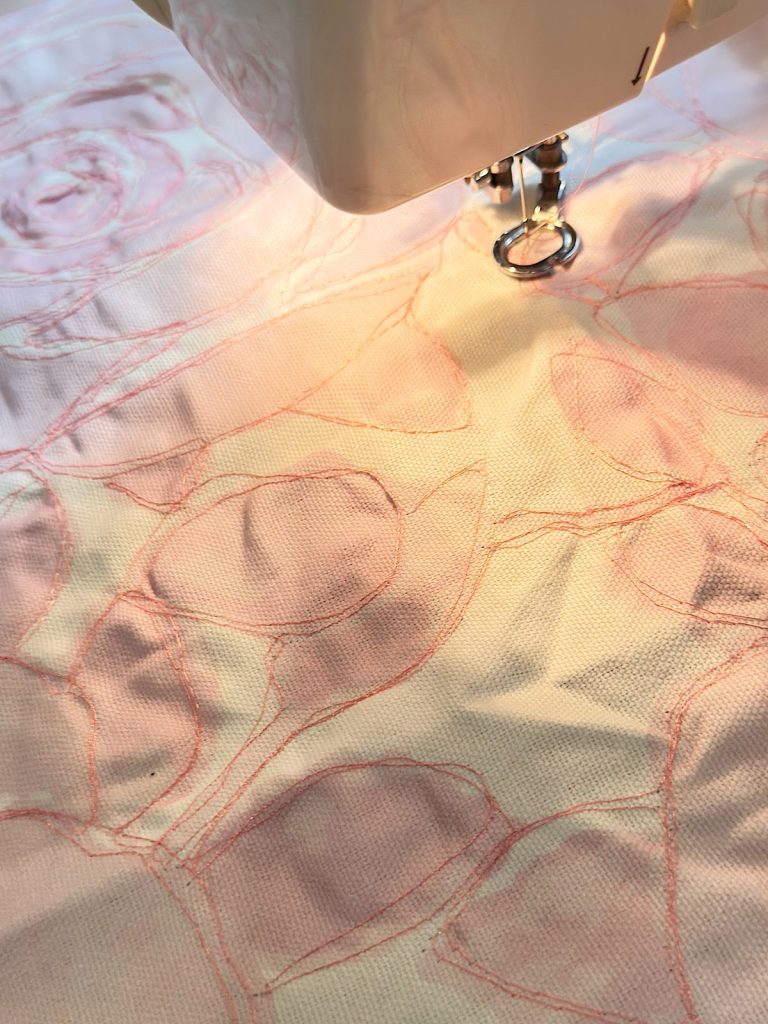
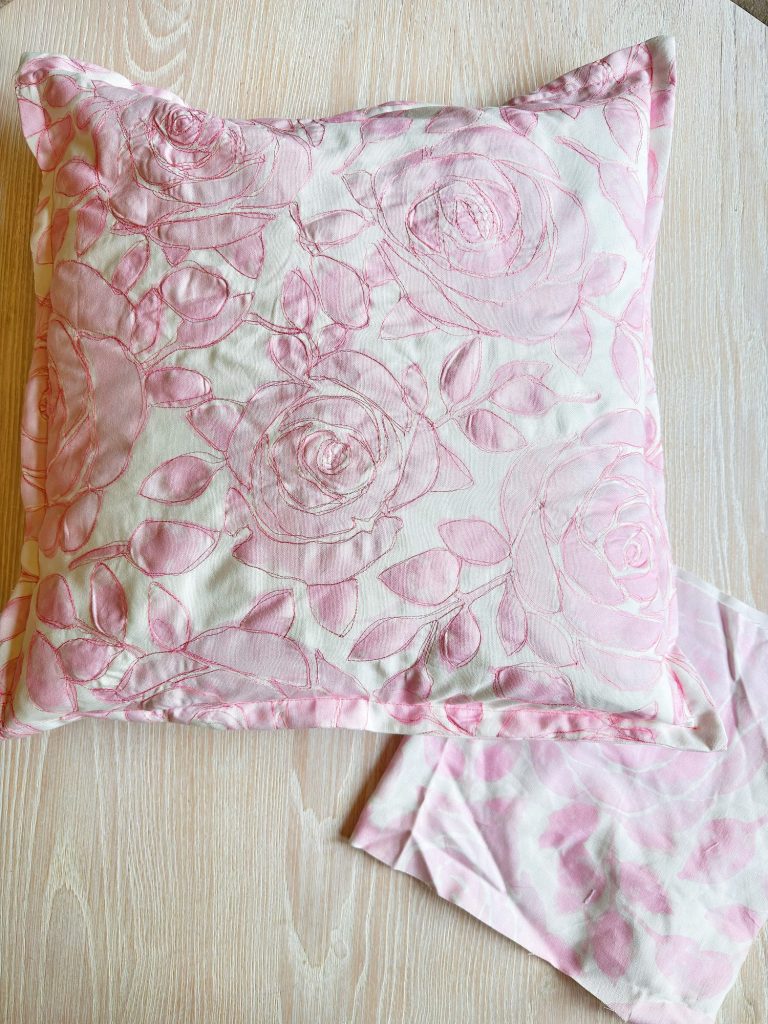
I stitched over the entire front panel, working section by section until the whole piece felt cohesive.
This step takes a little time, but it is incredibly rewarding. You will actually see the fabric transform as you go.
Step 3: Add the Zipper
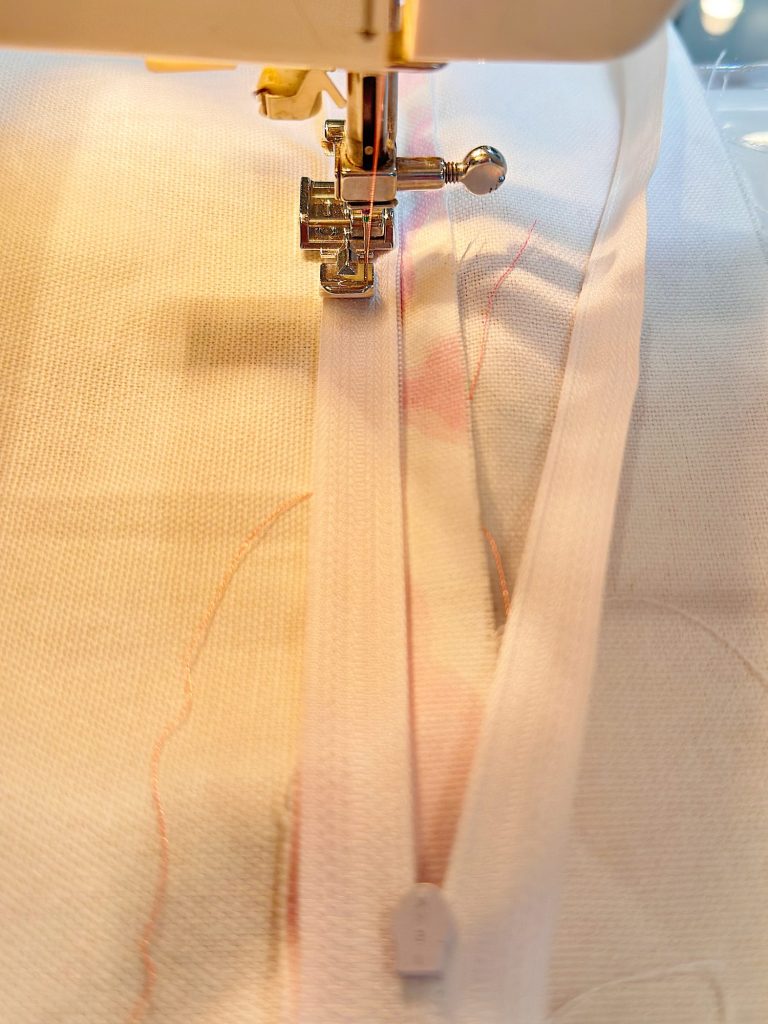
Once your front panel is complete, it is time to construct the pillow.
Take your 4” x 23” strip and your zipper. Sew the zipper into this strip first to create a clean zipper panel.
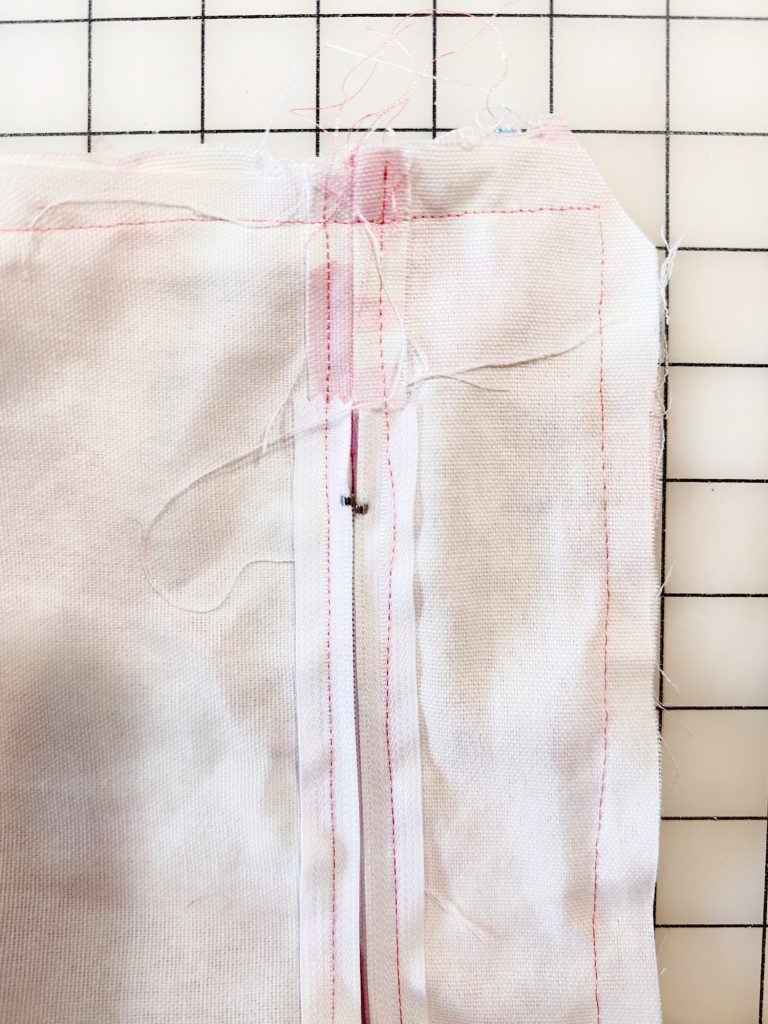
Next, attach the zipper panel to one side of the pillow front and the other side to the back piece. This creates the opening for your pillow insert.
After the zipper is installed, trim any excess seam allowance from the zipper section to keep everything neat and even.
Step 4: Sew the Pillow Together
Place the front and back pieces right sides together.
Sew around all four sides of the pillow, leaving the zipper slightly open so you can turn it right side out later.
Step 5: Turn and Finish
Turn the pillow right side out through the zipper opening.
Use your hands or a tool to gently push out the corners so they are nice and crisp.
I added an additional 1” seam around the outside edge. This creates a slightly tailored edge and helps the pillow hold its shape beautifully.
Insert your 20” pillow insert, zip it closed, and you are done.
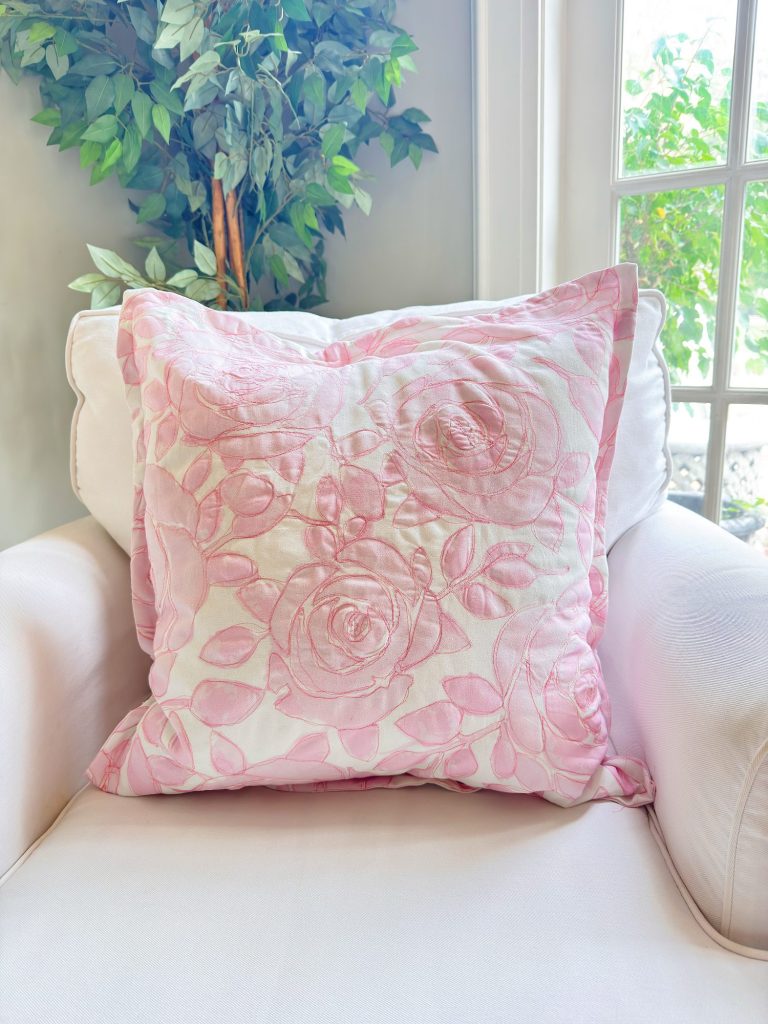
The Finished Look
The finished pillow measures 20” square and fits the insert perfectly.
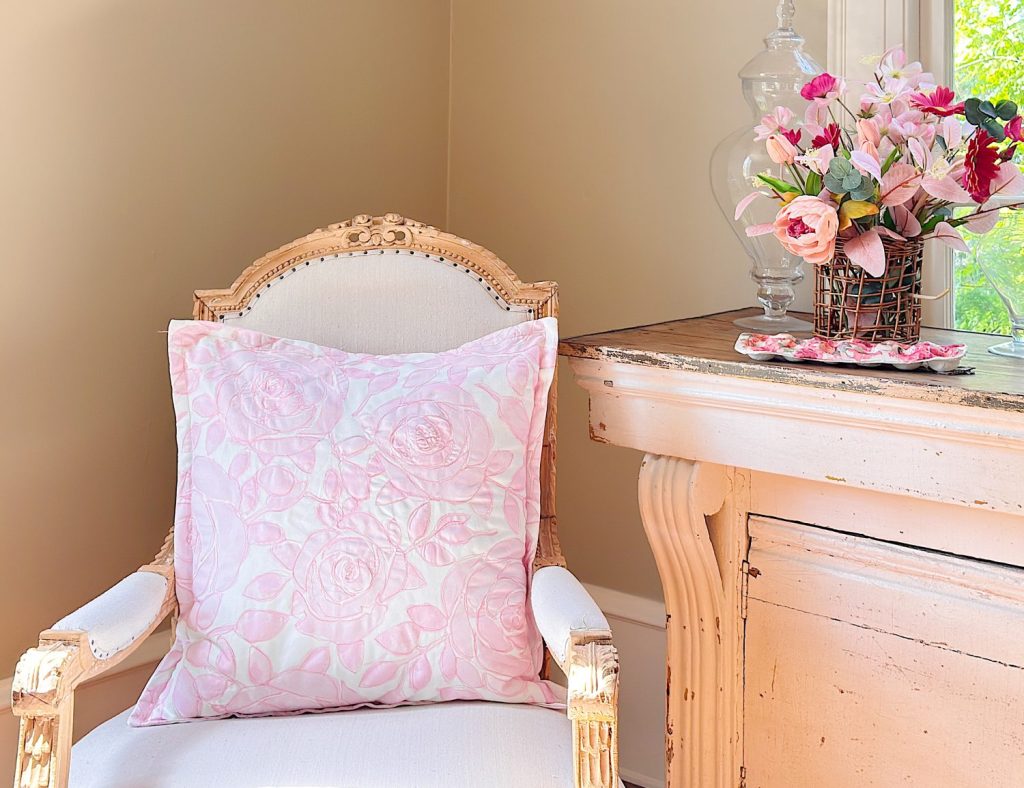
What I love most is how the stitching catches the light and adds subtle dimension. From a distance, it looks soft and elegant. Up close, you can see all of the intricate stitched detail.
It feels like something you might find in a boutique or tucked into a vintage shop, but it is completely handmade.
Why This Project Works So Well
This project is such a great reminder that small details can completely transform something simple.
The fabric on its own was pretty, but the stitching made it special. It added texture, depth, and personality without requiring complicated techniques.
And once you try free motion stitching, you will start seeing opportunities for it everywhere. Napkins, table runners, tea towels, and even clothing.
A Few Final Tips
- Practice free-motion stitching on a scrap piece first
- Choose a thread that complements your fabric, not competes with it
- Keep your movements fluid and relaxed
- Do not overthink it
Most importantly, enjoy the process.
A Handmade Spring
This pillow is one of my favorite projects in this series so far. It combines sewing, creativity, and a little bit of artistry in a way that feels both calming and inspiring.
I love that it started with something simple and became something I truly love in my home.
And I have a feeling this will not be my last free-motion stitching project.
How to Follow Along With A Handmade Spring
Each week, a new spring craft will be shared here on the blog. I will also be sharing behind-the-scenes moments, progress videos, and finished projects on Instagram so you can see each craft come to life.
You can jump in at any point. There is no need to start at the beginning or complete every project. Choose the ones that speak to you and make them your own.
If you love seasonal crafting, this series is designed to inspire you throughout spring.
Here are all of the A Handmade Spring craft projects so far. I can’t wait to share all twelve.
Latest Posts
-
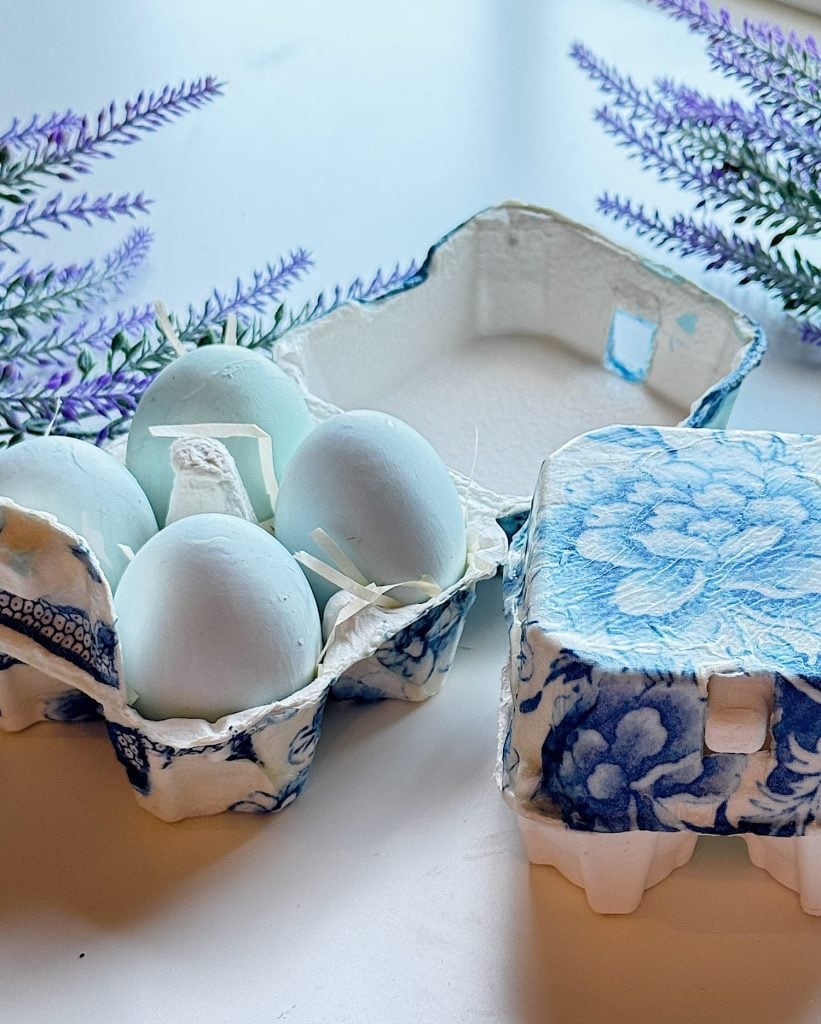
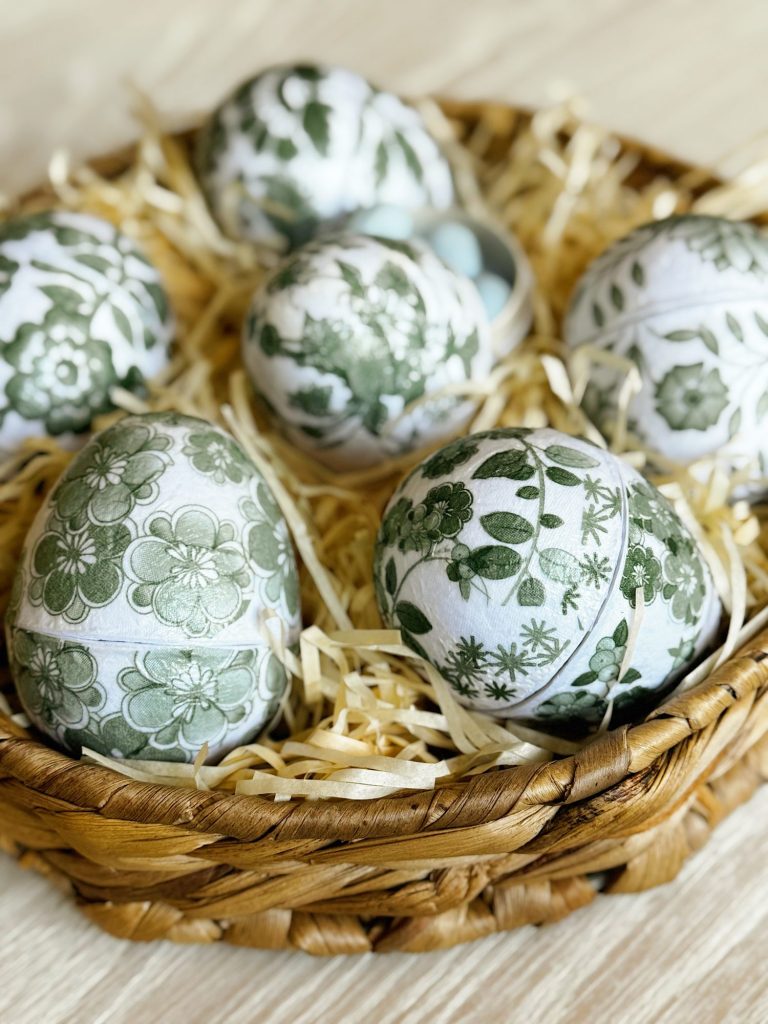
DIY Clay and Metallic Foil Easter Eggs
With Easter just around the corner this week, I decided to create something special and truly unique for my spring décor … handmade clay and metallic foil Easter eggs. These little works of art are soft, pastel, and subtly shimmery, and they’re a beautiful way to add a handmade touch to your Easter celebrations. While…
-
The Amazon Big Spring Sale is Here!
The Amazon Big Spring Sale is here! It runs from March 25th (today) through March 31st, and here are some of the best Amazon Deals ever! There are millions of deals available, and today I will help you find the best ones for everything you need. Now is the perfect time to shop for Spring.
-
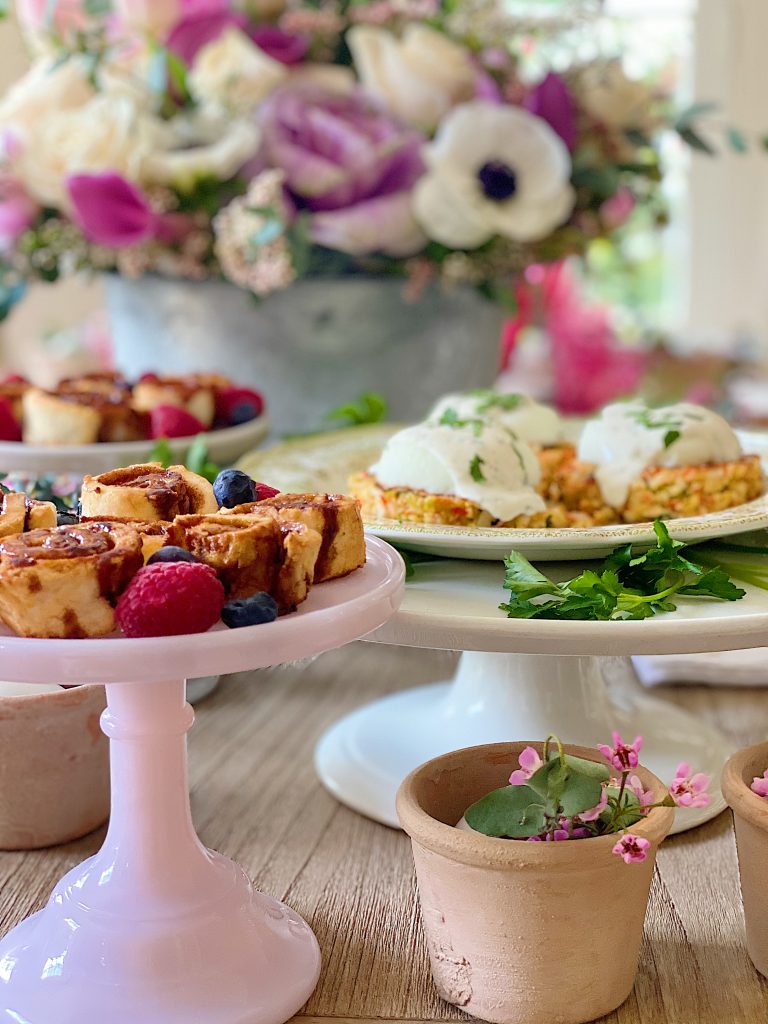
My Favorite Easter Brunch Recipe Ideas
Today, I am sharing some of my favorite Easter Brunch Recipe ideas. These recipes are amazing, and everyone in our family loved them! I used my favorite Easy Crab Cake recipe and created a menu with an “eggs benedict”-style entree, a new gluten-free cinnamon roll recipe, and fresh berries. This latest version of Eggs Benedict…
-
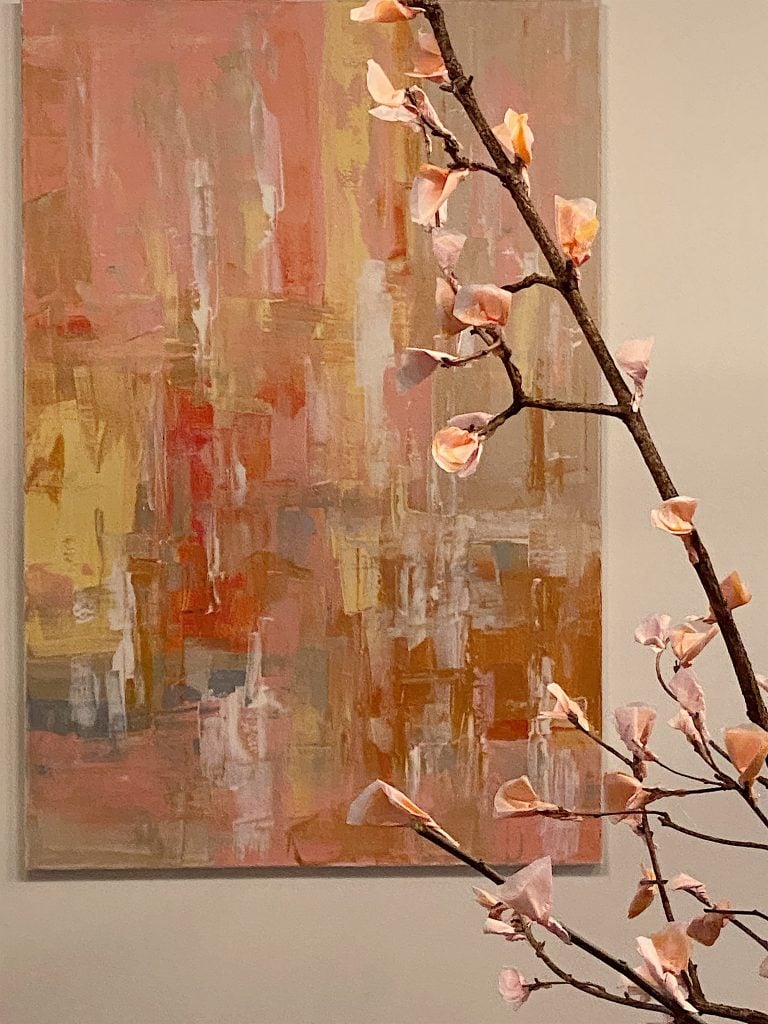
My Obsession with Abstract Wall Art
Abstract wall art, with its enigmatic allure and boundless interpretations, has long captivated the hearts of many, including myself. Believe it or not, I have ventured deep into the realm of abstract painting, creating expansive canvases as large as 12′ x 12′. I completed ambitious projects like painting thirty paintings in 30 days, inspired by…


My Recent Instagram Posts

You can pin the image below to your boards on Pinterest (click the Pin button in the top left corner) or follow me on Pinterest!
For more real-time updates, follow me on Instagram @My100YearOldHome

