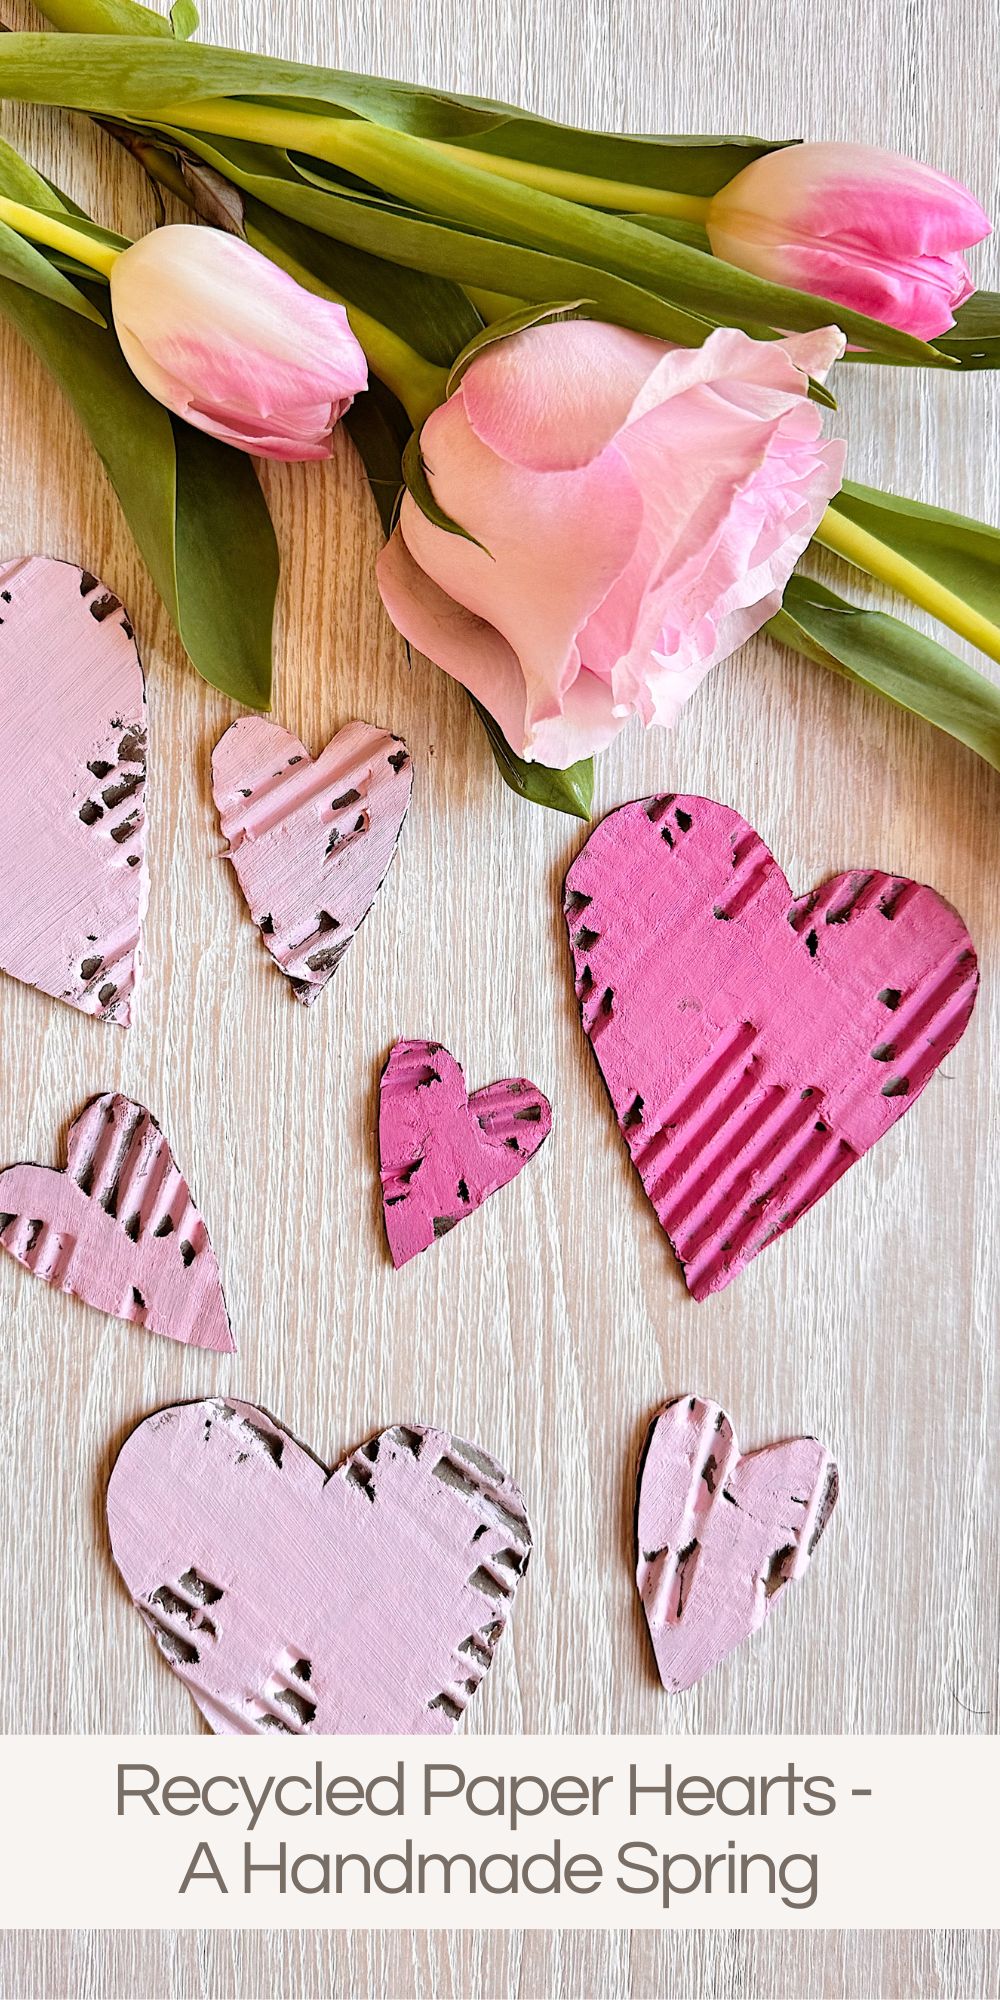
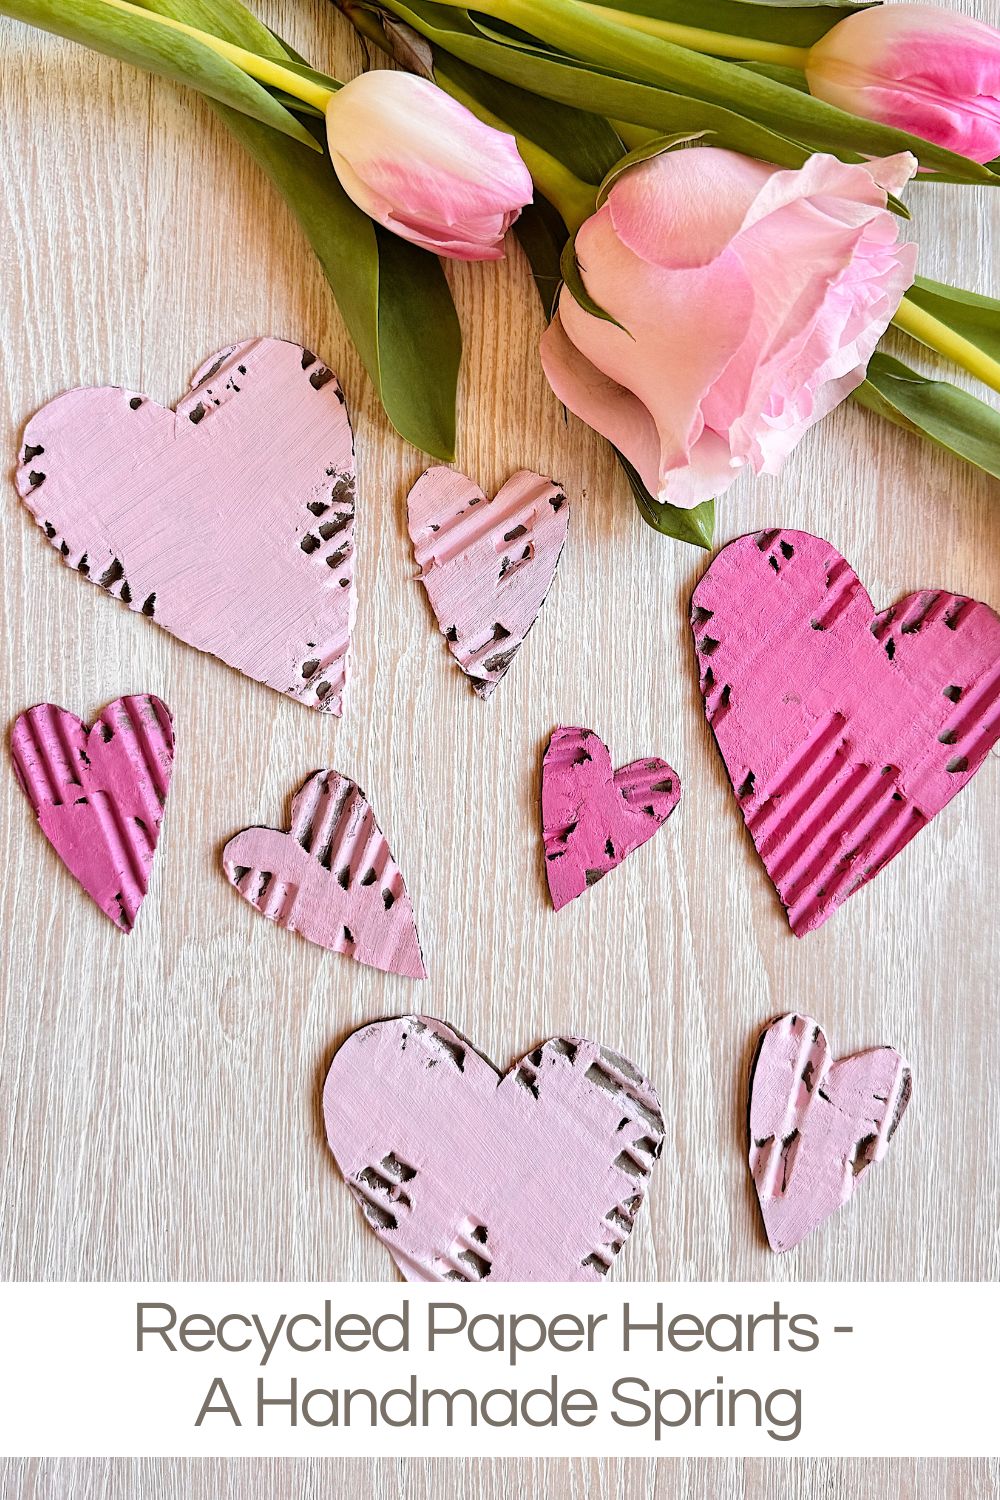
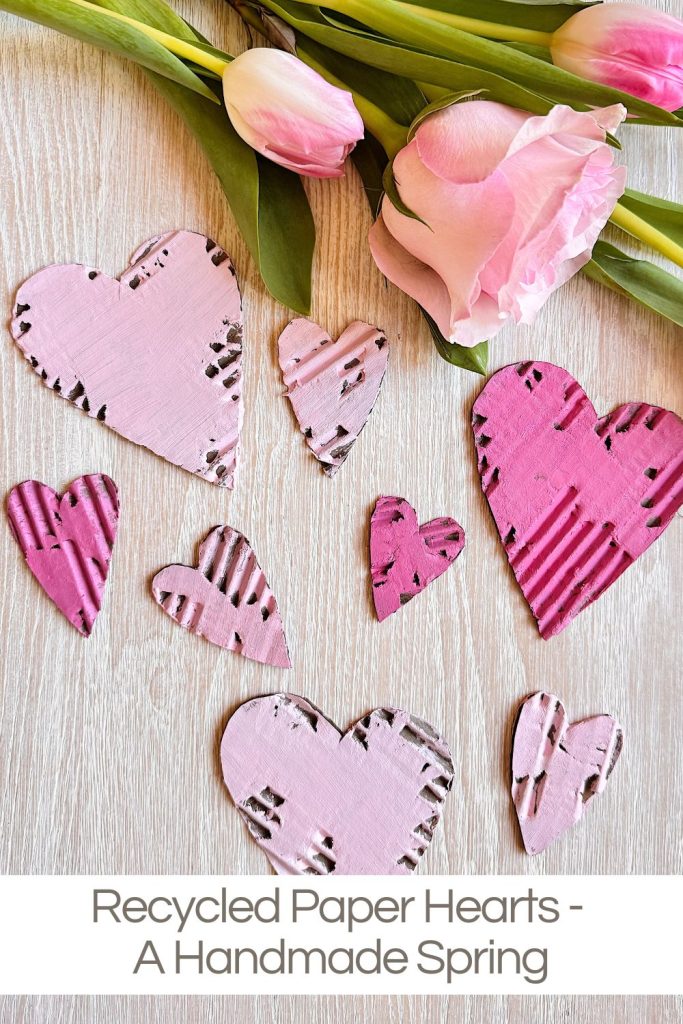
Recycled Paper Hearts – A Handmade Spring
These Recycled Paper Hearts are the second project in my A Handmade Spring series, and it might be the most approachable one yet.
You do not need special tools. You do not need expensive supplies. You do not need crafting experience. You can make these hearts in under an hour, and yes, you can absolutely make them with kids.


Recycled Paper Hearts
Sometimes the simplest crafts are the ones that surprise me the most. This project is proof of that. These recycled paper hearts might be the easiest craft I have shared in a very long time, and yet they are full of texture, charm, and that imperfect, handmade look I love so much.
In fact, this is one of those crafts that feels just as good to make as it does to display. It uses materials you already have, encourages creativity rather than perfection, and results in something that feels meaningful because it was made by hand.
Why Recycled Crafts Belong in Spring
Spring always feels like a season of renewal to me. We open the windows, clean out closets, reorganize cabinets, and suddenly there is cardboard everywhere from packages we received all winter long. Instead of tossing those boxes straight into the recycling bin, this project gives them a second life.
I love crafts that feel intentional but not precious. Using recycled cardboard removes the pressure. If you make a mistake, it does not matter. If a heart tears a little more than planned, it only adds character. That freedom makes this project perfect for all ages.
There is also something very satisfying about turning something ordinary and overlooked into something beautiful. A plain brown shipping box becomes art. A white cardboard insert becomes a soft, textured heart. That transformation is part of the magic.
The Inspiration Behind These Hearts
I have been drawn to texture lately. Not perfect, smooth finishes, but layered, worn, gently distressed surfaces that tell a story. These hearts reflect that perfectly.
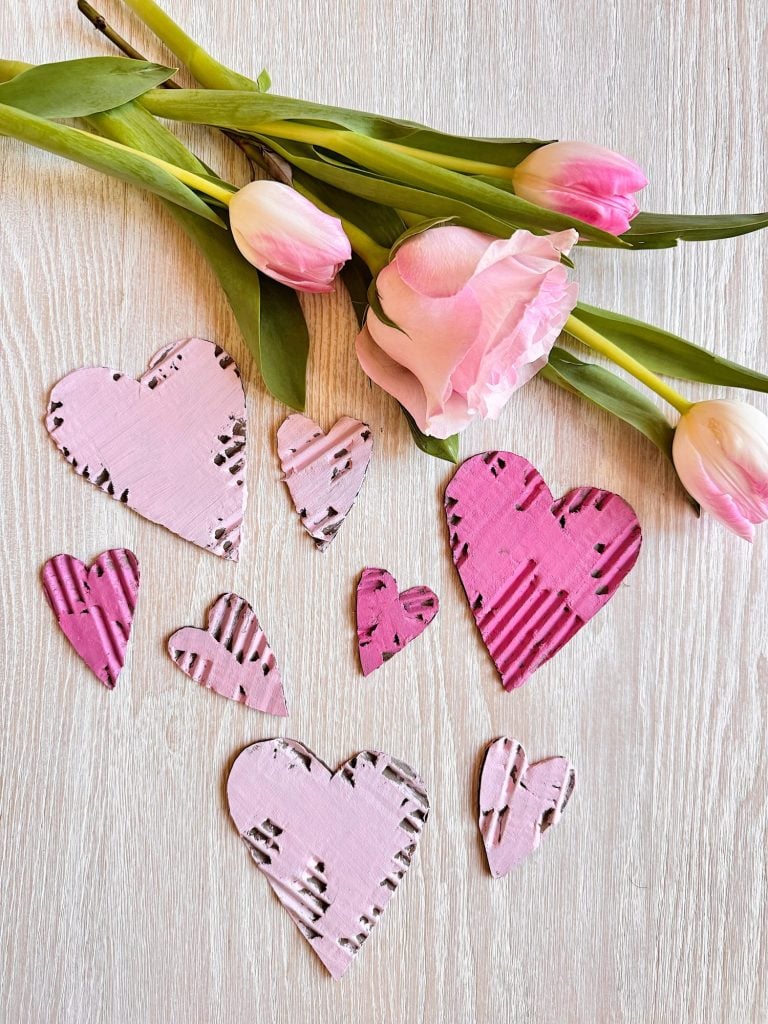
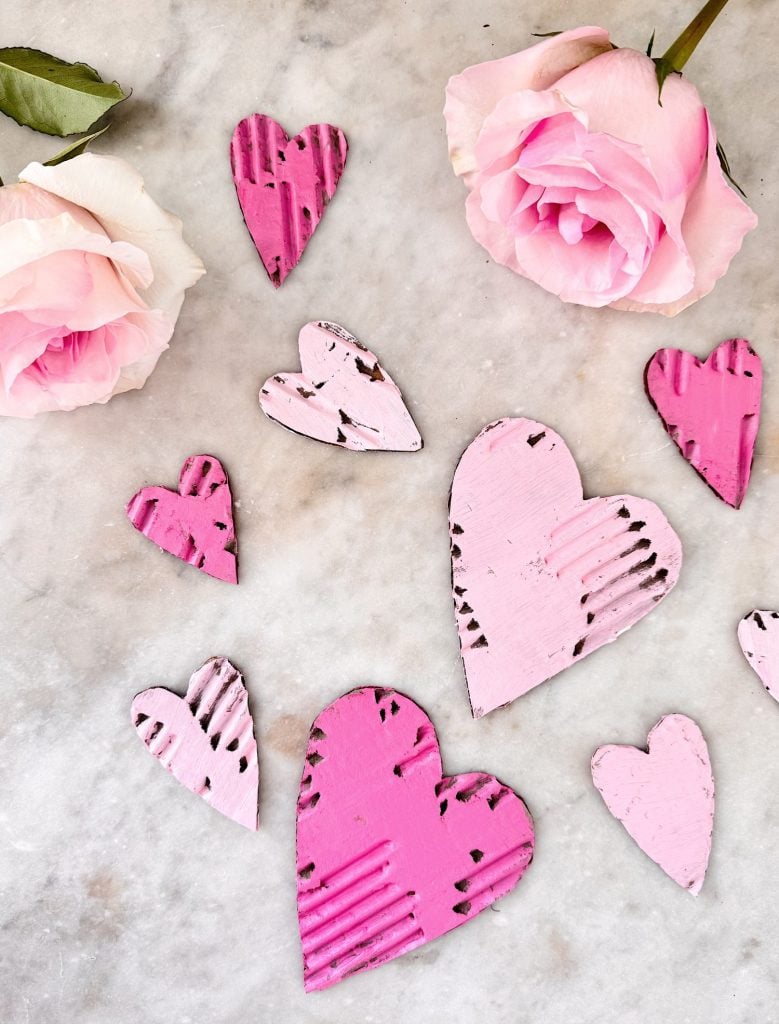
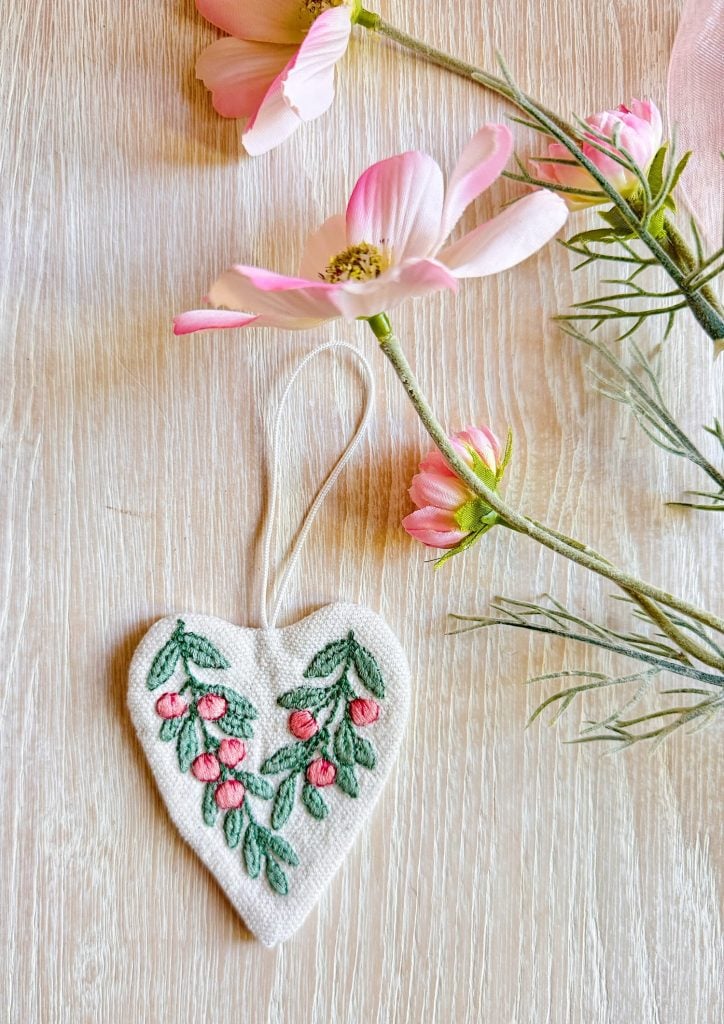
The torn paper reveals the corrugated layer underneath, creating natural lines and ridges that you could never replicate intentionally. Every heart is different. Some have bold texture. Others are subtle. Some are raw cardboard. Others are painted soft pinks and whites.
I love mixing the painted and unpainted hearts together. The contrast feels fresh and modern while still being warm and handmade.
Supplies You Will Need
One of the best parts of this project is how short the supply list is.
- Cardboard from packages you already have (brown or white both work beautifully)
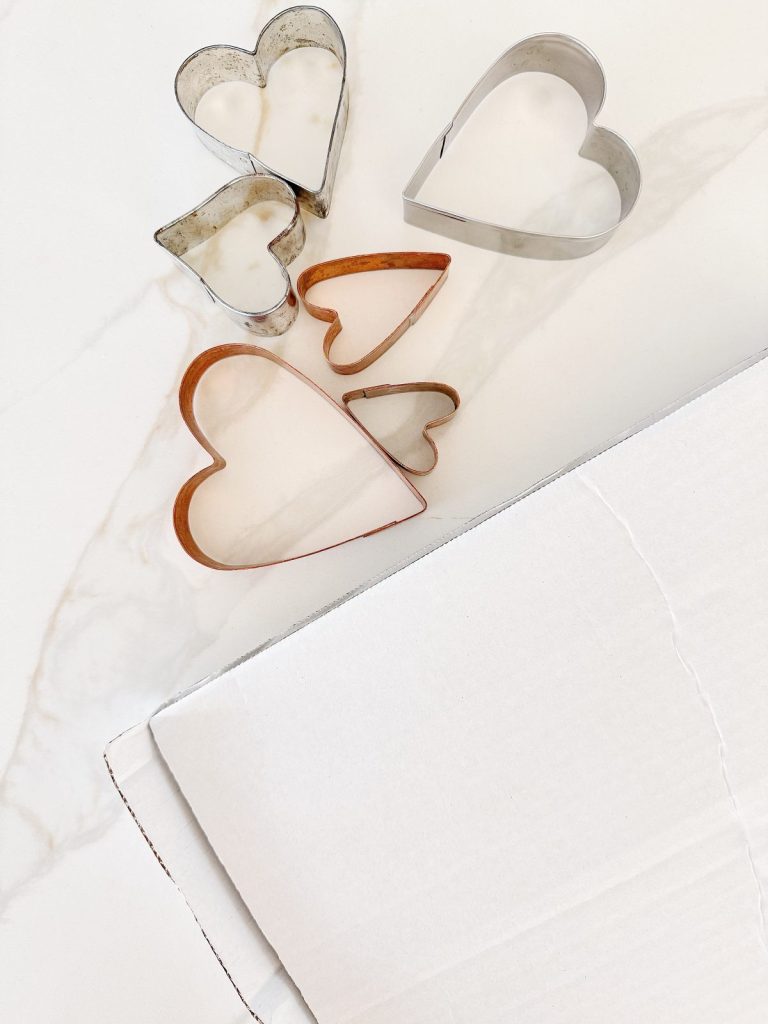
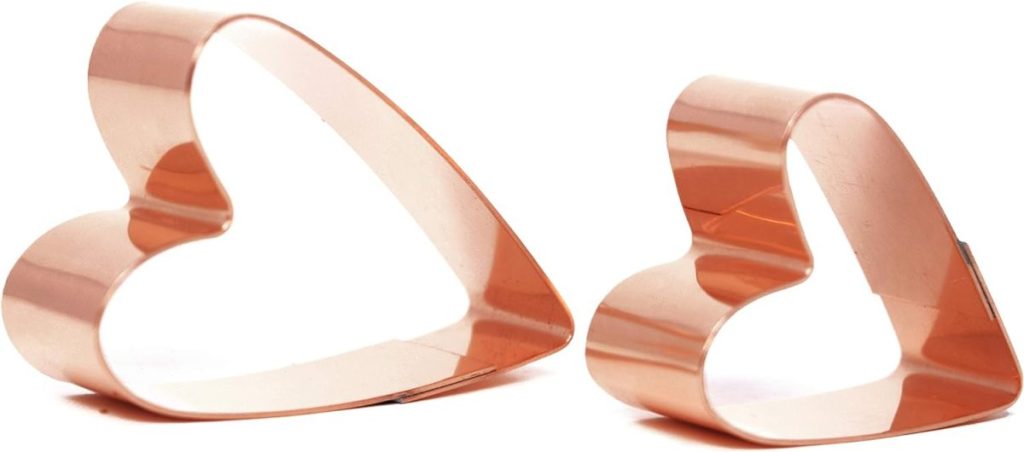
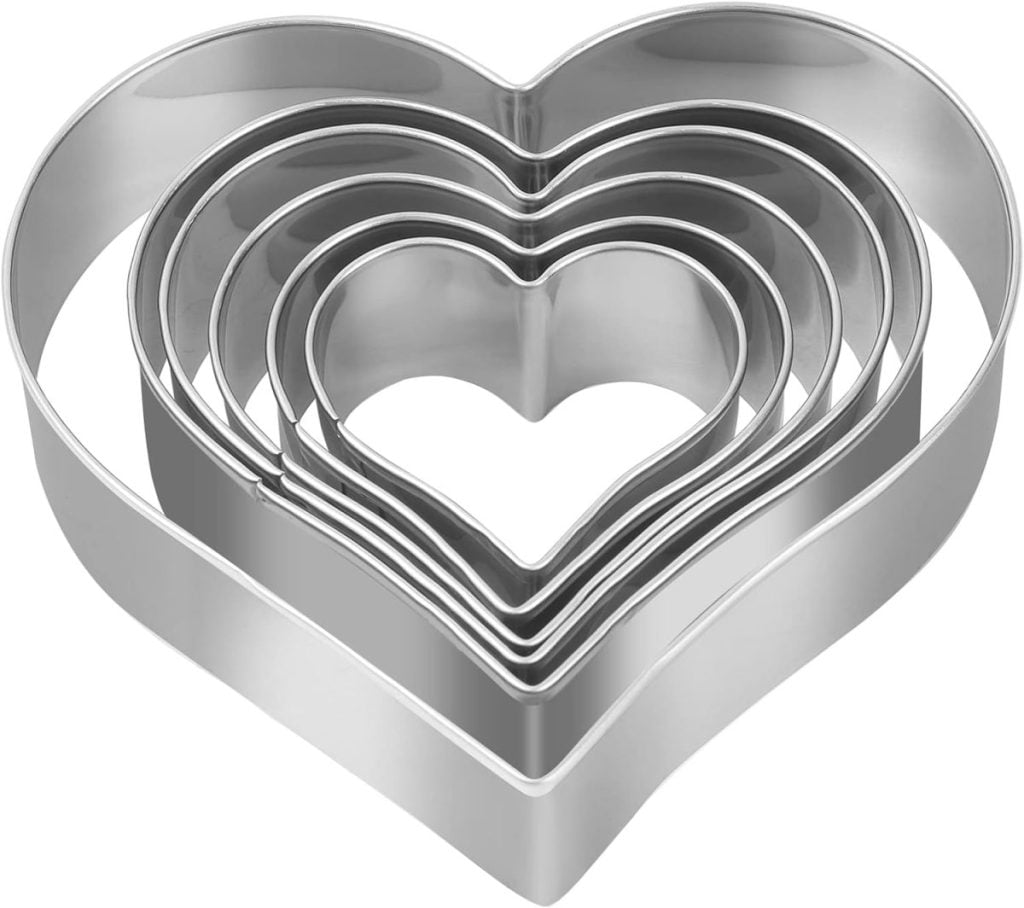
- A heart pattern (any size you like) or heart cookie cutters
- Scissors
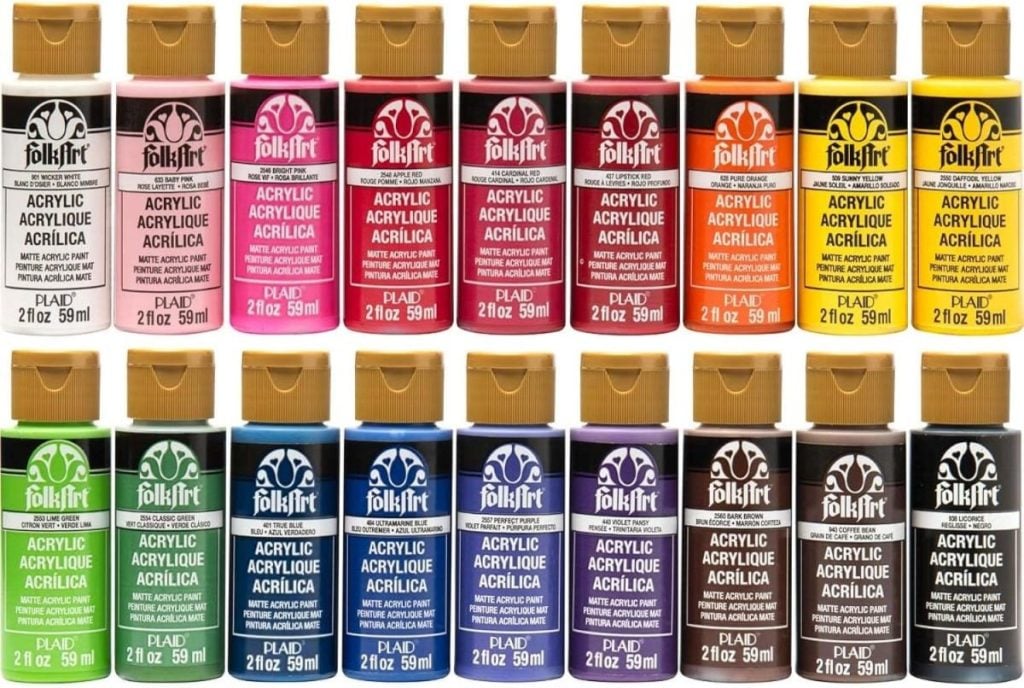
- Pink acrylic paint
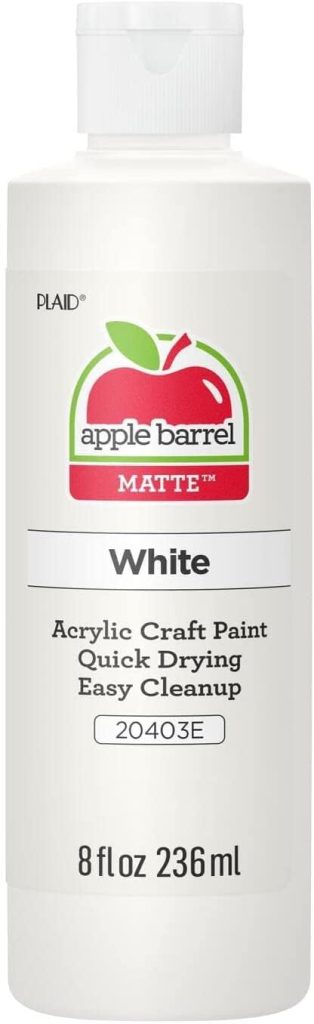
- White acrylic paint
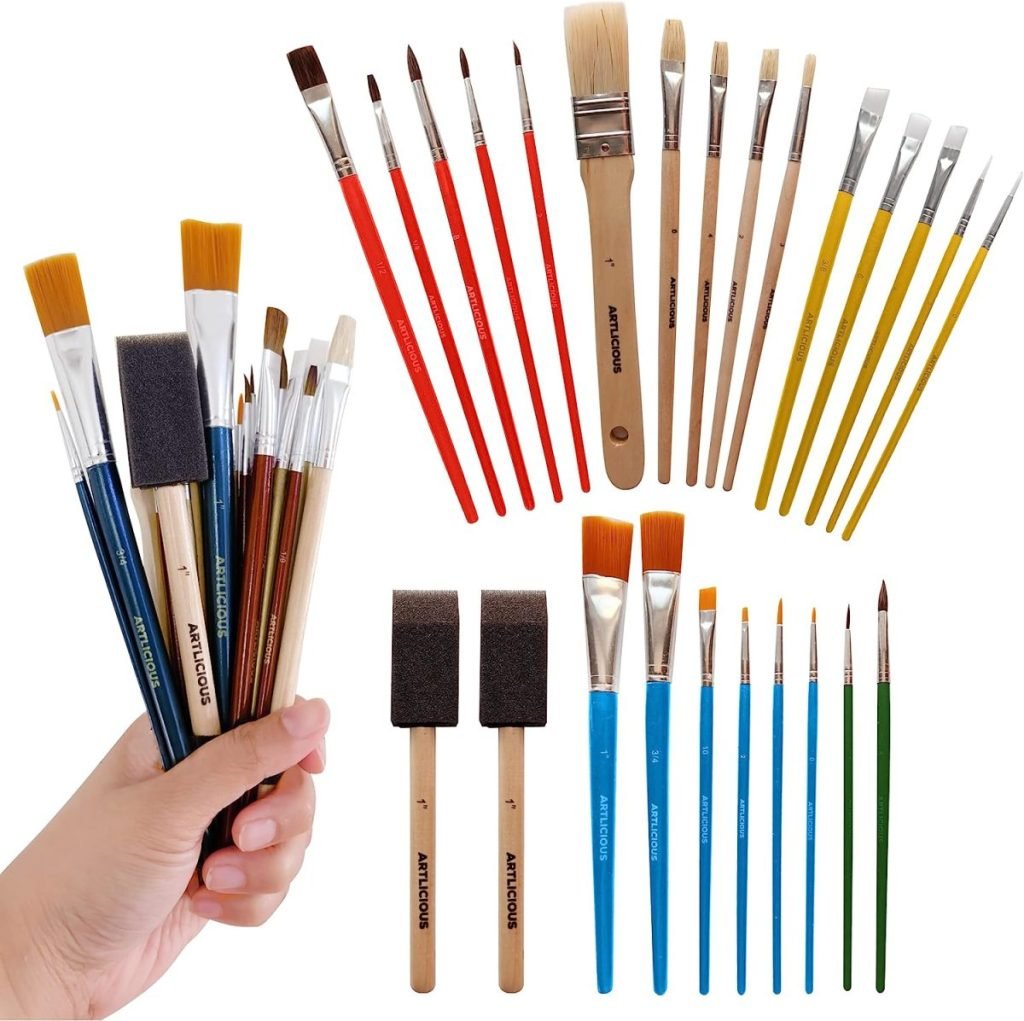
- Paintbrush or sponge brush
I may sometimes use affiliate links on this blog, which means I earn a small commission if you purchase through the link. The price will be the same whether you use the affiliate link or go directly to the vendor’s website using a non-affiliate link.
That is it. No cutting machines. No specialty tools. No prep work.
Choosing the Right Cardboard
Not all cardboard is exactly the same, but this project is forgiving.
Brown corrugated cardboard from shipping boxes works beautifully and gives the most texture when the top layer is torn away. White cardboard inserts from packages also work well and create a slightly softer look.
If your cardboard has printed text or logos, do not worry about it. Those areas can be avoided, torn away, or painted over later. Remember, perfection is not the goal here.
Step One: Trace the Hearts
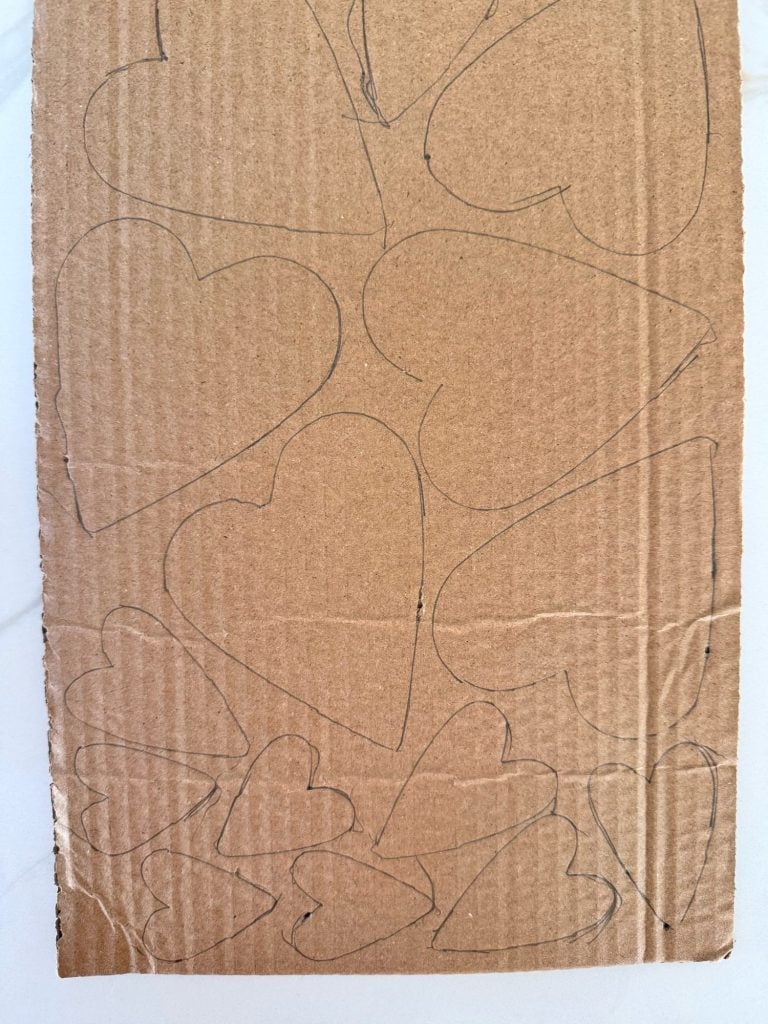
Start by placing your heart pattern on the cardboard and tracing around it. You can make all the hearts the same size, or you can mix sizes for more visual interest.
I like to cut a few large hearts and several smaller ones. When displayed together, the variation feels playful and organic.
If you are crafting with kids, this is a great place for them to help. Tracing shapes is easy and forgiving.
Step Two: Cut Out the Hearts
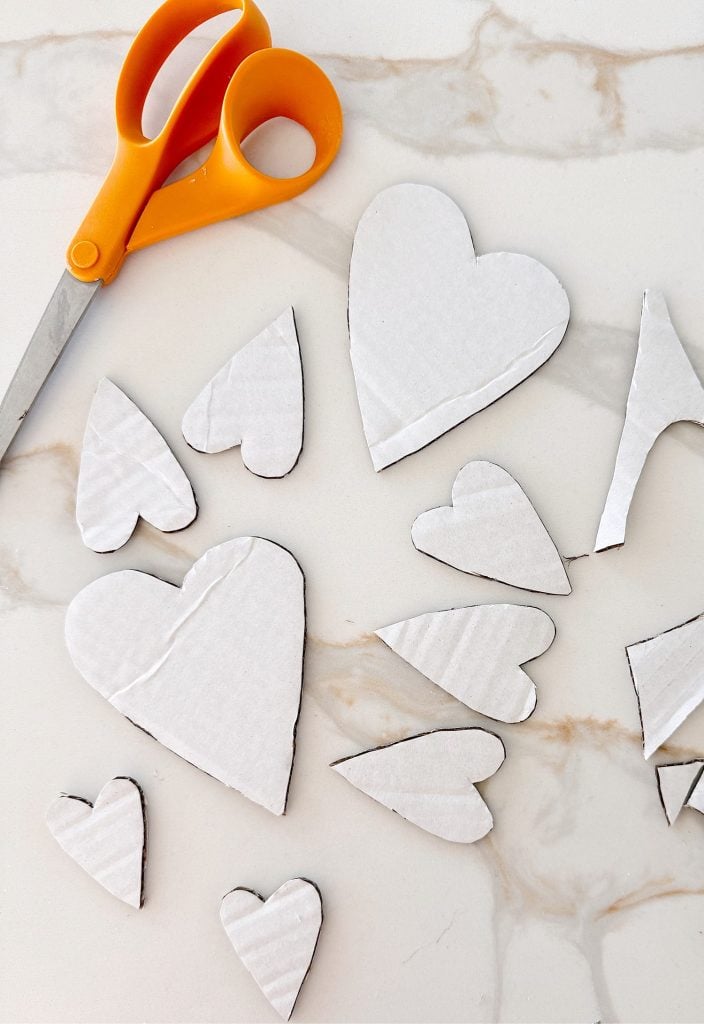
Using scissors, cut out each heart. The edges do not need to be perfect. Slightly uneven edges actually add to the handmade look.
If younger kids are helping, you can cut the hearts ahead of time so they can focus on the next steps.
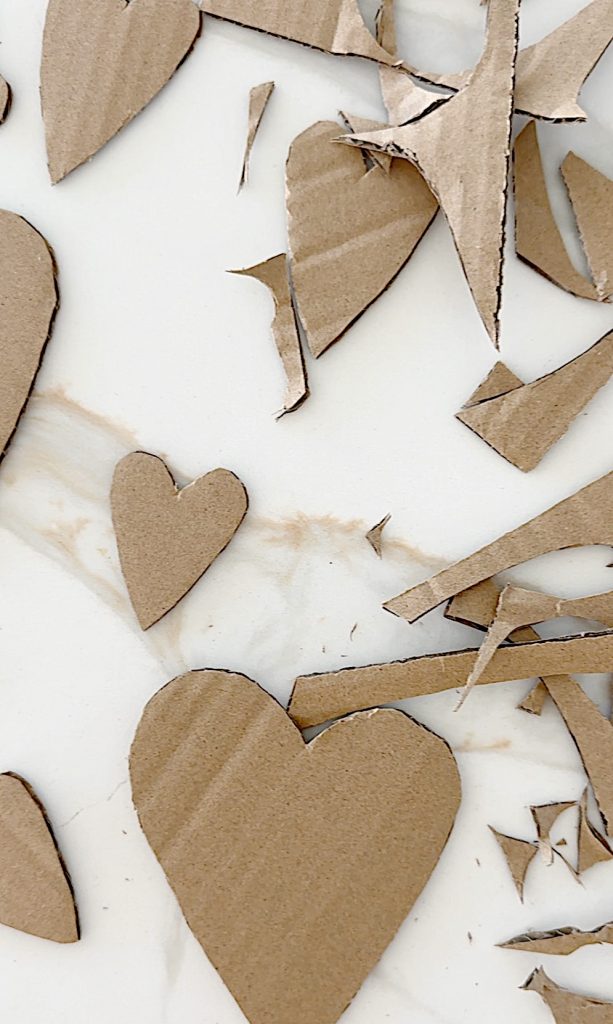
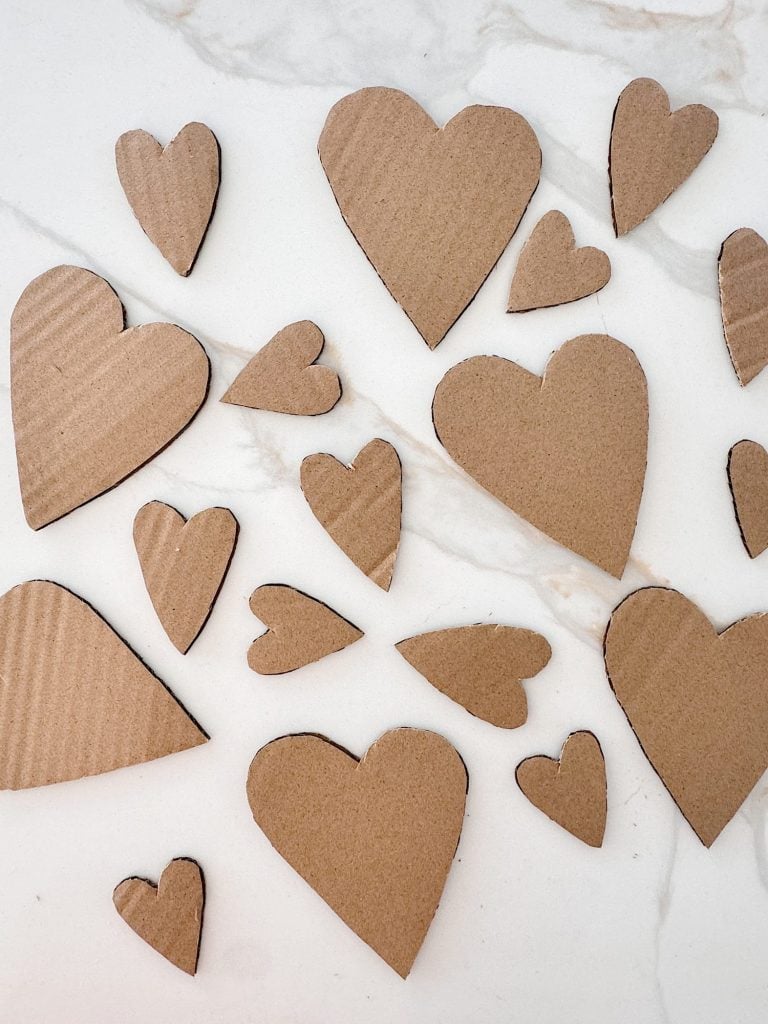
Step Three: Tear the Top Layer
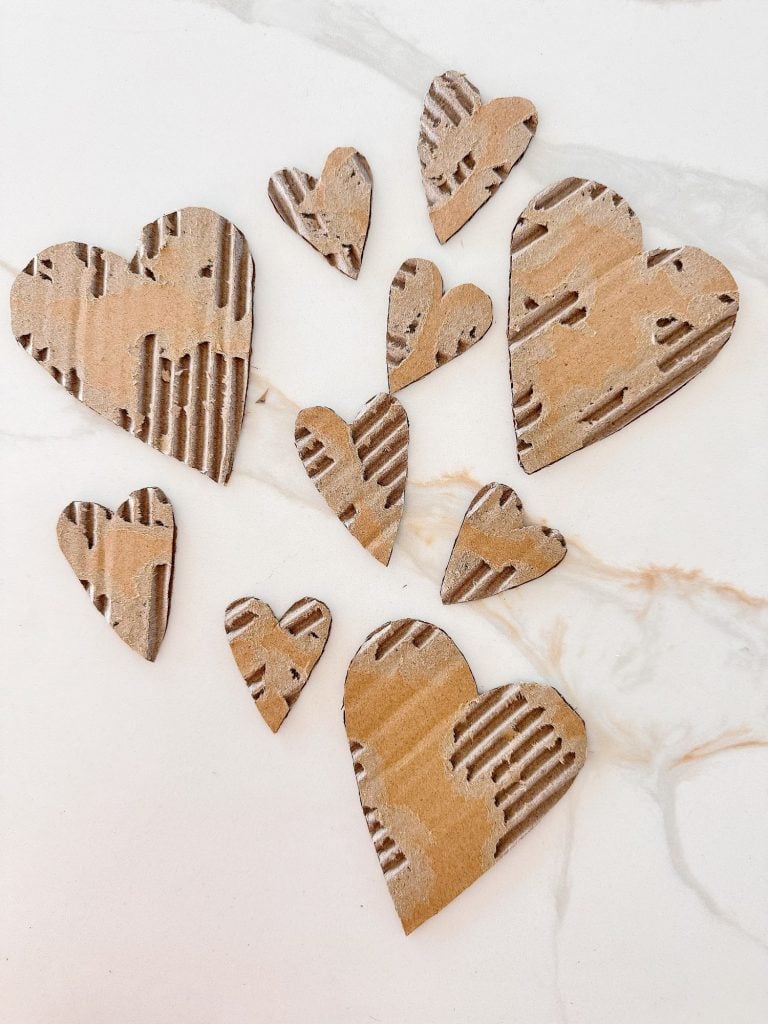
This is where the magic happens.
Gently use your fingers to tear away the top layer of paper on the cardboard in random spots. Do not overthink this step. Tear a little here, a little there. Let the cardboard guide you.
Some areas will lift easily. Others will resist. That is okay. Stop when it feels right to you.
The goal is texture, not uniformity.
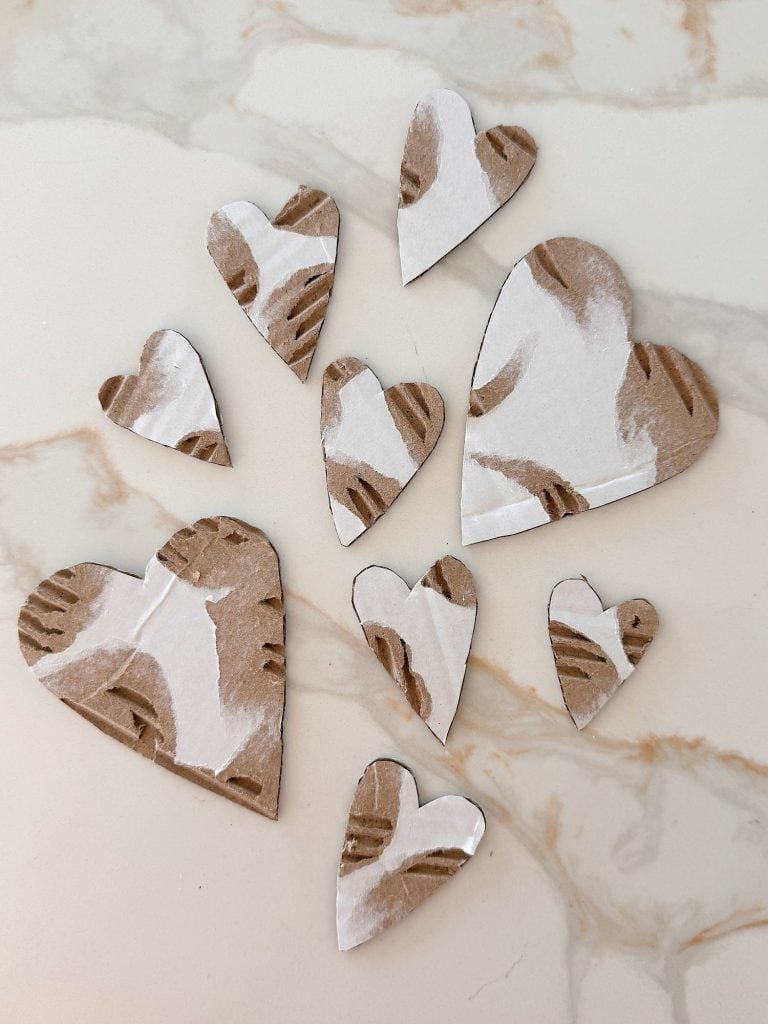
Step Four: Paint or Leave Natural
Once the hearts are textured, you can decide whether to paint them or leave them natural.
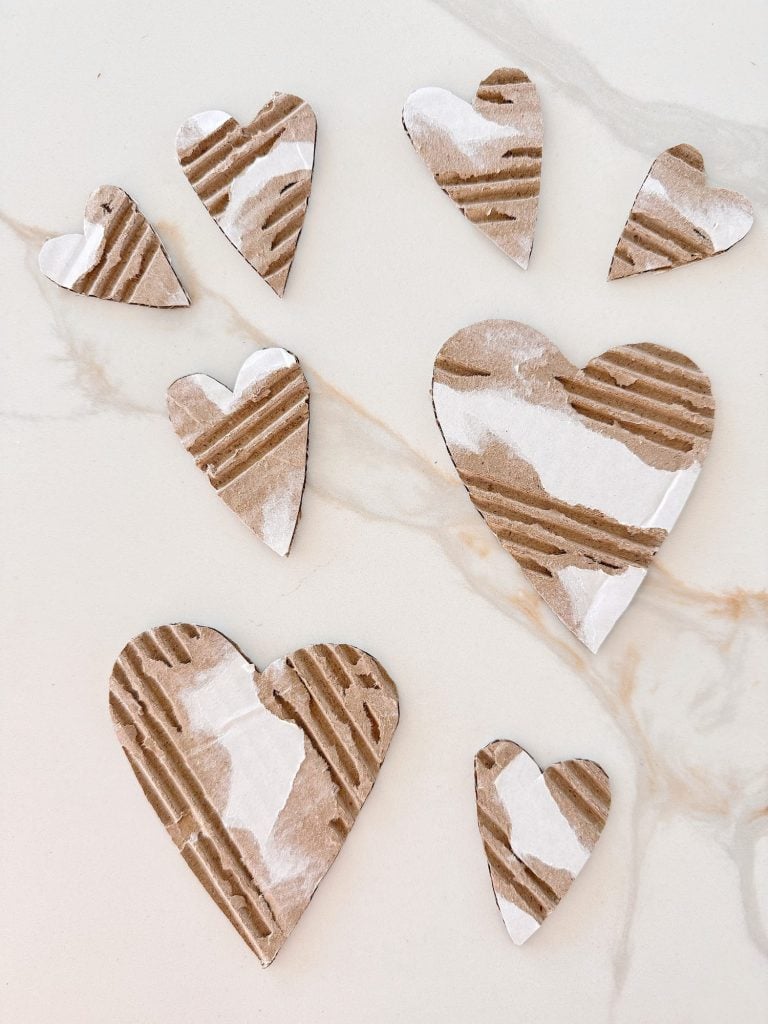
I used soft pink and white acrylic paint, applying it lightly so the texture still showed through. You can paint the entire heart or just portions of it. You can also leave some hearts completely unpainted.
This mix of painted and raw hearts creates depth and interest when they are displayed together.
If kids are involved, let them paint freely. Brush strokes, uneven coverage, and color variation only make the hearts more charming.
Step Five: Let Them Dry
Acrylic paint dries fairly quickly, but be sure the hearts are completely dry before styling or storing them.
Once dry, they are ready to use.
Styling Ideas for Recycled Paper Hearts
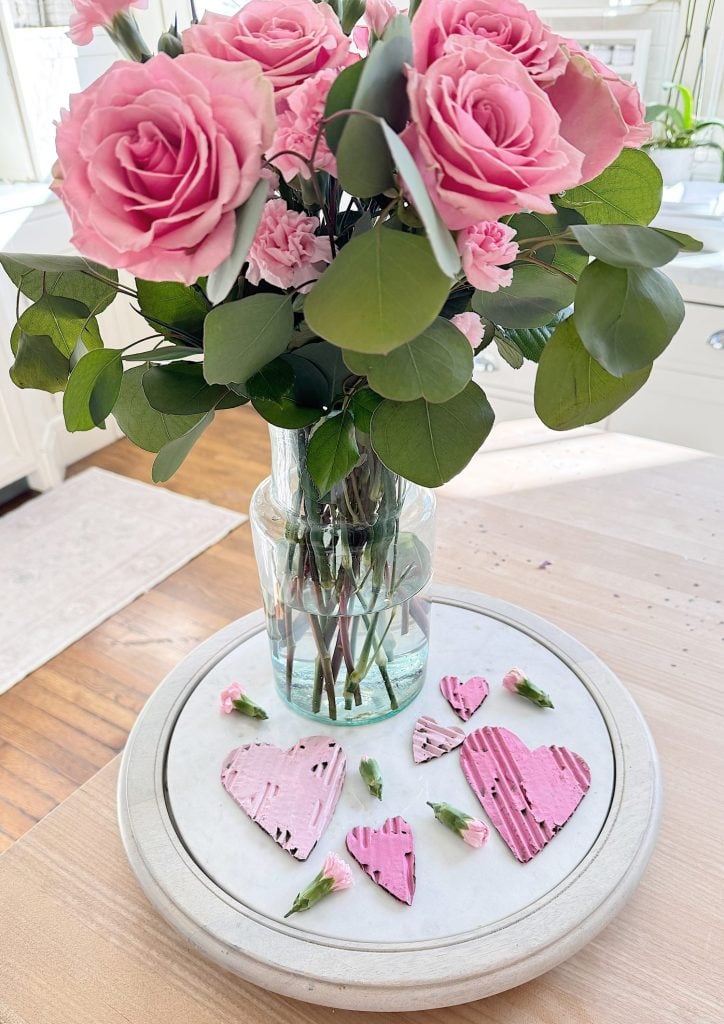
These hearts are incredibly versatile.
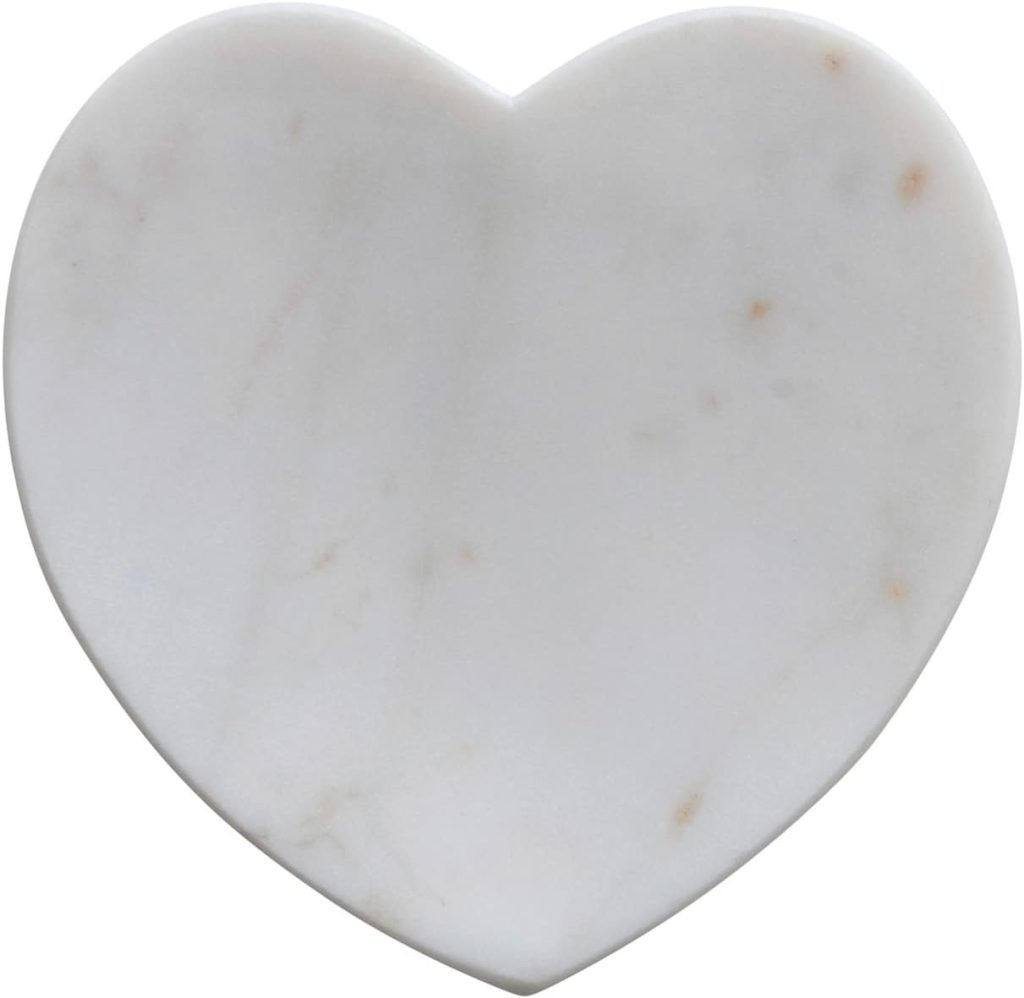
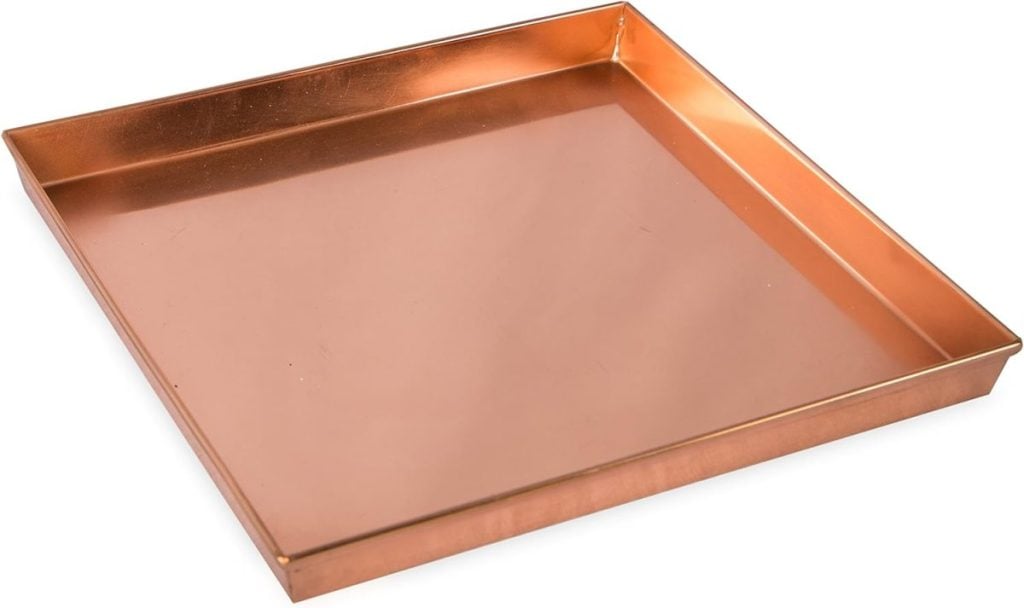
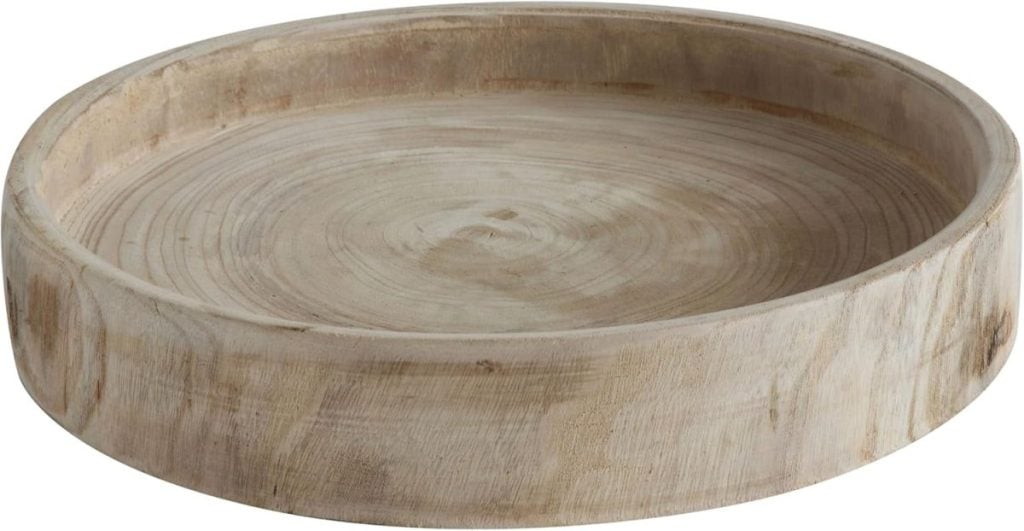
- Scatter them down the center of a table for a casual spring or Valentine’s Day look
- Tuck them into a decorative bowl or tray
- Attach them to gift wrap with twine
- Use them as place card accents
- Display them on a shelf or mantel
- Add them to a seasonal vignette


They look especially beautiful layered with fresh flowers, greenery, or other natural textures.


Making This a Kid-Friendly Craft

This project is perfect for kids because there are no rules.
They can trace, tear, and paint without worrying about getting things exactly right. The tearing step is especially fun and tactile.
Younger kids may need help with cutting, but everything else can be done independently. The end result will feel special because they made it themselves.
Why This Might Be My Easiest Craft Ever

There is no setup. There is no cleanup stress. There is no learning curve.
You can start and finish this project in one sitting. You can stop halfway and come back later. You can make one heart or twenty.
And yet, the final result looks intentional, styled, and thoughtful.
Those are my favorite kinds of projects.
A Handmade Spring Continues
This project is the second in my A Handmade Spring series and sets the tone for what this season is about. Simple materials. Hands-on creativity. Projects that feel achievable and joyful.
If you have been wanting to craft but felt overwhelmed, this is your sign to start here.
Grab a box from your recycling pile, print a heart pattern, and start tearing.
Sometimes the easiest projects are the ones that remind us why we love making things by hand in the first place
If you make these recycled paper hearts, I would love to see them. Every single one will be different, and that is what makes them special
How to Follow Along With A Handmade Spring
Each week, a new spring craft will be shared here on the blog. I will also be sharing behind-the-scenes moments, progress videos, and finished projects on Instagram so you can see each craft come to life.
You can jump in at any point. There is no need to start at the beginning or complete every project. Choose the ones that speak to you and make them your own.
If you love seasonal crafting, this series is designed to inspire you throughout spring.
Here are all of the A Handmade Spring craft projects so far. I can’t wait to share all twelve.
Latest Posts
-
Why You Should Pick a Name for Your Home and Fun Ideas You’ll Love
Have you ever thought about giving your home a name? Picking a name for your home gives it personality, a sense of history, and a little magic. You can name your home, whether it is a cozy beach cottage, a sprawling farmhouse, or a city loft. Every house should have a name! But why stop…
-
Family Time and Sunday Morning Coffee
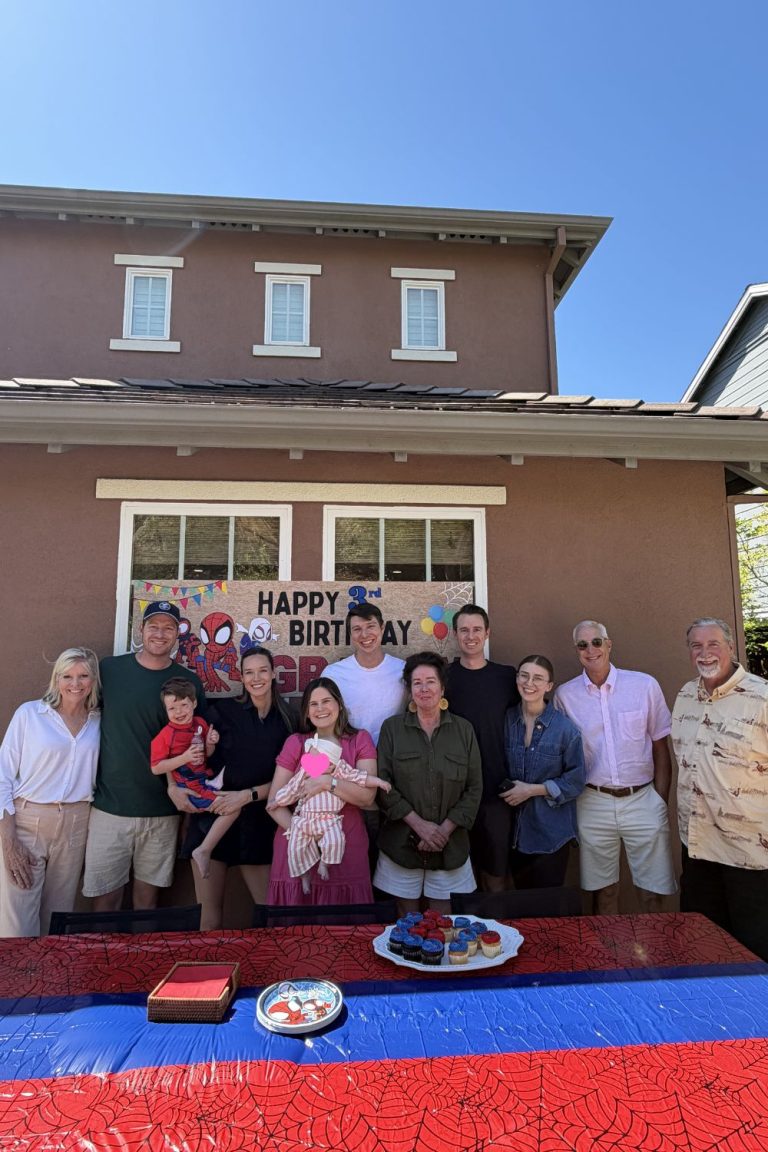
Family time is what makes everything else feel meaningful. Today I shared family time, a sneak peek at a project I absolutely loved creating, and a garden update that finally feels like a success. From a magical few days in Marin celebrating Graham’s birthday, to stitching something deeply personal with my Favorite Things shirt, to…
-
Spring Paper Craft Ideas
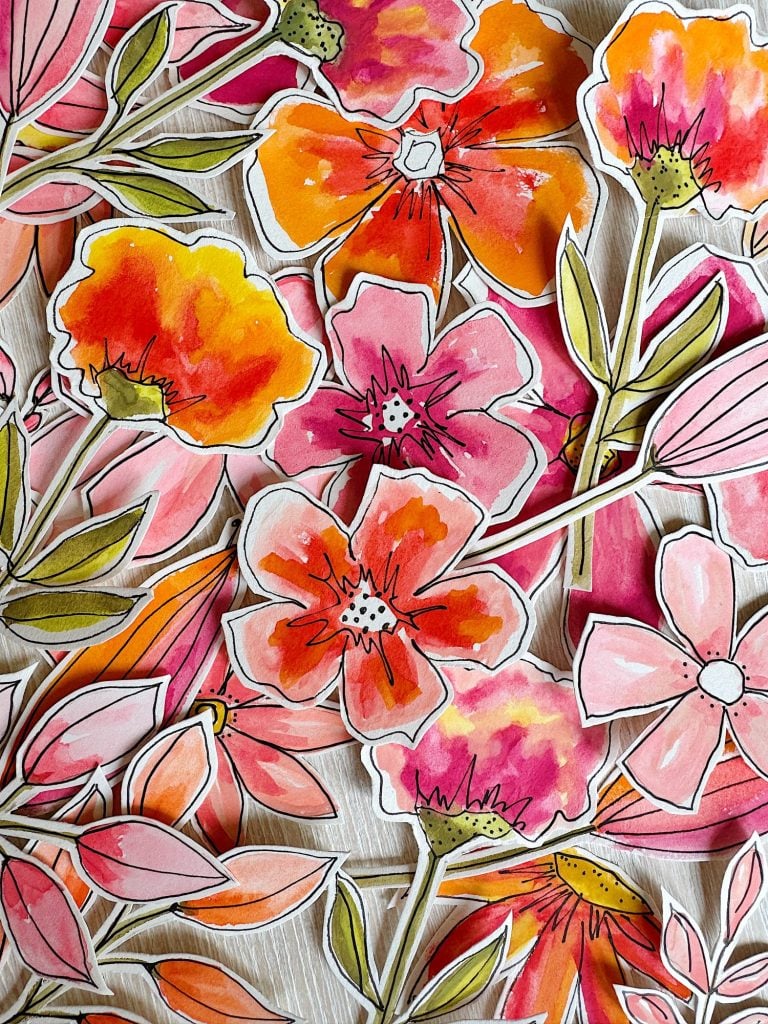
Spring is the perfect time to refresh your home with light, cheerful, and creative touches, and what better way to do that than with spring paper craft ideas! These whimsical and colorful paper flowers were so much fun to make. I have seen these paper blooms everywhere on Pinterest and social media. I’ve even seen…
-
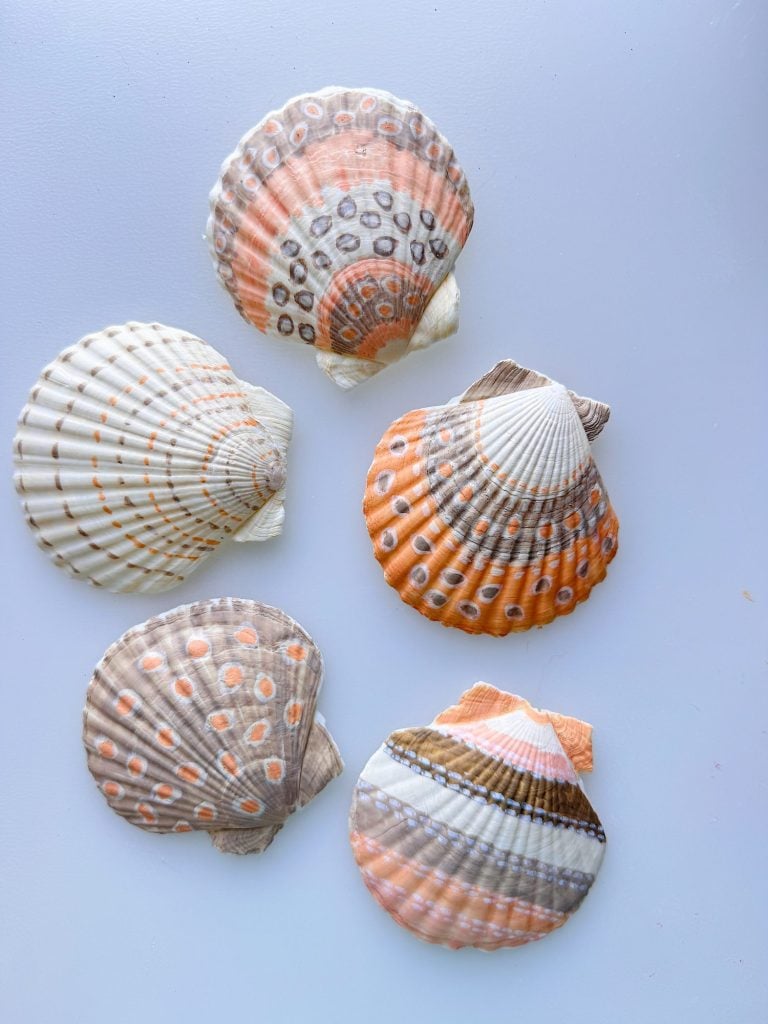
Handpainted Shells – A Handmade Spring
These handpainted shells are easy, relaxing, and surprisingly beautiful. I used acrylic markers, which made this project so easy for my next A Handmade Spring project. Sometimes the best projects are the ones that don’t require a lot of planning, a long supply list, or perfect precision. This is one of those crafts.
My Recent Instagram Posts

You can pin the image below to your boards on Pinterest (click the Pin button in the top left corner) or follow me on Pinterest!
For more real-time updates, follow me on Instagram @My100YearOldHome

This recycled paper hearts craft sounds perfect for spring! I love that it’s so simple and uses recycled materials. The fact that it’s kid-friendly and takes under an hour makes it a great project to try with my family.