My Favorite Ninja Creami Protein Ice Cream
Let’s talk about one of my new favorite kitchen gadgets: the Ninja Creami. And my favorite protein ice cream!
If you haven’t discovered this magic machine yet, you need to know that it is the appliance that has completely changed the way I make frozen desserts and drinks at home. Whether you’re into healthy treats, indulgent ice creams, or refreshing summer drinks, the Ninja Creami does it all with ease.


Protein Ice Cream in the Ninja Creami
Why the Ninja Creami is the Best Way to Make Frozen Desserts and Drinks
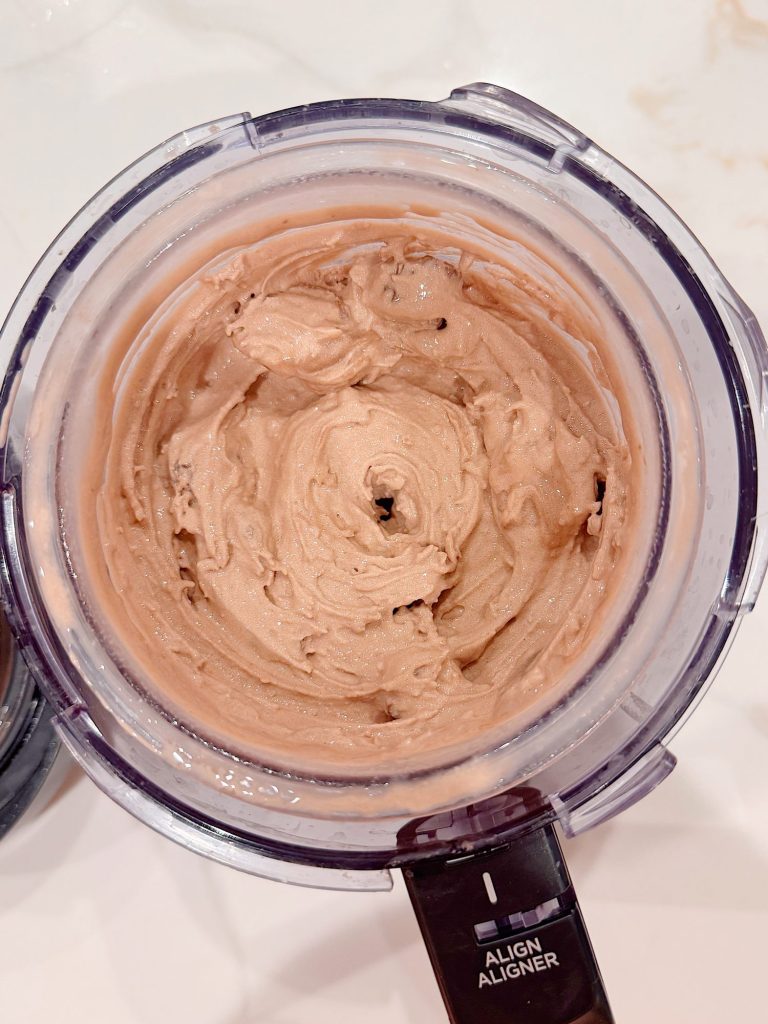
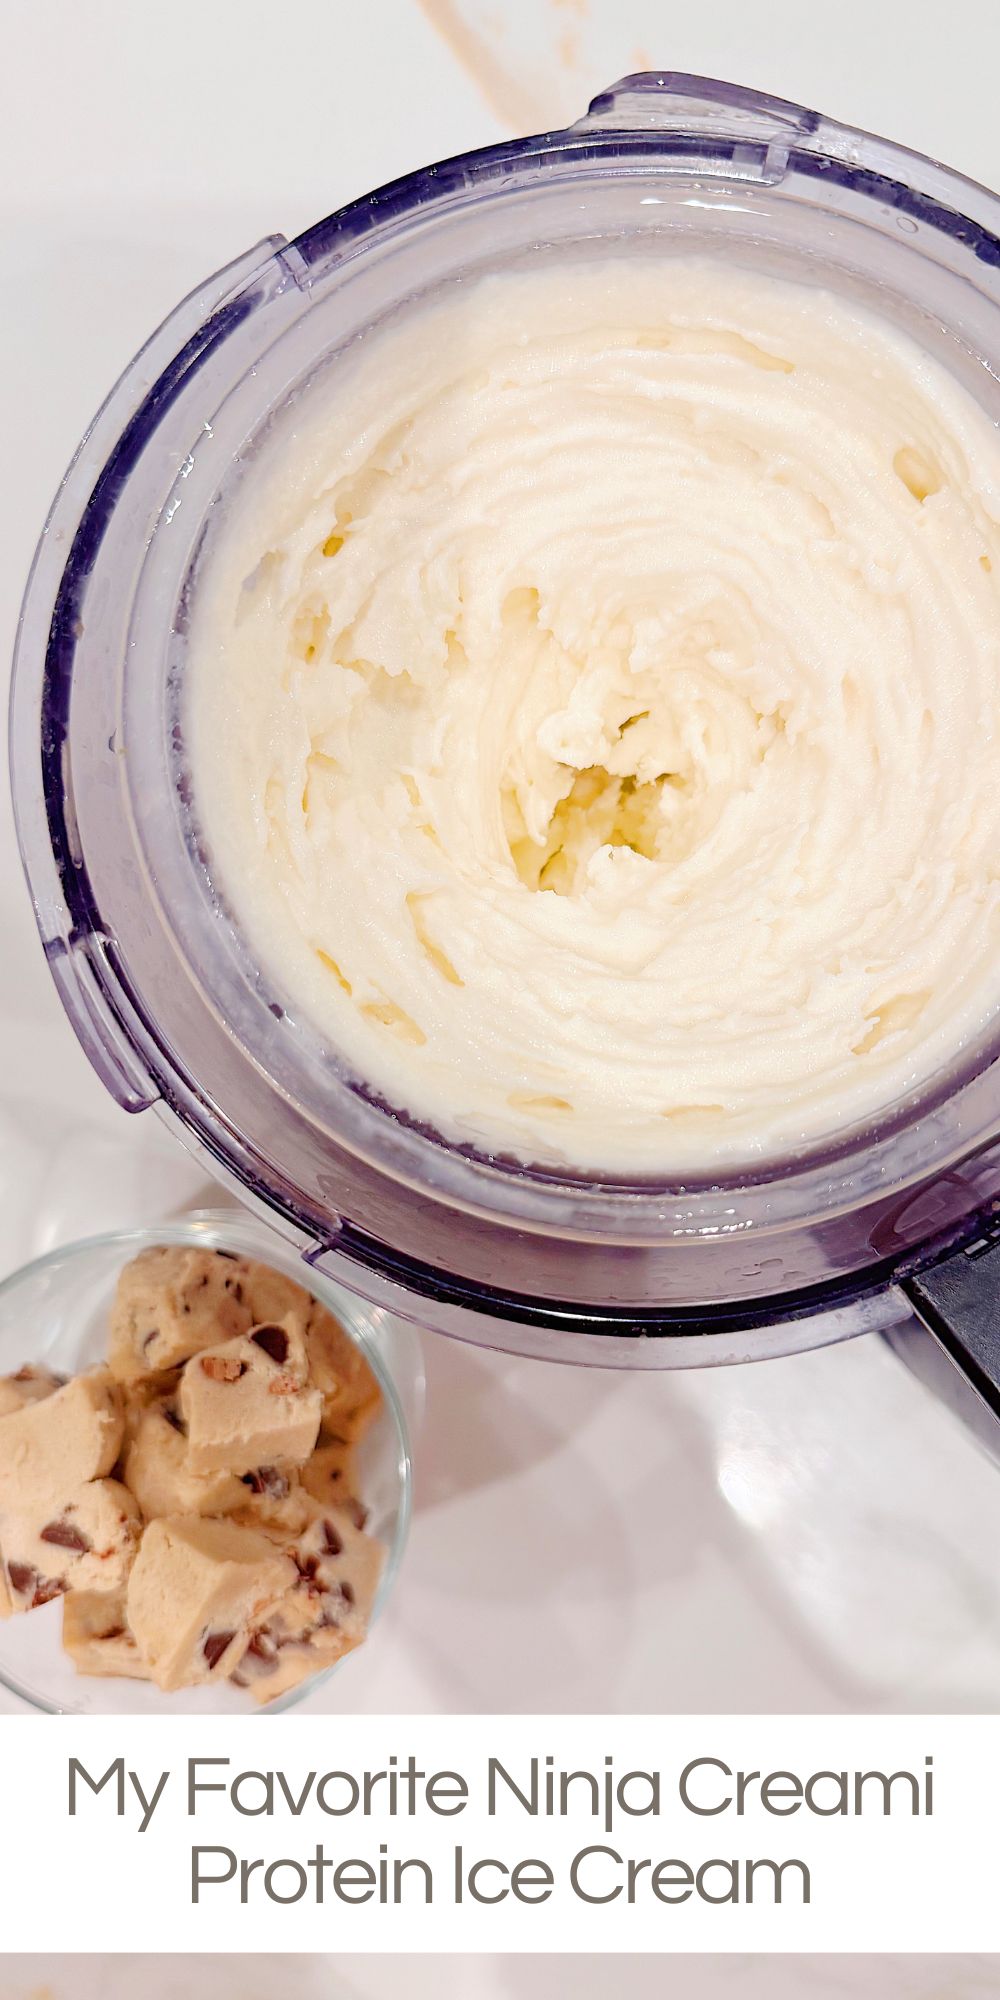
I recently used the Ninja Creami to make protein ice cream, and I couldn’t believe how creamy, flavorful, and satisfying it turned out to be. It tasted like a decadent dessert, but it was packed with protein and didn’t leave any of my guests feeling guilty.
Once I discovered how easy it was, I started experimenting with mix-ins like Oreo cookies, edible cookie dough, and chopped Reese’s peanut butter cups. Let’s say… the possibilities are endless.
What is the Ninja Creami?
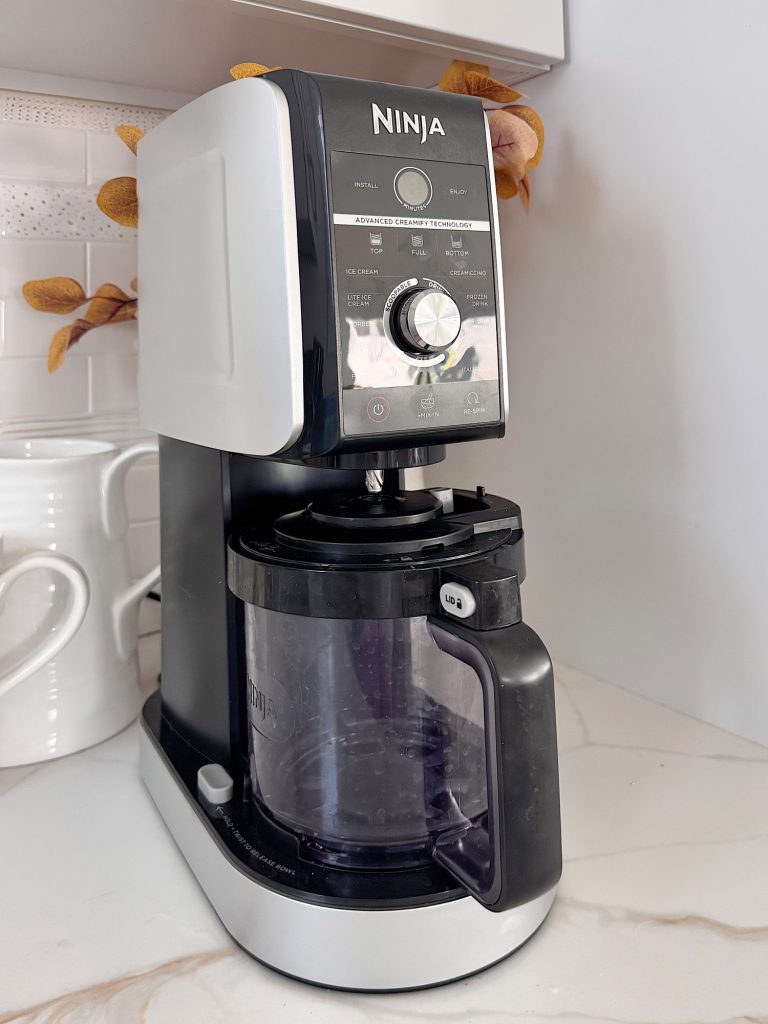
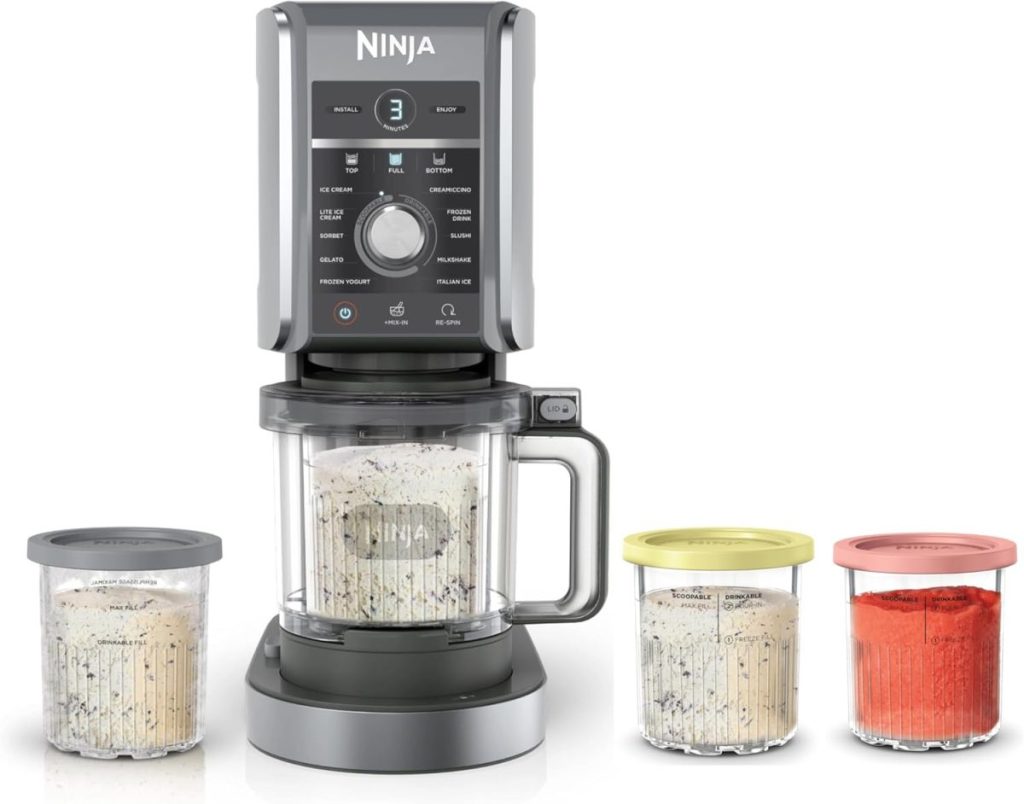
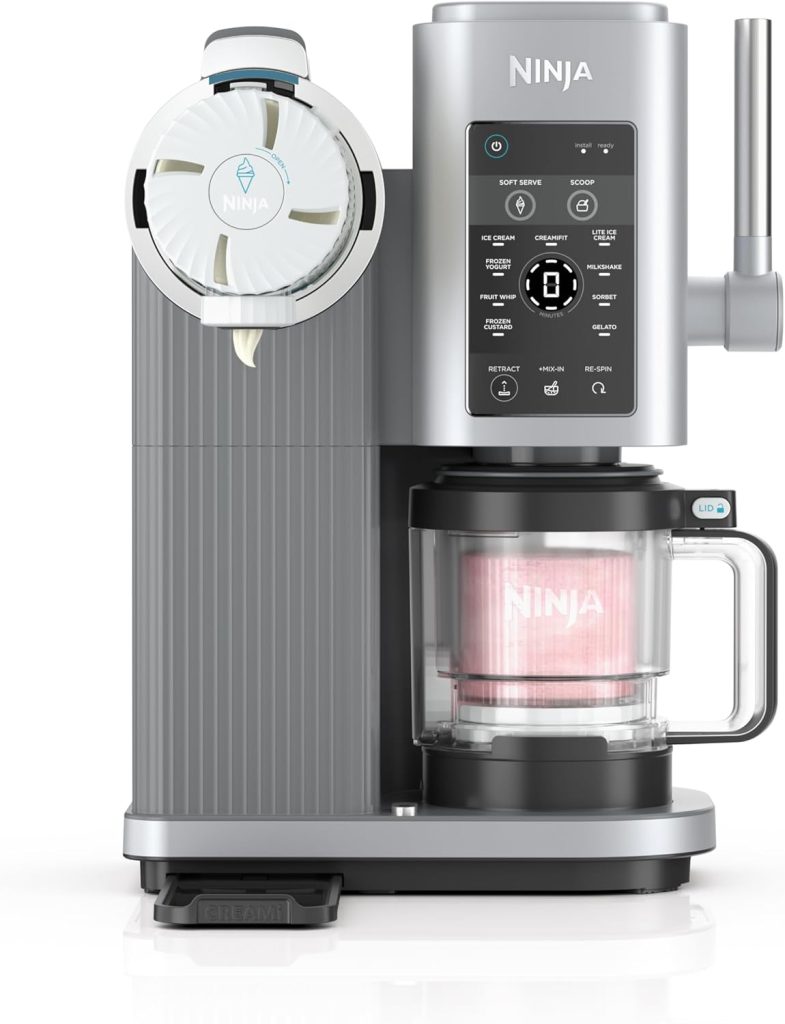
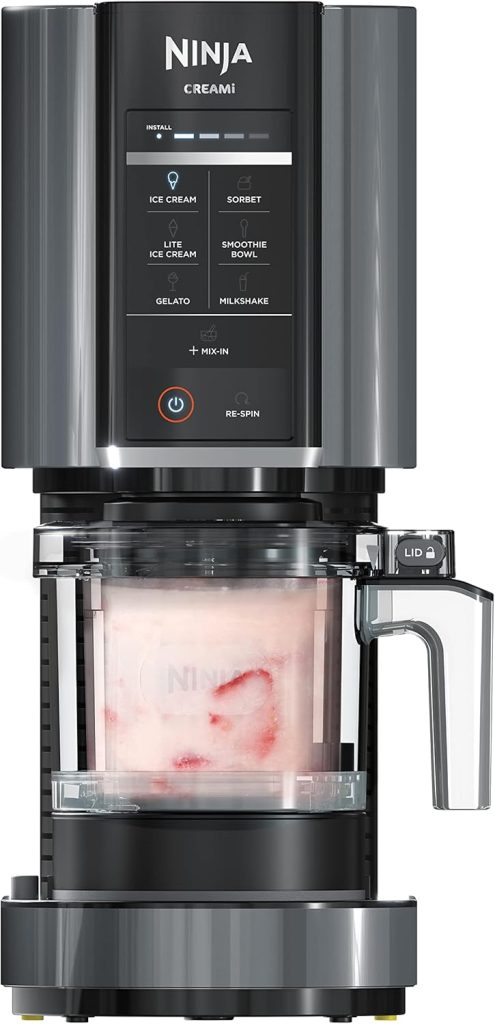
The Ninja Creami is a countertop appliance that turns almost any liquid into a scoopable frozen treat. Unlike traditional ice cream makers that churn for hours and require pre-freezing a bowl, the Creami works differently.
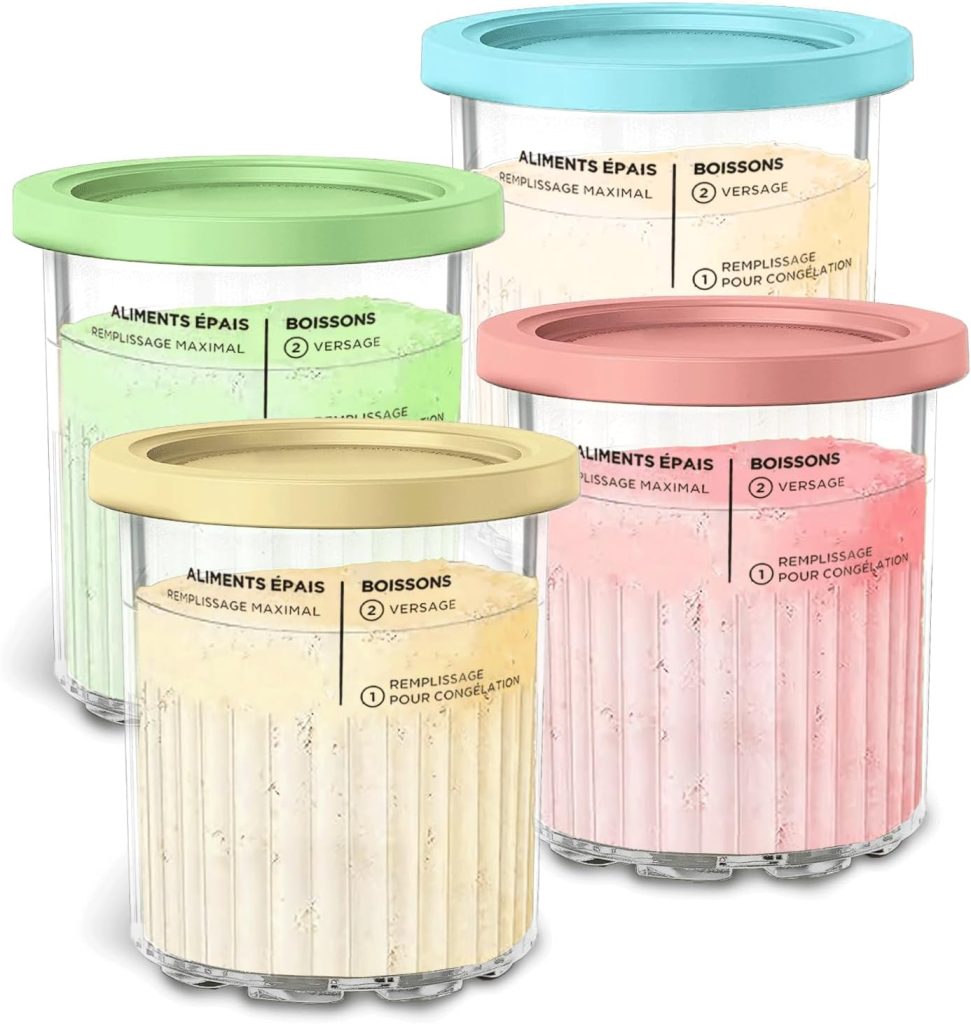
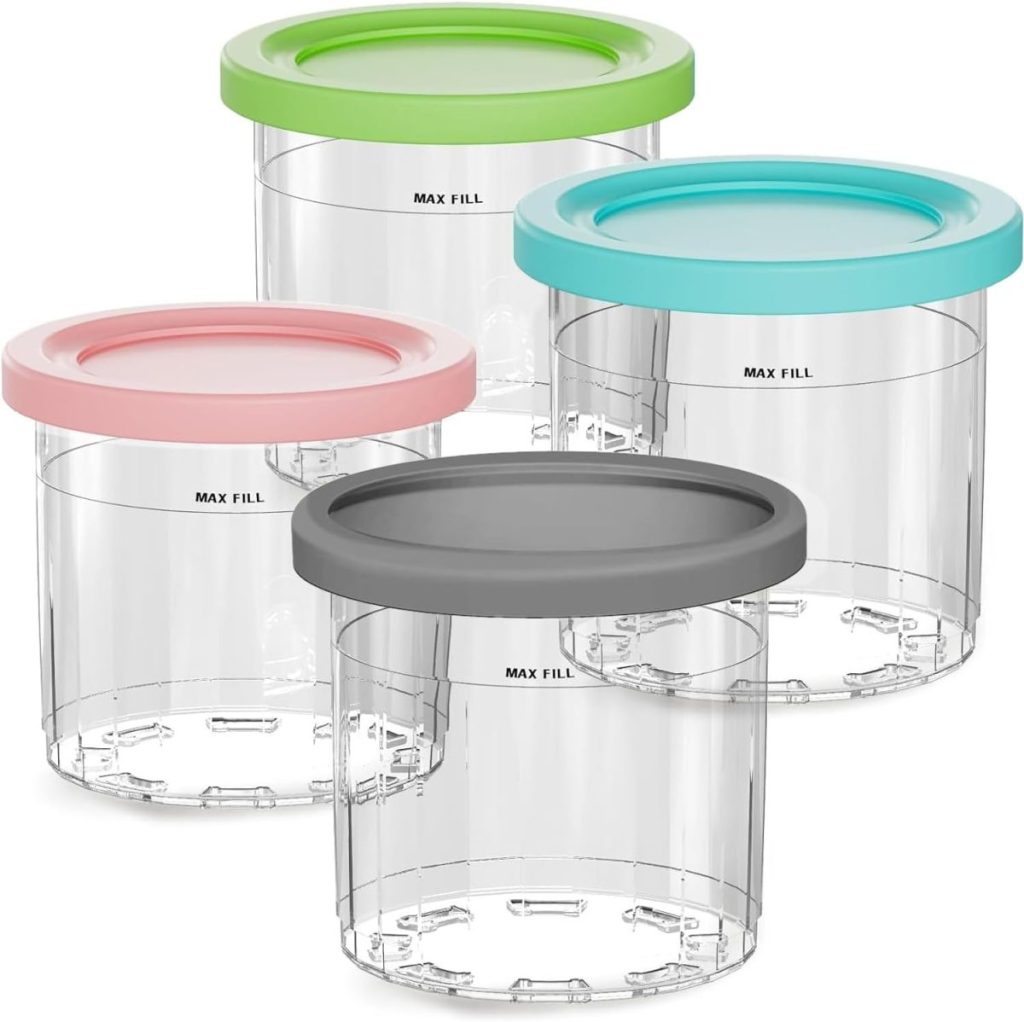
You freeze your mixture overnight in a Ninja Creami pint container, then place it into the machine and let the Creami spin it into ice cream, sorbet, gelato, milkshakes, or even frozen drinks. It’s fast, user-friendly, and wildly customizable.
Why I Love It
- Customizable Ingredients: You control everything that goes in, from sugar and fat content to mix-ins and flavors.
- Easy to Use: The process is simple: mix, freeze, spin, enjoy.
- Endless Variety: Ice cream, sorbet, smoothie bowls, slushies, milkshakes, and even frozen cocktails.
- Great for Healthy Eating: You can make high-protein, low-carb, or dairy-free versions of your favorite frozen treats.
- Fun to Experiment With: From classic flavors to wild creations, you can try it all.
How to Make Protein Ice Cream with the Ninja Creami

After reading rave reviews and seeing countless videos online, I decided to try making my protein ice cream using a few simple ingredients. I wanted something that felt indulgent but was also packed with protein and easy to whip up with pantry staples.
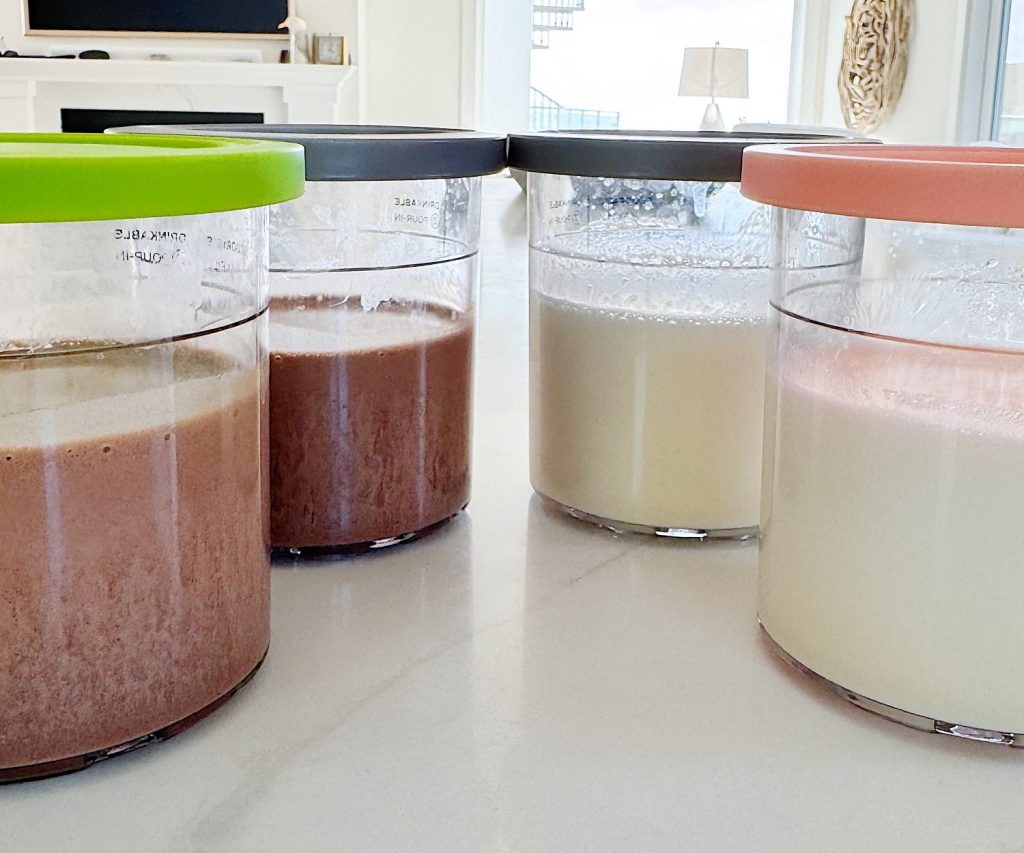
Here’s the recipe that worked beautifully for me, and I’ll share how I turned it into three different delicious flavors using fun mix-ins.
🥄 Basic Protein Ice Cream Base (Chocolate or Vanilla)
Ingredients:
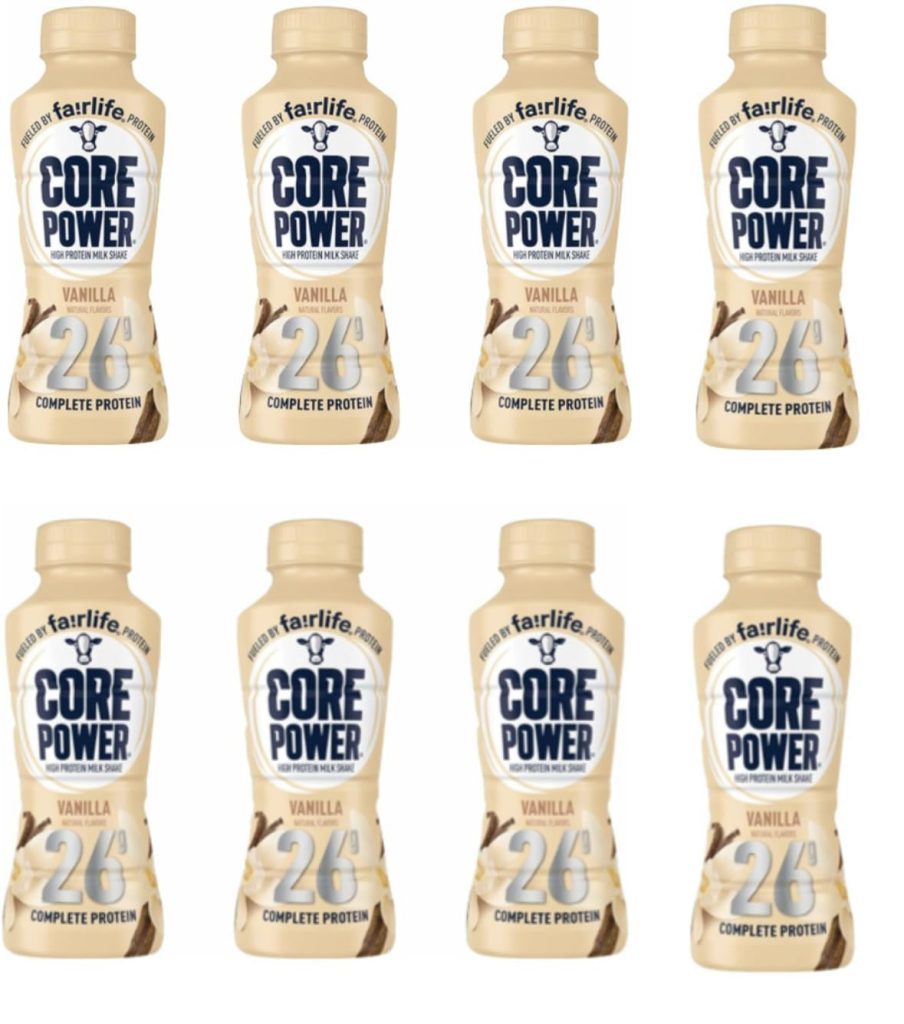
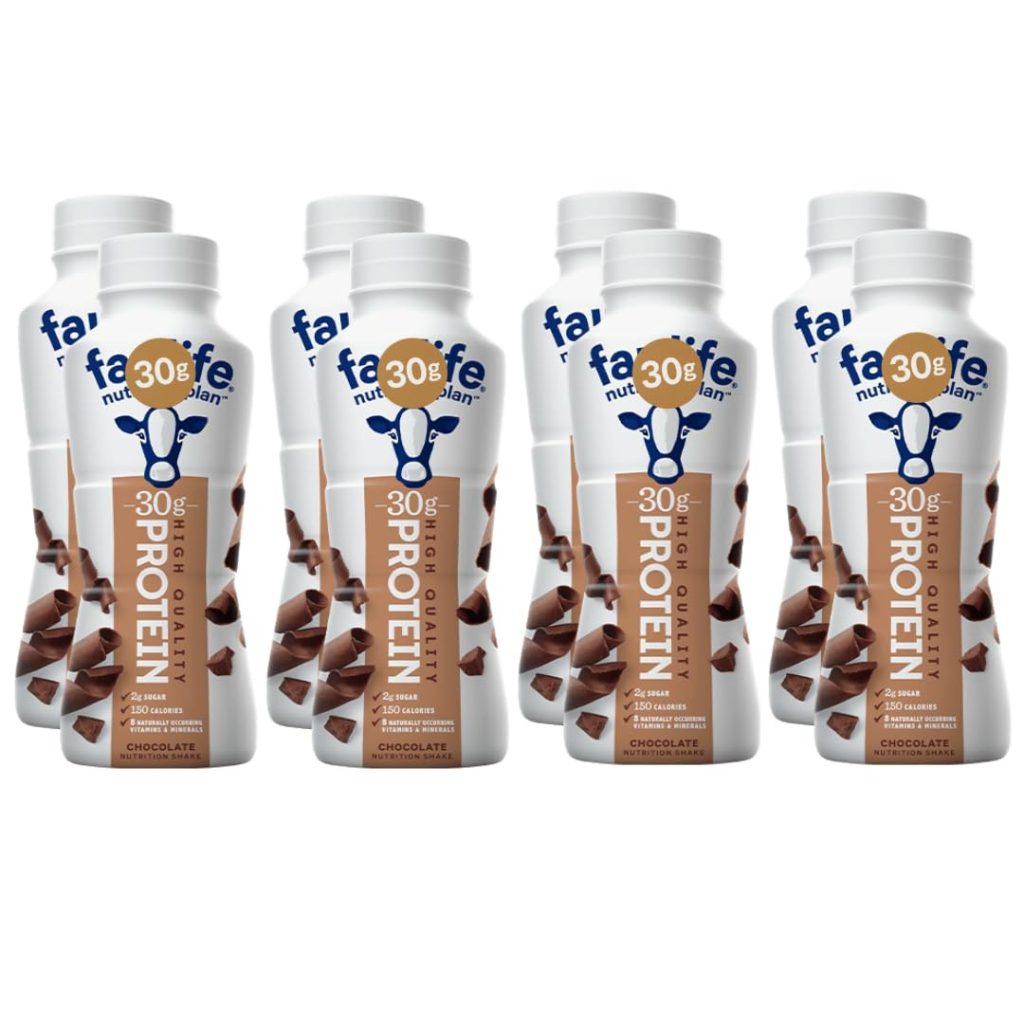
- 1 Fairlife Core Power Protein Shake or Fairlife Vanilla Protein Shake (either Chocolate or Vanilla, 11.5 oz)*
- 1 tbsp instant pudding mix (sugar-free chocolate or vanilla to match)
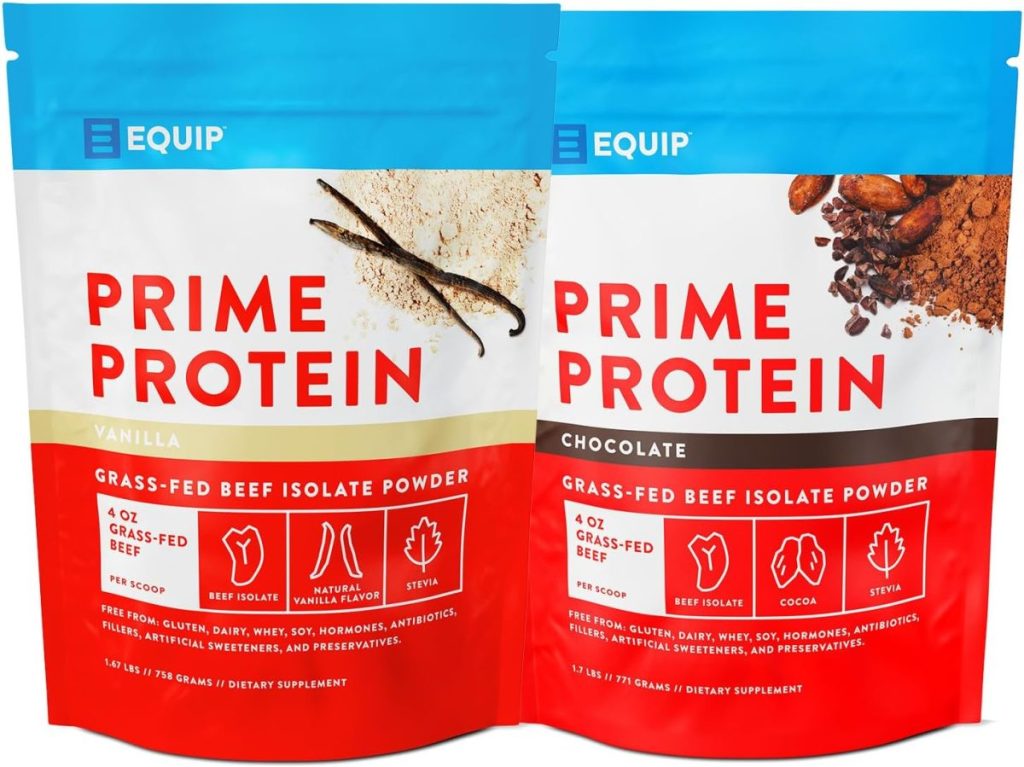
*You can also use milk (such as Fairlife), but add one scoop of protein powder
Instructions:
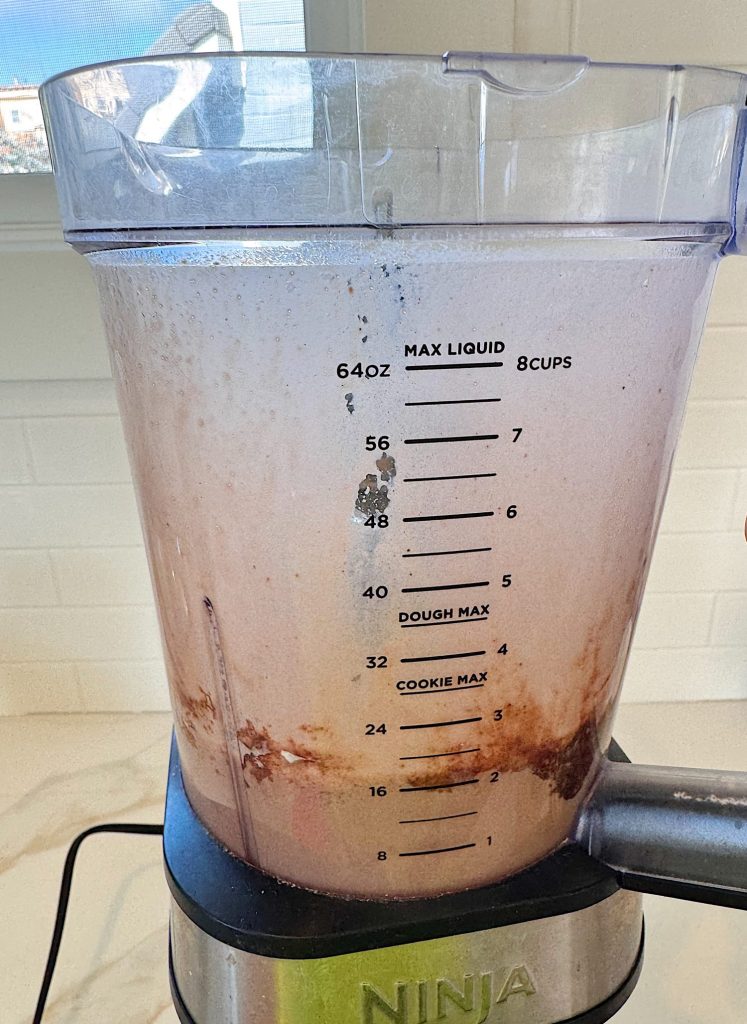
- Pour the protein shake and pudding into a blender. Mix.
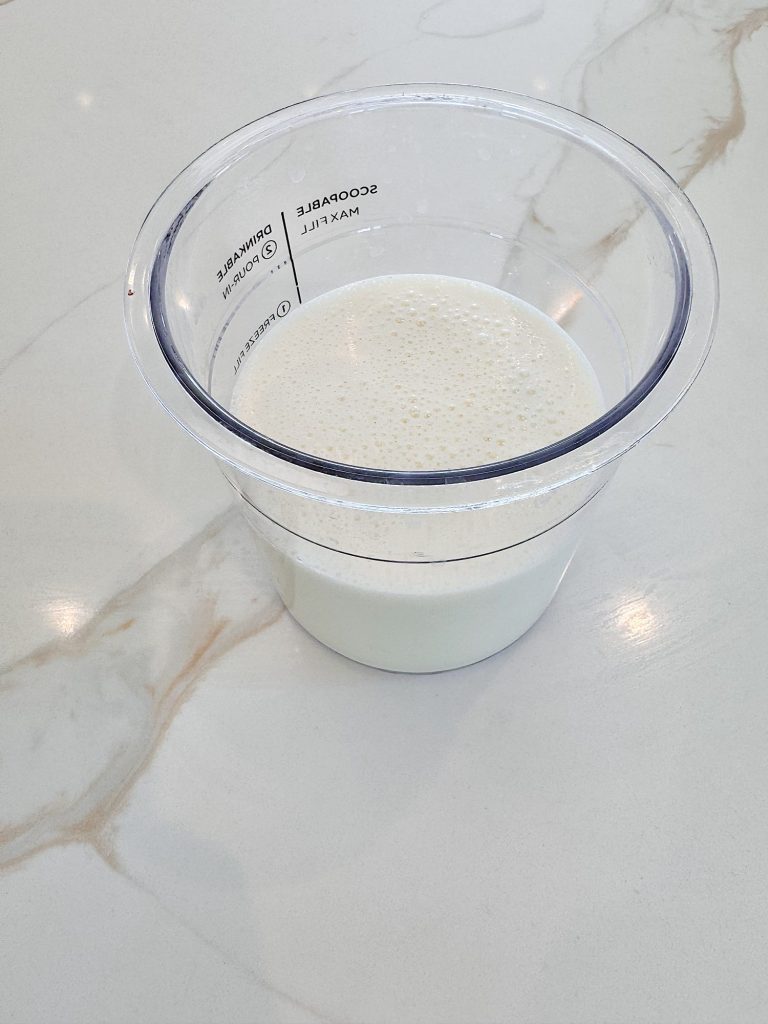
- Pour the combined mixture into a Ninja Creami pint container.
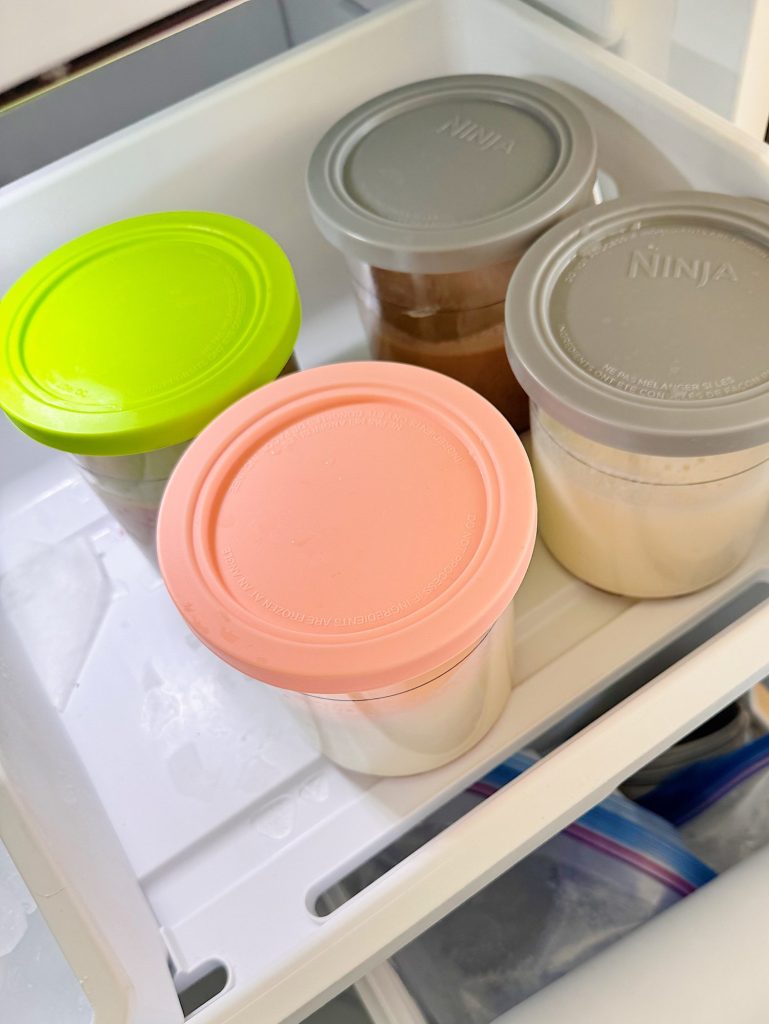
- Seal the lid and freeze flat for at least 24 hours.
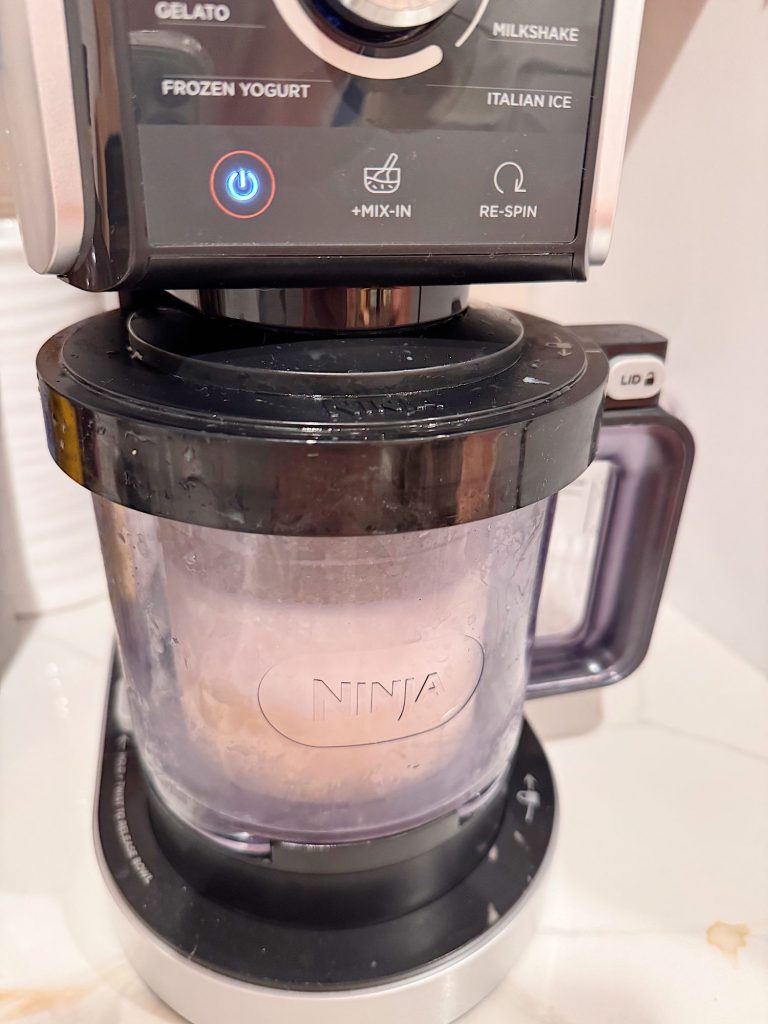
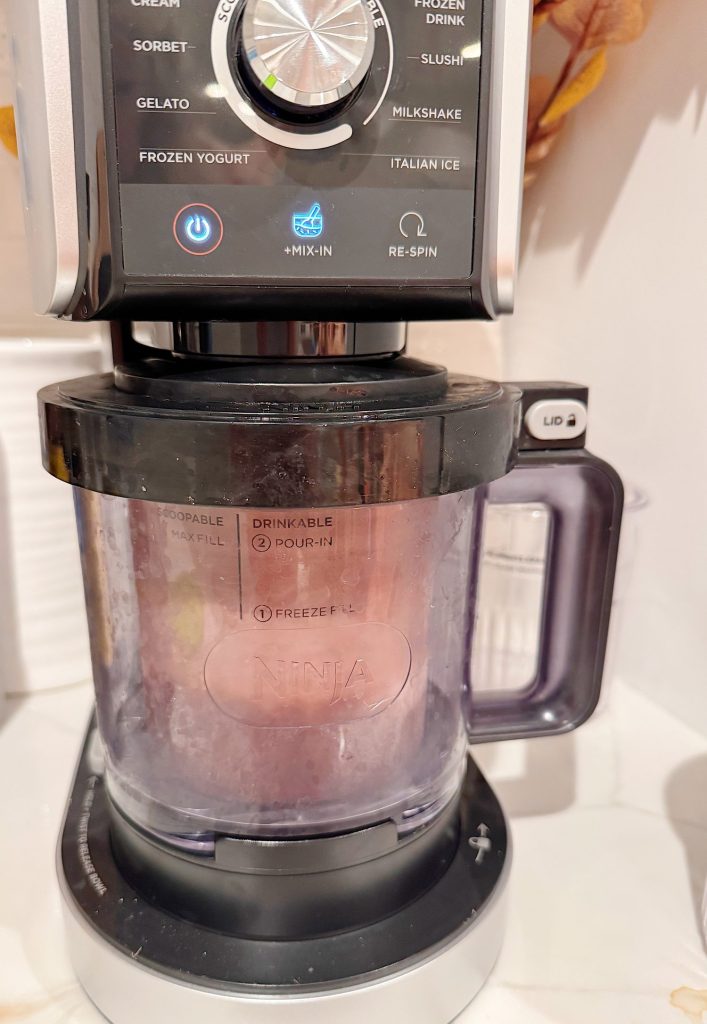
- When ready, remove the lid and insert the pint into the Ninja Creami.
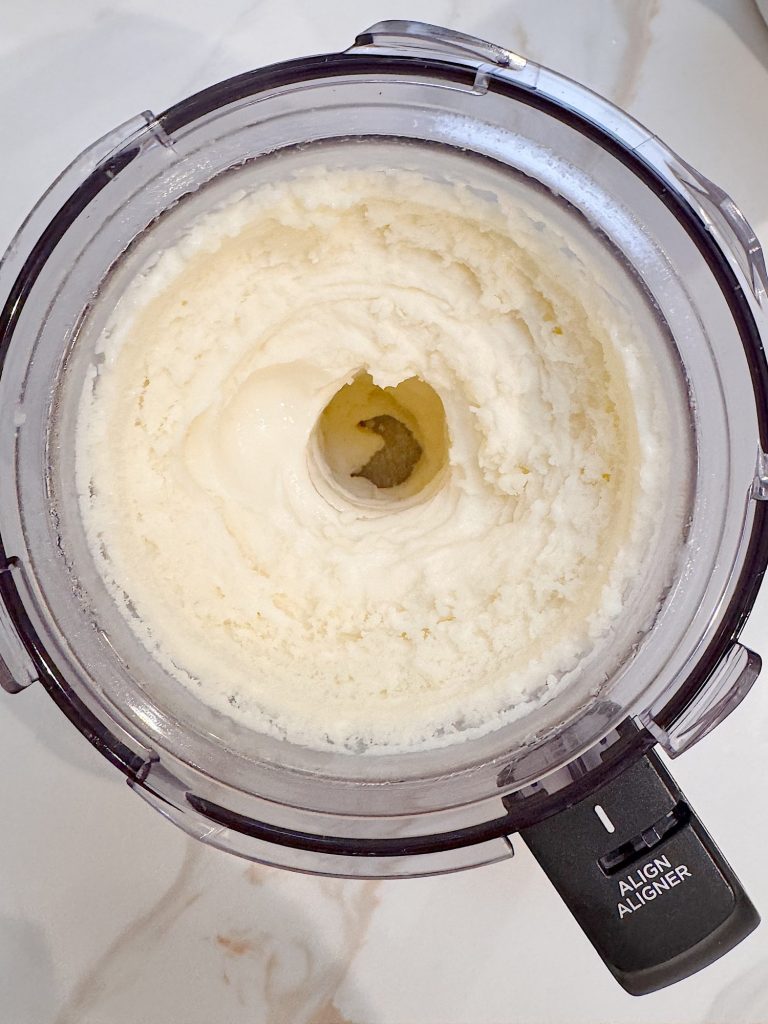
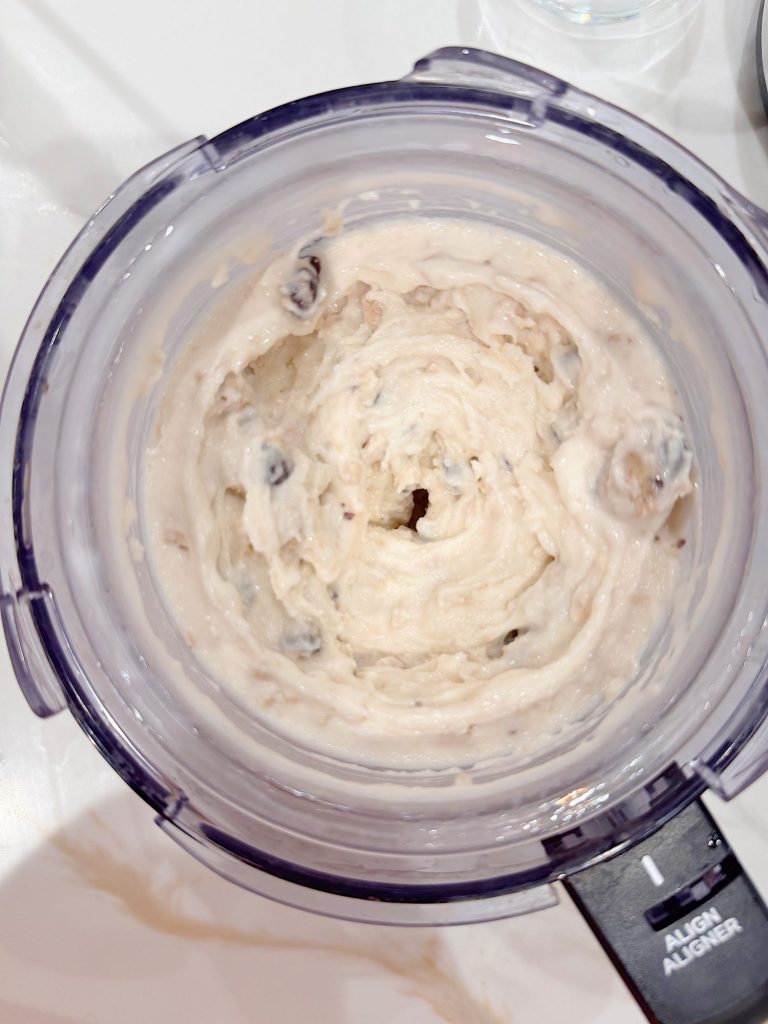
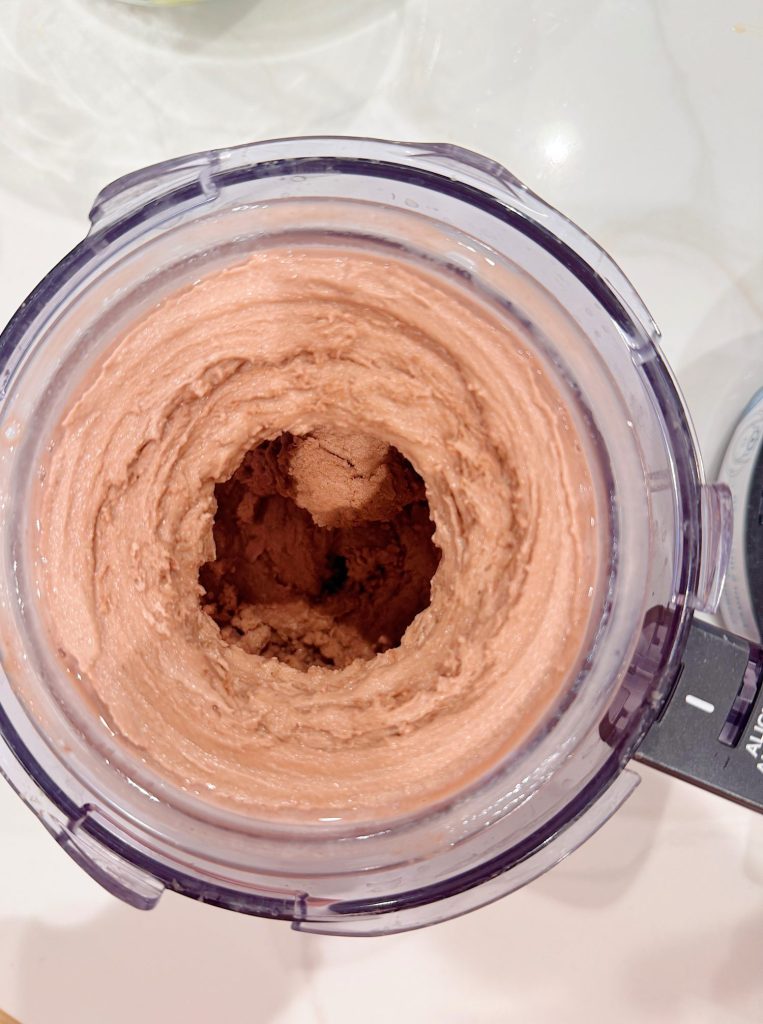
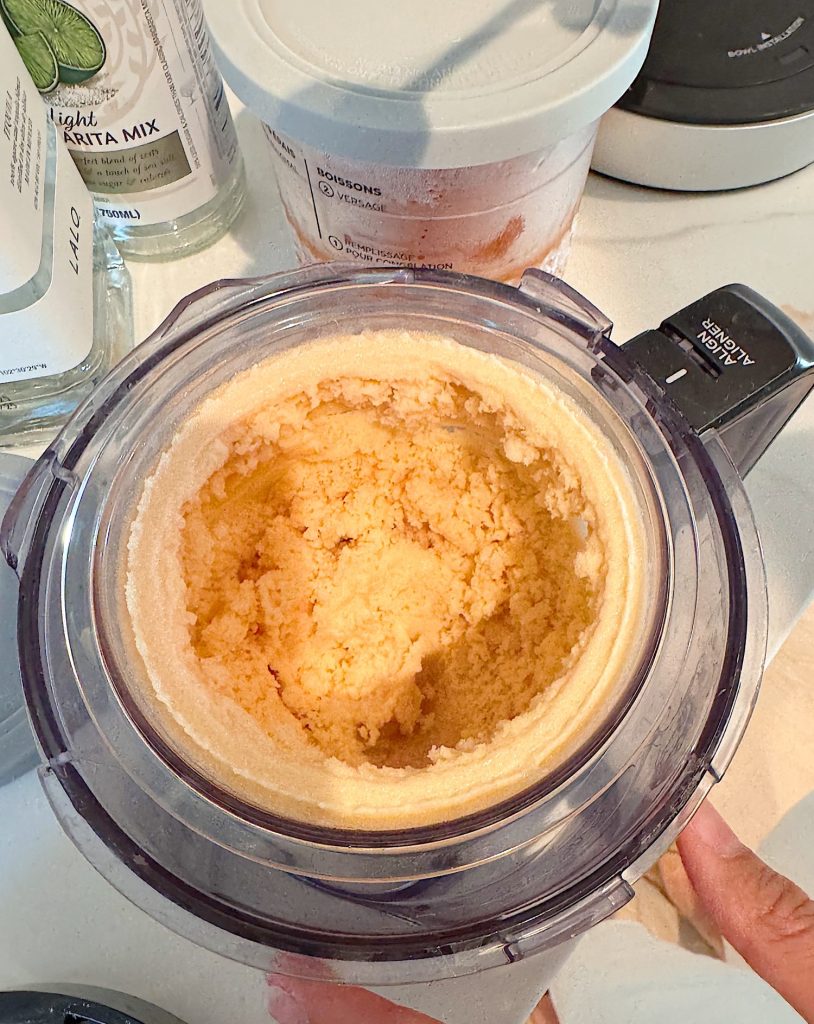
- Run the “Ice Cream” function. If it looks crumbly, use the “Re-Spin” feature until smooth and creamy.
I may occasionally use affiliate links on this blog, which means I earn a small commission if you purchase through the link. The price will be the same whether you use the affiliate link or go directly to the vendor’s website using a non-affiliate link
🍪 Flavor Ideas Using Mix-Ins
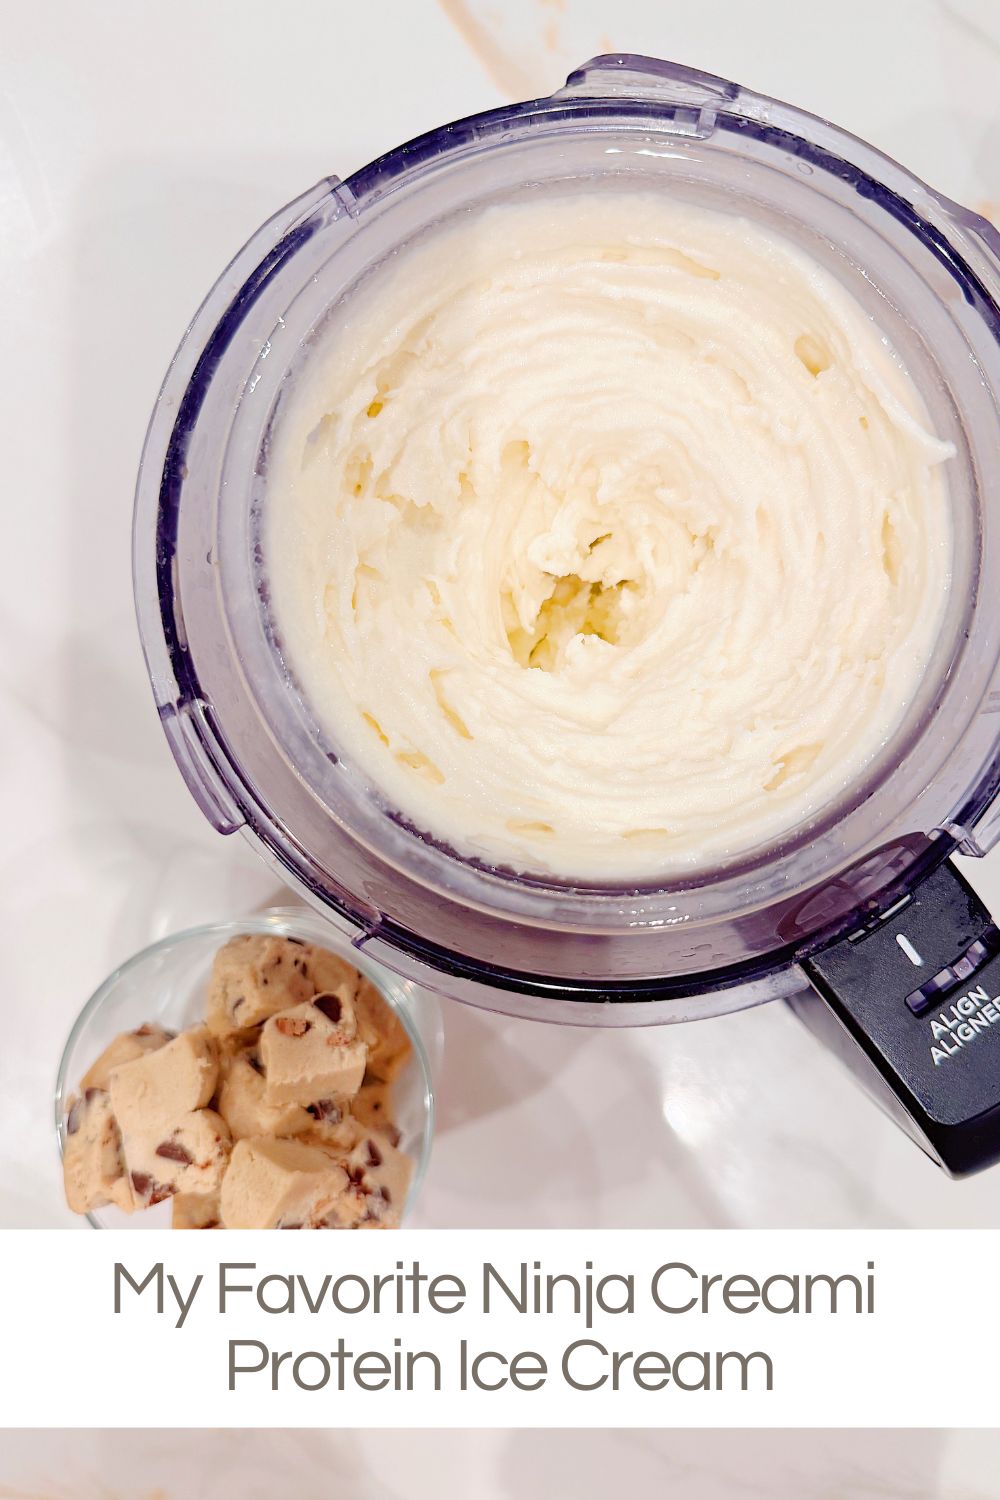
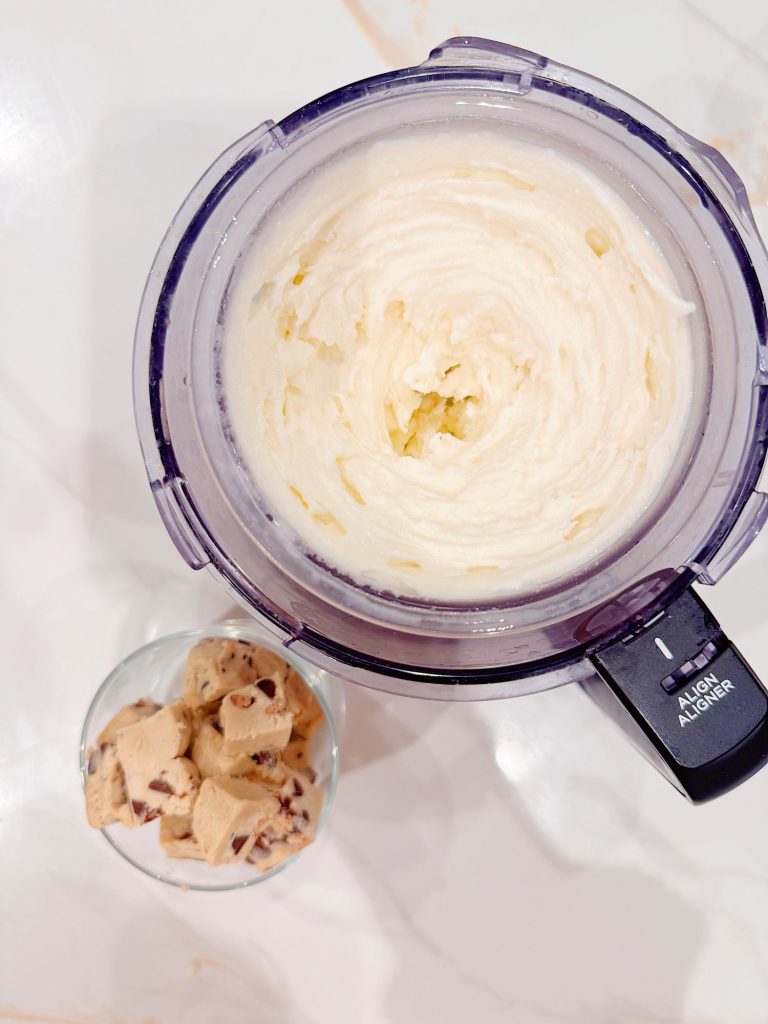
Once you have your creamy base, the real fun begins! Use the “Mix-In” setting to add your favorite treats after the initial spin.
1. Vanilla Cookies & Cream
- Base: Vanilla protein ice cream
- Mix-In: 2 crushed Oreo cookies
2. Edible Cookie Dough Delight
- Base: Vanilla protein ice cream
- Mix-In: 1–2 tbsp chopped edible cookie dough (store-bought or homemade)
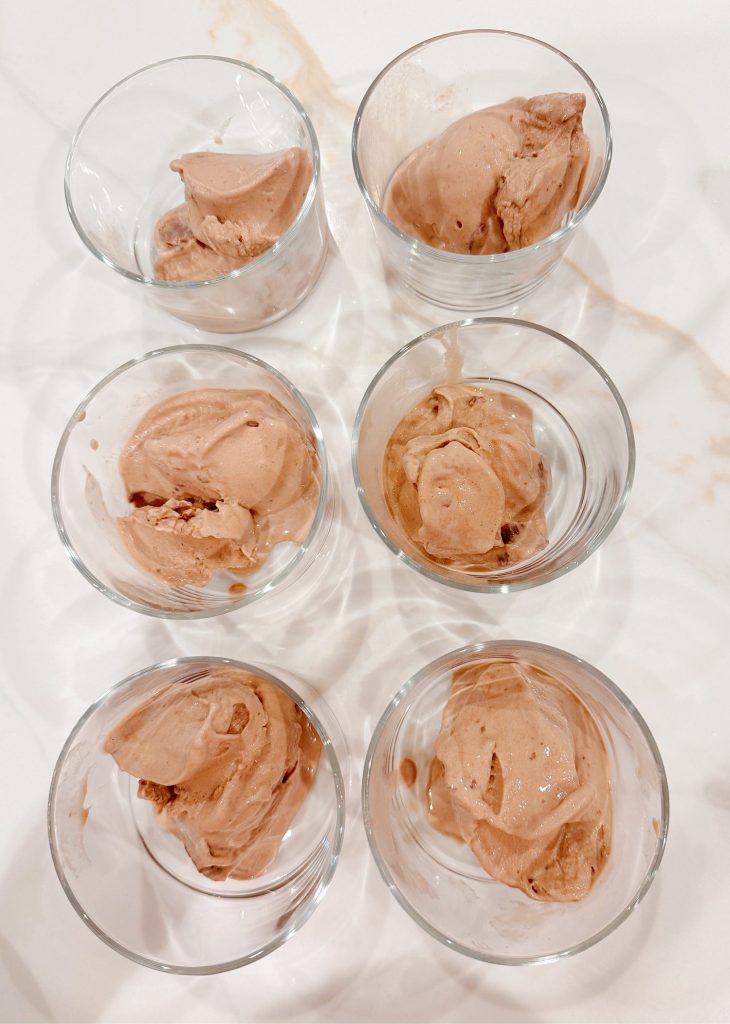
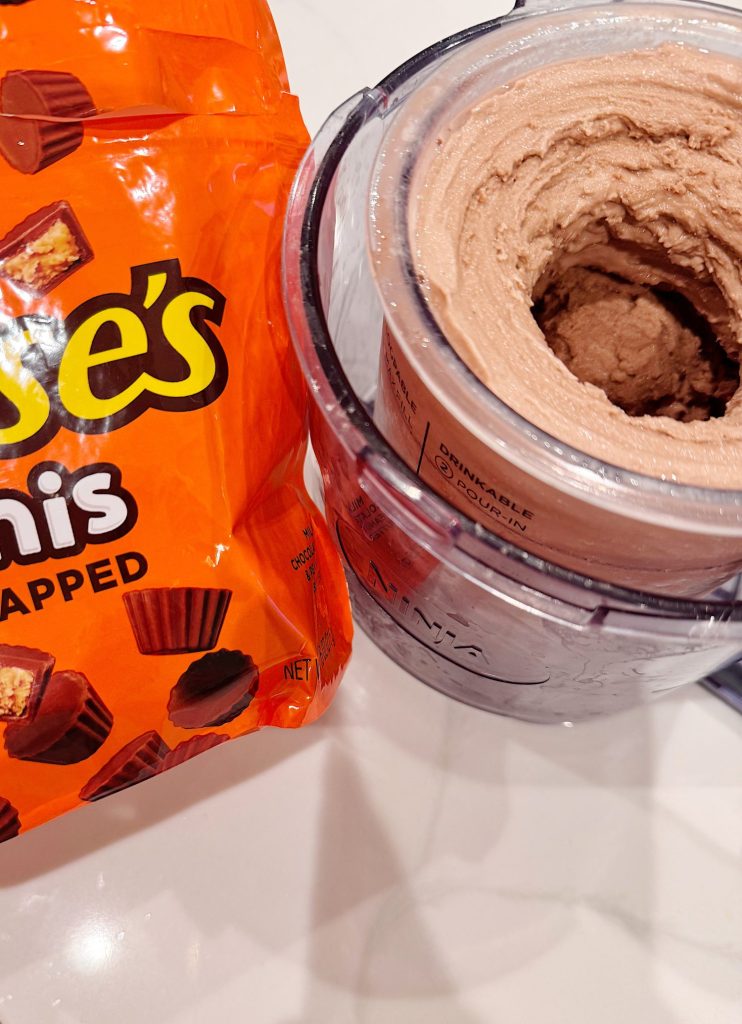
3. Chocolate Peanut Butter Cup
- Base: Chocolate protein ice cream
- Mix-In: 2 chopped mini Reese’s peanut butter cups
Optional Enhancements:
- Add 1 tbsp cocoa powder to intensify the chocolate flavor
- Add a splash of vanilla extract for a flavor boost
- Swirl in a spoonful of peanut butter or caramel before freezing for extra richness
Tips for Success
- Freeze Completely Flat: The Creami needs a flat, even surface to work correctly.
- Use the Re-Spin Button: Don’t panic if it looks powdery after the first spin. Re-spin until creamy! Please note that I had to do this every time.
- Try Other Base Variations: Greek yogurt and milk, almond milk and banana, or even coffee and creamer combos.
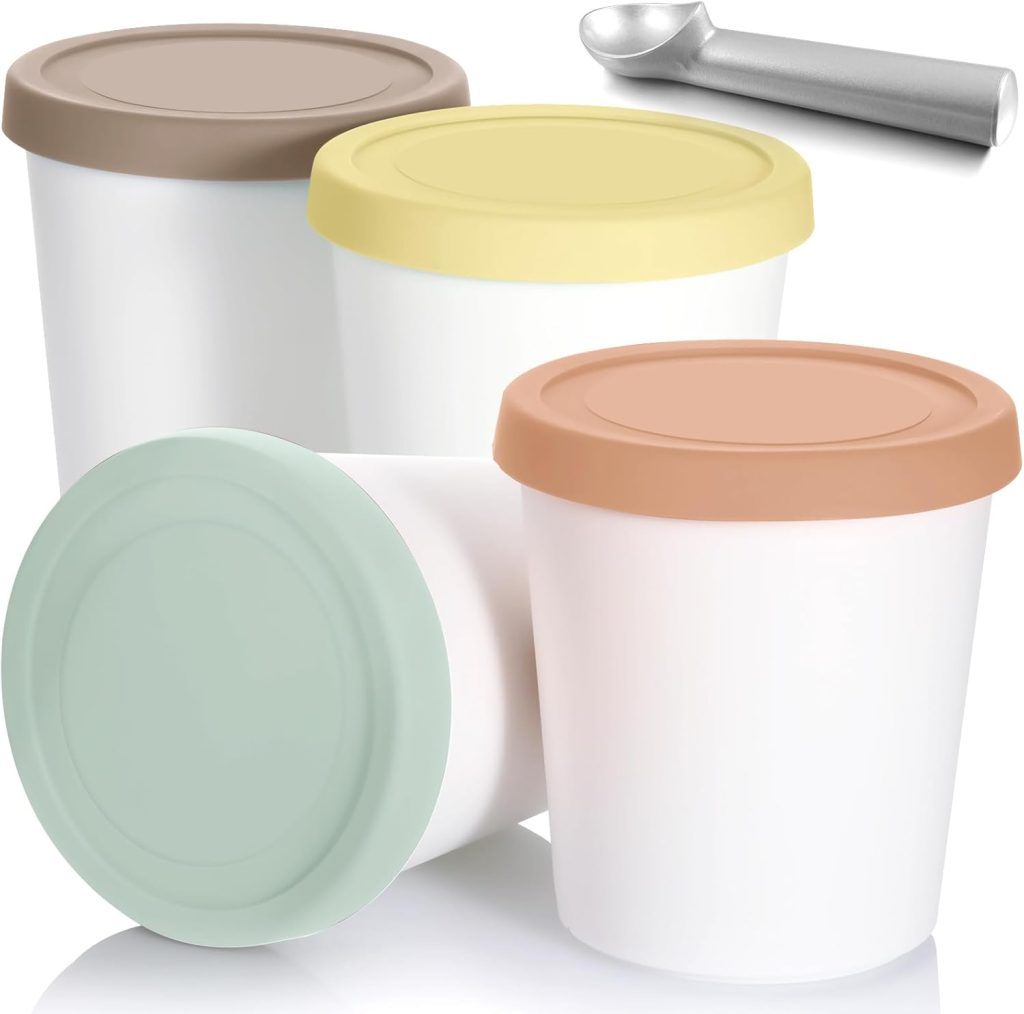
- Label Your Pints: If you start making lots of flavors (you will!), labeling the lids helps keep track.

More Ideas for the Ninja Creami
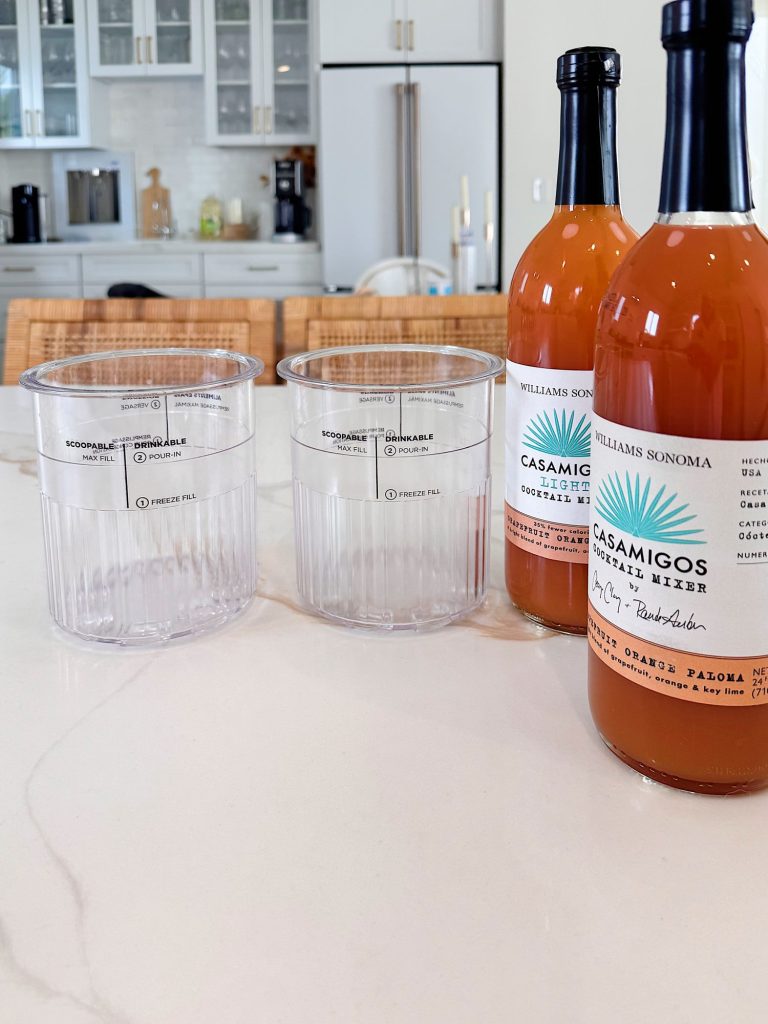
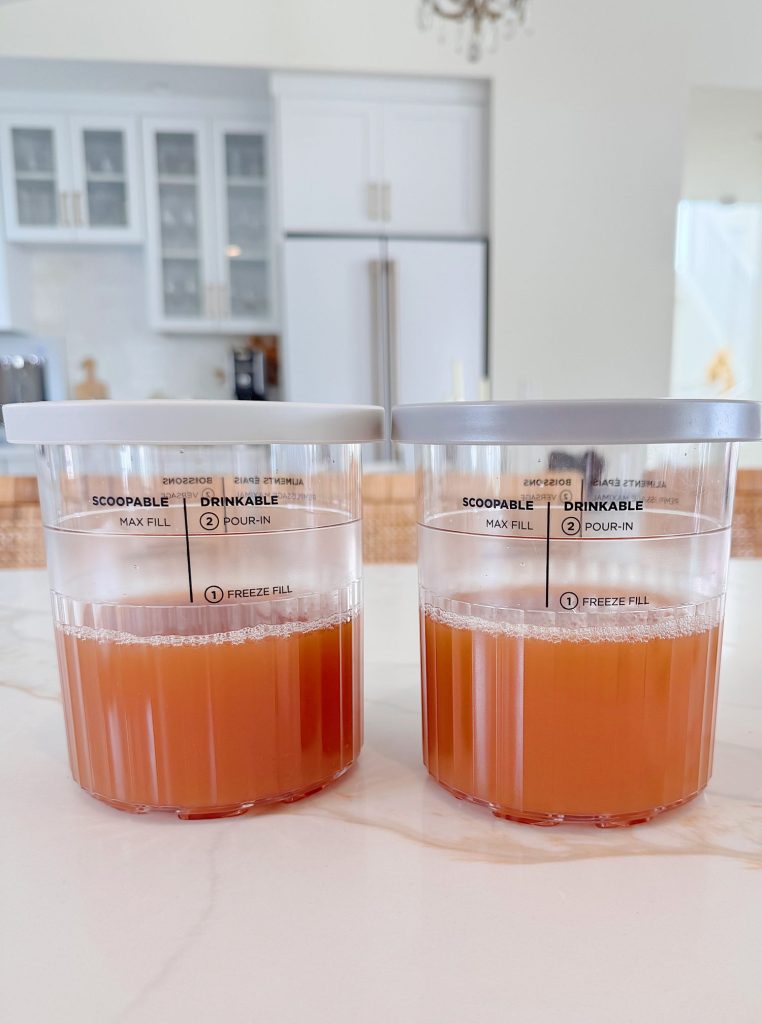
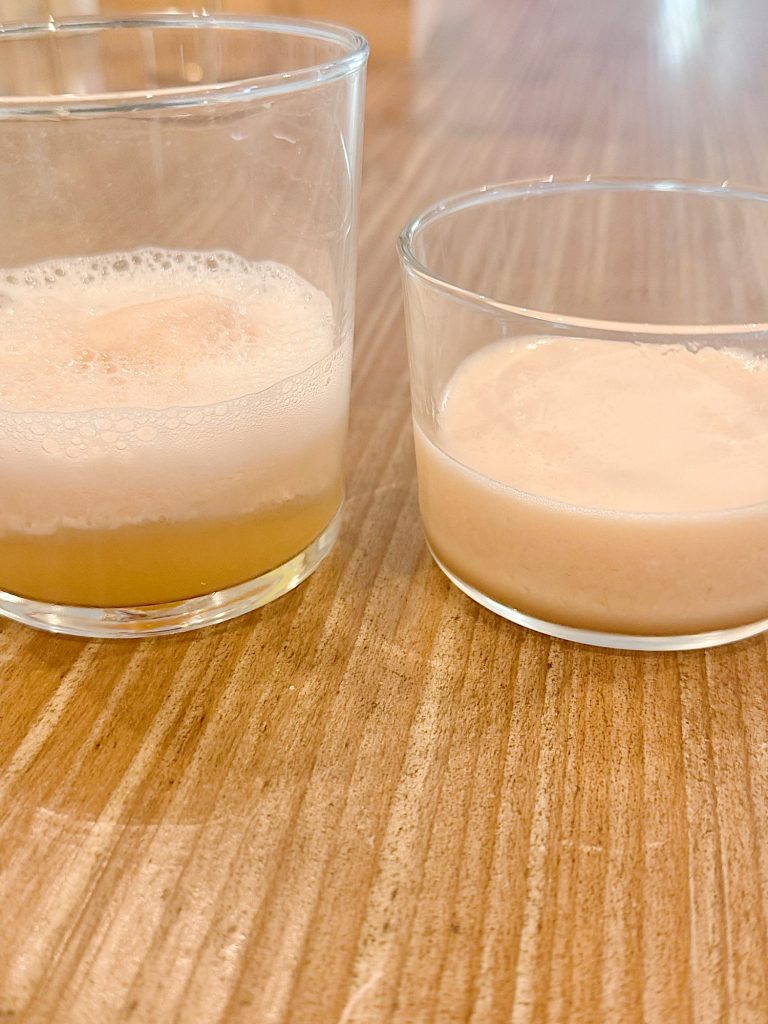
We made Frozen Paloma cocktails with Casa Amigos Paloma mix. I froze it in the tub, then used the SLUSHi setting and made cocktails with tequila! We were able to serve just the frozen slushi for our non-drinking guests.
- Frozen Lemonade: Blend lemon juice, water, and a touch of honey for a frosty treat
- Mocktails or Slushies: Freeze fruit juices with fresh herbs like mint or basil
- Boozy Creamis: Make a frozen piña colada, peach bellini, or margarita with a grown-up twist
- Smoothie Bowls: Freeze your smoothie blend and serve it thick like soft-serve for a breakfast treat
Final Thoughts
The Ninja Creami is more than a novelty appliance. It’s truly a game-changer for anyone who loves frozen desserts. Whether you’re trying to meet your protein goals, beat the heat, or get creative in the kitchen, this machine makes it easy and enjoyable.
If you’ve been thinking about buying one or already have one sitting in the box, take this as your sign to go for it. Start with this protein ice cream recipe and play around with flavors you love. I guarantee once you make your first pint, you’ll be hooked.
Happy spinning, scooping, and snacking!
If you enjoy my blog, you can sign up to receive my updates here.
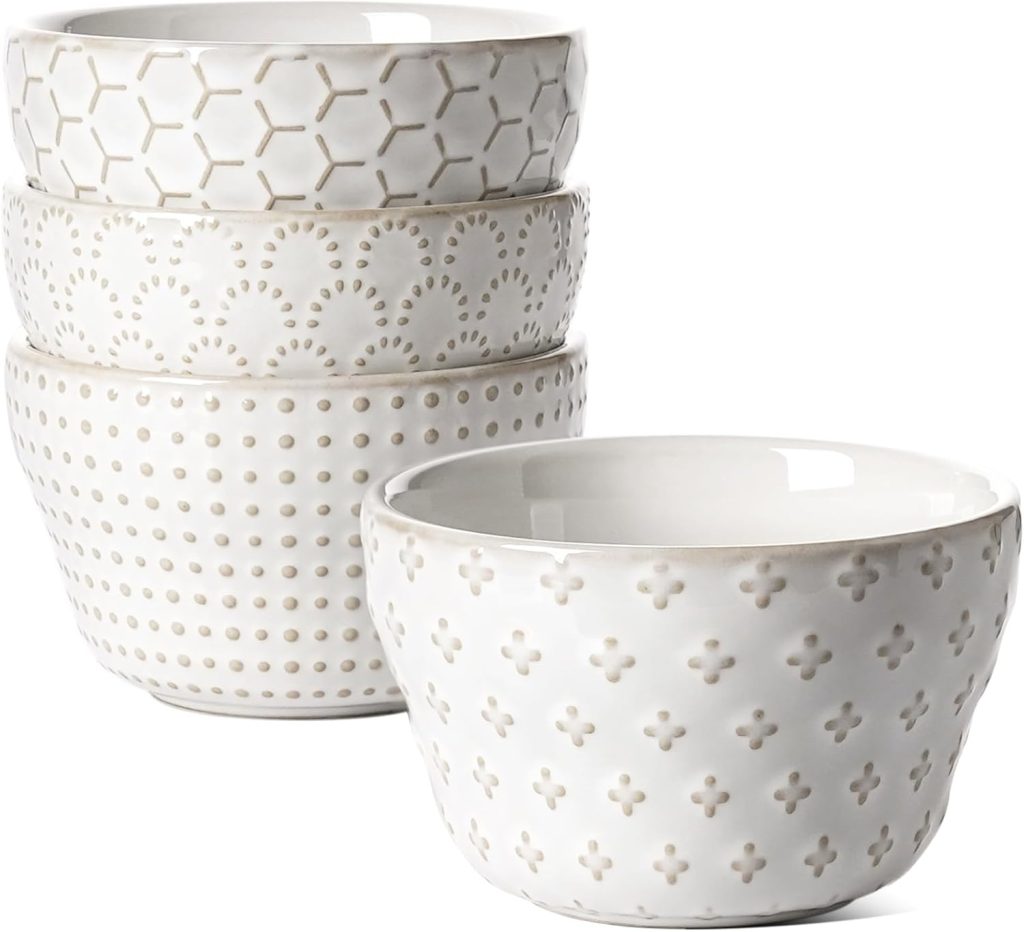
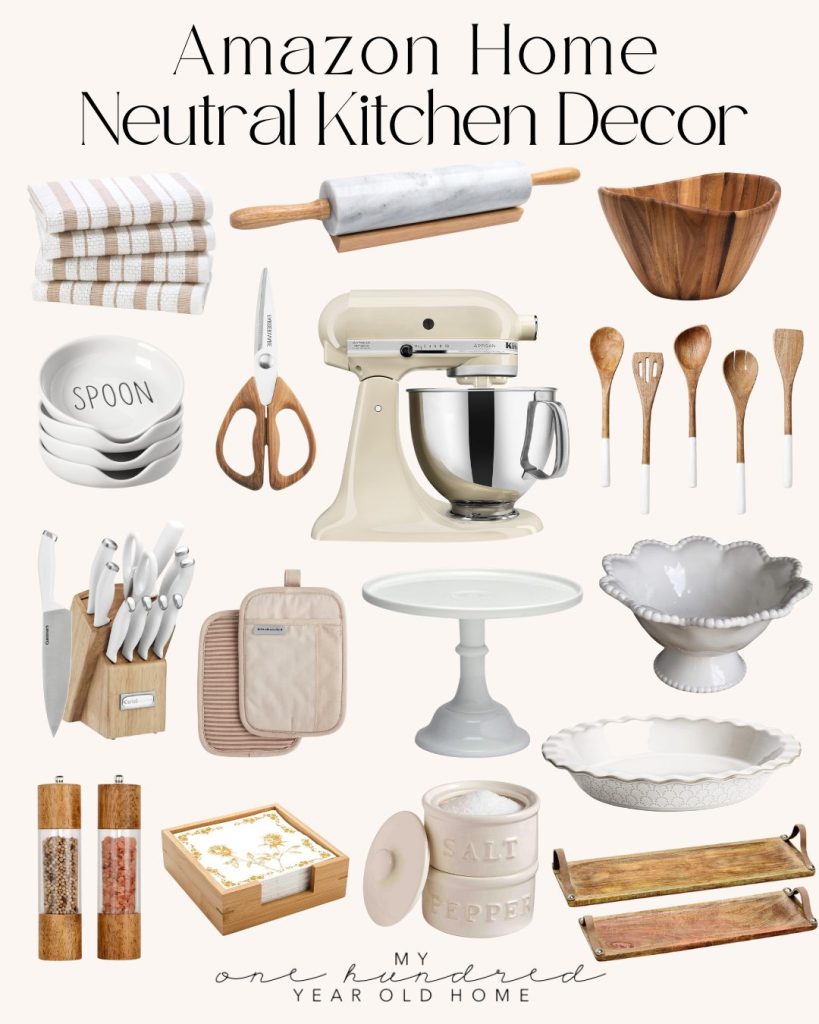
.Neutral Kitchen Decor Favorites
Latest Posts
-
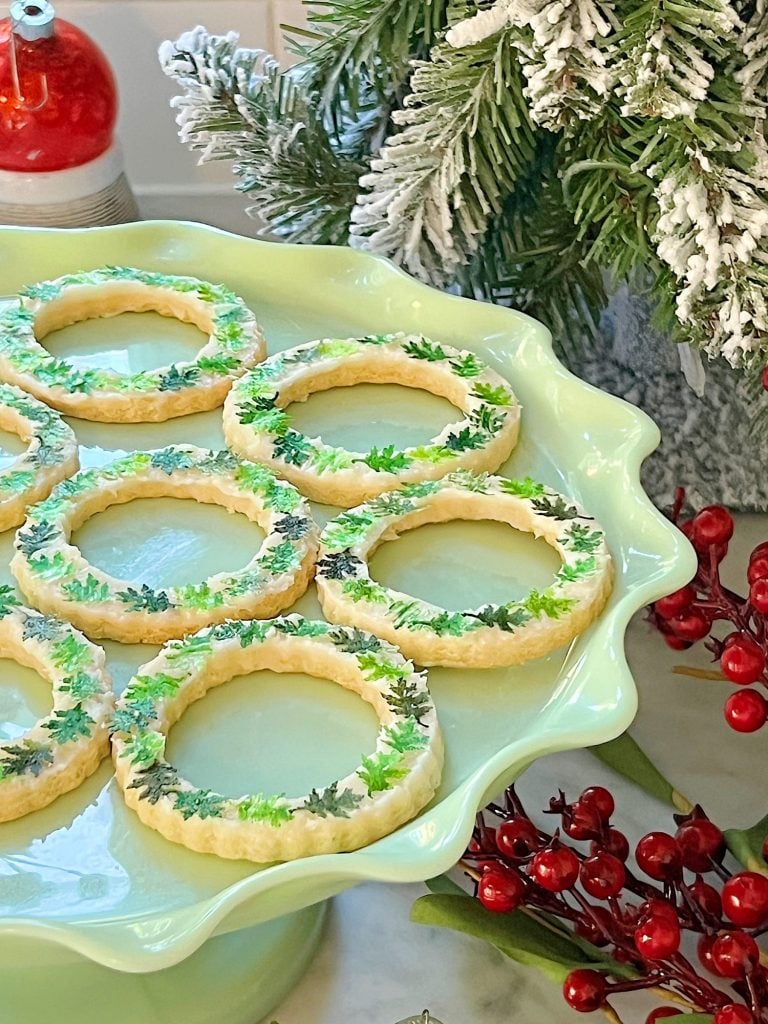
April Window Wreaths
April Window Wreaths mark the fourth release in my year-long window-wreath series, a collection of monthly templates designed to bring handmade creativity into your home. With nine brand-new April Window Wreaths to trace and place on your glass, this collection continues the series’ best: simple techniques, calming creativity, and thoughtfully designed seasonal art. April embraces…
-
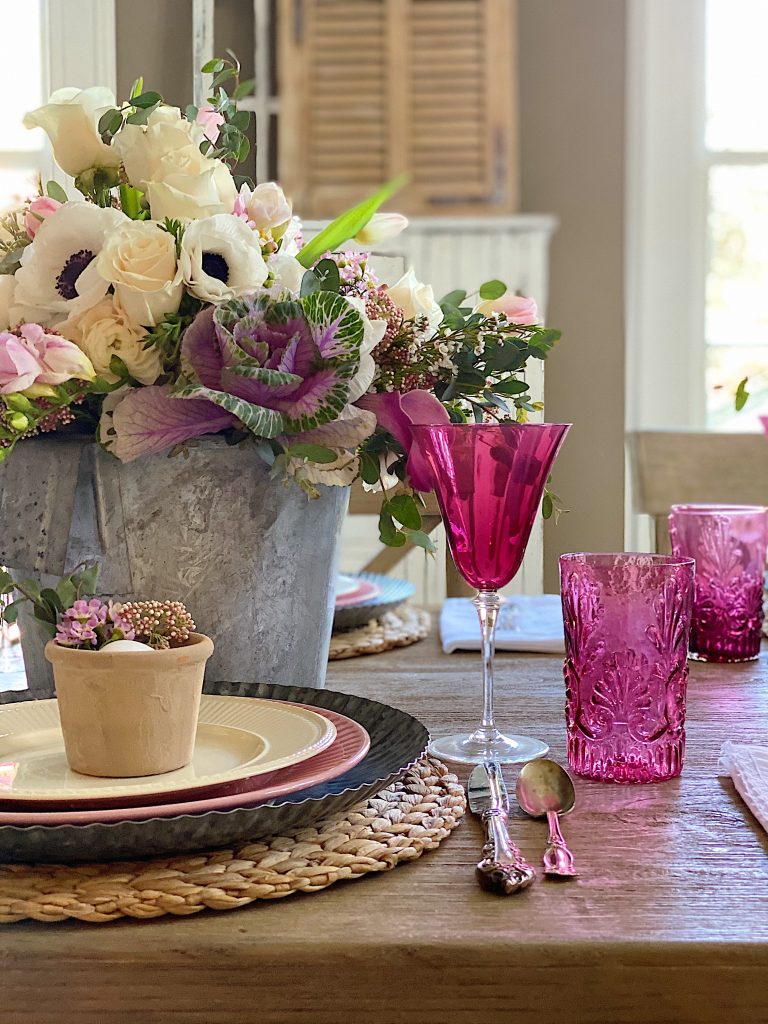
How to Set a Beautiful Table with Easter Colors
I am so excited to share my Easter brunch table ideas. I love the bright Easter colors and can’t wait to share the florals, table setting, and fun glassware. Easter Brunch is one of my favorites. I already shared my favorite Easter Brunch recipes. Today, I set a table and love how these Easter colors…
-
Five Easy Steps to Adding Hanging Planters in Your Yard
Today, I am sharing how I created the hanging planters in our backyard. I love mine so much! Hanging planters look lovely in any yard. My hanging planters have been looking awful all winter long. Here are five easy steps to add (or redo) hanging flower baskets in your yard. Adding hanging planters is a…
-
Spring Cleaning and Sunday Morning Coffee
I don’t know about you, but every spring I feel this strong pull to refresh something in our home, and this year I started in a place that might surprise you. It’s Spring Cleaning time! The very first room on my spring-cleaning list was our nursery. And yes, I know that sounds a little unexpected,…


My Recent Instagram Posts

You can pin the image below to your boards on Pinterest (click the Pin button in the top left corner) or follow me on Pinterest!

For more real-time updates, follow me on Instagram @My100YearOldHome

This is such a fun and practical guide! I love how customizable the Ninja Creami is—especially the protein ice cream variations. Definitely inspired to try the Oreo mix-in first!
You have exceptional writing skills. I read through all of your articles, and they were extremely intriguing.
I am delighted that you have provided me with the recipe for this cake, as I am eager to prepare it.
I love how customizable the Ninja Creami is—especially the protein ice cream variations. Definitely inspired to try the Oreo mix-in first! I am eager to prepare it.
Indie developers have contributed a lot to the horror games genre. Without the pressure of large budgets, they are free to experiment with new ideas and unique mechanics. Many of the most creative and memorable horror experiences come from smaller studios.