My Dream Vegetable and Herb Kitchen Garden
Two years ago, I tackled a big project – a vegetable kitchen garden. It was successful for the first year, and then it wasn’t. But I am going to do it again. But with a few modifications.
In today’s fast-paced world, there’s something deeply satisfying about growing a kitchen garden. Not only does it reconnect us with healthy eating, but it also provides a sense of accomplishment and self-sufficiency. Last year’s garden was a huge disappointment, but I have a new plan.


A Guide to Starting Your Kitchen Vegetable Garden
My Success Two Years Ago
There are so many steps to creating a kitchen garden, and I have learned so much!
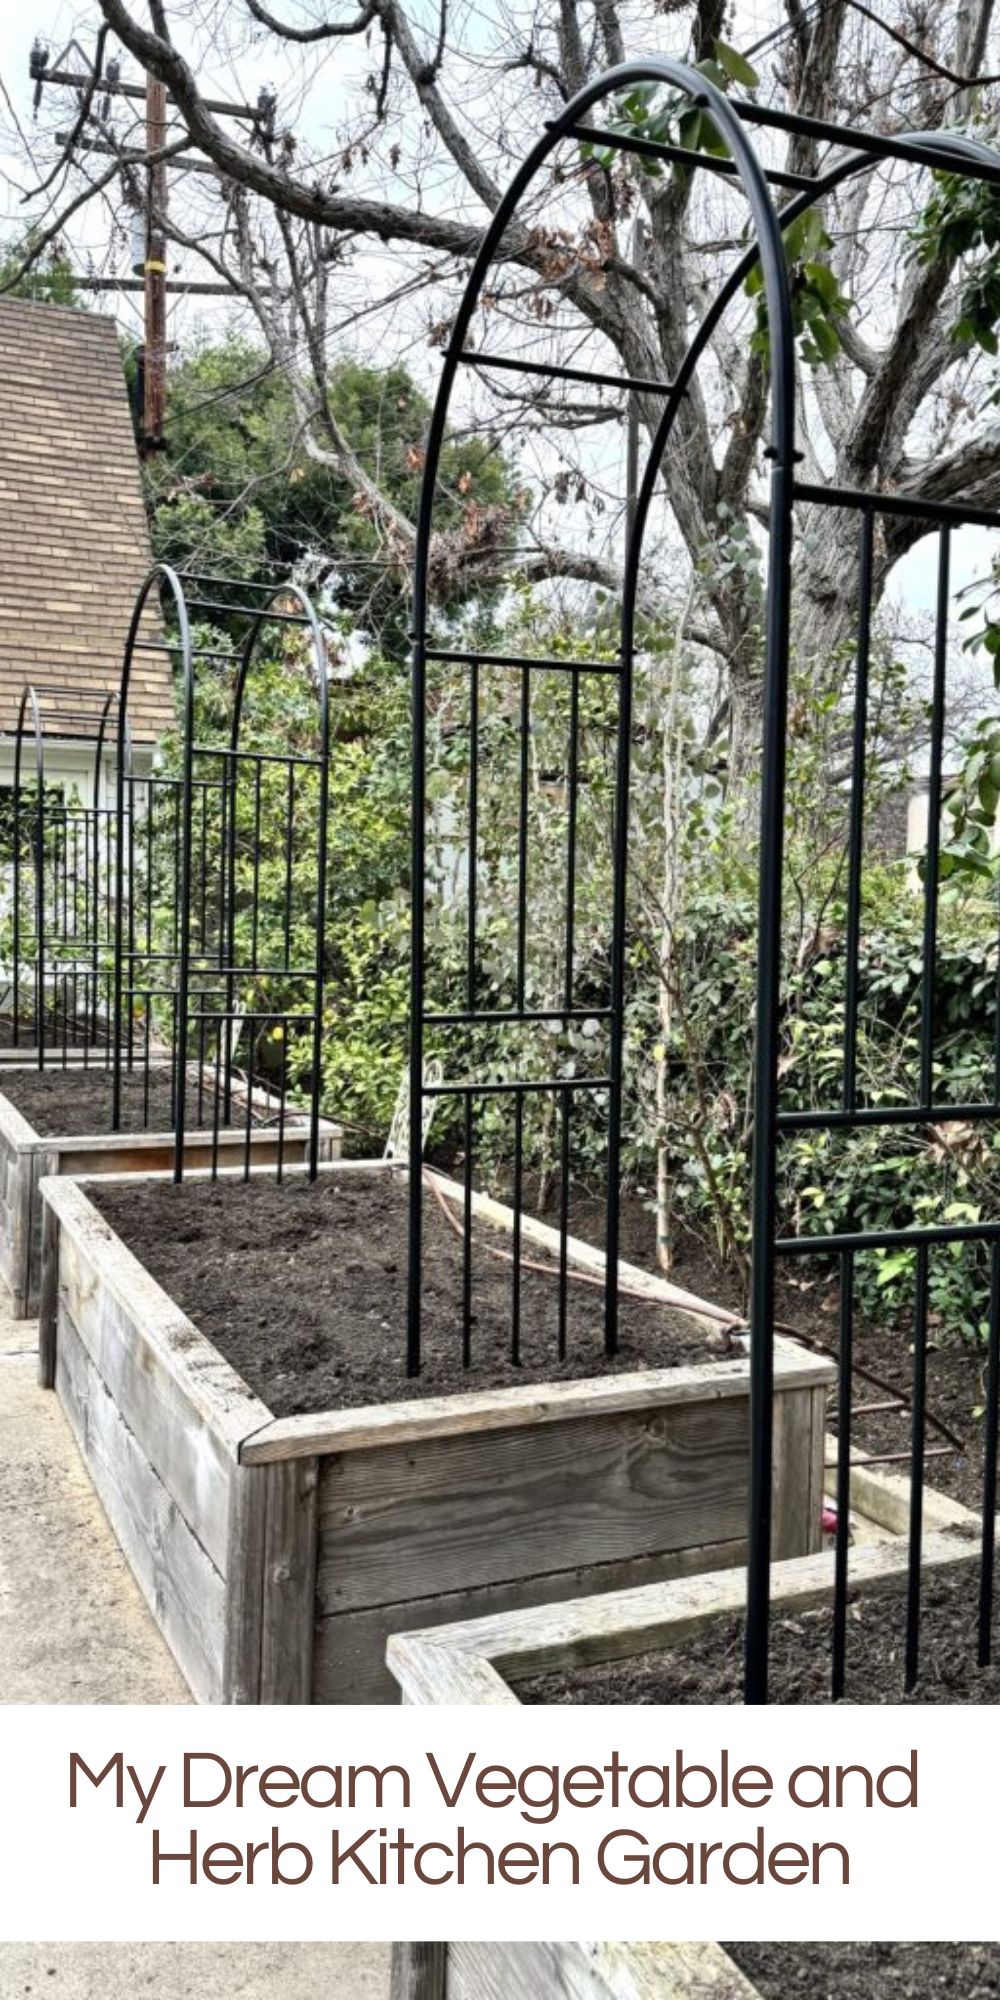
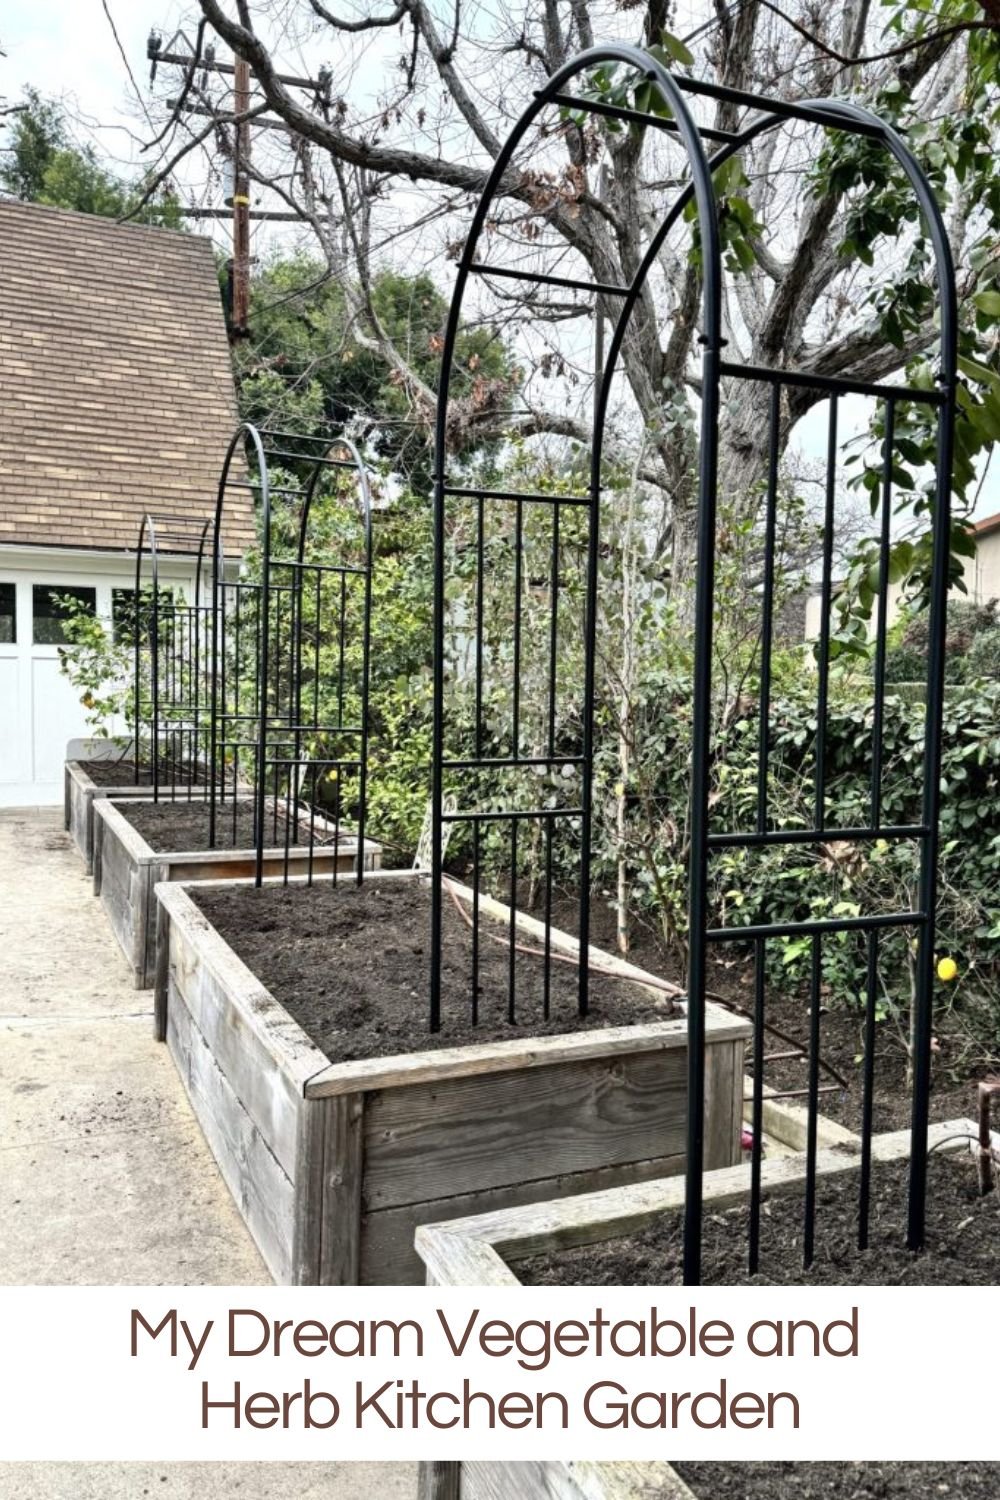
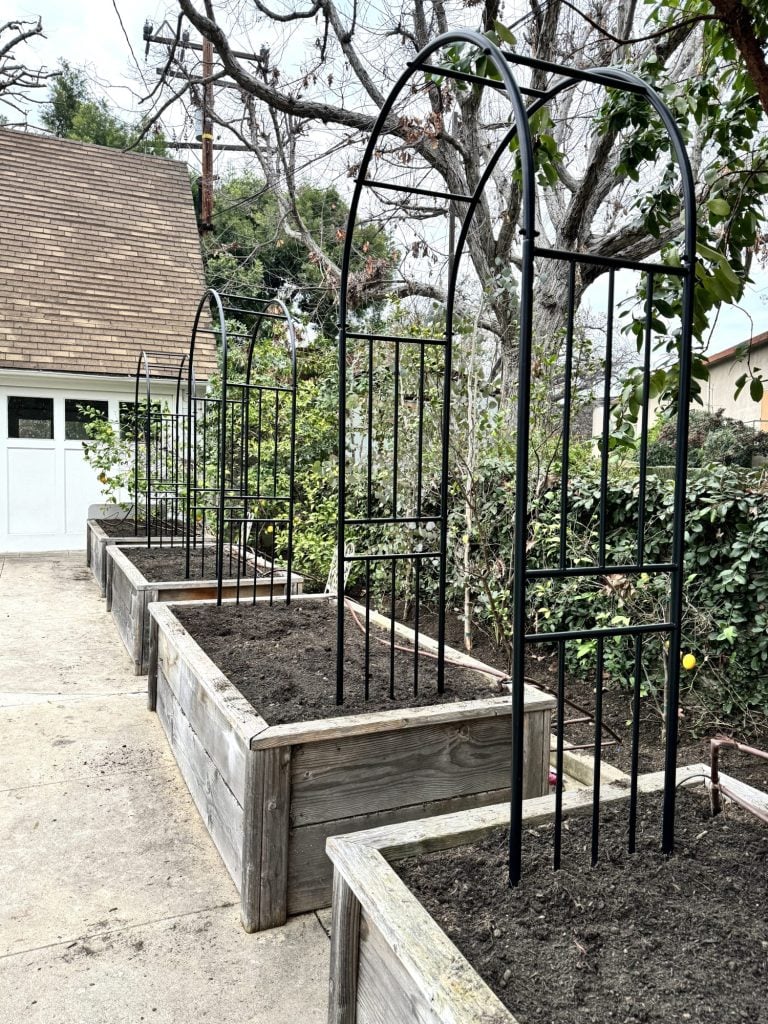
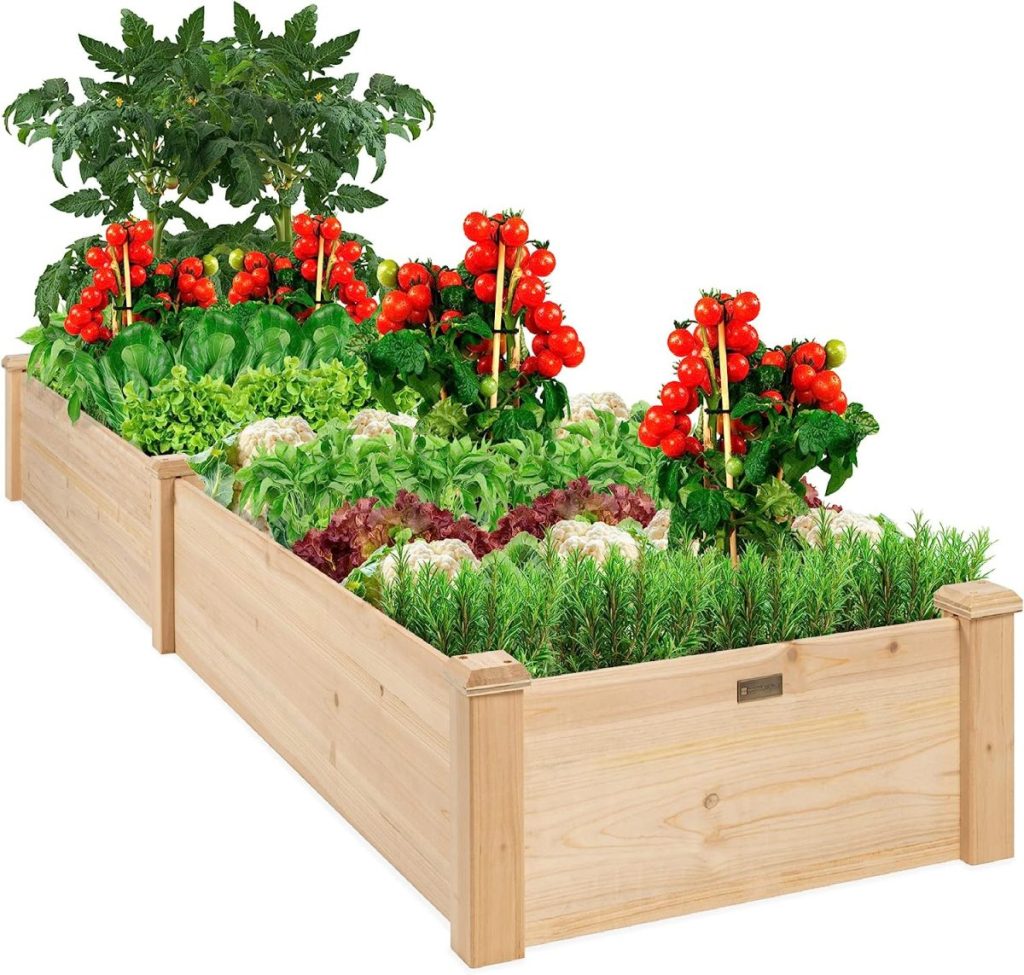
With four raised beds I built six years ago, I decided two years ago to add new life to my gardening space. After replenishing the soil, revamping the irrigation system, and installing trellises for climbing vegetables like peas, cucumbers, and tomatoes, as well as planning out and selecting my plants, the only step left was planting!
I may sometimes use affiliate links on this blog, which means I earn a small commission if you purchase through the link. The price will be the same whether you use the affiliate link or go directly to the vendor’s website using a non-affiliate link.
Why Start a Kitchen Garden?
Before diving into the nitty-gritty of starting your kitchen garden, let’s explore why it’s worth the effort. First and foremost, growing your food allows you to enjoy the freshest produce possible.
There’s nothing quite like picking ripe tomatoes or crisp lettuce from your backyard and incorporating them into your meals. Not to mention the many health benefits of eating fresh, organic produce you’ve grown yourself.
Preparing Your Garden Beds
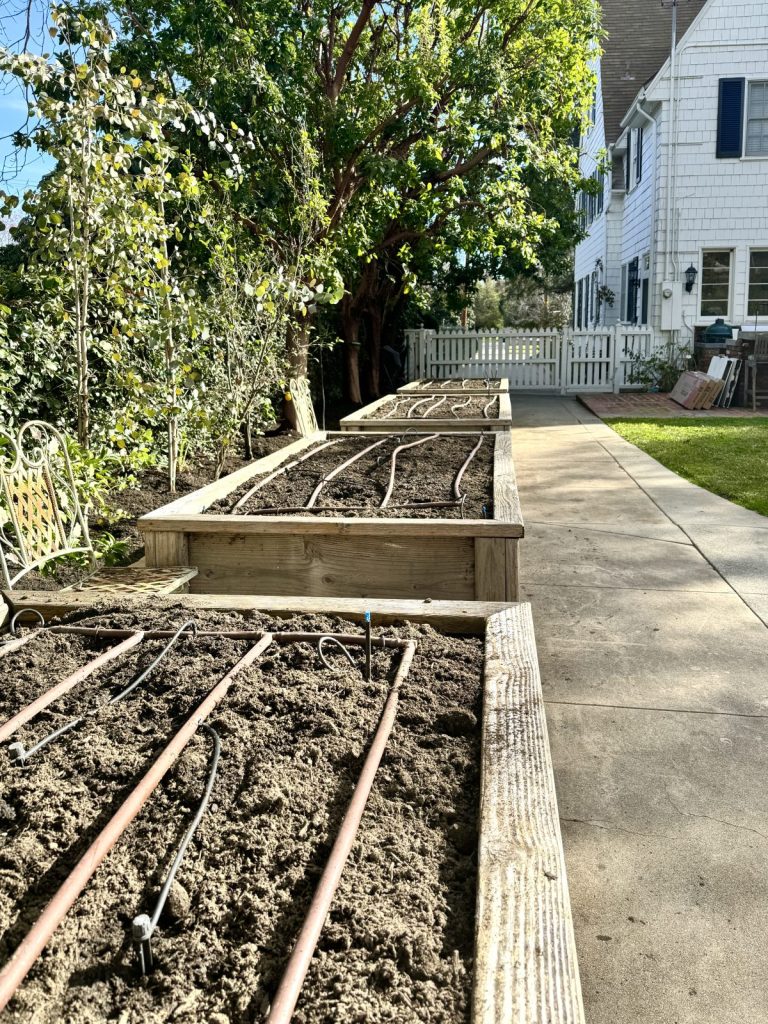
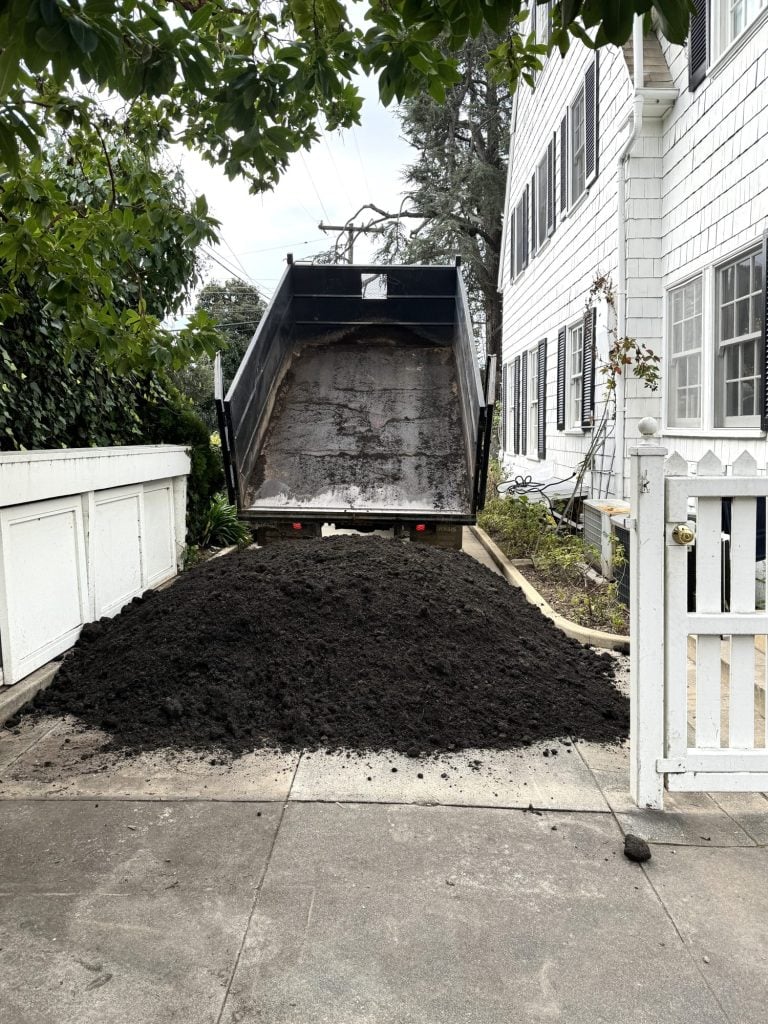
The foundation of a successful kitchen garden lies in the quality of the soil. After five years of use, my raised beds needed rejuvenation.
With all the rain we had this past year, my empty garden beds lost a lot of soil! Almost a foot in each one!

I began by clearing out any weeds and debris, then added at least a foot of new soil to each bed.
I opted for a nutrient-rich organic soil mix to ensure my plants would have the best possible start. Remember to choose soil that is well-draining yet retains moisture, as consistent watering is key to a thriving garden.
The best price to find the soil (since I needed quite a bit) was to order it and have it delivered. It’s much better soil and less expensive than buying it in individual bags.
In the book Kitchen Garden Revival, the author has a formula for mixing potting soil, compost, and sand to create the best soil. I found the closest thing and had four cubic yards delivered. Of course, it was more soil than I needed, but the rest of our flower beds got a great amendment, too! (Better too much than too little, right?)
Revamping the Irrigation System
Efficient watering is essential for maintaining healthy plants, especially during the hot summer. I decided to revamp the irrigation system to ensure that my garden received adequate hydration.
This involved replacing a few old drip lines and sprinklers with new, more efficient ones and adjusting their placement to ensure even coverage. Also, when I installed the new trellises, I had to cut and replace some of the drip systems to make them fit.
Installing Trellises for Climbing Vegetables
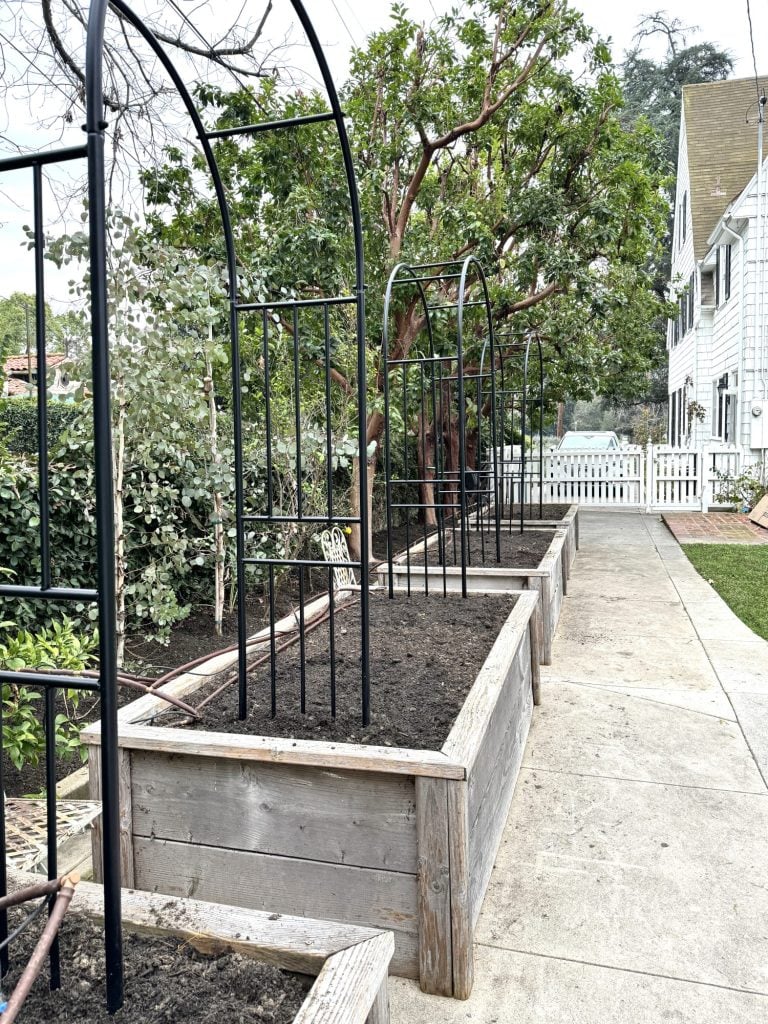
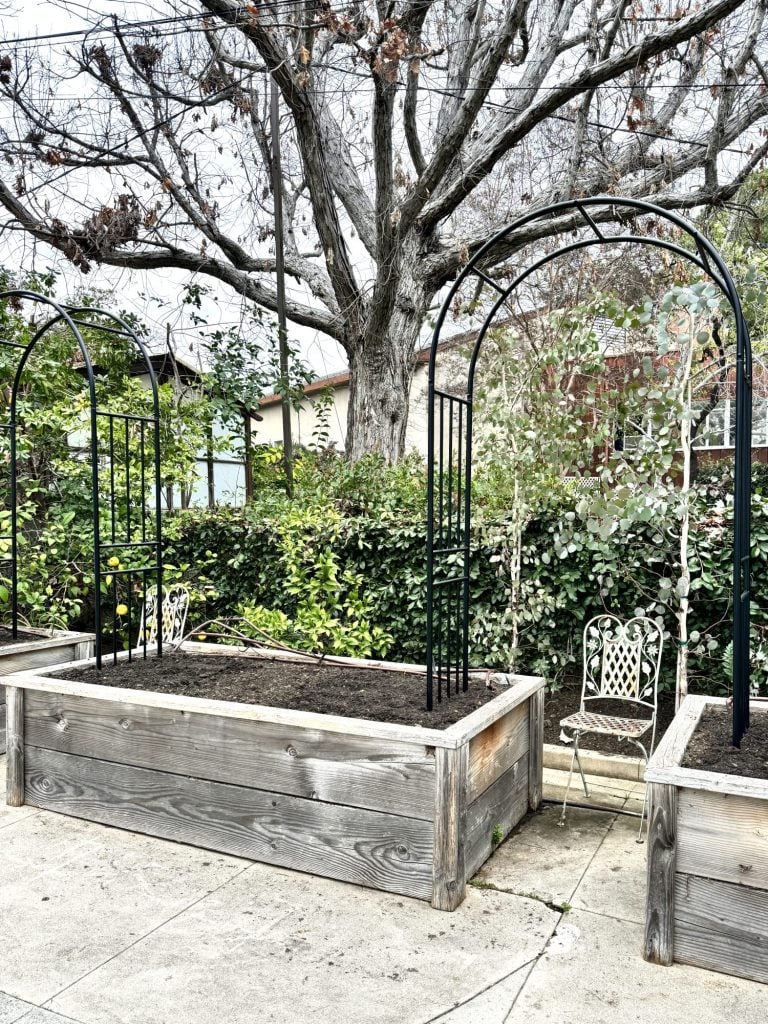
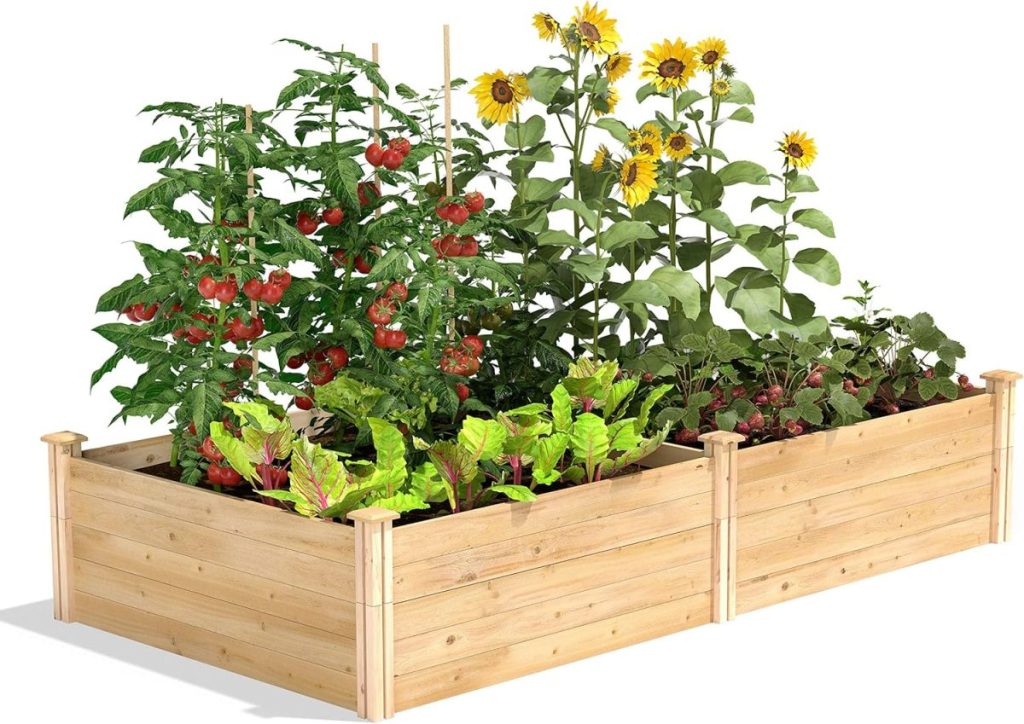
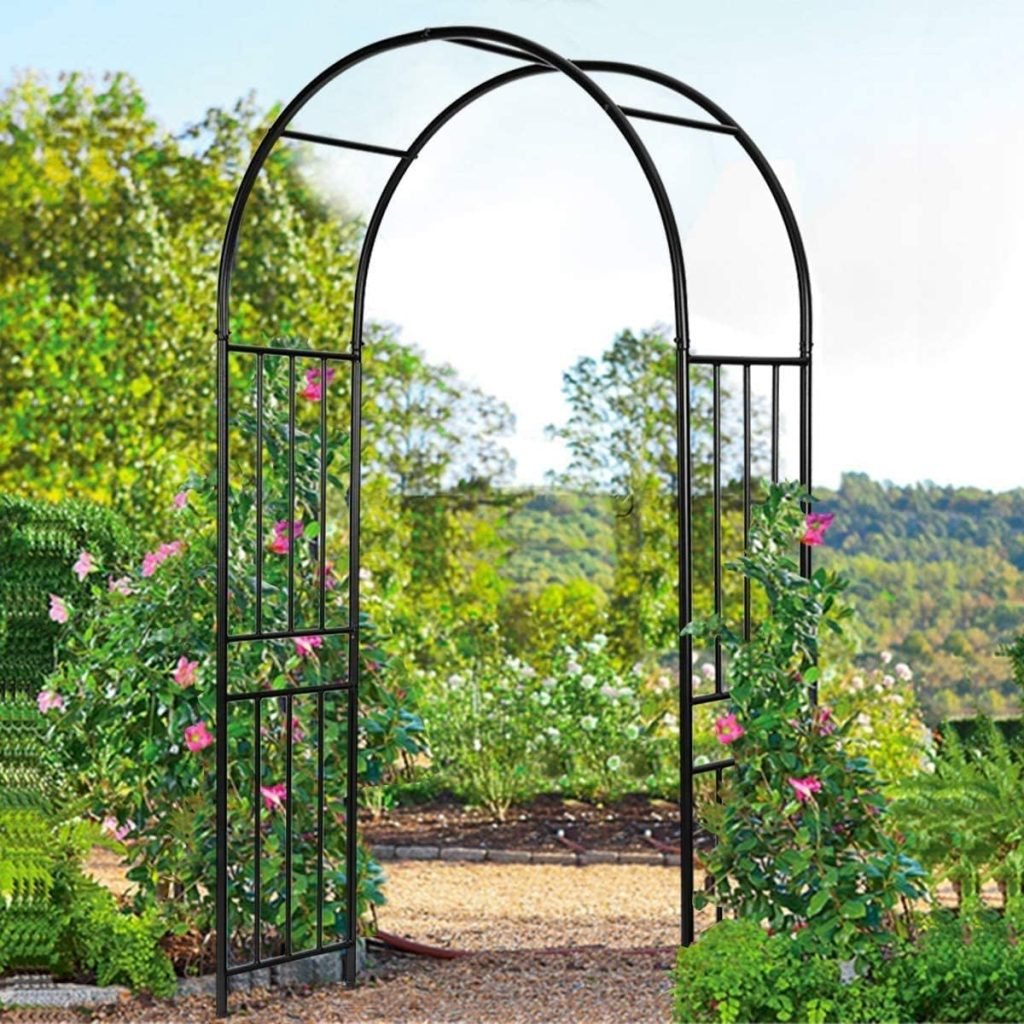
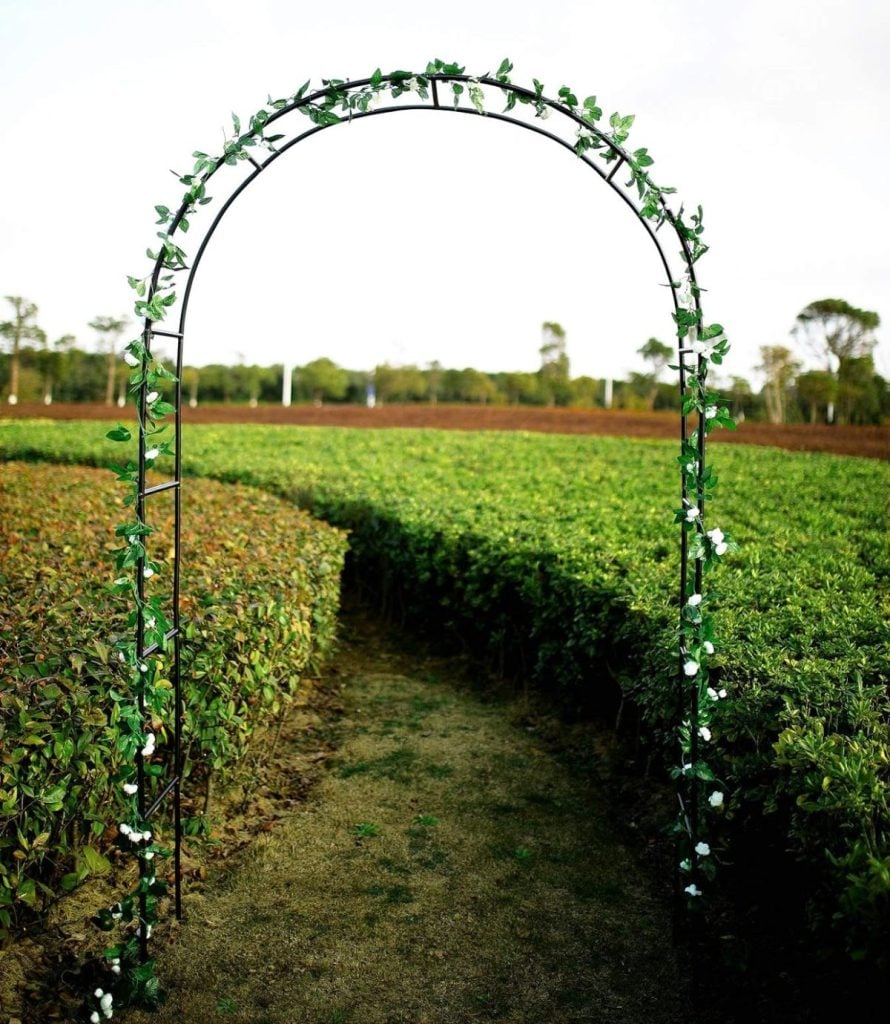
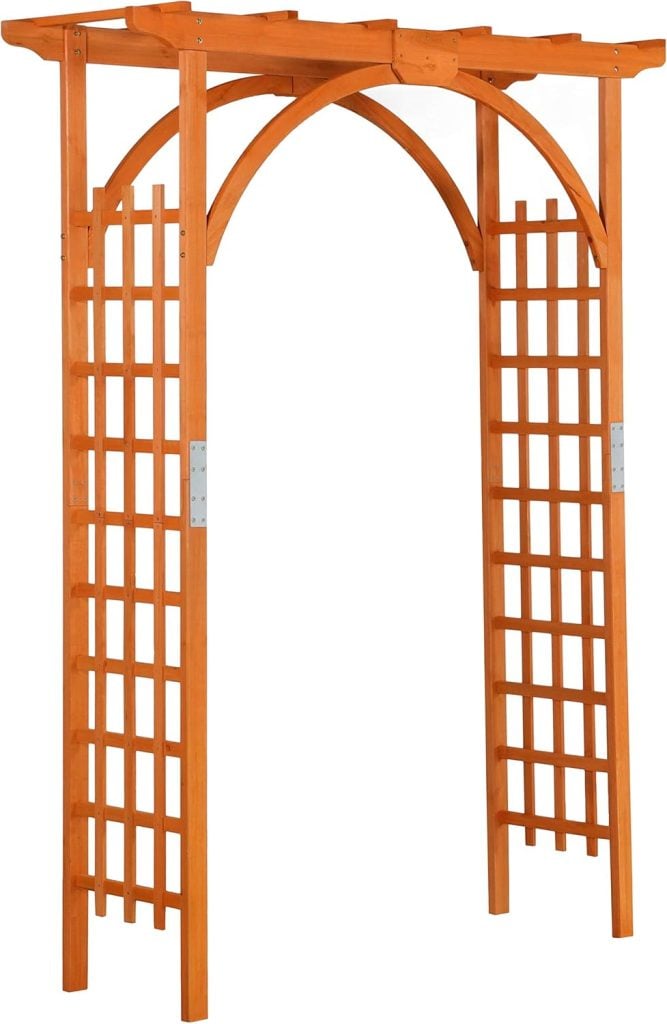
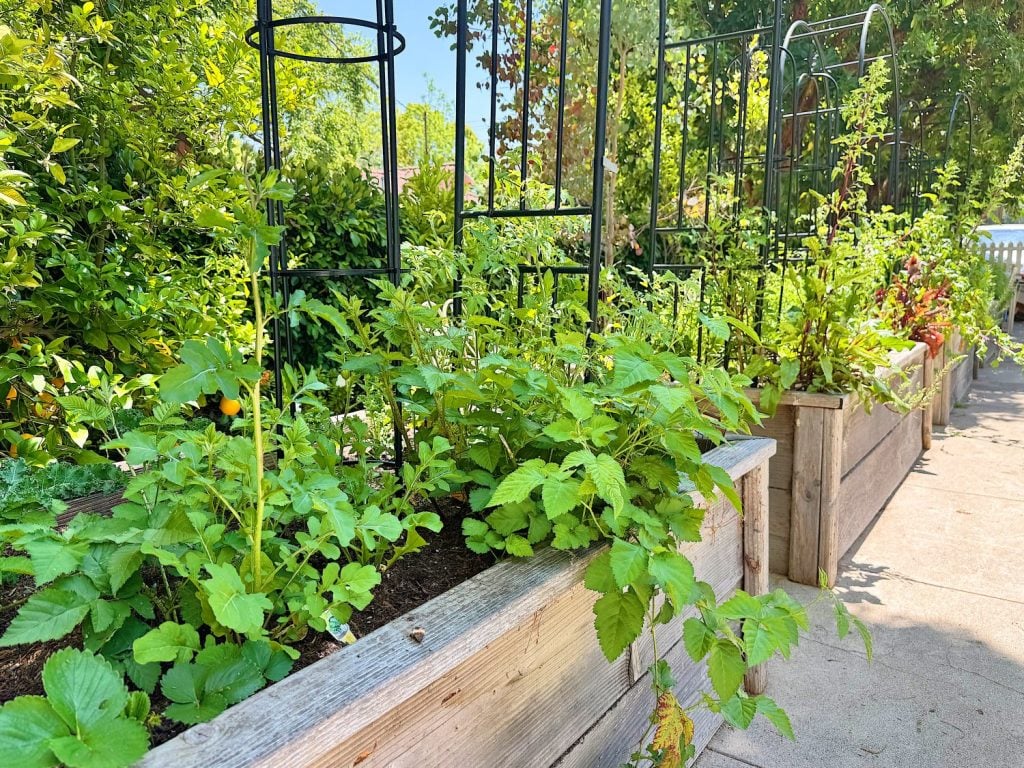
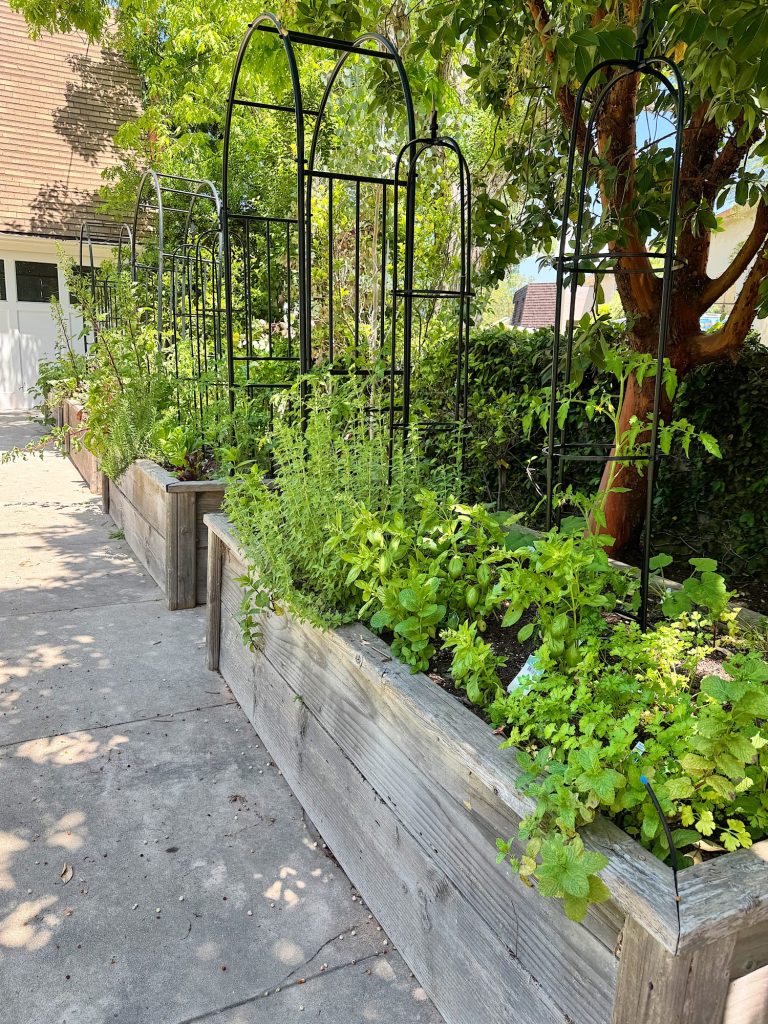
One of the joys of gardening is watching plants reach for the sky as they grow. I installed three metal trellises between my raised beds to maximize space and support climbing vegetables such as peas, cucumbers, and tomatoes.
These sturdy structures provide support for vining plants and add vertical interest to the garden. Don’t they look fabulous? By training vegetables to grow upwards, I can make the most of the space while keeping fruits off the ground and away from pests.
I bought three Outdoor Garden Arches and was happy to see how well-priced they were. I put them together myself, which took about two hours. To install them in the beds, all I did was dig a trench and bury them about 6″ in the soil. Ideally, had I been more proactive, I could have built them and put them in the beds before the soil was delivered.
Choosing Your Plants
With the groundwork and preparations complete, it was time for the most exciting part: choosing which plants to grow.
My biggest dilemma was figuring out where to buy my plants. Since I was growing food, I didn’t want any plants that used enhancers. Ideally, I wanted a local nursery that offered reasonably priced, well-grown plants.
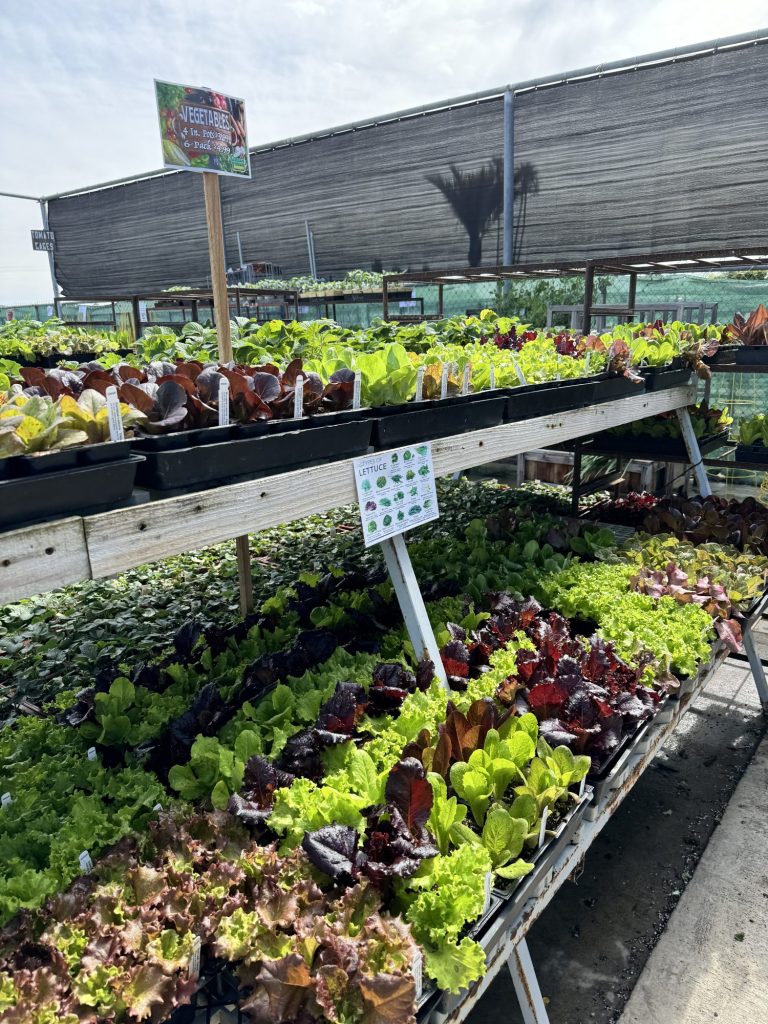
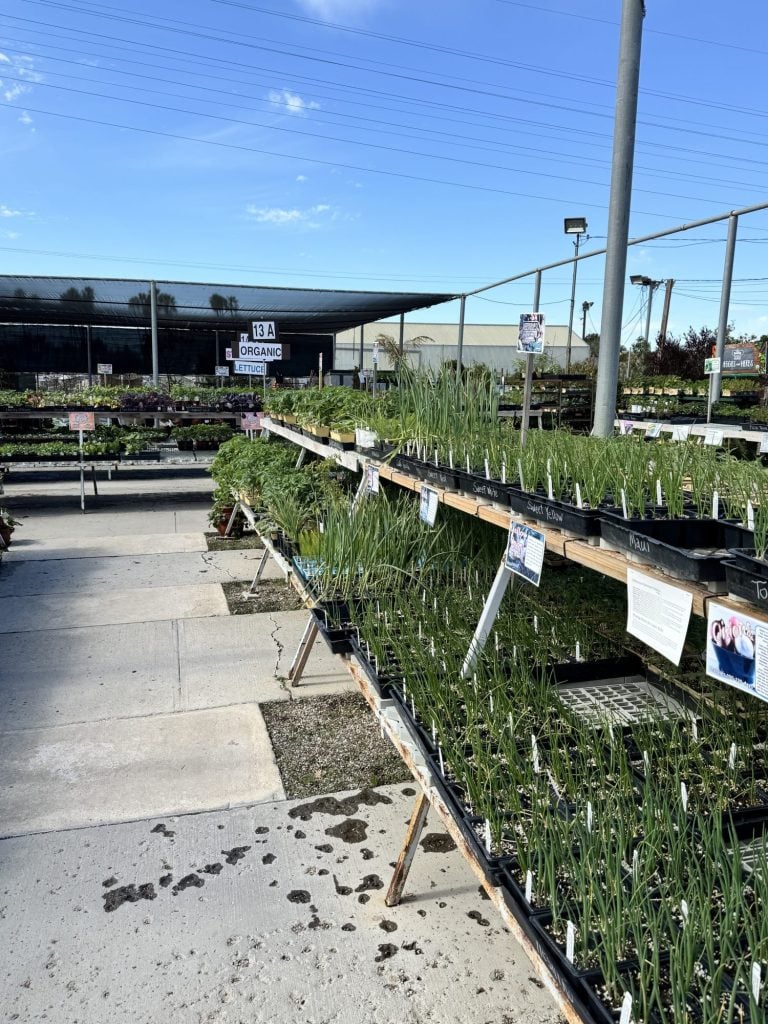
I went to the Ventura County Farmer’s Market and asked all the vendors where I should buy my plants. A few of them suggested Green Thumb Nursery, so I went there. Their selection was unbelievable!
FYI, Green Thumb has quite a few locations in Southern California.
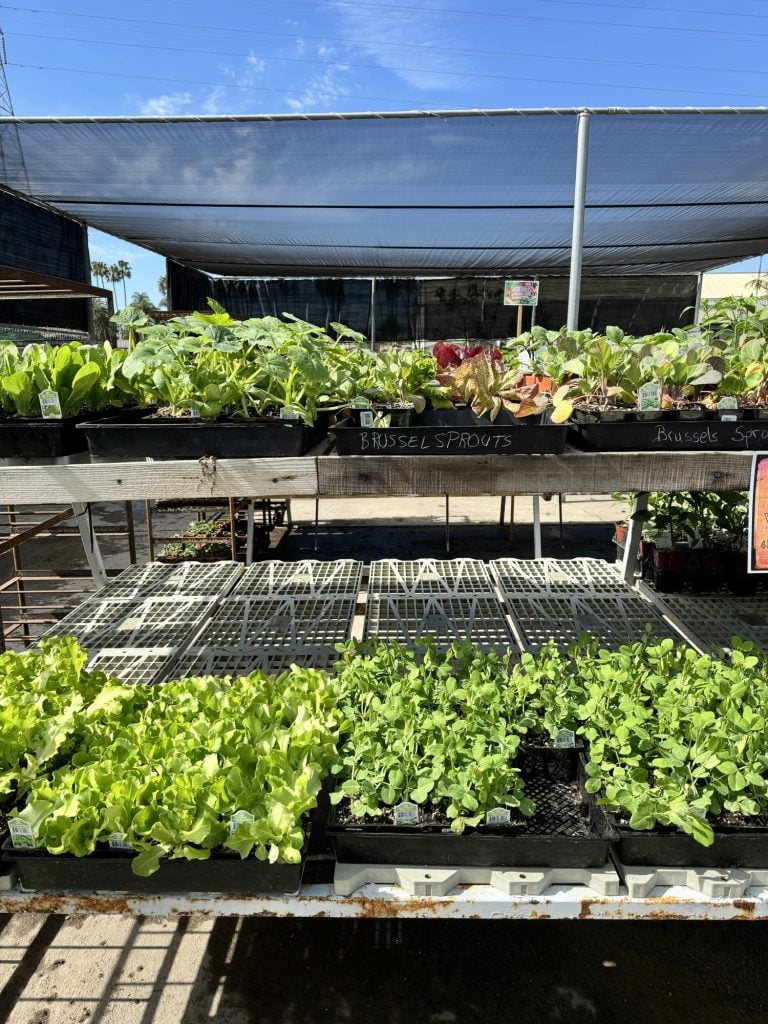
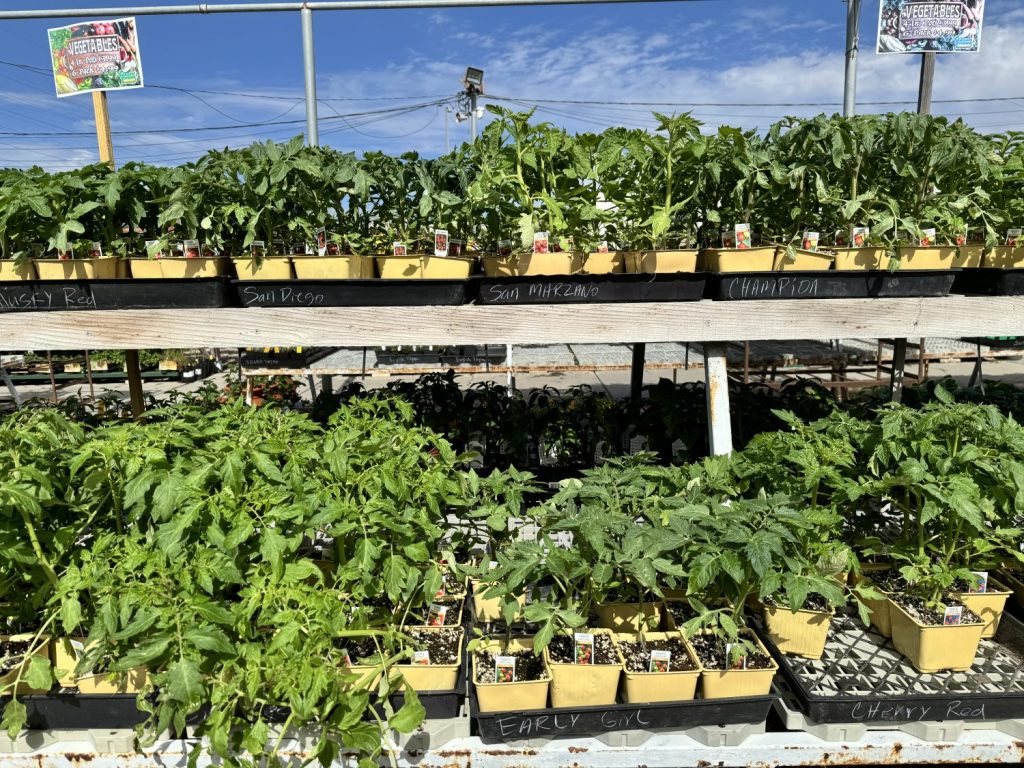
Green Thumb Nursery was the perfect nursery with a huge selection.
When selecting crops for your kitchen garden, Nicole from Gardenary suggests considering your climate, available space, and personal preferences. I opted for a mix of herbs, leafy greens, root vegetables, and plenty of tomatoes, cucumbers, and peas to take advantage of my new trellises. Don’t be afraid to experiment with different varieties and try growing something new each season.
I also bought a lot of six-packs of vegetables because they were so much less expensive. (Each six-pack of plants was $4.99, substantially lower than the big box hardware stores.) It takes patience, but I have plenty of time. And considering how many plants I needed, it was a brilliant choice.
The End Result
As you can see, my kitchen was a huge success. I harvested vegetables and hers all summer long.
Last Year’s Disaster
After such a successful harvest, I replanted my kitchen garden last April. Everything looked great until it wasn’t.
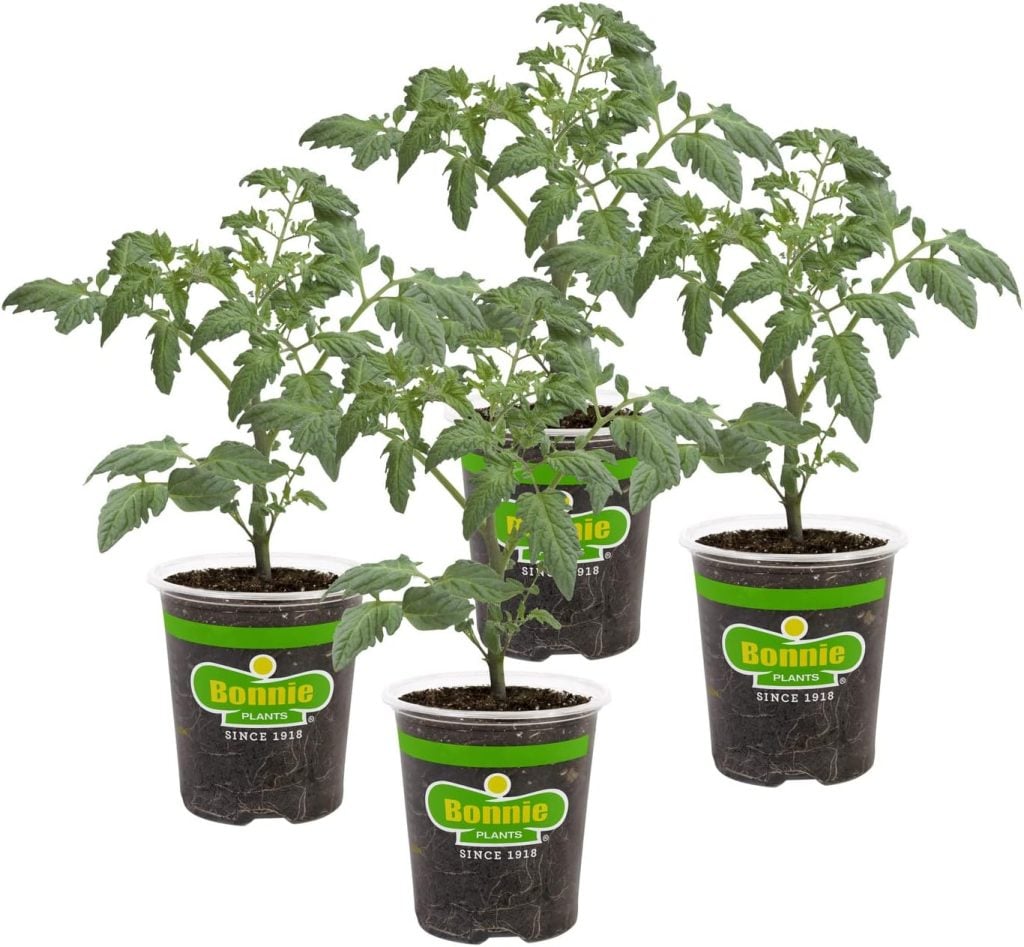
In a nutshell, I planted twenty-three tomato plants and harvested five.
Five total tomatoes.
What?
Just as my tomatoes would ripen, my tomato plants would disappear overnight. There were enough chewed remnants that it didn’t take long to discover the squirrels were the culprits.
I immediately added netting over each of the raised beds,
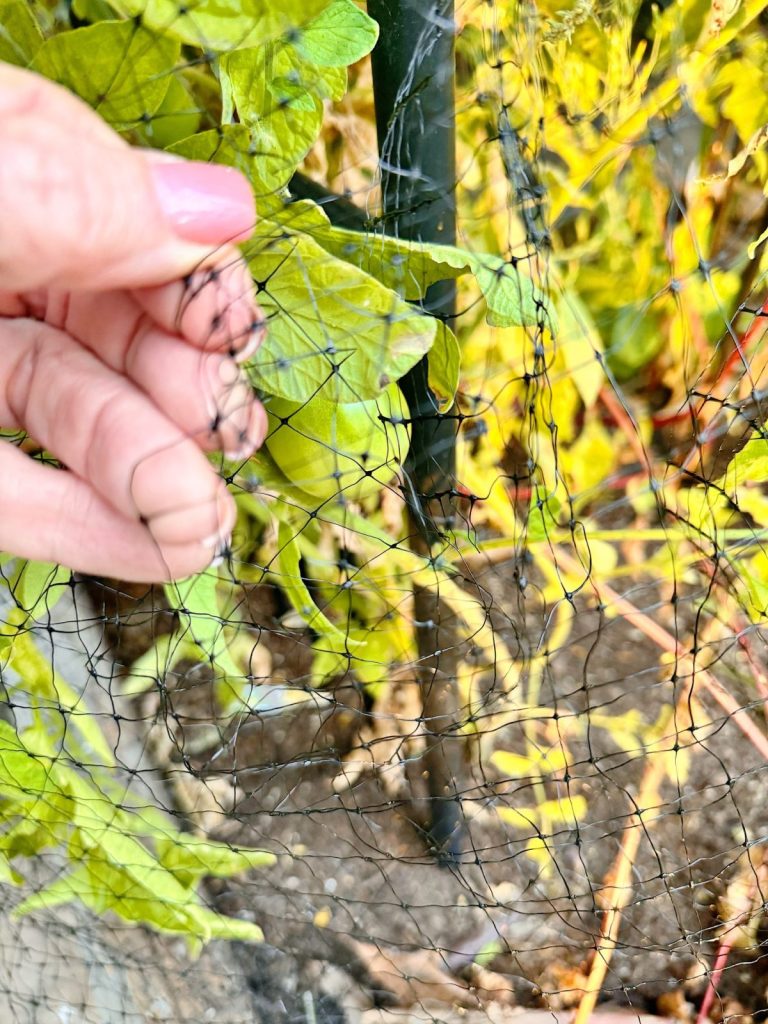
But the squirrels ate through the netting. Every morning, there was more disappointment as the “almost ripe tomatoes” were gone.
This Year’s Plan
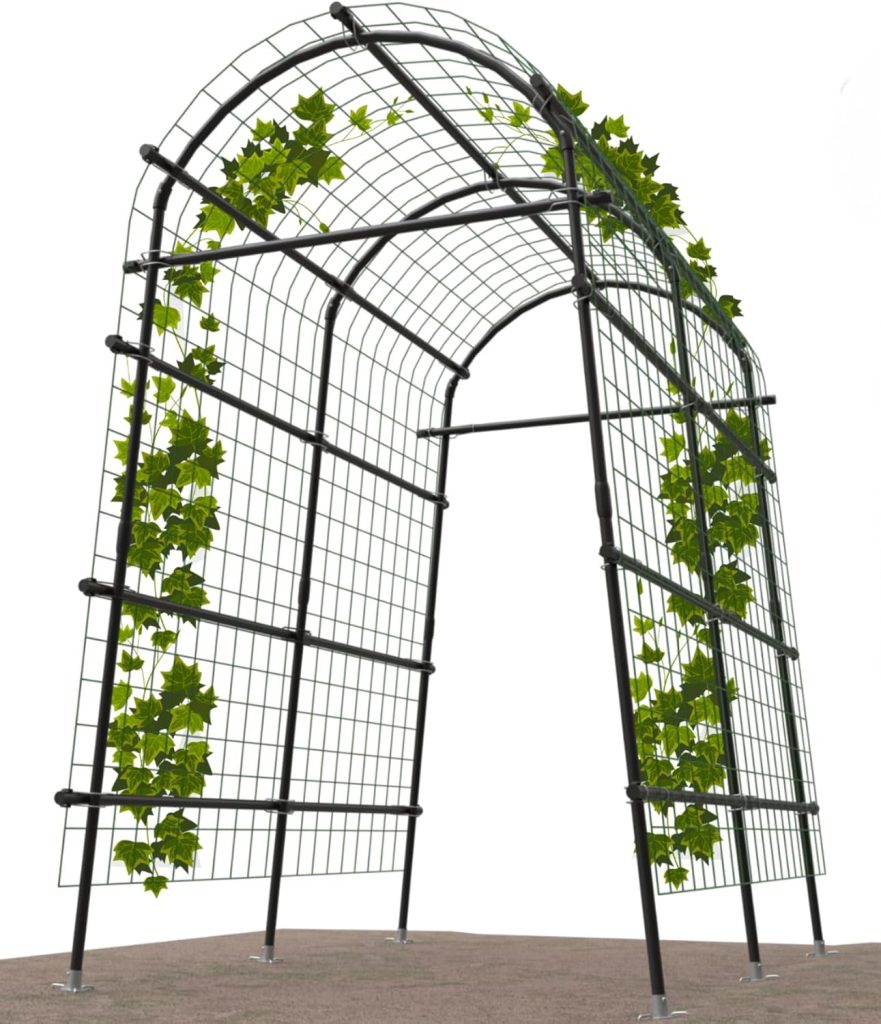
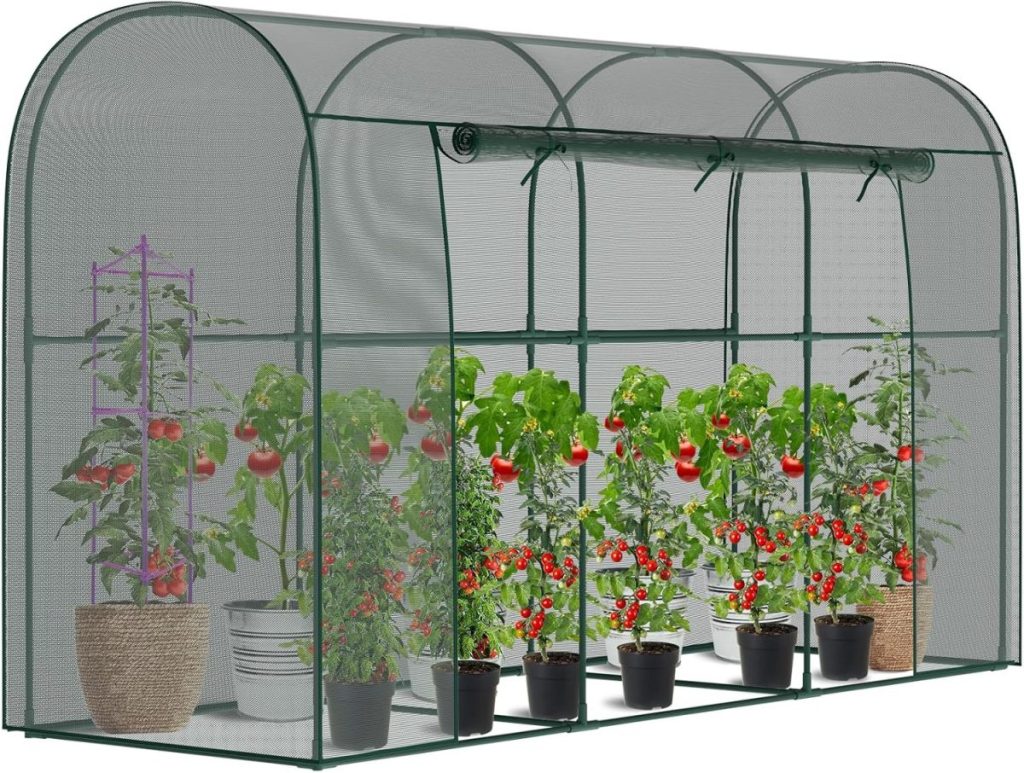
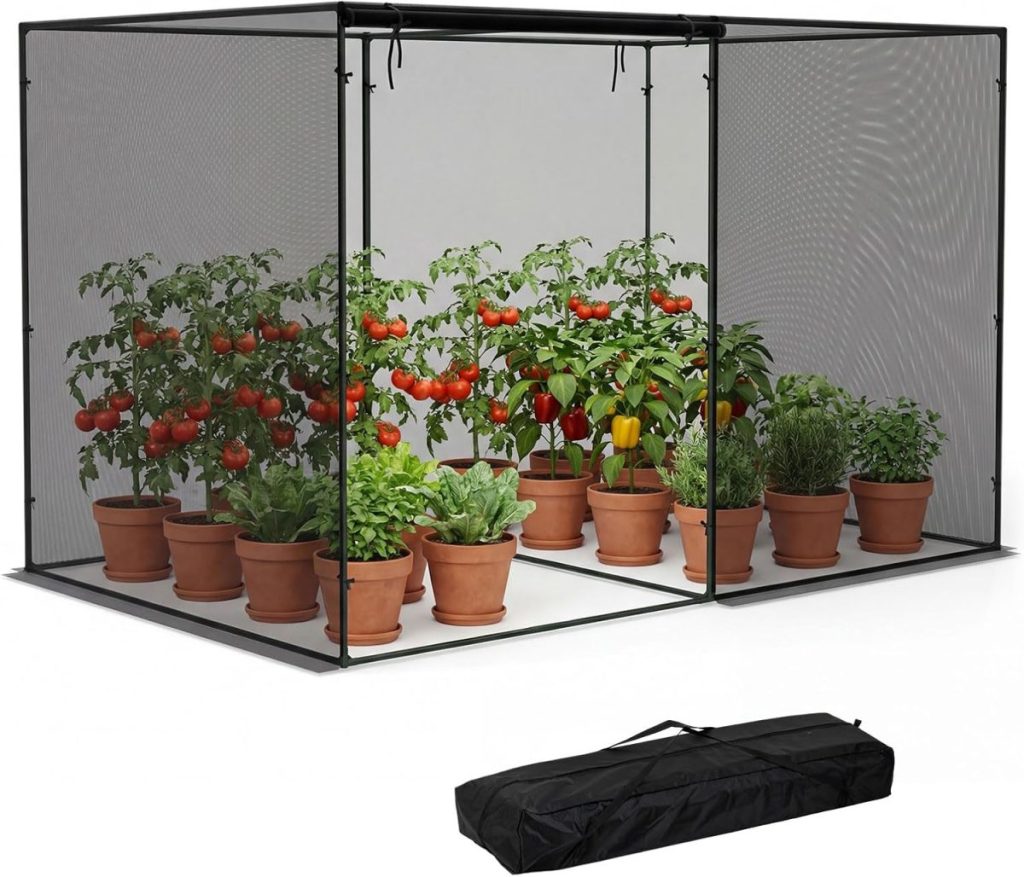
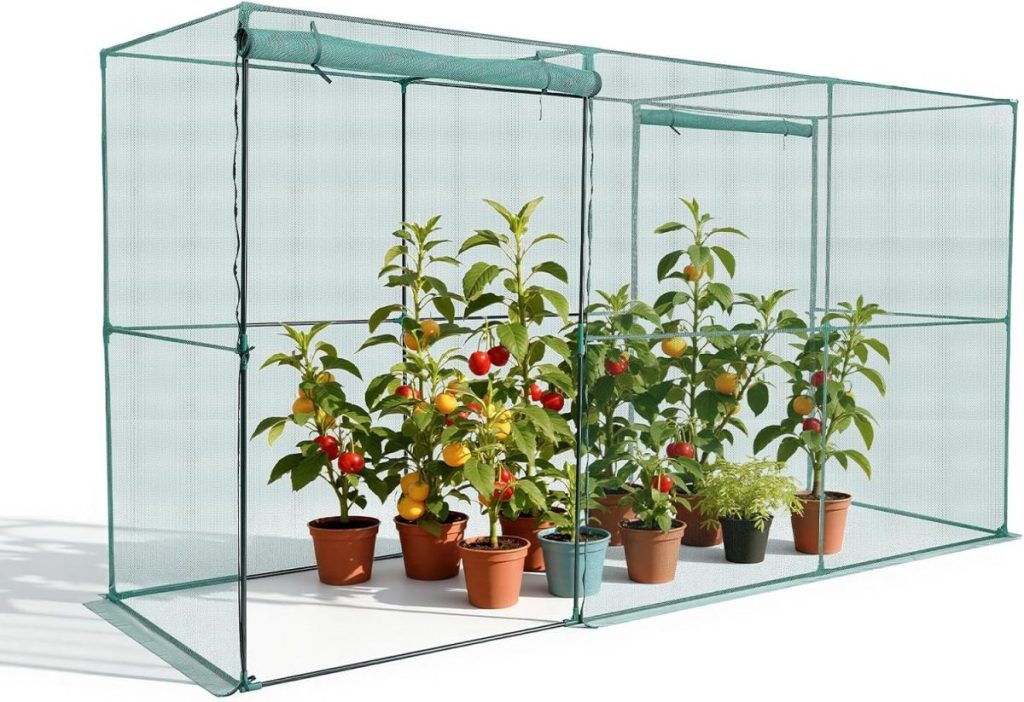
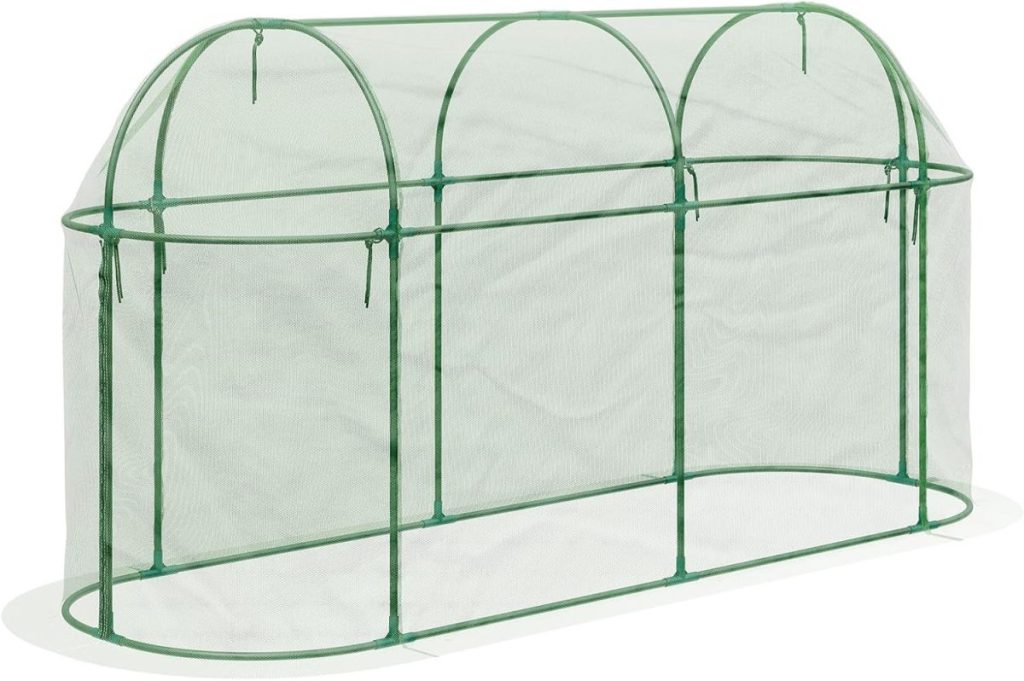
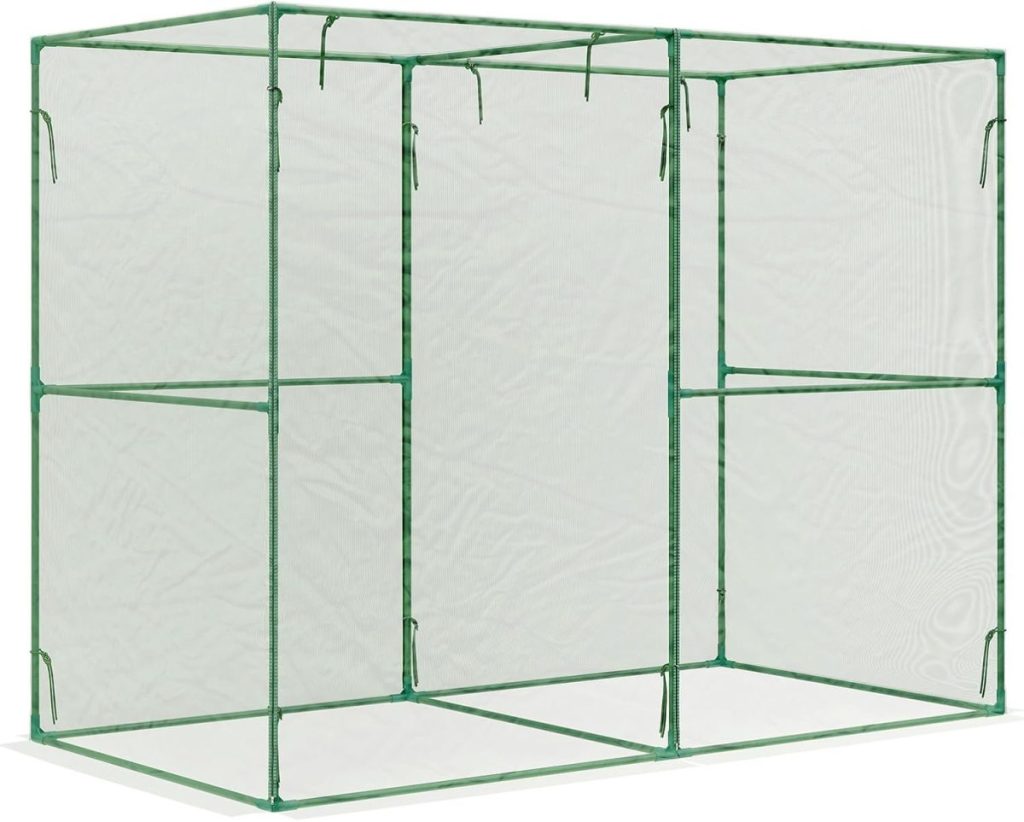
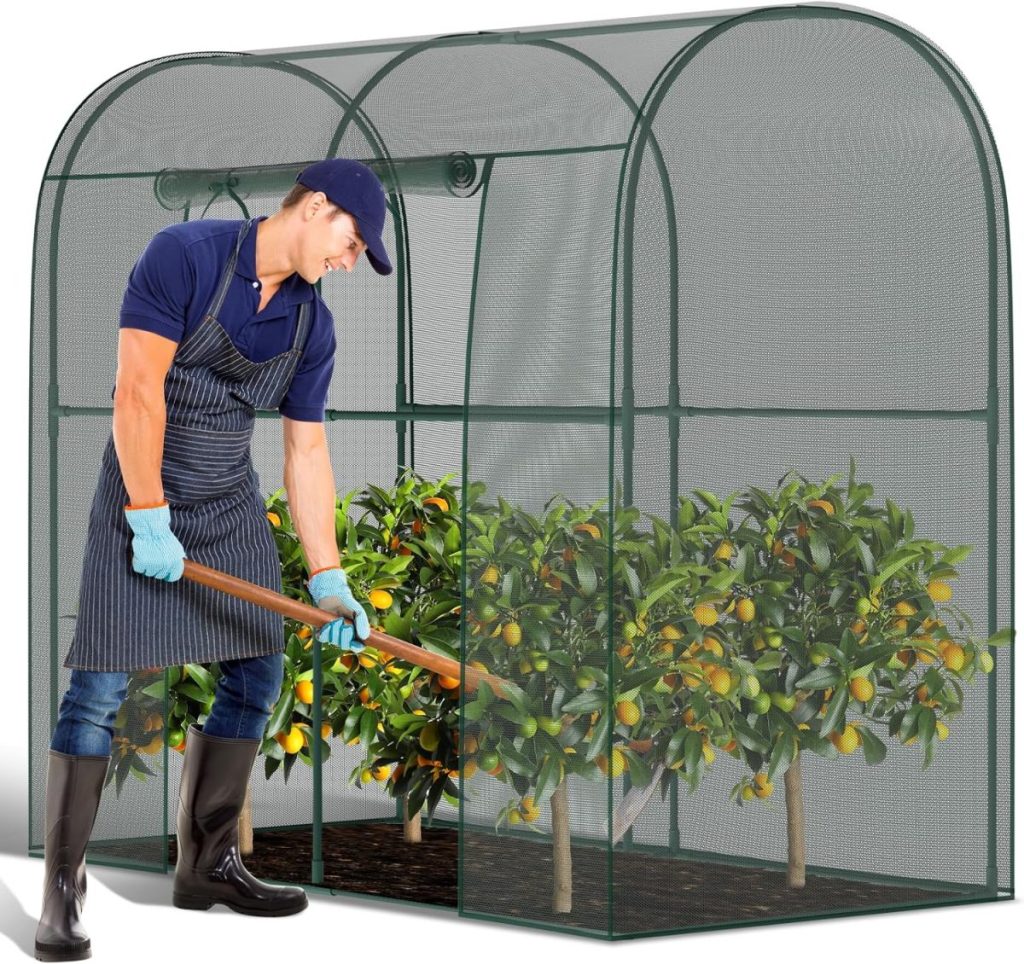
I have decided to add Crop Cages to three of my raised beds. These cages are tight netting, allow full sun, and have zippers for access.
They are reasonably priced on Amazon, and I think they will be the solution. I know many of you have problems with animals eating your plants and vegetables, so please add any helpful comments below!
Tomatomania is happening in a month, and this year I will be buying my tomato plants there. I am ready to get my kitchen garden back to where it should be!
Wish me luck and happy gardening!
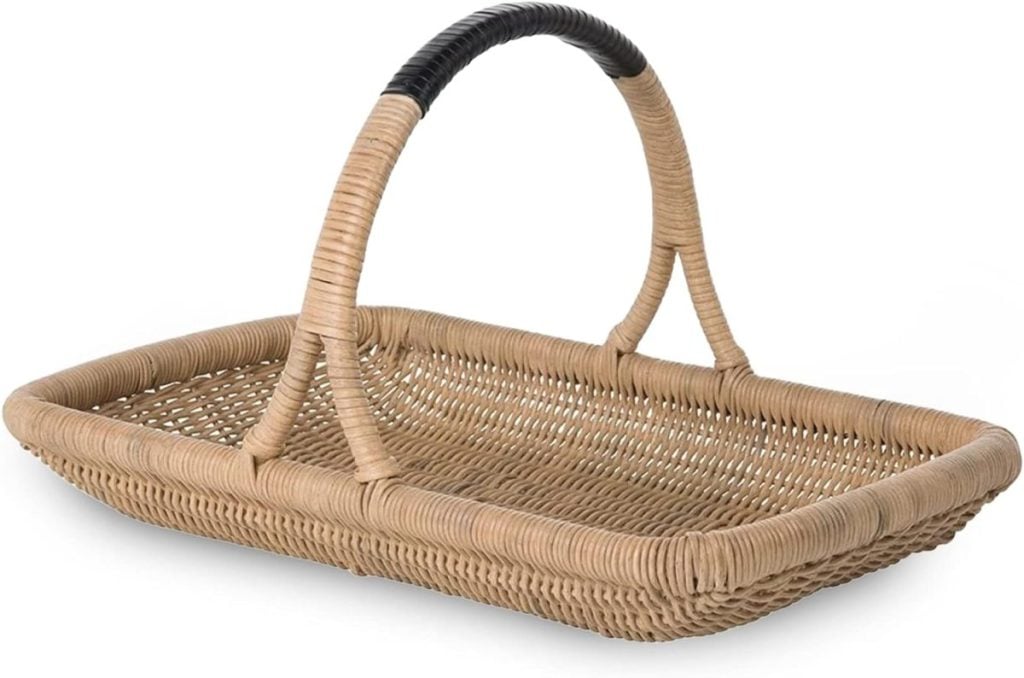

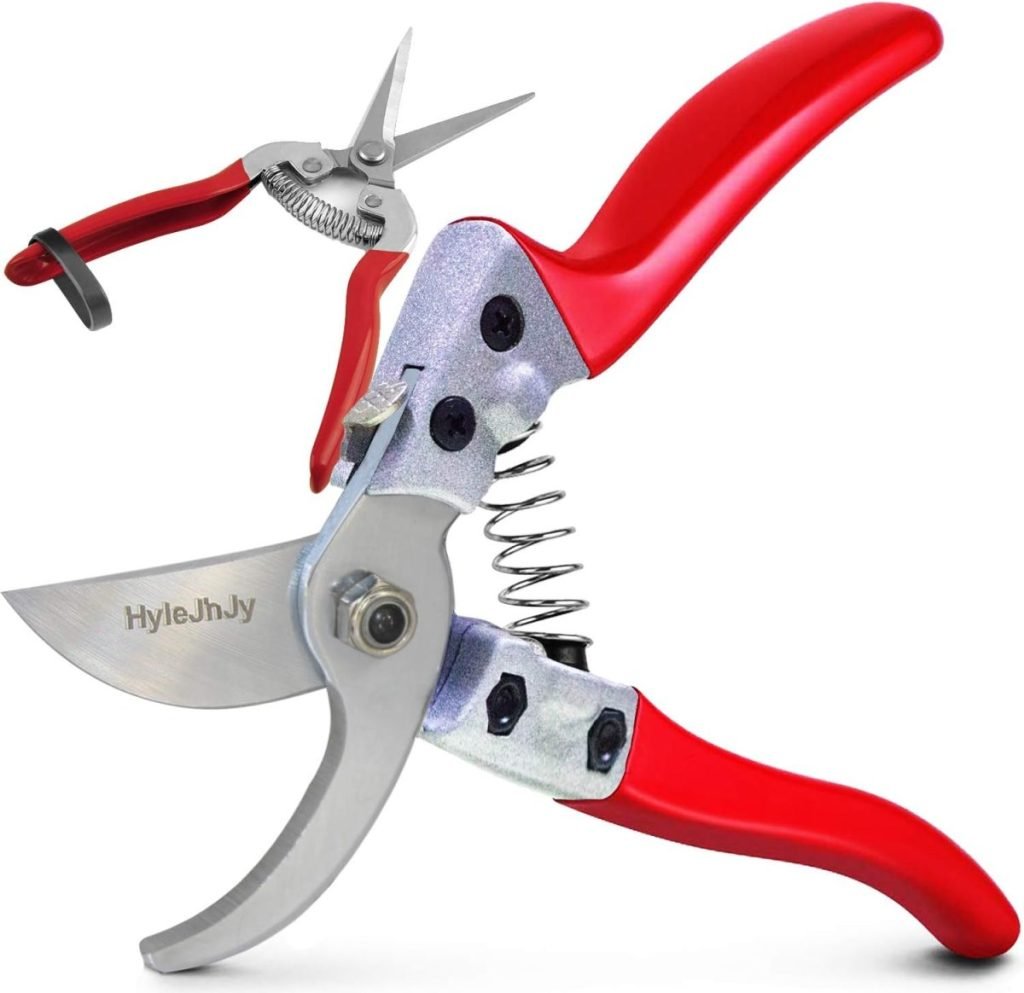
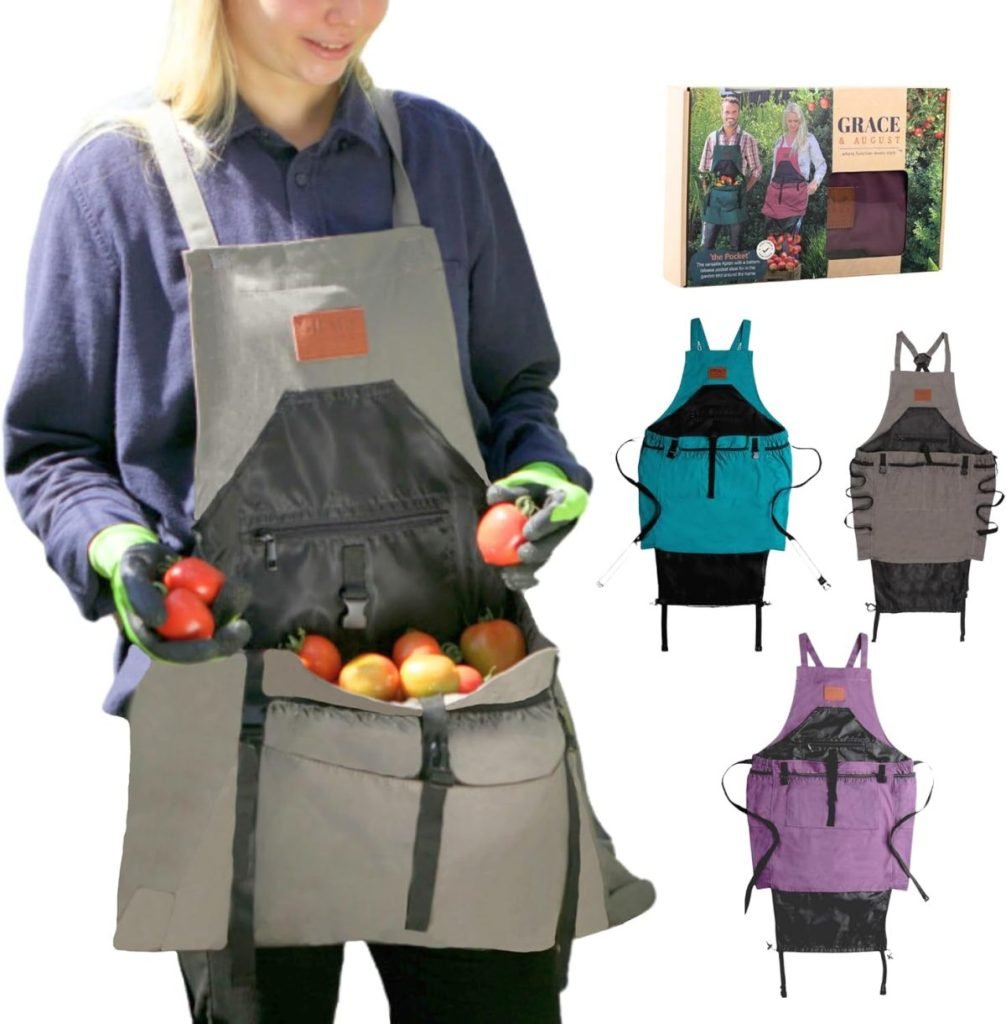
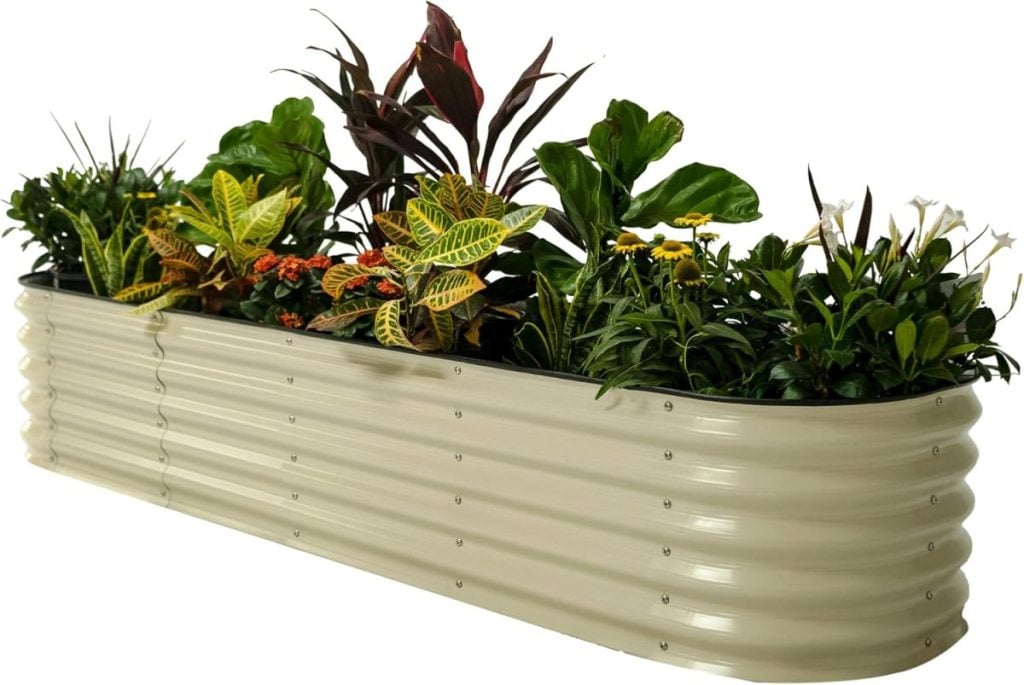
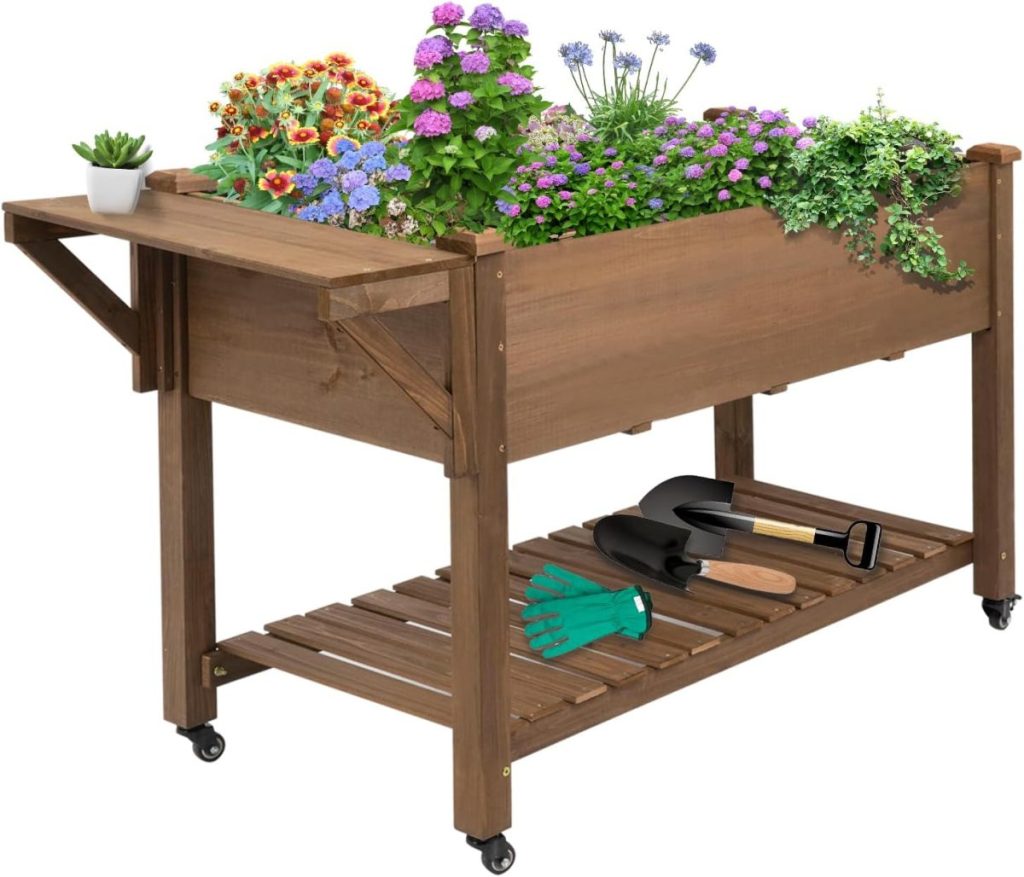
Gardening Must Haves!

If you enjoy my blog, you can sign up to receive my updates here.
.
You can pin the image below to your boards on Pinterest (just click the Pin button in the top left corner) or follow me on Pinterest!

For more real-time updates, follow me on Instagram @My100YearOldHome


Wow wow wow is this new veggie bed set up the best ever! Green Thumb nursery has been a stable place for locals to buy from for years and years. Can’t wait to see what you plant.
Oh my gosh thank you so much Cindy! I am so excited about it!
This is amazing. I am so impressed with your veggie patch. Your passion and dedication makes me feel excited too!
Thank you! I love having fresh vegetables steps away from my door ☺️
Mustard is a good cover crop and might have helped save and reinvigorate your soil. It’s related to broccoli and cabbage, so don’t follow those after mustard (brassica). Everything looks beautiful and I hope you show your garden as it progresses.
Thanks for sharing. The squirrels in Houston have been terrible and last year I only got 1 tomato. Will you share how you installed the crop cage? My beds are similar to yours with an arch between them. Love your blogs.
Did not receive blog for today (11th). Please send again. Thank you