How to Make a Chalkboard Stencil
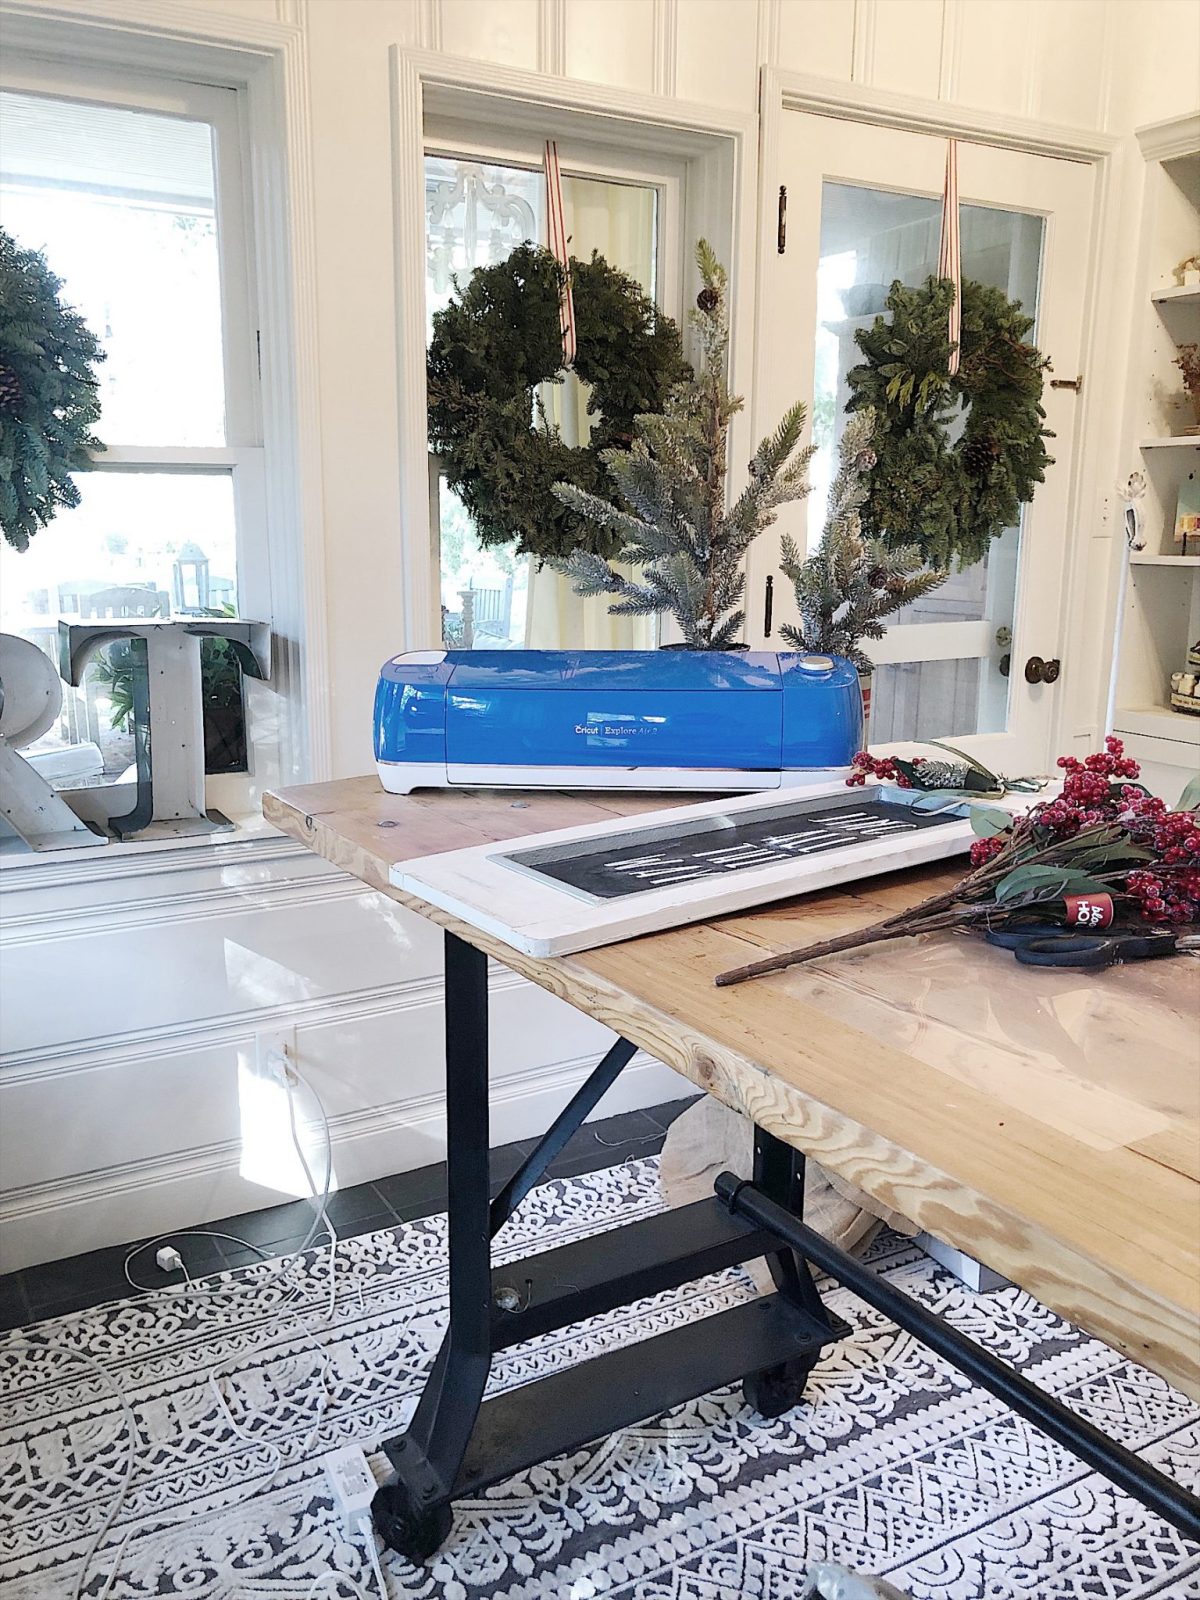
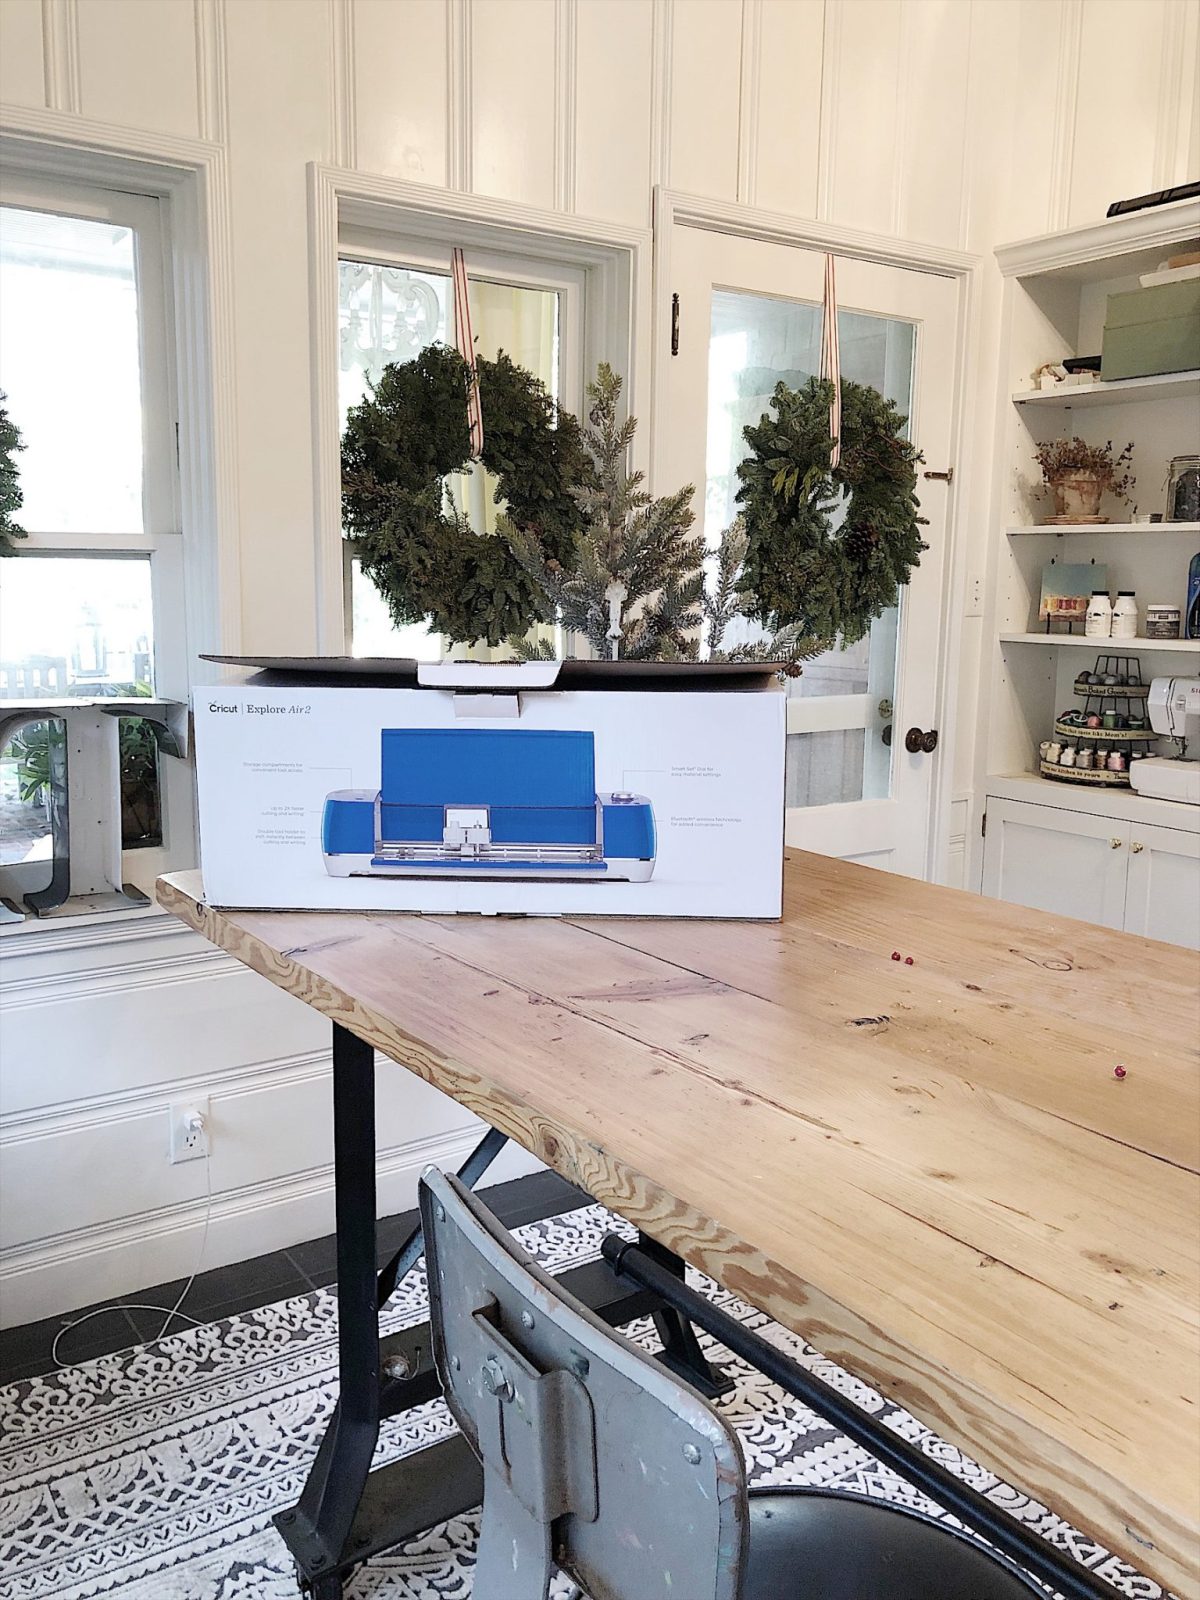
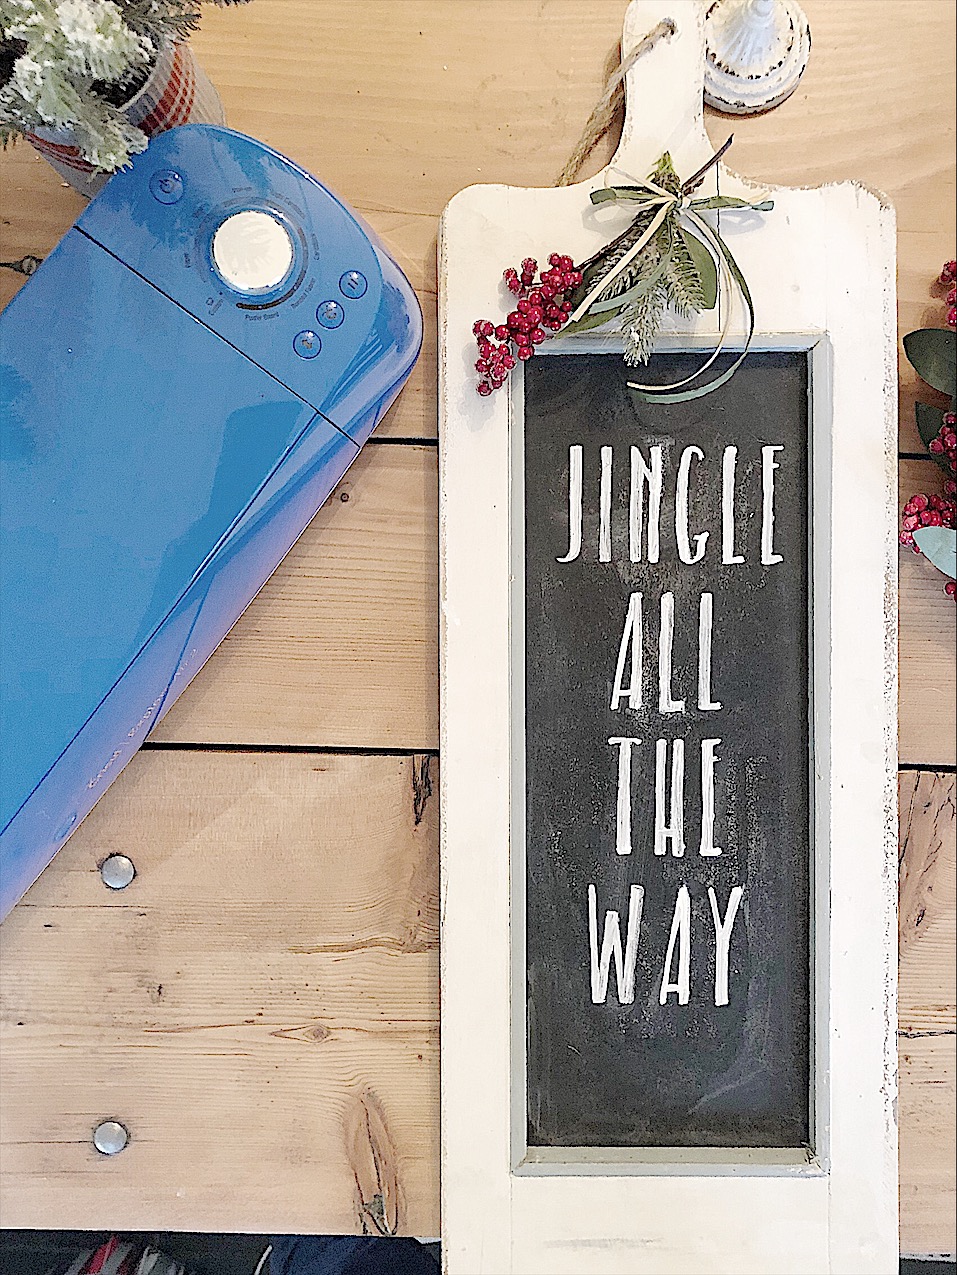
Christmas came early in our house this week. I partnered with JOANN and Cricut and received this Cricut® Explore Air™ 2, Cobalt. I had so much fun creating my first project in my craft room. If you don’t have one of these Cricut machines then you need to add it to your Christmas list right now. The projects are limitless and I was so excited to try it out.
The Cricut® Explore Air™ 2, Cobalt machine is sold exclusively at JOANN. I really love the color. It was easy to set up as all I needed to do was take it out of the box and attach the cords to the wall outlet and my computer.
To get started, I went to https://design.cricut.com and downloaded the software. Within a few minutes, I was ready to use one of the many designs available. I decided to create my own instead and it was so easy! You can use this Cricut Bluetooth machine wirelessly with a computer, iPhone or iPad so I set it up for all three. And the best part about this machine is that it cuts up to 2X faster than previous Cricut Explore® models.
If you are not familiar with this machine then head to https://learn.cricut.com for more info about how to use and make the best of the machine and accessories. I hear a lot of people say they think the machine looks too hard to use. It’s the complete opposite. So don’t be intimidated. I promise it is easy!
I own a lot of chalkboards so I decided to make a chalkboard stencil. The Cricut Explore Air™ 2, Cobalt cuts over 100 materials — everything from cardstock, vinyl, and iron-on to specialty materials like glitter paper, cork, and bonded fabric. That’s pretty cool.
How to Make a Stencil
The only materials you need for this project are a Cricut machine, stencil blanks, chalk or chalk markers, and any size chalkboard.
After measuring the front side of the chalkboard, I designed lettering that I thought would make a good stencil. Don’t pick a font that is too thin as you need to fill in the stencil with chalk.
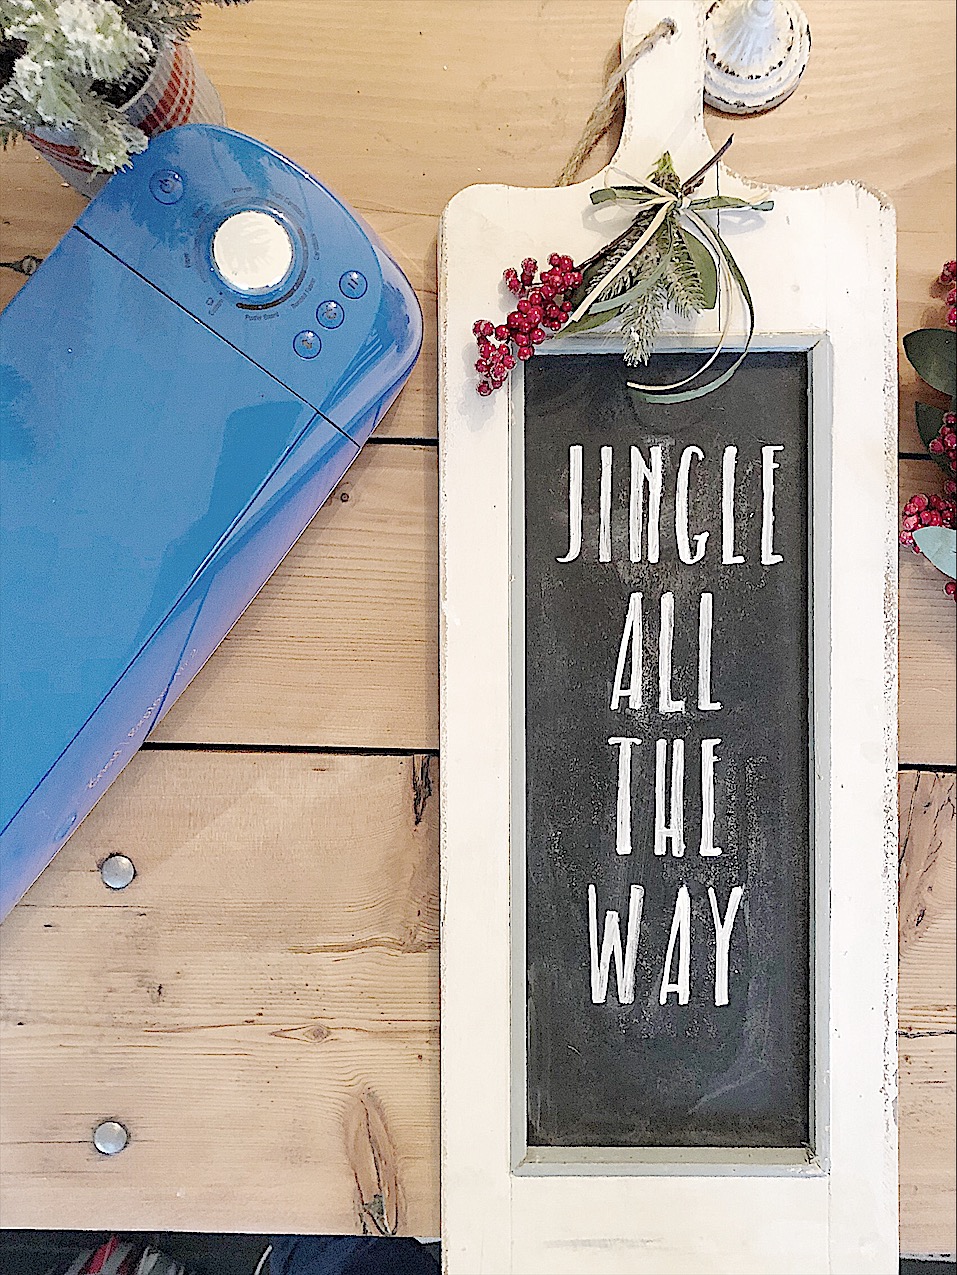
To make your design, just go to www.design.cricut.com. I chose the words Jingle All The Way and you can see how it looks on my computer.
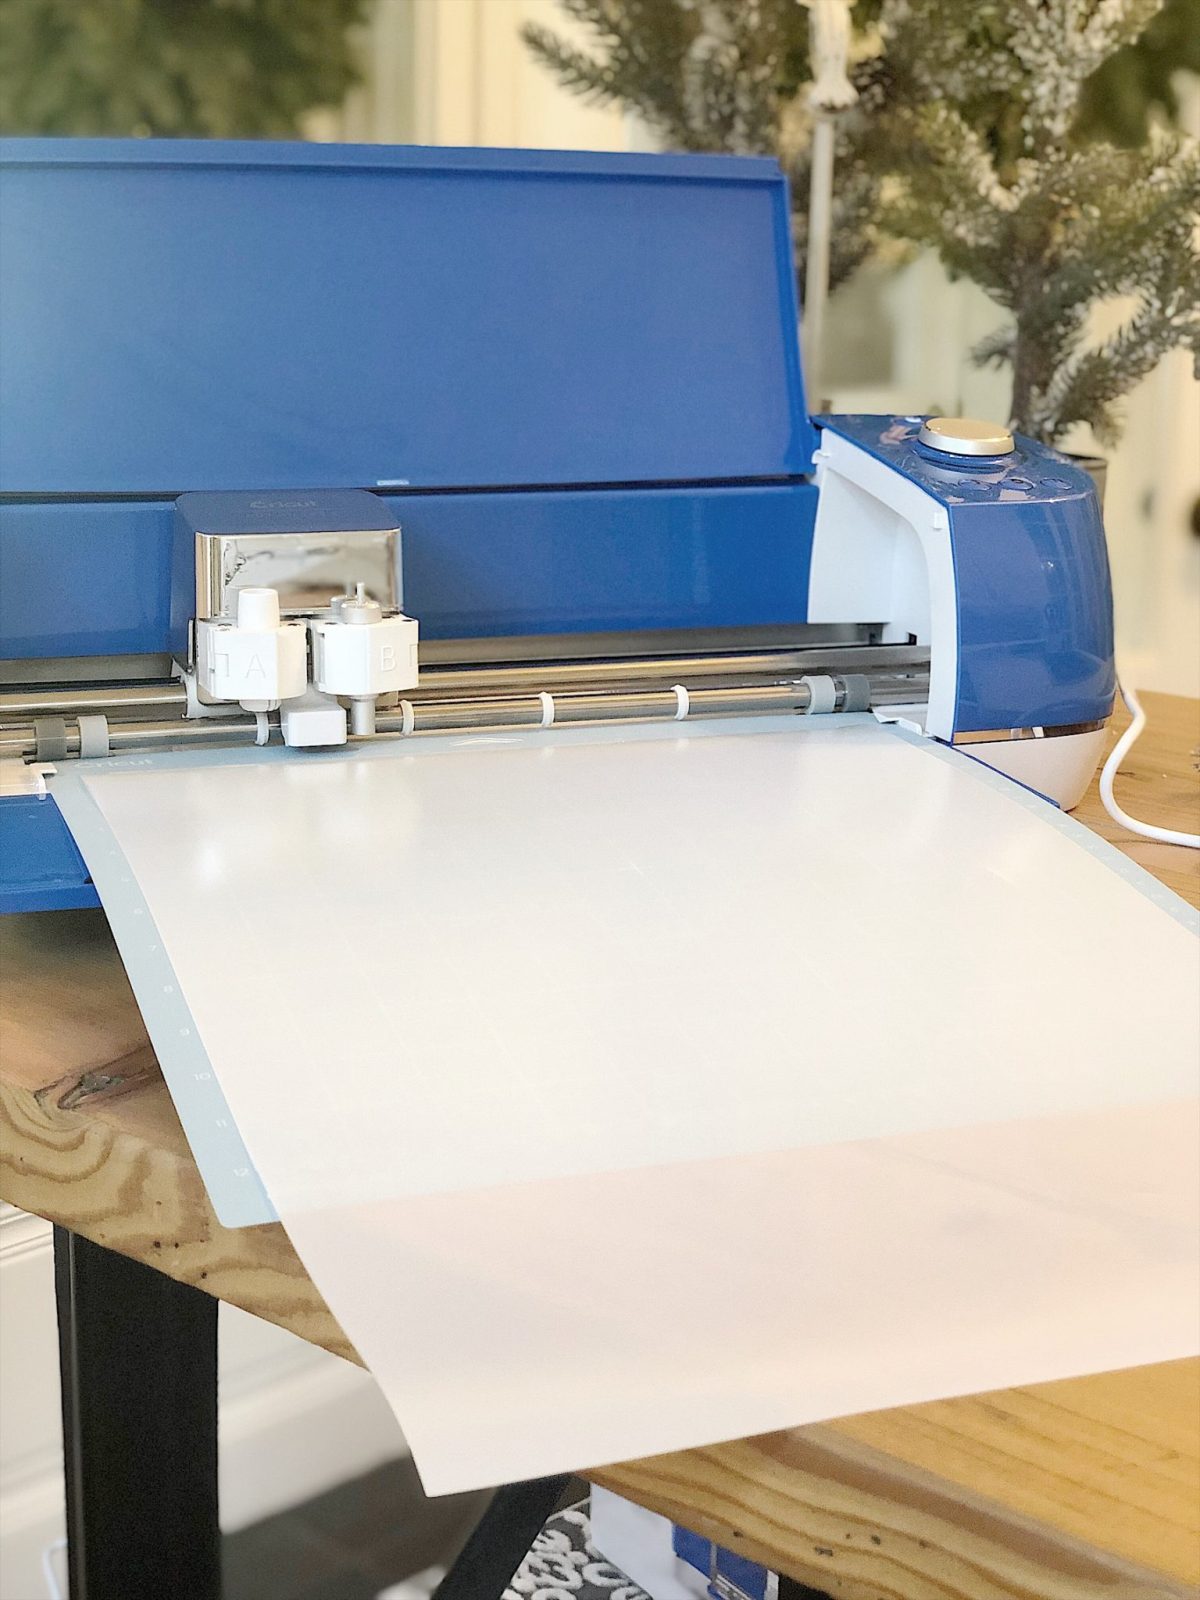
I used Stencil blanks from JOANN to make my stencil. When you are ready to cut your design, be sure to indicate the material you are cutting. I selected CUSTOM on the machine and then went through the options until I found Stencil.
I should mention this is my favorite part. I love watching the Cricut cut. It’s like magic! And it still amazes me that the machine can do what it does. I can’t wait to try out the pens and make some fancy calligraphy place cards!
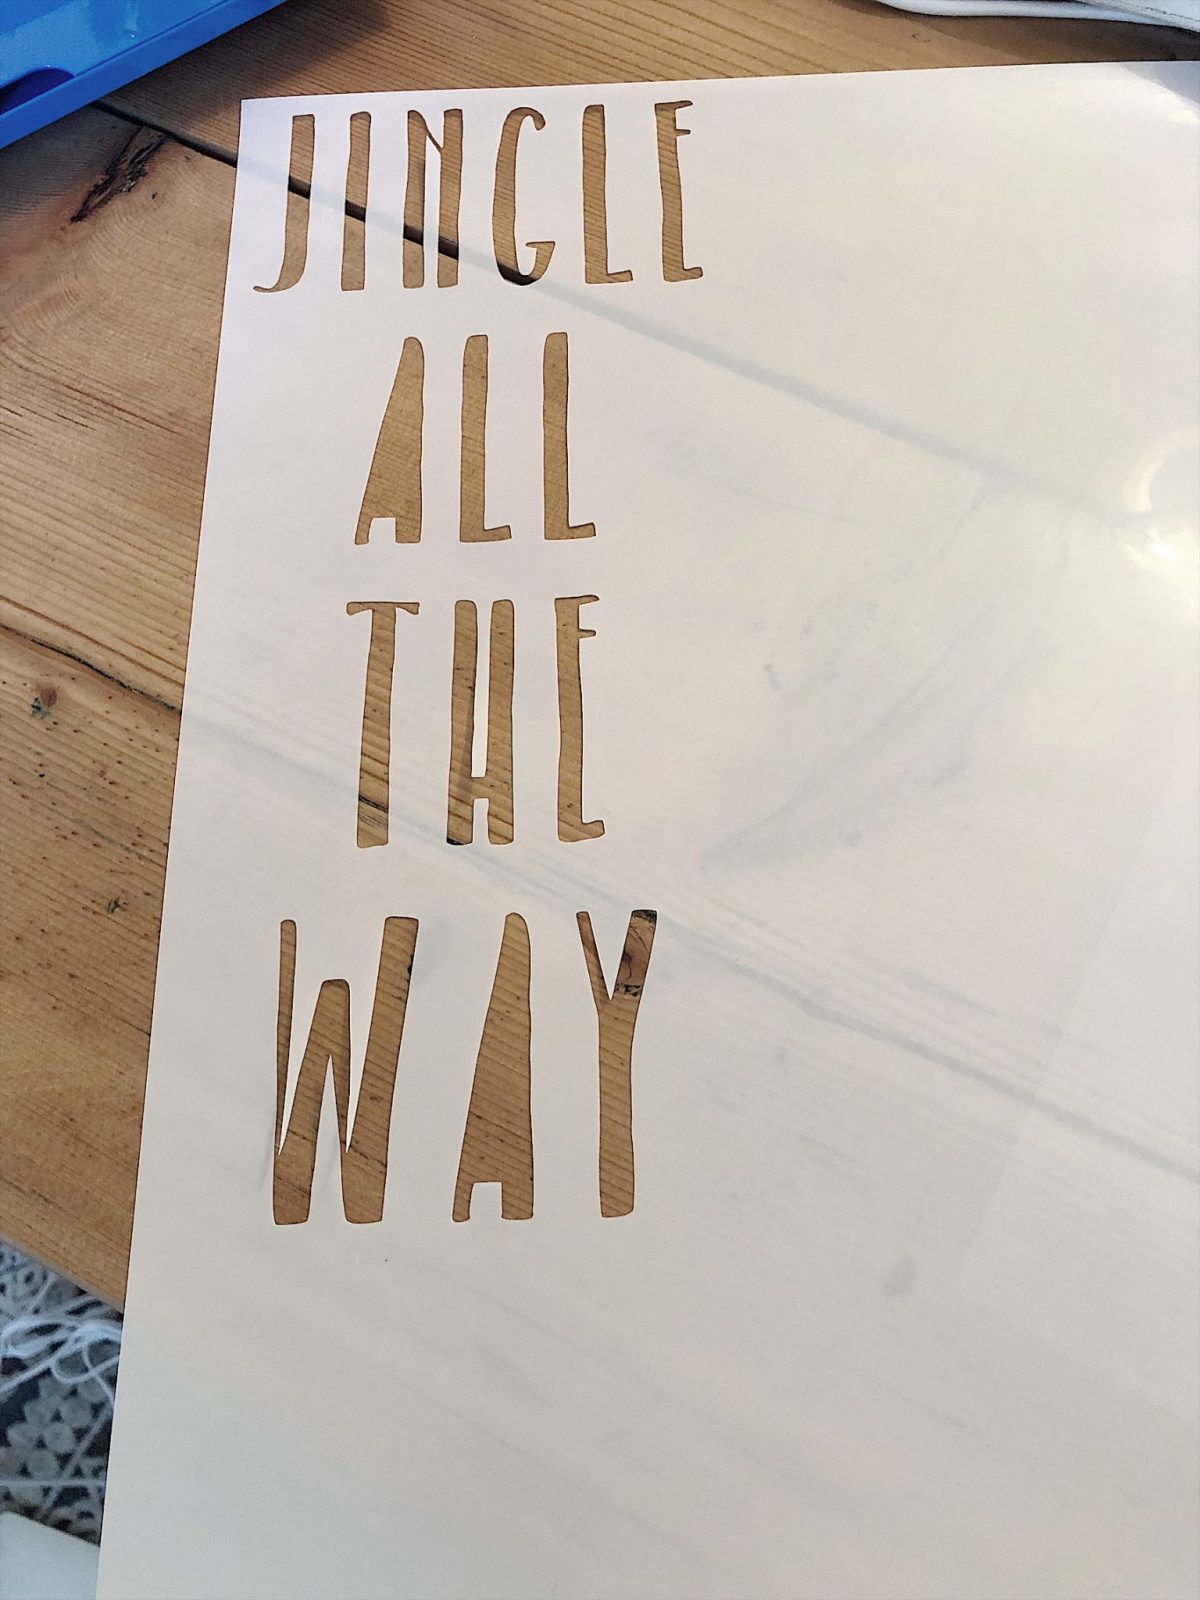
After the Cricut finished cutting, I punched out the letters. The next step is filling in the stencil with chalk on the chalkboard.
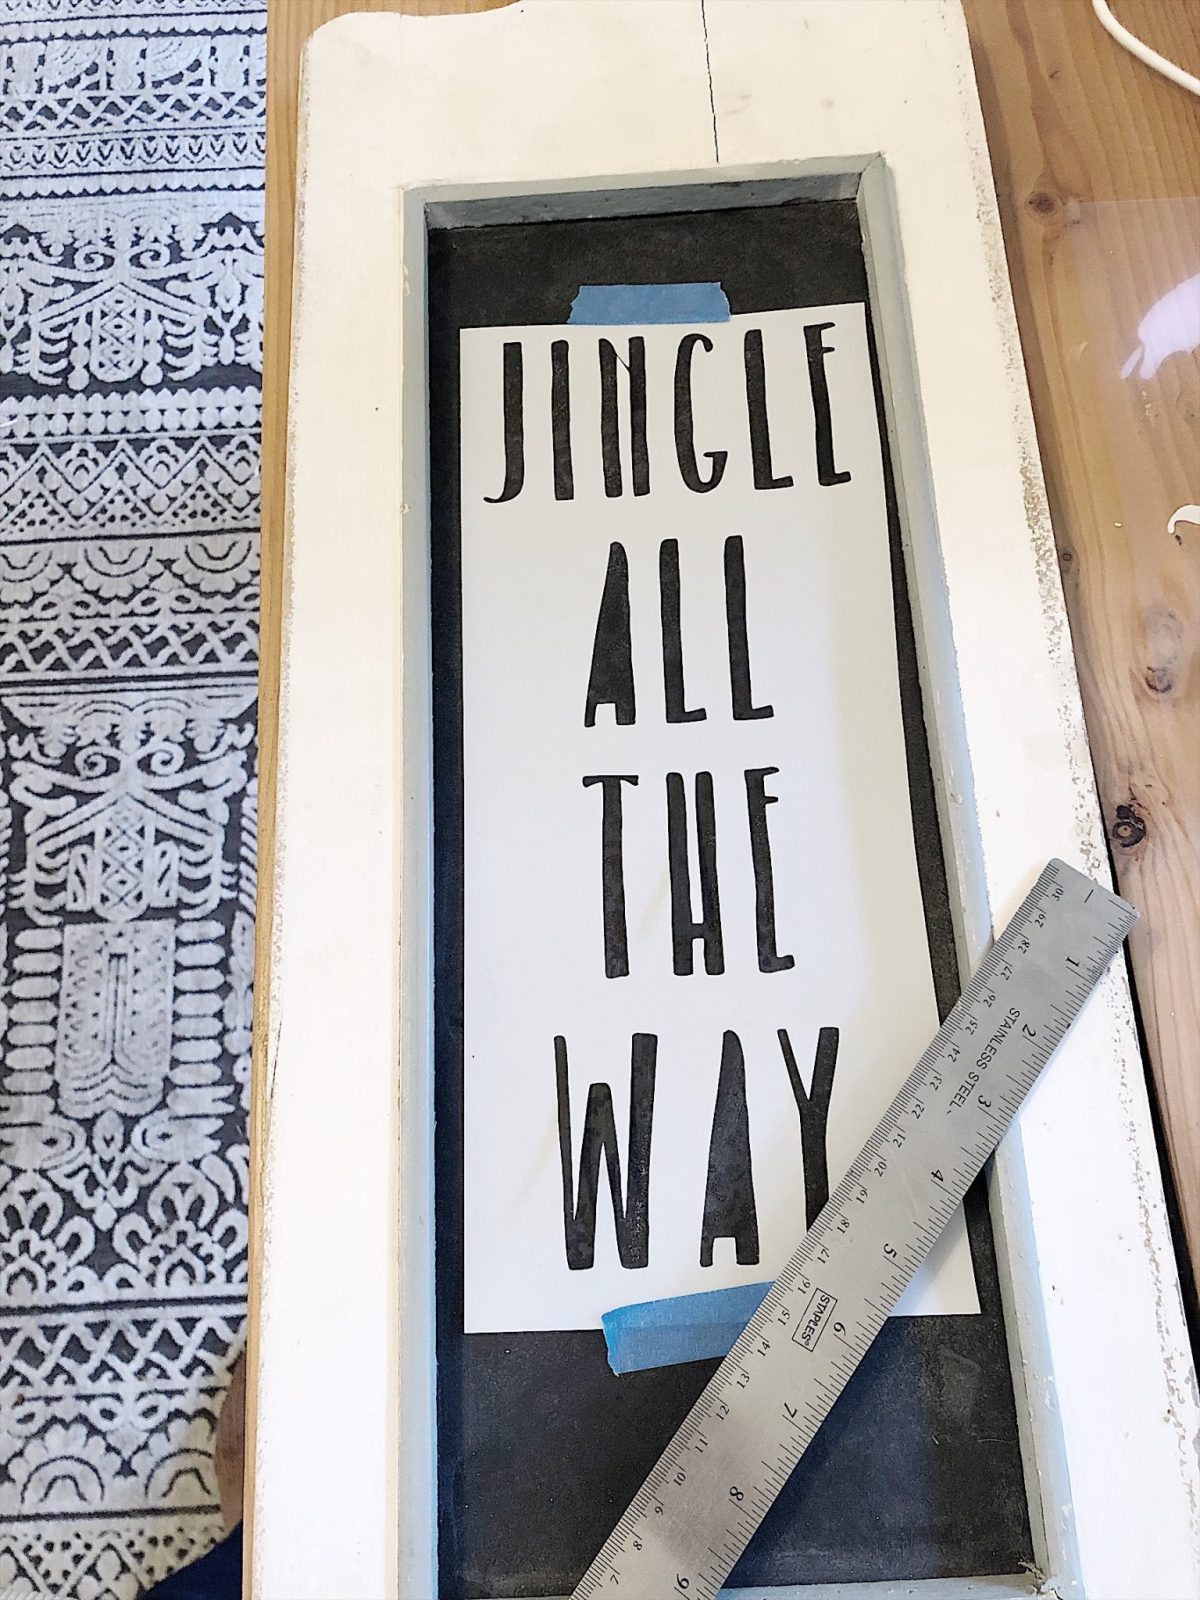
Be sure to tape the stencil to your chalkboard so it doesn’t move. JOANN has a lot of chalk options available. You can use white drawing chalk or Chalk Markers. I love using both but for this project, I used Chalk Markers.
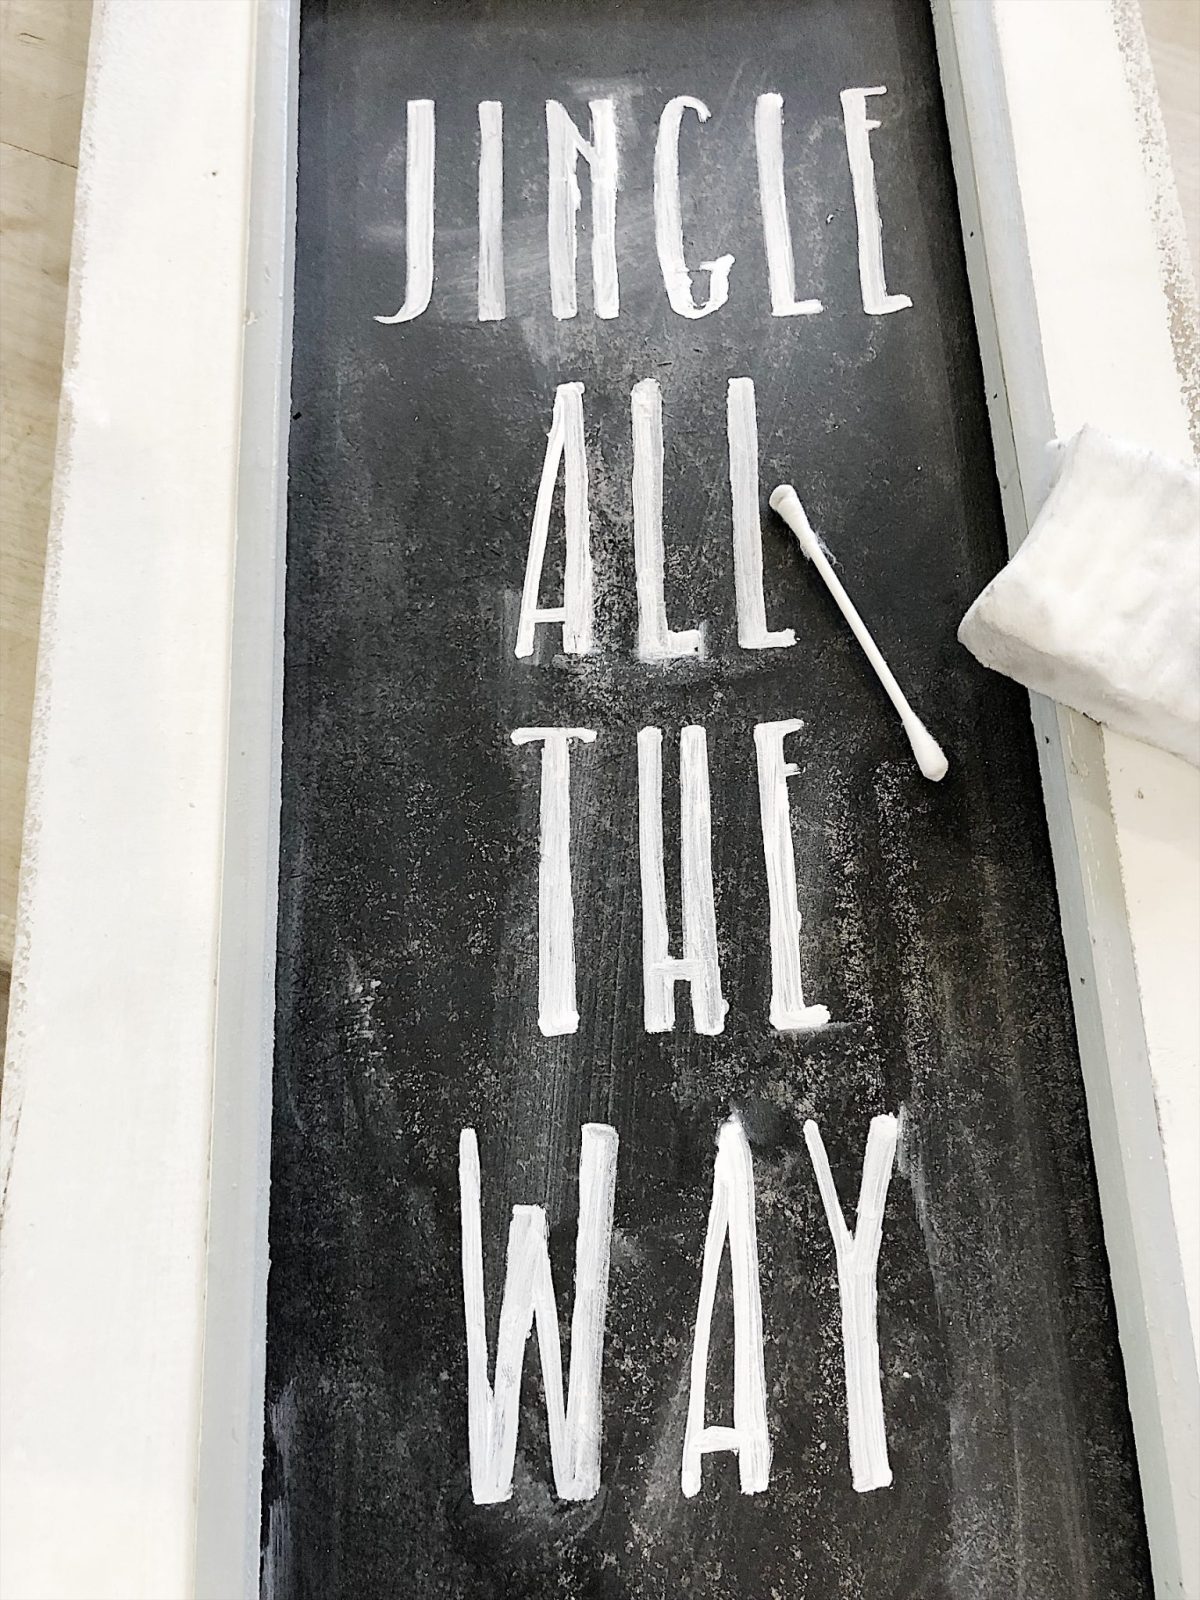
Remove the stencil and use a damp cotton swab to remove any excess chalk.
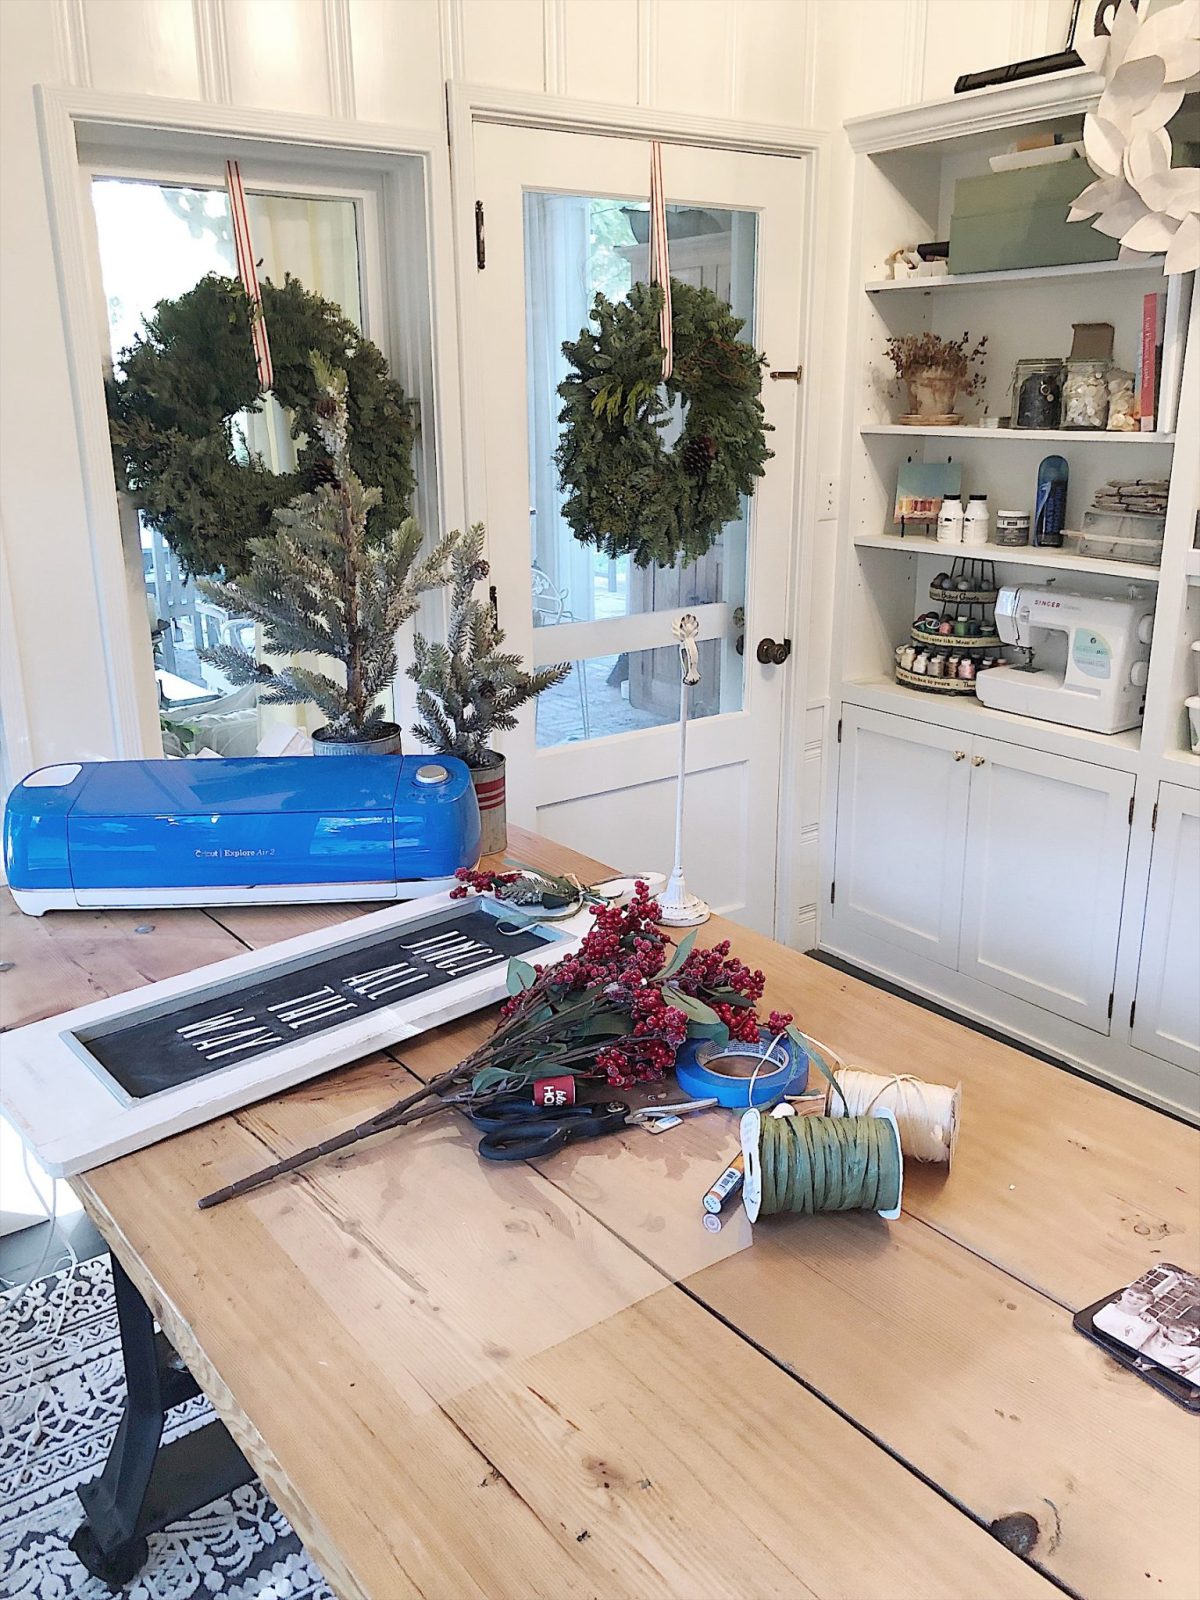
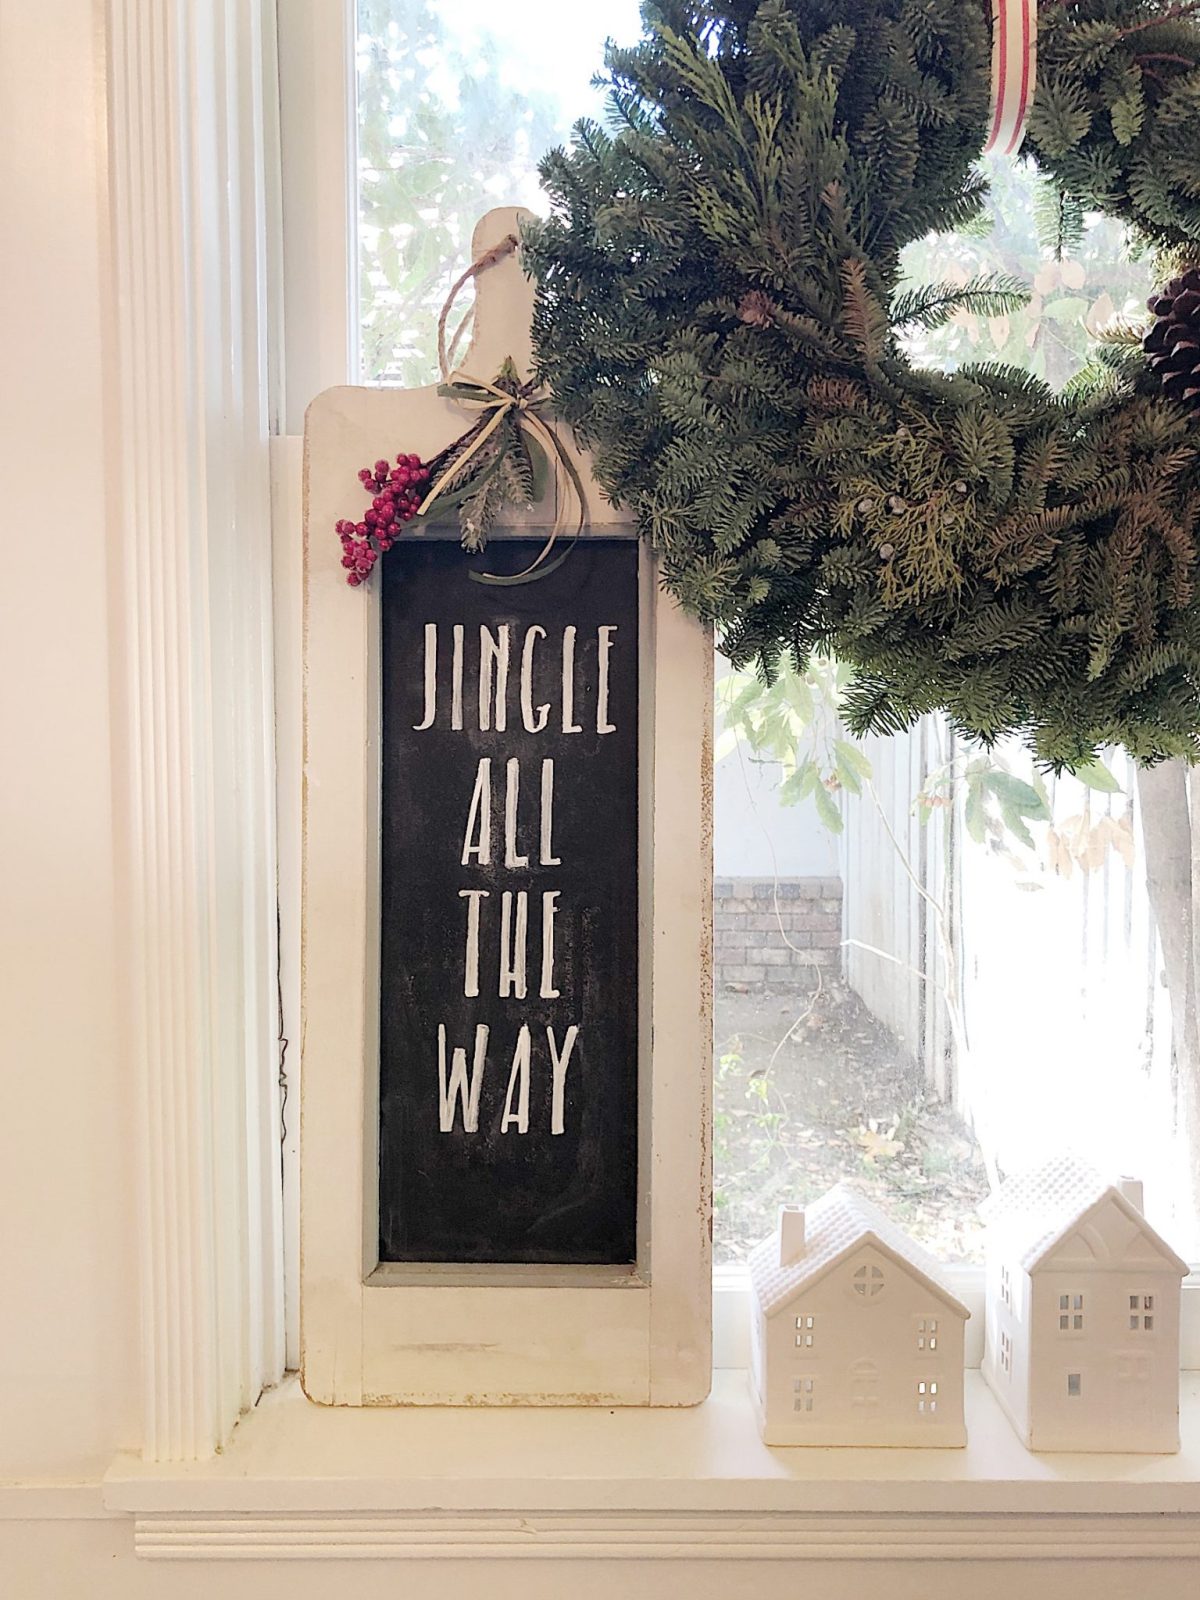
I cut some red berries, tied them with raffia and attached them with a dot of hot glue.
Can I just say I absolutely love how my chalkboard turned out? The best part is that my stencil is reusable.
I think this might be the perfect gift to add to your Christmas Wishlist. My dream came true!
This is a sponsored conversation written by me on behalf of JOANN & Cricut. The opinions and text are all mine.




Super cute! I have a cricut & I love it!!
I have always wondered how hard these were to use so thankful the great info! Now I’ll just have to save up for one.
Looks so cute. Might have to look into one of these.
Where do you find the chalkboards and framing
I feel like I just discovered a very cool secret! I think I need one of these. I love the way you did you decorated your chalkboard – simple and beautiful.