DIY Easy Crafts – Wreath Pillow
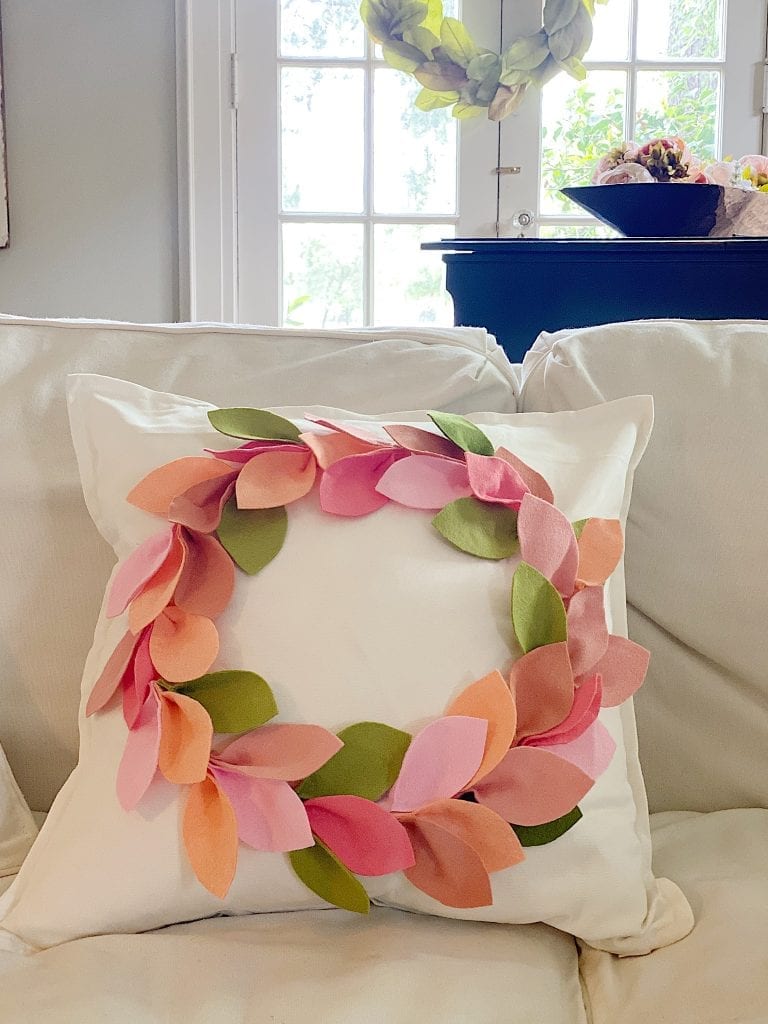
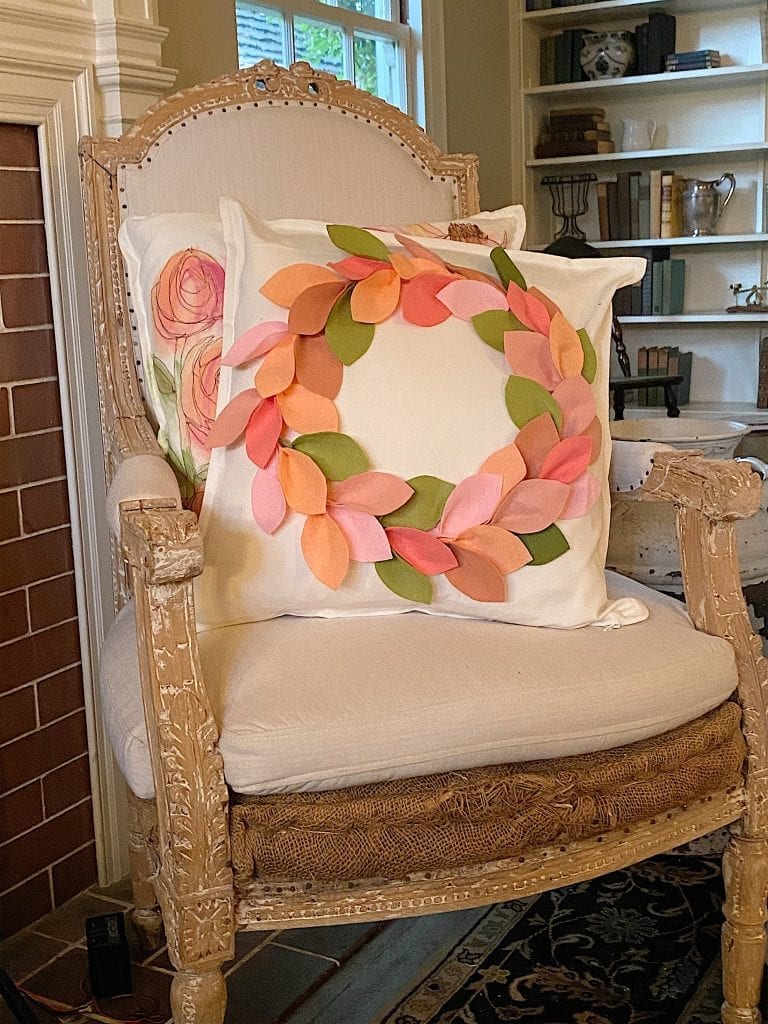
Today I am sharing a DIY craft How to Make a Wreath Pillow. I made a pillow for a wreath blog hop because my wreath form did not arrive in time! This DIY is fun and easy to make for Summer or Fall. And I love how it came out!
My favorite pastime during this “time at home” has been cooking and crafting. Today I am sharing a DIY craft How to Make a Wreath Pillow that features a spring wreath. Later this week I will be cooking with one of my sons. I cannot wait to cook with my son Matt.
I made the pillow with felt. To be honest, I am part of a blog hop and I was technically supposed to make a wreath. But we all need to be flexible these days when our wreath form doesn’t arrive on time. I made a slight deviation to my plans and make a pillow with a wreath on it instead. And I love it.
Be sure to scroll to the end of this post to see all of the wonderful wreaths my blogger friends made. And yes, they all made wreaths.
Oops.
To be honest, I had no idea how to make a wreath pillow. But after some trial and error, I do love how it came out.
What You Need to Make a Wreath Pillow
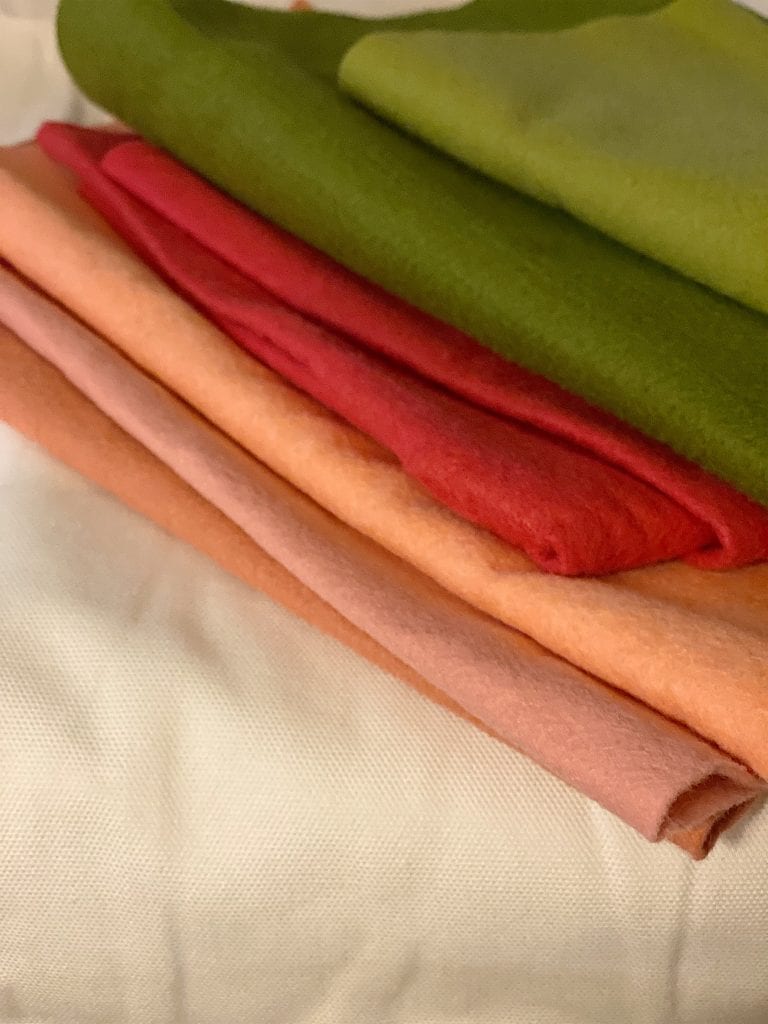
Felt – Six 12″ x 12″ in different colors
Template for the leaves
Pillow cover – I used the 20″ x 20″ IKEA GURLI pillow cover. It’s my favorite and only cost $4.00.
Pillow form
Glue gun with glue sticks
How to Make a Wreath Pillow
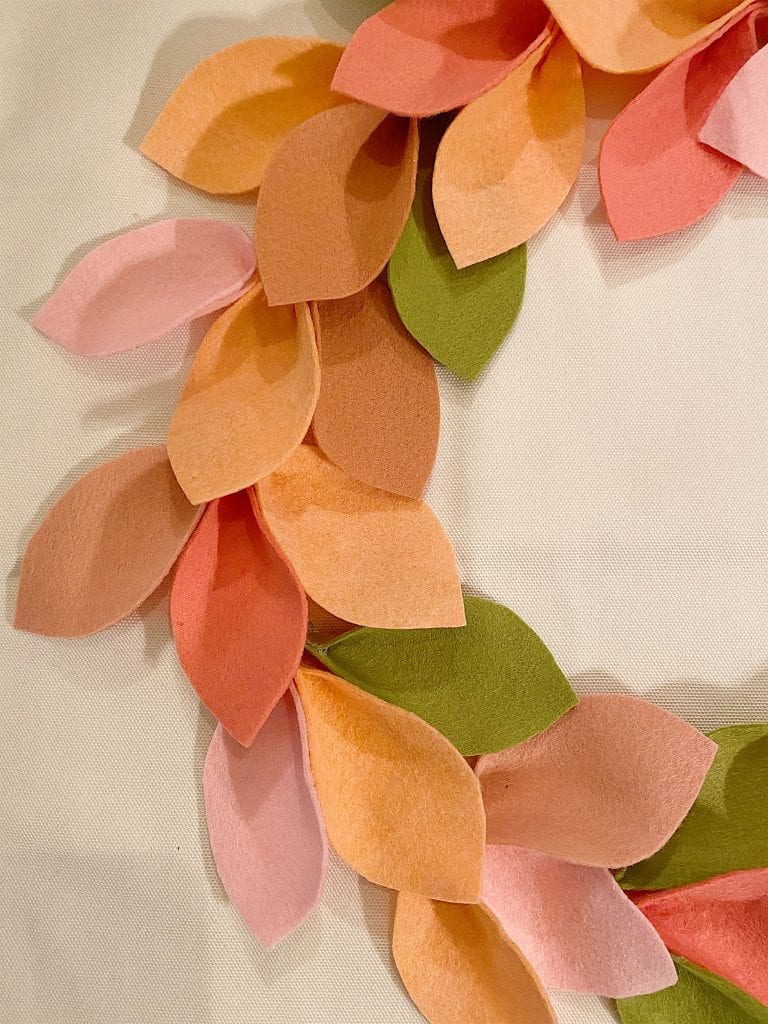
I should tell you a funny story about the colors I used. I loved these colors of felt and was really excited about my wreath. But when I put the leaves on the pillow it was a fall wreath. Not one for spring!
So I replaced three of the colors with different shades of pinks and it looks much better! The first half of my DIY has the “fall” colors and the second half has the “spring” colors.
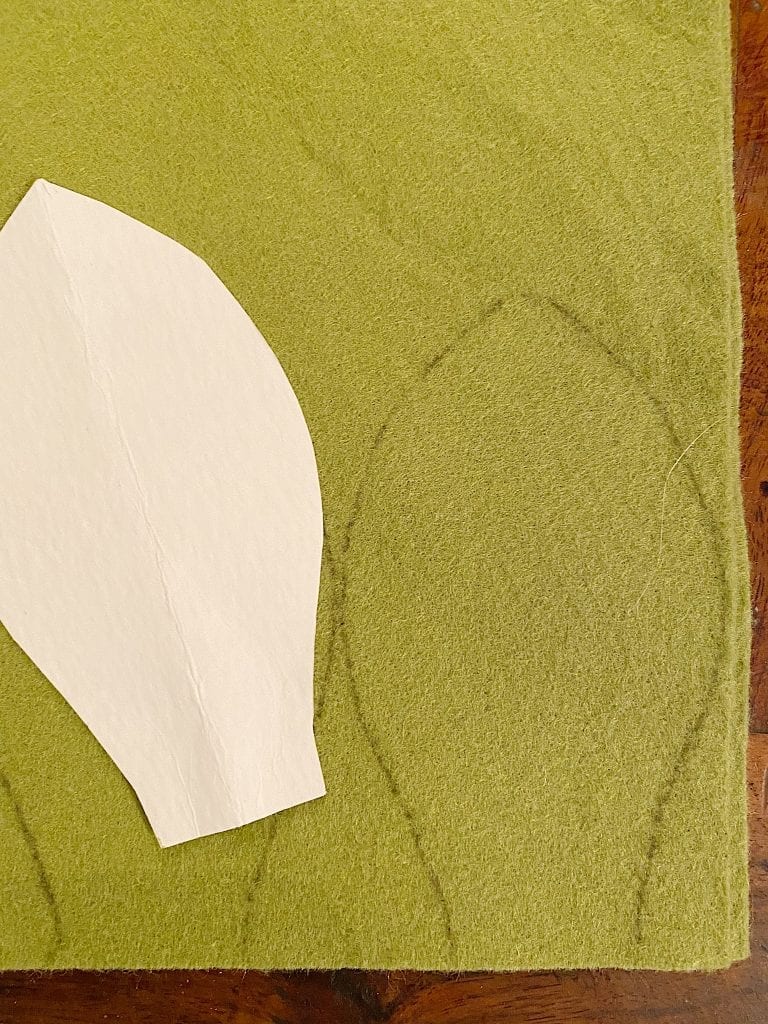
To make the template cut a rectangle in a heavy paper that measures 4″ x 2″. Fold it in half and cut the sides to make this form.
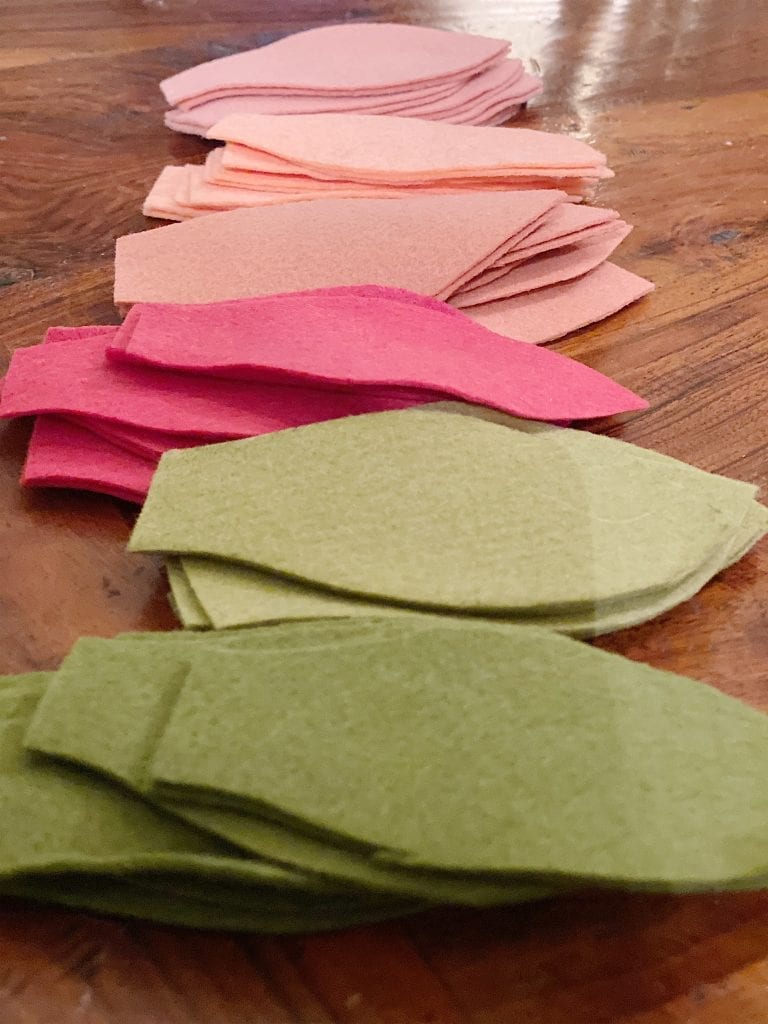
I cut ten leaves of each color. I traced five of them and then cut two at a time. I had extra leftover but this should work for almost any size pillow cover.
Here are my six piles of cut petals.
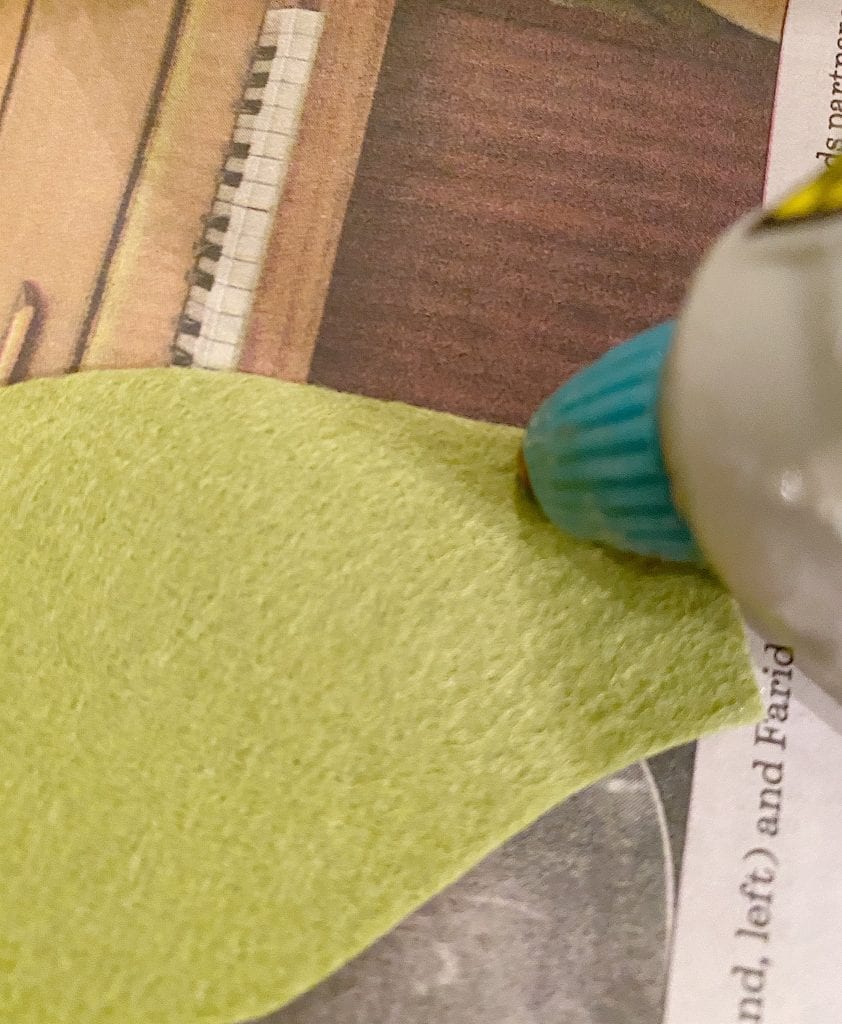
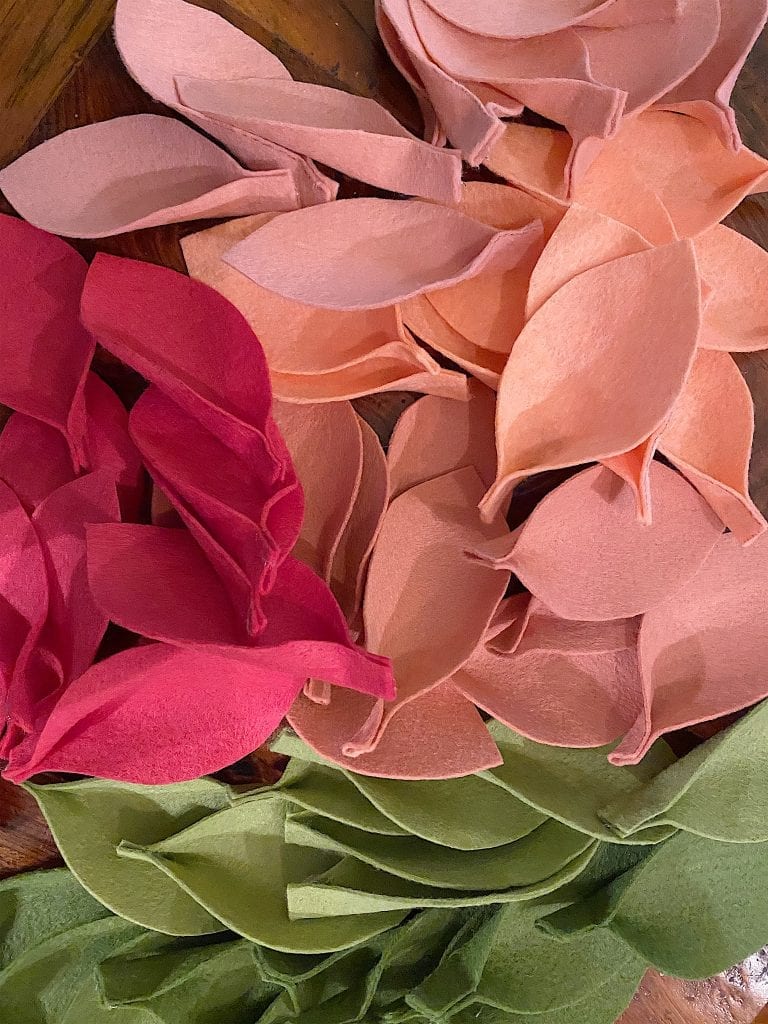
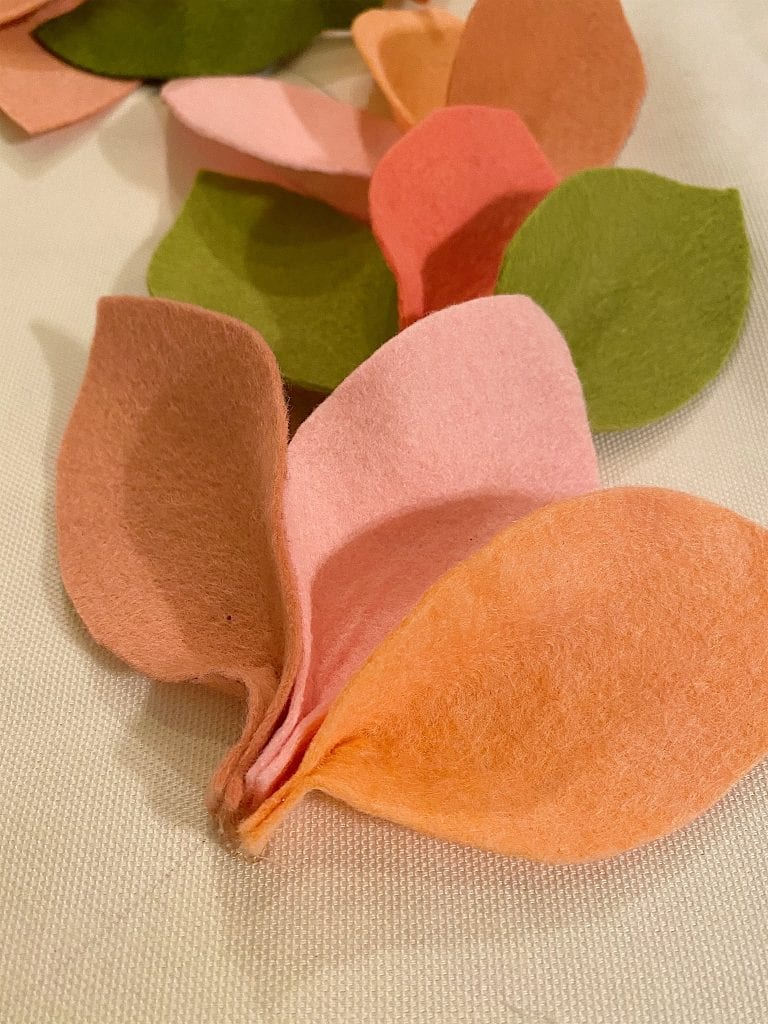
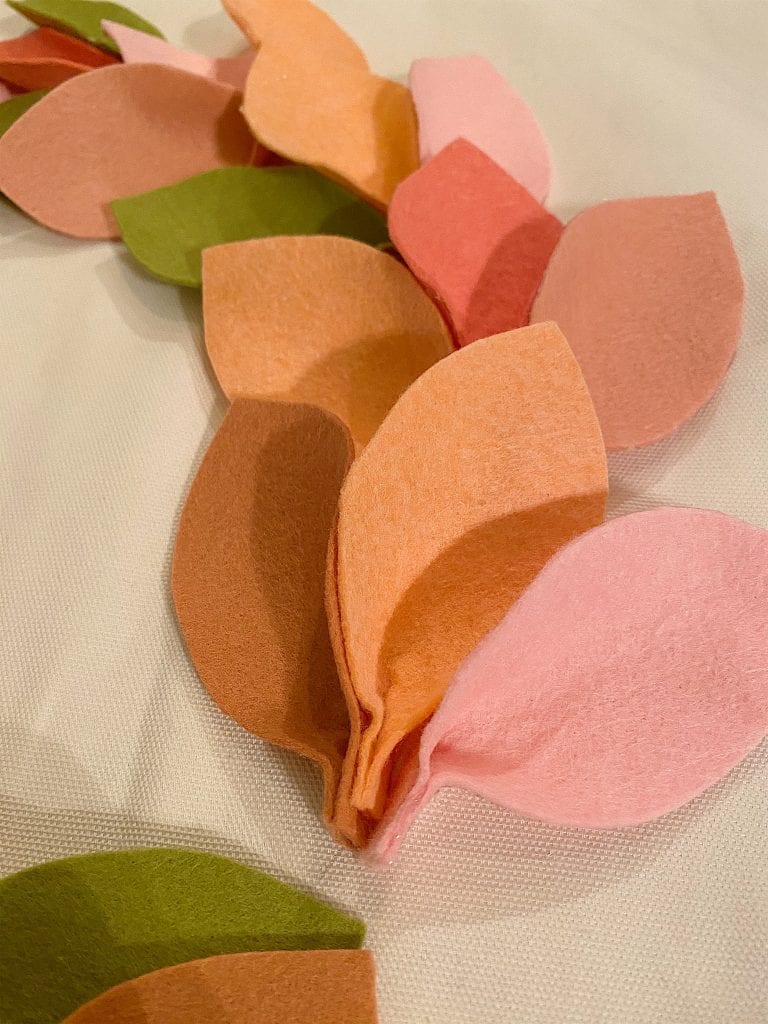
Each petal needs to be glued at the end of the stem. Place a small 1/4″ line of glue on one side and fold up the other side. Hold tightly for a few seconds until the glue dries slightly.
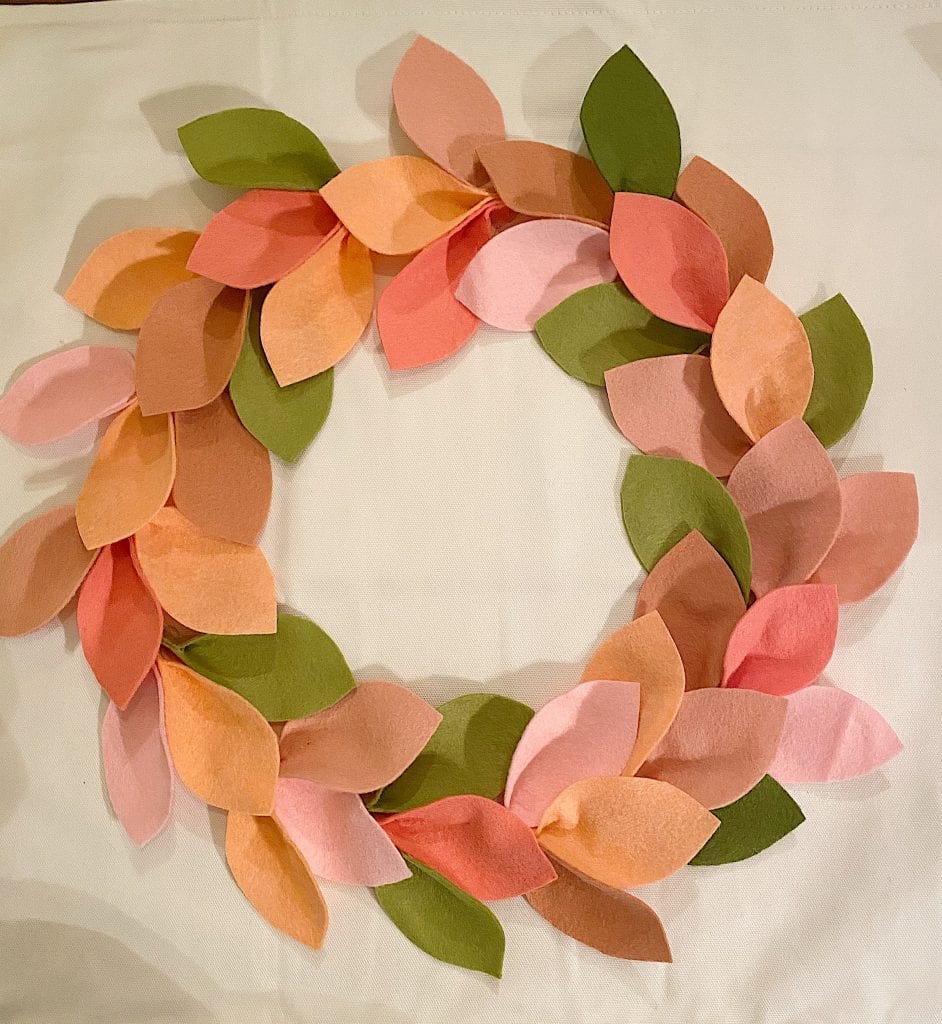
Here are all of the petals glued and ready to go.
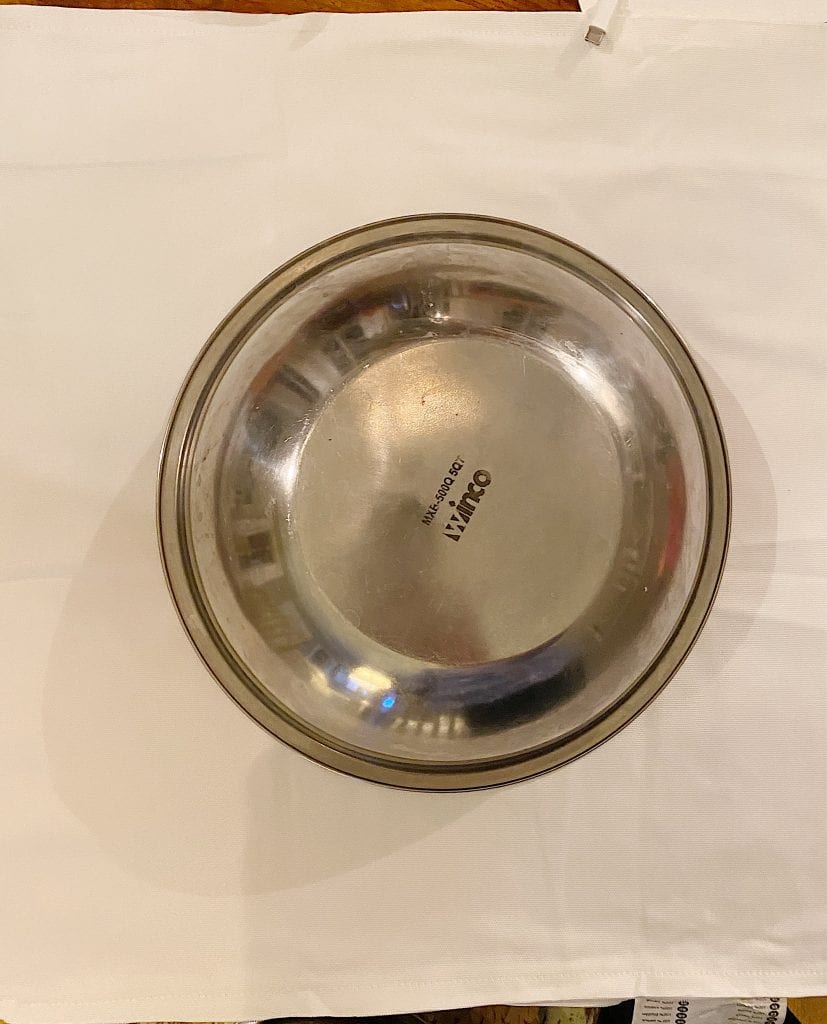
Next, you need to draw a circle on the pillow to use as a guide for the petals on the wreath. I used a metal mixing bowl. I placed it in the center of the pillow and traced the circle on to the pillow.
If the pillow cover is wrinkled, be sure to iron it.
Using the line as a guide. Attach three leaves, as seen in the photo below, on the line. When you apply the next three leaves, be sure to partly cover the row before with the middle leaf.
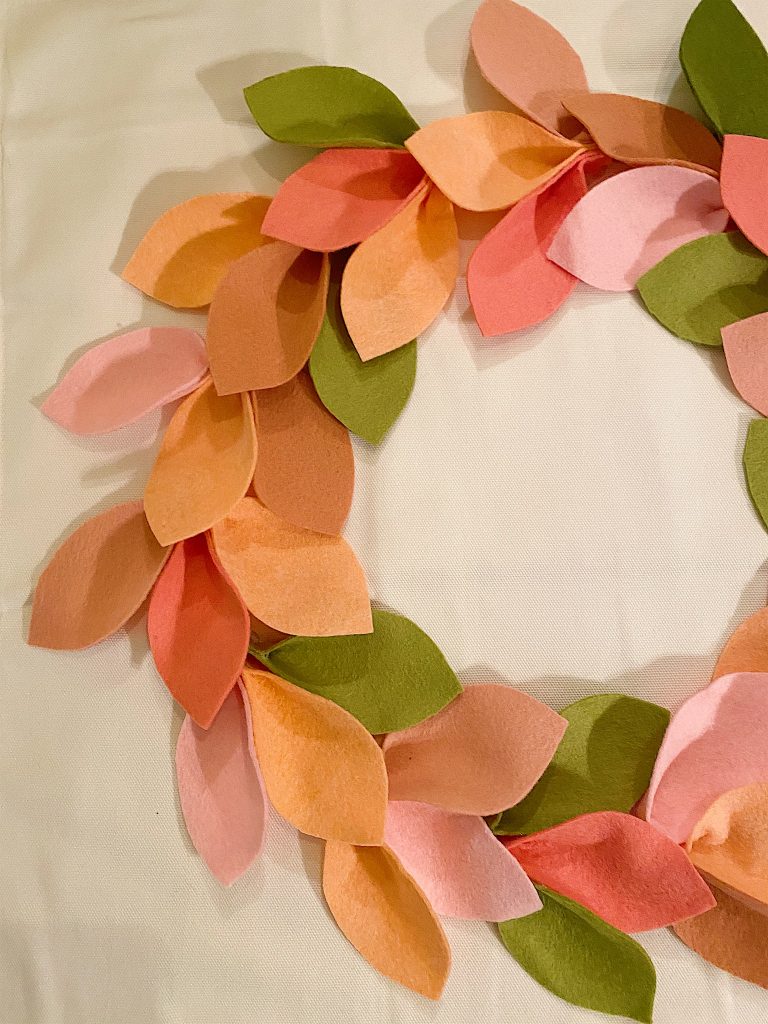
Continue in a circle all the way around. As you near the end, take the time to estimate how you can place the leaves to get an even finish. You don’t want a 1″ gap at the end, so make whatever adjustment is necessary before you get to the end.
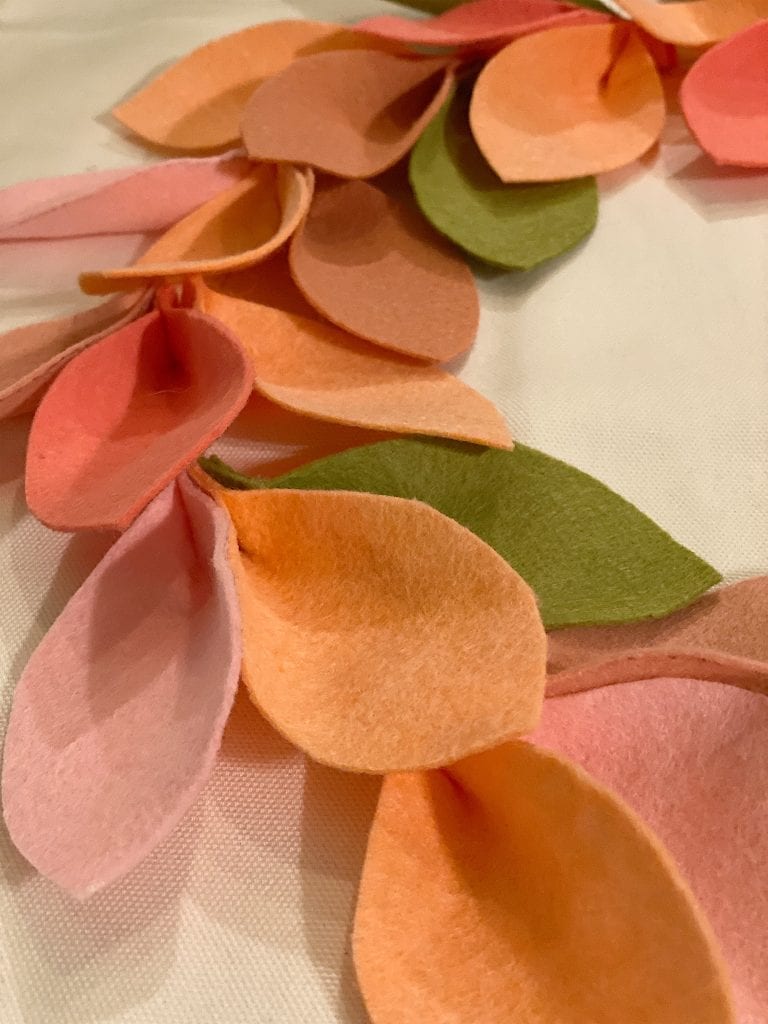
Go back and use more glue to score the leaves on the wreath. Place the glue in the middle of the leaf, not the top.
Your wreath will look like this!
It took me less than two hours to figure out how to make a wreath pillow. It’s really not hard to make!
I love how it came out. It is a wonderful wreath for spring.
It also matches the pillow I made with paint and free-motion embroidery.

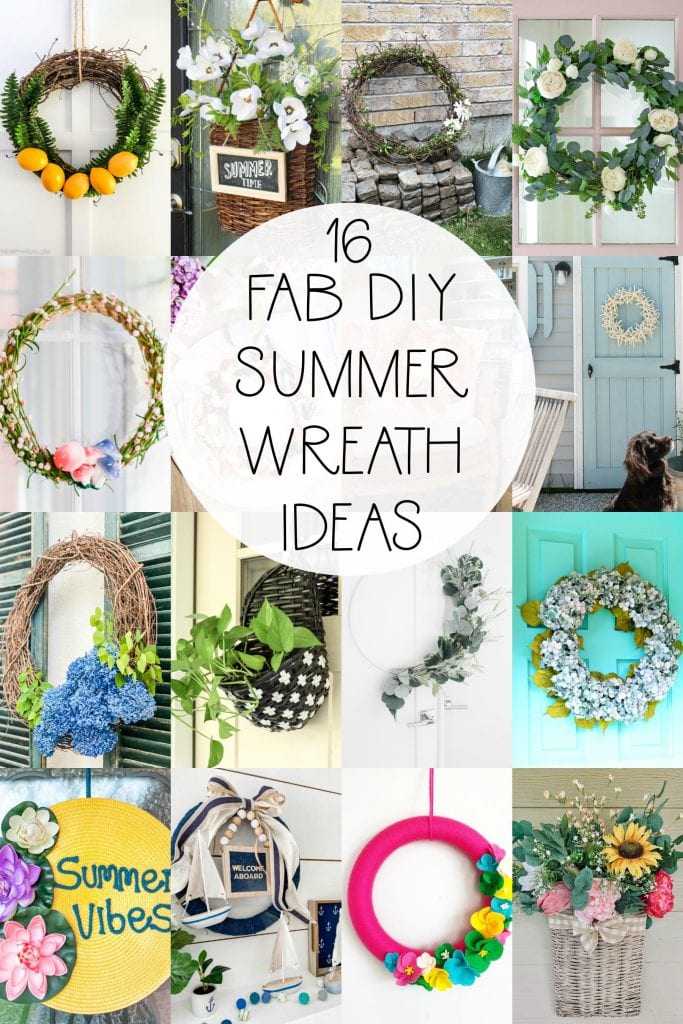
Today I’m joined by some of my blogging friends who are also sharing their summer wreath ideas! Just click the links below the images to be taken to their post…

DIY Dollar Store Lemon Wreath with Ferns at The Happy Housie
Blue Hydrangea Wreath at The Tattered Pew
DIY White Rose & Eucalyptus Wreath for Summer at Modern Glam
Summer Basket Wreath at Clean & Scentsible

Swiss Cross Door Basket at Cassie Bustamante
Foraged Wreath at Life is a Party
Minimalist Modern Summer Hoop Wreath at This is Simplicite
DIY Hydrangea Wreath at Dans le Lakehouse

Nautical Summer Cottage Wreath at Tatertots and Jello
DIY Floating Starfish Wreath at Finding Silver Pennies
DIY Easy Crafts Wreath Pillow at My 100 Year Old Home
Edible Fruit Salad Summer Wreath at My Sweet Savannah

Summer Vibes Wreath at Amidst the Chaos
Cheery Summer Yarn Wreath at a Pretty Life
Summer DIY Wreath at Joanna Anastasia
DIY Summer Wreath Idea at She Gave it a Go
Pin the images below to your Craft or spring decor boards on Pinterest (just click the Pin button in the top left corner). You can also follow along with me on Pinterest!
For more real-time updates, follow me on Instagram @My100YearOldHome





Leslie, that is absolutely gorgeous – and it’s something I think I can make! I love “no-sew” projects! You are so creative, my friend!
Thank you, Penny! This was a fun one, I KNOW you can make it too!
This is fantastic! Love the colors and how it turned out. Pinned! Hope to make one soon.
Thank you so much! I hope you can make one as well.
I love how you rolled with the punches! It turned out so cute! Pinned!
Super cute – I love the felt leaves and how they overlap to create the wreath shape. Beautiful, Leslie:)
Such a sweet pillow. LOVE the sherbet colors you used.
Thank you, Danielle!
What a great wreath idea Leslie! I love that you placed this on a pillow and used what you have at home.
Thank you, Mansa. I am so glad you enjoyed.
I would love to learn more about DIY crafts but your website is so awful to navigate! There are hundreds of ads that continually pop up and block what I’m trying to read. IT IS AWFUL.
Hi Leslie,
I am making this very cute wreath pillow and it’s looking to good.
I do have a question about the last step of scoring the leaves with
the hot glue. I’m not understanding how to do that. Is it necessary?
Thanks for all your lovely ideas. This is my first one to try and I’m
very pleased.
I think it’s awful, too. Won’t it be nice when content creators demand a more user-friendly mode of advertising!