Christmas Wreath Decorated Cookies
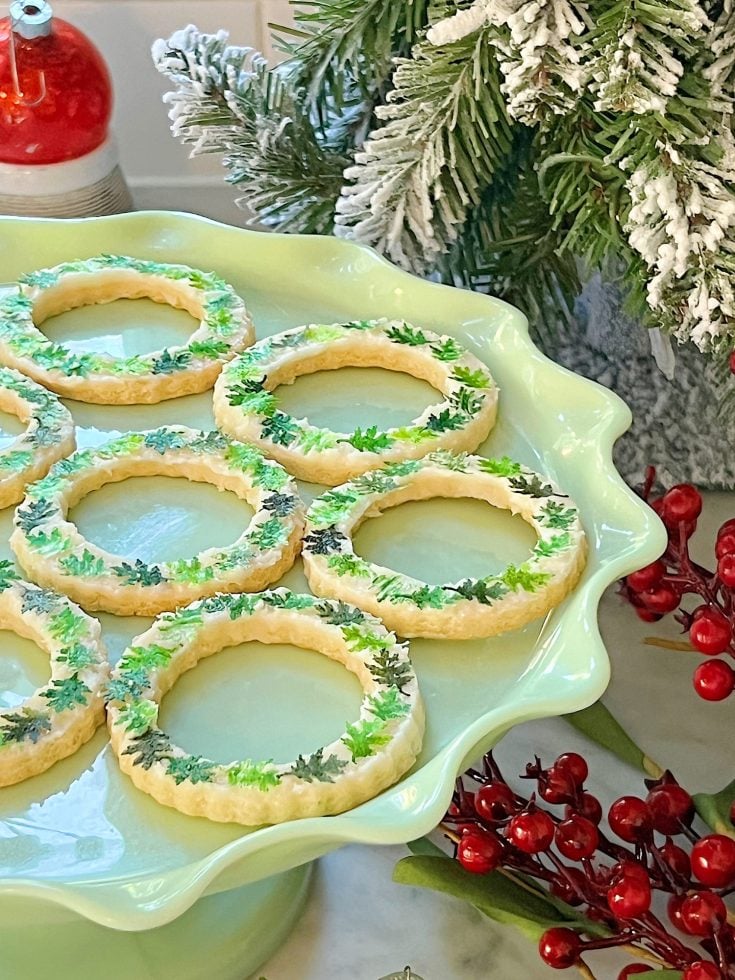
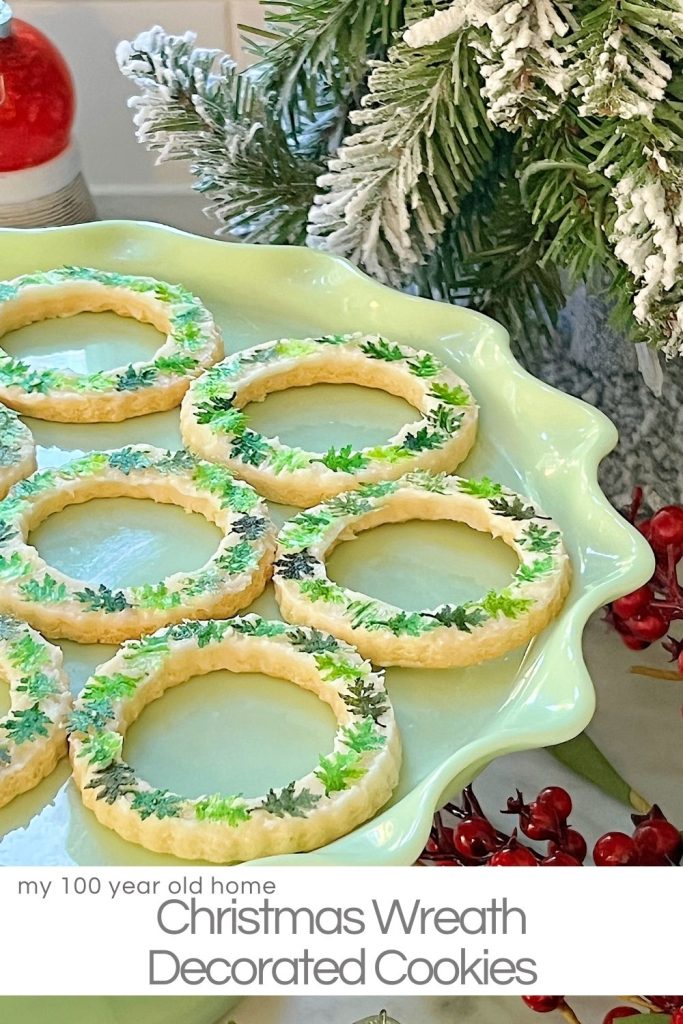
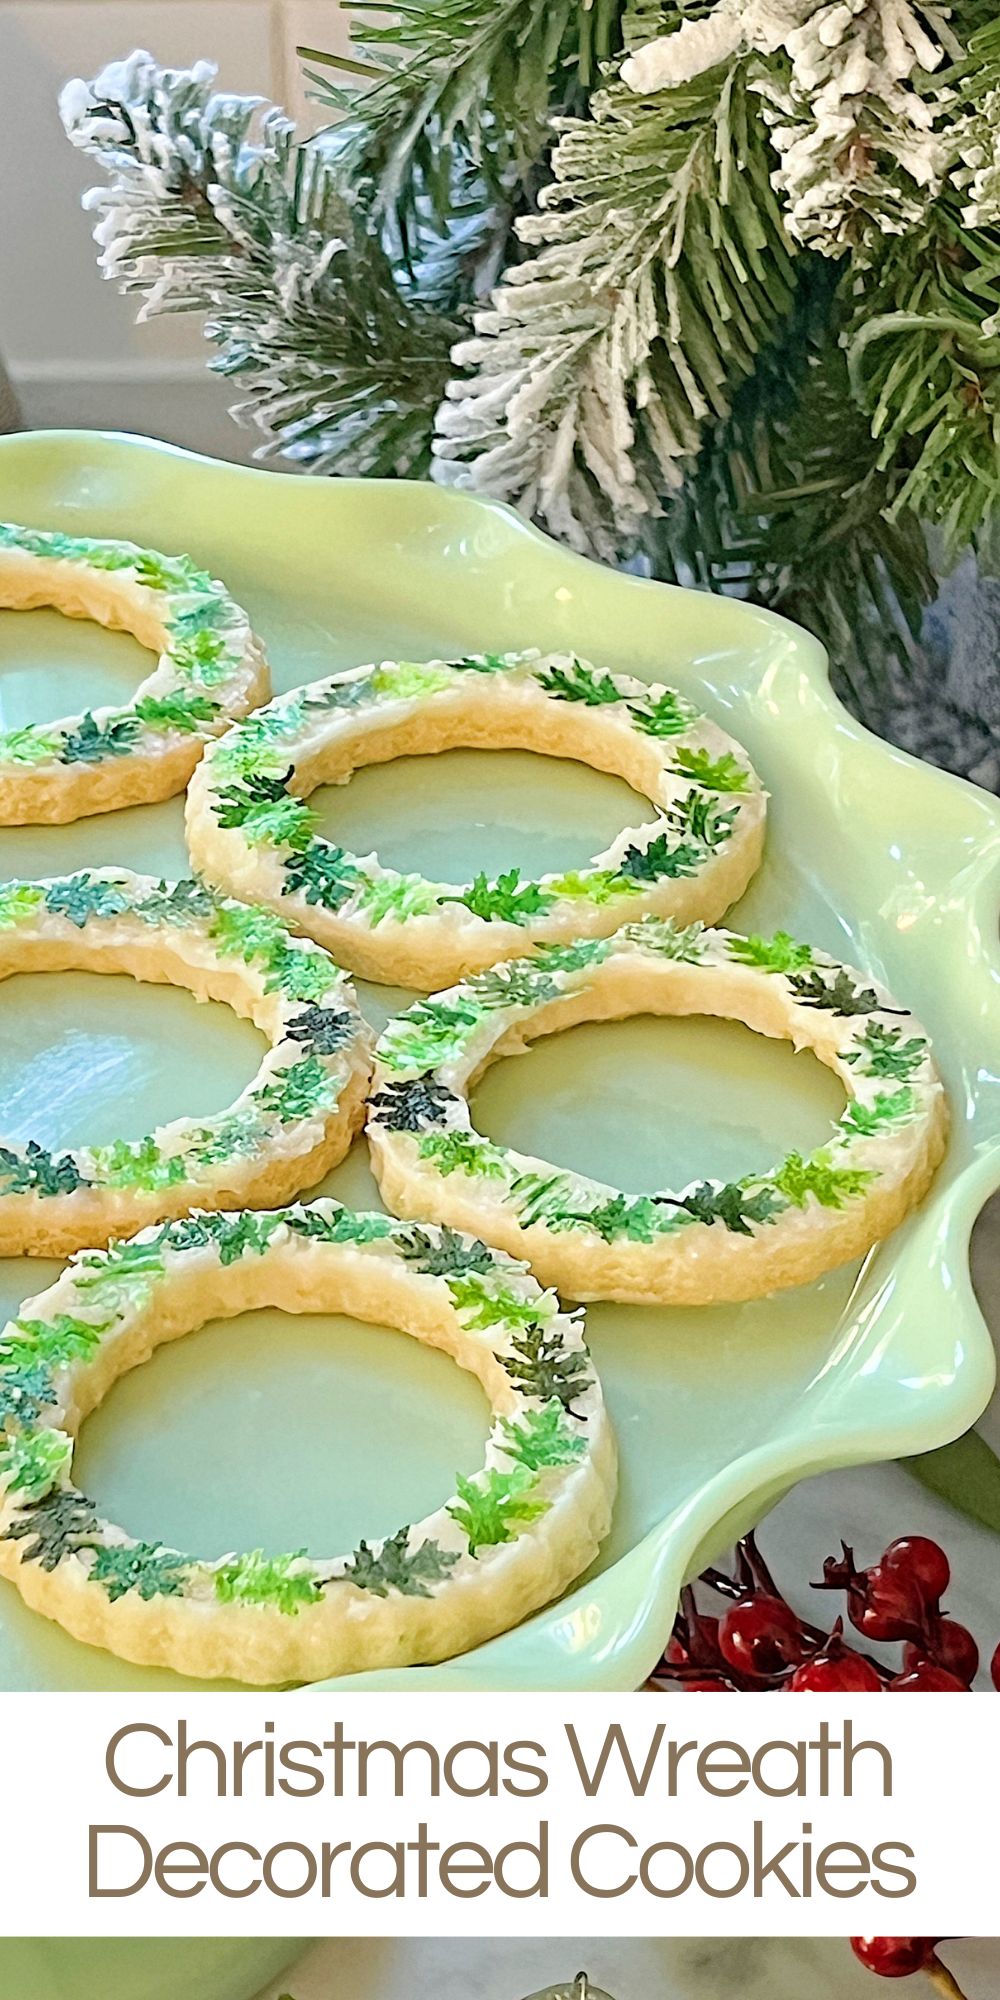
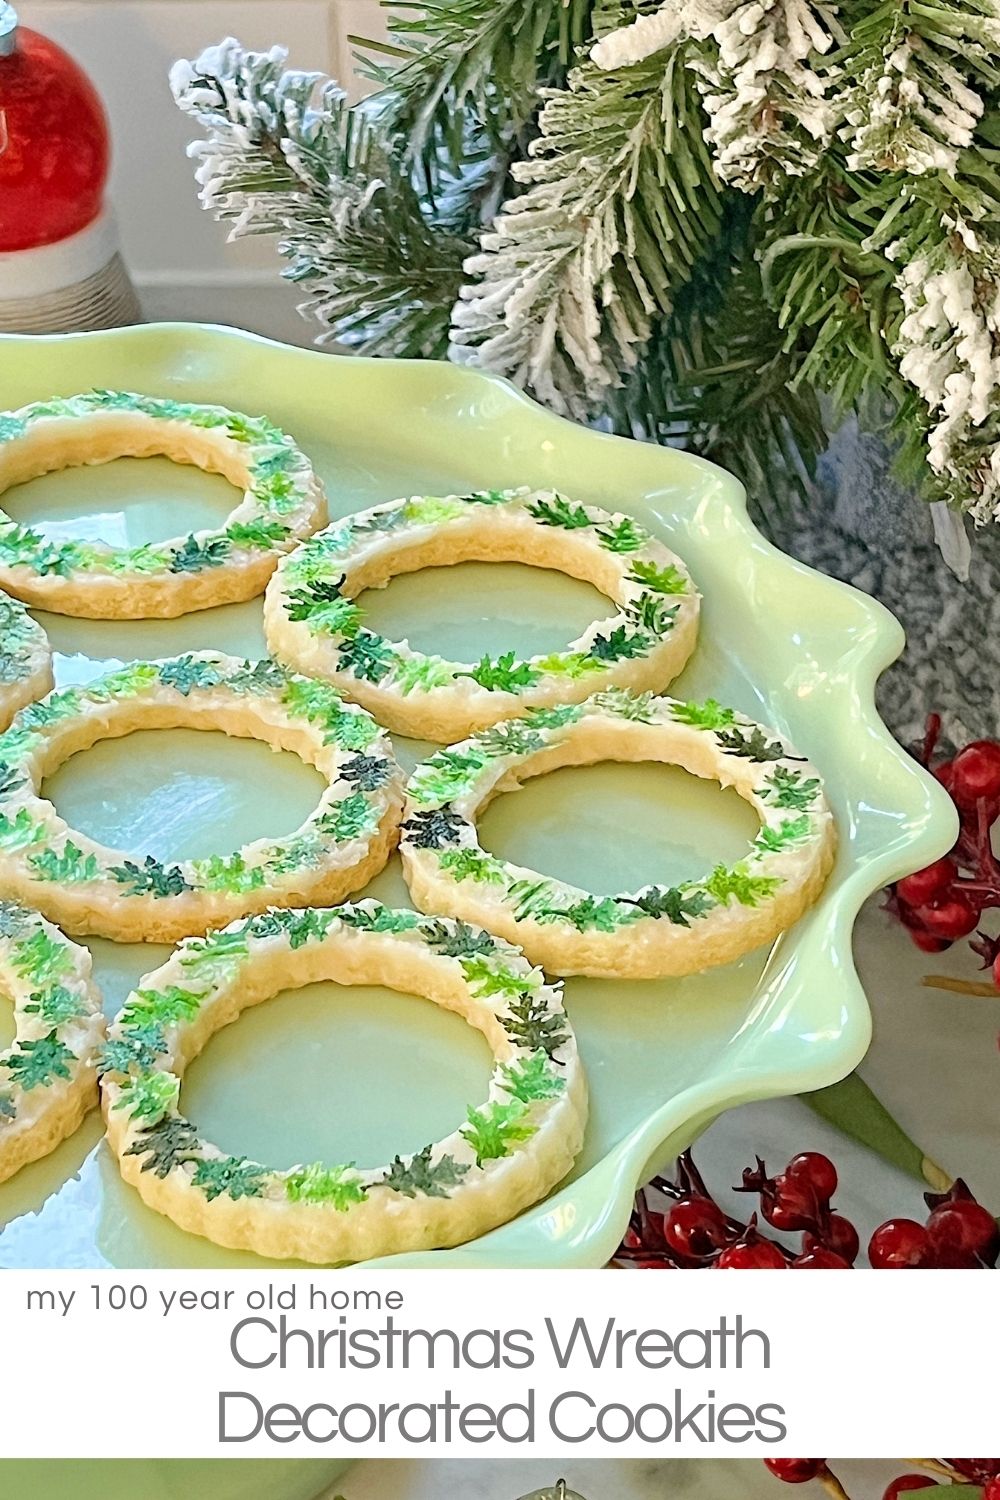
I made these Christmas wreath decorated cookies with frosting and wreaths made from edible wafer paper cut with a hole-punch.
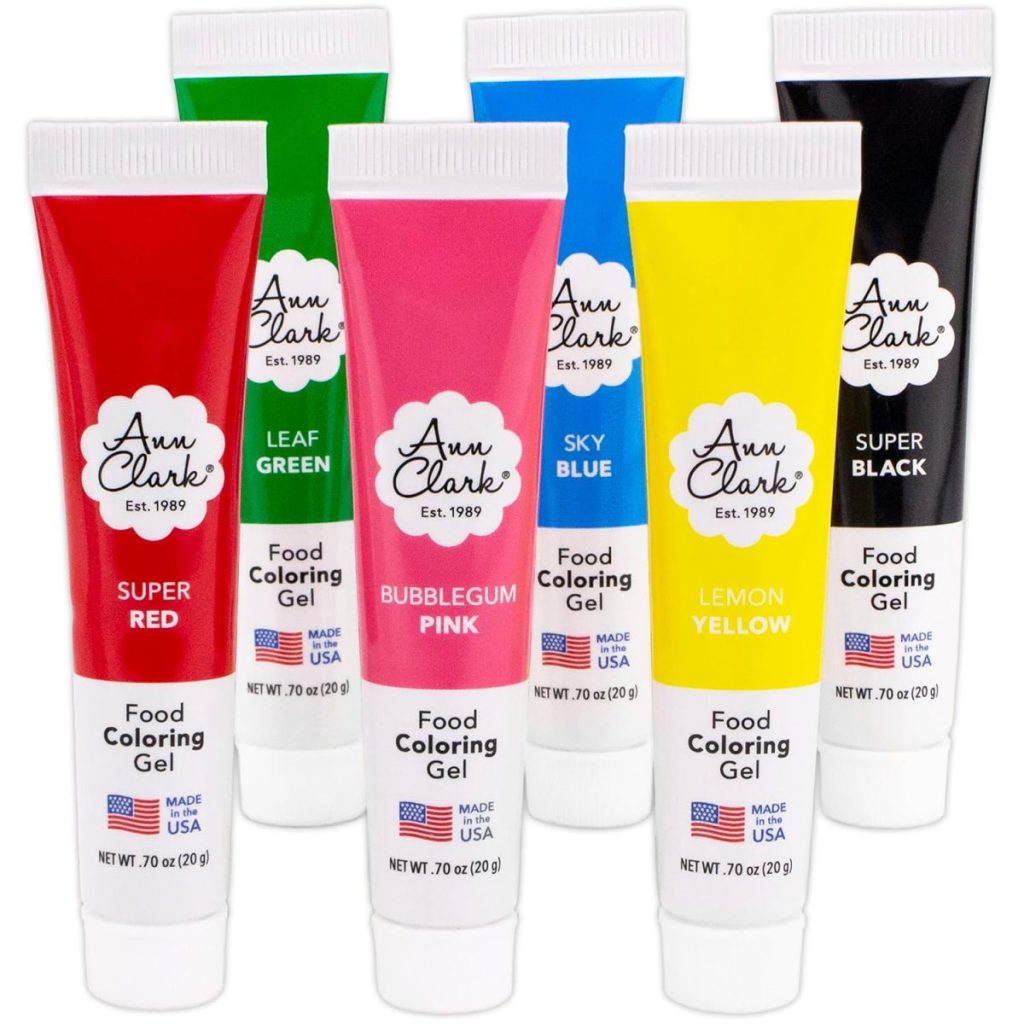
I painted the paper with green icing gel and cut out the leaves with a leaf-shaped hole punch. These may sound a bit complex, but they are the most incredible cookies, and I loved serving them at our holiday party!
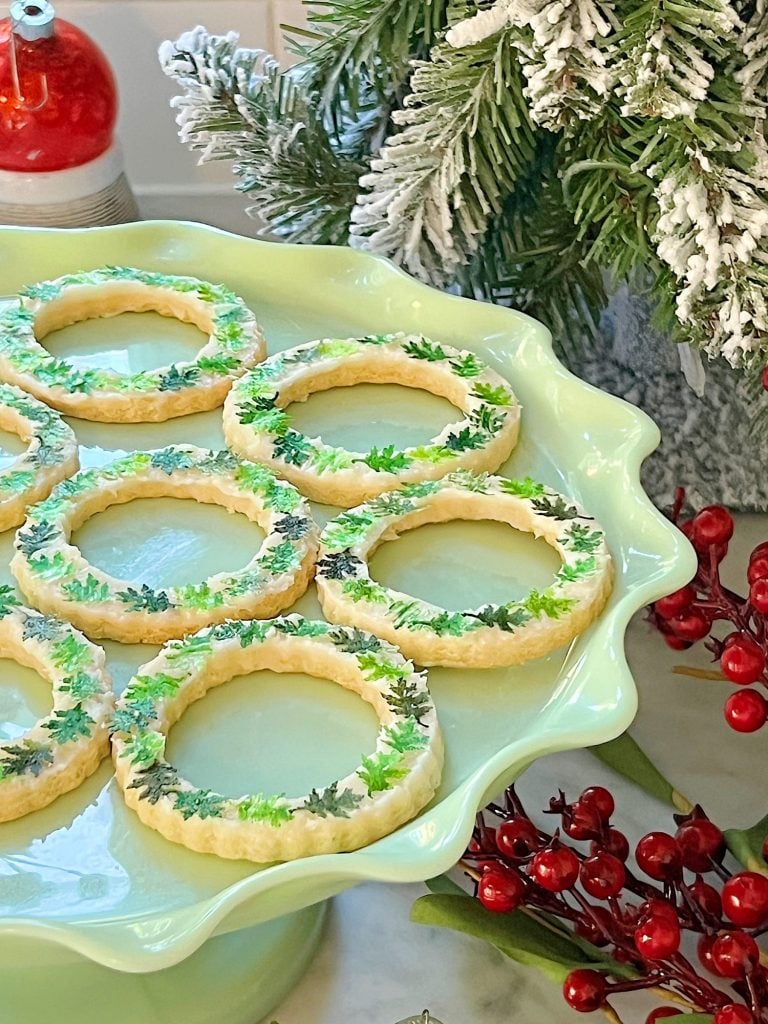


Wreath Decorated Cookies
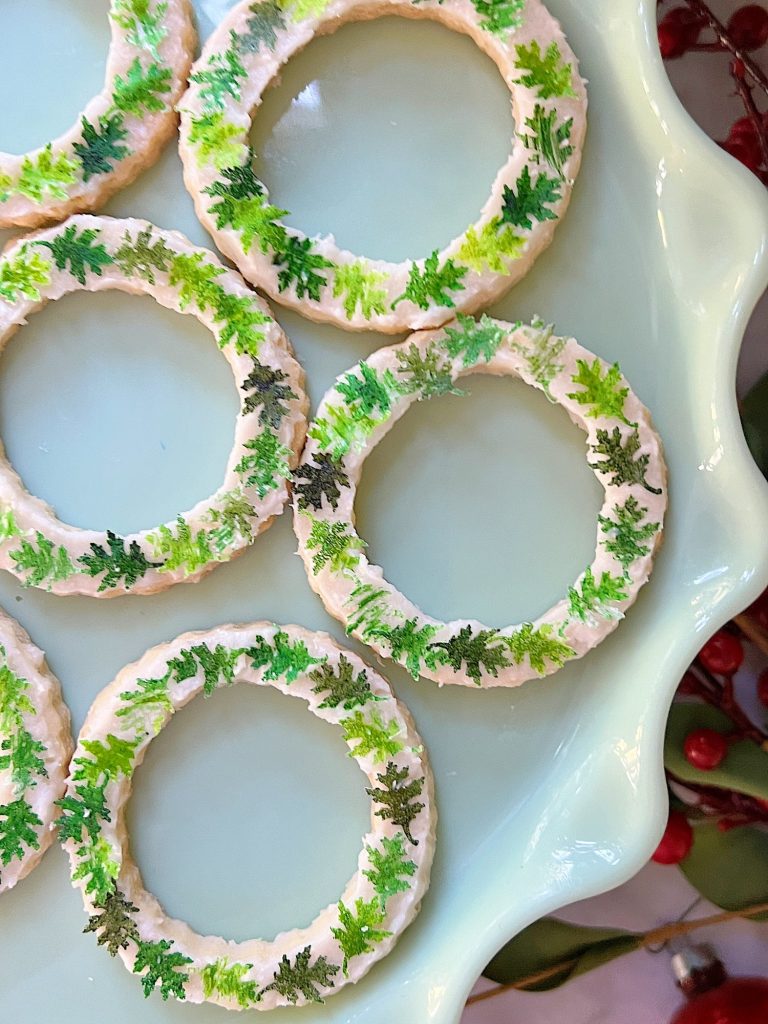
As the holiday season approaches, there’s no better way to embrace the festive spirit than by baking and decorating sugar cookies.
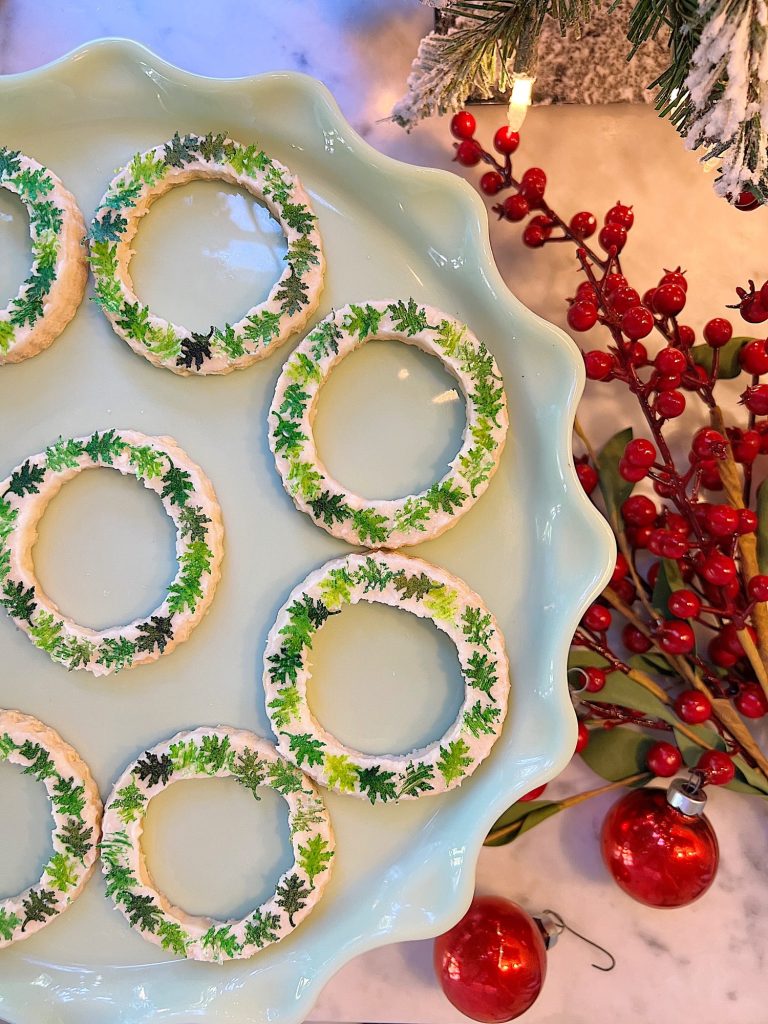
This year, I added an artistic twist by creating round wreath-shaped sugar cookies adorned with buttercream frosting and delicate leaves made from edible paper.

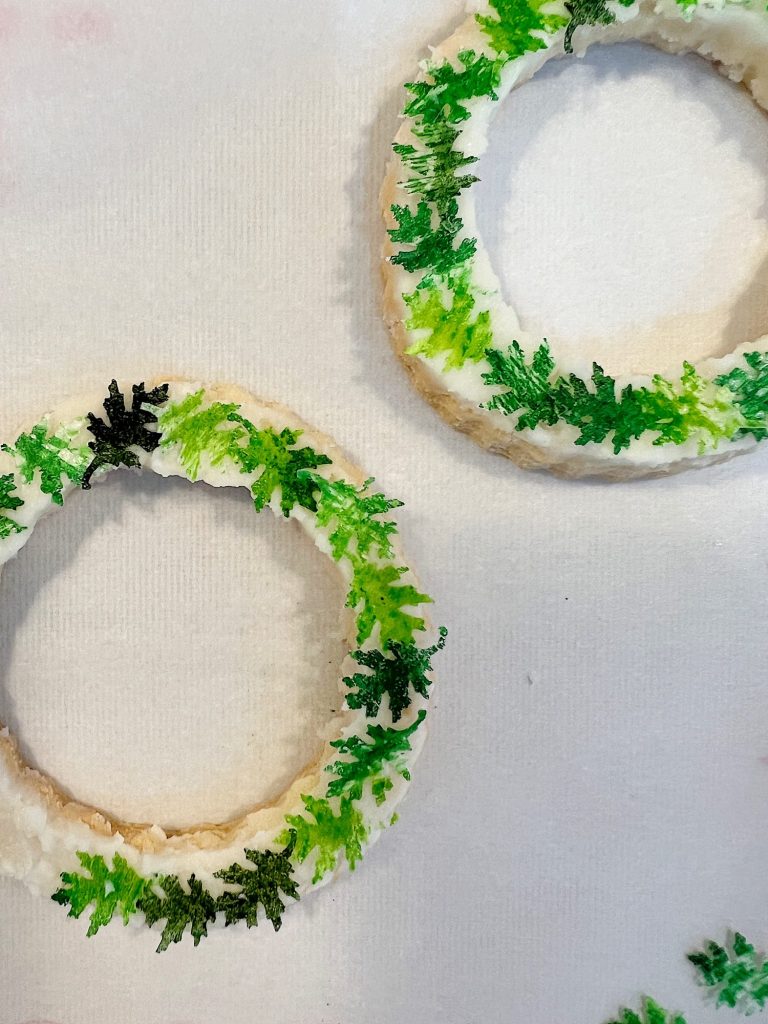
These cookies are just so much fun. I can’t wait to try my next project using wafer paper in February. Can you guess what I am going to make?
What is Wafer Paper?
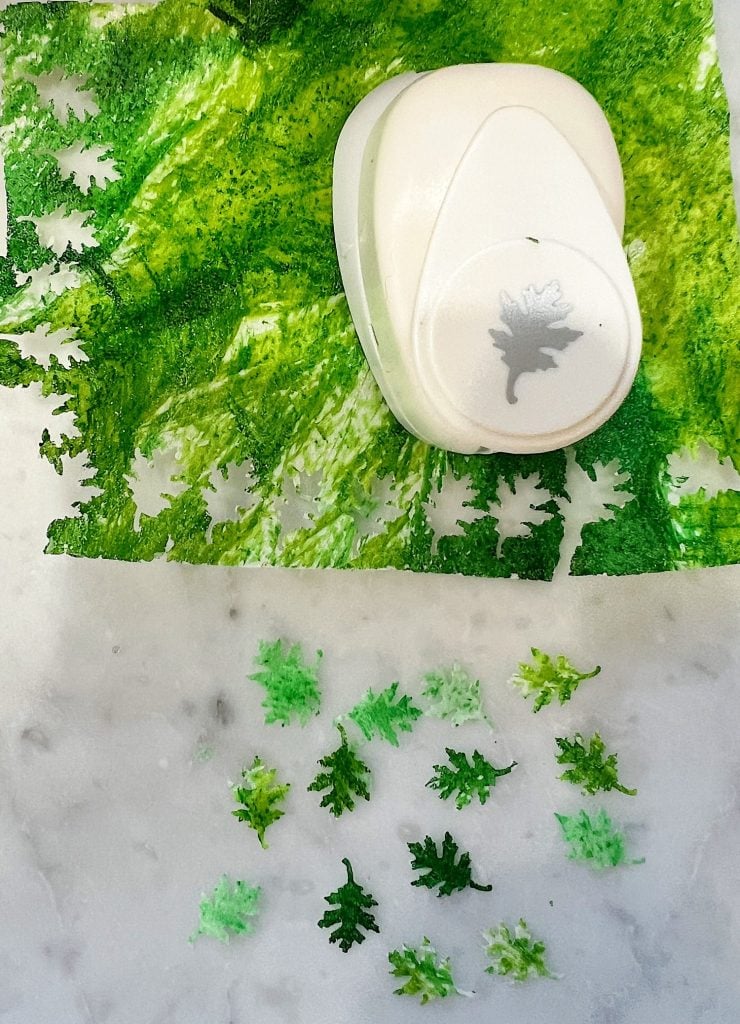
Wafer paper, also known as rice paper, is a thin, edible paper typically made from potato starch, water, and vegetable oil. It’s commonly used in baking and confectionery for various purposes.
Wafer paper is safe to eat and usually doesn’t have much flavor, making it ideal for decorative purposes on cakes and other confections without altering the taste. It’s often used for creating edible decorations like flowers, feathers, butterflies, and other intricate designs. These decorations can be colored with edible inks or food coloring.
Wafer paper is also used for printing edible images with food-grade ink. This is popular for personalized cake decorations, such as photos or themed images. It’s thin and slightly translucent with a smooth surface. When dry, it’s quite brittle and stiff, but it becomes pliable when moistened.
To apply wafer paper decorations to cakes, bakers usually use a dab of icing or edible glue. It’s important to handle it with care, as it can be fragile. It should be stored in a cool, dry place. Humidity can make wafer paper curl or become limp.
How To Make These Wreath Decorated Cookies
Ingredients and Materials
- Sugar cookie recipe
- Buttercream frosting
- Edible paper (wafer paper)
- Green icing gel
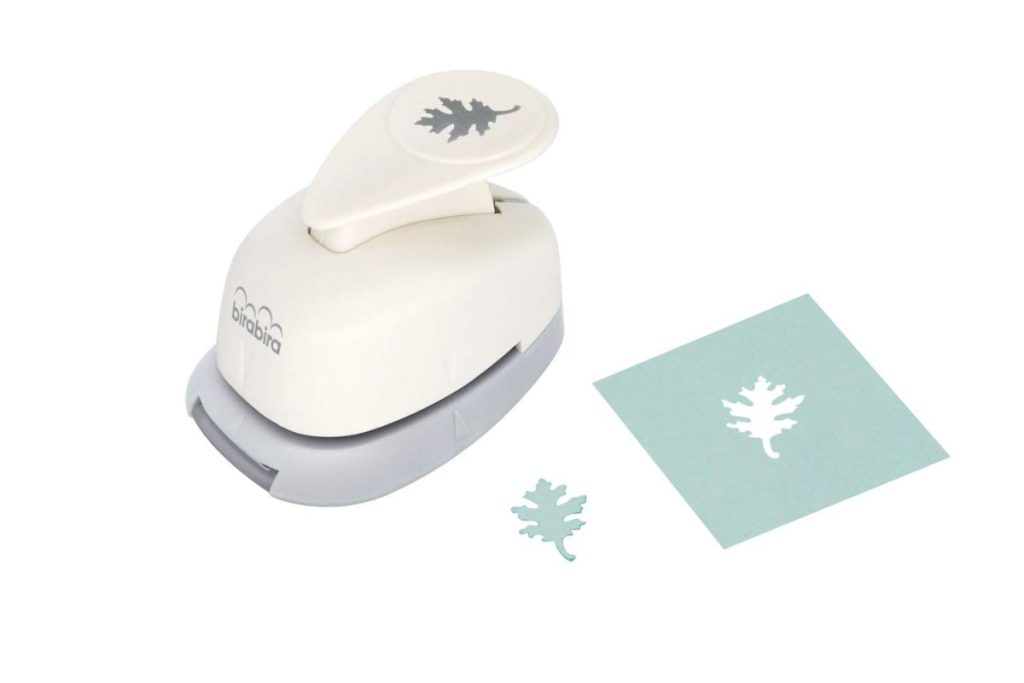
- Leaf-shaped hole punch
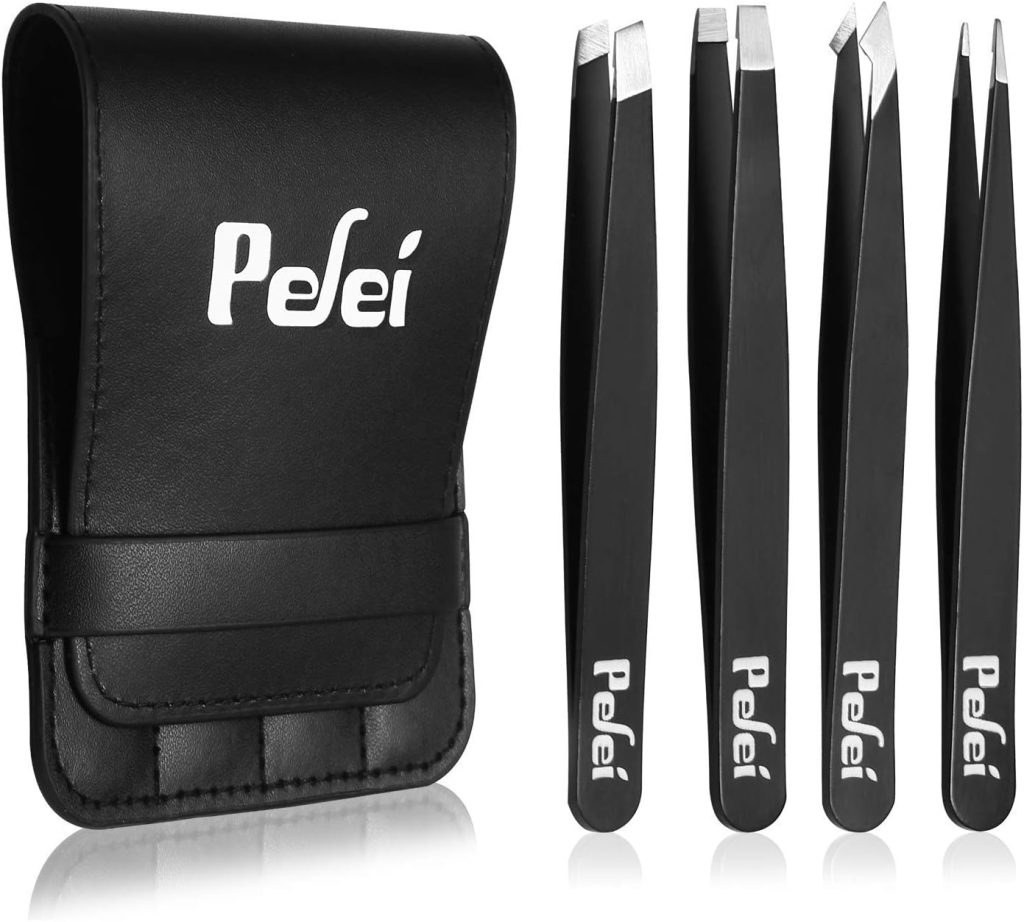
- Tweezers
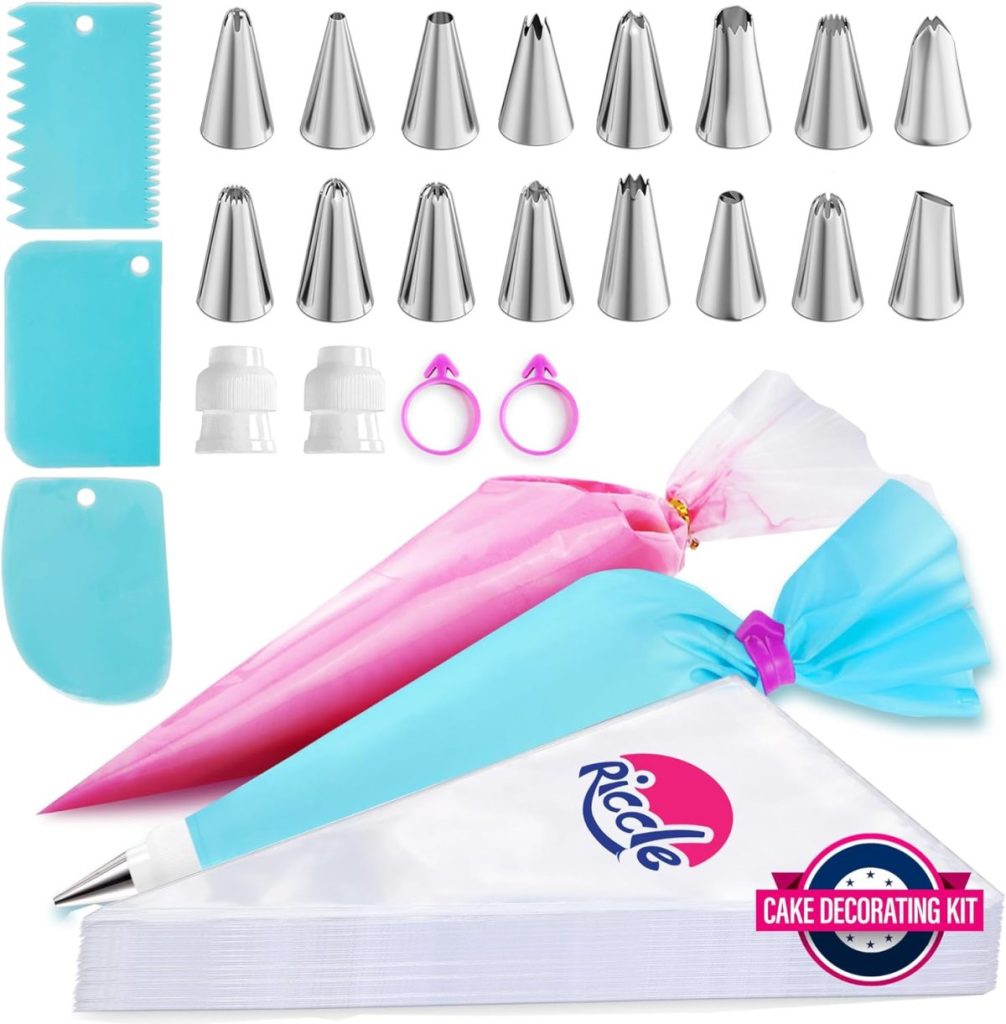
- Piping bags and tips
I may sometimes use affiliate links on this blog, which means a small commission is earned if you purchase via the link. The price will be the same whether you use the affiliate link or go directly to the vendor’s website using a non-affiliate link.
Step-by-Step Guide to Make Wreath Decorated Cookies
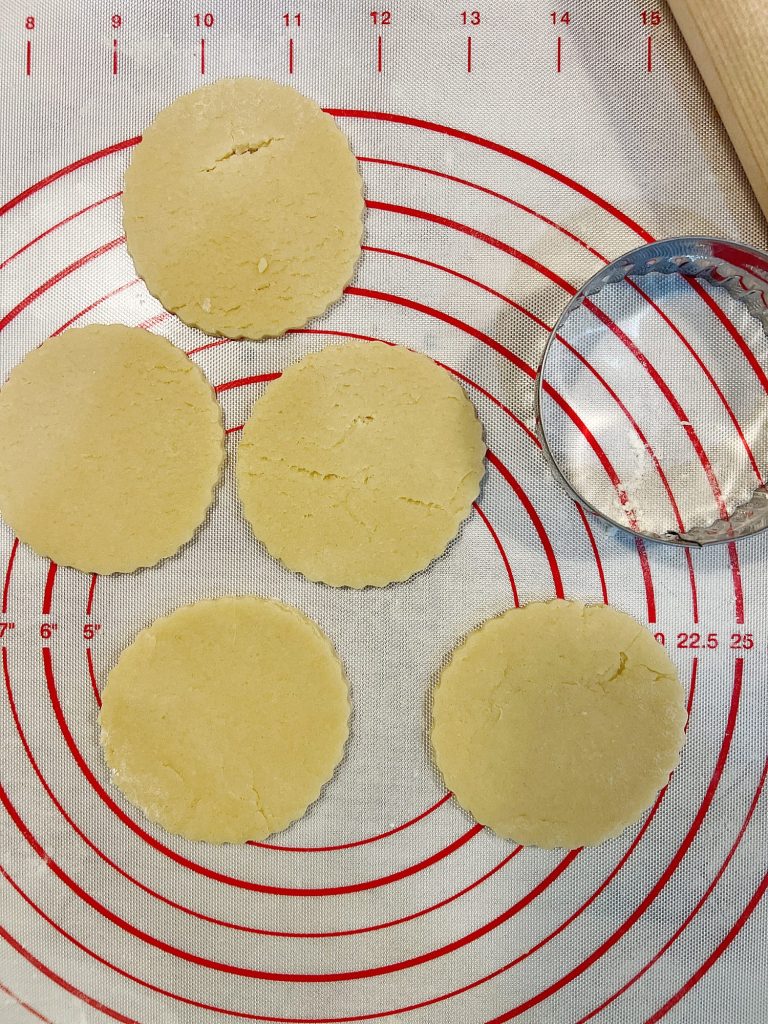
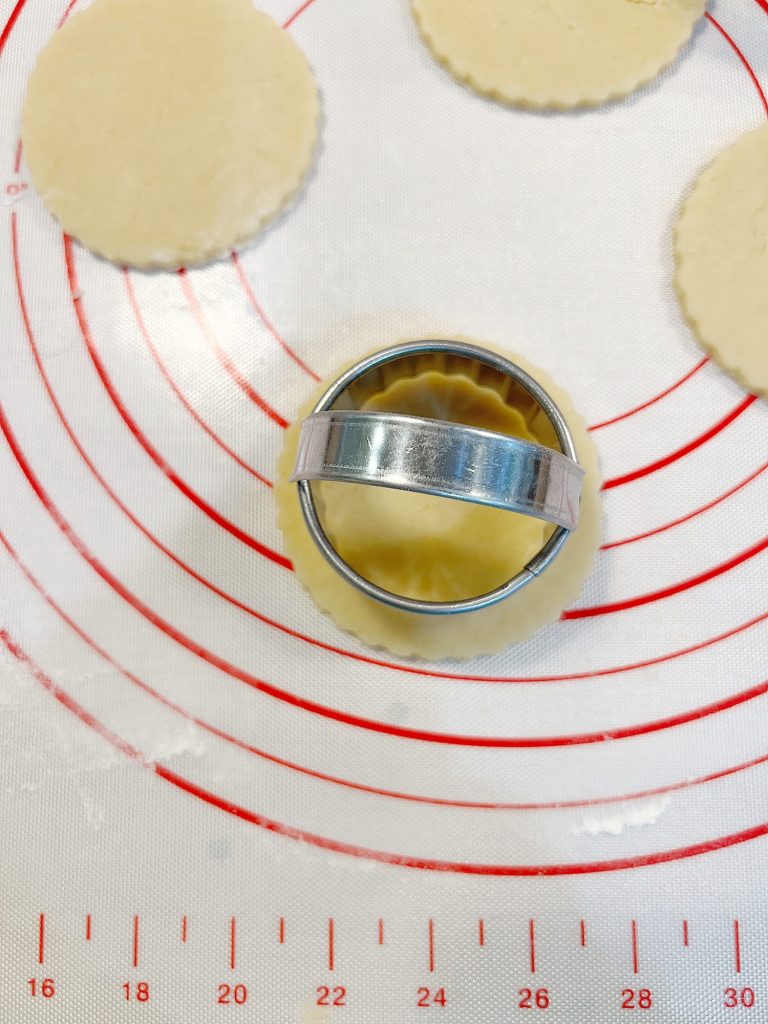
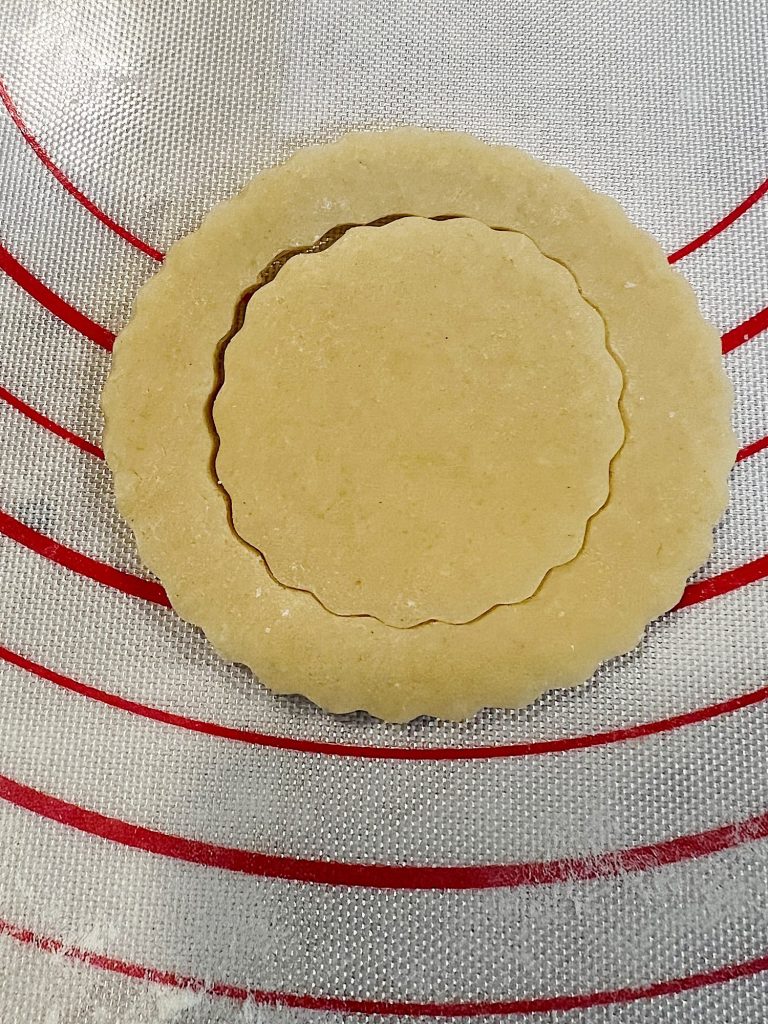
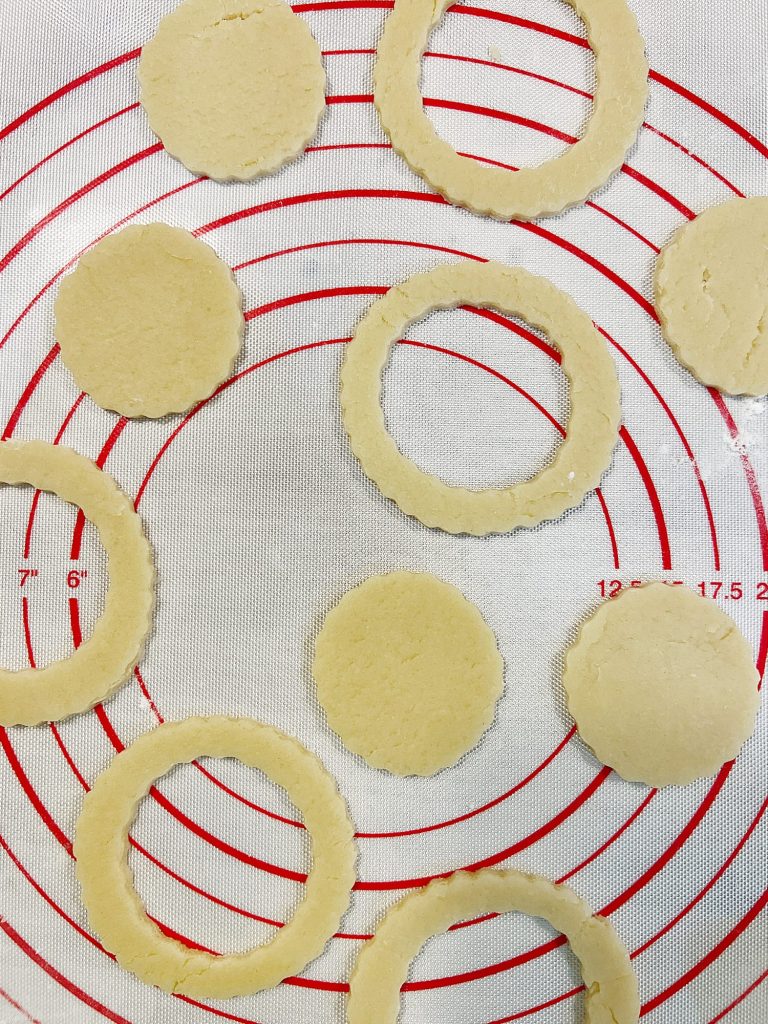
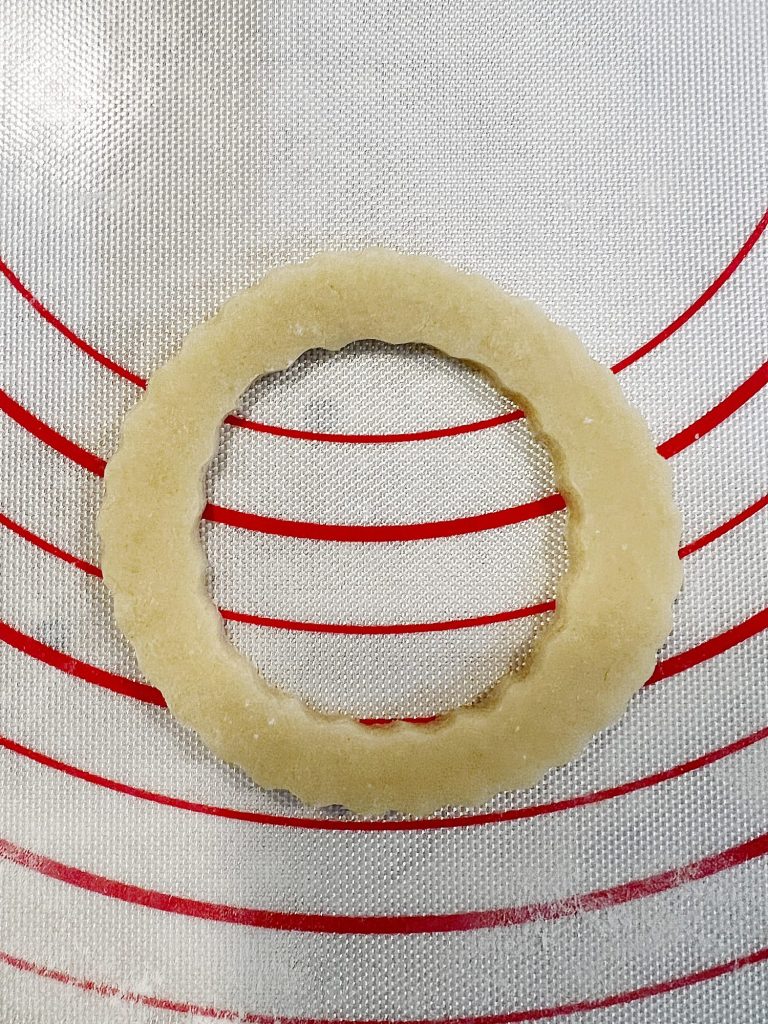
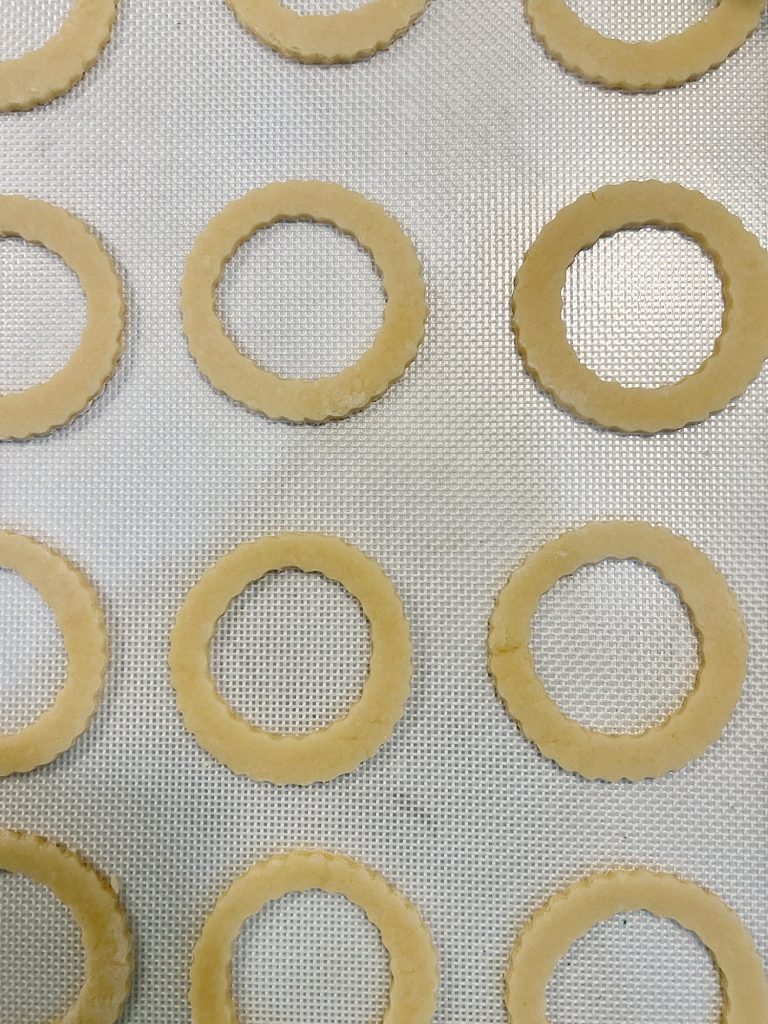
Bake Your Sugar Cookies: Start by rolling out your sugar cookie dough and cutting it into round shapes. Cut out another circle to make the wreath shape. Bake them according to your recipe’s instructions and let them cool completely.
Make the Waper Paper Leaves
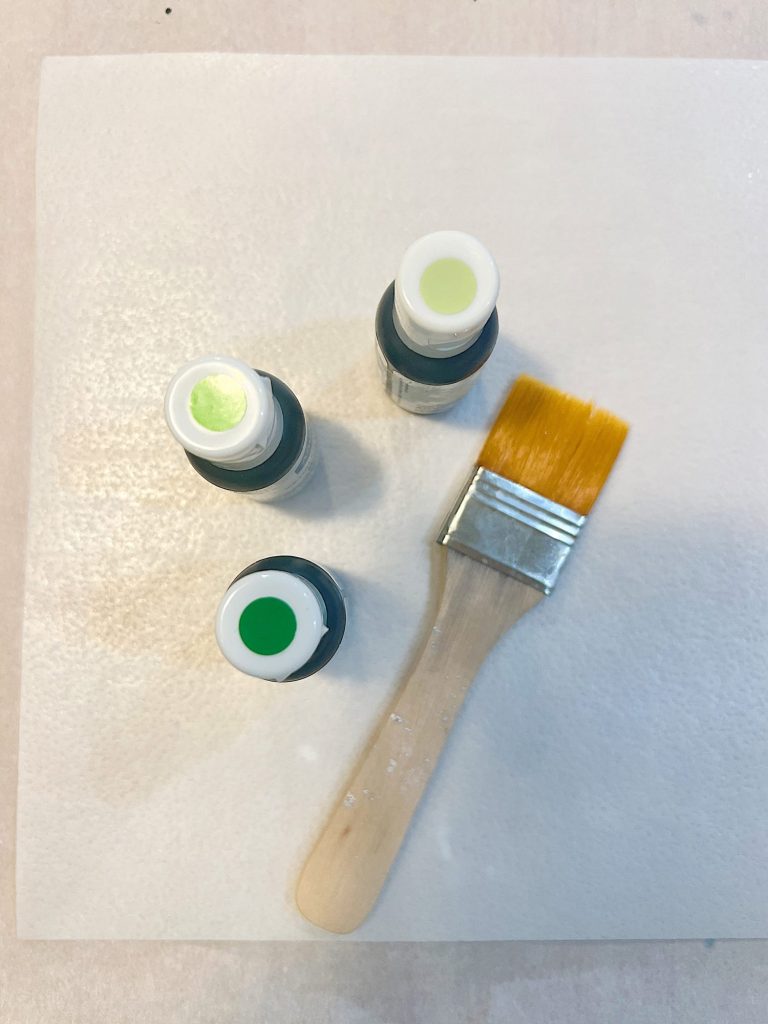
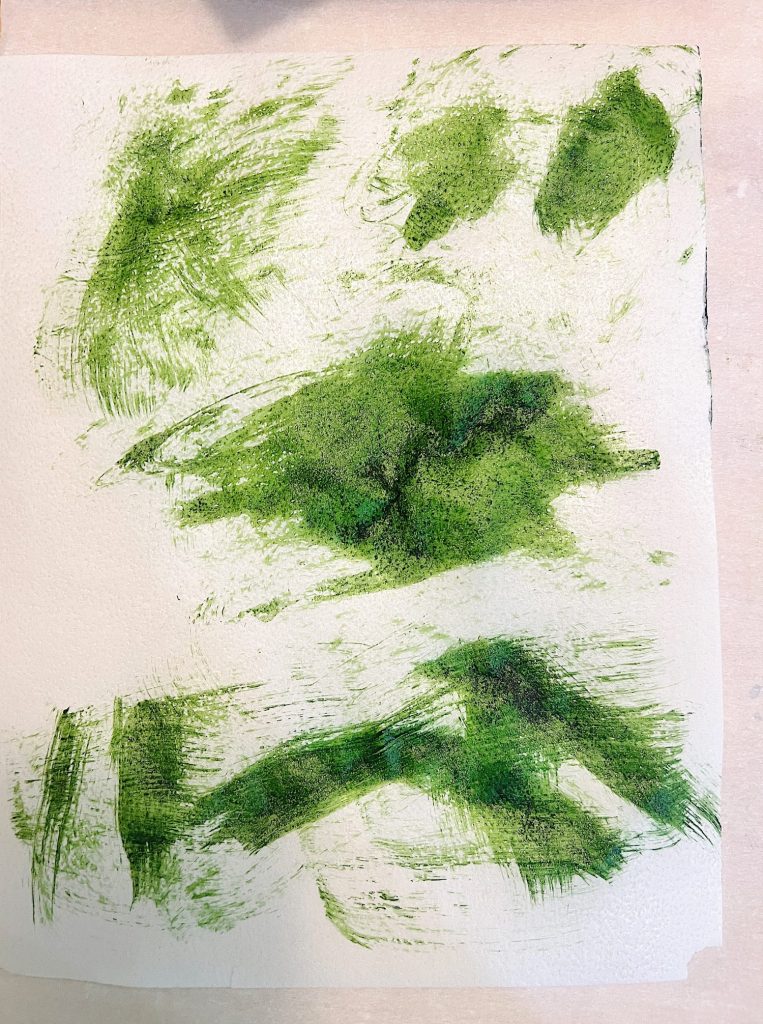
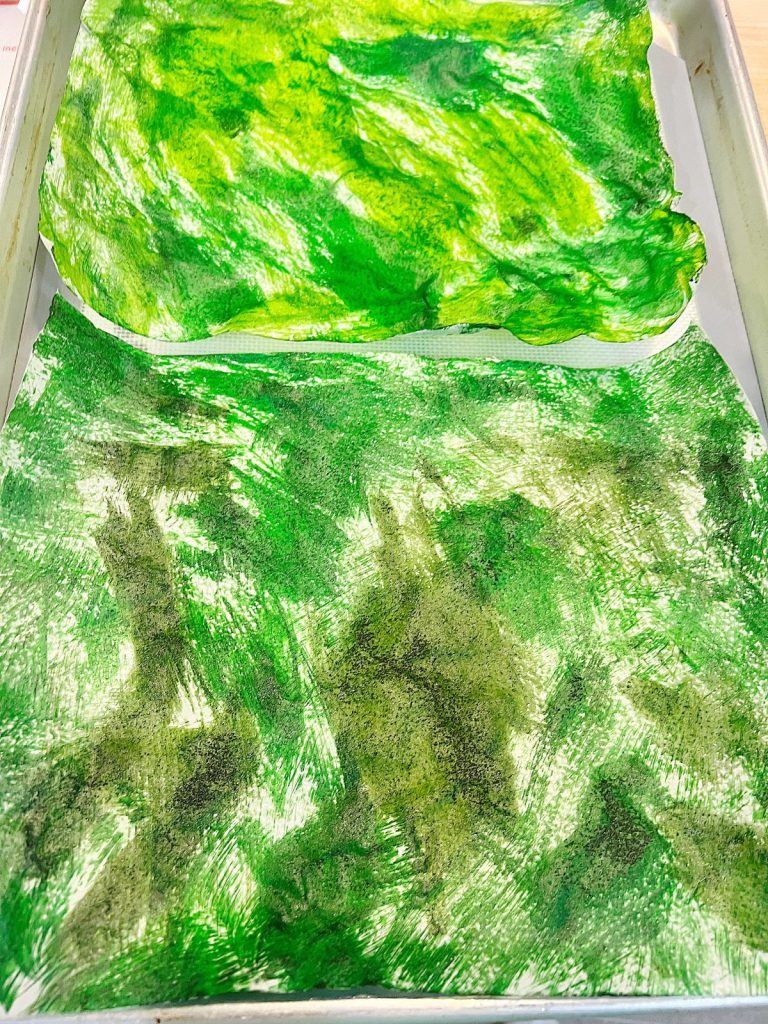
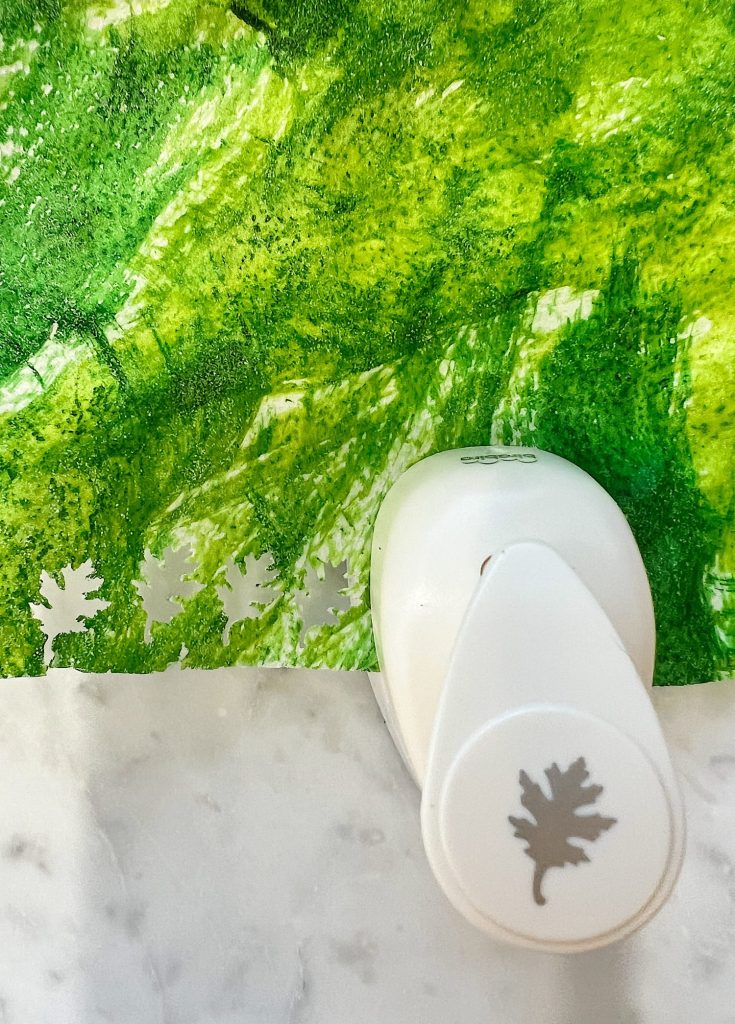

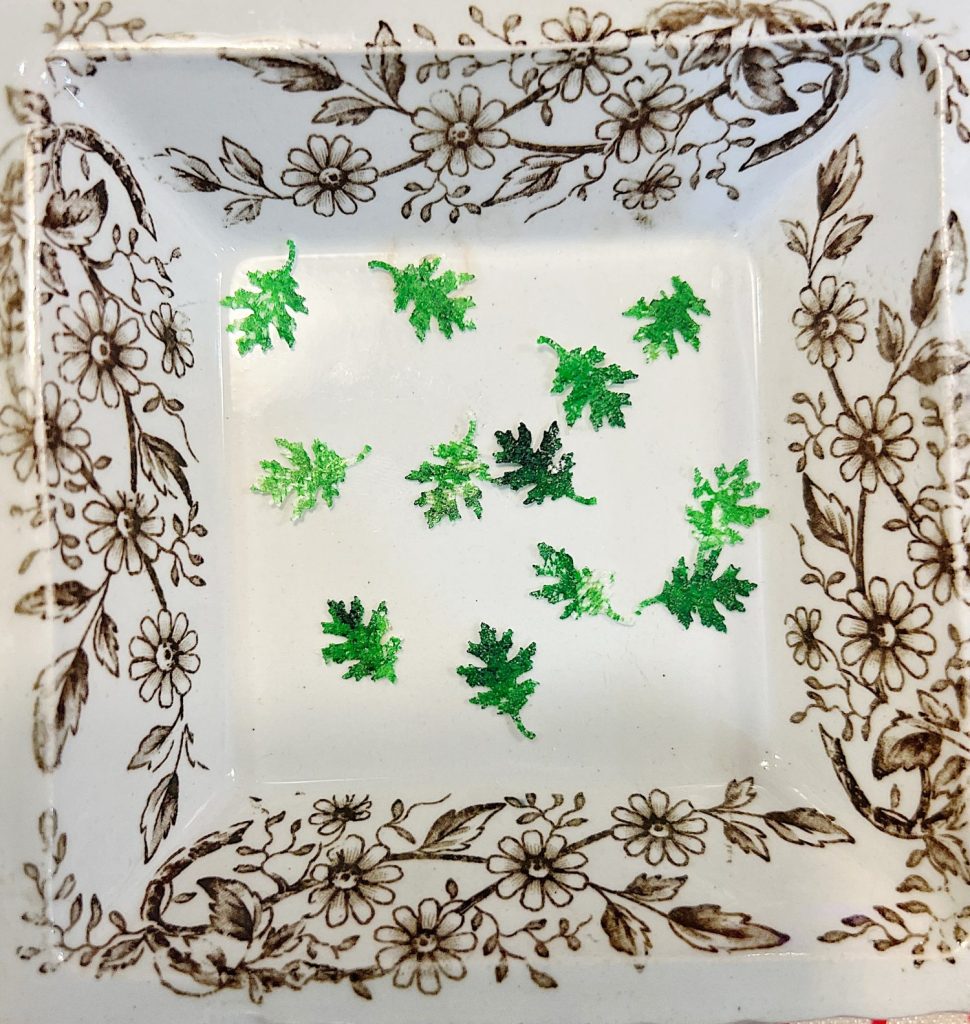
Prepare Edible Paper Leaves: Lightly paint the edible paper with diluted green icing gel using a small paintbrush. Allow it to dry for a few minutes. The leaf-shaped hole punch creates tiny leaves from the colored edible paper.
Of course, you can paint the wafer paper green (not different shades) to make it easier.
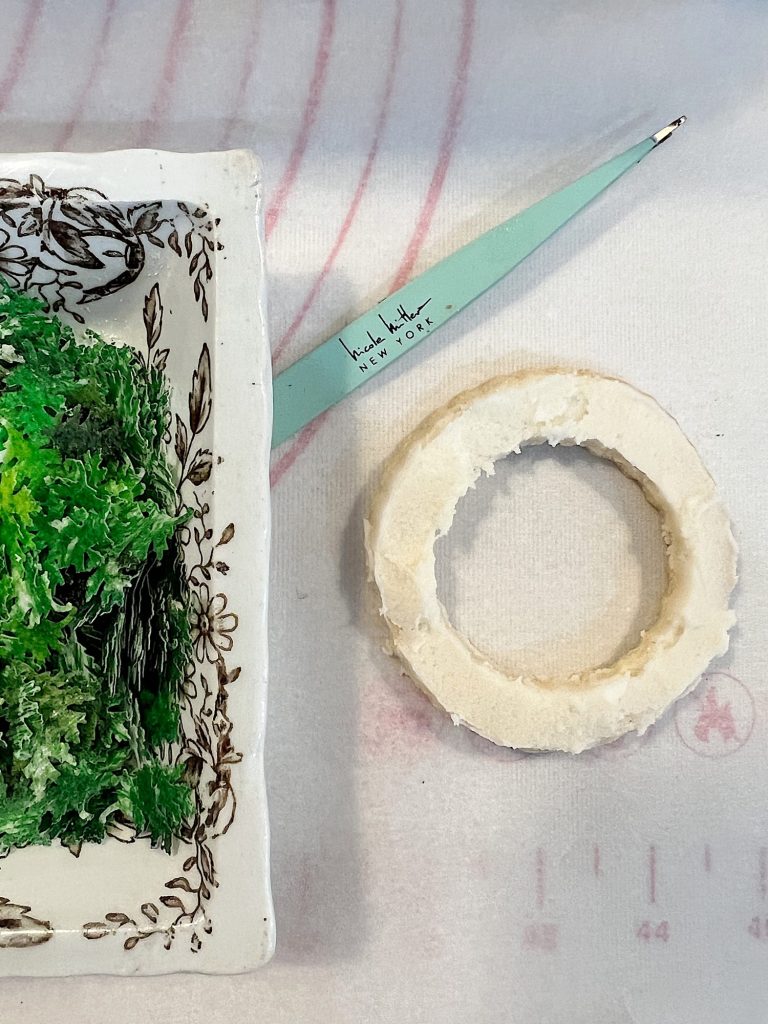
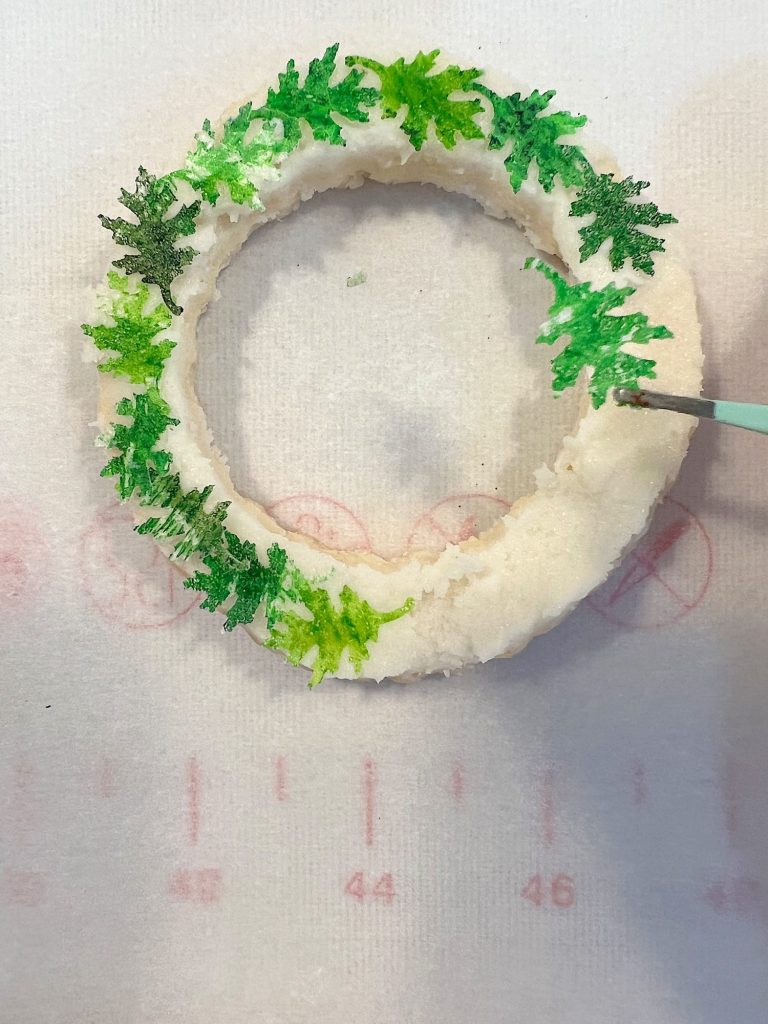
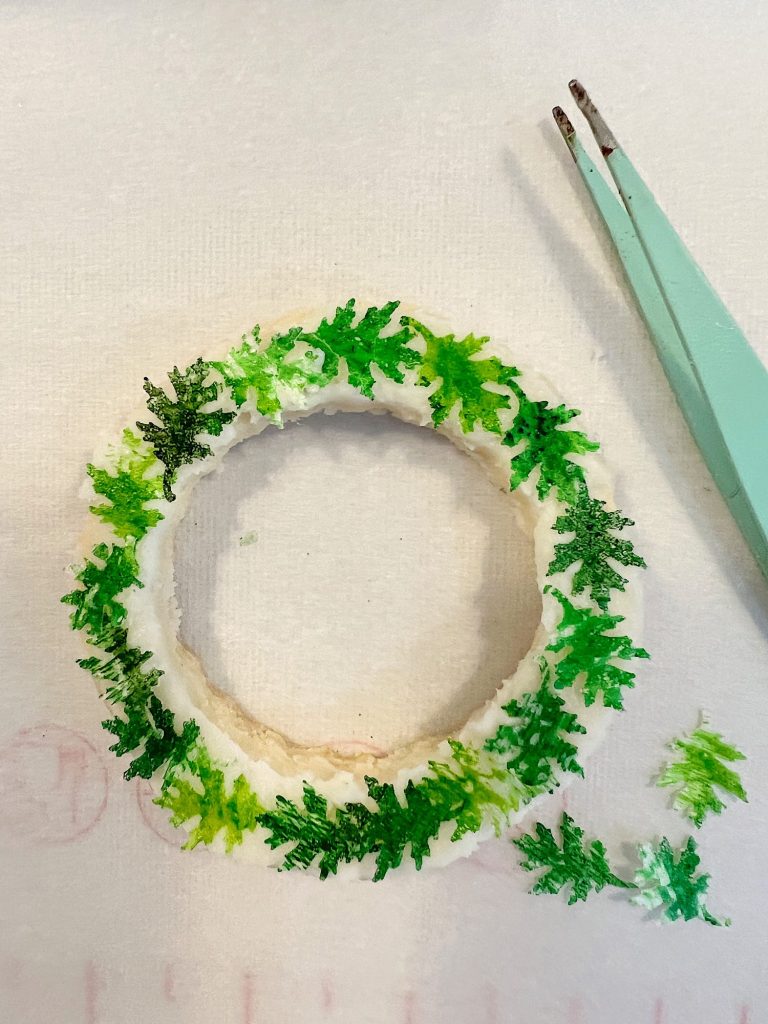
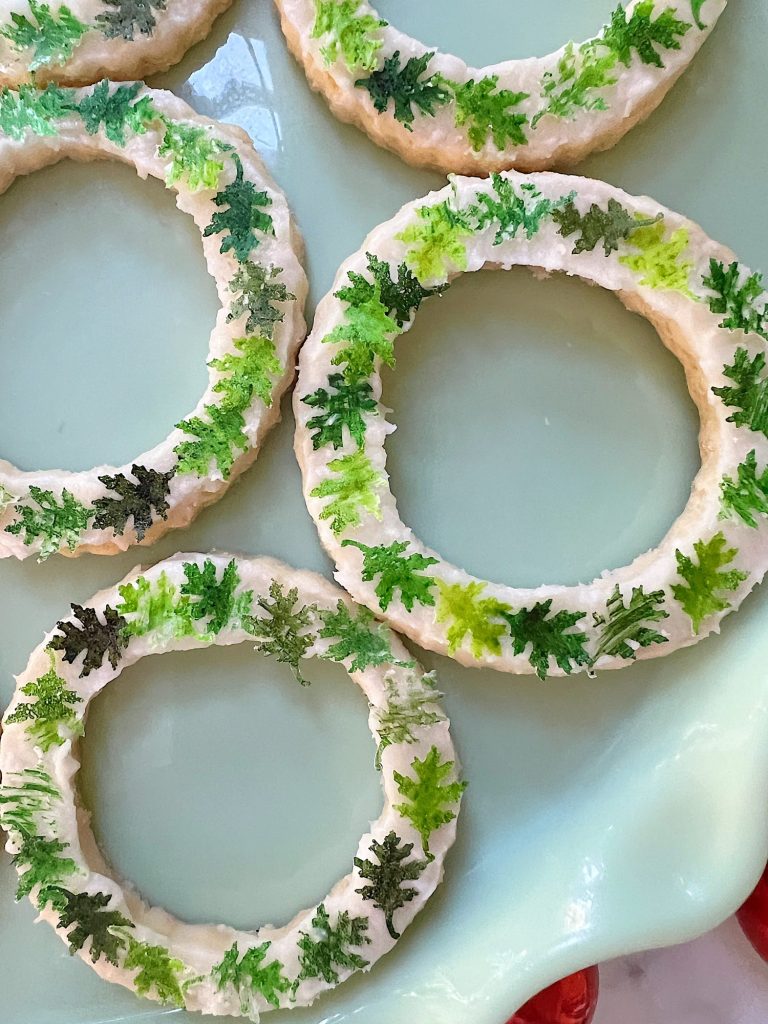
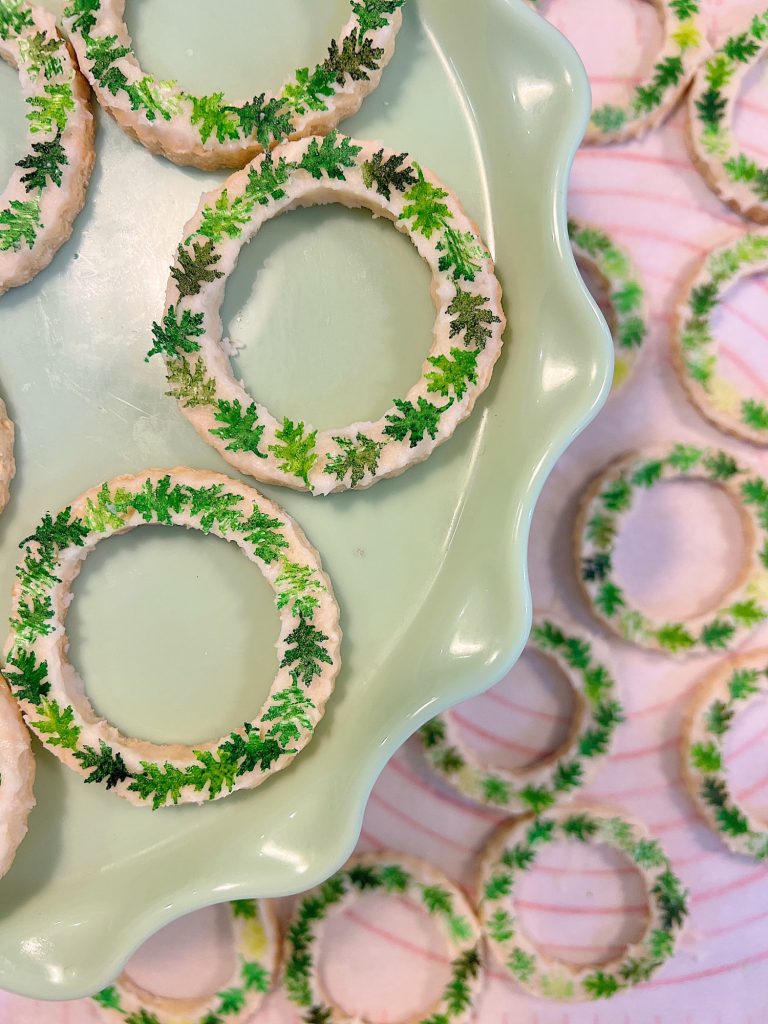
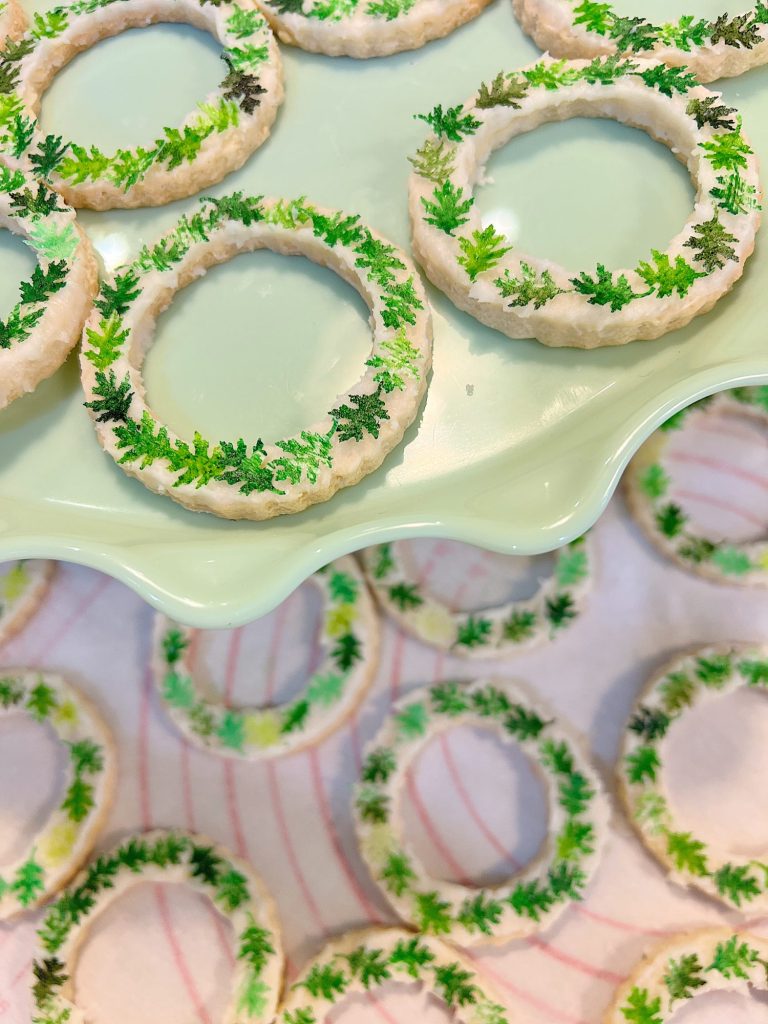
Place the Leaves on Cookies: This is where your tweezers come in handy. Carefully pick up each leaf and gently press it into the buttercream frosting, following the wreath’s circular shape. You can arrange the leaves to overlap slightly, creating a full and lush wreath appearance.
Add Final Details: To give your wreaths more character, pipe small dots of colored buttercream to represent berries or add tiny bows made from icing. Let your creativity shine!
The Best Sugar Cookies
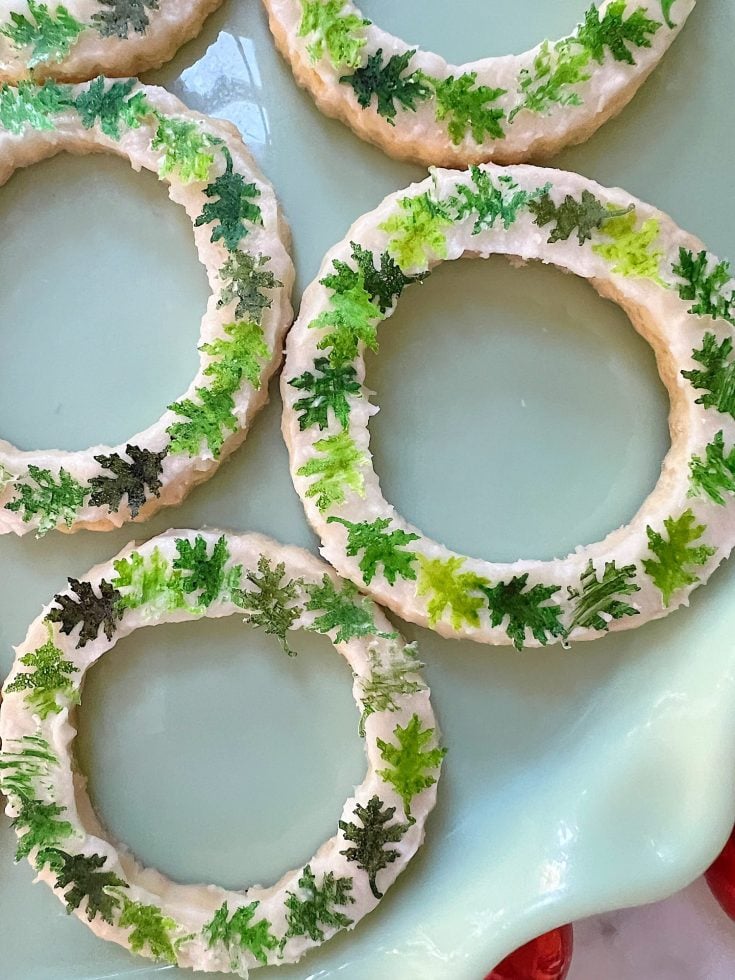
This sugar cookie recipe is my go-to recipe every time. It's almost flawless!
Ingredients
- 2 cups all-purpose flour (or gluten free 1 to 1 or measure to measure flour)
- 1/4 teaspoon salt
- 1/2 teaspoon baking powder
- 1/2 cup (1 stick) unsalted butter
- 1 cup sugar
- 1 large egg, lightly beaten
- 1 tablespoons milk
- 1 TBL lemon juice
- 1/2 teaspoon pure vanilla extract
Instructions
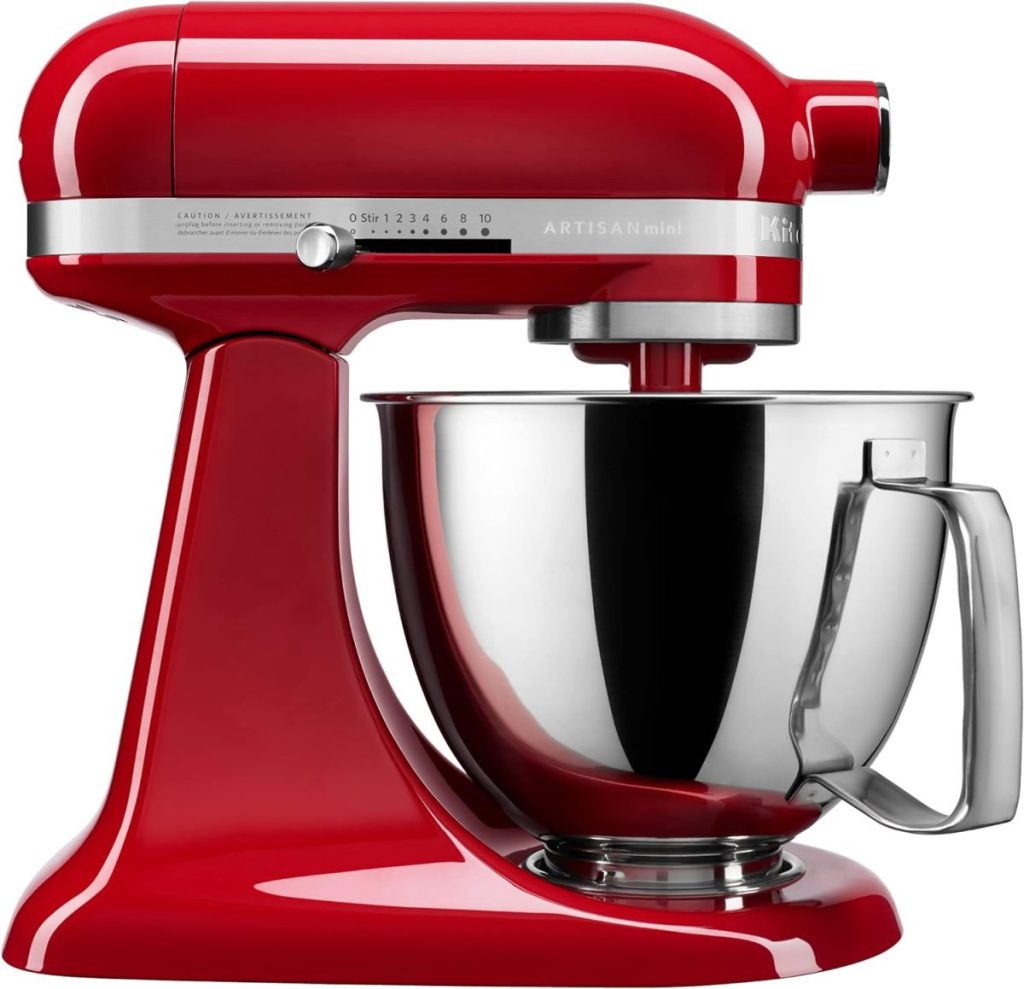
- Mix together the flour, salt, and baking powder in a medium bowl. In the bowl of an electric mixer fitted with the paddle attachment, cream the butter and sugar; add the dry ingredients and mix until incorporated.
- With the mixer running, add the egg, milk, lemon, and vanilla; mix until incorporated. Transfer the dough to a work surface. Shape it into two discs, cover it with plastic wrap, and refrigerate for at least 1 hour.
- Preheat the oven to 350 degrees. Line baking sheets with nonstick baking mats or parchment paper; set aside.
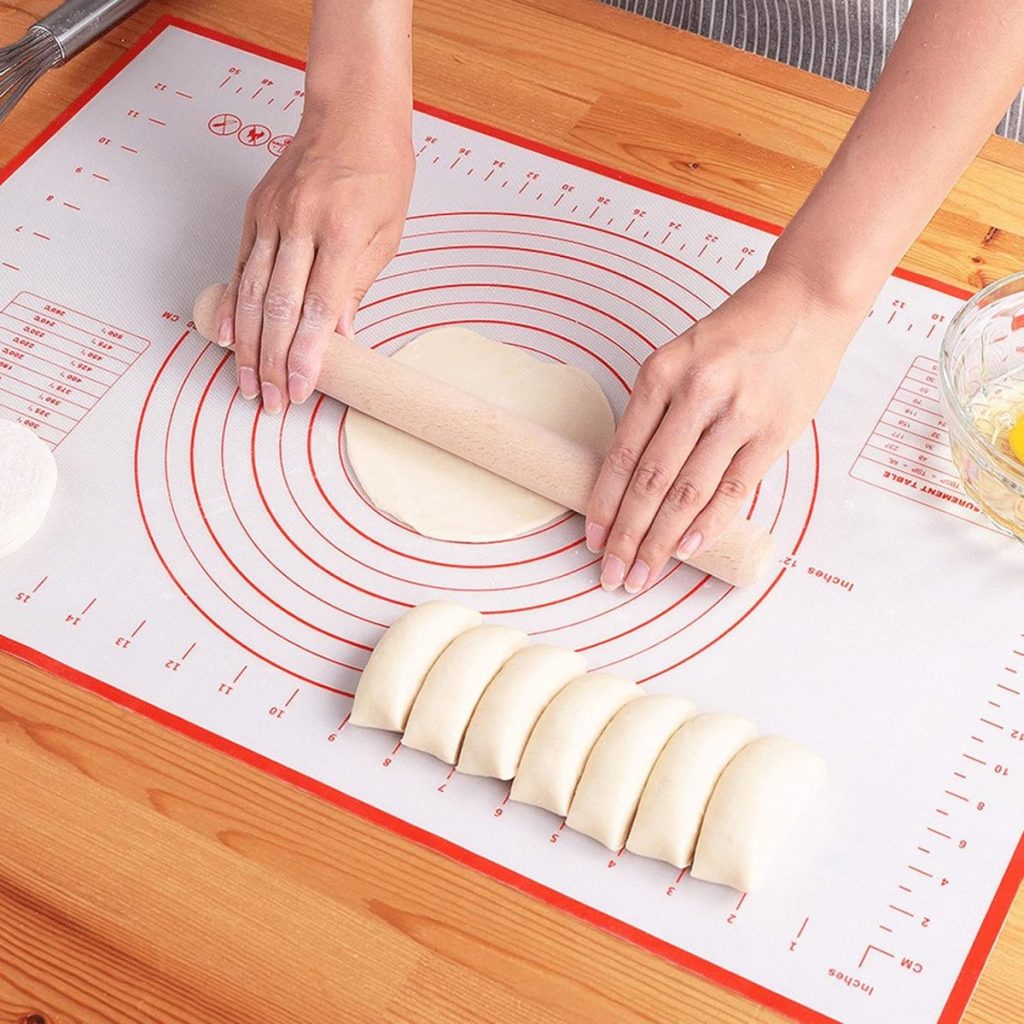
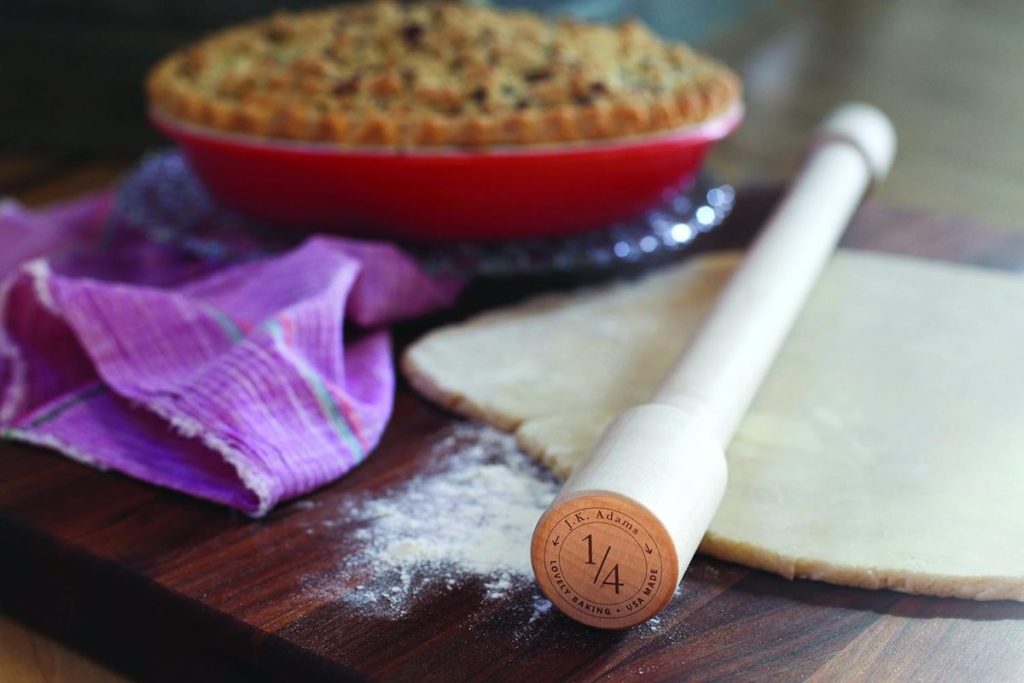
- On a lightly floured work surface, roll out dough to 1/8-inch thickness. Cut into desired shapes and transfer to prepared baking sheets, leaving an inch in between. Leftover dough can be rolled and cut once more.
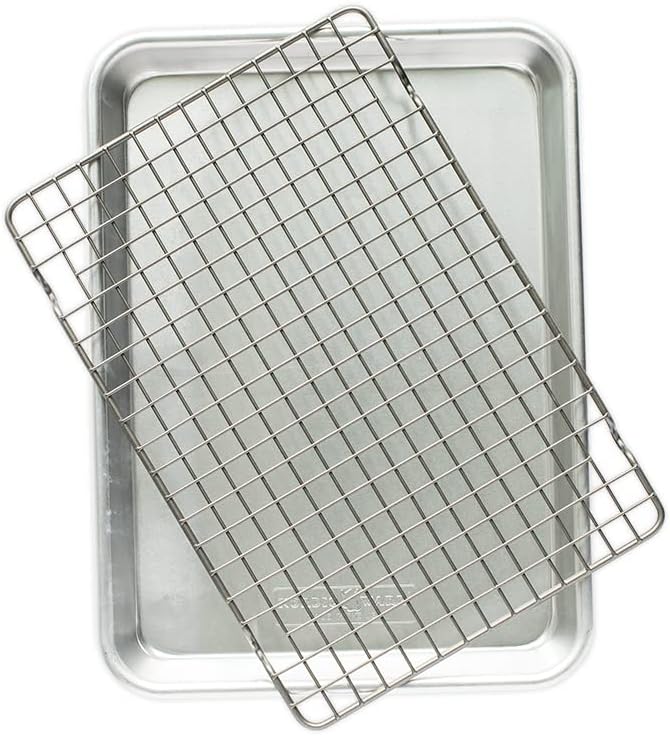
- Bake until lightly golden, about 10 minutes; do not allow to brown. Transfer to wire racks to cool.
- Decorate with Buttercream Frosting.
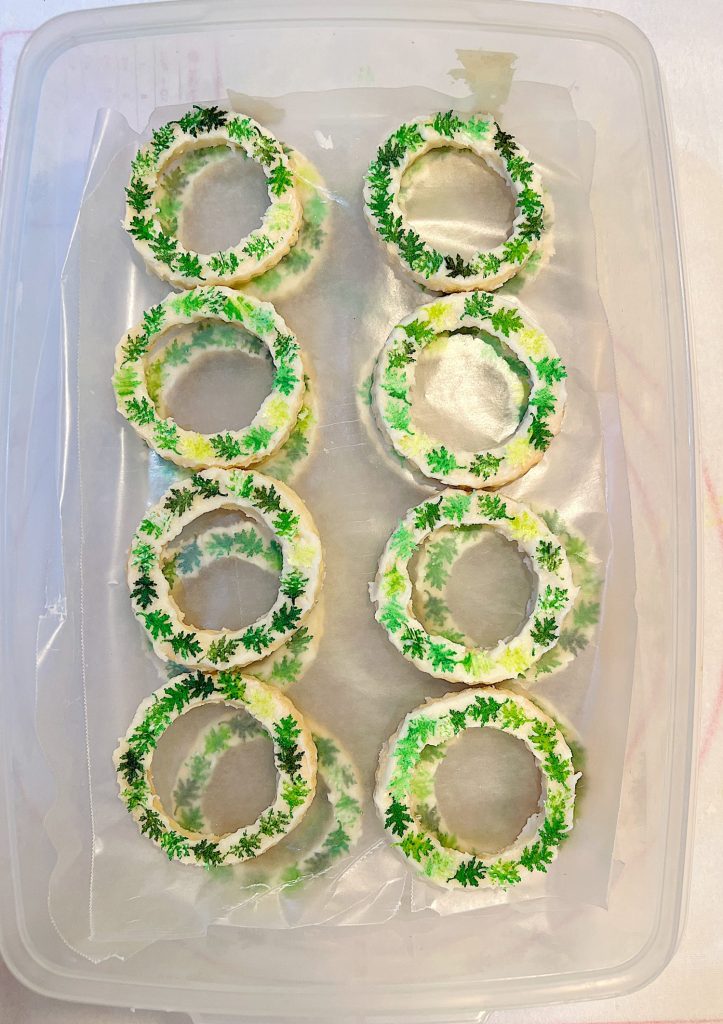
Store your decorated cookies in a cool, dry place, preferably in an airtight container. These cookies are perfect for holiday parties, gifts, or a cozy night in.
Tips for Perfect Wreaths
- Buttercream Consistency: Ensure your buttercream is firm enough to hold the leaves but soft enough for easy placement.
- Leaf Placement: Use the tweezers for precision and work relatively quickly before the buttercream sets.
- Cookie Sizes: If you’re making cookies in various sizes, adjust the leaves’ sizes accordingly for a proportional look.
Storing and Serving
My Favorite Buttercream Frosting
Here is my buttercream frosting recipe. I use it for cookies, cakes, cupcakes, and more.
Ingredients
- 1 cup, two sticks, of non-salted butter
- 4 cups of powdered sugar
- 1 tsp vanilla
- 4 - 6 TBLcoconut milk (I like Thai Kitchen Organic)
Instructions
- Cream the butter until soft in a mixer for about two minutes.
- Add the sugar, vanilla, and three TBL of coconut milk.
- Add the remaining TBL of coconut milk as needed. If you are making flowers, ensure the frosting is thick to hold its shape. If it gets too soft, place it in the refrigerator for about twenty minutes.
- Before adding the frosting, place the cake/cookies in the freezer for thirty minutes before decorating.
FAQs
Q: Can I use pre-made buttercream frosting?
A: Yes, pre-made buttercream frosting is convenient and works just as well.
Q: How do I prevent the edible paper from curling or tearing?
A: Use the paint sparingly. With very little paint on the brush, paint the paper. Add more paint, but don’t oversaturate; it will tear and curl. Make sure the paper is completely dry after painting, and handle it gently with tweezers.
Q: Can I make these cookies in advance?
A: Yes, you can bake the cookies a day or two in advance, but for the best presentation, decorate them closer to serving.
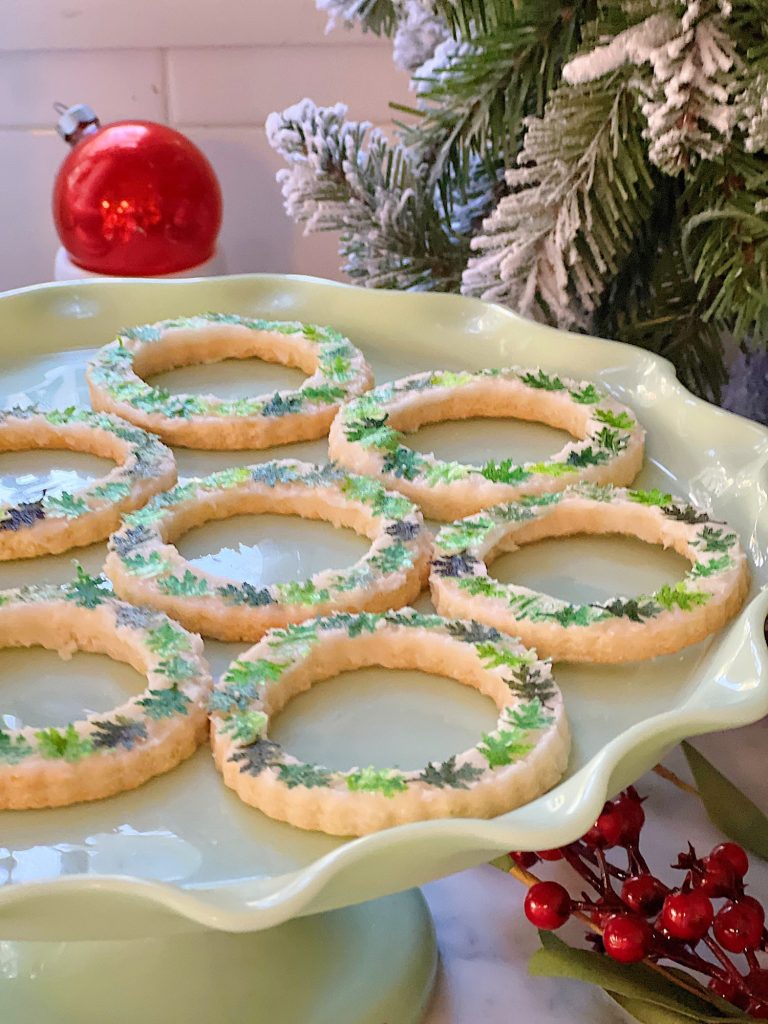
The beauty of these cookies lies in their simplicity and the joy they bring during the decorating process. Gather your friends and family, and enjoy an afternoon of cookie decorating, creating just as sweet memories as the cookies themselves. Happy baking and happy holidays!
If you enjoy my blog, you can sign up to receive my updates here.
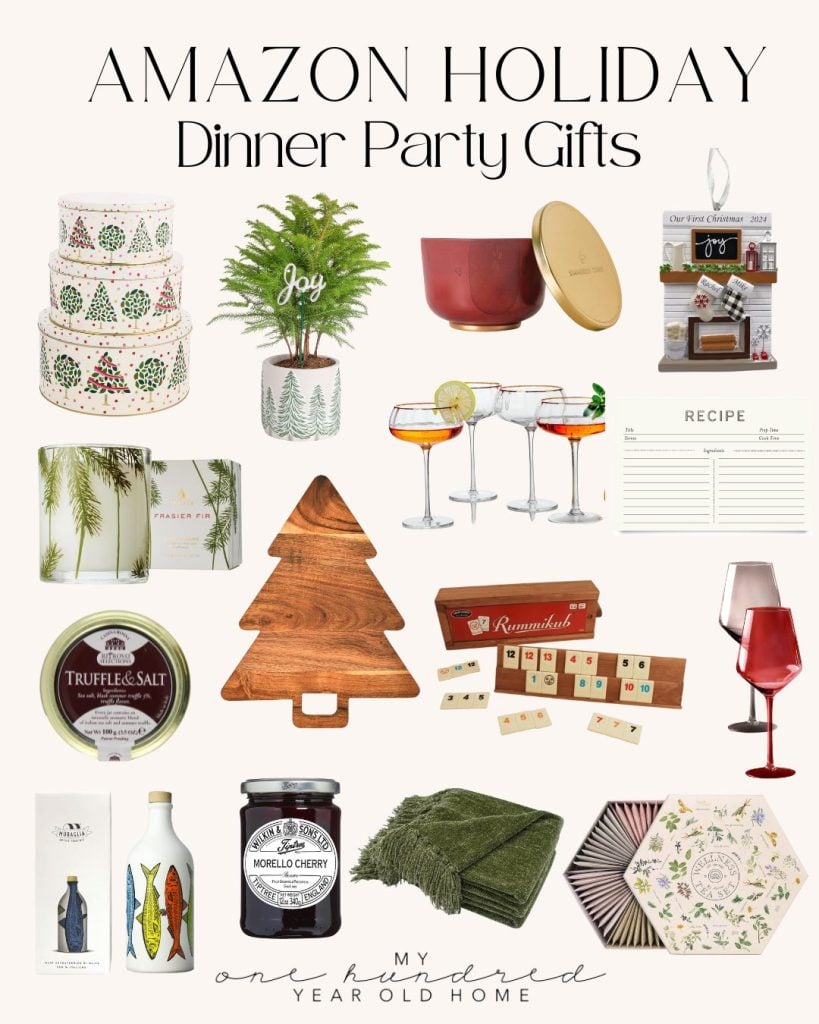
.Favorite Holiday Gifts for the Host
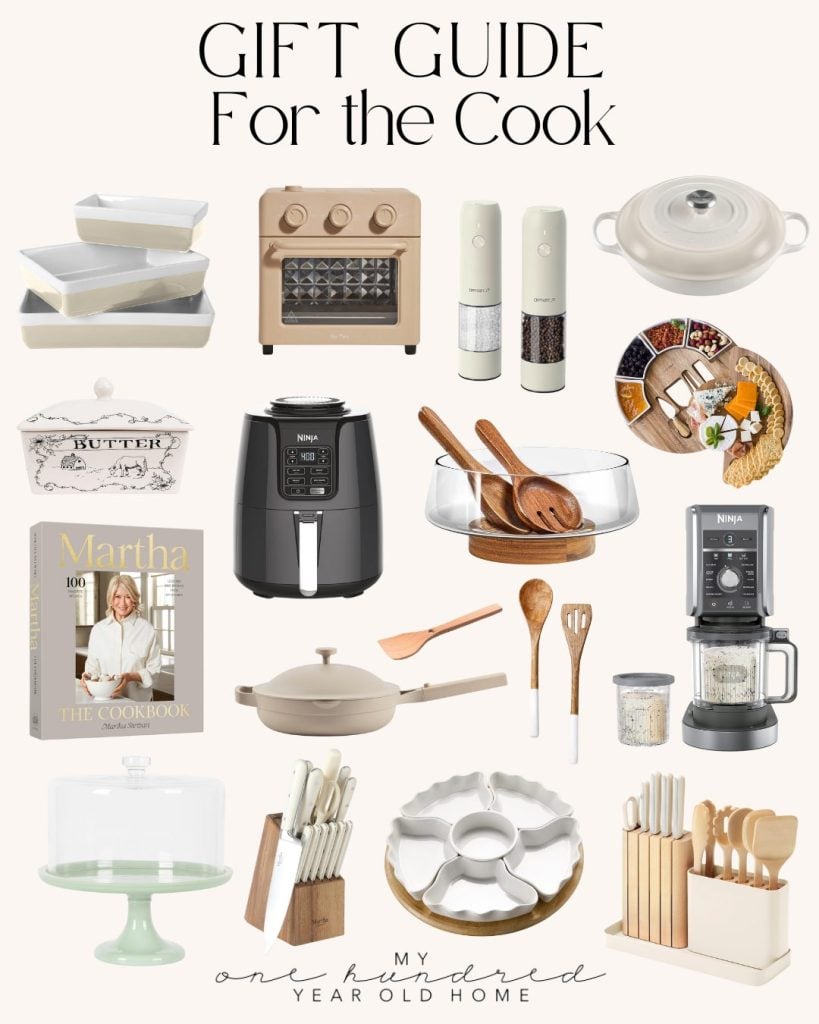
Perfect Gifts Picks for the Cooks!
You can pin the image below to your boards on Pinterest (just click the Pin button in the top left corner) or follow me on Pinterest!
For more real-time updates, follow me on Instagram @My100YearOldHome









seriously to cute to eat these are just adorable
Leslie, these are so darn cute! I was wondering if you’ve ever tried Martha Stewart’s sugar cookie recipe that calls for 2 tablespoons of brandy? It’s much like yours with brandy replacing the lemon juice and milk. The brandy adds such a delicious richness.