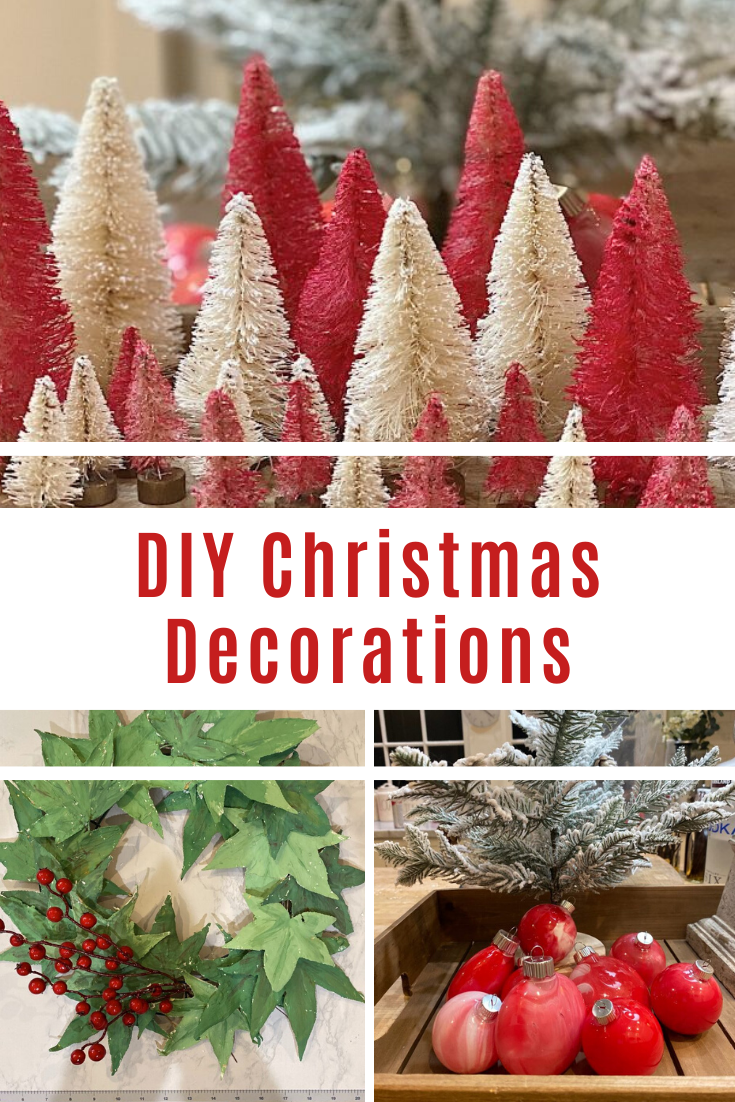
Christmas DIY Decorations
This is my favorite time of year for crafting. These three Christmas DIY decorations were so much fun to make. I hope you will make them too!
There is something so special about Christmas DIY decorations. Each year, when I pull them out of their boxes and use them to decorate, it takes me right back to when I made them.
It’s my favorite time of the year for crafting and today I am sharing three different Christmas DIY Decorations that I really enjoyed making.
The first project I made was a wreath.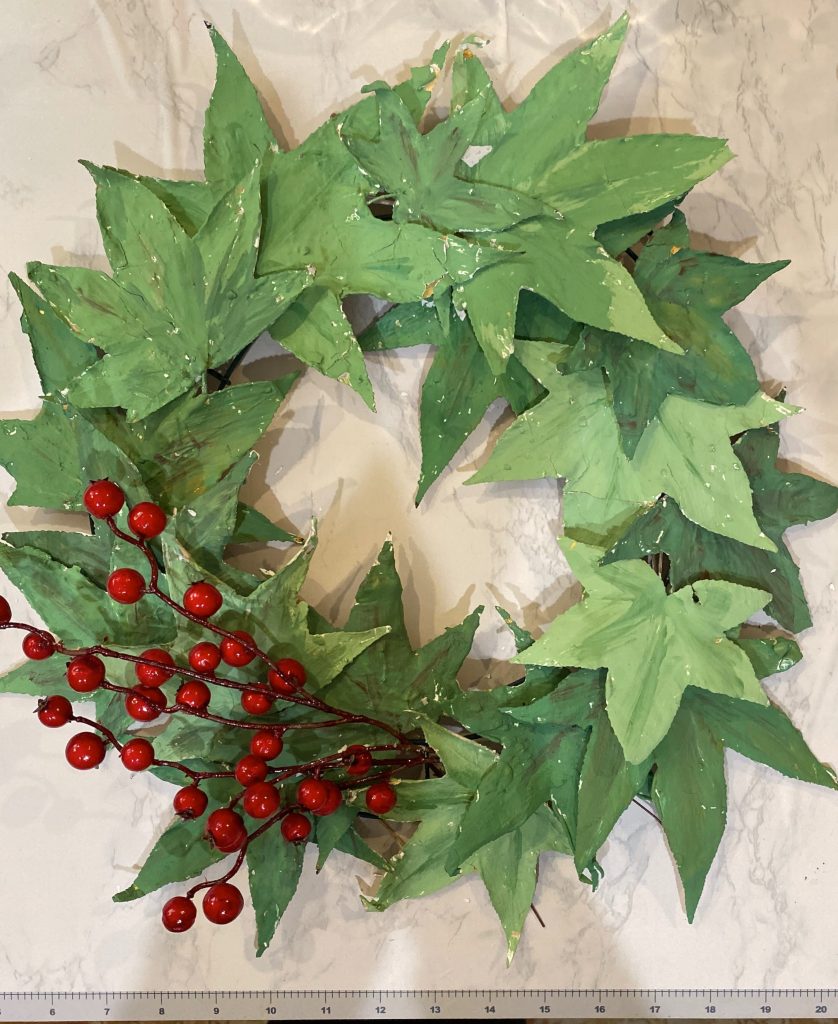
I made it from leaves from my backyard, plaster of pairs, and acrylic paint.
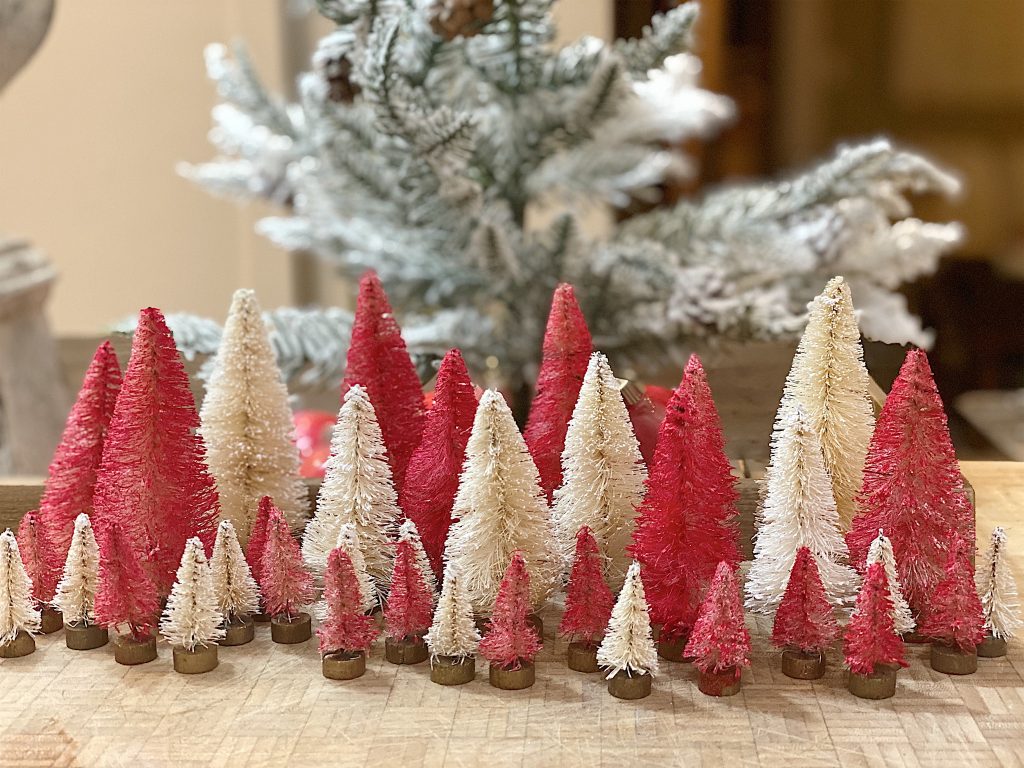
The second Christmas DIY decorations project I made is these painted red trees.

I painted them using bottle brush trees and Testors Craft Fabric Spray paint in red and white.

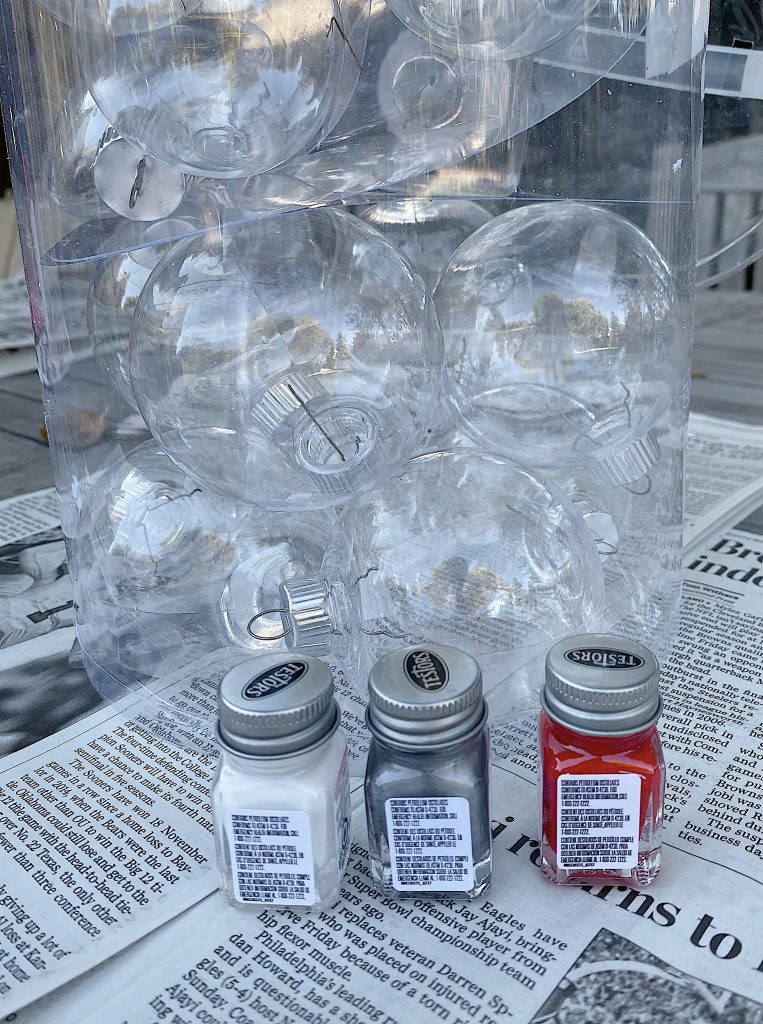
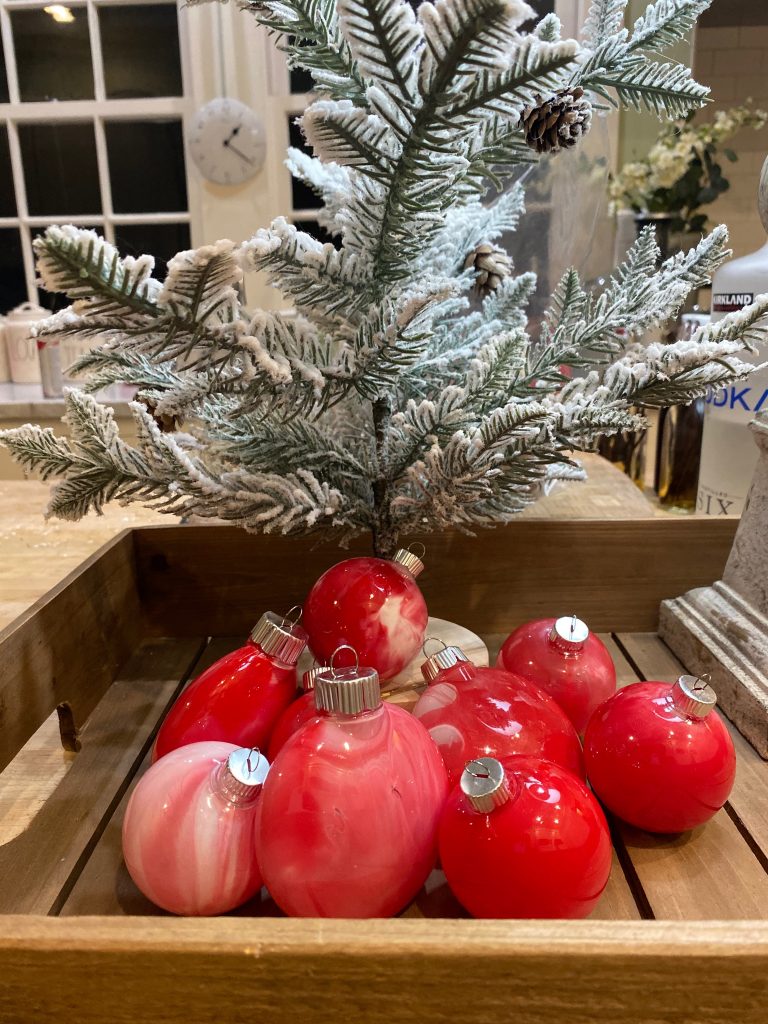
The third project I made is these painted ornaments.
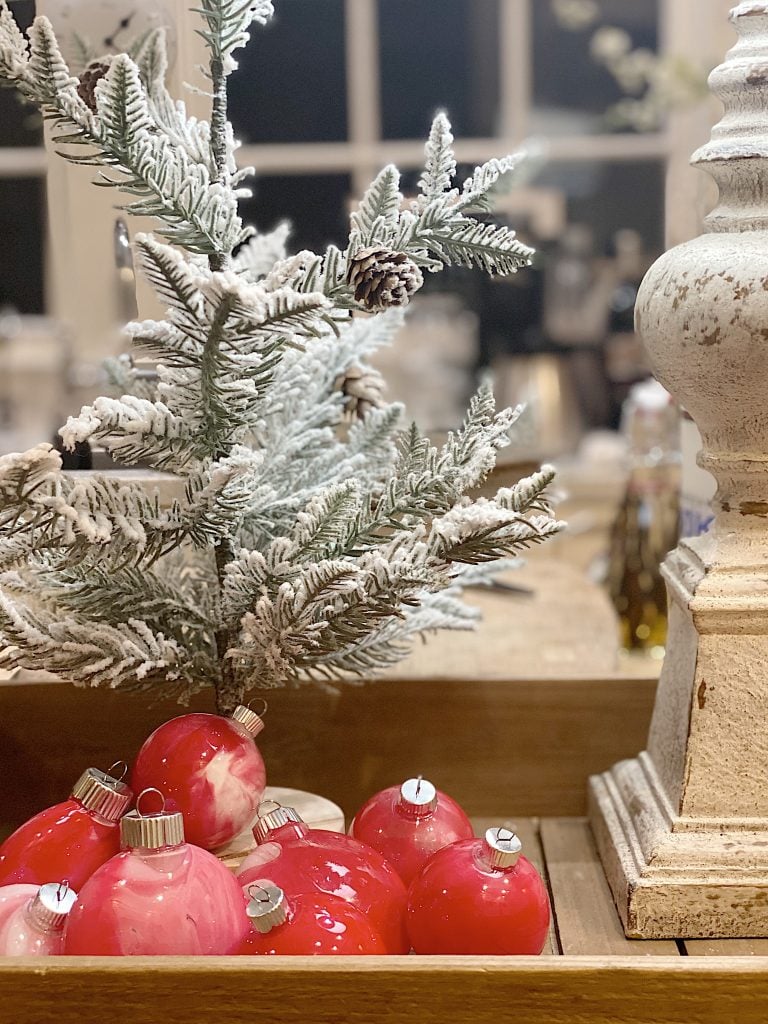
I made them using acrylic ornaments and Testors Enamels.

Wreath Made with Plaster Painted Leaves
What You Will Need
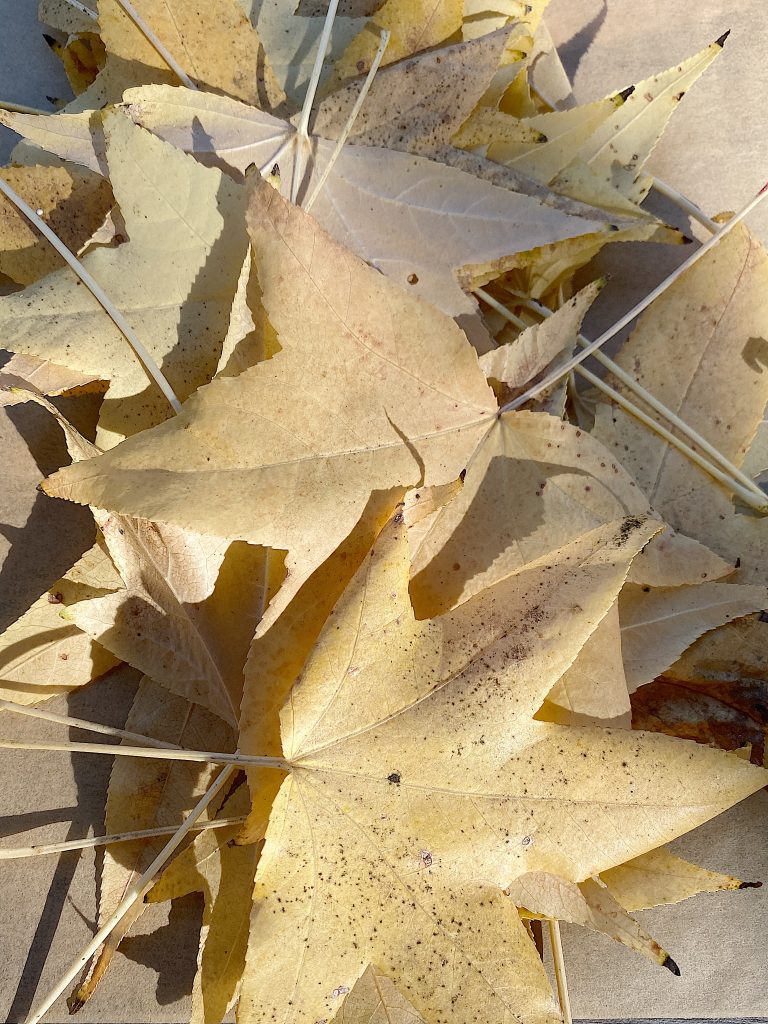
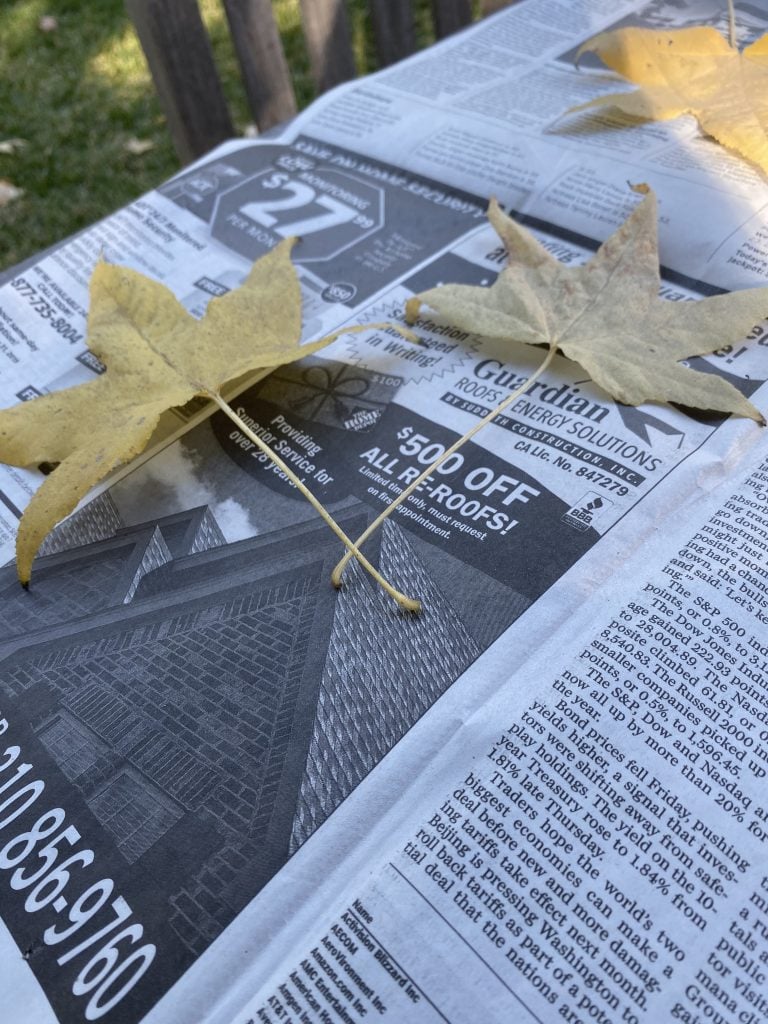
Leaves (fresh from a tree or faux)
One box of Plaster of Paris
Leaves are plentiful at this time of year and I found plenty of maple leaves on the grass in our backyard.
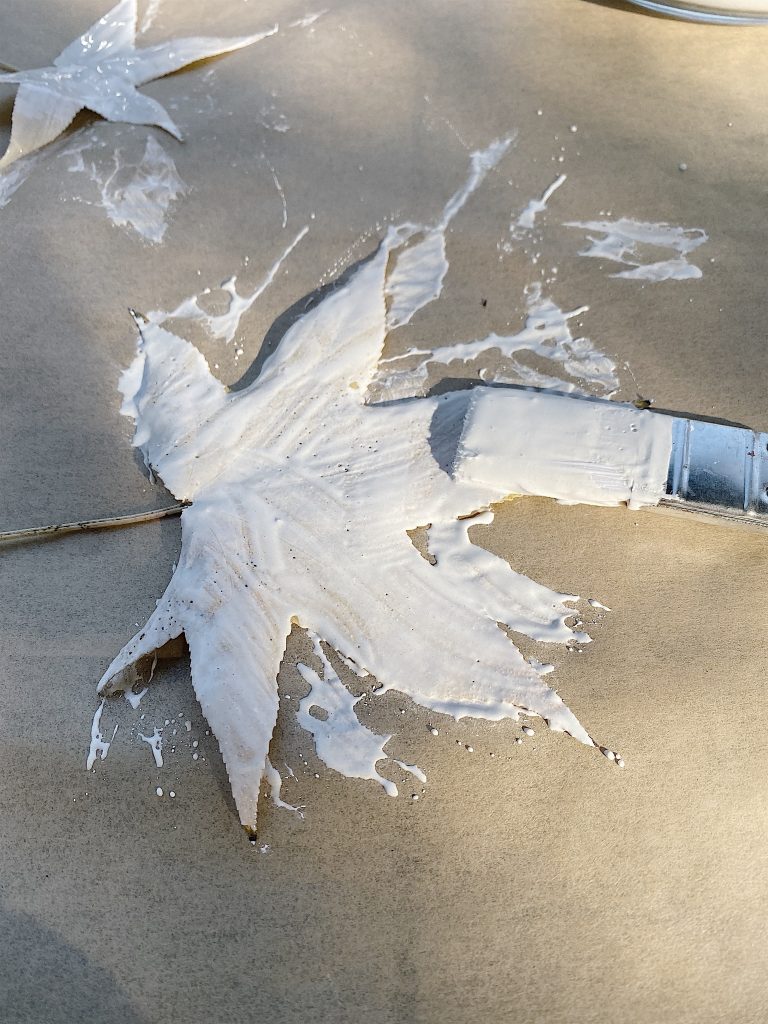
I mixed up some plaster of paris (use two parts plaster to one part water) and paint the leaves. When dry, flip over and paint the other side.
I know there is an option to dip the leaves in the plaster and hopefully someday soon I will have enough time to try it. If you try this method, let me know!
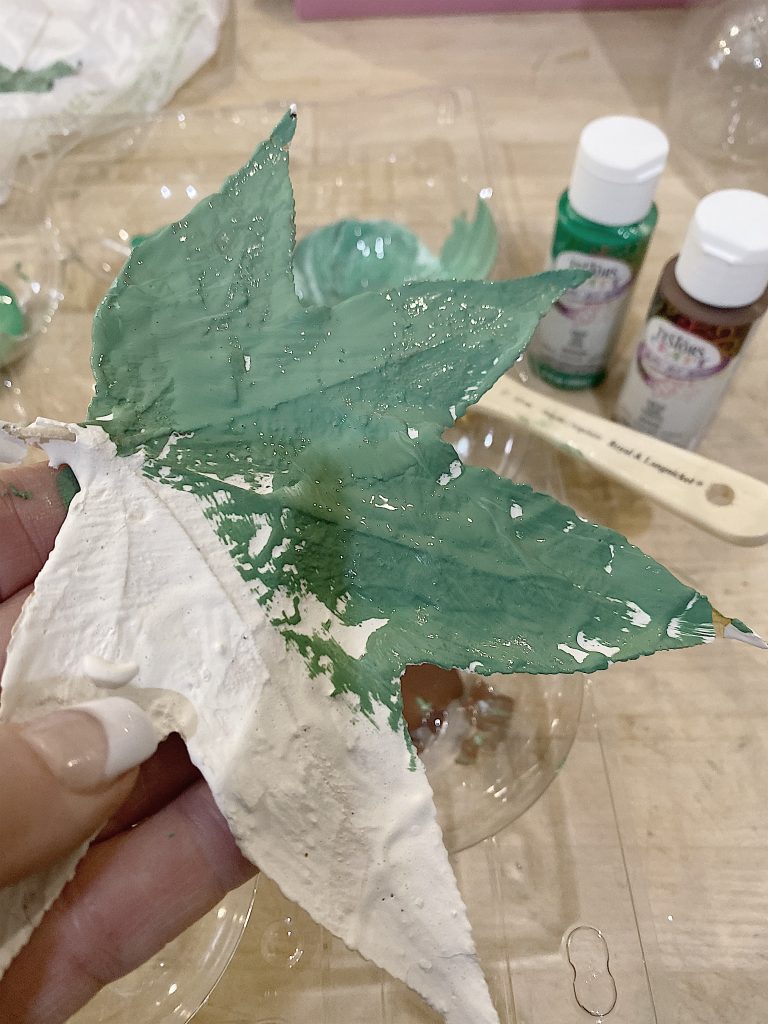
Next, I mixed up three different shades of green using Testors Craft Acrylic Matte Paint and painted the leaves.
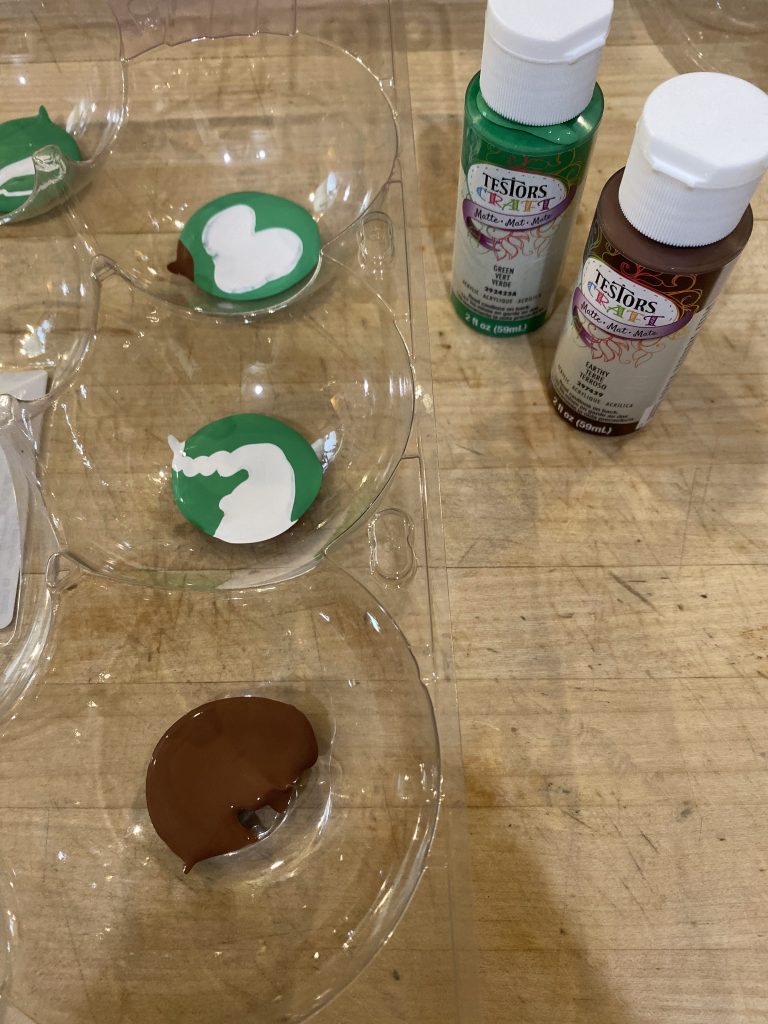
I used a darker shade on the veins of the leaves to create some variation.
Once dry, I placed the leaves on a wreath form and secured the stems with floral wire.
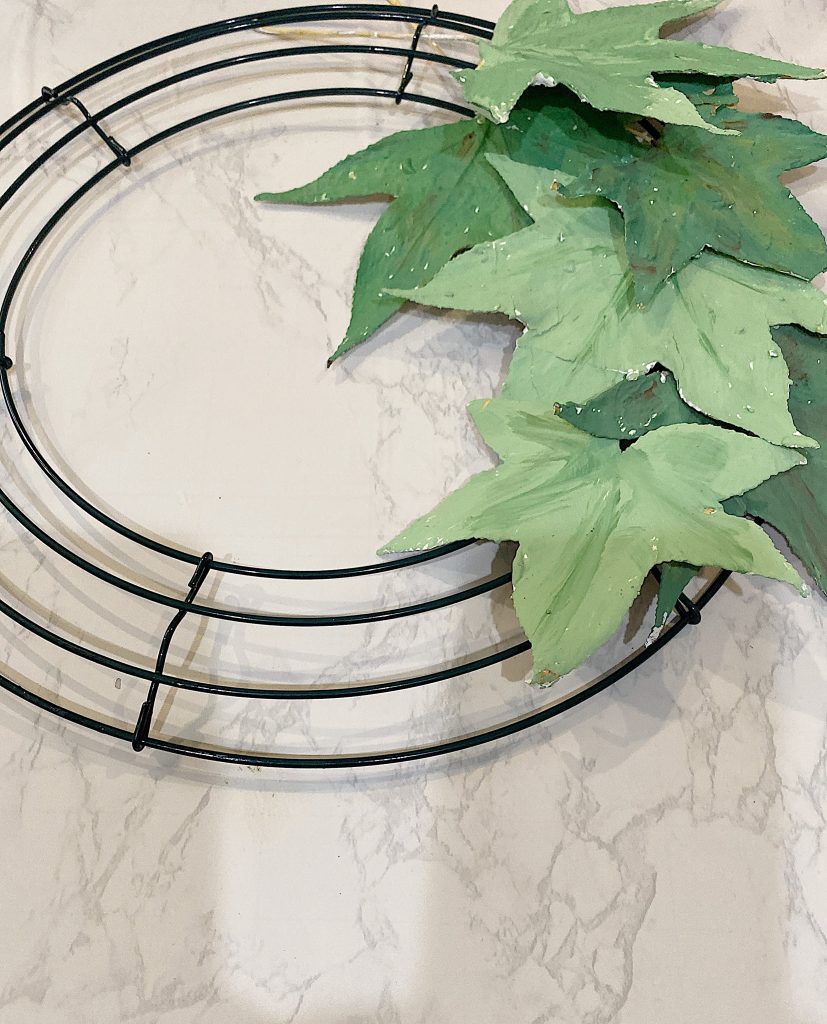
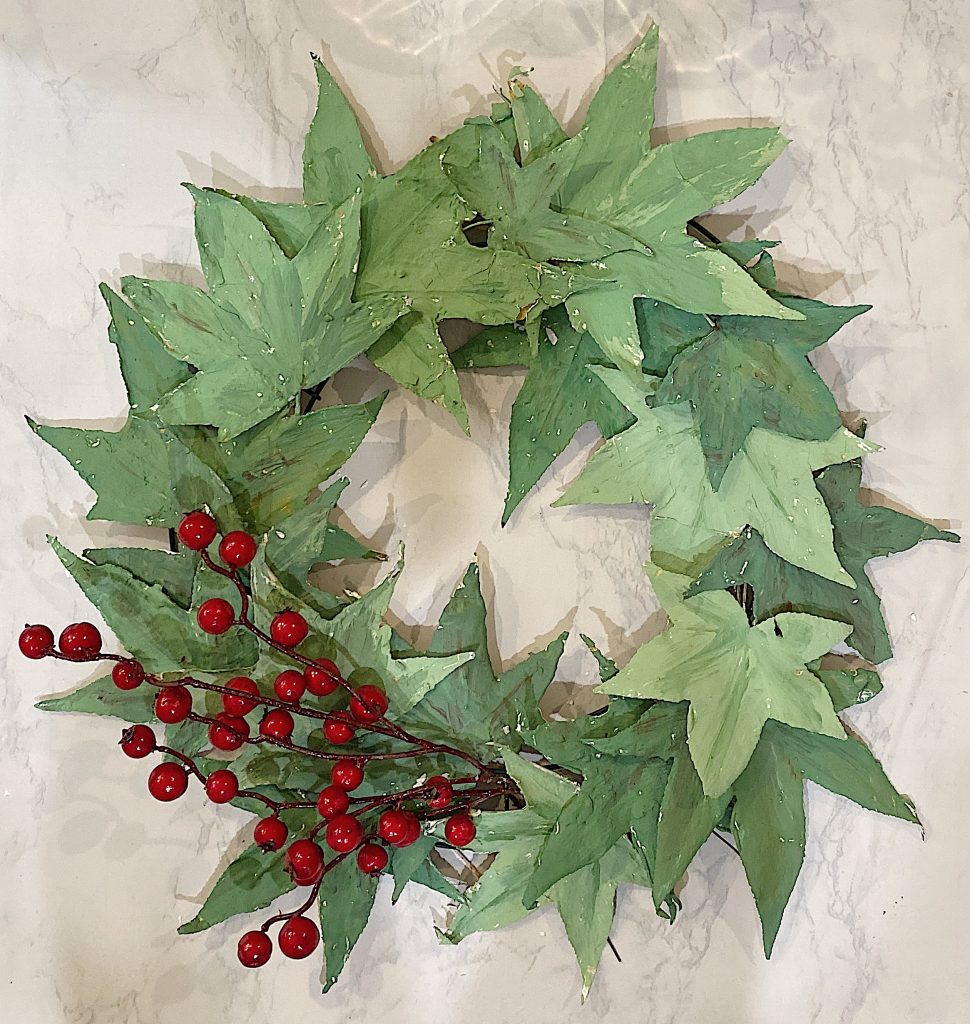
I continued filling in the wreath form with the leaves and securing with floral wire. I added some faux red berries for contrast. Next, I added wire to the back of the wreath form for hanging.
I absolutely love my Christmas DIY decoration.
Painted Bottle Brush Trees
What You Will Need
Testors Craft Fabric Spray paint in red and white
Hole punch and scissors
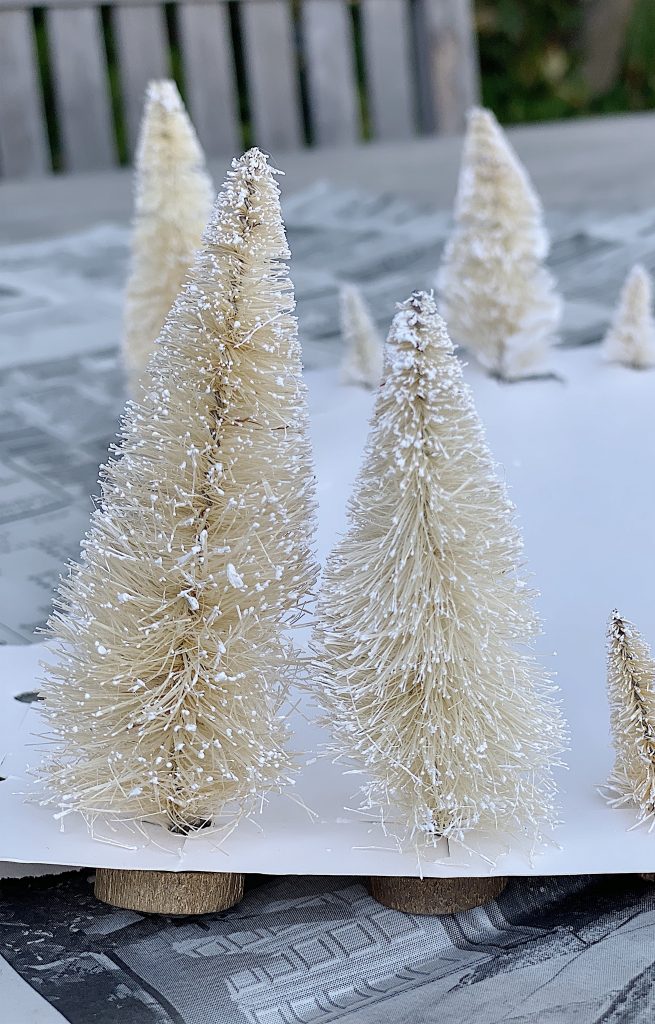
I love bottle brush trees and I have a lot of these white ones. But this year I wanted to paint some red to match the holiday color palette in my home. The biggest problem with painting these trees is that most paints will harden and “glob” on the trees. I decided to try Testors Fabric Spray Paint and I am thrilled! The trees turned out perfectly.
My first challenge was to come up with a method to paint the trees without getting paint on the base of the tree. I didn’t want to have to wrap every base with painters tape so I came up with another idea.
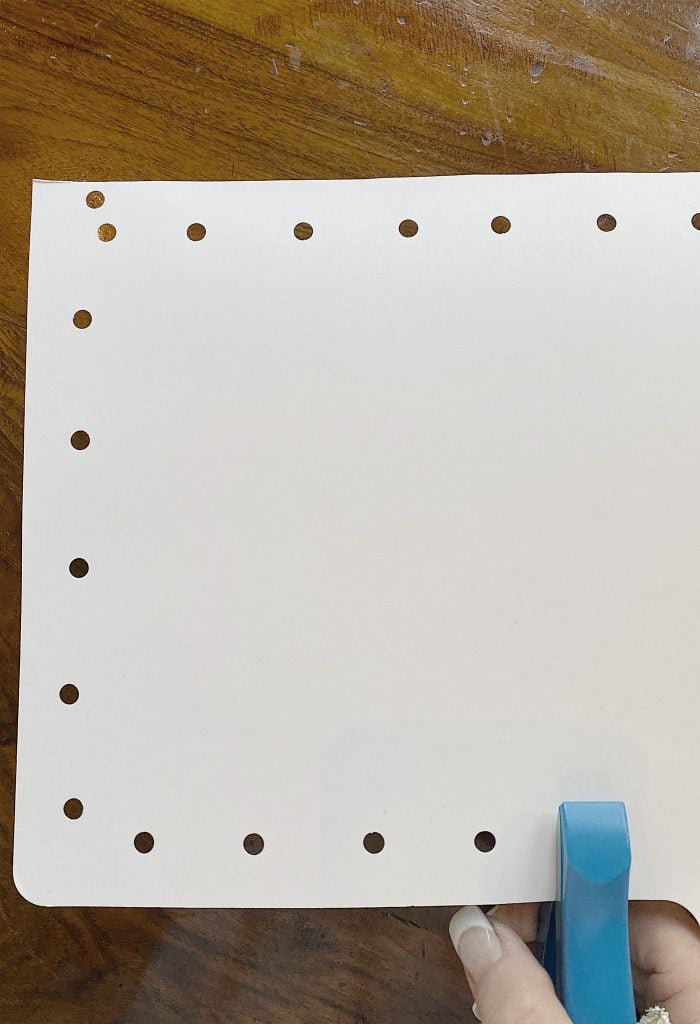
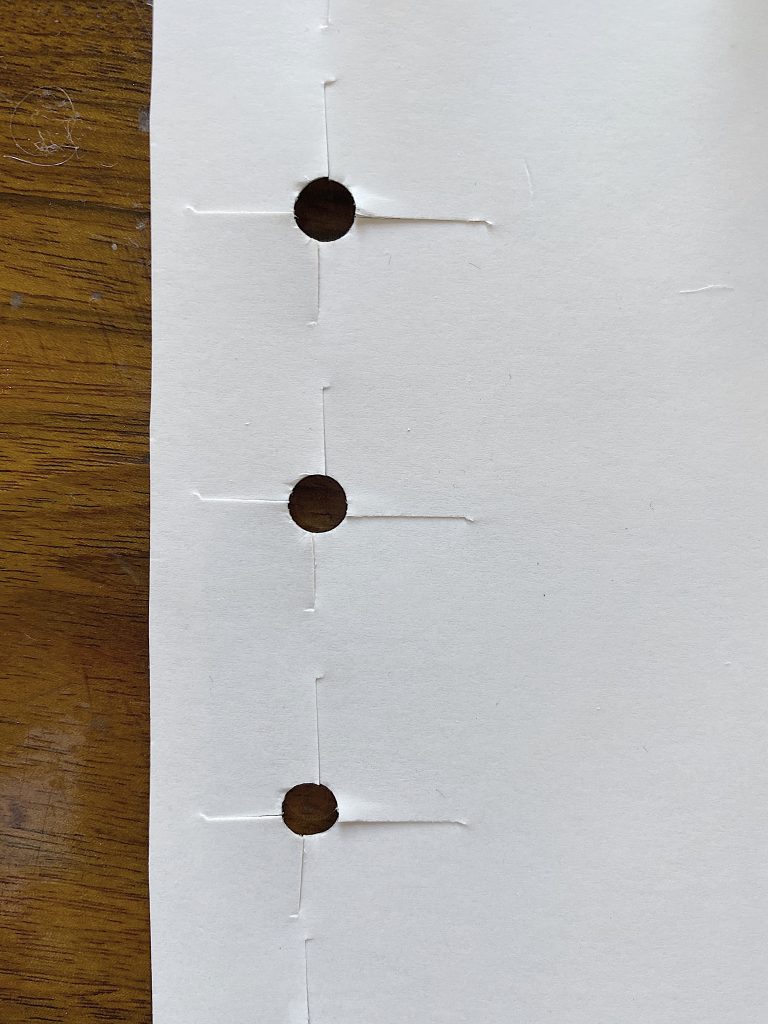
I punched holes around the outside of a piece of cardstock and cut four slits.
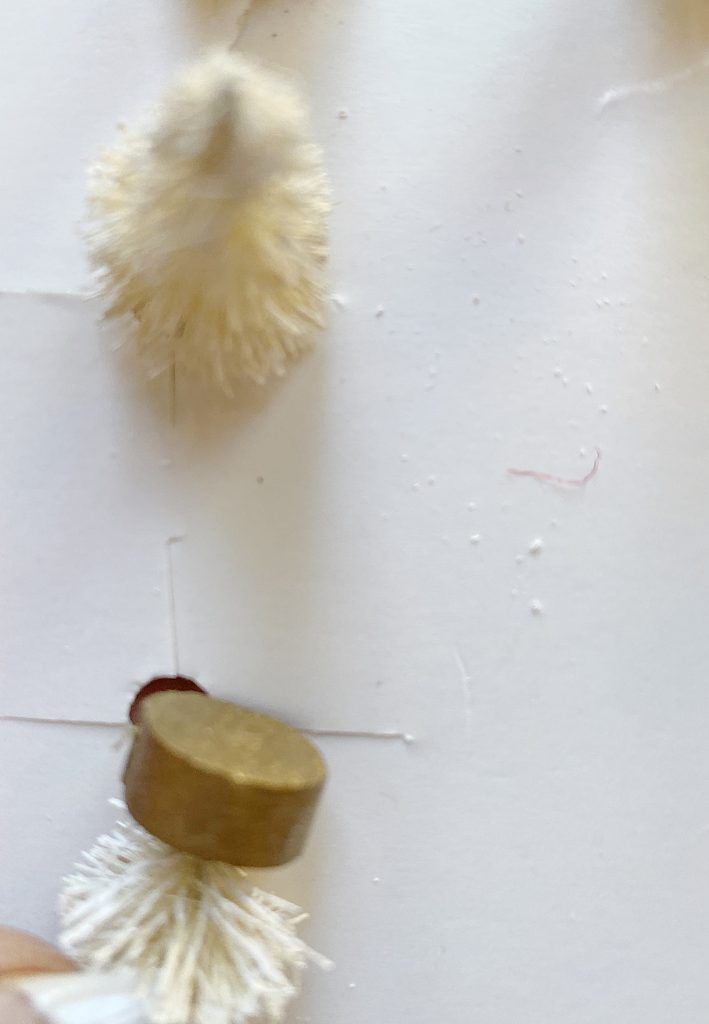
I then pulled the trees through the holes, leaving the base underneath the cardstock to protect the base from the paint.
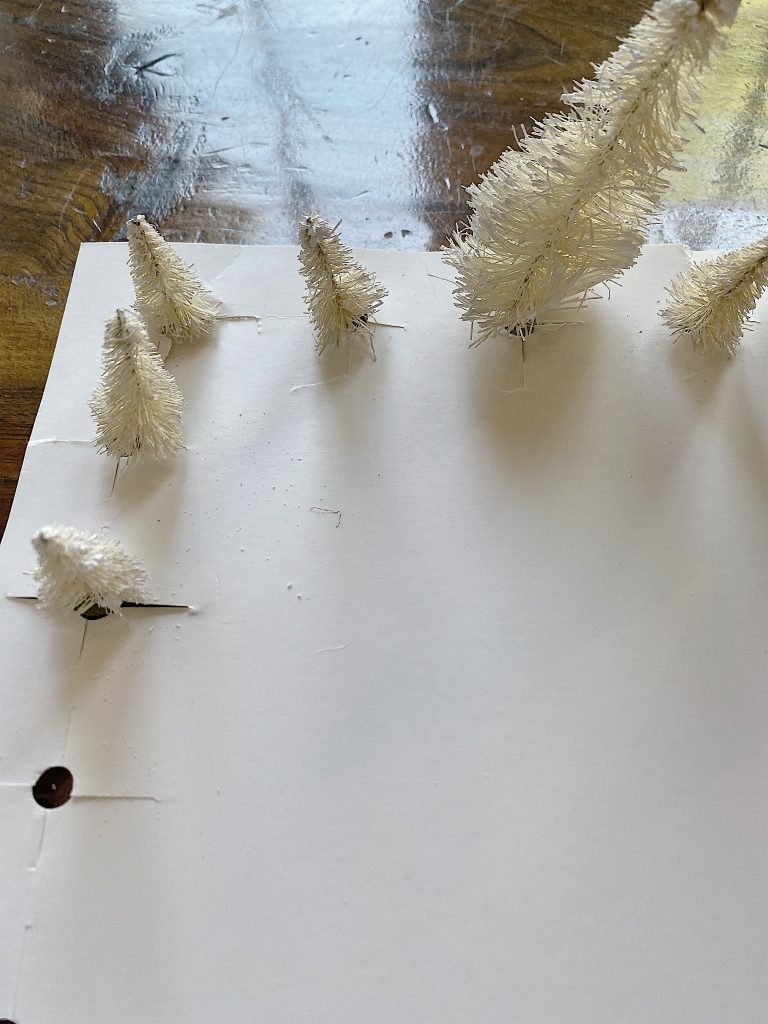
I sprayed the Testors Fabric Spray Paint on the trees. And it worked perfectly!
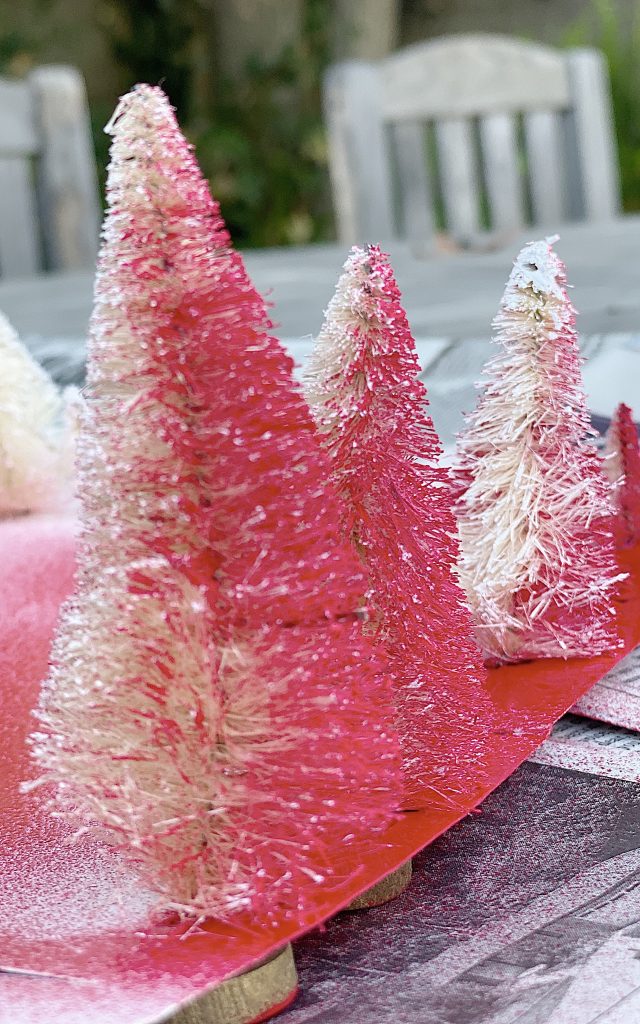
I absolutely love how they came out.
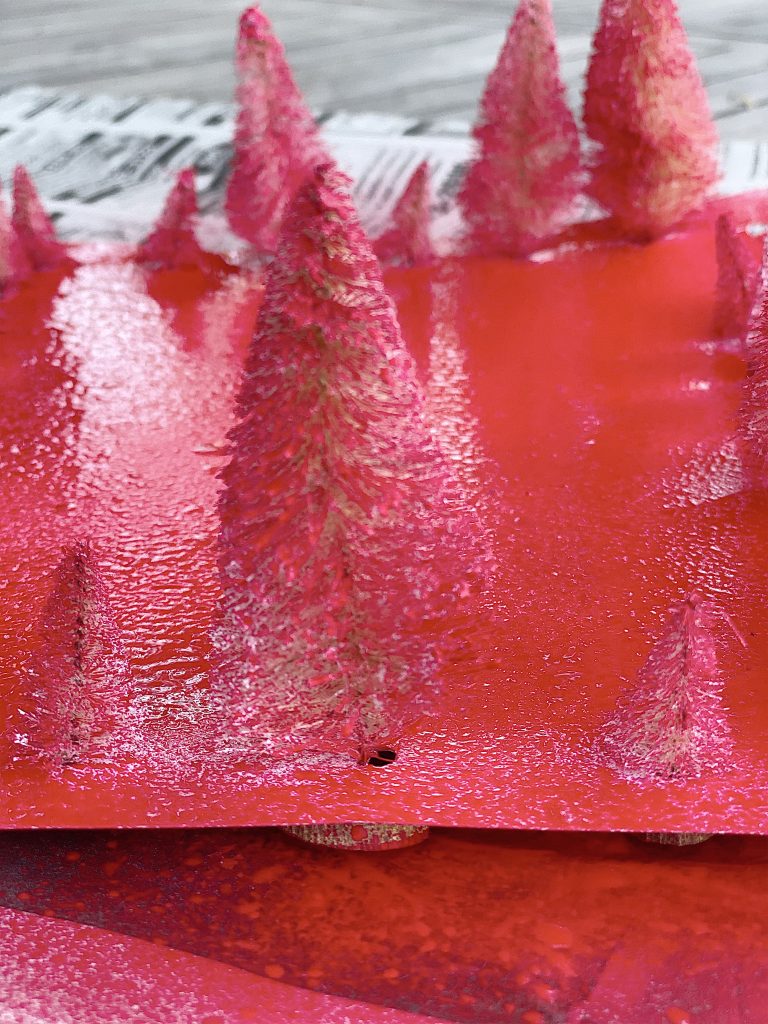
I am so in love with these trees! The branches are still soft and the paint looks great. These trees were so easy to make and they look wonderful!

Painted Ornaments
What You Will Need
I love making painted ornaments and they are some of my favorite Christmas DIY decorations to make. In my previous attempts, the paint dried chalky. So I decided to make these ornaments with Testors Enamel Paint in Satin Red because I knew the paint would dry and still shine!
Painted ornaments are not painted on the outside. Rather, the paint is poured inside the ornament and rotated until it covers the entire ornament.
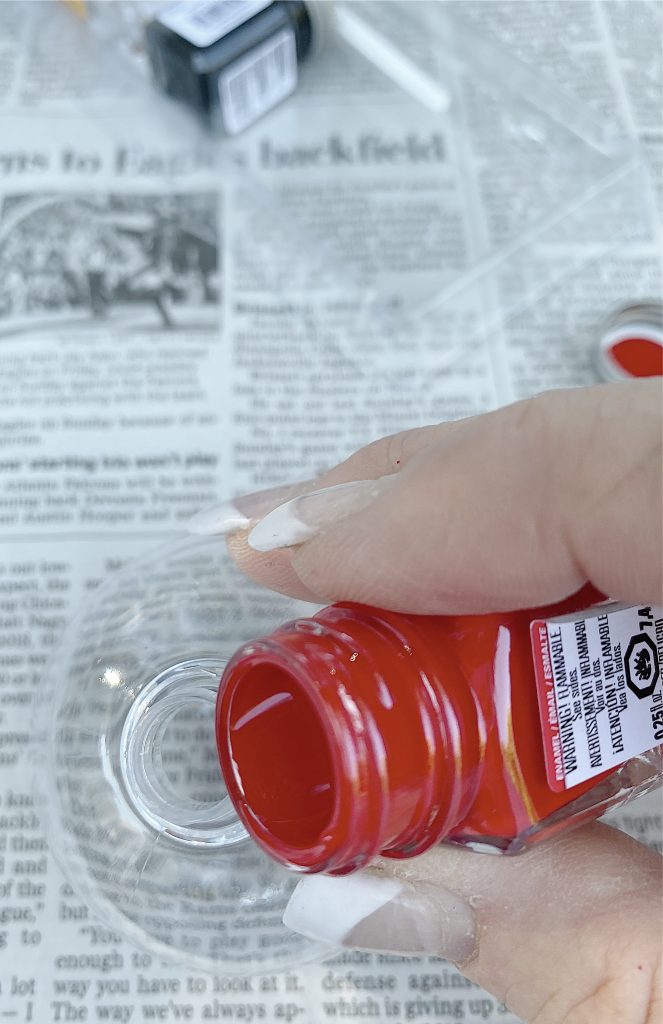
Pour the paint into the ornament.
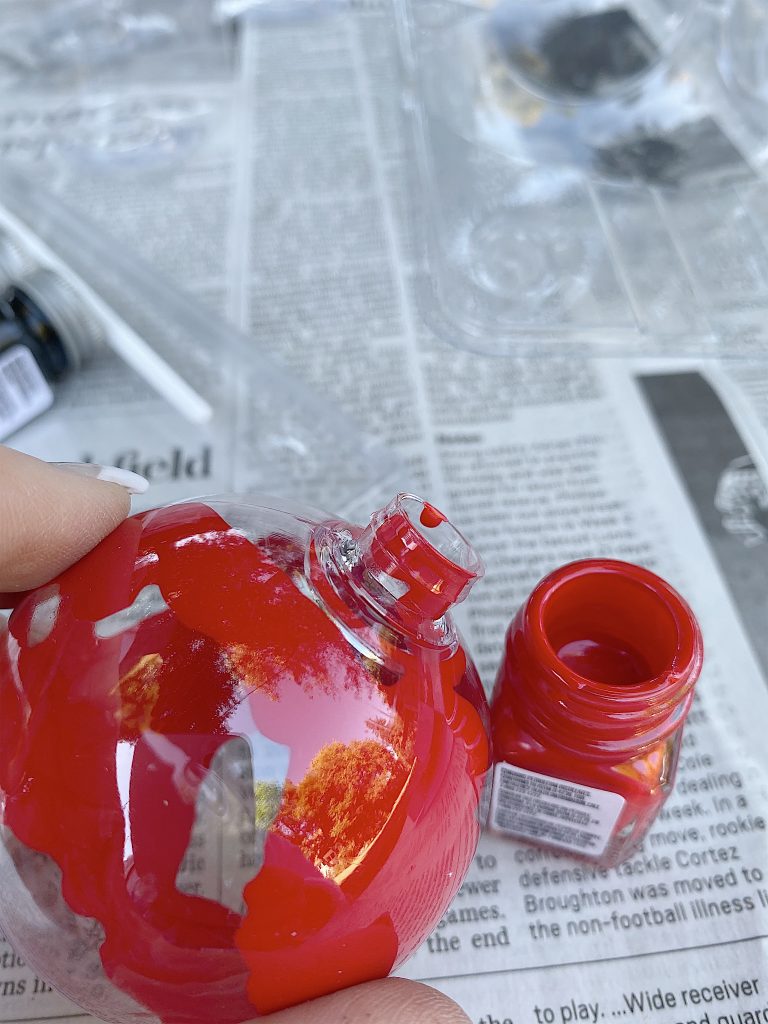
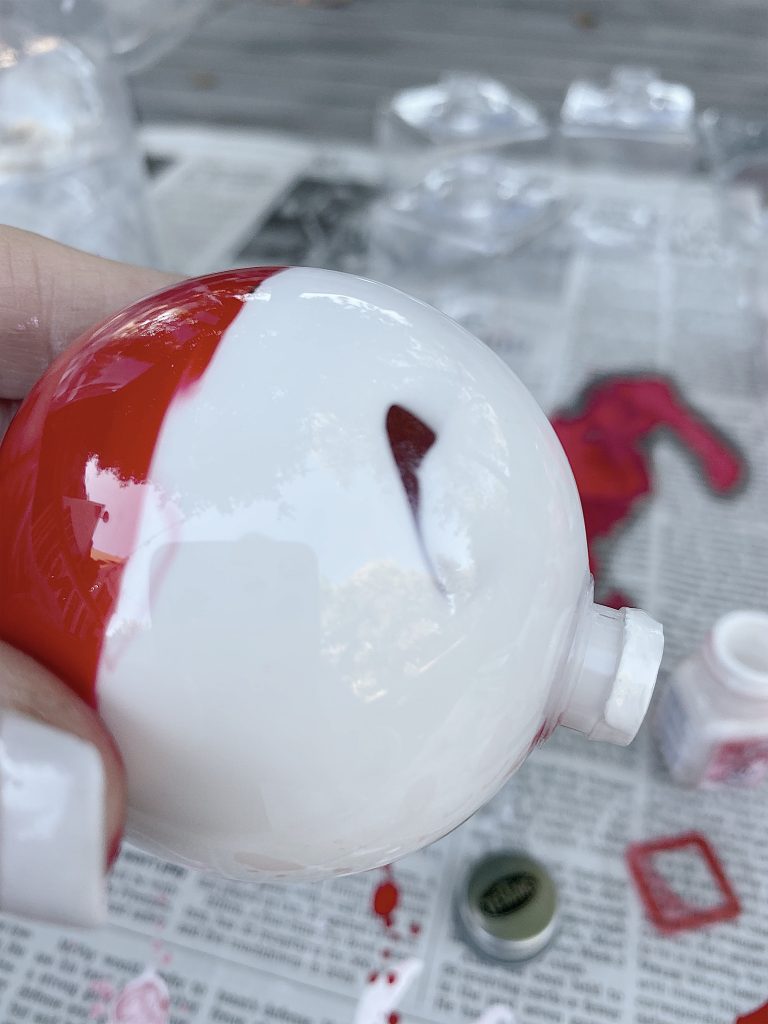
Gently rotate the ornament. If desired, add another color.
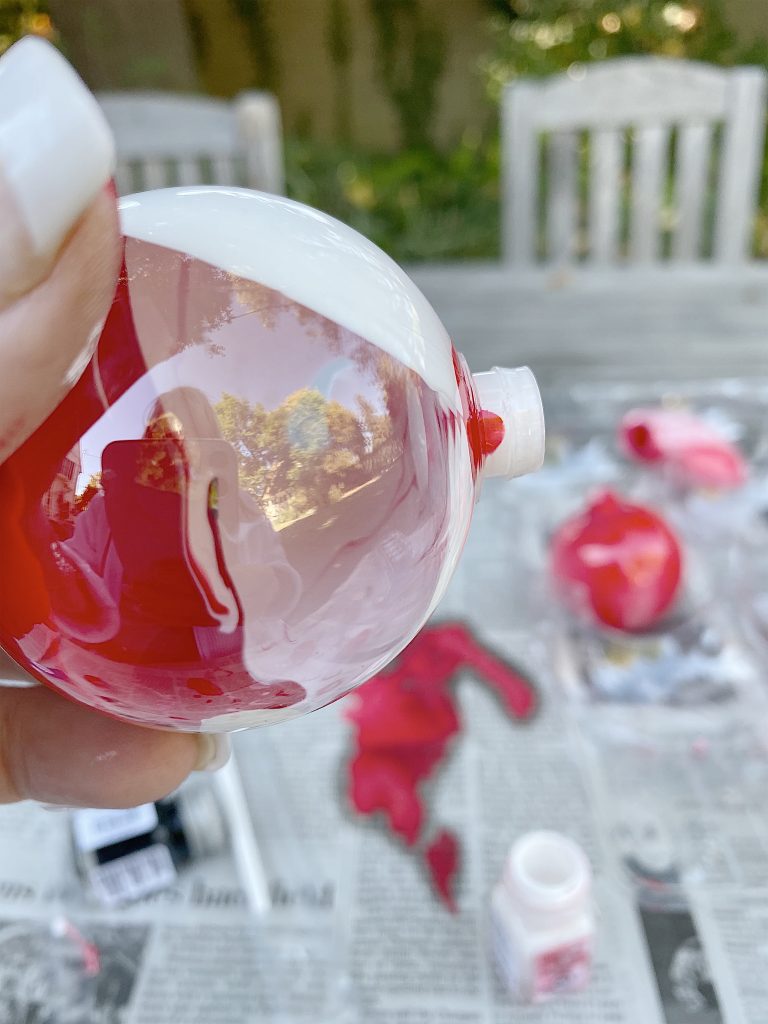

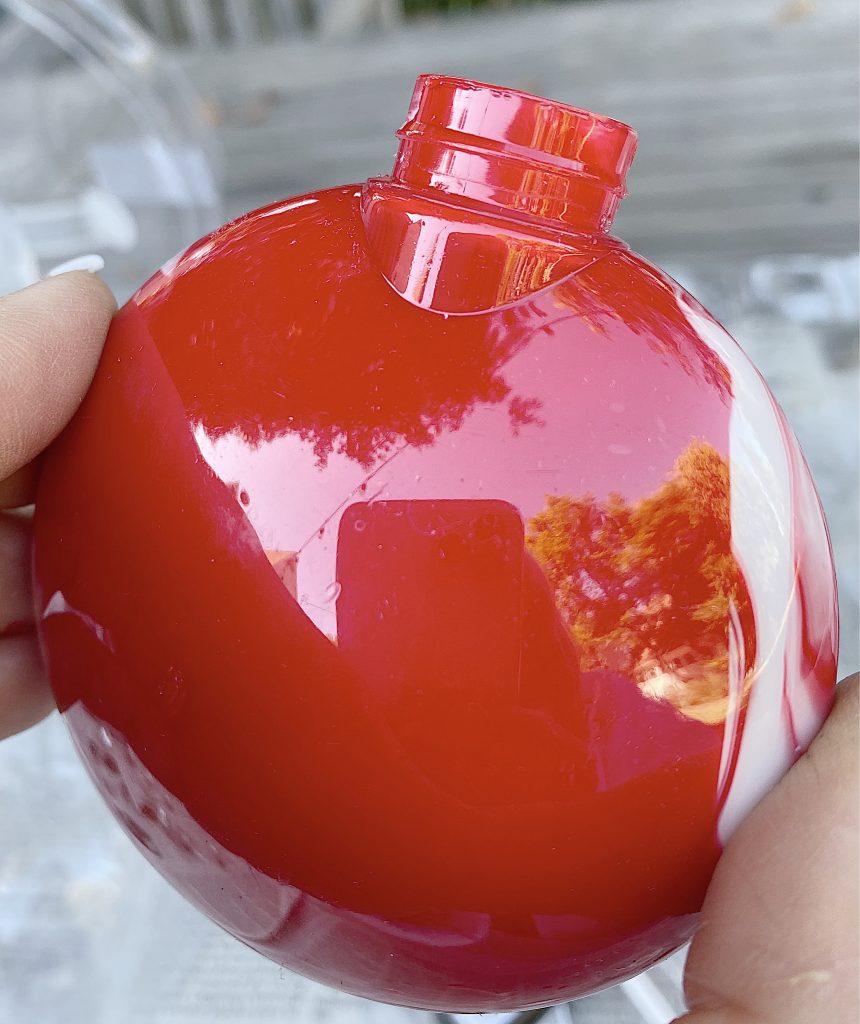
Continue rotating until the entire outside is filled with paint.
Don’t these ornaments look fabulous?
Be sure to let the paint dry before you add the tops. Just be sure to rotate the ornaments as they dry. This may take a few days.
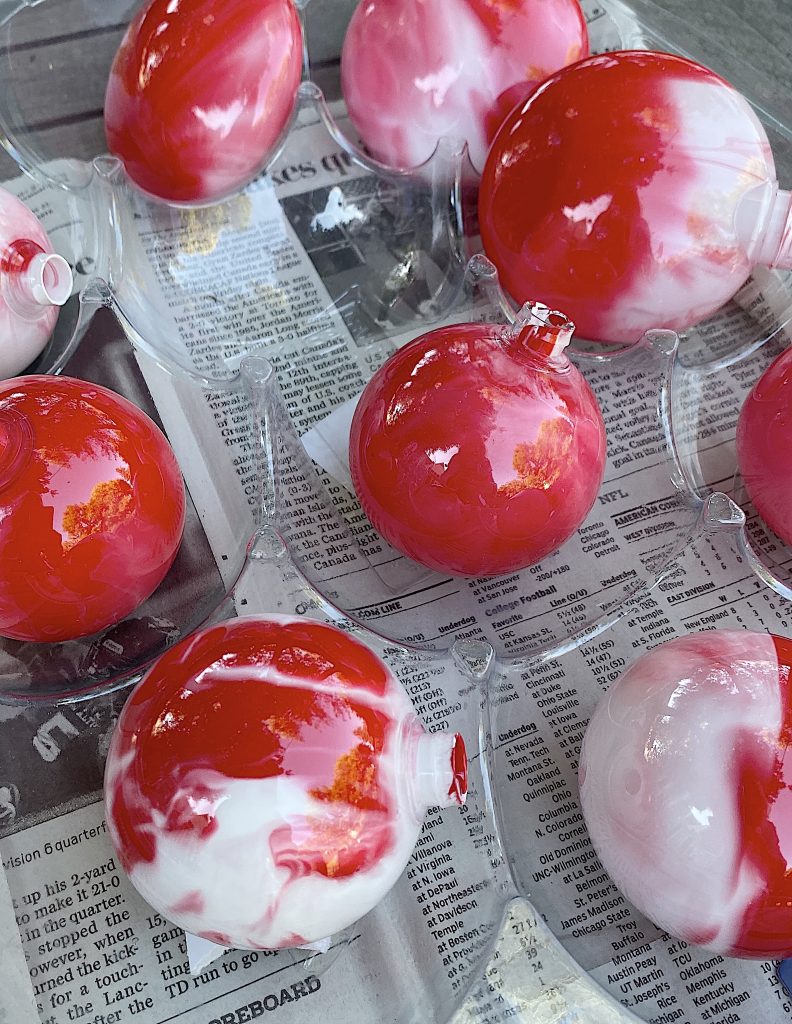
Aren’t these gorgeous?
It’s amazing how much fun you can have crafting when you try new products. I can’t wait to decorate my house with my new Christmas DIY decorations!
Pin the image below to your Christmas Crafts or Christmas decor boards on Pinterest (just click the Pin button in the top left corner). You can also follow along with me on Pinterest!


You are right! This time of year is wonderful for crafting! So many crafts, so little time! I love your Christmas wreath. It is absolutely gorgeous!
On drying the ornaments, My grandaughter and I used a disposable cup sized to the ornament to turn upside down and let it drain out. it still took time to dry, but it was more efficient. Paper cups , styrofoam , plastic , whatever Grammer had on hand. All on a covered cookie sheet placed out if the way.
Egg cartons work well for draining the ornaments. Very pretty craft projects.!
Wow Leslie – you are amazing! I LOVE the leaf wreath! Well, I mean I love them all, but the wreath is my favorite! 🙂 And the holes in the paper for painting the bottle brush trees? You rule!! Thanks yet again for all the fabulous inspiration!
thanks for sharing!!