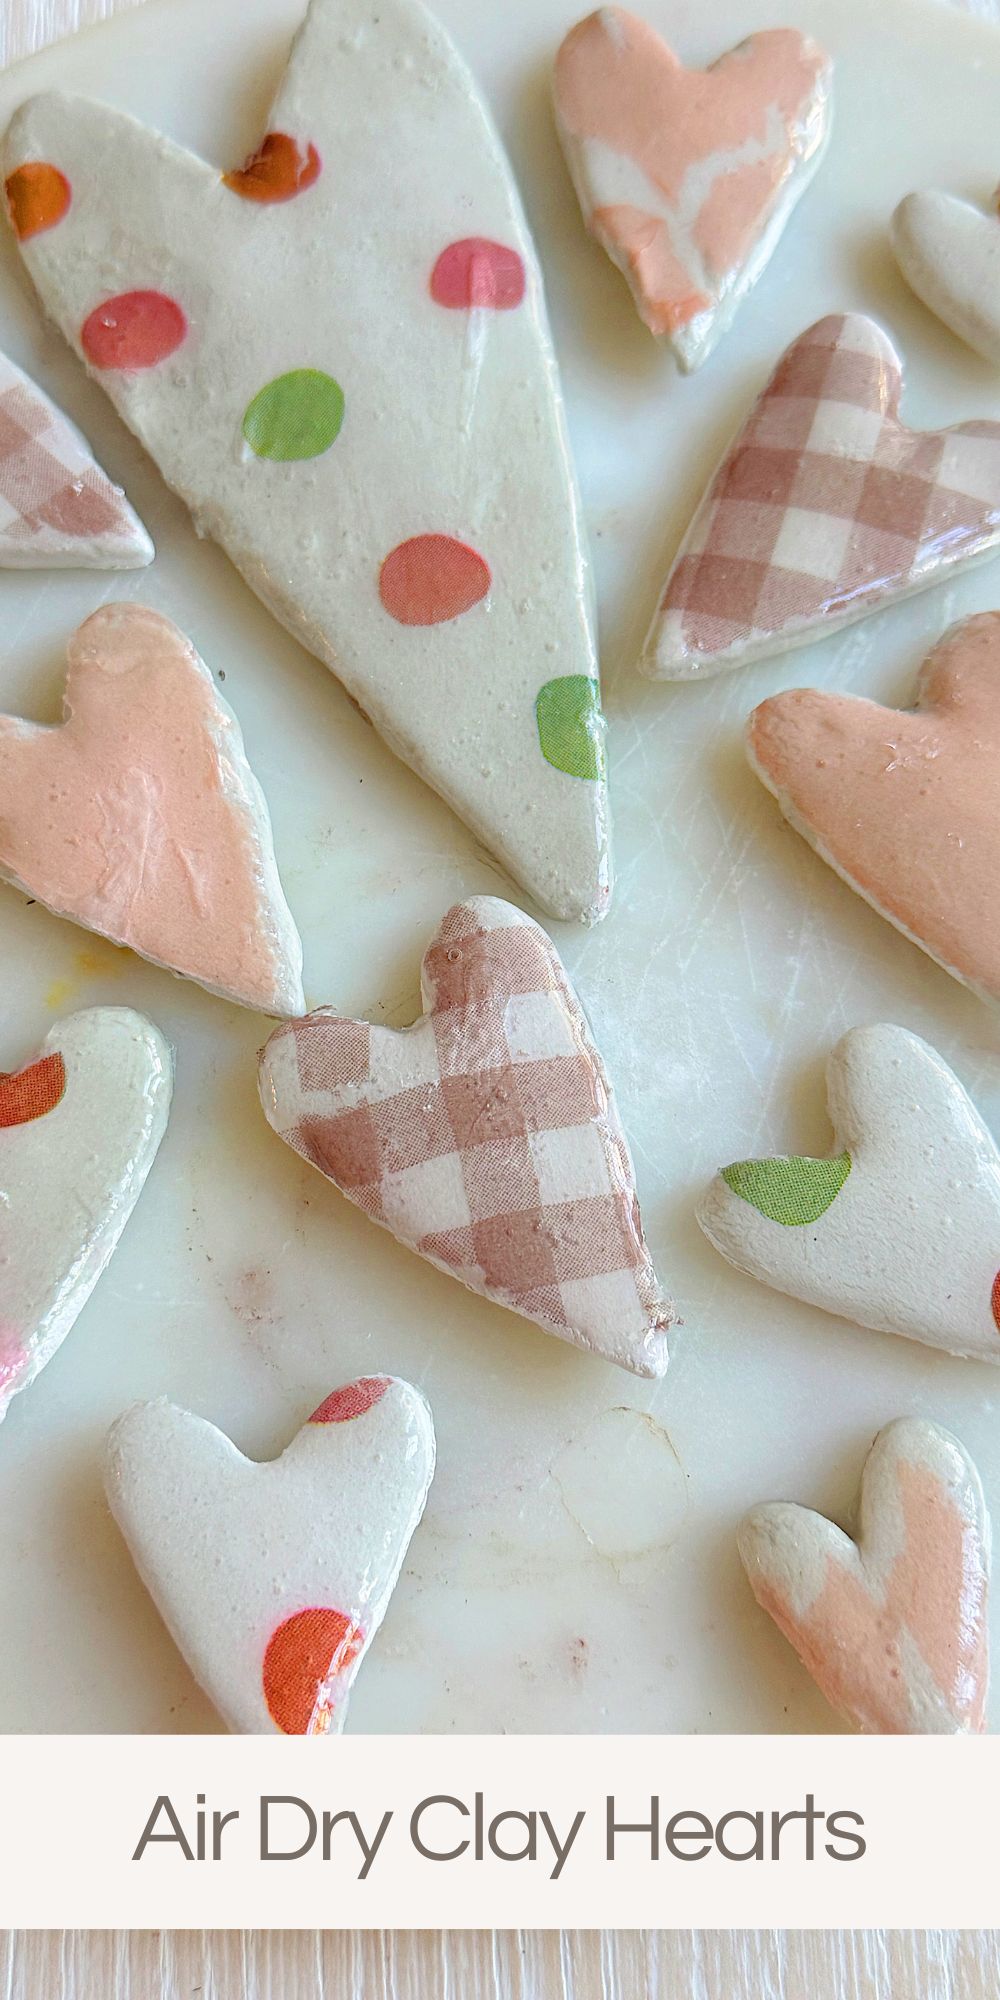
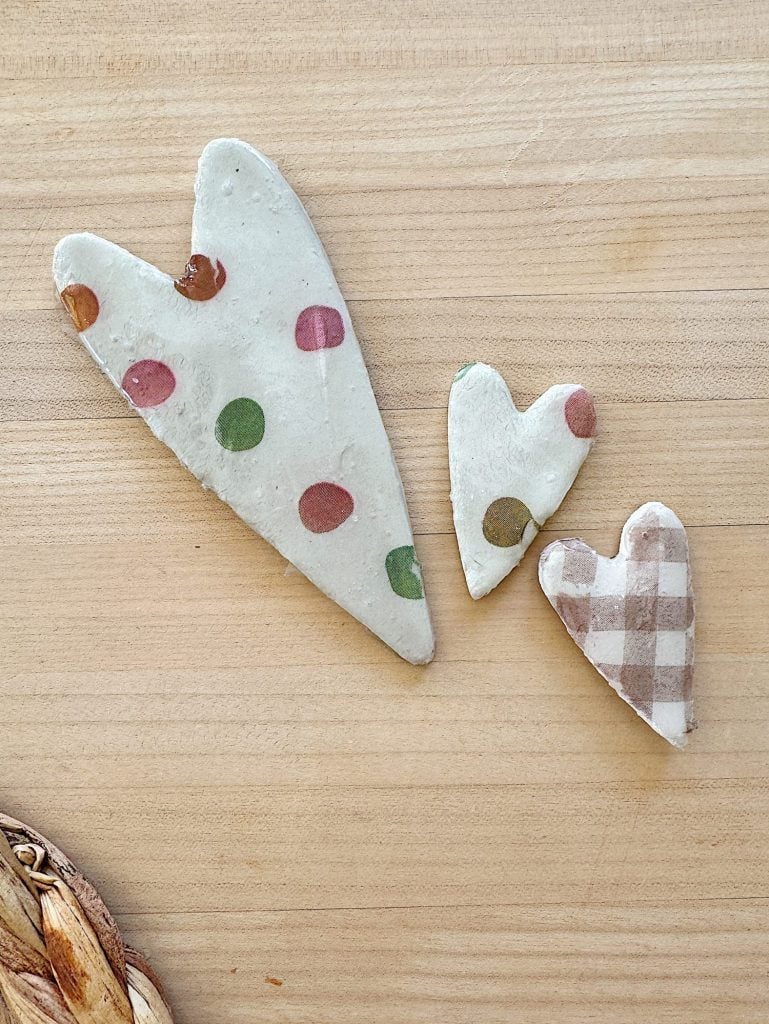
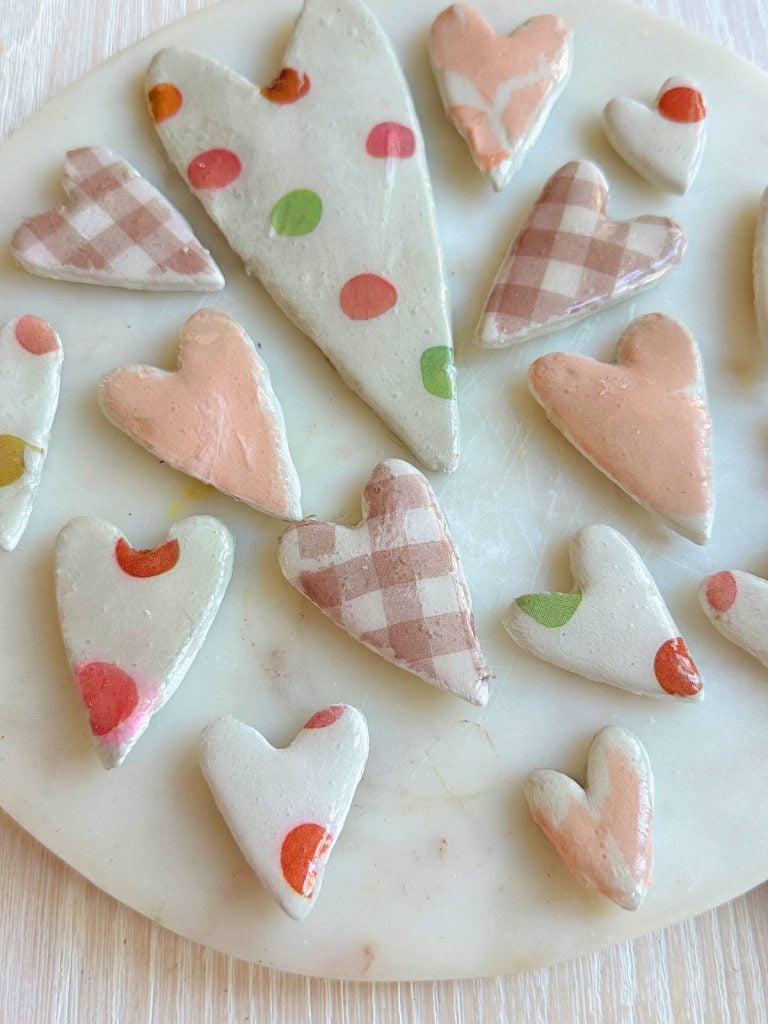
Air Dry Clay Hearts
Sometimes the smallest handmade projects make the biggest impact, and these air dry clay hearts have become one of my favorite decor accents.
These delicate, charming pieces add a personal touch to my home and are among my favorite DIY projects. With just a few materials … air dry clay, paper napkins, heart-shaped cookie cutters, and Clay Glaze, you can create beautiful hearts that add a unique touch to your decor.


DIY Air Dry Clay Hearts
There’s something magical about handmade decor, especially when it perfectly complements your home’s color palette. In this blog post, I’ll walk you through the step-by-step process of making these clay hearts and share ideas for incorporating them into your winter decor.
Why Air Dry Clay Hearts?
Air dry clay is a versatile and easy-to-use material that’s perfect for DIY projects. It doesn’t require baking (but I still bake to speed up the process), and its smooth texture makes it ideal for crafting delicate pieces. The blush-and-taupe color palette inspired me to add soft, romantic details to my winter decor, and these hearts fit the theme perfectly.
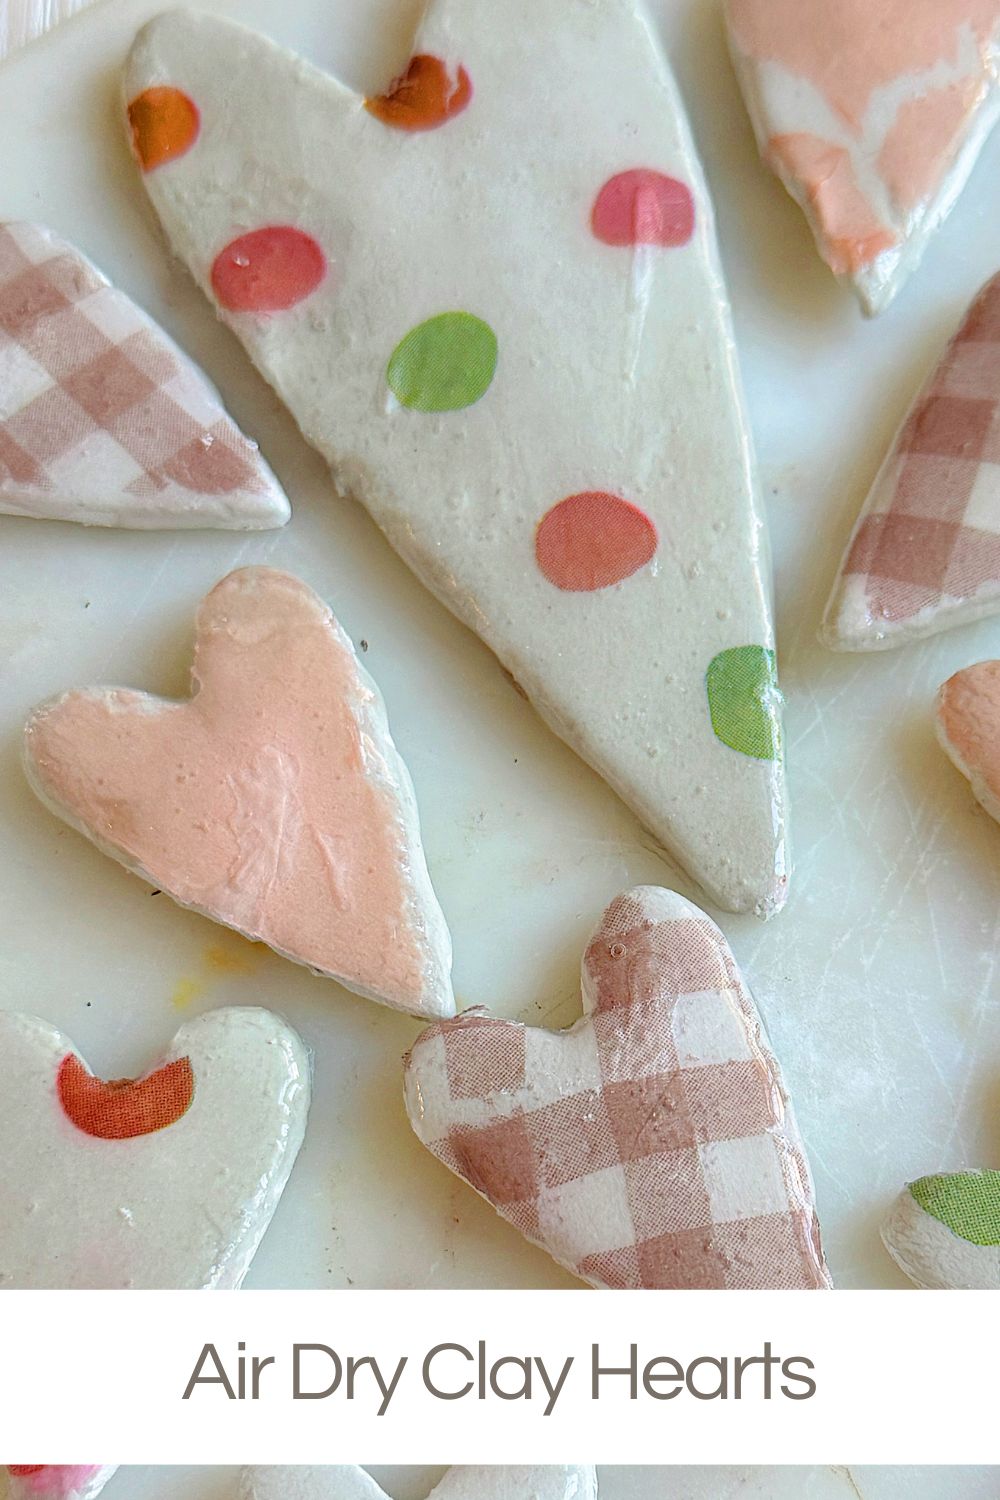
Using decorative paper napkins, I created unique patterns and textures on each heart, giving them a layered, artistic feel. The addition of Clay Glaze adds a glossy finish that makes the hearts look polished and professional.
Step-by-Step Instructions
Supplies You’ll Need
Before we get started, gather the following materials:
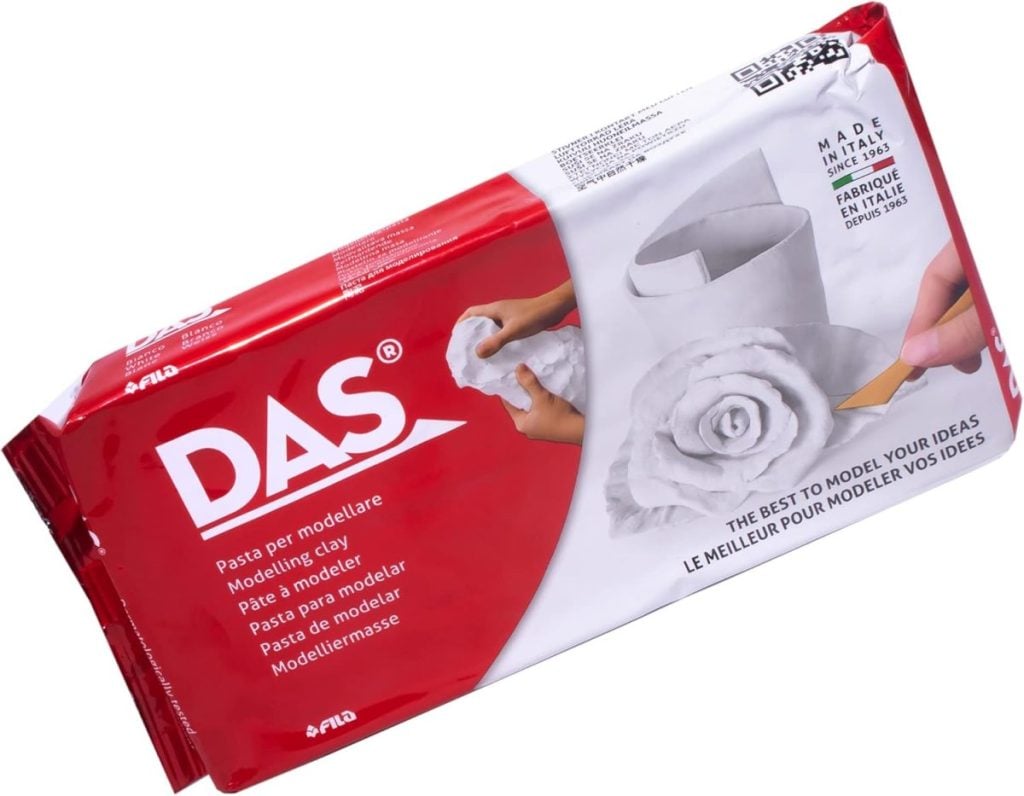
- Air Dry Clay: A pliable clay that’s easy to work with and bakes nicely.
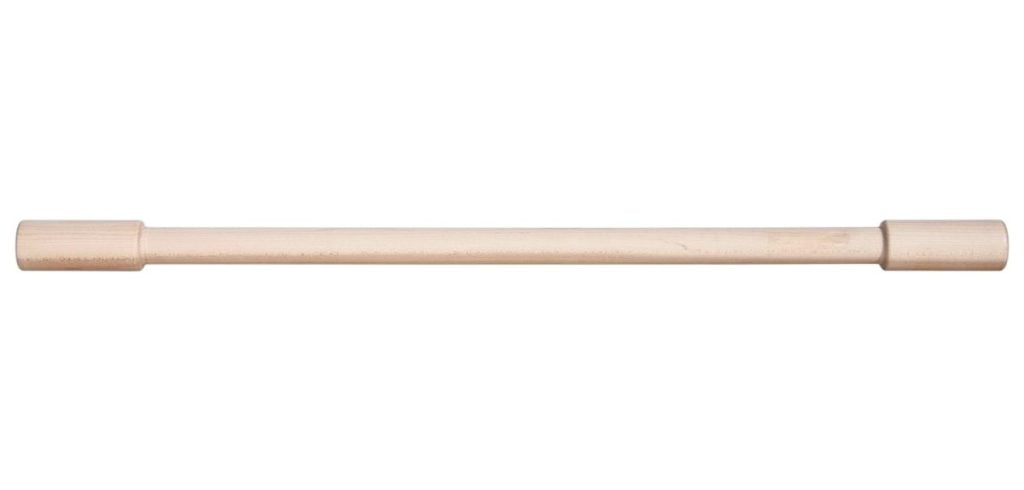
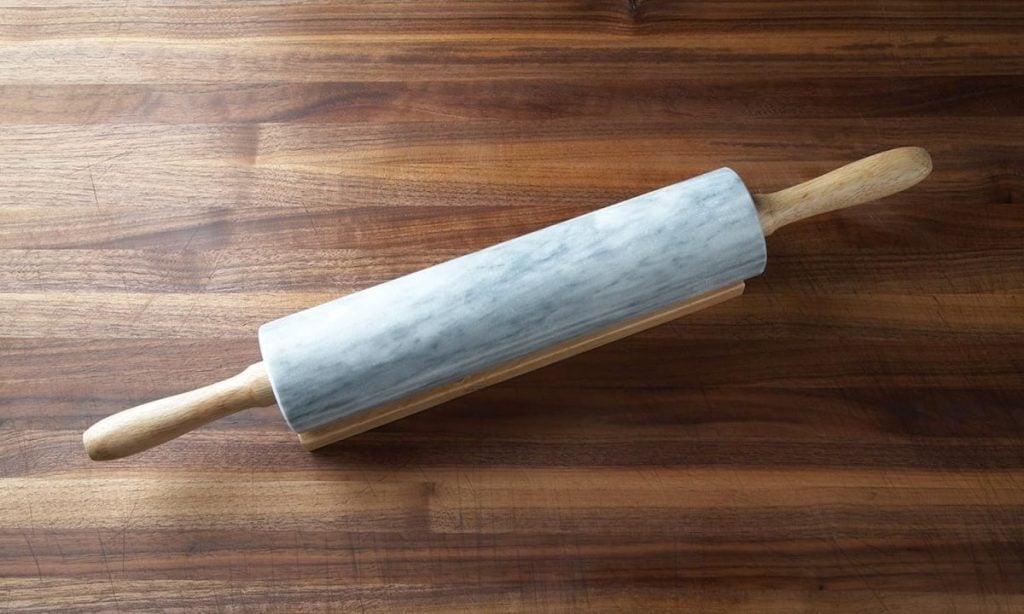
- Edged Rolling Pin: To roll your clay into smooth, even layers.
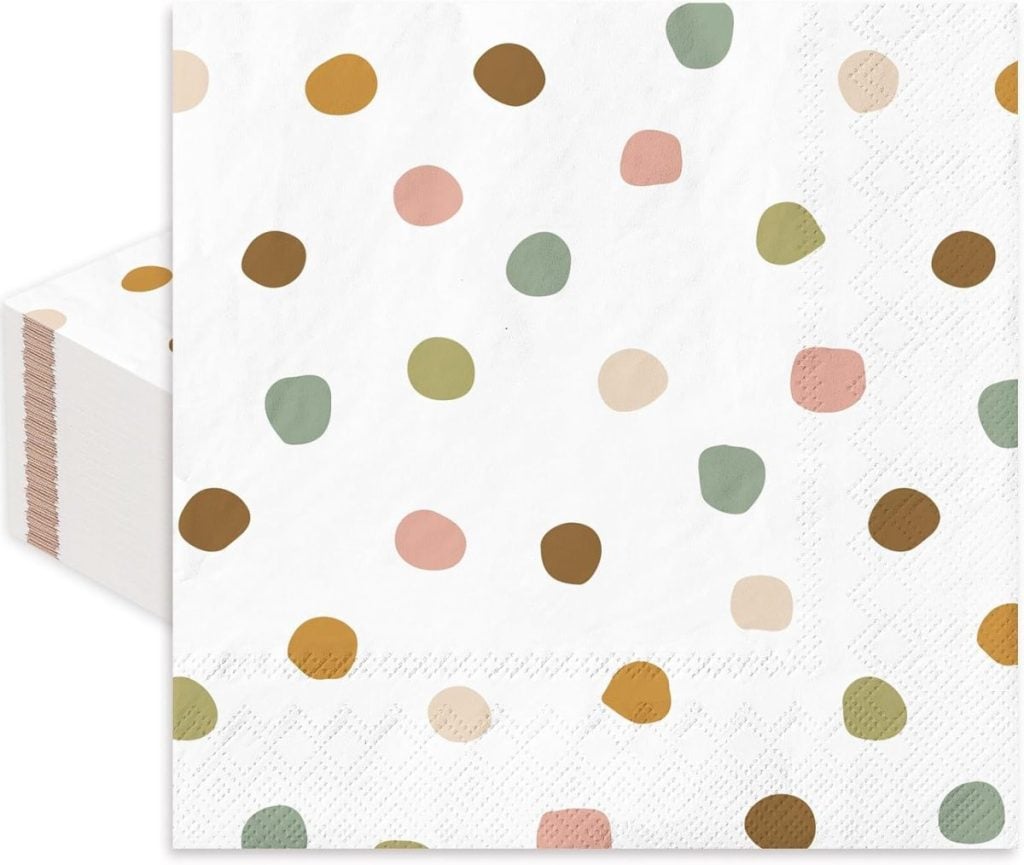
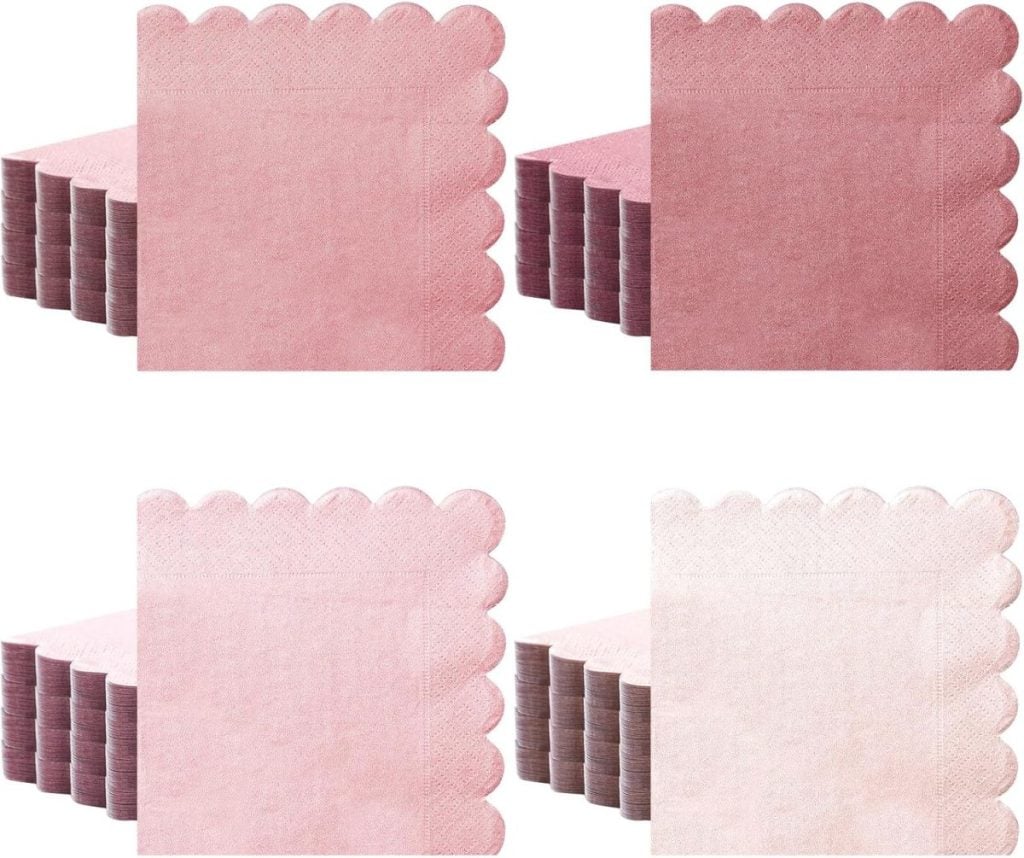
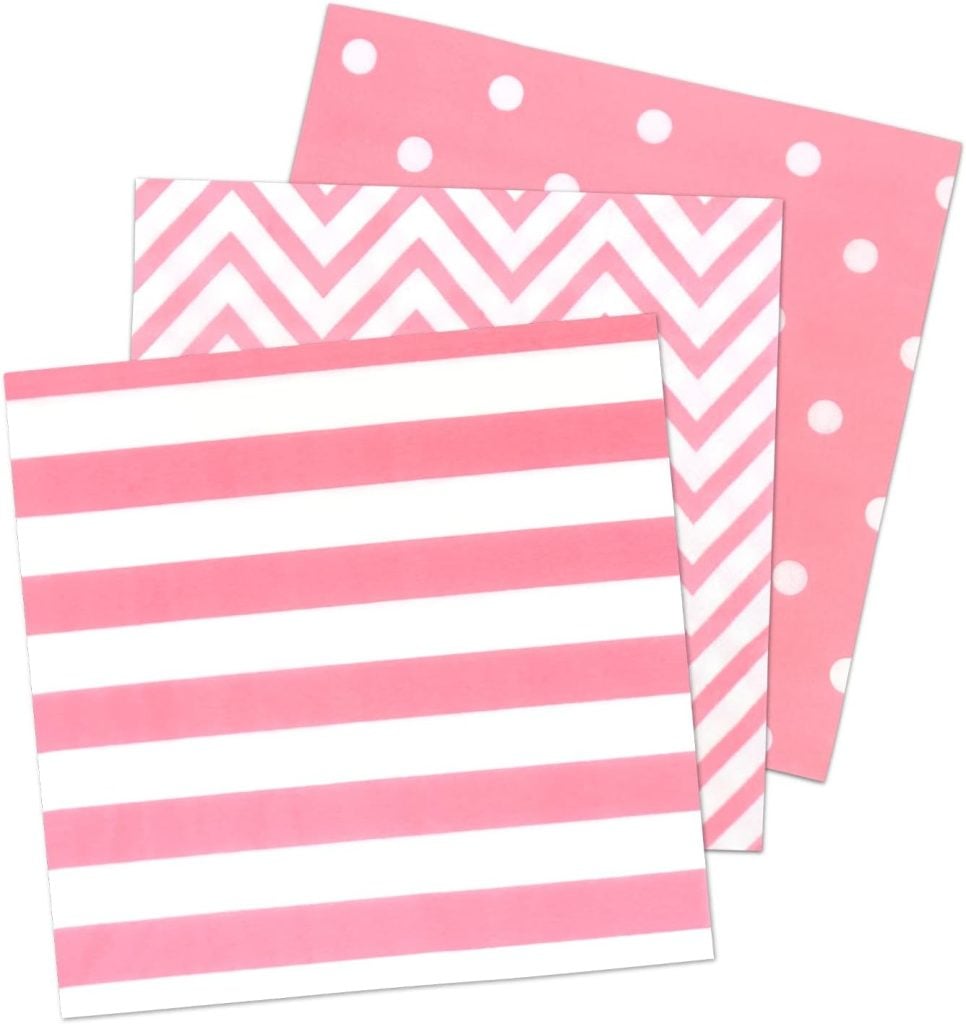
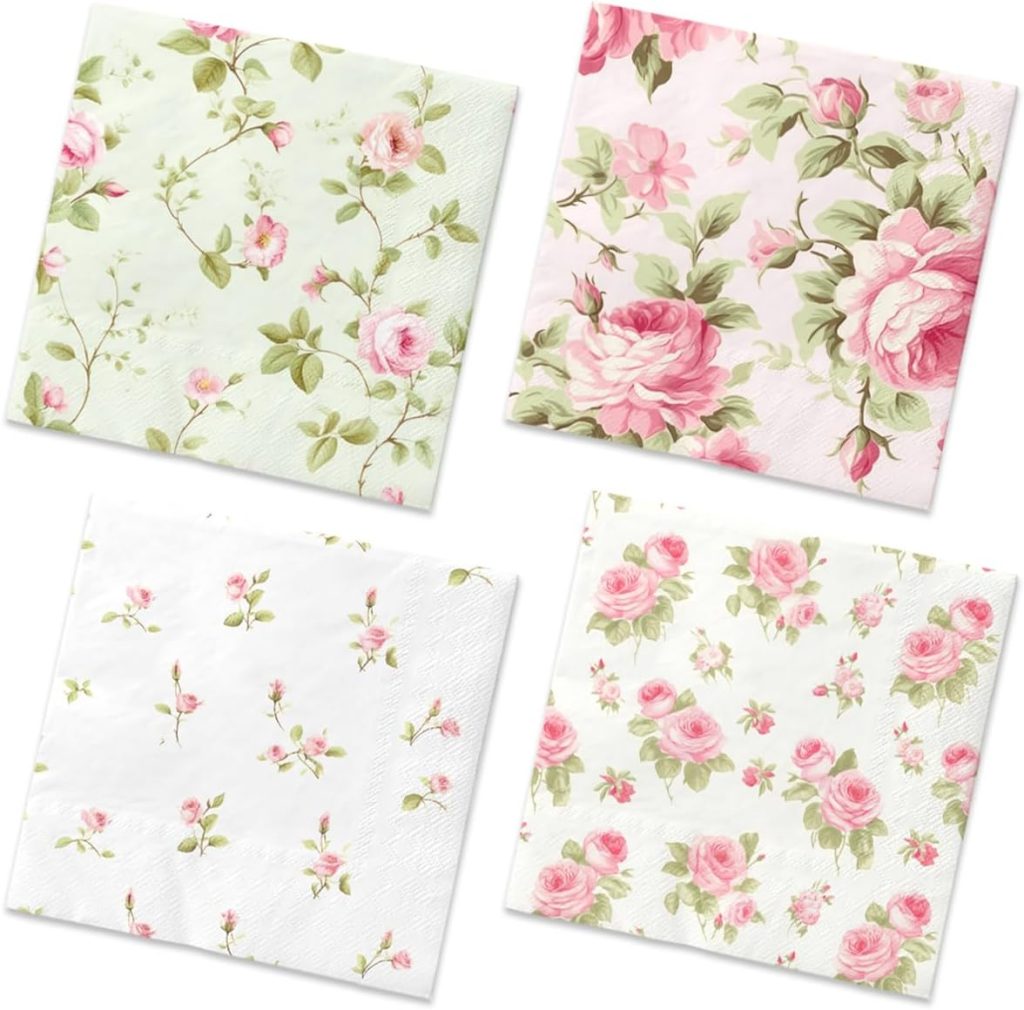
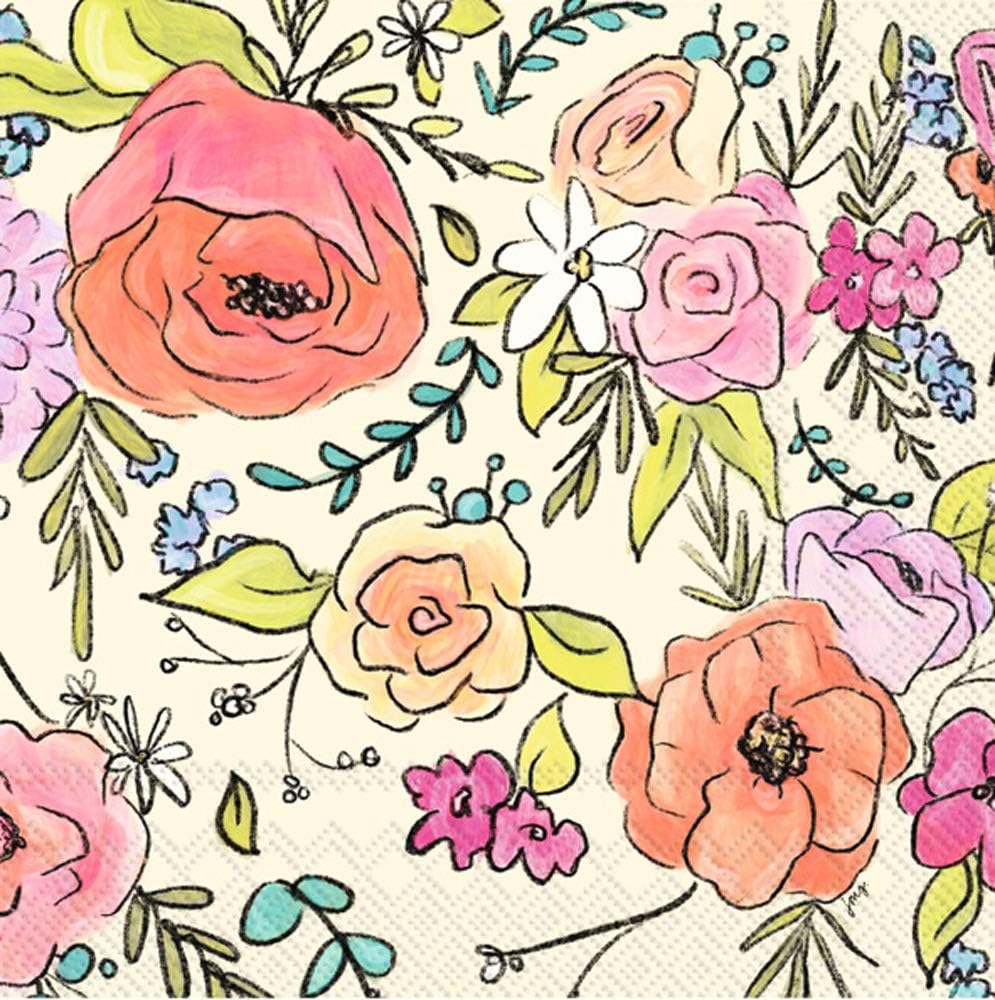
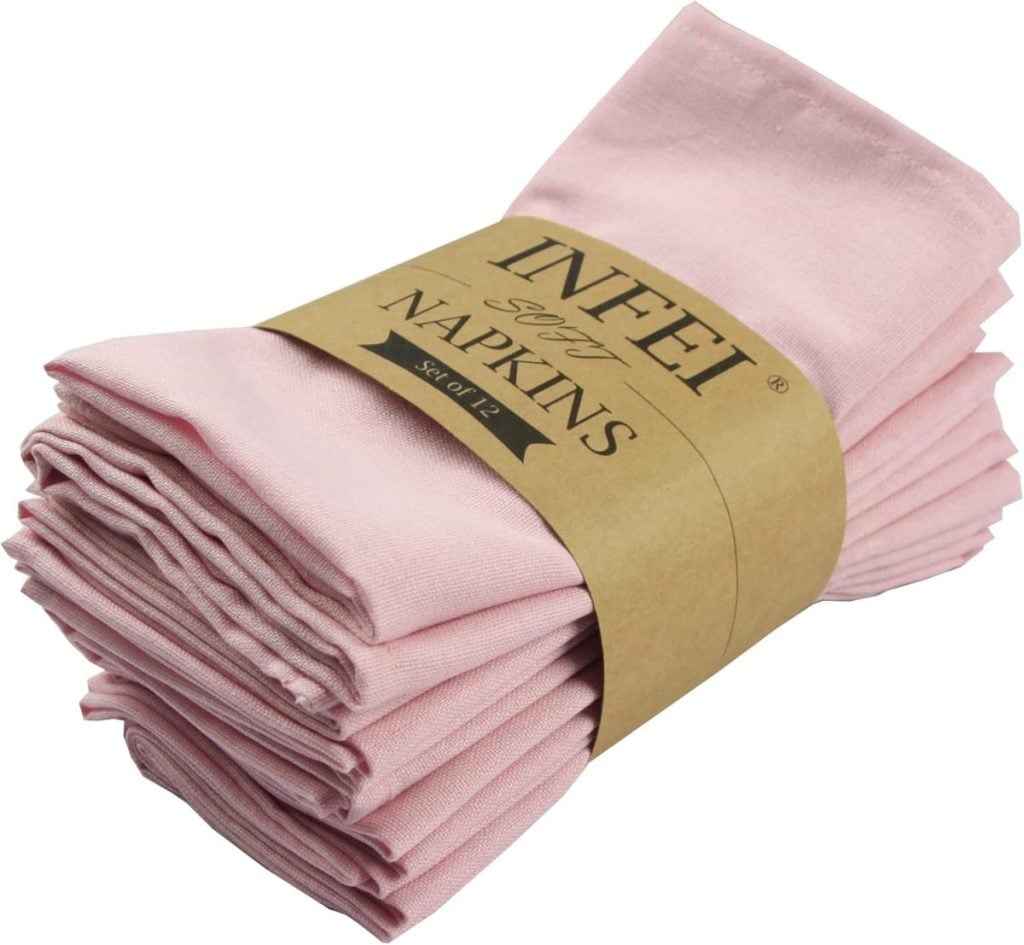
- Decorative Napkins: Choose napkins with patterns or designs that inspire you—holiday motifs, florals, or abstract prints all work beautifully.
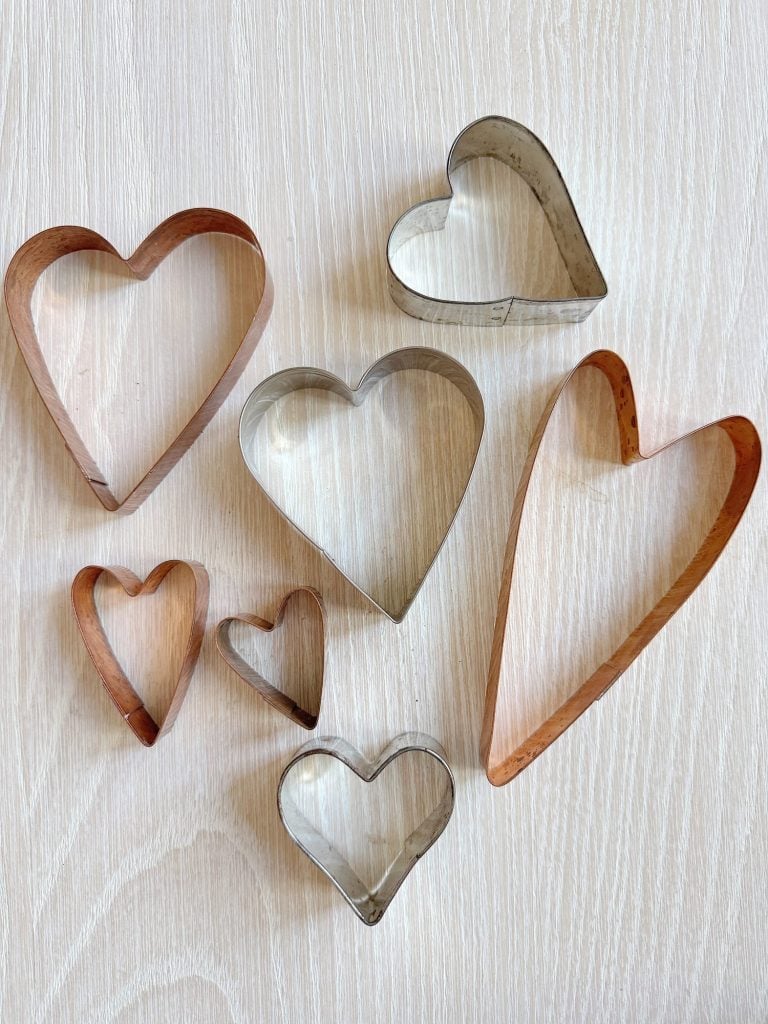
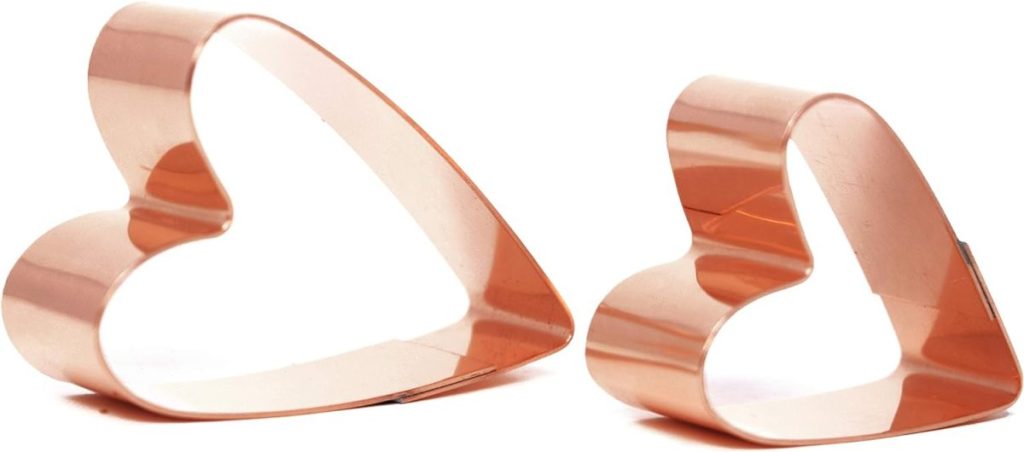
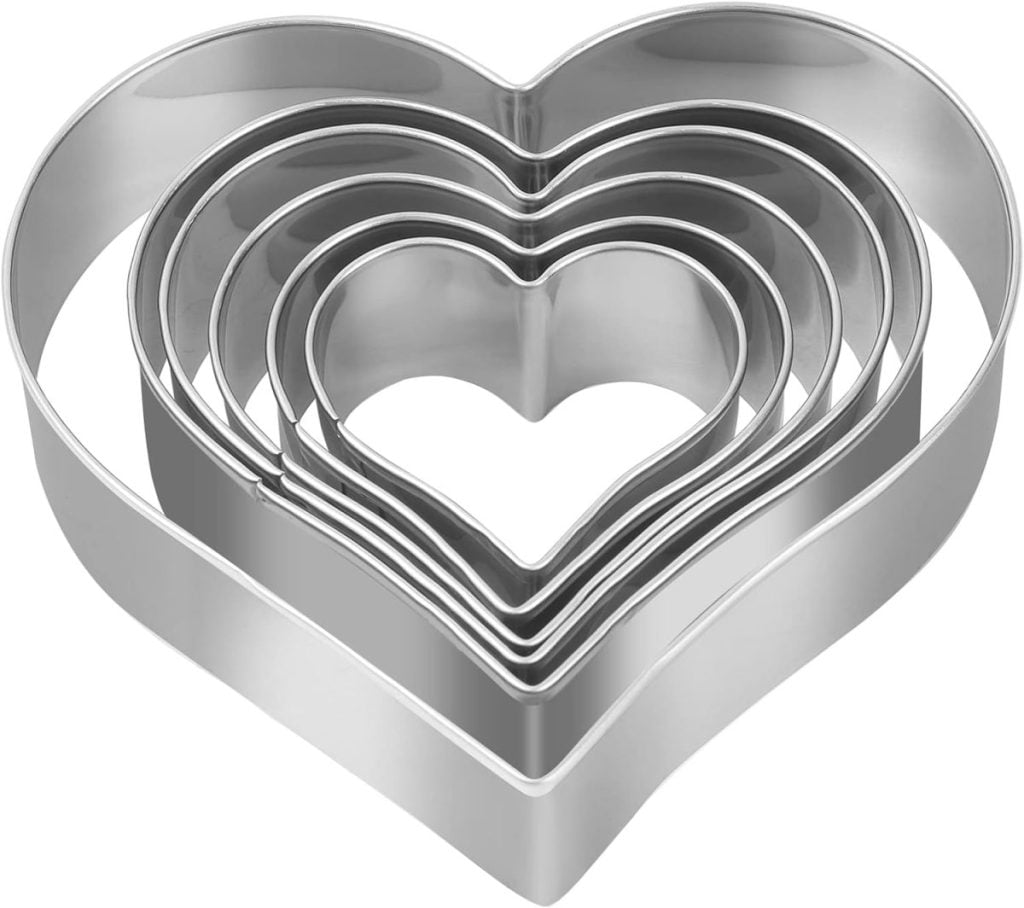
- Heart-Shaped Cookie or Clay Cutters: These shape your ornaments into heart designs.
- Wax paper or a non-stick mat
- Scissors
- Small paintbrush
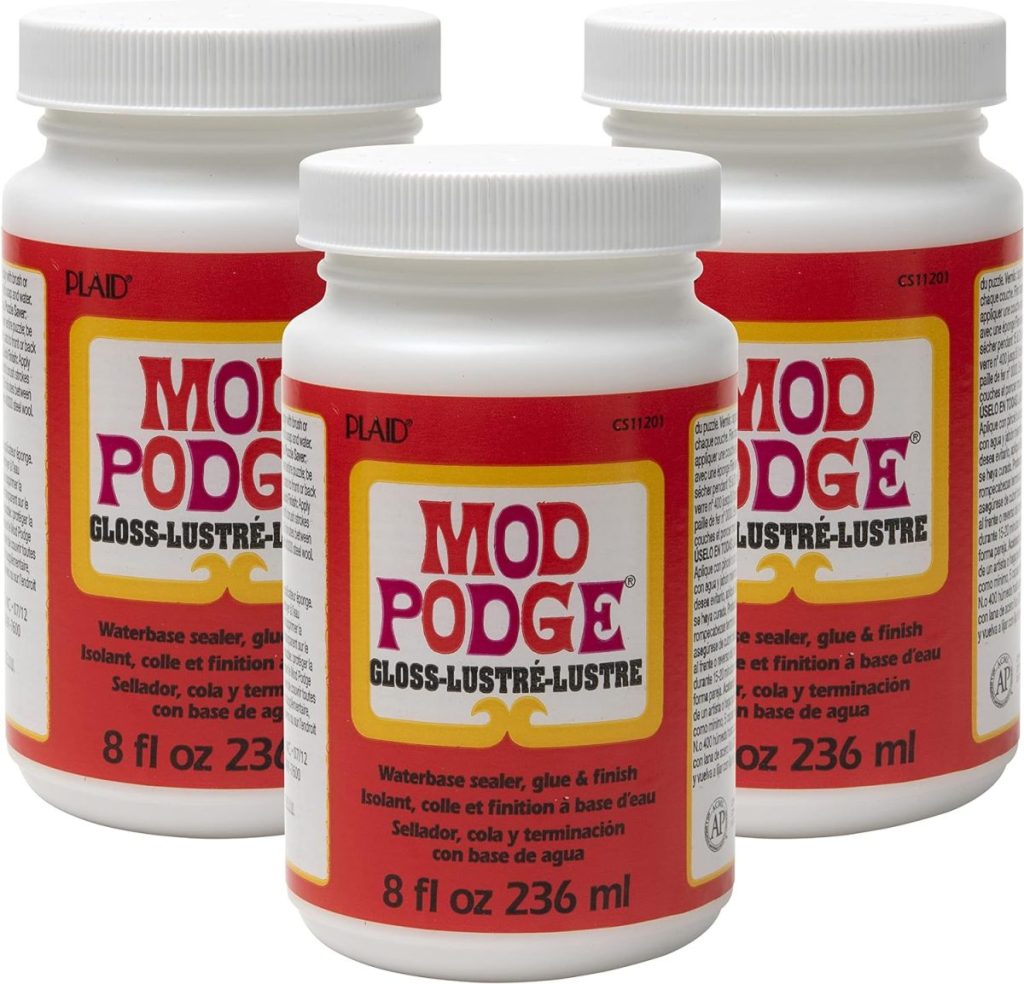
- Optional: Mod Podge or decoupage glue
- Clay Glaze
I may sometimes use affiliate links on this blog, which means I earn a small commission if you purchase through the link. The price will be the same whether you use the affiliate link or go directly to the vendor’s website using a non-affiliate link.

If you are wondering about my color palette for these ornaments, check back tomorrow to see the colors I used in our family room.
Step-by-Step Instructions for Crafting Clay Ornaments
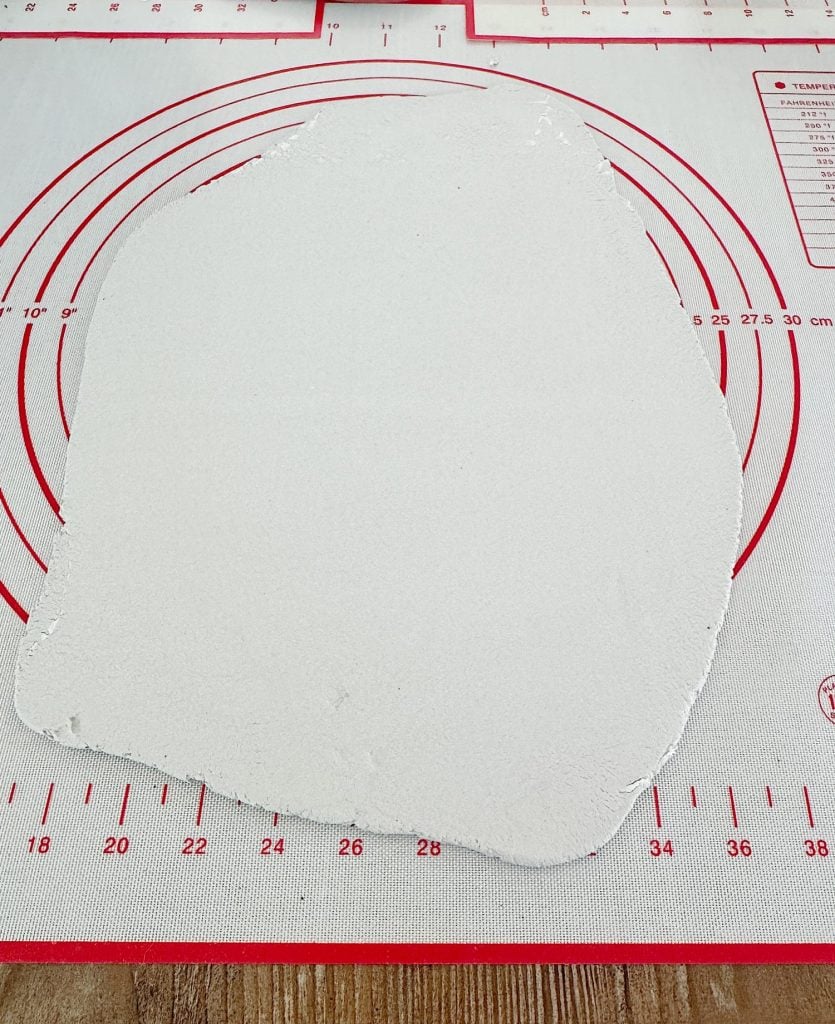
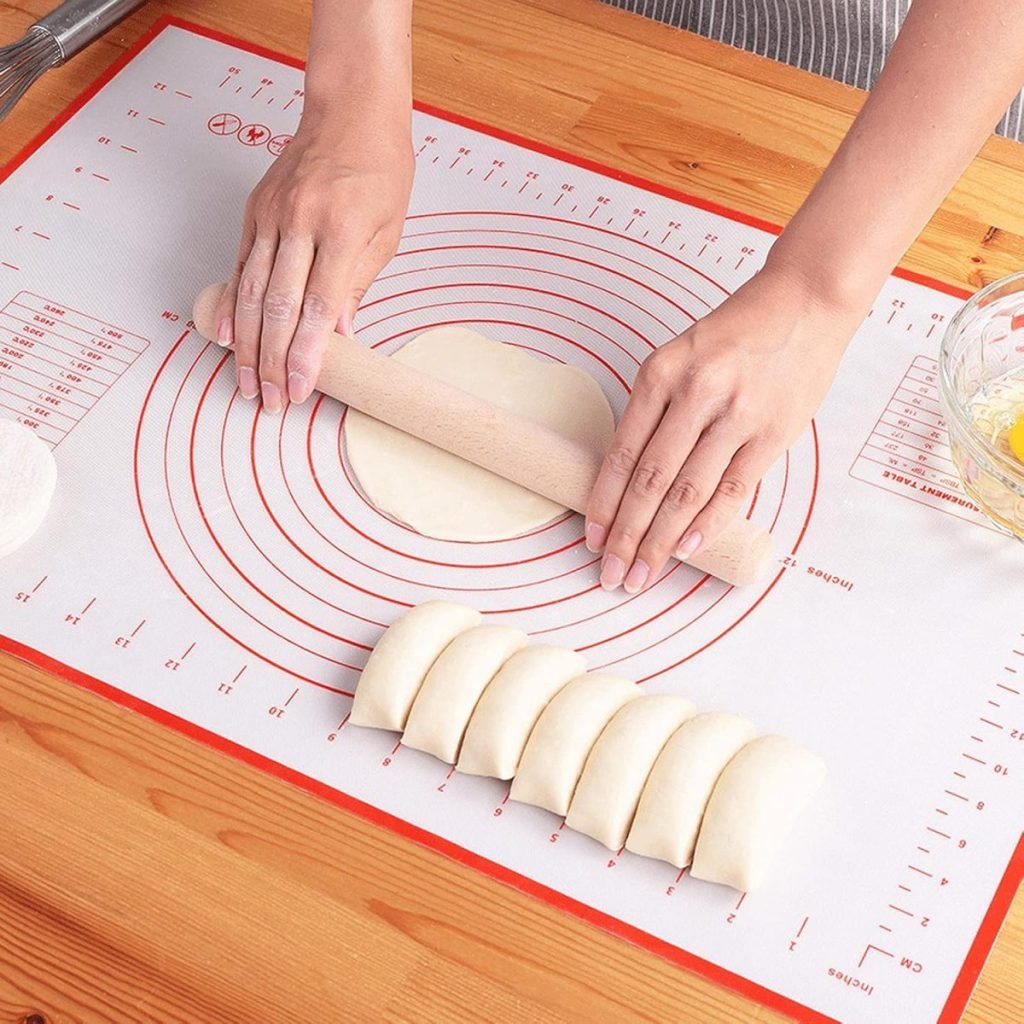
1. Roll Out the Clay
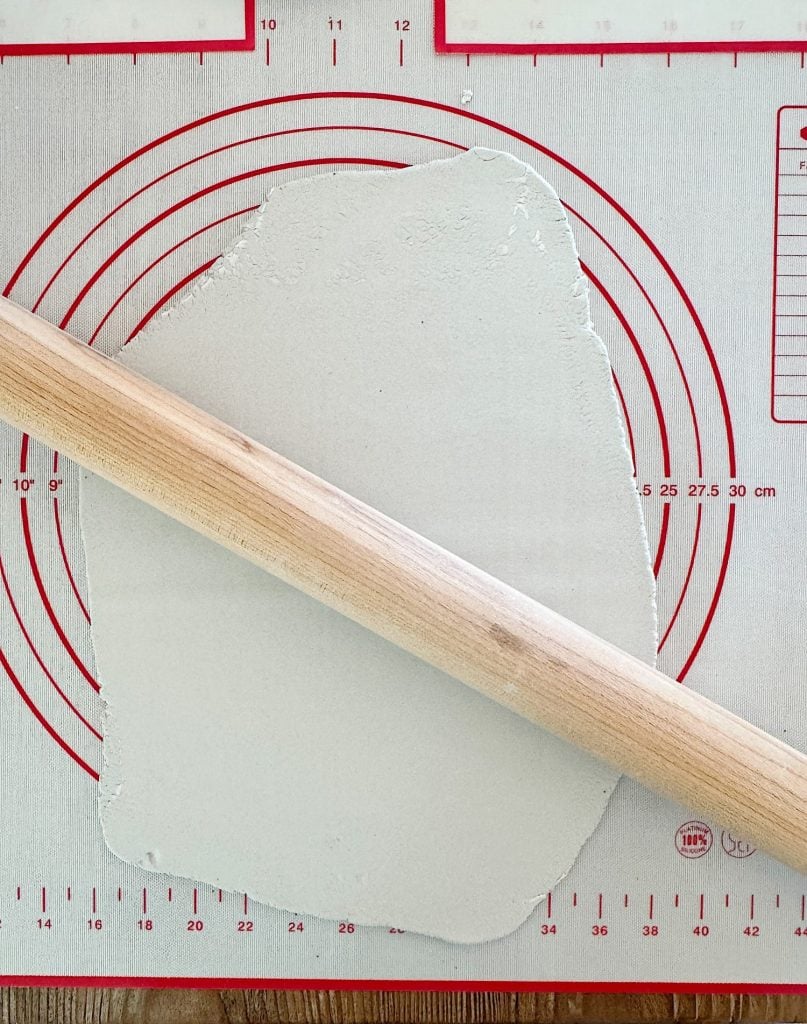
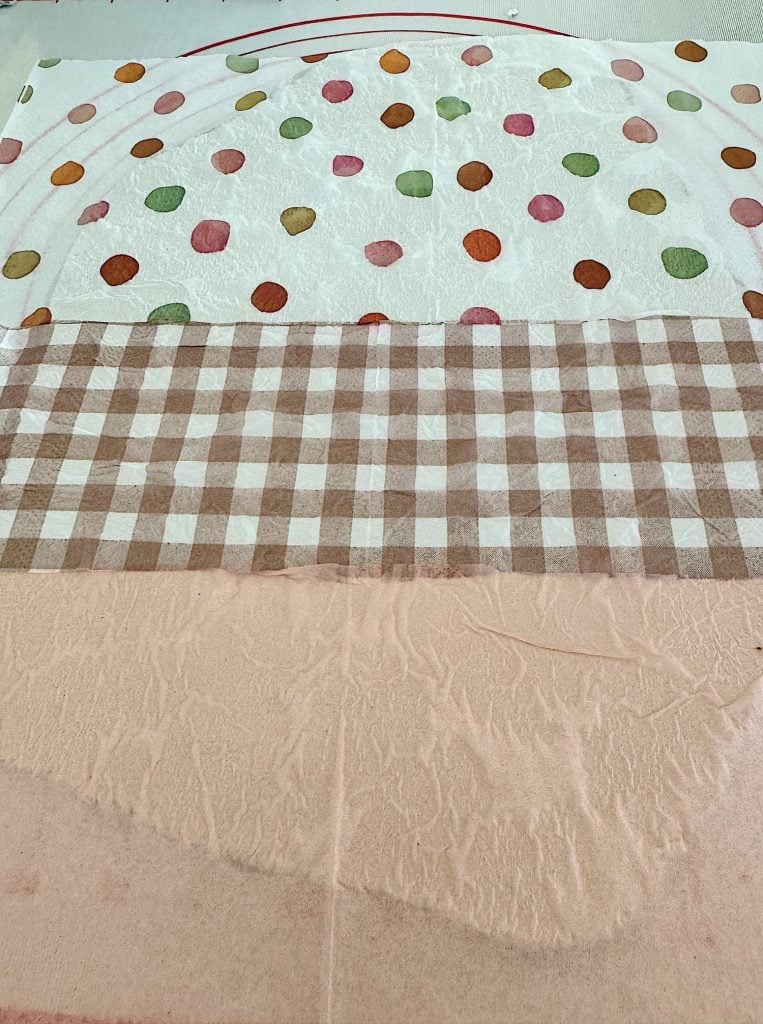
Place a wax paper or a non-stick mat on your work surface. Begin by rolling your air dry clay into a flat sheet. I used my rolling pin with a raised edge to ensure the clay was the same thickness on the entire sheet. Aim for consistent thickness, about 1/8″ – 1/4″ is ideal.

2. Prep Your Napkin
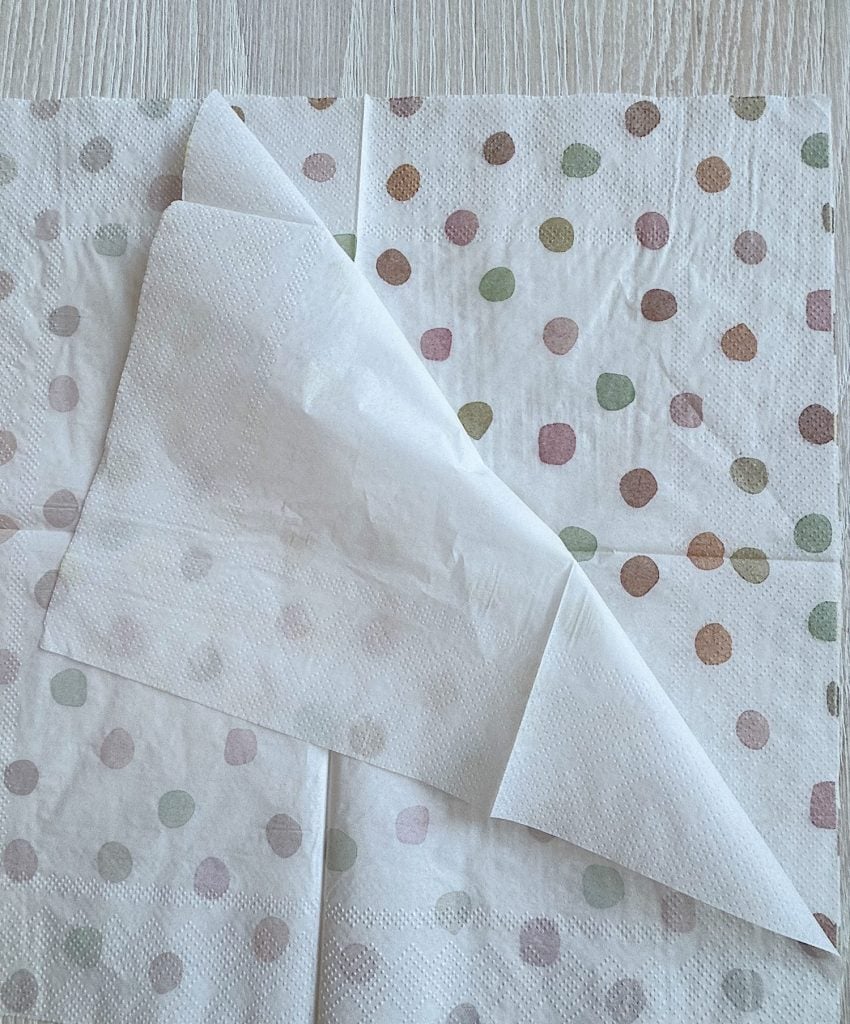
Separate the top printed layer of your napkin from the plain backing layers. Only the thin, printed layer is needed for this project. Handle it gently to avoid tearing.
3. Position the Napkins on the Clay
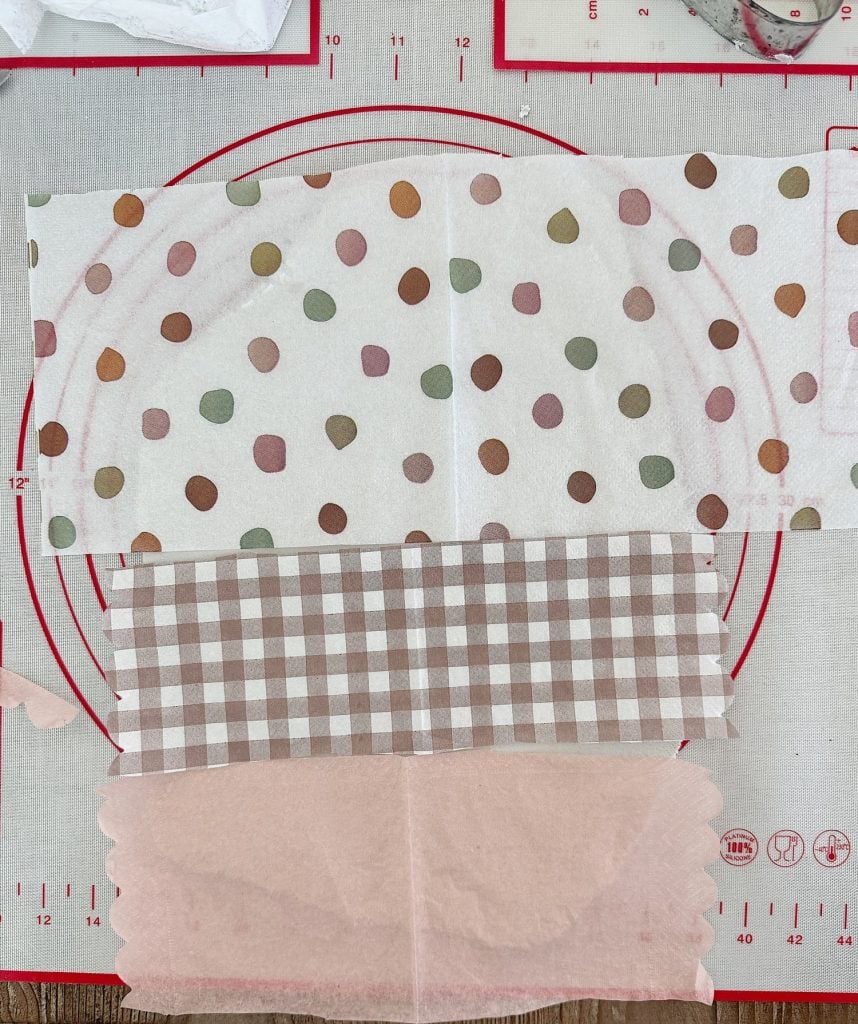
Lay the napkin designs right side up on your rolled-out clay. Position them carefully, as this will be the visible side of your ornament. Gently rub the napkins into the clay for a smoother design.
4. Attach the Design
Brush a brush a thin layer of Mod Podge or decoupage glue onto the surface of the clay. Carefully place a piece of the napkin on top, smoothing it gently with your fingers or a soft brush to avoid wrinkles.
Do not lift the napkin off the clay. Leave it on.
5. Cut Out Shapes
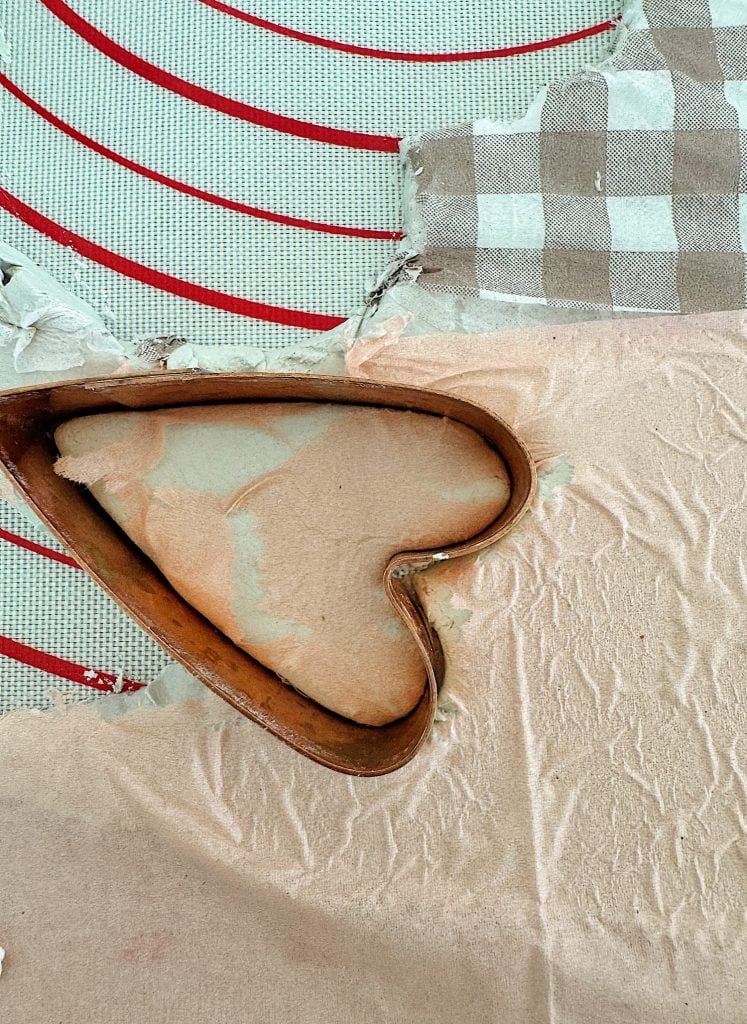
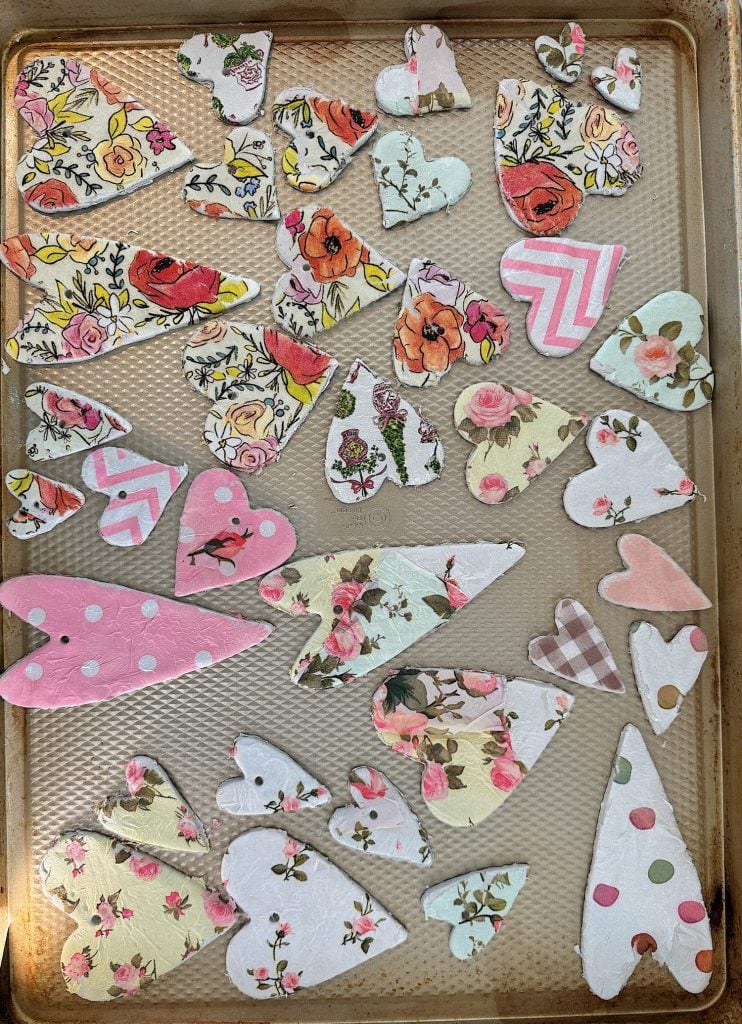
Use heart-shaped cookie cutters or specialized clay cutters to create your desired shapes. I wanted a vintage feel, so I loved it when the napkin tore a bit.
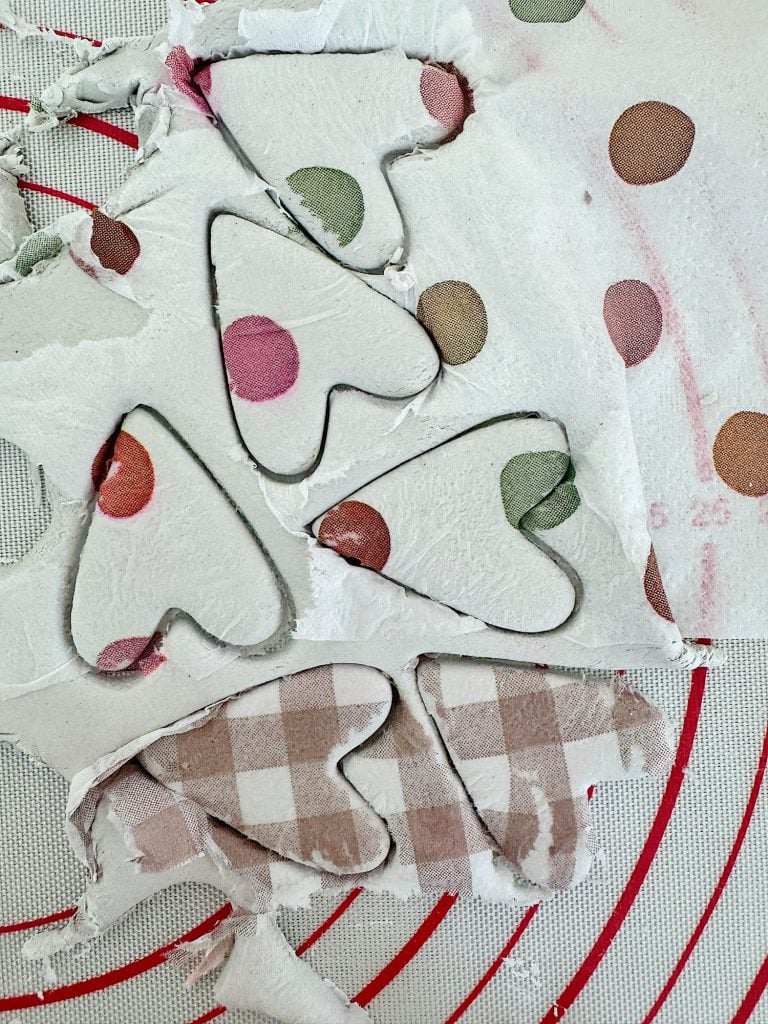
Press down hard so the napkin and clay are cut through. This will make it easier and prevent tears in the napkin. As soon as you finish cutting, remove any excess napkin from the scraps so you can reuse the clay.
If you plan to hang your ornaments, punch a small hole at the top with a wooden skewer to thread the ribbon or twine through.
6. Bake Your Clay
Transfer your cut pieces to a baking sheet lined with parchment paper. Bake in your oven at 225°F for about 15 minutes, or follow the specific instructions for your clay brand. This will harden the clay and set the transferred design.
Flip them over and bake for an additional 10-15 minutes, or until the underside is dry. (I don’t recommend using a baking rack as the clay will emulate the design from the rack surface.)
Let them cool completely. This is crucial before applying any finish to ensure the pieces stay intact.
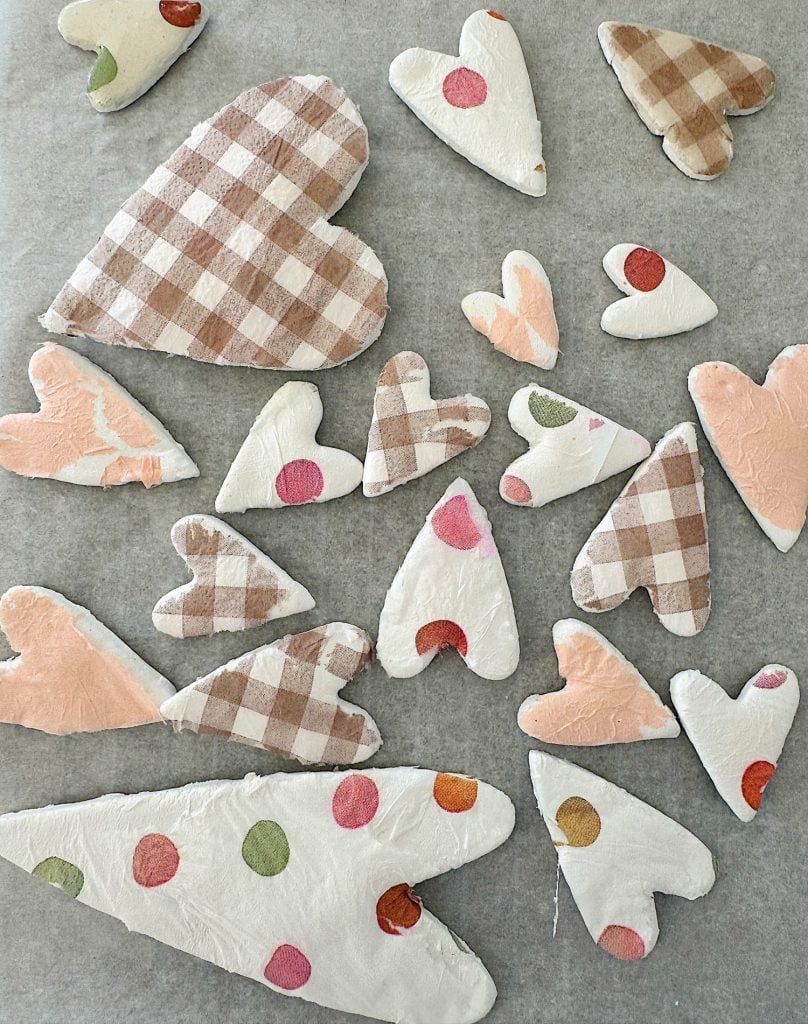
I made these air-dry hearts during my girls’ weekend in Ventura, so we had many beautiful versions to bake. Some were intentionally rough around the edges (mine), and others were more perfect.
We loved them all.

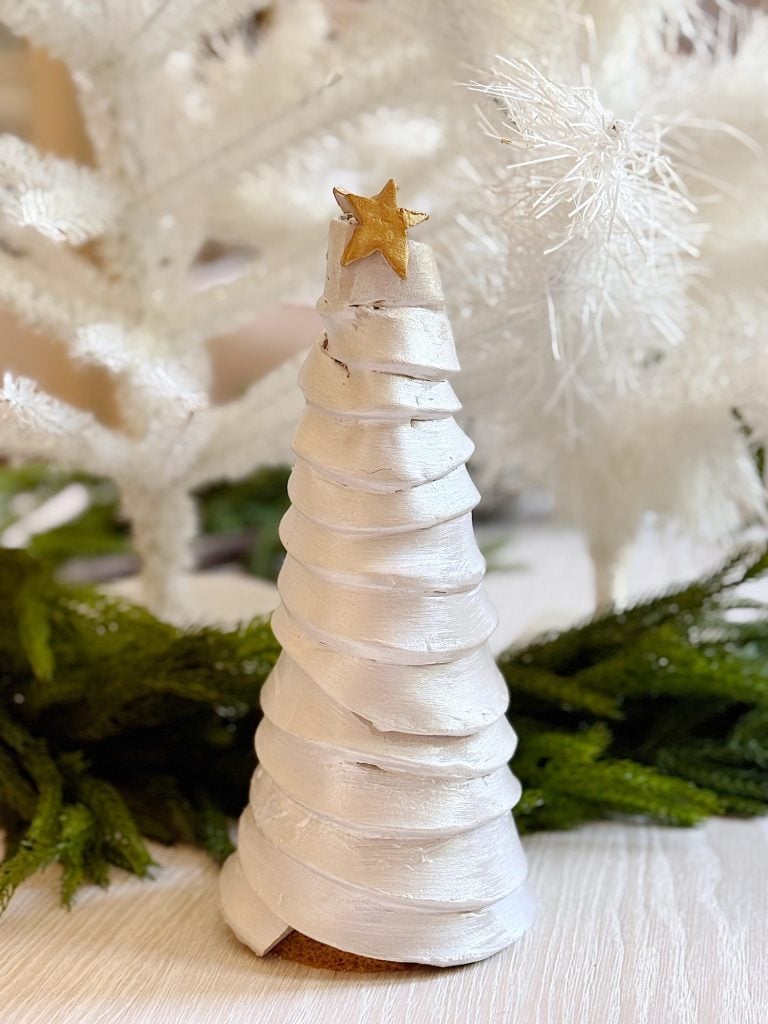
7. Add a Glossy Finish
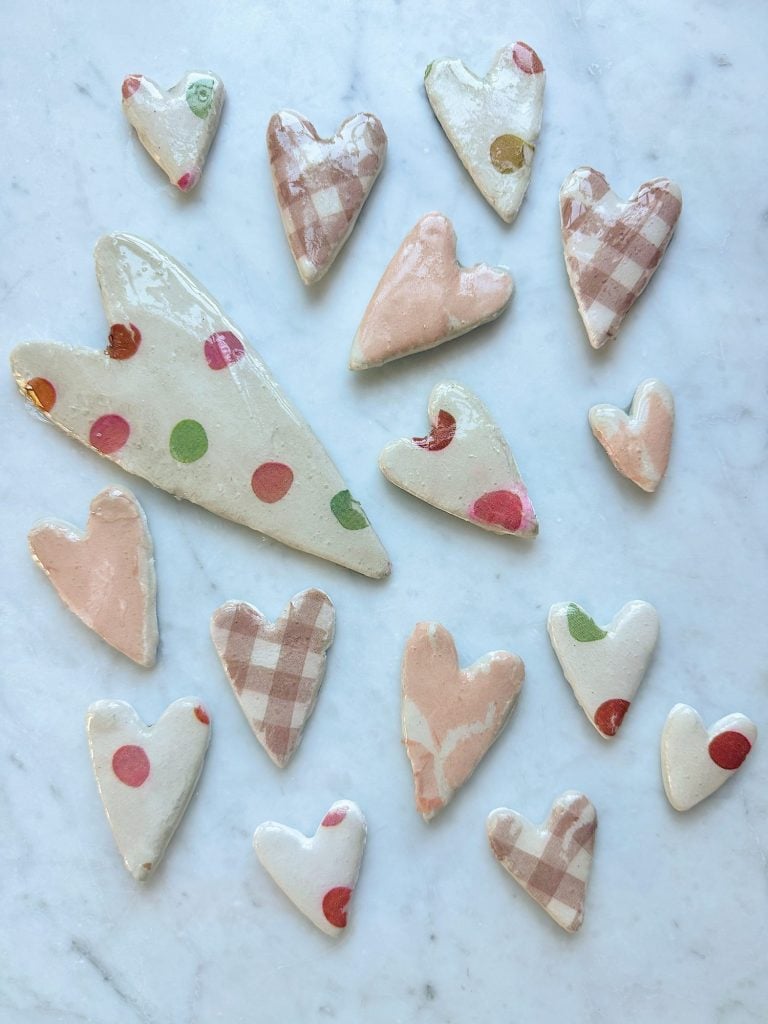
Once the paint dried, I added a coat of clear glaze to each heart. This step is optional—but I love the shine it gives. It makes the stars look finished and adds a bit of durability, especially if you’re using them outdoors or saving them for future holidays.
I use a brush-on Clay Glaze with a glossy finish and let it dry overnight.
Using Air Dry Clay Hearts in Your Decor
These versatile clay hearts can be used creatively to enhance your winter decor. Here are some of my favorite ideas:
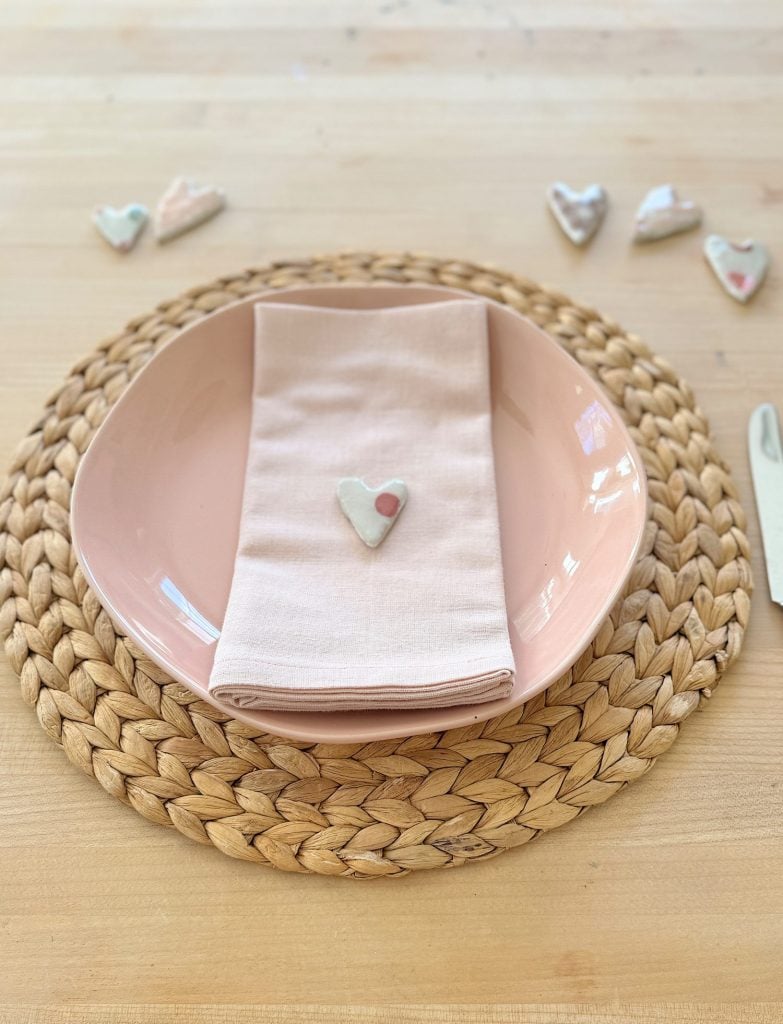
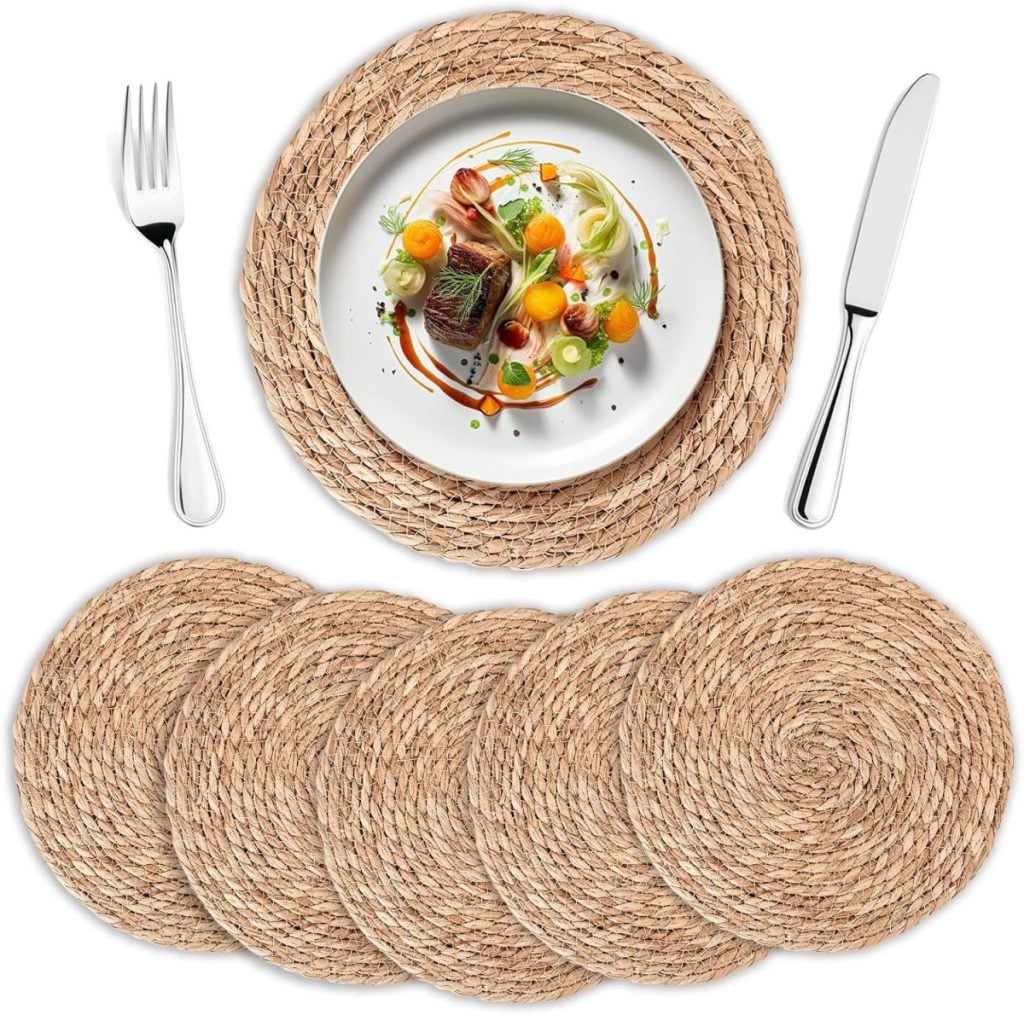
Table Settings
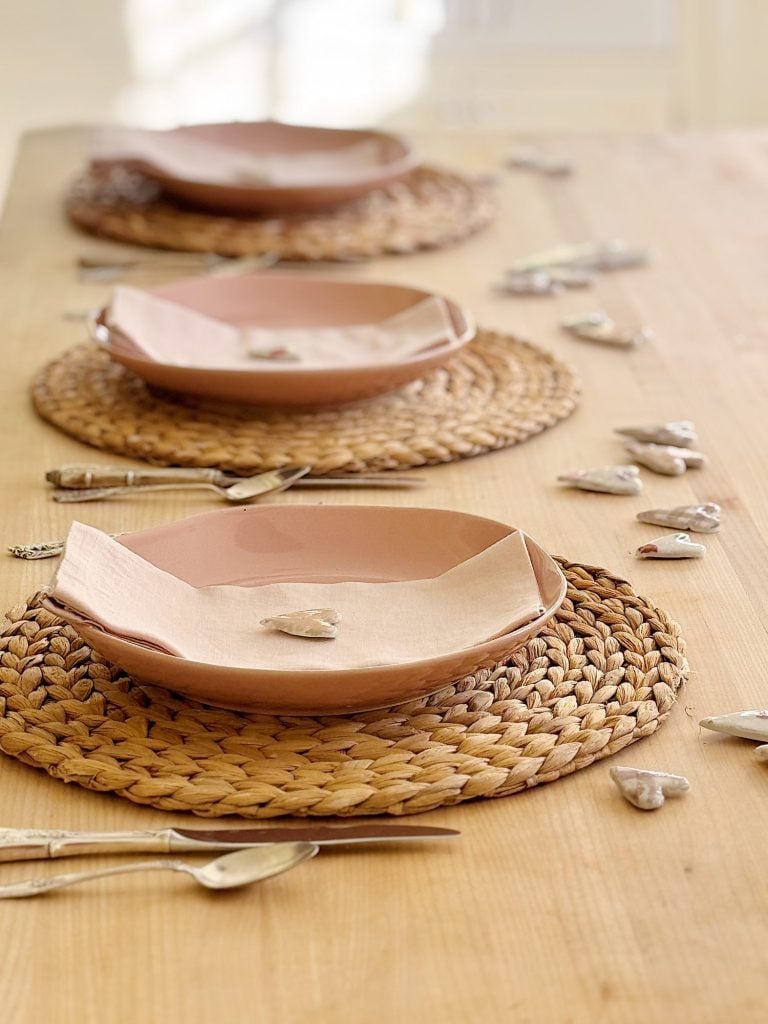
Place a clay heart on each plate for a simple yet elegant table setting. You can even personalize the hearts with names or initials to use them as place cards.
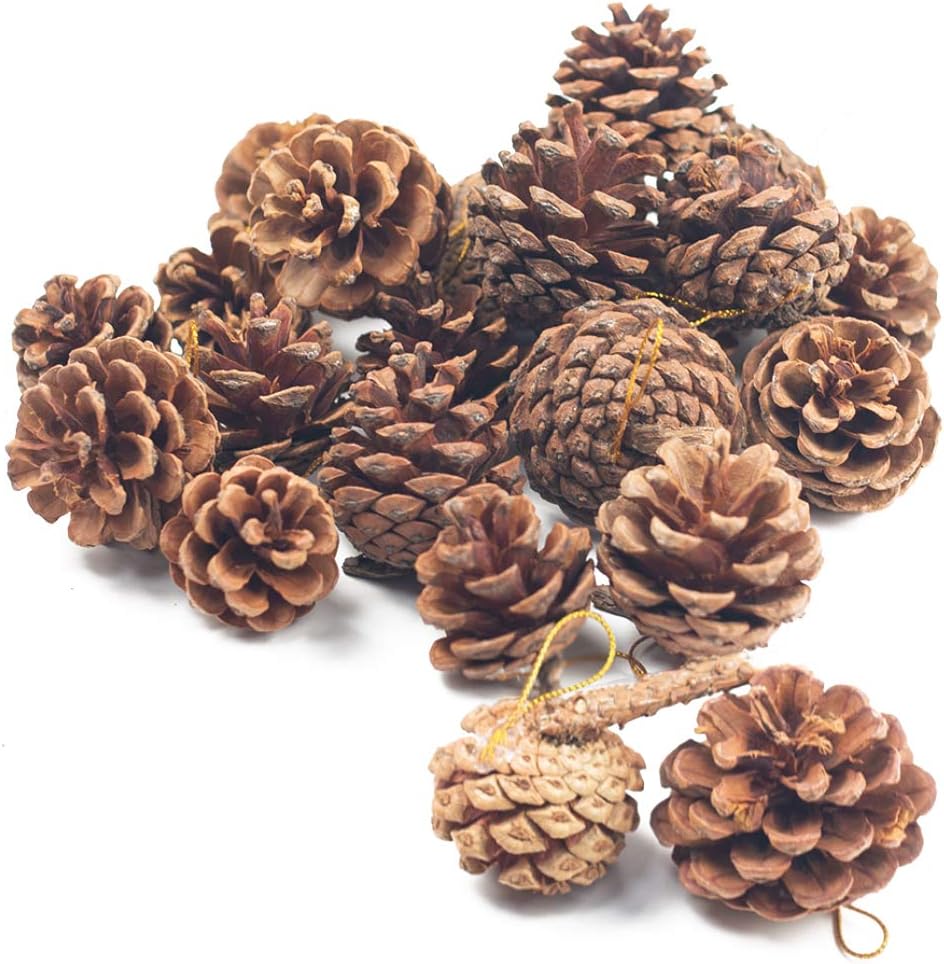
Mantel Decor
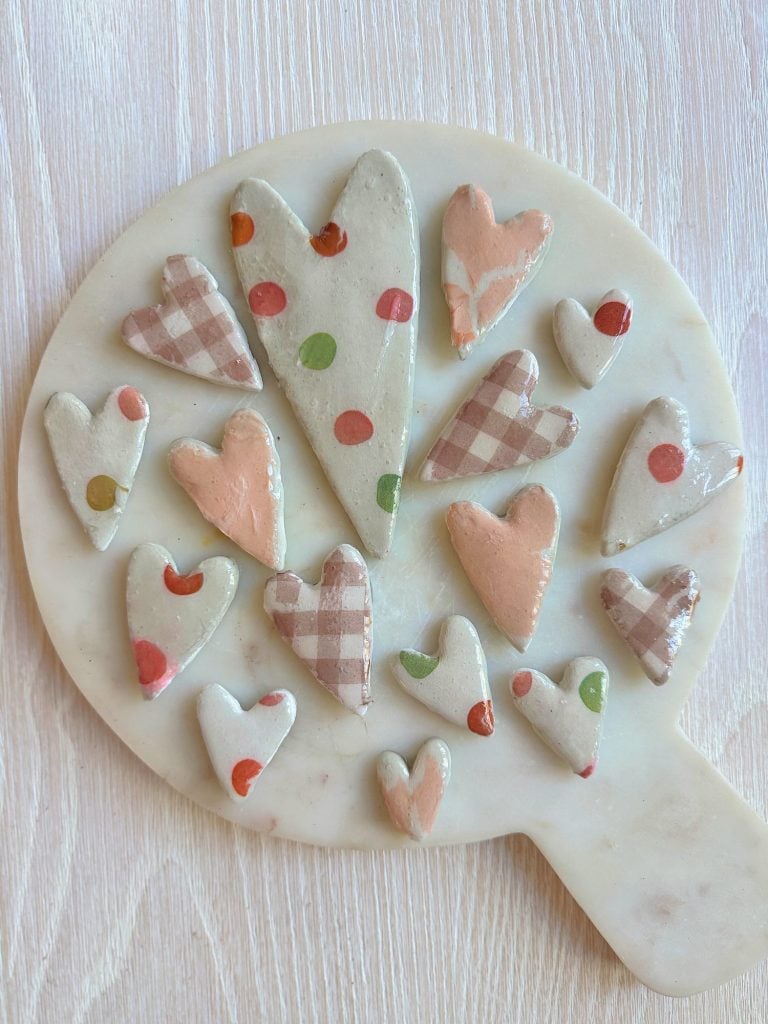
Scatter the hearts across your mantel or display them in a shallow bowl alongside other seasonal elements like candles, pinecones, or faux greenery.
Garland
Add a hole to each heart before drying. String the hearts together with twine or ribbon to create a delicate garland. Hang it across a window, above your mantel, or along a shelf.

Ornaments
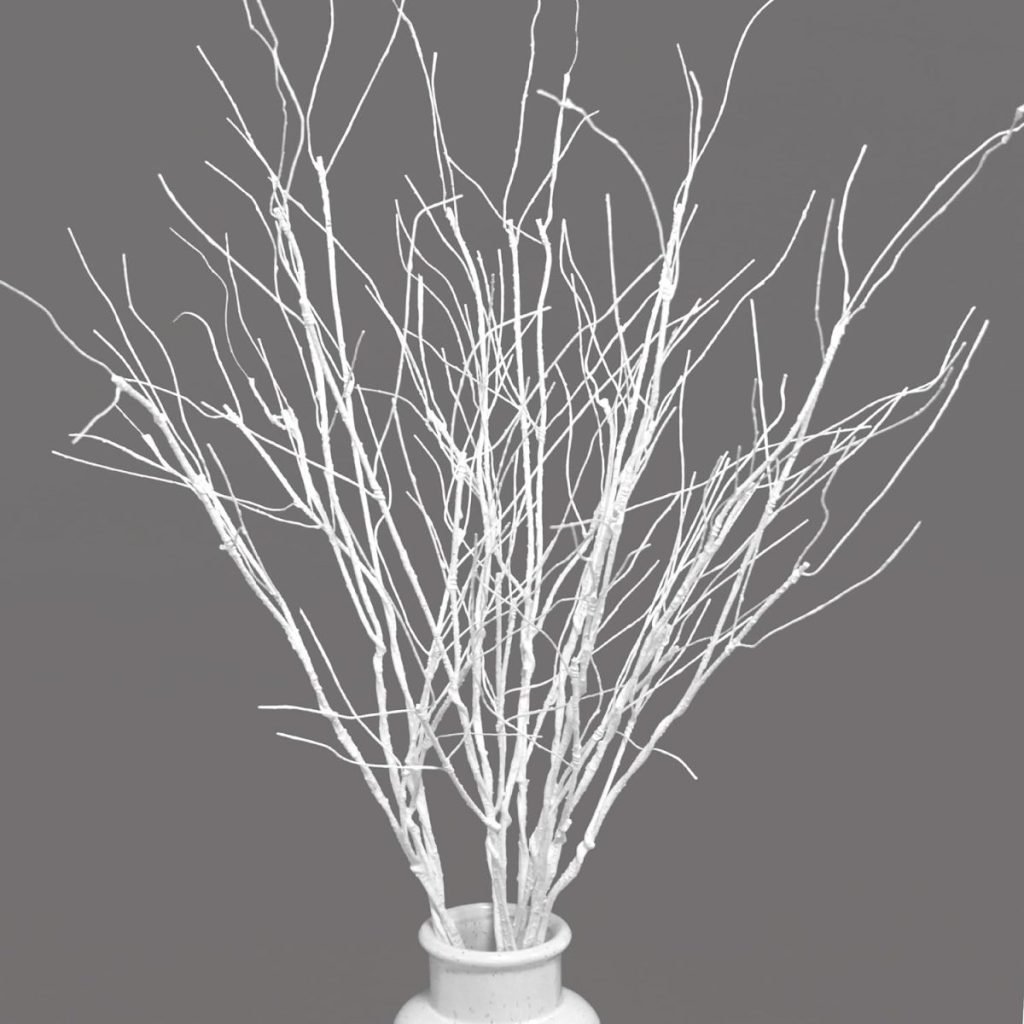
If you added holes in the hearts, you can hang them on a small indoor tree or use them as ornaments on a winter-themed branch arrangement.

Gifts
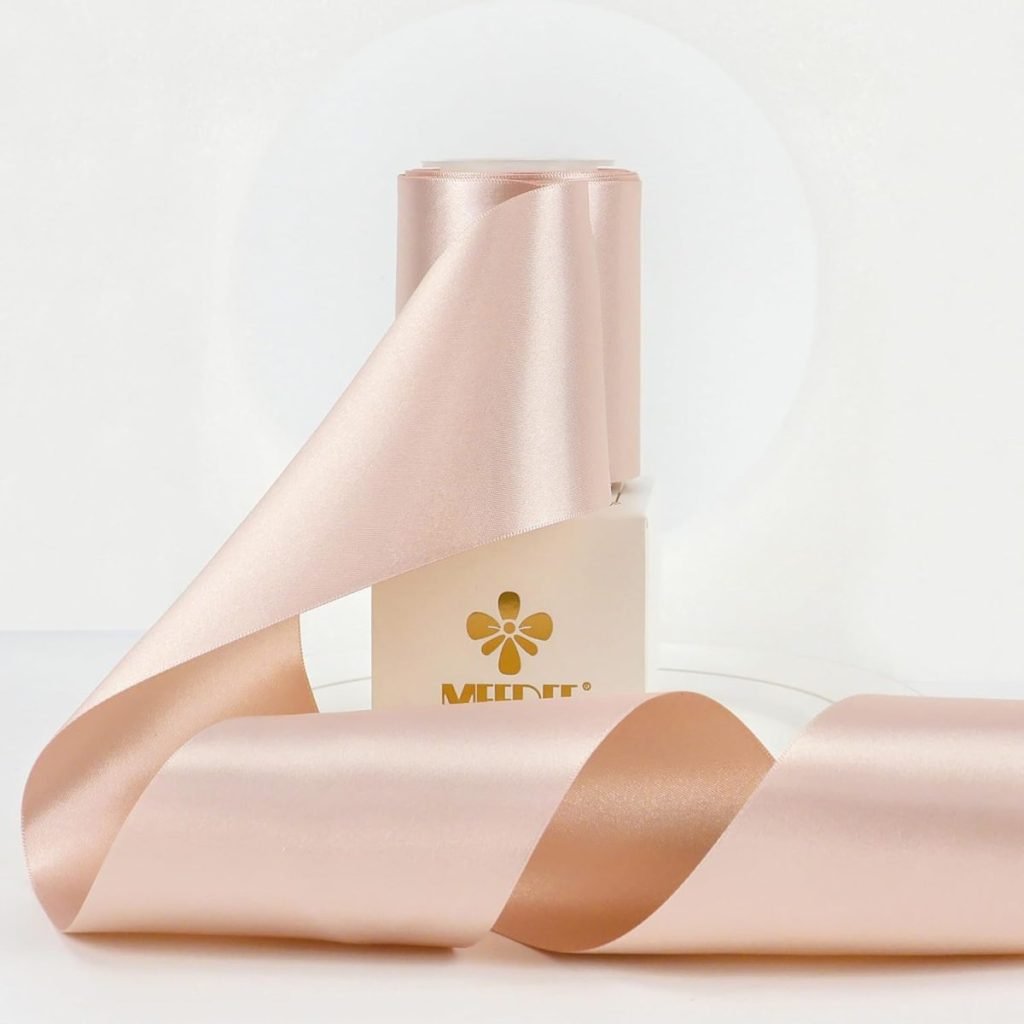
These hearts make lovely, handmade gifts. Tie one onto a wrapped present as a charming, personalized tag, or give a set of hearts as a thoughtful keepsake.
Coffee Table Decor
Arrange a few hearts in a decorative tray on your coffee table. Pair them with a candle or a small vase of flowers for a cohesive look.
Why I Love This Project
Making these air dry clay hearts has been one of the most enjoyable DIY projects I’ve done in a while. Not only are they simple and affordable to make, but they also feel deeply personal and unique. I love how they tie into my blush and taupe winter palette, adding a romantic yet understated charm to my home.
Each heart is a little piece of art, and crafting them is incredibly calming. Additionally, the versatility of these hearts allows you to use them in countless ways throughout your home. Whether you’re decorating for winter, Valentine’s Day, or any other occasion, these hearts are a beautiful addition to any space.
Tips for Success
- Work in Small Batches: Roll out and cut a few hearts at a time to prevent the clay from drying before you apply the napkin designs.
- Be Gentle with the Napkins: Napkins can tear easily, so handle them carefully when applying them to the clay.
- Experiment with Designs: Don’t be afraid to mix and match napkin patterns for a unique, eclectic look.
- Seal for Longevity: The Clay Glaze adds shine, protects the napkin design, and ensures the hearts are durable.
Final Thoughts
These air dry clay hearts are more than just decor—they reflect the joy and creativity of making something by hand. They’ve added a special touch to my winter decor, and I love how they remind me of the season’s beauty. Whether crafting for yourself or making gifts for loved ones, I hope this project inspires you to get creative and embrace the art of DIY.
What colors or designs would you use for your own clay hearts? I’d love to hear how you’d make this project your own! Let me know in the comments below. Happy crafting!
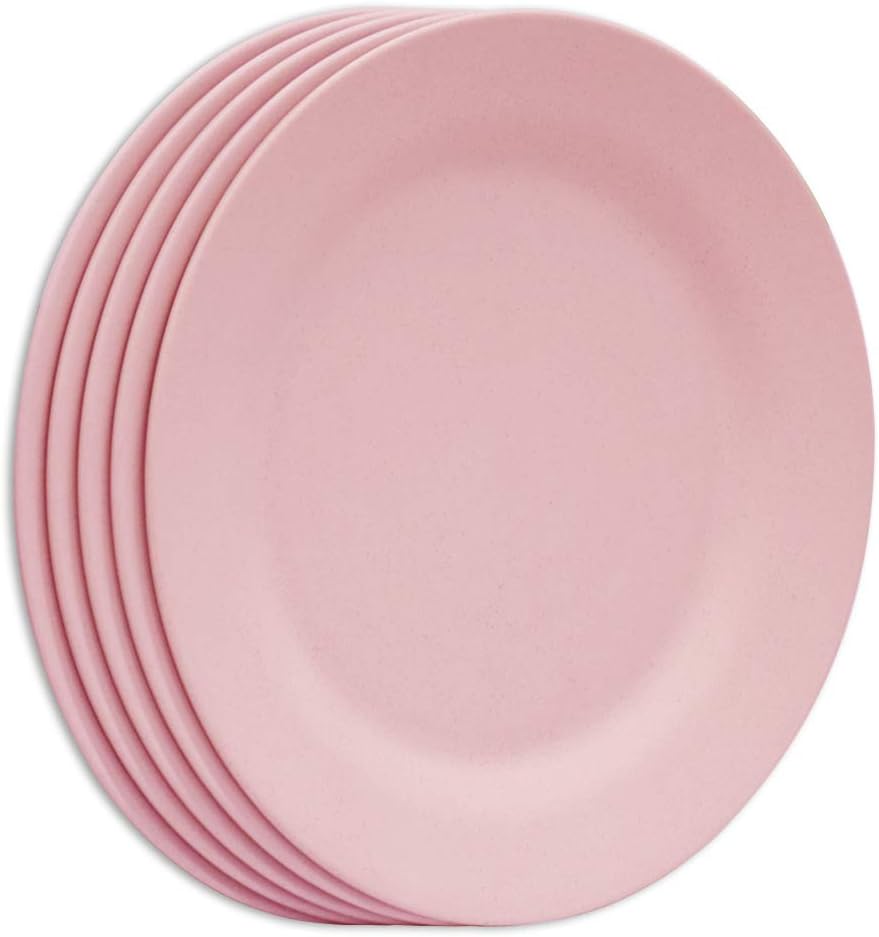
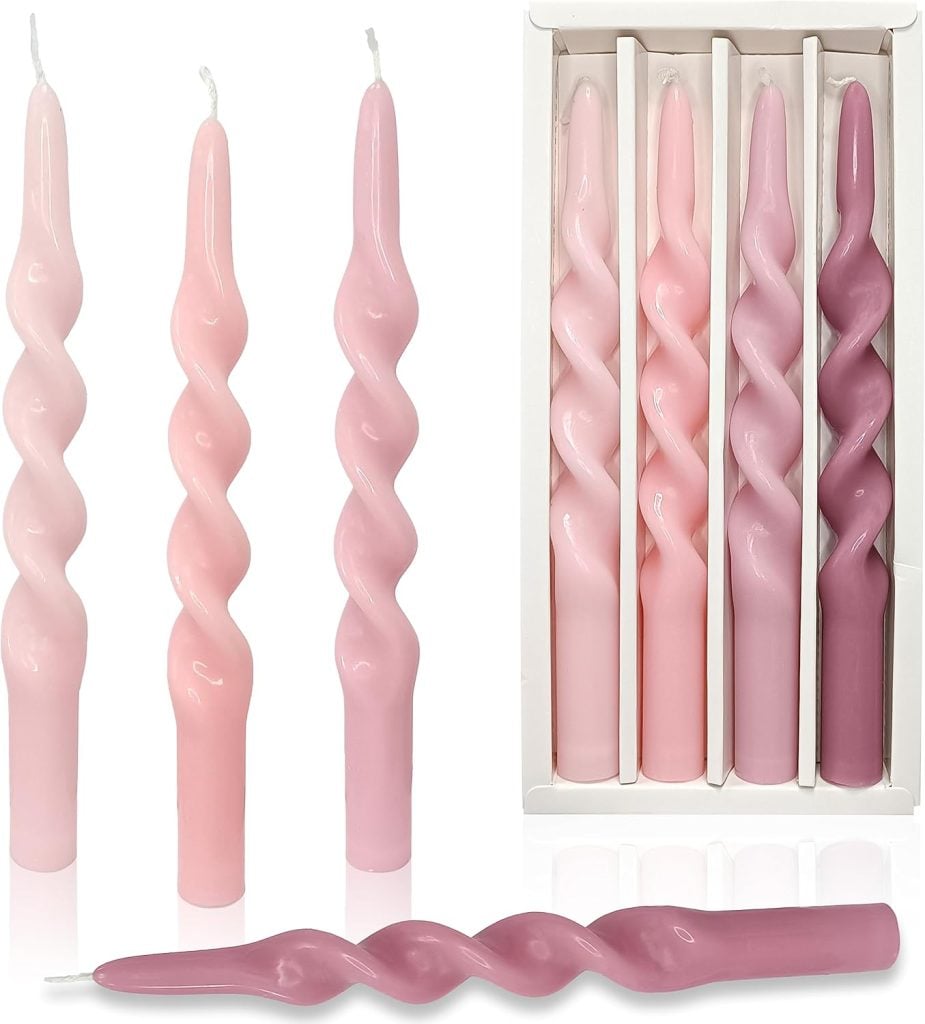
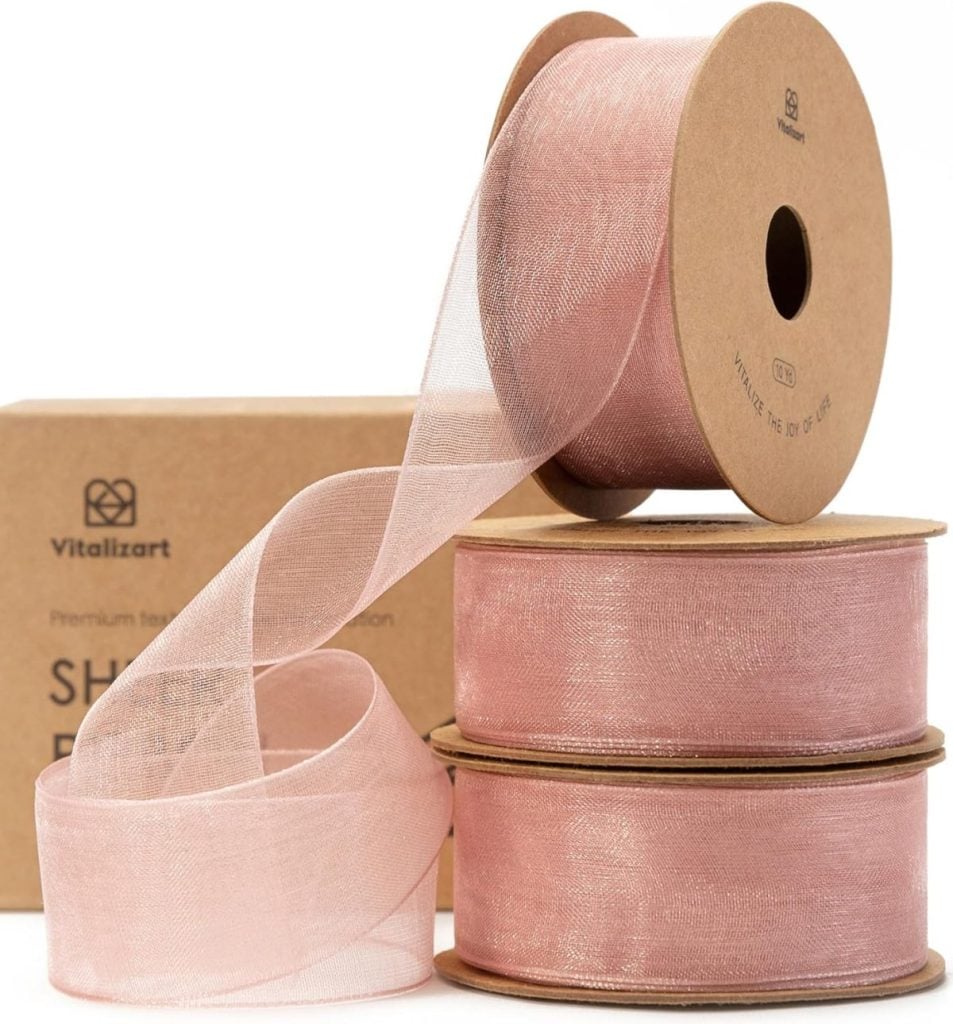
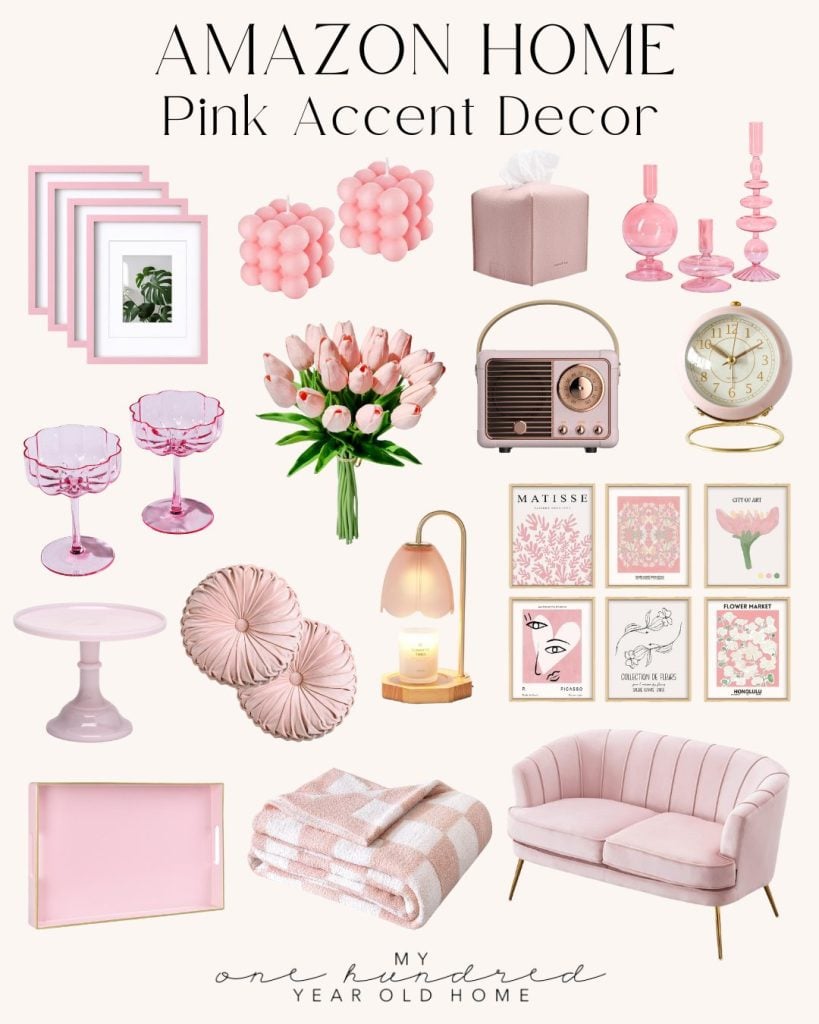
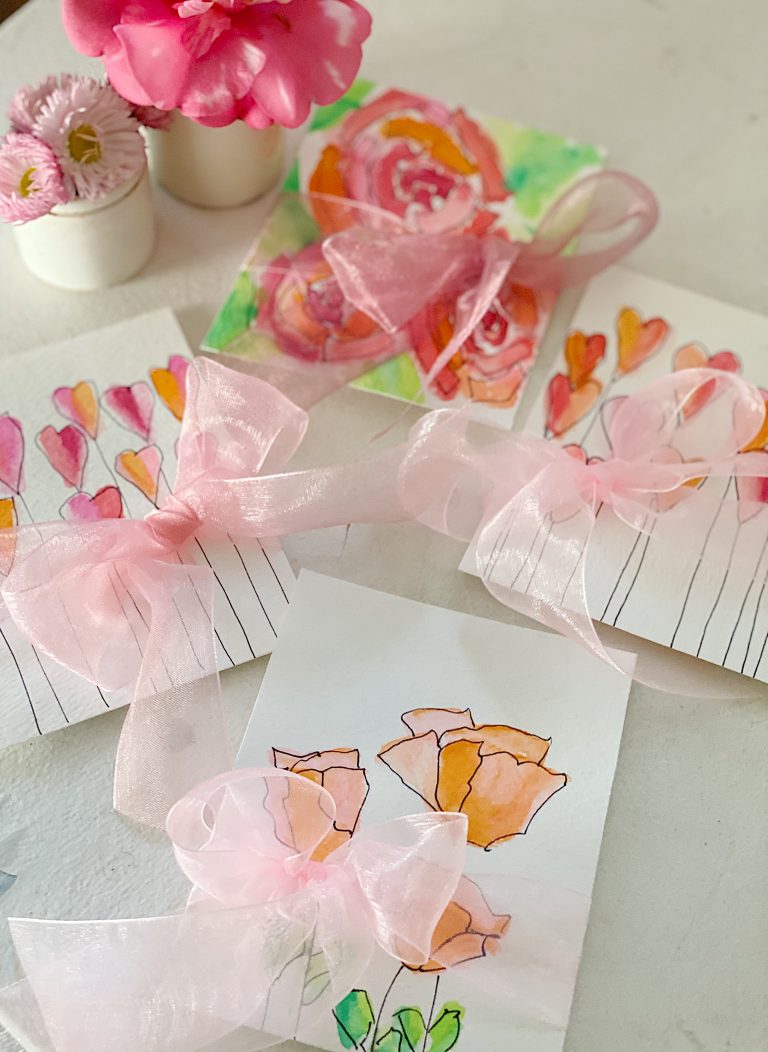
Pink Accent Decor Favorites
If you enjoy my blog, you can sign up to receive my updates here.
.
Latest Posts
-
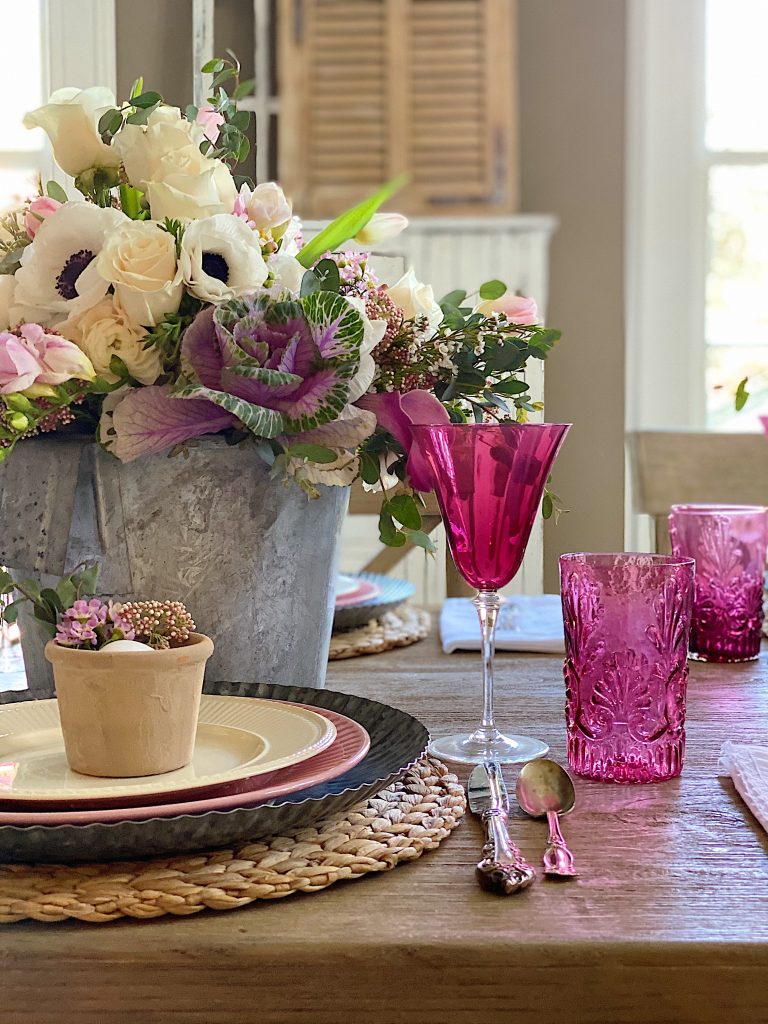
How to Set a Beautiful Table with Easter Colors
I am so excited to share my Easter brunch table ideas. I love the bright Easter colors and can’t wait to share the florals, table setting, and fun glassware. Easter Brunch is one of my favorites. I already shared my favorite Easter Brunch recipes. Today, I set a table and love how these Easter colors…
-
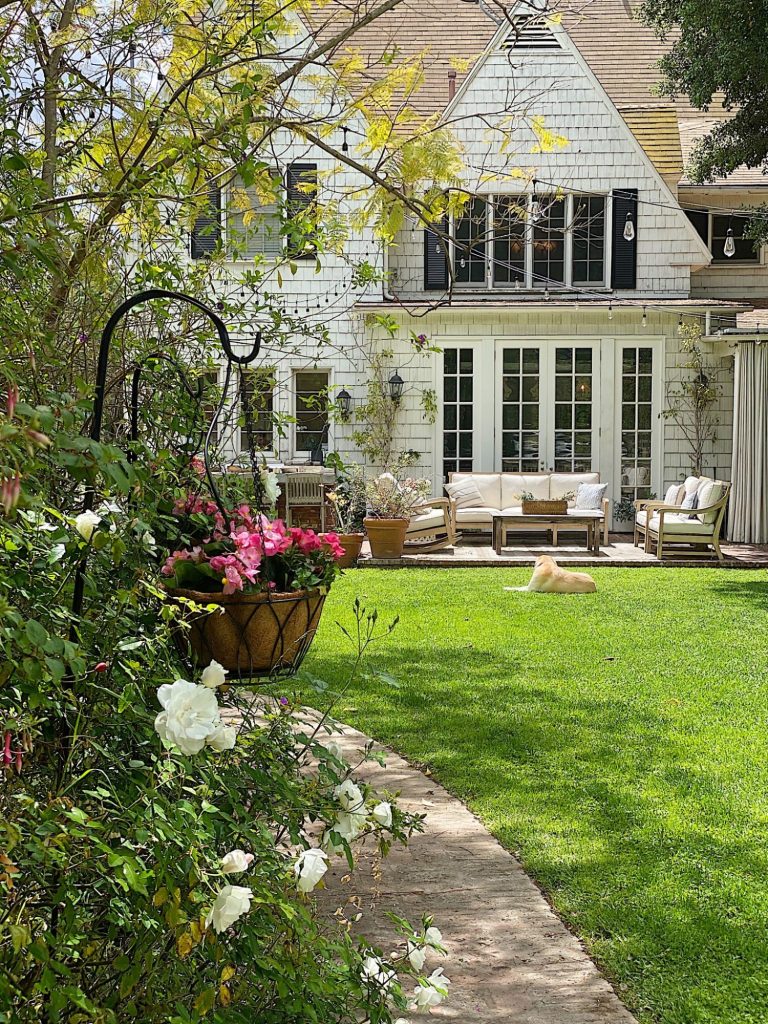
Five Easy Steps to Adding Hanging Planters in Your Yard
Today, I am sharing how I created the hanging planters in our backyard. I love mine so much! Hanging planters look lovely in any yard. My hanging planters have been looking awful all winter long. Here are five easy steps to add (or redo) hanging flower baskets in your yard. Adding hanging planters is a…
-
Spring Cleaning and Sunday Morning Coffee
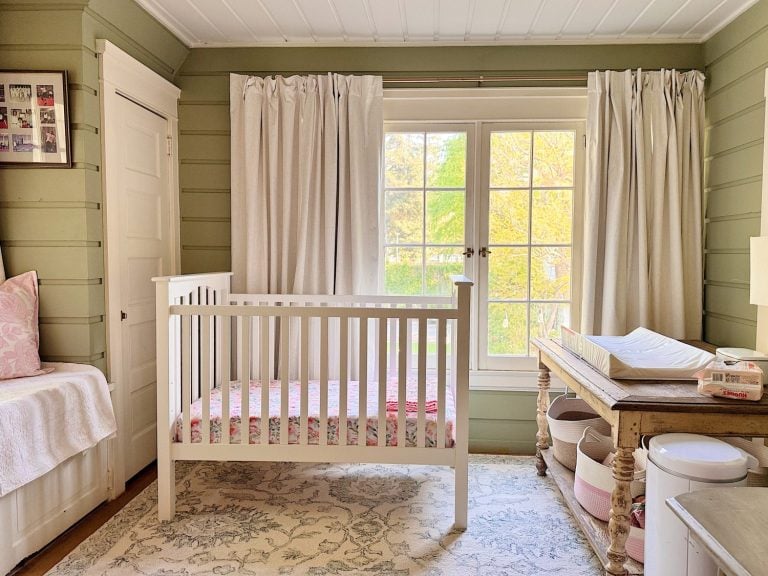
I don’t know about you, but every spring I feel this strong pull to refresh something in our home, and this year I started in a place that might surprise you. It’s Spring Cleaning time! The very first room on my spring-cleaning list was our nursery. And yes, I know that sounds a little unexpected,…
-
Best Easter Brunch Egg Dish: Loaded French Onion Frittata
Easter brunch is one of those special meals where the table is complete, the laughter is loud, and the food is nothing short of spectacular. If you want to wow your guests with something savory, cheesy, and unforgettable, let me introduce you to your new Easter brunch hero: a Loaded French Onion Frittata.

Follow Me on Instagram

You can pin the image below to your boards on Pinterest (click the Pin button in the top left corner) or follow me on Pinterest!

For more real-time updates, follow me on Instagram @My100YearOldHome
Love this project but I am a bit confused, the title of the project is air-dry clay and so is the DAS clay you linked but the materials needed list says polymer clay and the instructions you give are for polymer clay that require baking. I am very familiar with the DAS clay, as it’s what I use with my IOD moulds and it does not require baking. I used to use this type of resin as finish but I discovered Fusion Mineral Paint company has a product called Pouring Resin that requires no lamp and gives a beautiful glossy finish to products – it’s also self-leveling.
to be clear, the napkin stays on the heart? or it doesn’t? If it doesn’t, when and how do you remove it leaving just the image on the clay?
Love this craft, your hearts are darling!
/
Thanks for sharing this unique home decor idea!
Would you be able just to paint on these yourselves and not use a napkin and then bake it and then put the clearcoat on top thanks I love the project
Absolutely!
I am wondering if it might be easier to bake the hearts first, maybe paint them with white acrylic paint, and then mod podge on the napkins ( & seal when that dries?)
Then they might not tear when you use the cookie cutter?
I have decopaged Scallop shells before, and it was so easy to lightly sand off the edges of the napkins after they dried.
I have already ordered my clay and I’m planning to make these and attach to ribbons for napkin holders for a ladies luncheon on Valentine’s Day. Thank you for such a great idea, I’m going to let my guest take them home as a party favor. 💗
I wanted them to tear. Call me crazy, but I wanted a more authentic look. Hehe.They won’t tear if you don’t do it on purpose. You can see some of the hearts in the photos that aren’t torn.
Leslie