Jute Rope Basket DIY
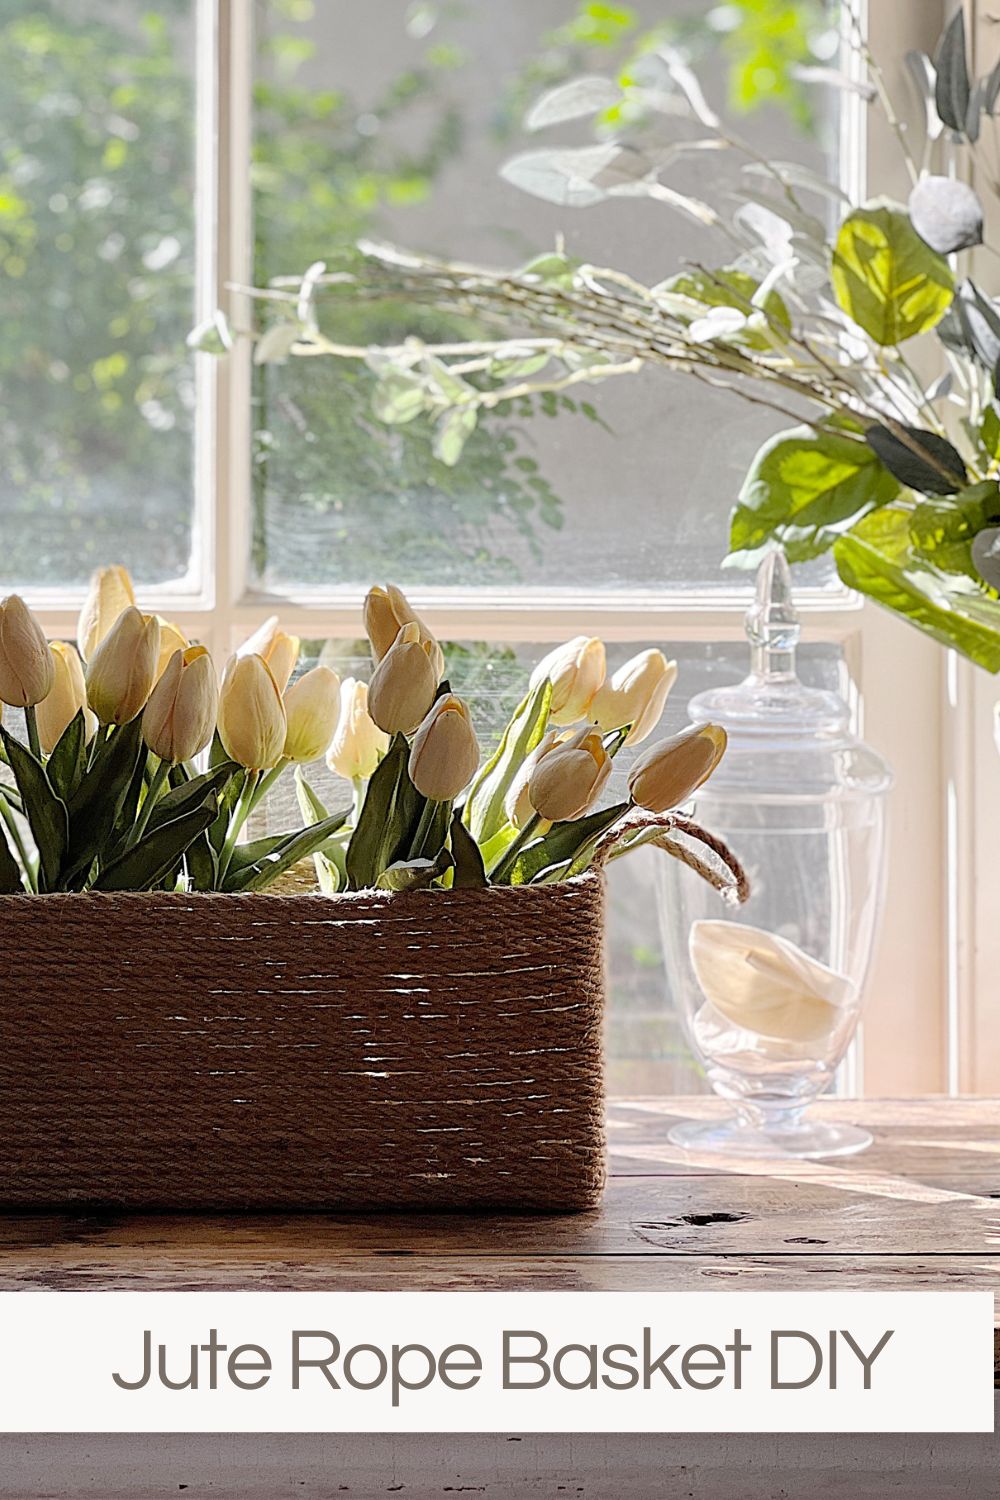
There’s something about a jute rope basket that feels so rustic and charming. Today, I’m going to show you how to make one yourself!
Maybe it’s the natural color of the jute or the way it weaves around and around for a unique texture. Whatever the reason, jute rope baskets are both beautiful and charming. I love to use them for storage and decor, so I have decided to make one just like it. So, let’s gather the shortlist of supplies needed and start making one!
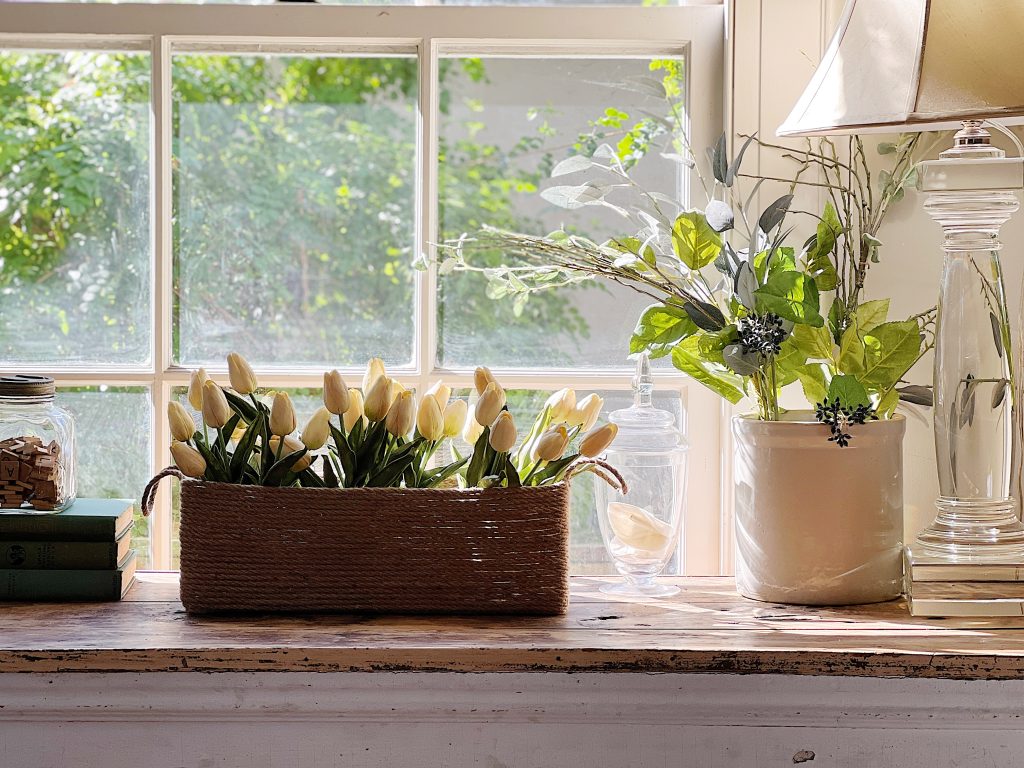


Jute Rope Basket DIY
I have a French basket that I got at a vintage flea market years and years ago. It is my absolute favorite basket and I thought, why not try to make one?
I was inspired by a straw bag made by @dekorhomedekor and found the perfect box to use as the guide for my box.
It’s funny because when I look at this jute basket, I kind of can’t believe I made it.
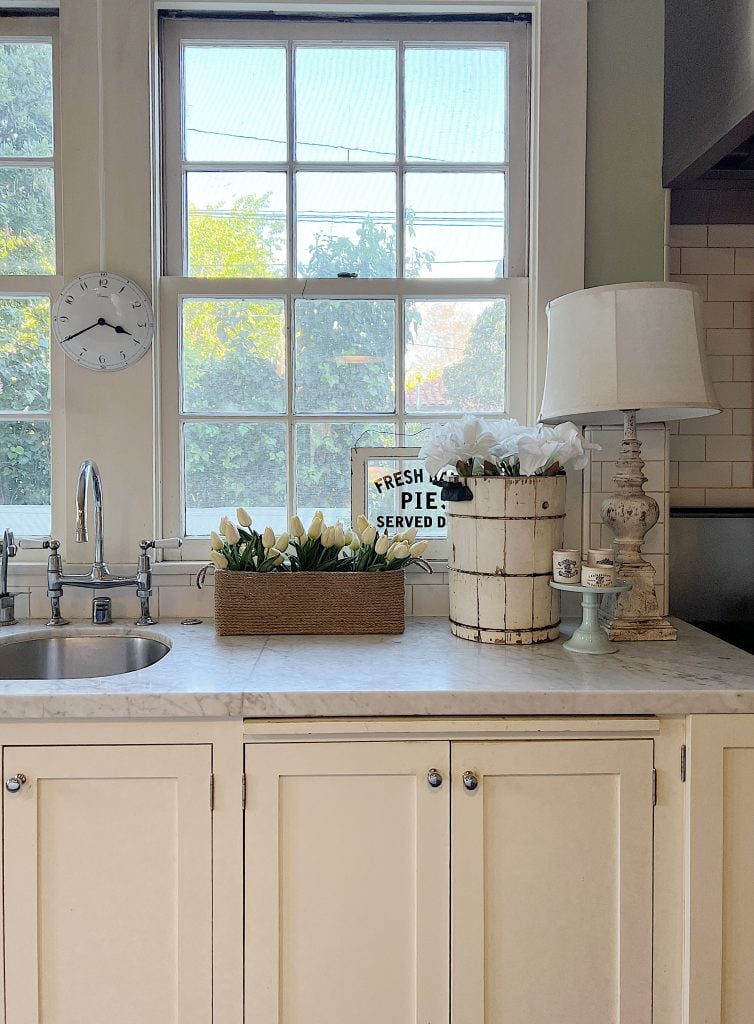
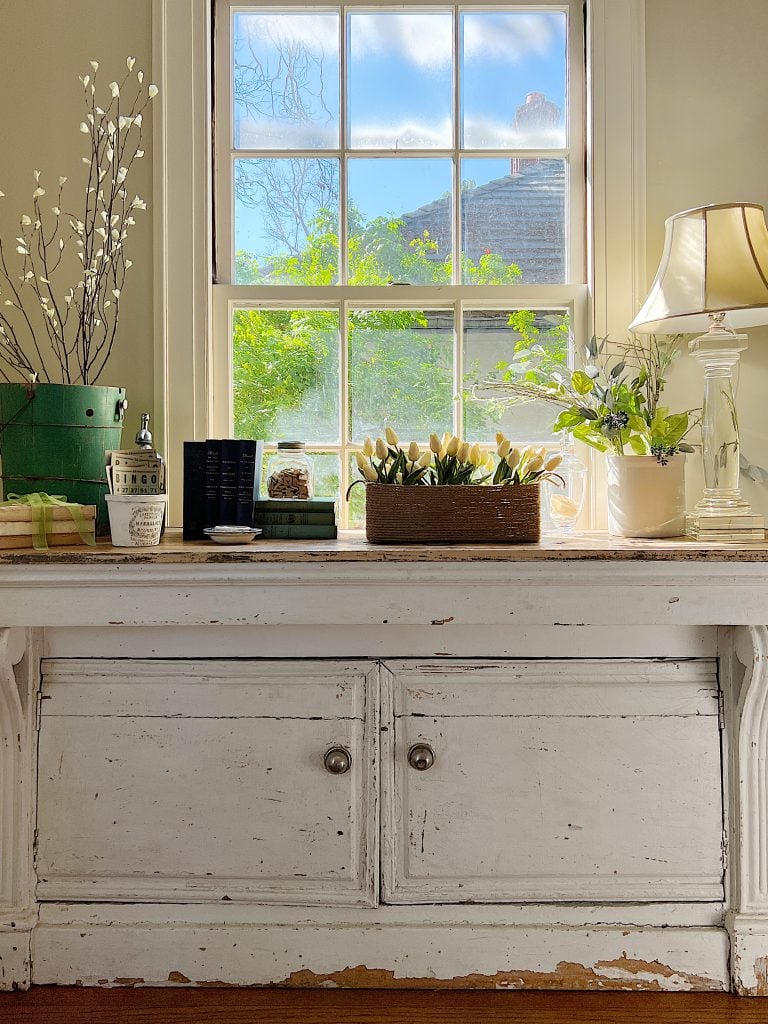
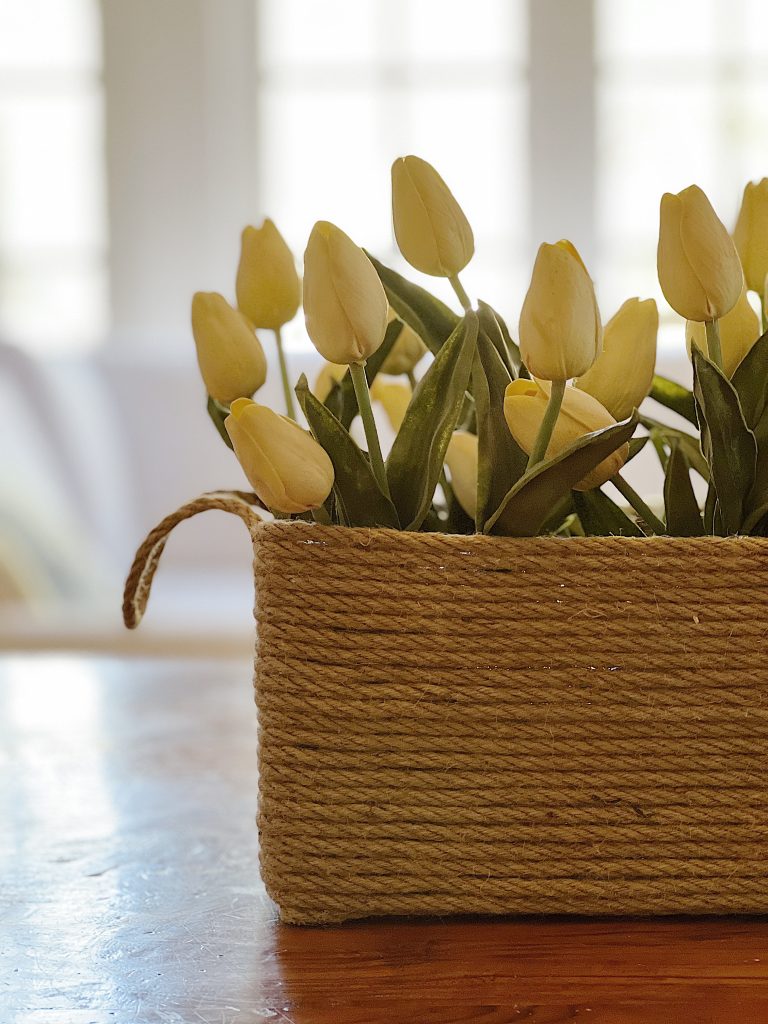
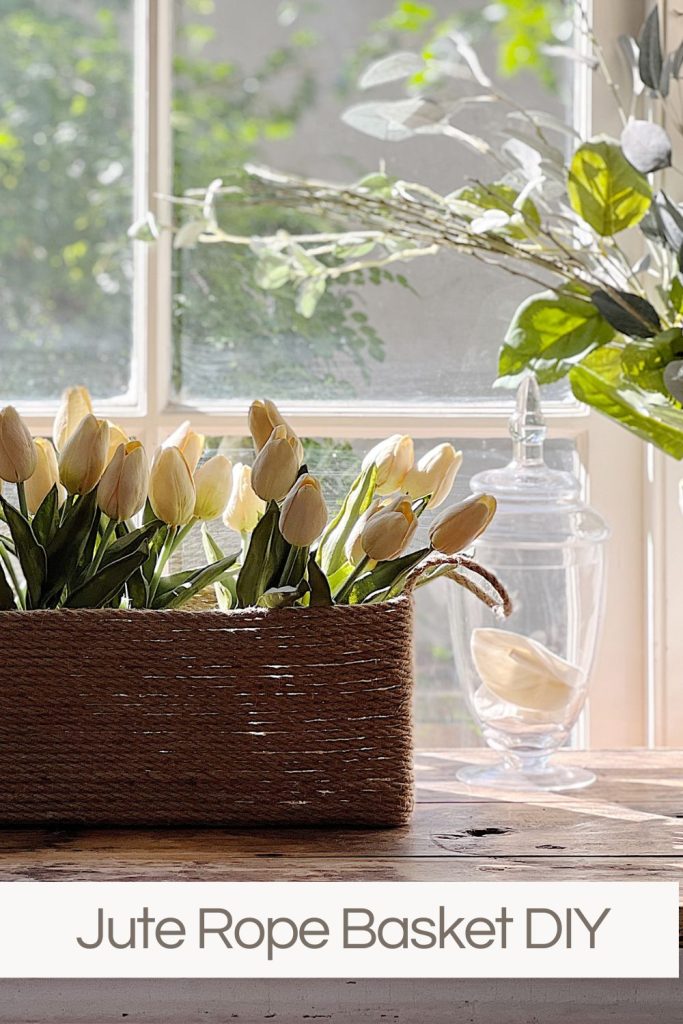
I can’t wait to use my favorite basket when styling. I will use it in the living room for holding vintage Christmas balls or in my dining room for holding fall leaves. Perhaps I will use it in my family room to hold balls of yarn. I am most excited to use it to make centerpieces with flowers. Just like I did here.
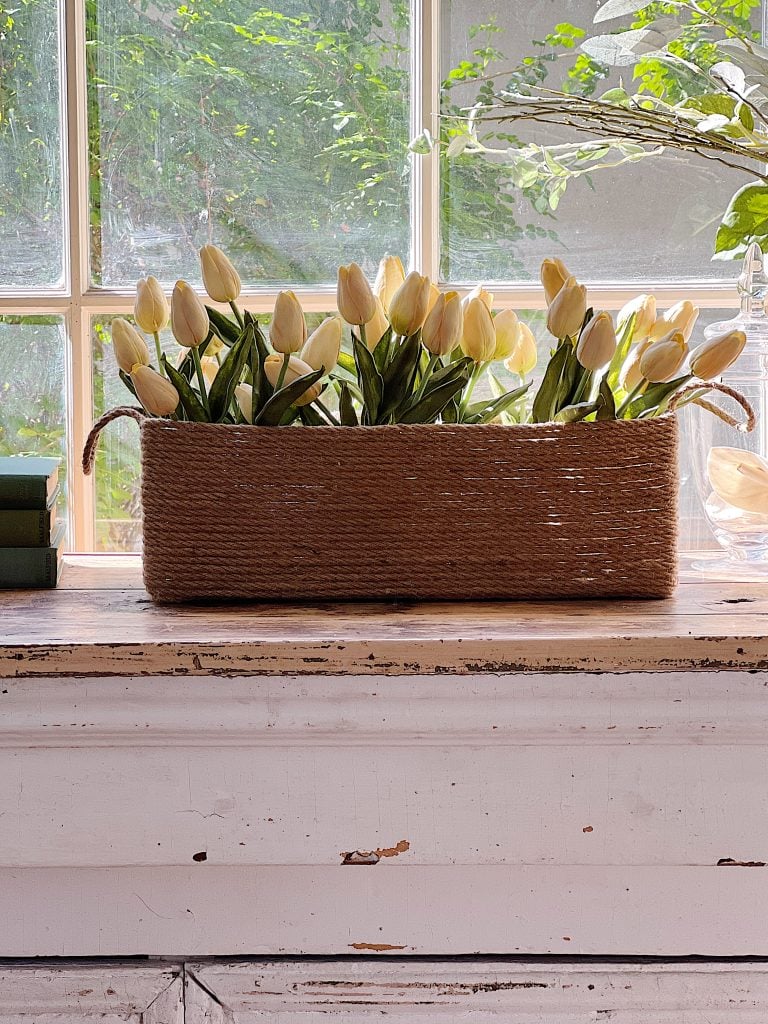
How to Make a Jute Rope Basket
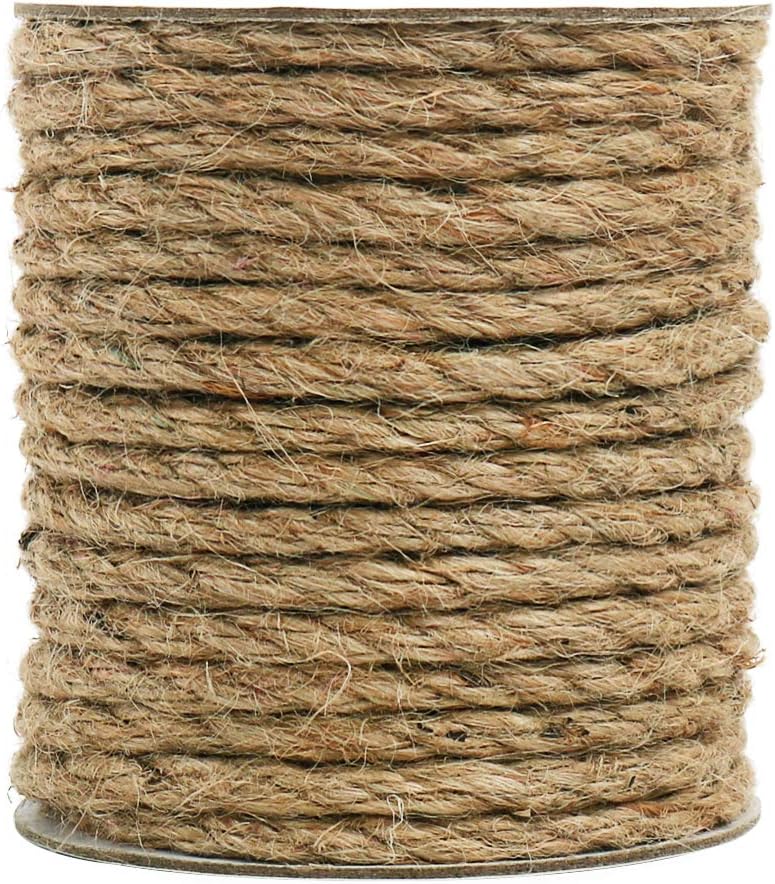
Since I am not a basketweaver, I decided to use jute rope instead. I used 1/4″ jute rope for this project. Below is a list of the materials you need to make this Jute Basket DIY:
- 2 rolls 6mm (1/4″) Jute Rope
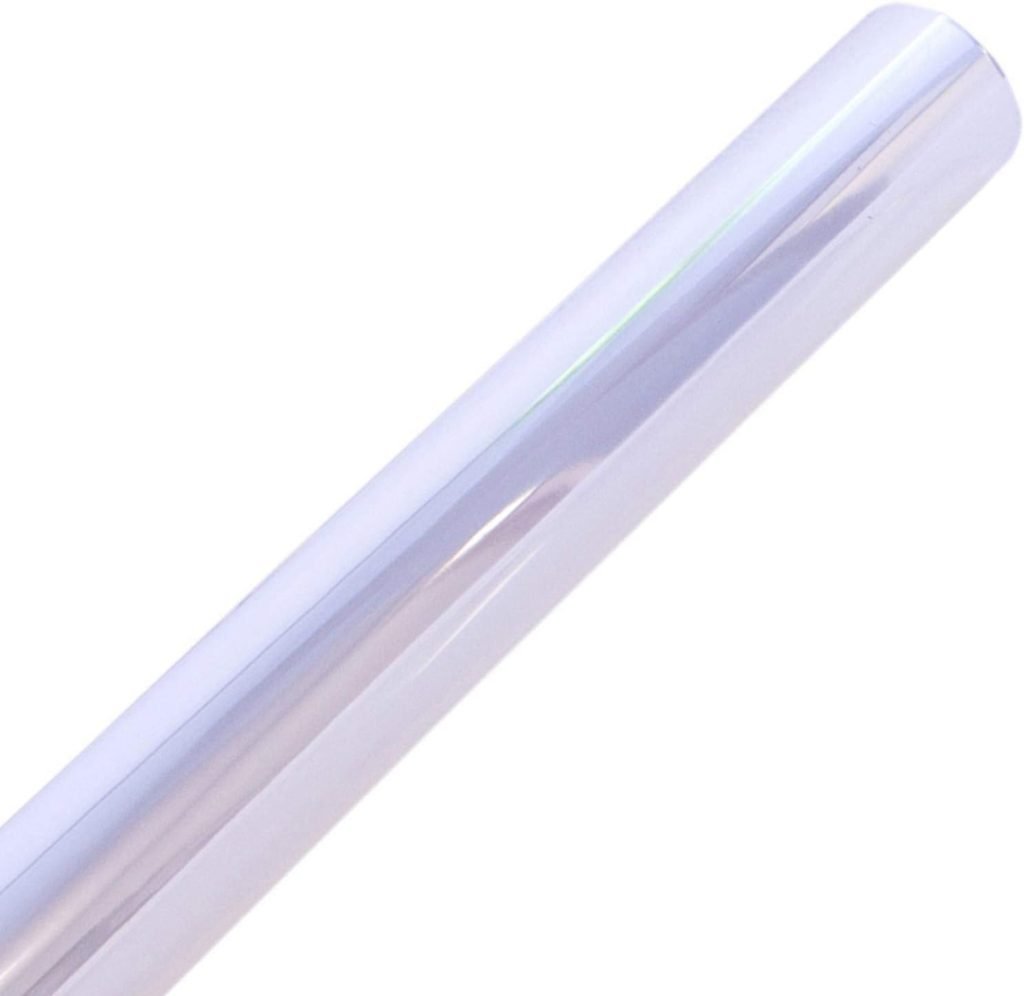
- 1 Roll 2.3 mil thickness cellophane wrap
- Dual Temp Glue Gun
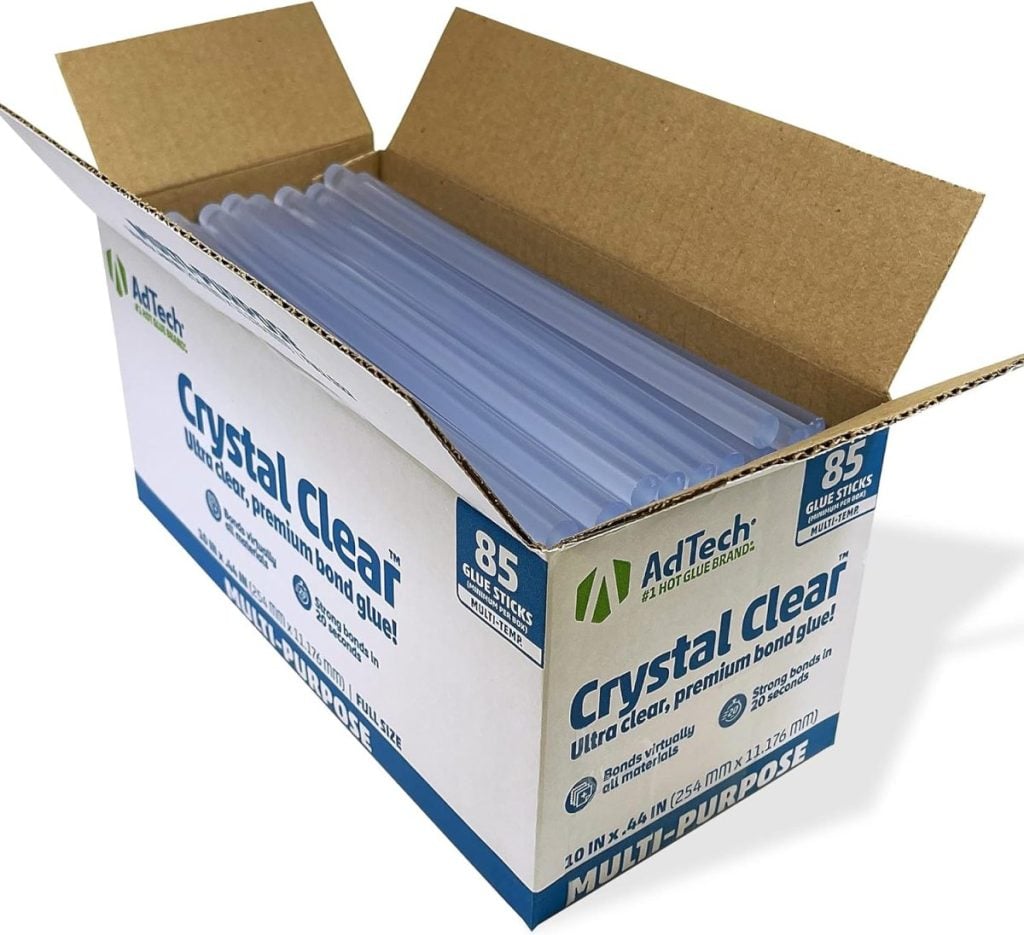
- Glue Sticks
- Empty Cardboard Box desired size of basket (I used an empty Amazon box, which I am sure is a big surprise to all of you … hehe)
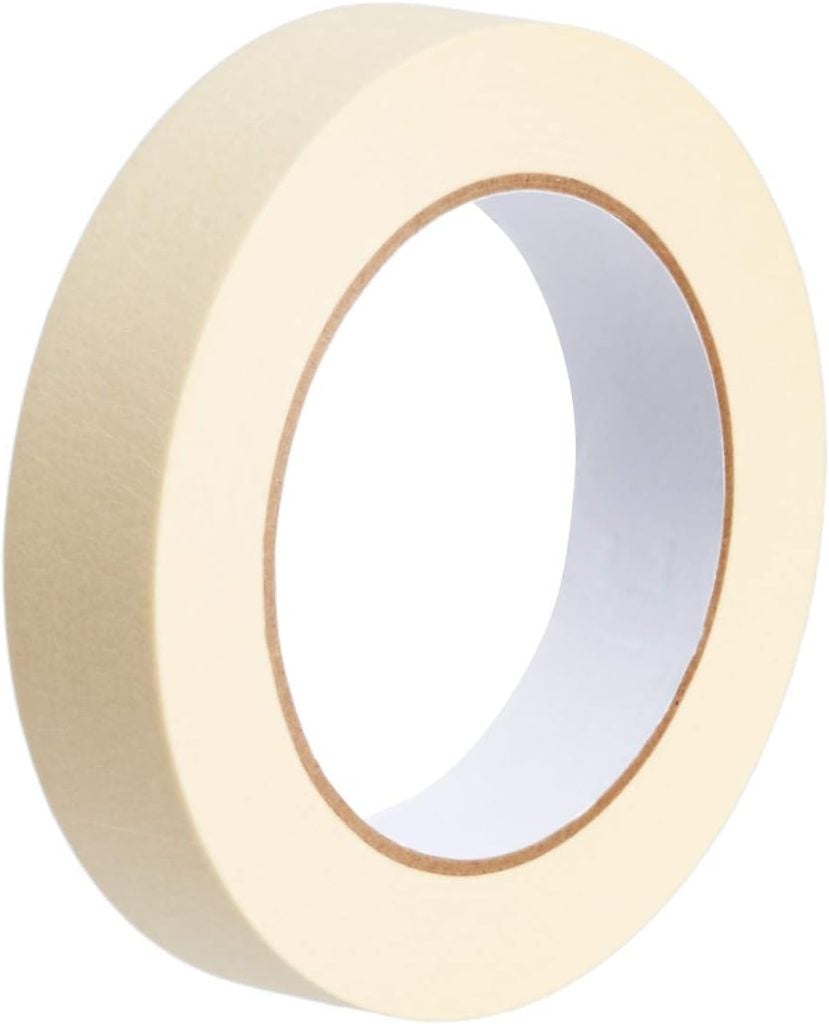
- Roll of Tape (as a guide for handles)
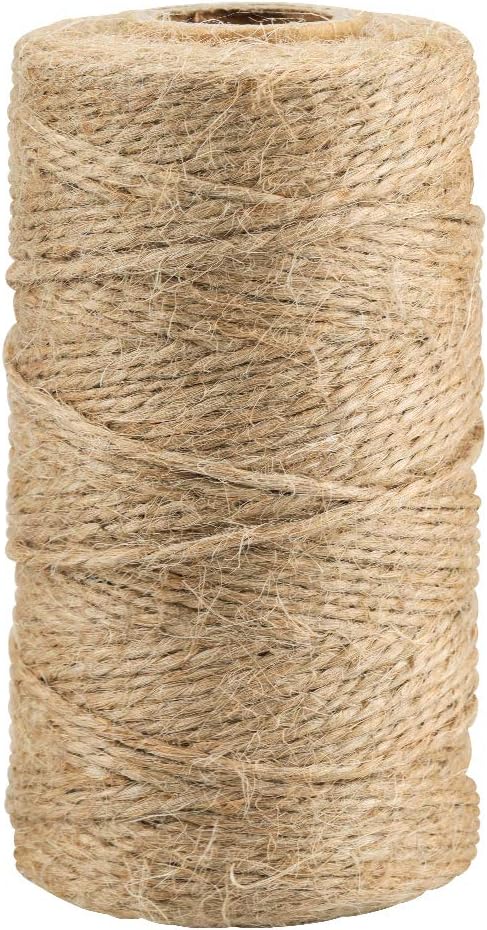
- Craft or Wrapping Twine
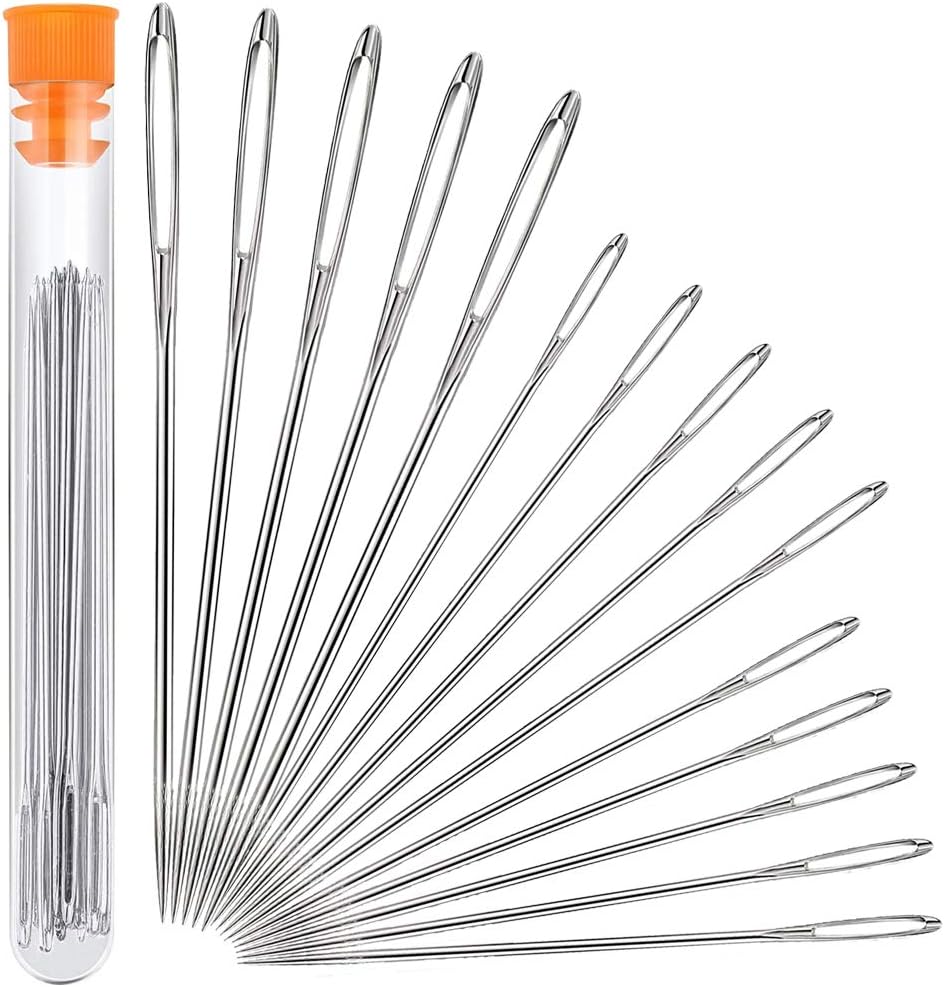
- Wide Eye Needle
Materials Needed for Jute Rope Basket DIY
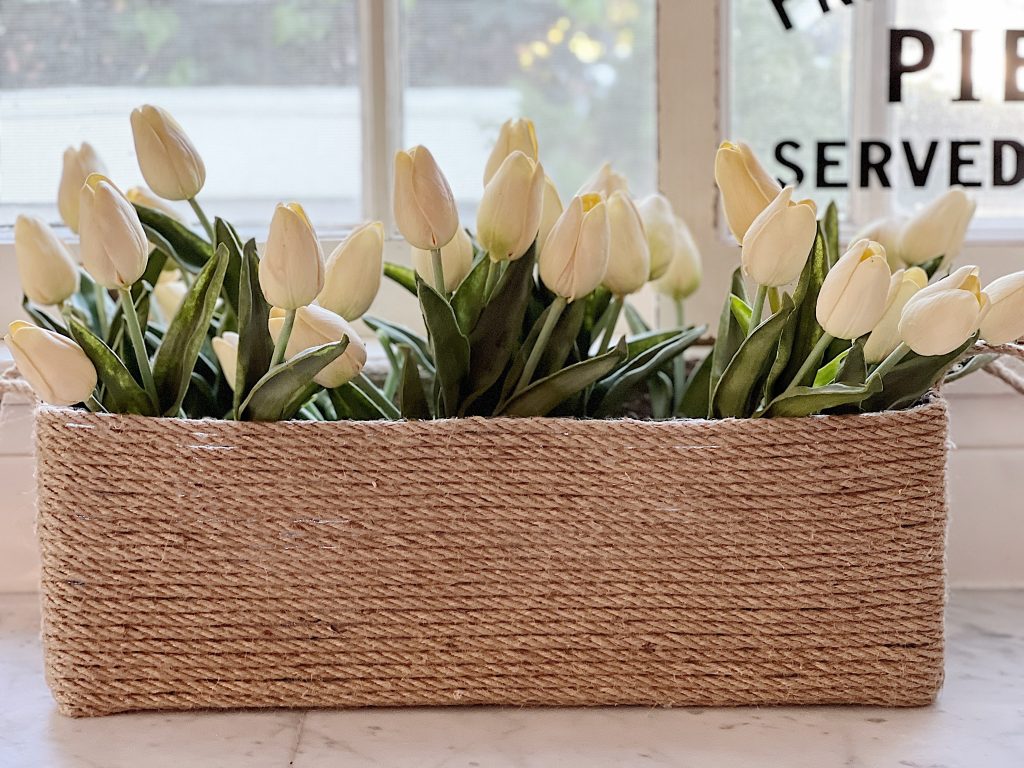
Step-by-Step Directions
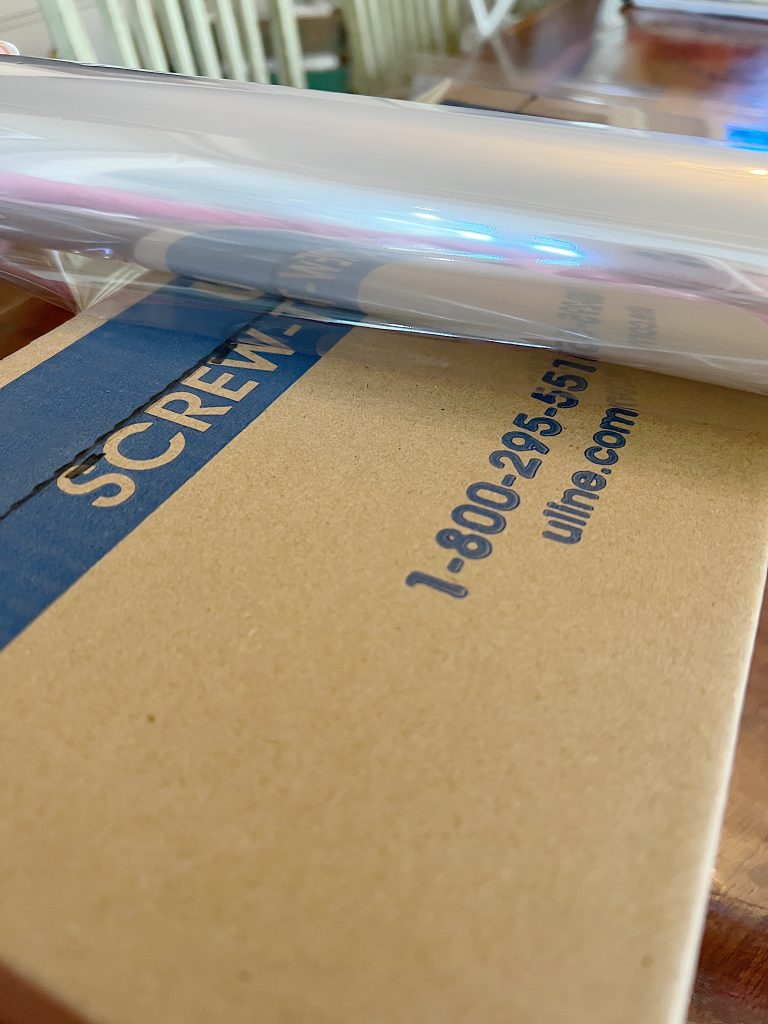
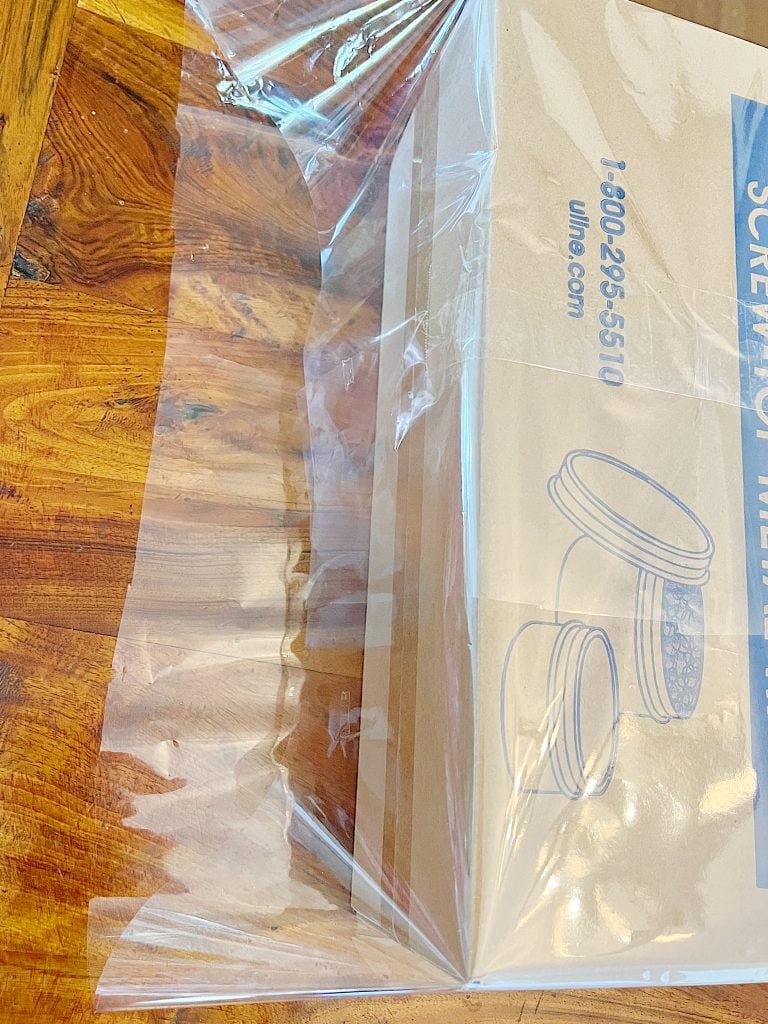
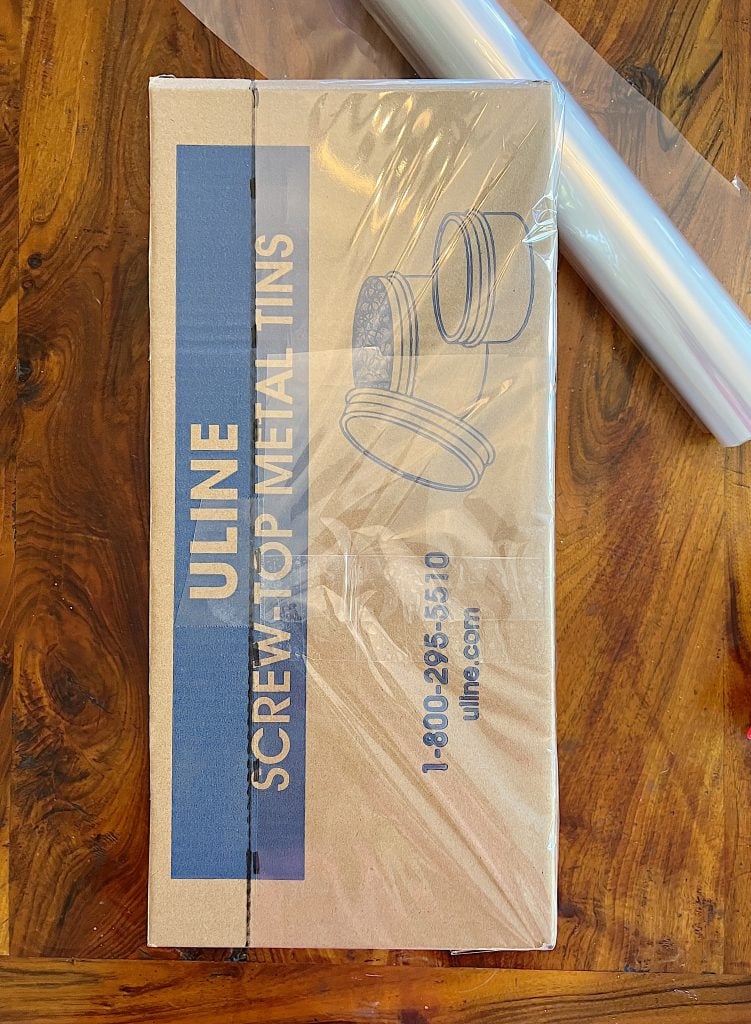
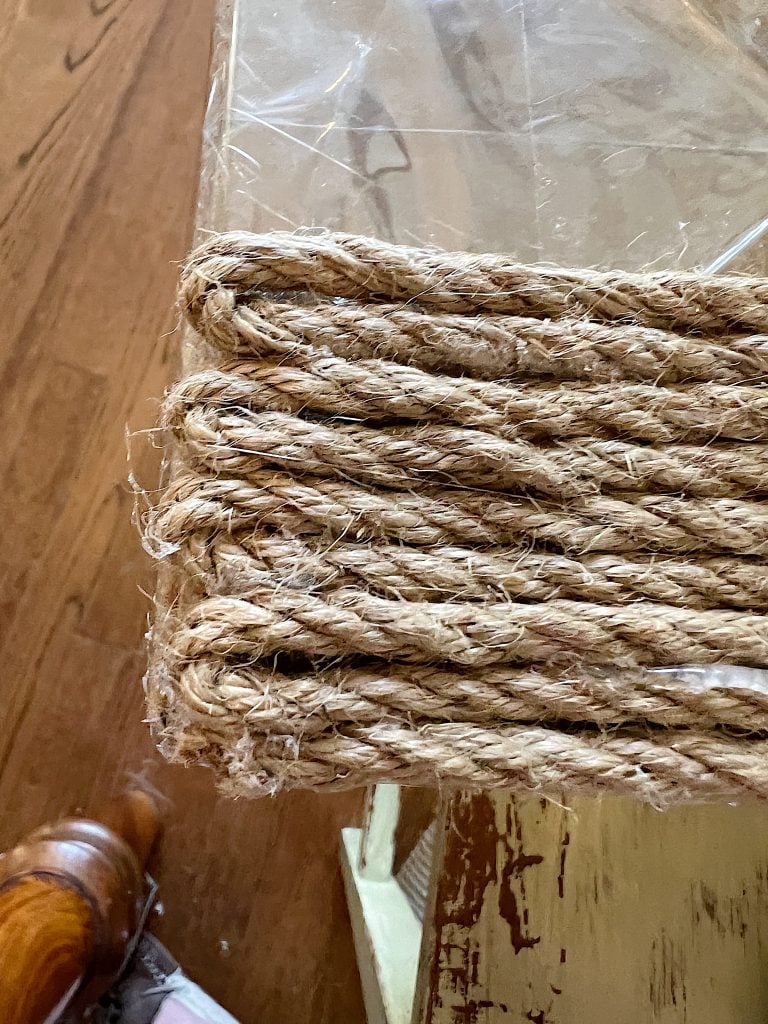
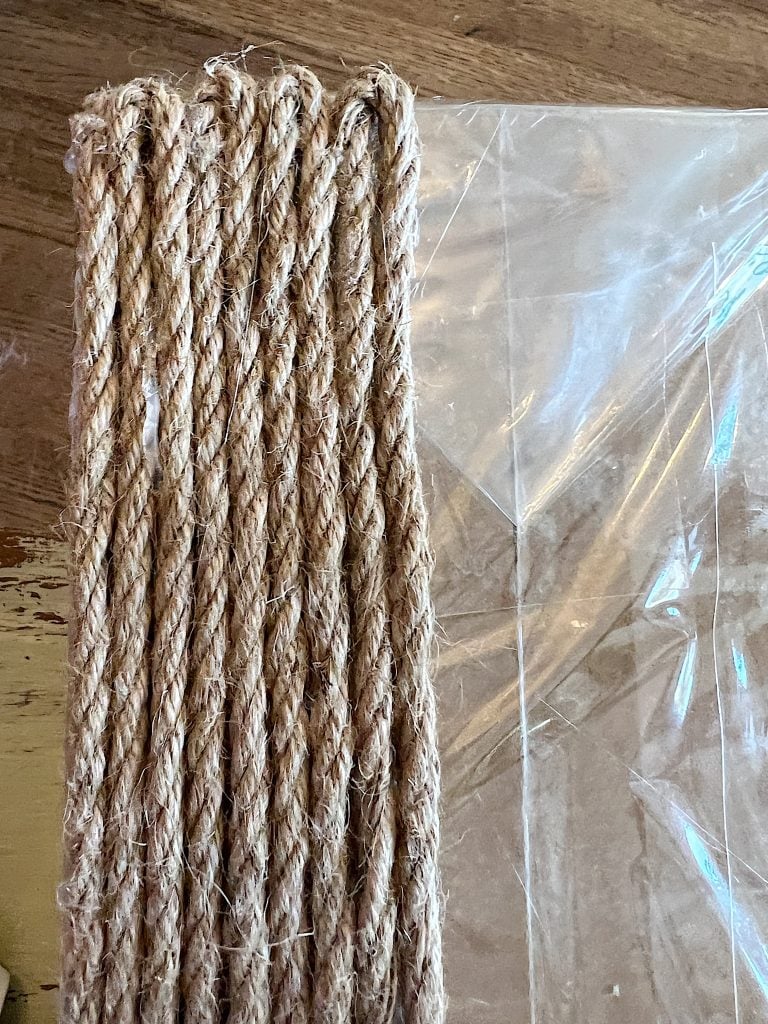
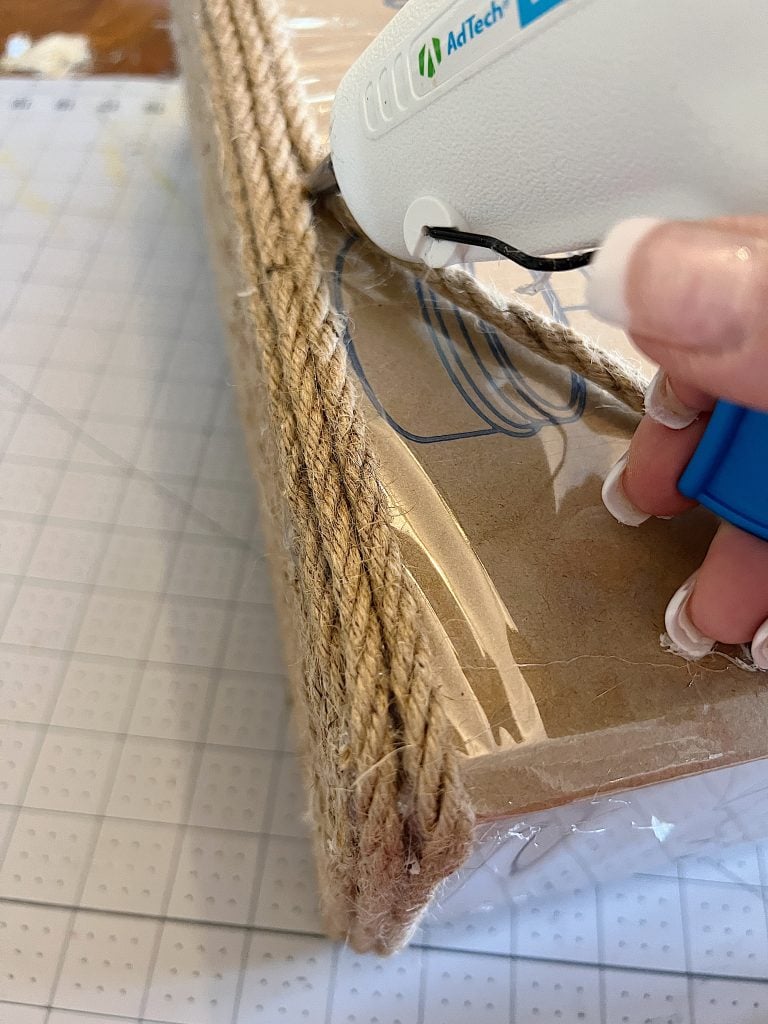
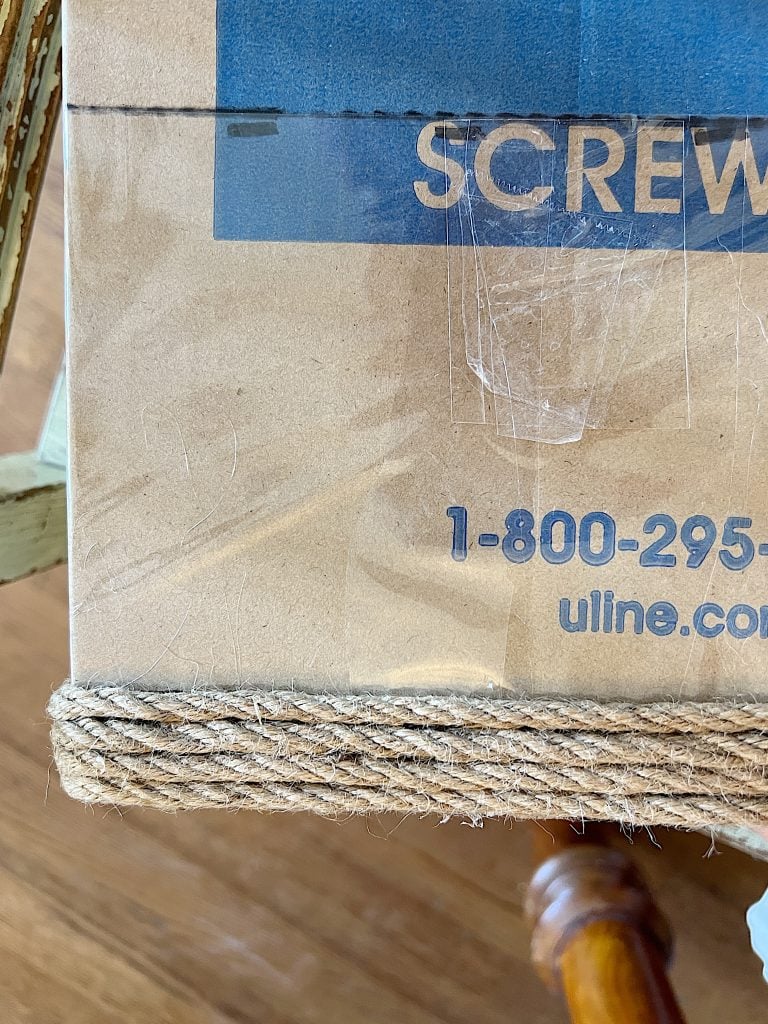
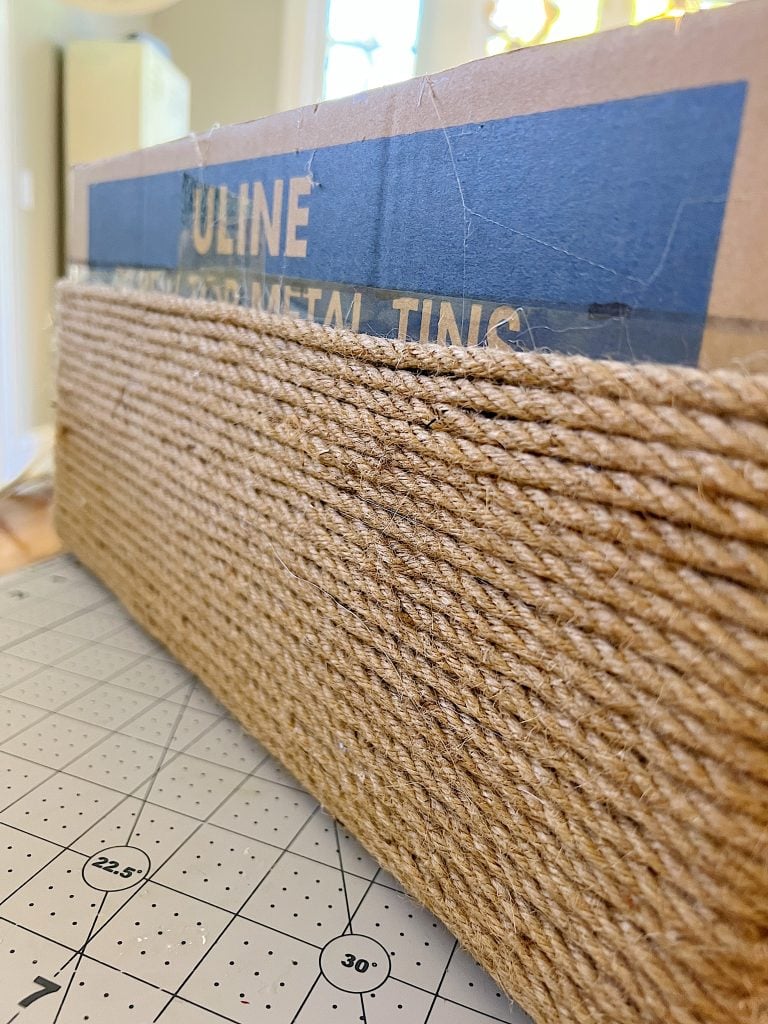
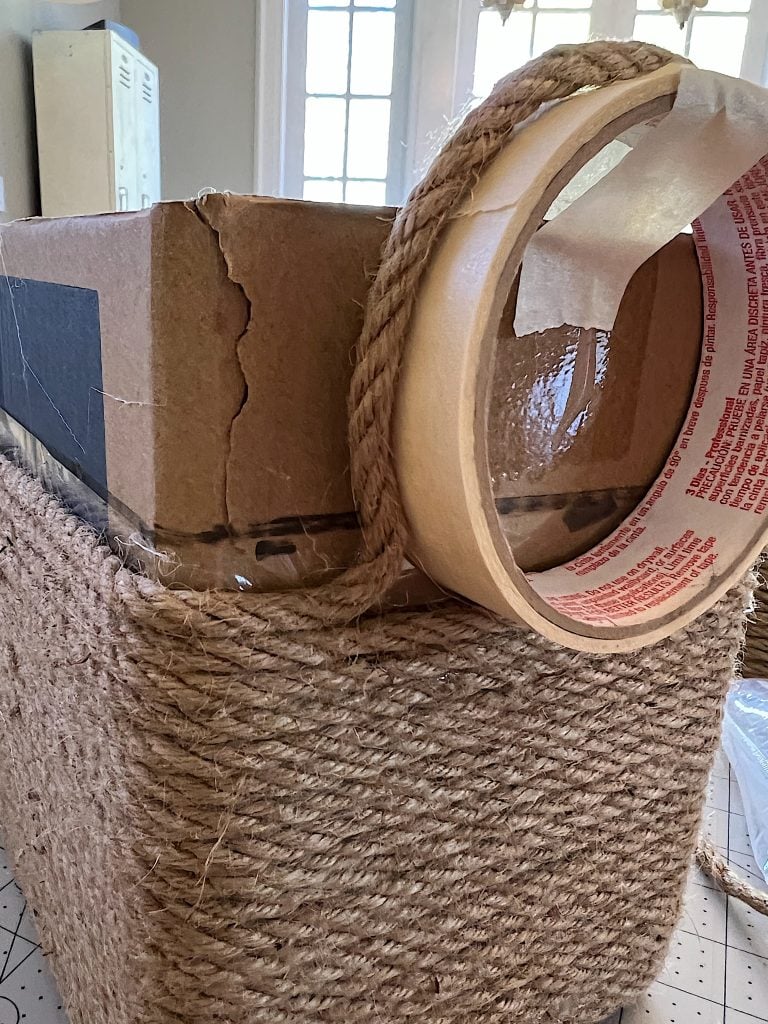
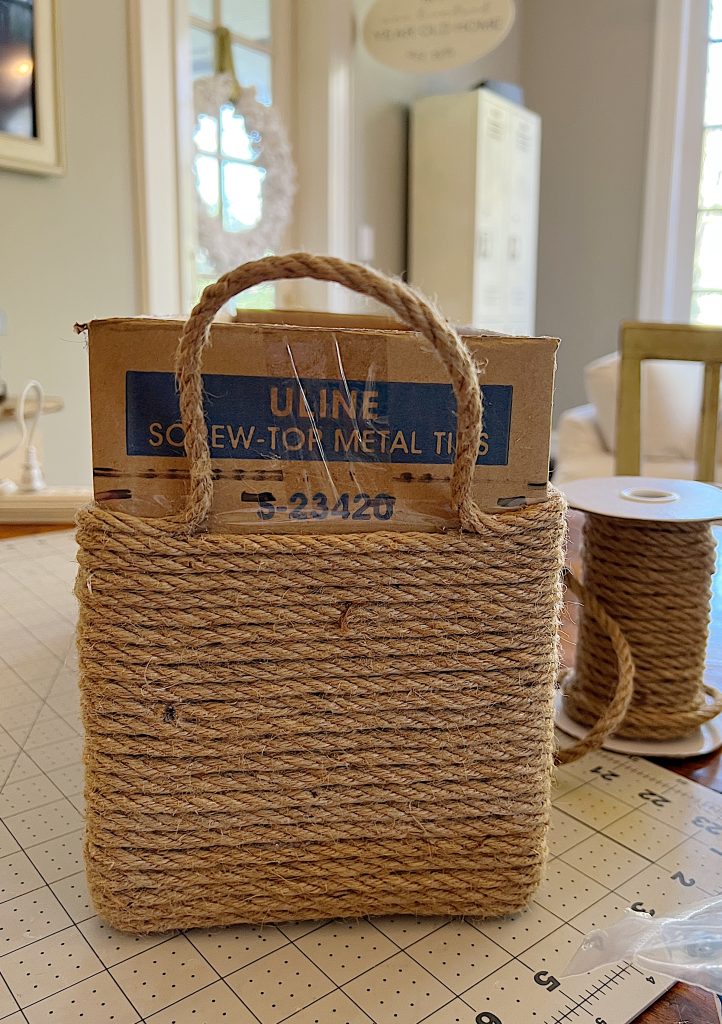
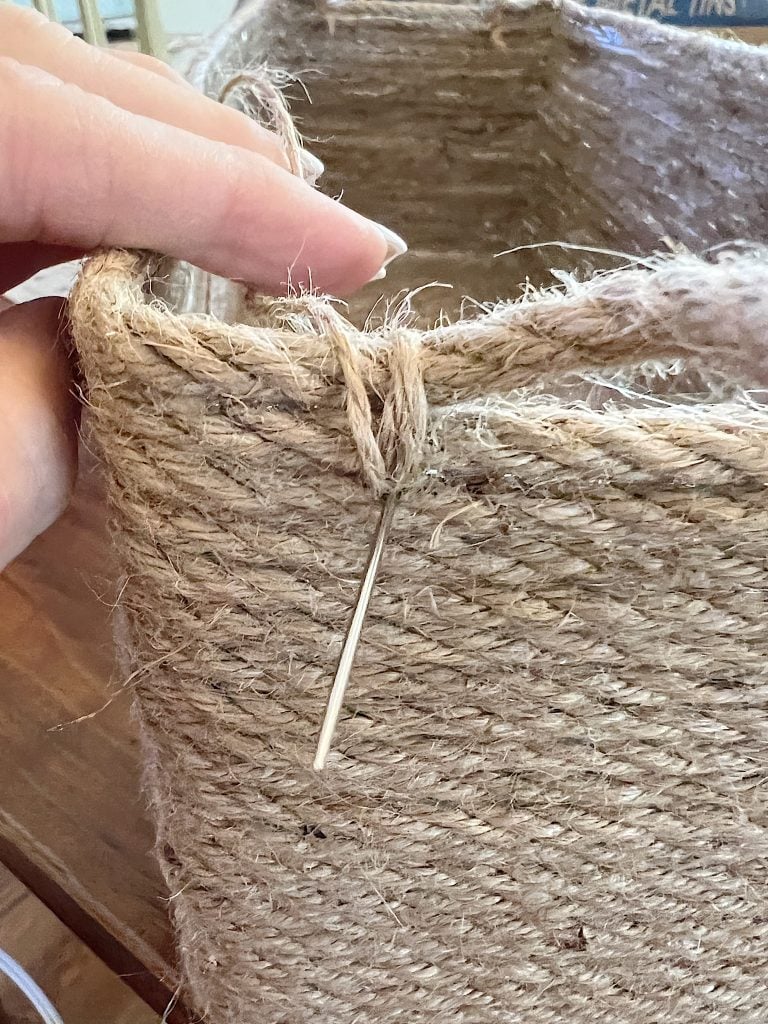
- one – Start by choosing the box size you are going to build the basket around.
- two – Wrap the box in cellophane
- three – Determine how tall you want the basket to be and cut the cellophane accordingly.
- four – Begin with the bottom of the box. Using the dual-temp glue gun, lay down a strip of glue on the cellophane along the long side of the bottom of the box. Beginning with the end of the jute rope, lay the rope on top of the hot glue and hold it in place until dried. Turn the rope (give it a little twist to keep it intact) and lay another strip of hot glue along the previous row and then press the new row of rope into the hot glue. Hold until dry. The rope will cover the bottom of the box from bottom to top in a back-and-forth pattern, turning at the edges. The rope will be a continuous piece of rope. No cutting.
- five – This is what the bottom of the basket should look like.
- six – Once you have glued the wound rope to cover the bottom of the box, begin laying the hot glue on the sides of the box, wrapping the rope around the outside of the box in a continuous loop. Again, no cutting.
- seven – Keep adding more hot glue and jute rope.
- eight – Wrap the box in rope to the desired height.
- nine – Once the box is covered with rope on the bottom and around the outside of the box to the desired height, t is time to add the handles. Hot glue the rope around the outside of the box one last time. On the short edges of the box, use the roll of masking tape to create a handle by having the rope go up and over the masking tape roll (do not glue it to the roll).
- ten – Once you have the last row of rope in place and two handles, cut the rope and glue down the end so that it does not unravel. Trim any extra cellophane above the last line of jute rope.
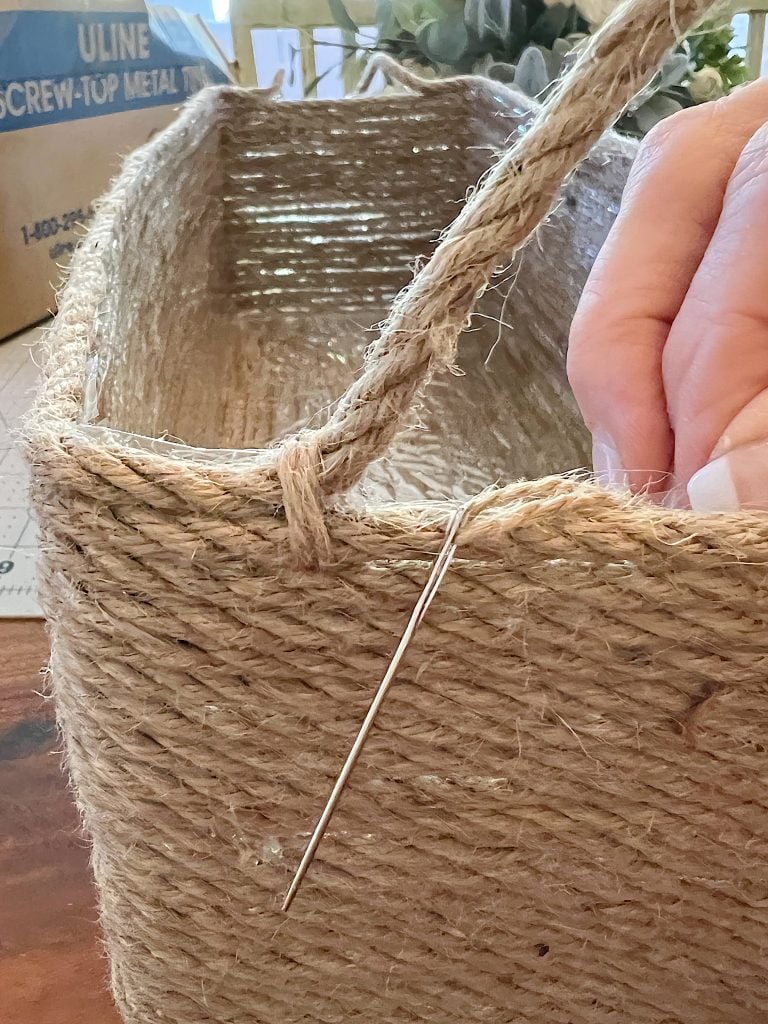
- eleven – Thread the thin craft/wrapping twice on wide eye needle. At each handle intersection take a minimum of three stitches to help secure the handles.
- twelve – You can see how the stitches will secure the handles.
Be sure and head to my Instagram this afternoon to watch the video as to how I made this basket!
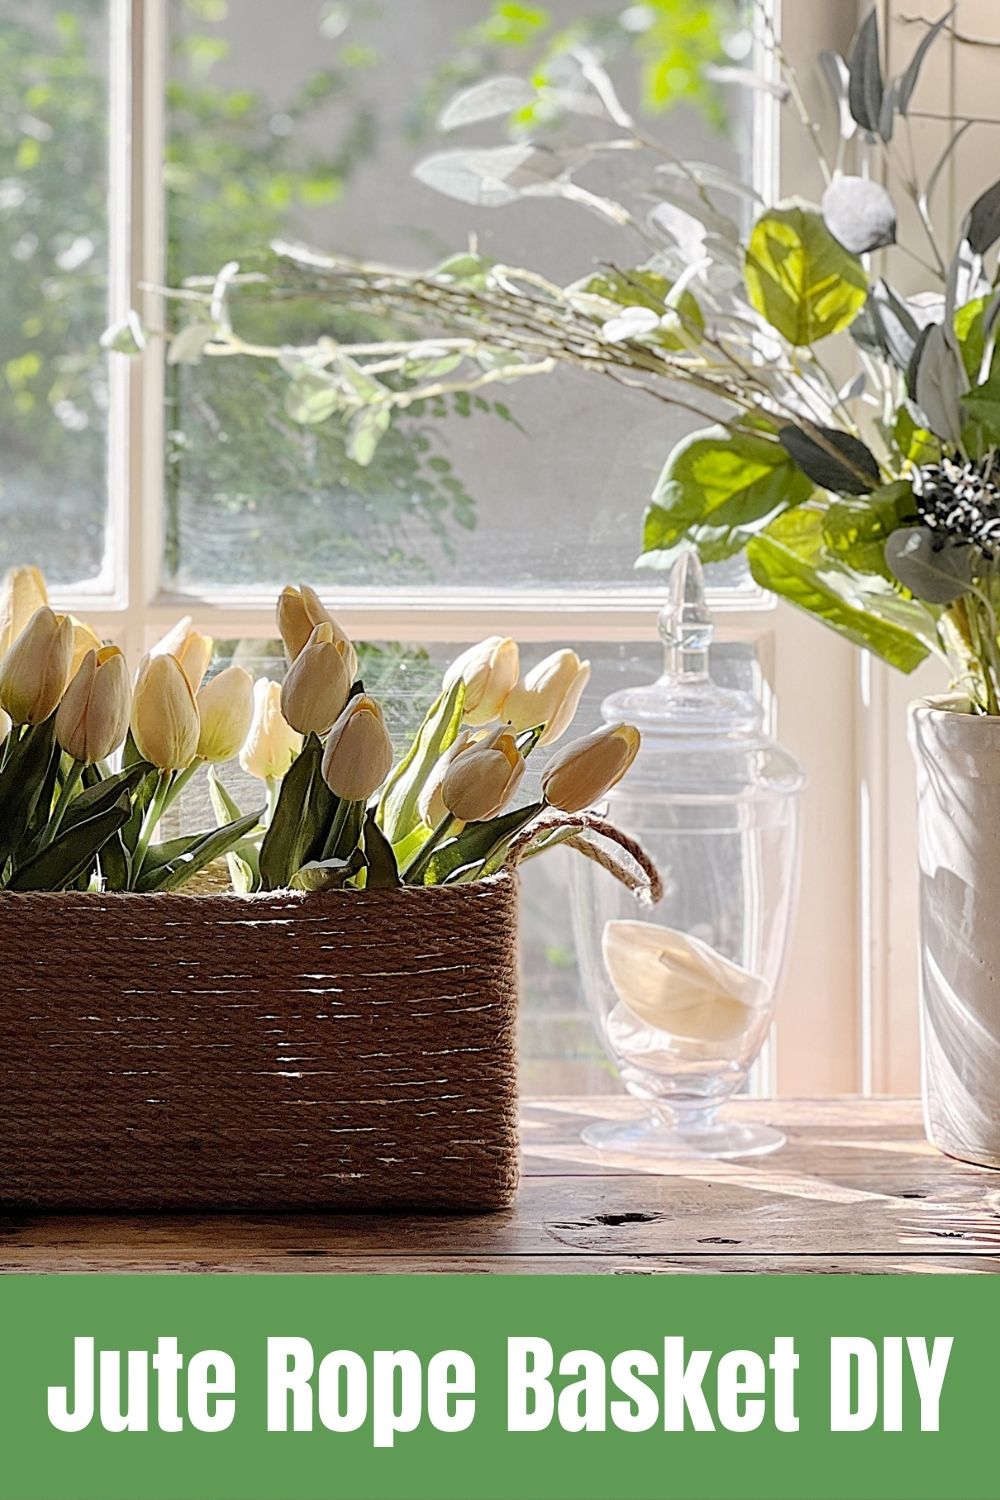
Here’s a close-up of the basket. I absolutely love how it came out.
And here is the video to help understand how to make this amazing jute basket.
If you enjoy my blog, you can sign up to receive my updates here.
.Watch My Amazon Live
I love having the chance to talk with all of you about all of the things that I love.
I share a few Amazon Live broadcasts every week and I hope you will tap on the links to see more.


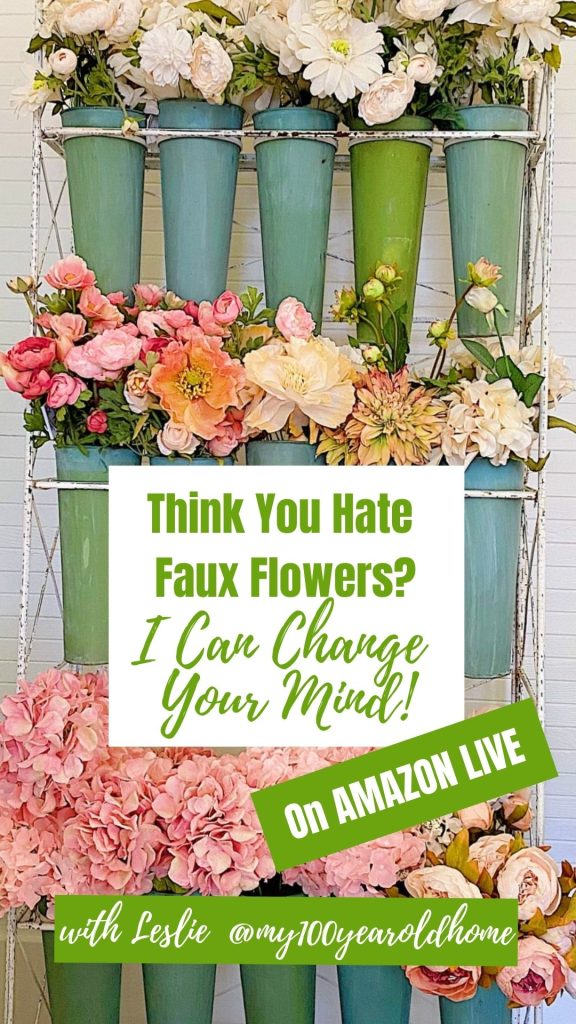
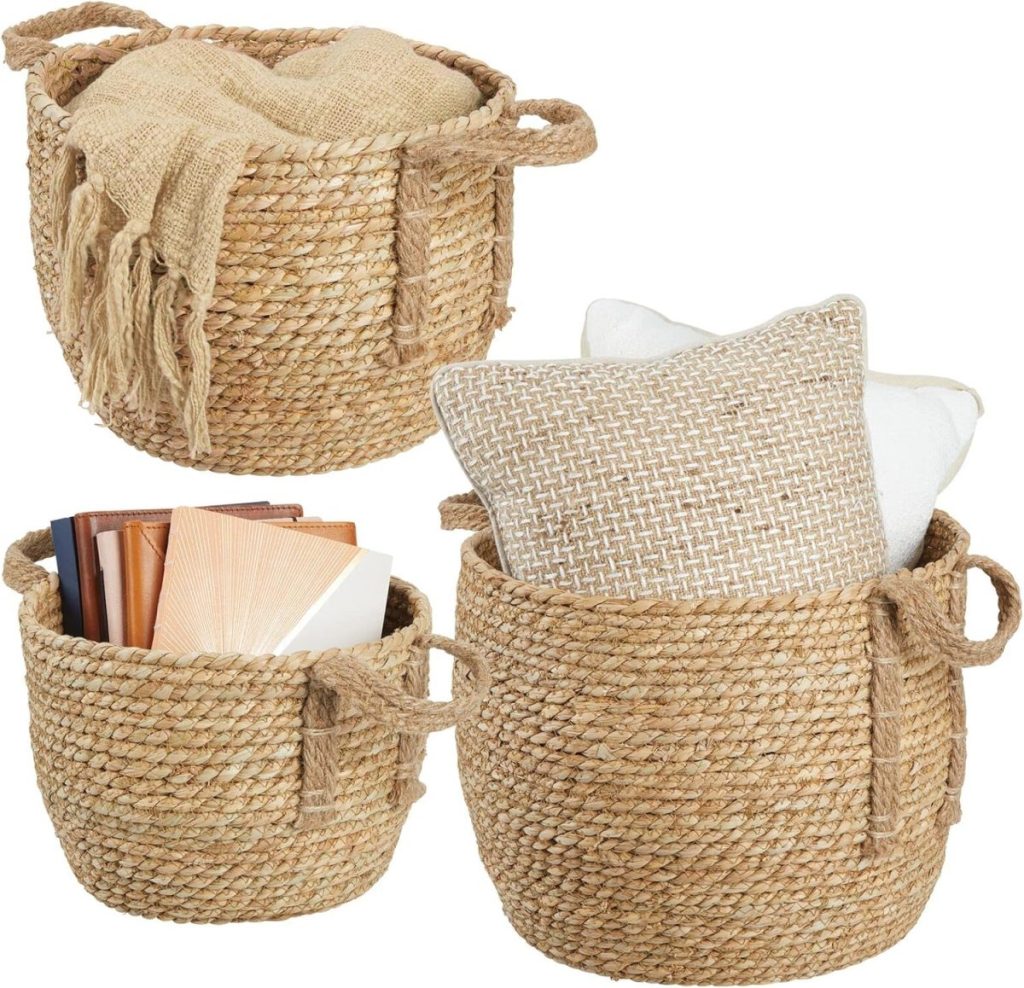
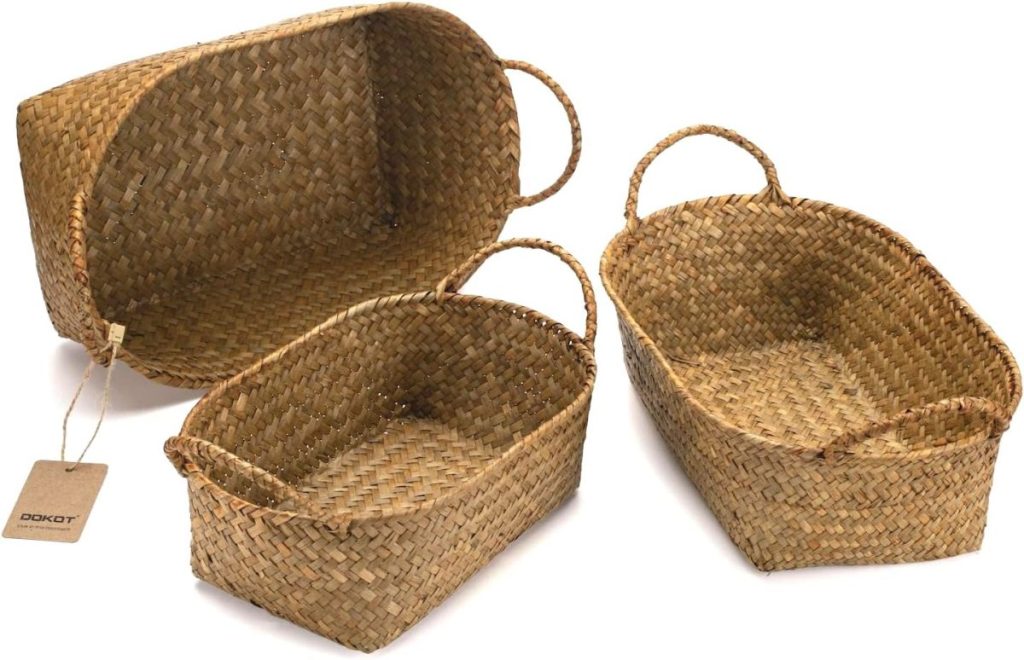
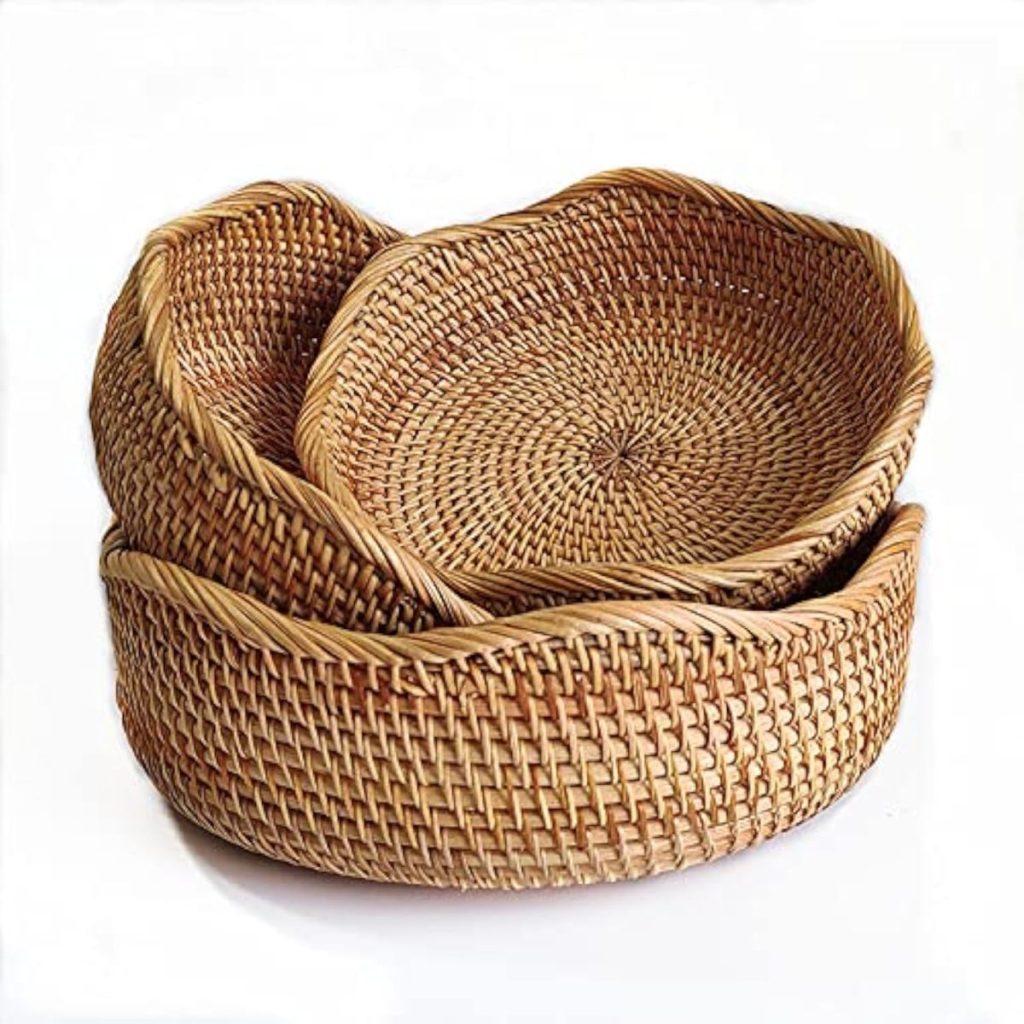
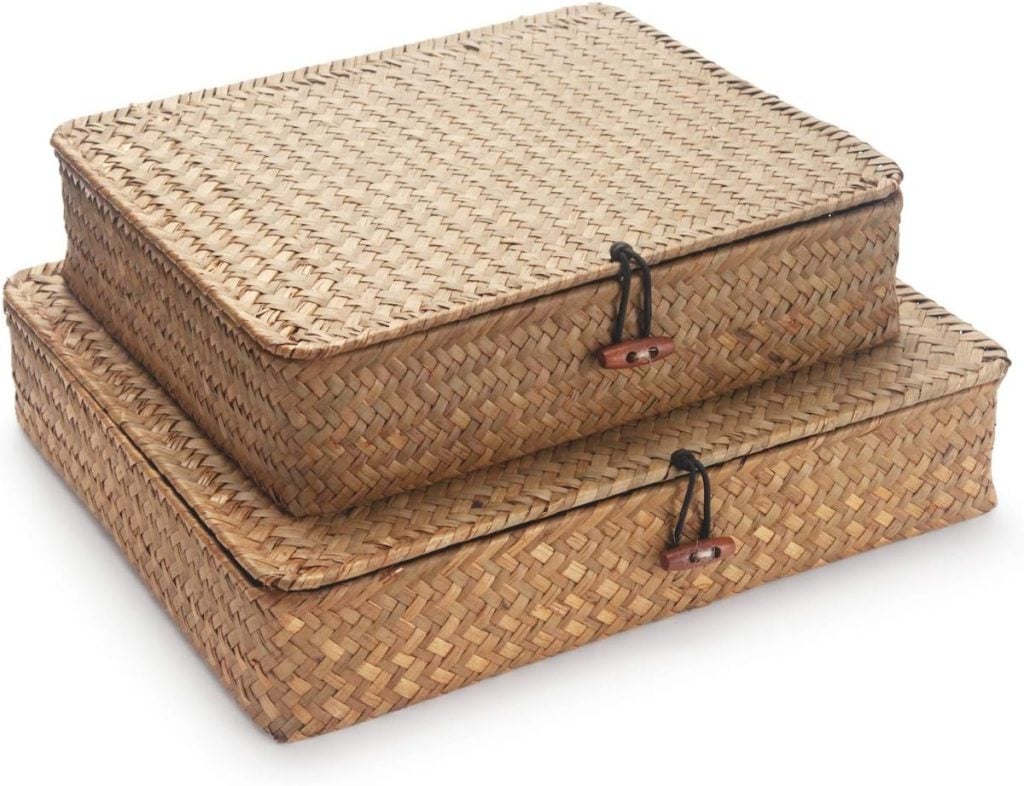
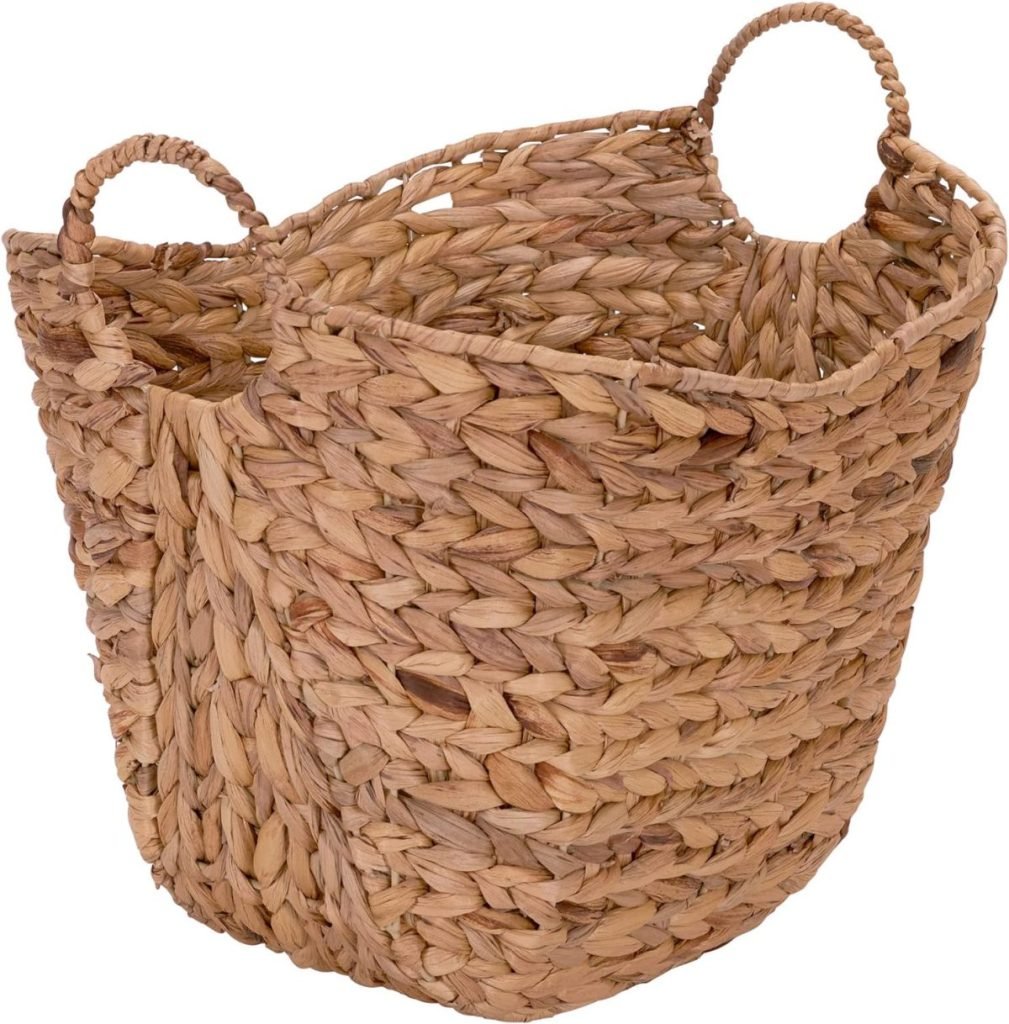
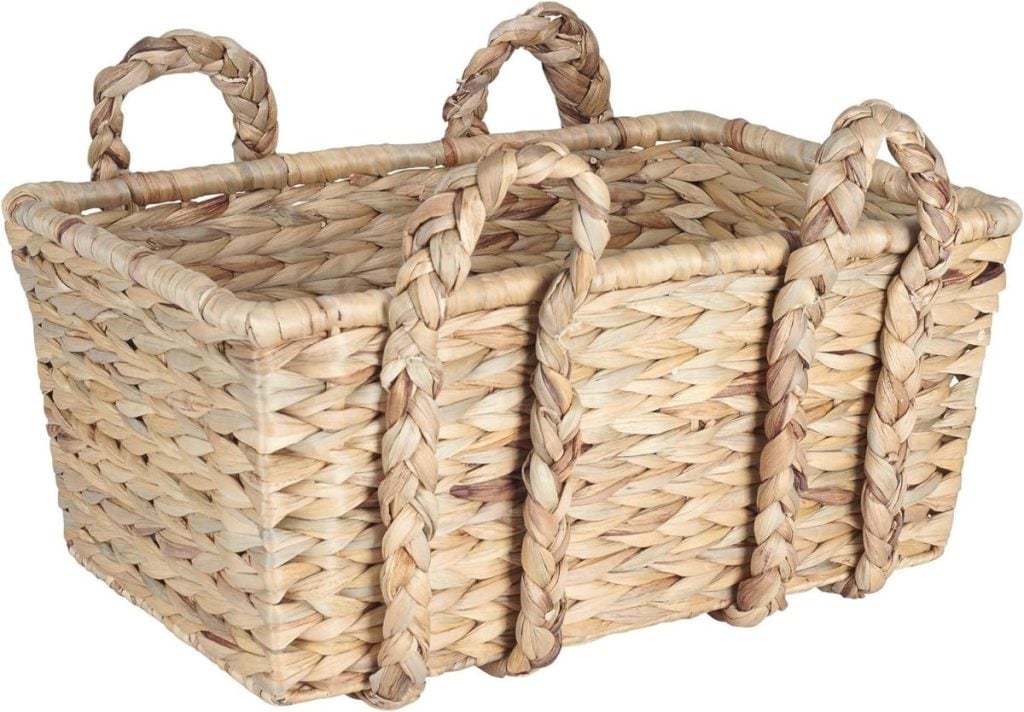
If you do not want to make your own, below are some baskets I think you might like!
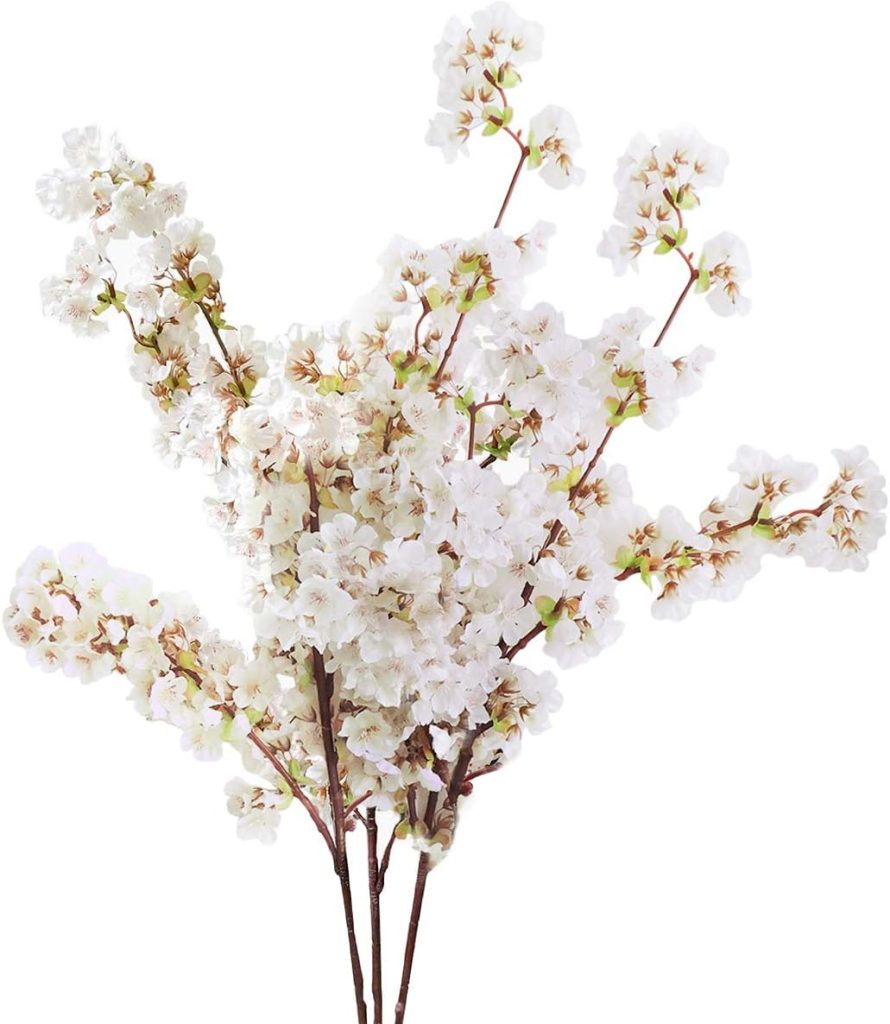
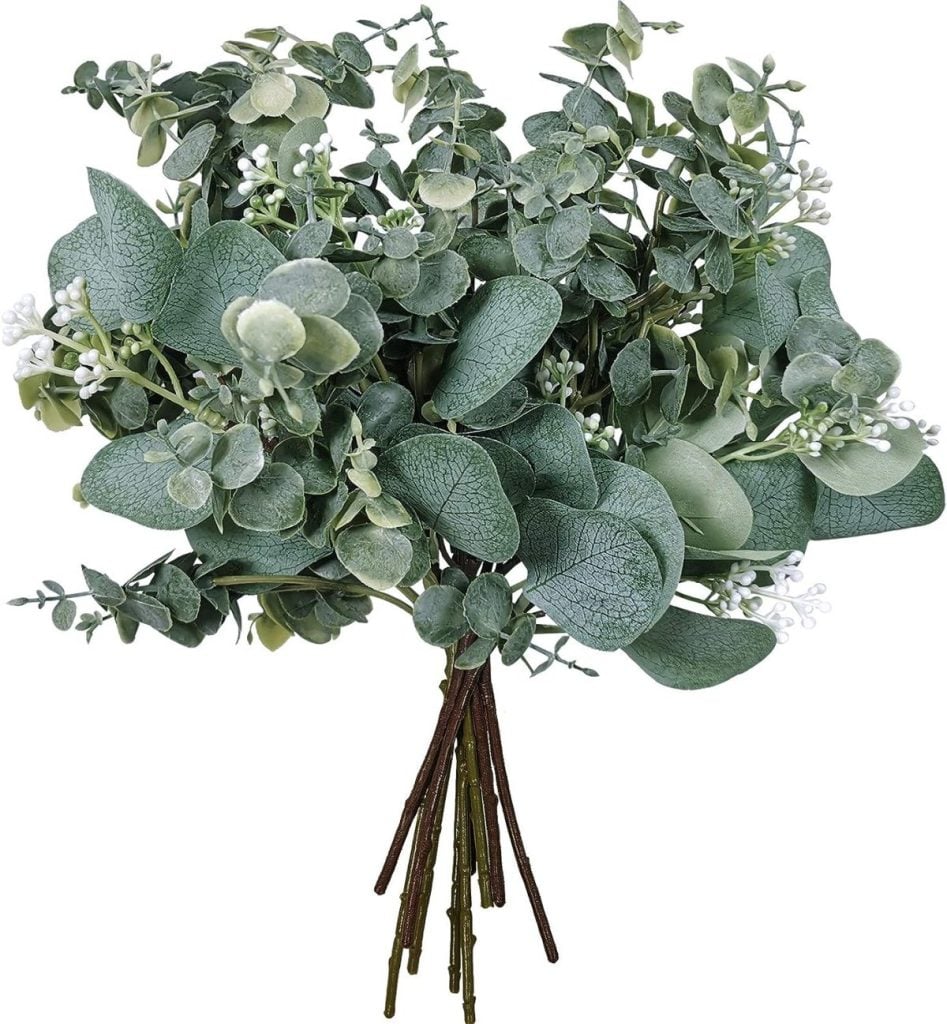
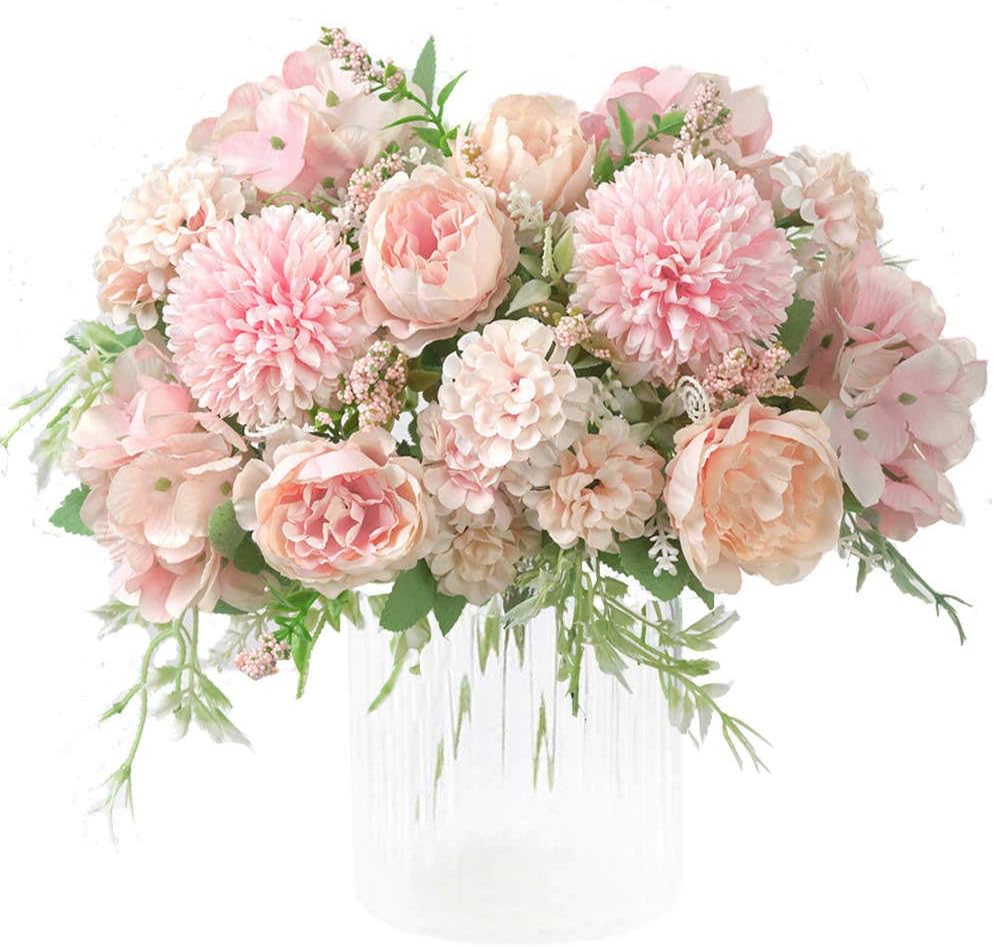
Flower Options to Fill Your Basket With
A List of All My Favorite Decor Displays!
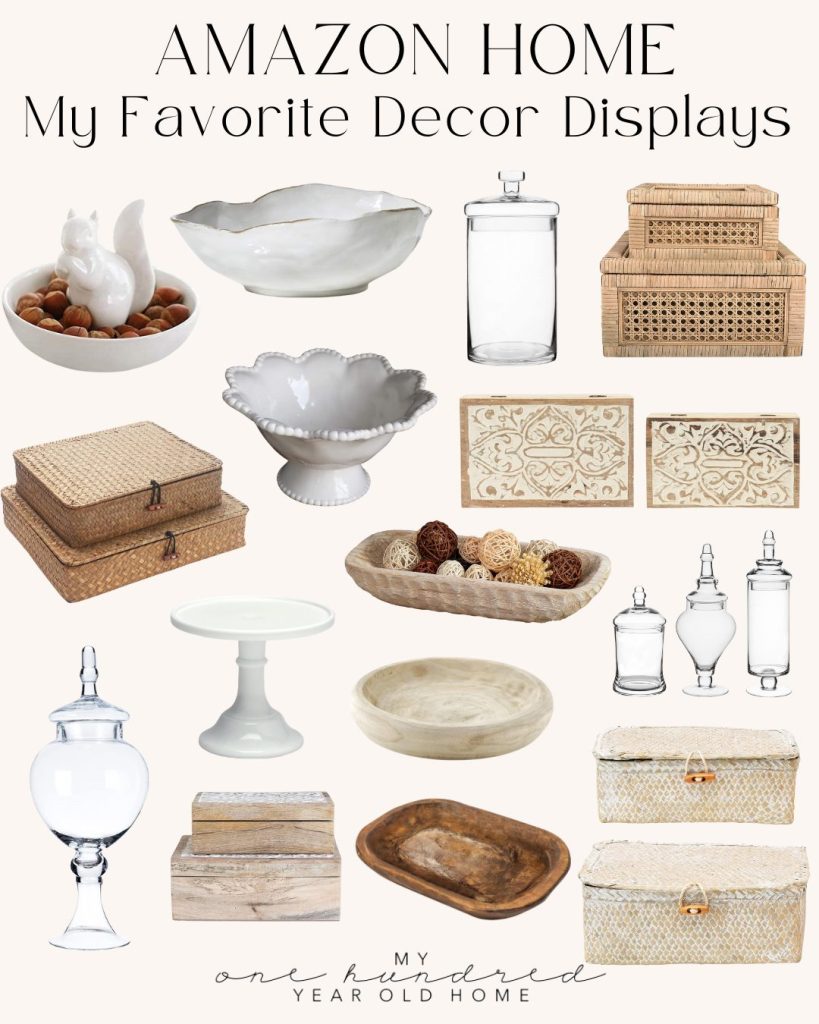
Pin the image below to your boards on Pinterest (click the Pin button in the top left corner). You can also follow along with me on Pinterest!
For more real-time updates, follow me on Instagram @My100YearOldHome








You continue to amaze w. I love this idea. It looks gorgeous.
You are the best!
Stunning Leslie! This is a must try for me.
thanks Eileen!
Thank you for sharing pictures as well as directions on how to make this basket. I have been wanting to make a basket for a long time just needed your directions to help me out. How beautiful and can be used in so many ways. I am so excited!!
Oh how perfect! Let me know how it goes!
This is beautiful! Thank you for sharing. I have priced baskets “like this” online and they are expensive. Now I know I can make this and that makes me very happy! Thank you, again.
Yay! Let me know how it goes Barb!
Thank you so much, Leslie! Your tutorials are always simple and explained very thorough!
Oh that makes me so happy to hear!
I read the basket instructions twice. Did you remove the cardboard box after completing all the rope wrapping?
Yes at step 10!
Love this idea! I too had to re-read that yes you do remove the cardboard box and are left with a cellophane inner lining.
Saved this for making soon!
Thanks Leslie!
Let me know how it goes!
Love all your crafts and how you decorate…you make directions SOOOO easy to follow.
How you add where to get supplies and price and color helps a great deal too.
This will be fun to try and make…possibilities are endless on how to use this basket
Thanks for your website!!!!! Jackie
Hi Jackie! Oh I’m so happy you’re enjoying it all 🤗 I really try to make it as accessible as possible. Thanks so much for being here ♥️
Unsubsribe me please!
Hi Brenda! On your email from me you can scroll to the bottom of the email and click unsubscribe. Sorry to see you go 🤗
Yep, I’m still over here aspiring to be Leslie when I grow up!
Haha oh Becky this is so sweet of you to say- this basket was so fun to make! 💕
Love this! Your creativity always inspires me!
You’re so kind- I’m so glad it does, thank you Leslie! ☺️🙌🏻
Leslie, I did not post that remark about the jute basket. I love it and all your blogs. I look forward every day to see what kind of surprise you have for us. You are so talented and I thank you for sharing these projects with us. Have a great day and by the way are you close to where all the rain and flooding is?
Aw thanks so much Heidi! We have had lots of rain but me and my family have been staying safe!
I always enjoy your posts, but I am estatic about this one. I have 6 plastic bins in my laundry room that I hate, but they do the job-this is the perfect solution for them!
This Heidi that is commenting on your blogs is not me at grannygina. Someone else may be Heidi Murphy, but these comments are not from me. Happy Valentine’s Day
Noted Heidi! It looks like that may have been from a while ago. Happy Valentines Day!
These Heidi Murphy comments are not from me. I am grannygina (Heidi Murphy).Someone else is using my name.