How to Color Easter Eggs
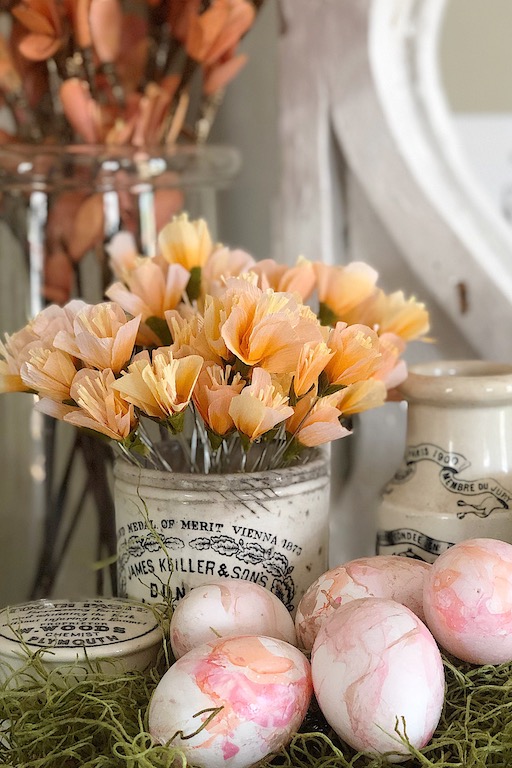
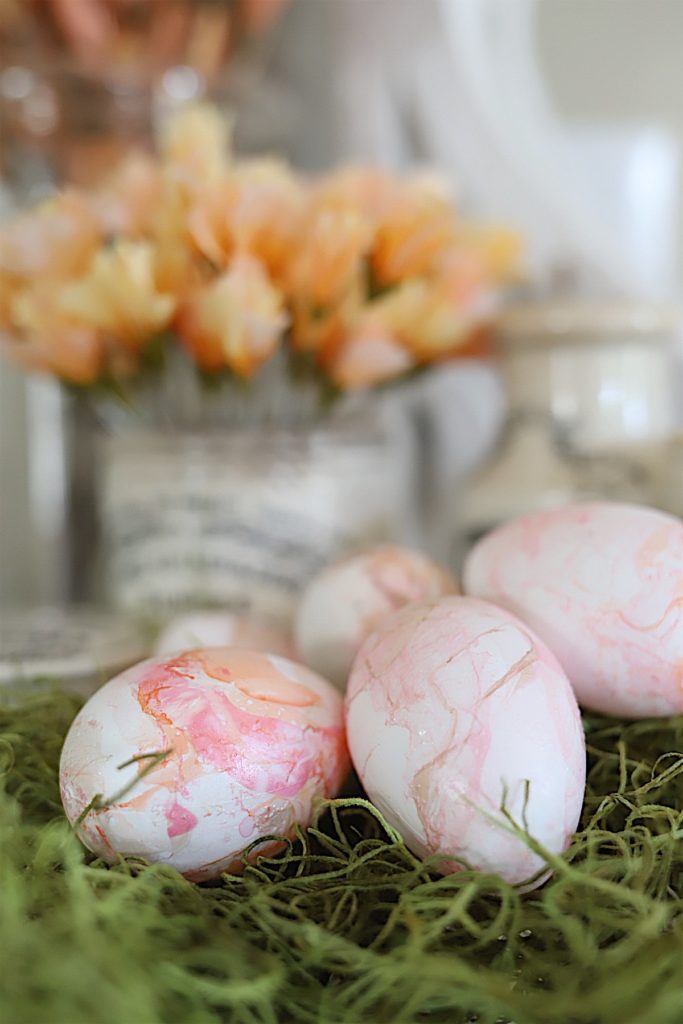
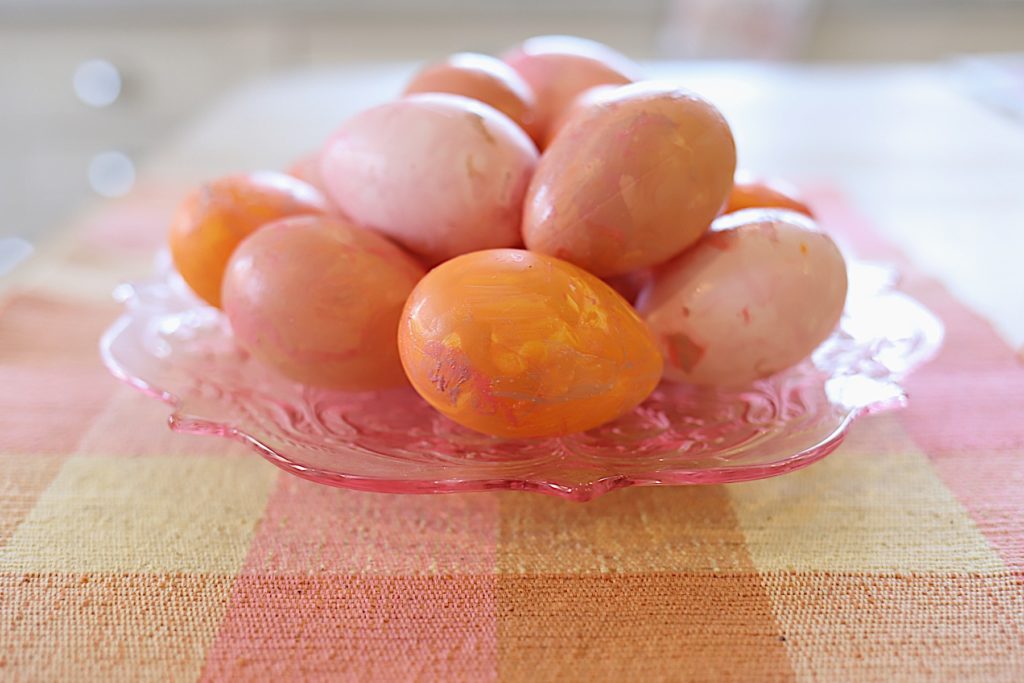
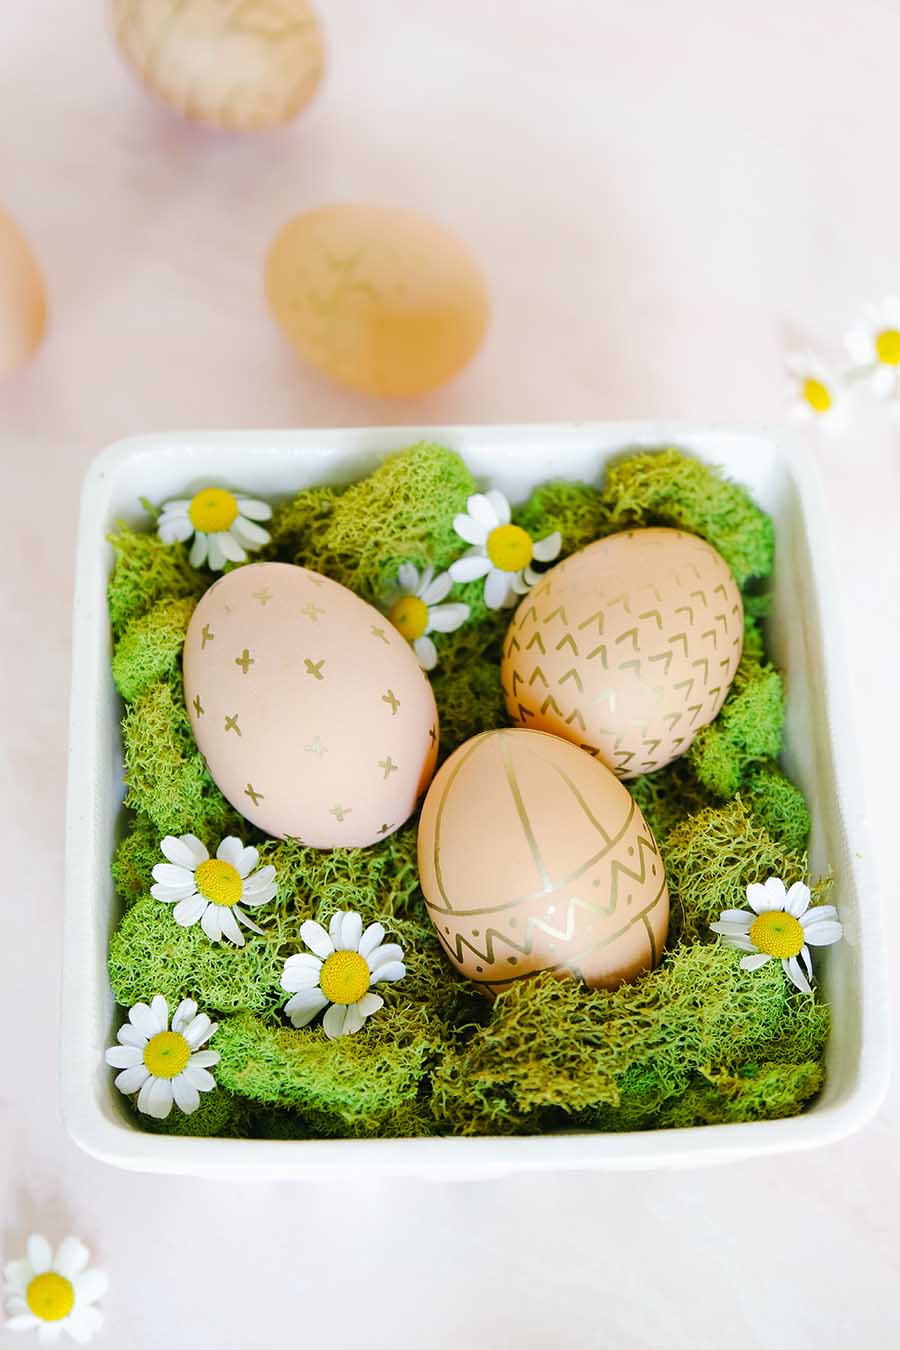
It seems as if I have spent a lifetime coloring Easter eggs in bright, electric colors. For the first time I figured out how to color Easter eggs and I am so happy how they turned out. All I used was paint and nail polish. I used white eggs for half of the eggs and I painted the other half. The colors I chose fit into my spring theme and I have to say, I am really loving the orange.
Today I am thrilled to be part of a blog hop featuring eight other bloggers and some really great easter egg ideas. Be sure to scroll to the end of this blog post to find photos and links to all of their projects.
My accent spring color in our home this year is orange. So I chose orange and pink as the color palette for my eggs. Obviously, you can use any color palette you want. I just caution you to stay away from the really bright colors of nail polish. The neon colors can be tempting but remember how bright they will look on your eggs.
What You Need To Color Easter Eggs
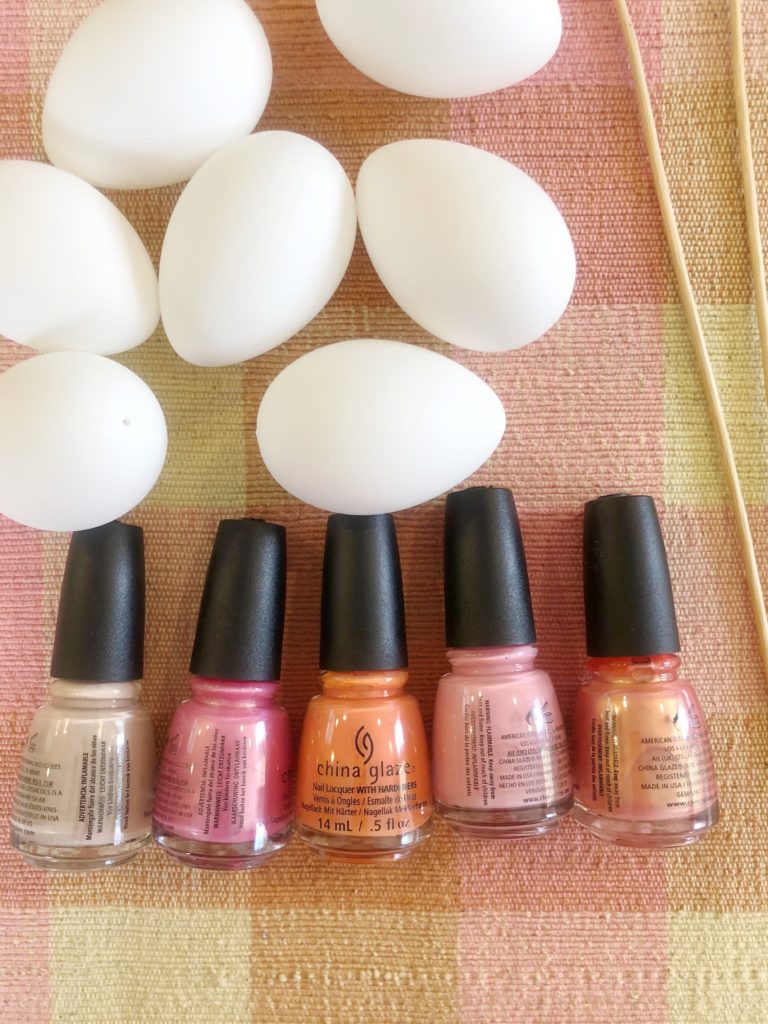
One dozen hard-boiled, blown or faux eggs (I used the awesome white faux eggs from JOANN.)
Assorted bottles of regular nail polish (do not use gel polish or quick dry polish)
Assorted colors of acrylic paint
Latex gloves
Paper bowls
How to Color Easter Eggs
To color the eggs, fill a disposable bowl with about one inch of water. Add a few drops of nail polish. Your goal is to get the nail polish to rest on the top surface of the water.
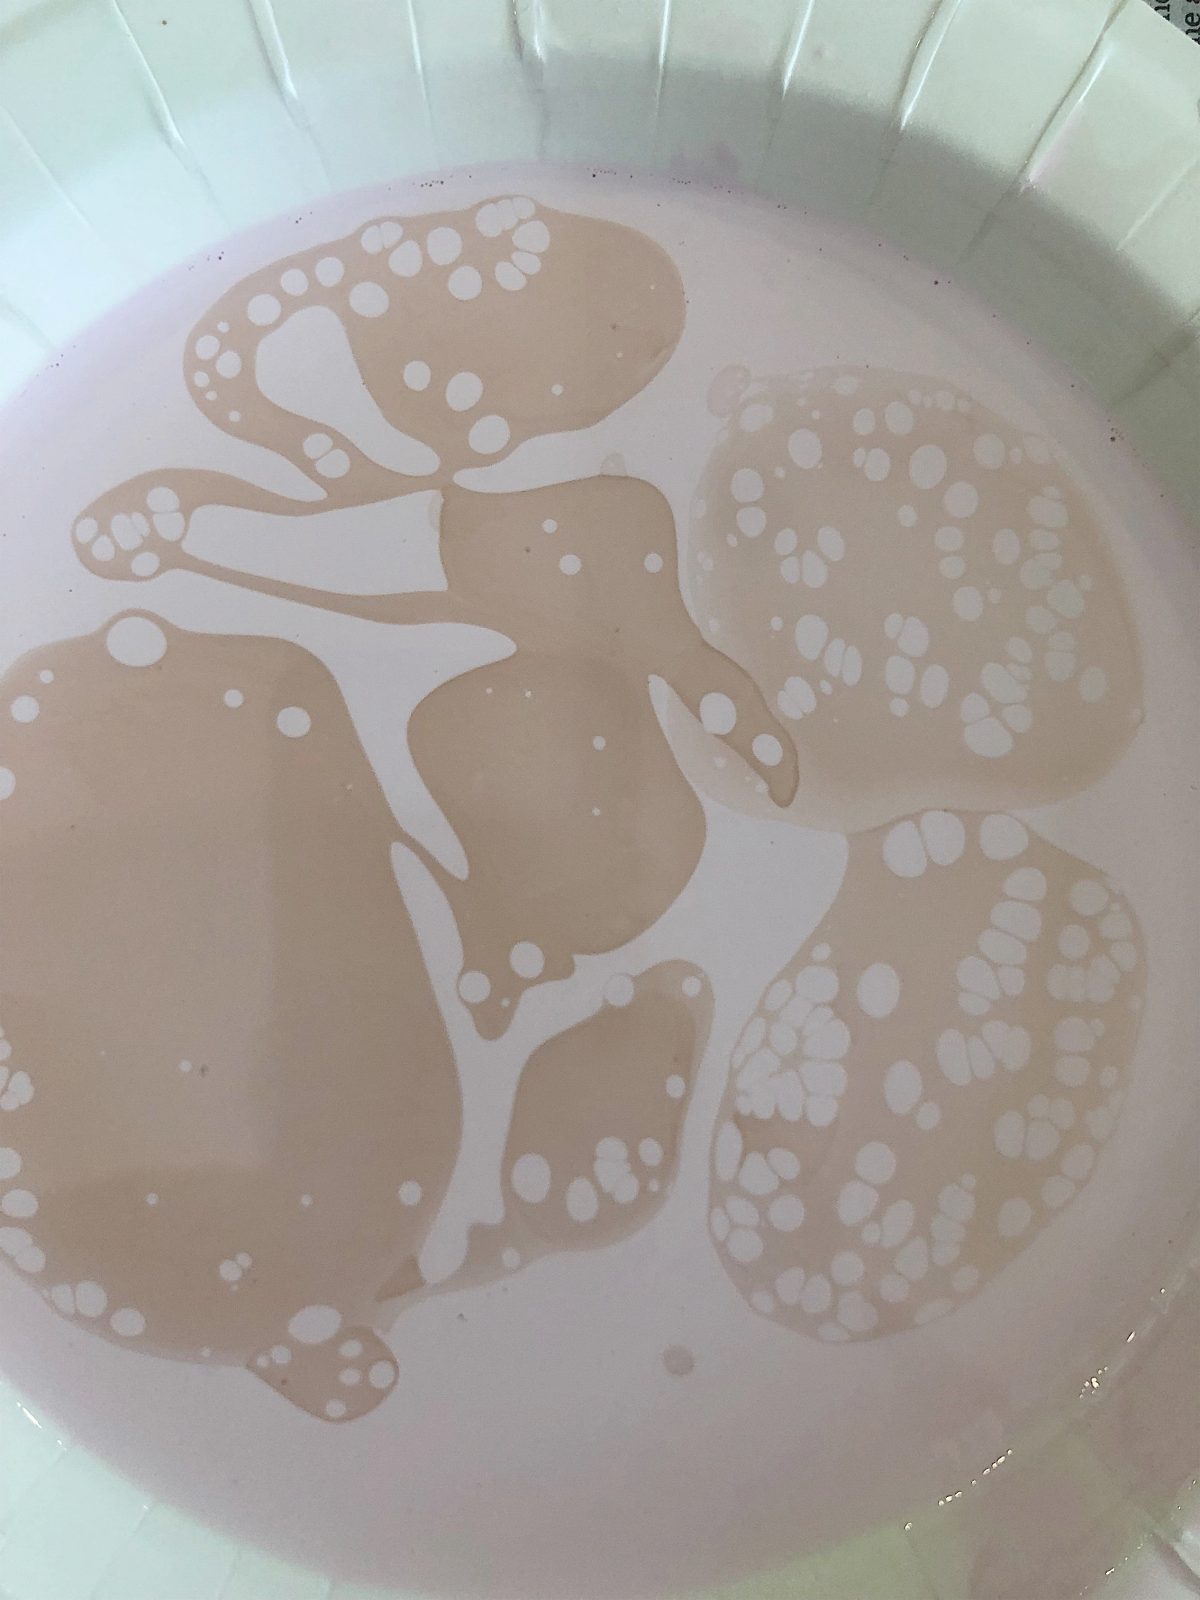
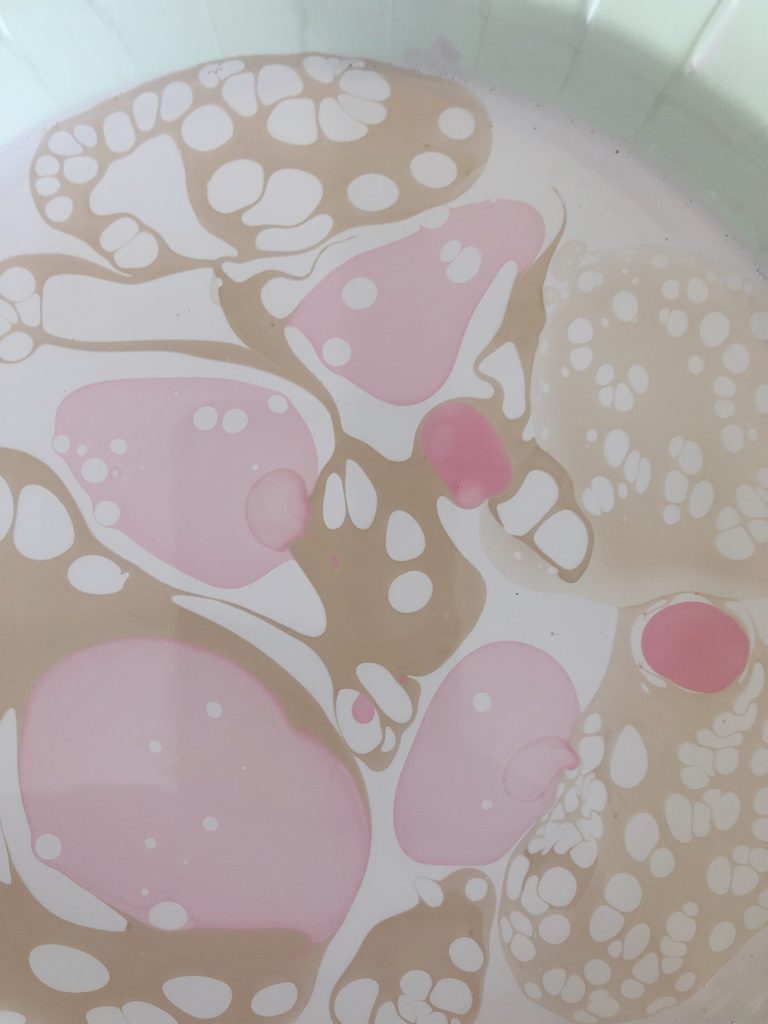
Here you can see I added drops of a second and third nail polish color.

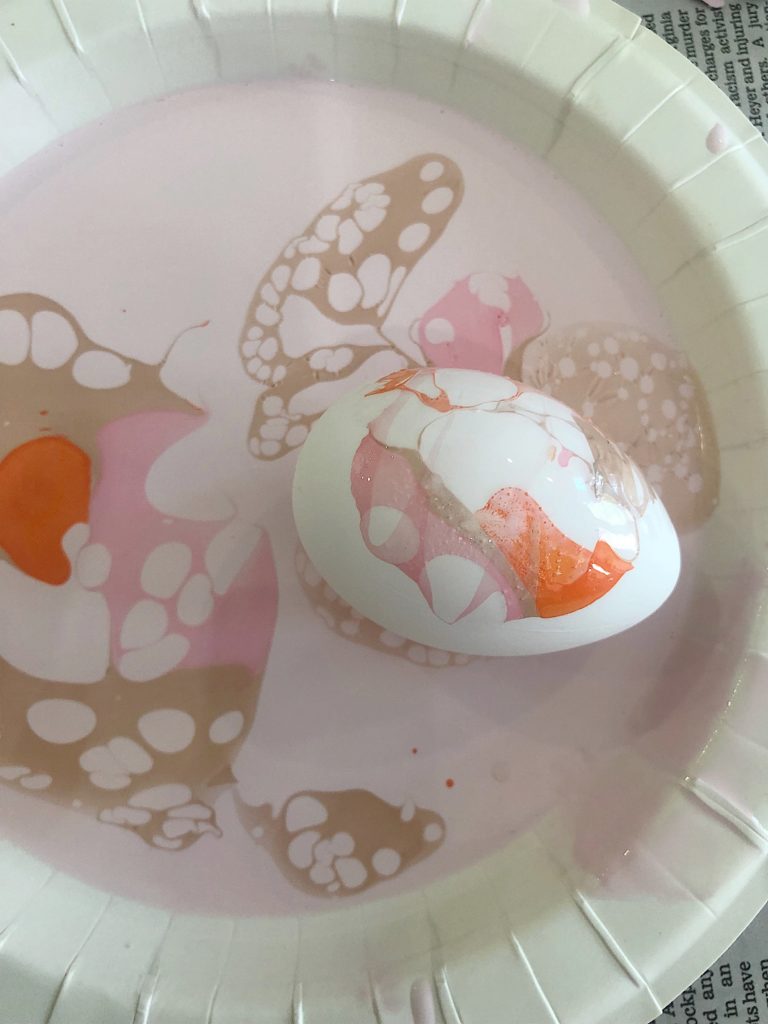
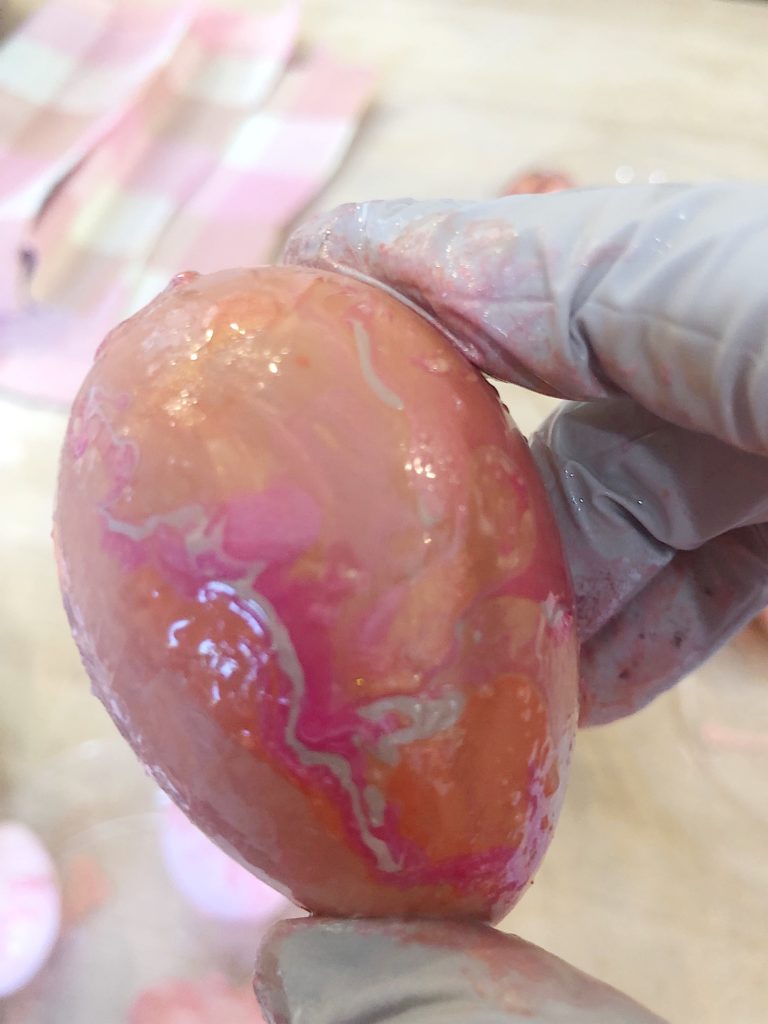
Using plastic gloves, roll the egg on the water surface to adhere the nail polish to the egg. Keep rolling until it is covered.
I do have a quick tip. You need to change bowls and water after each use. If there is too much nail polish residue, the nail polish won’t rest on the surface when you add it to the water.
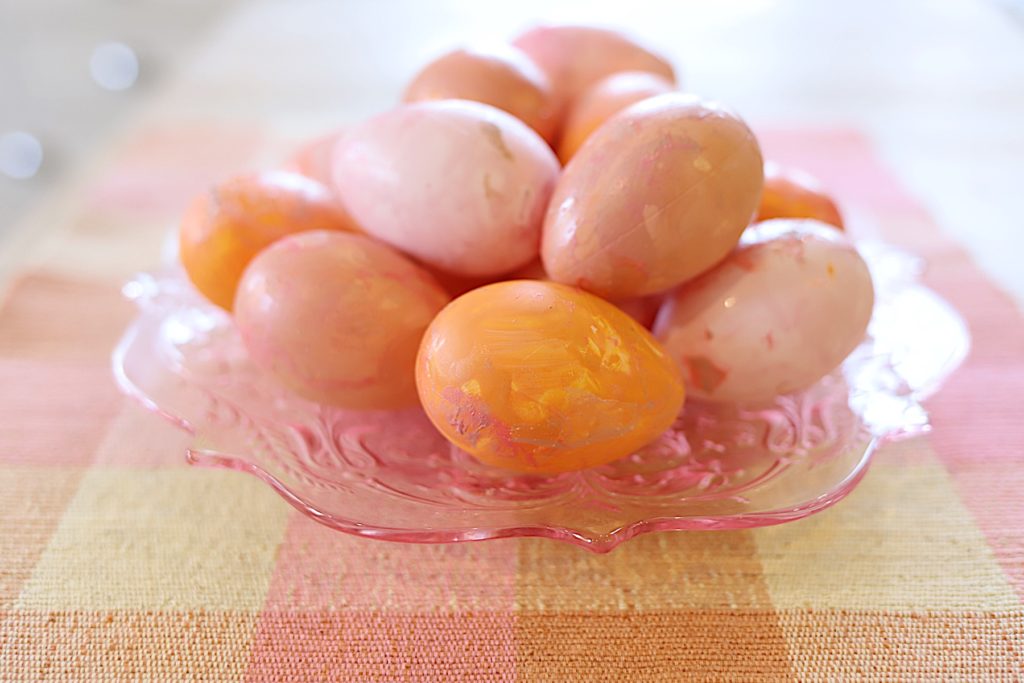
Don’t these eggs look amazing? They almost look like they have tissue paper on them.
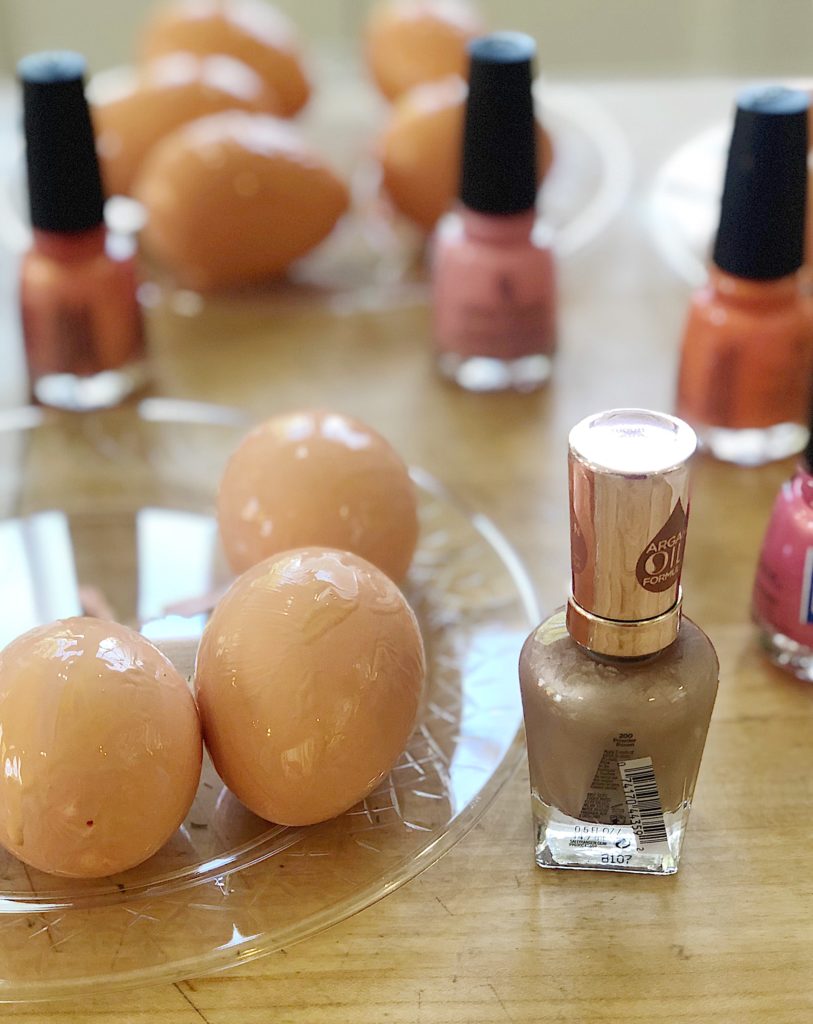
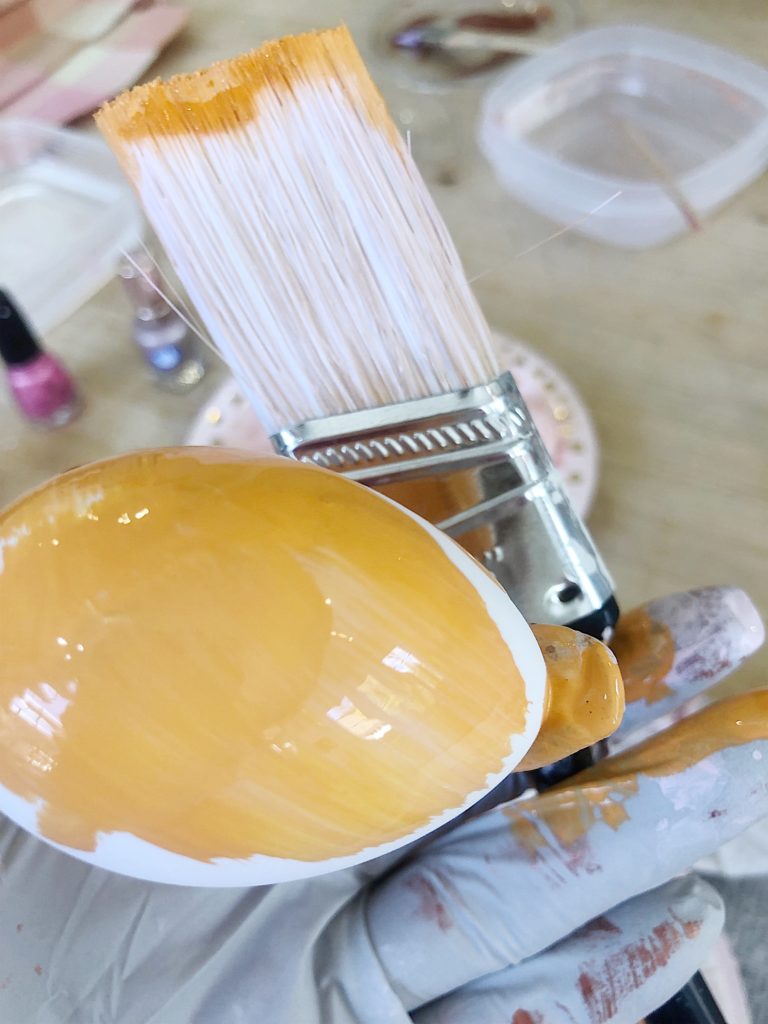
Next, I decided to paint the eggs with acrylic paint before I used the nail polish painting method.

I love how the nail polish looks adhered to the painted egg. Once you have dipped them in the nail polish just set them on a plastic plate. Don’t use an egg carton because the egg will stick to the surface. Trust me, I found this out the hard way.
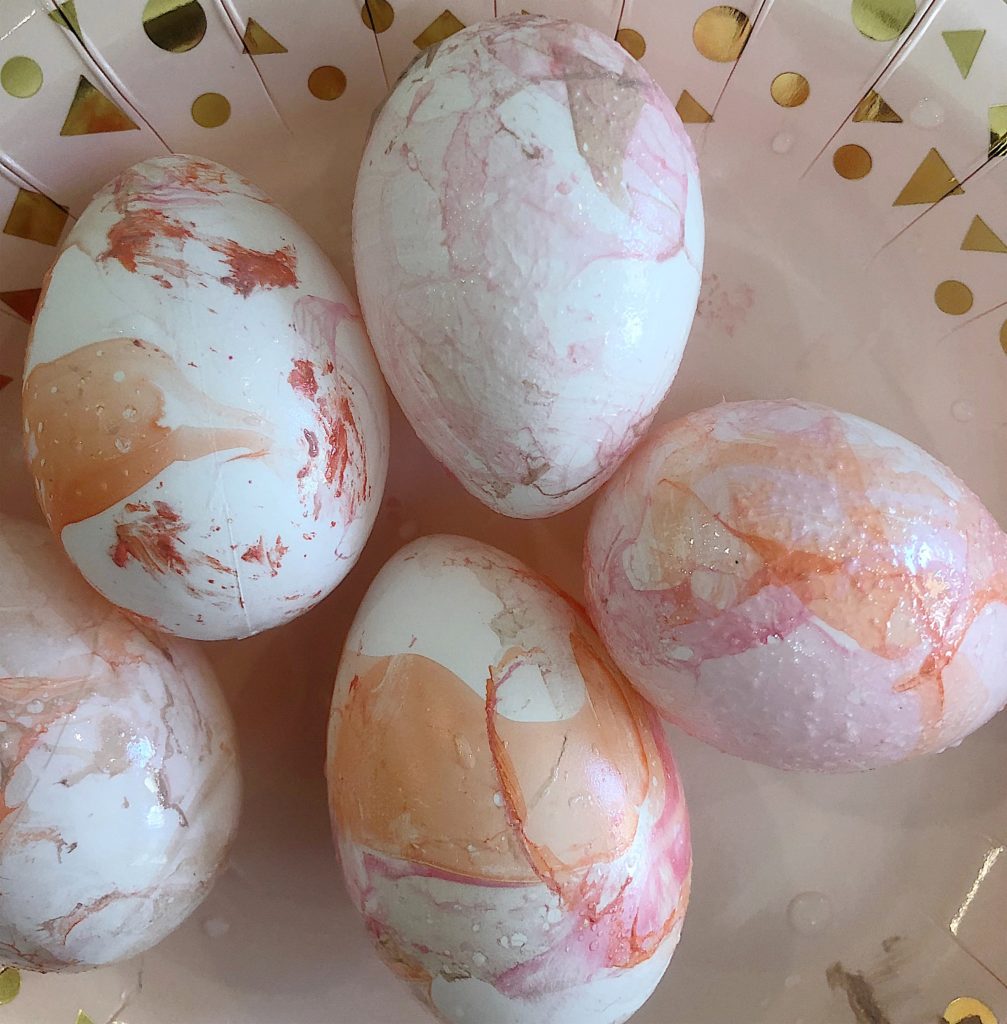
Here is a close up look of the painted egg version.
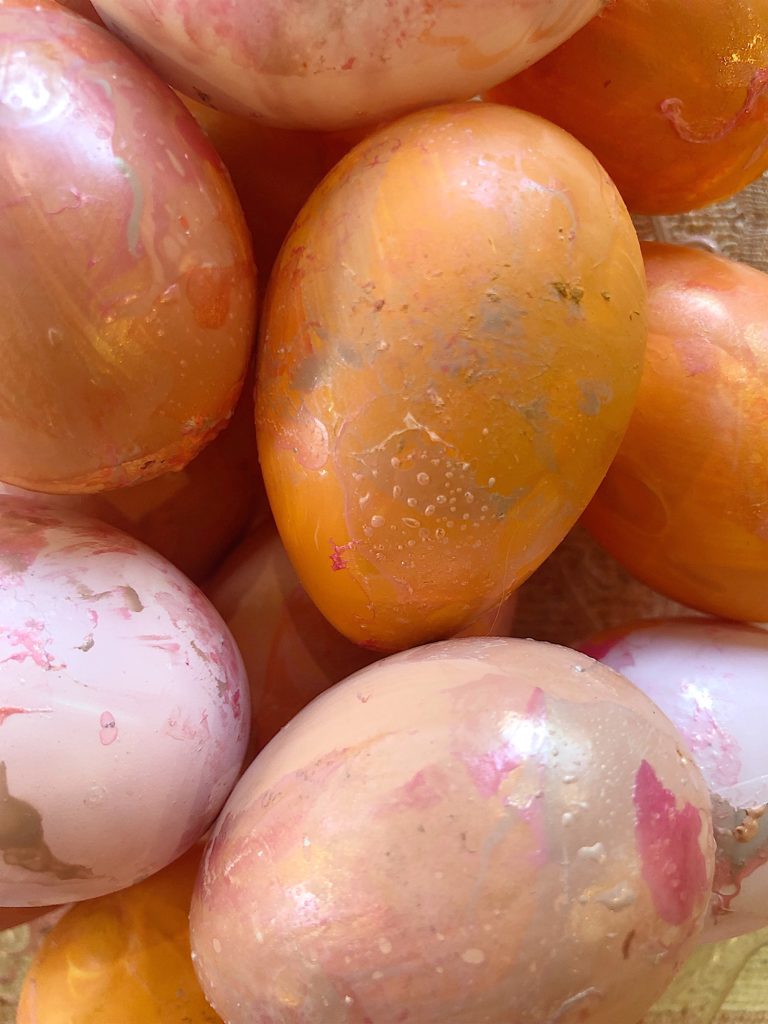
Although it is faster to make the eggs that aren’t painted, I am glad I made them both. Of course, I can’t decide which ones I like the best.
Be sure and pin my image to your Craft or Easter Boards on Pinterest.

Today I’m joined by a fabulous group of blogging friends who are also sharing their Easter Egg DIY ideas. I am so lucky to be part of a blog hop. You aren’t going to believe all of these great ideas!
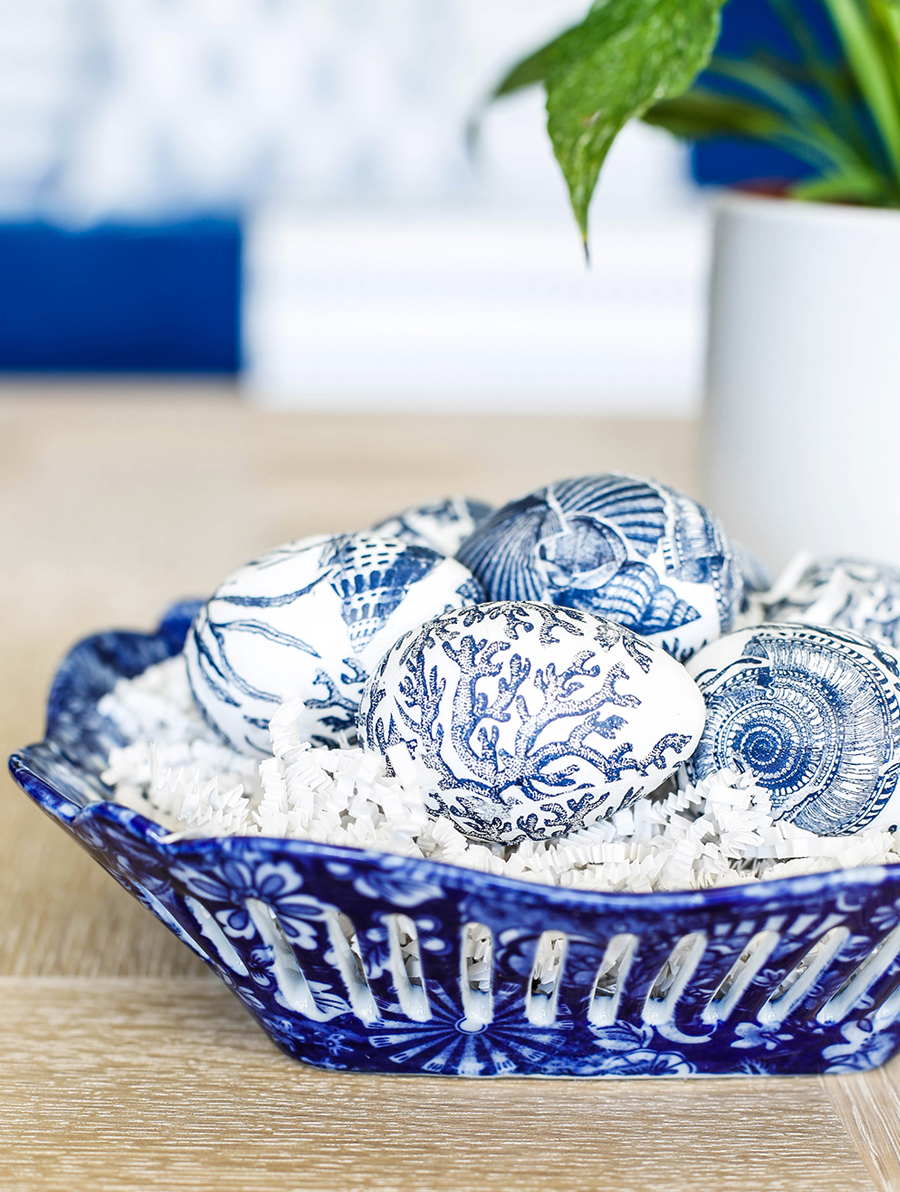
Tana created a blue and white easter egg decoupage decorating idea. These eggs are amazing.
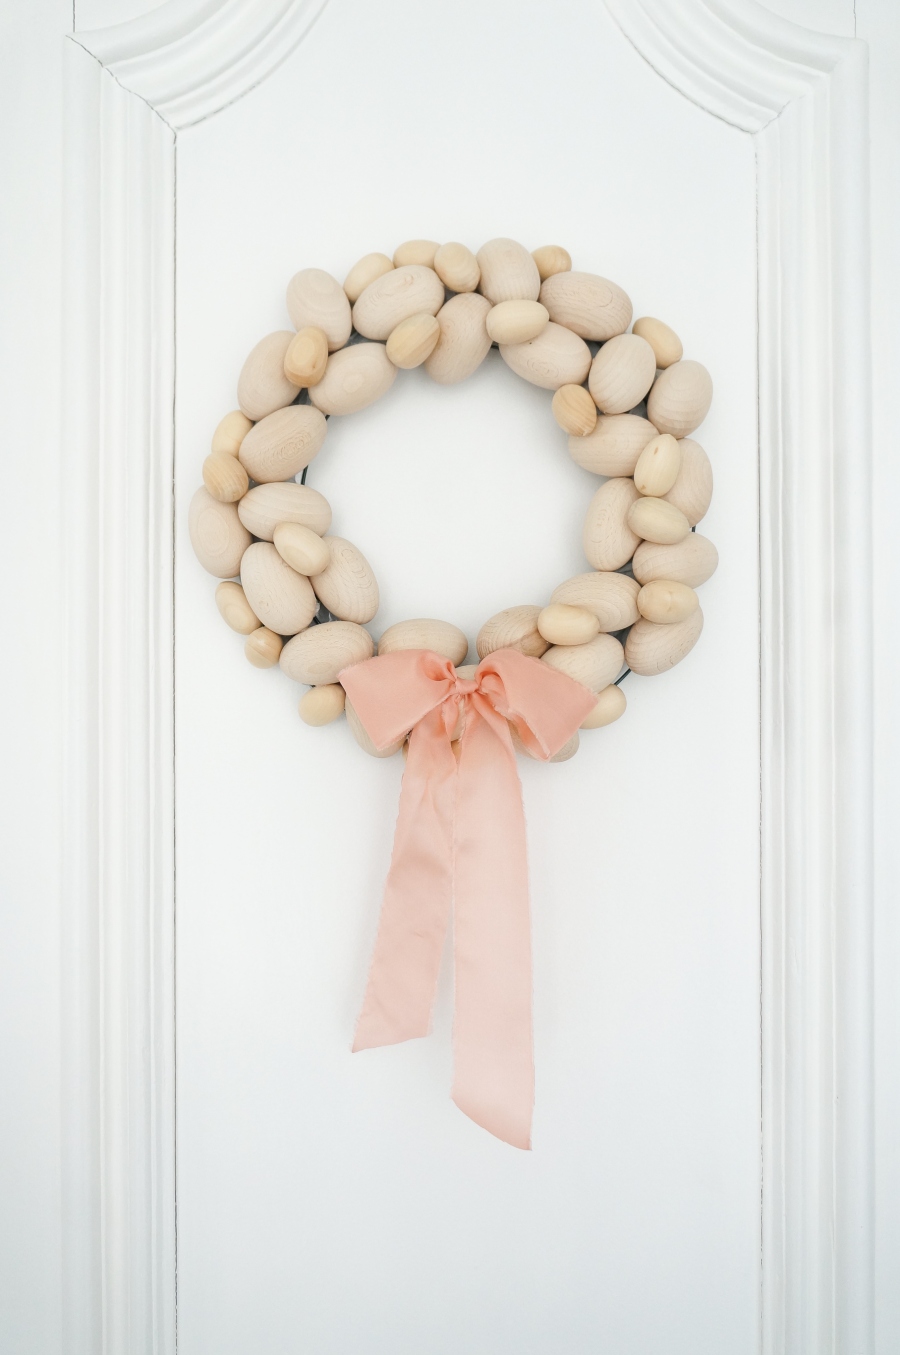
Jackie at Finding Lovely made this wonderful Wooden Egg Wreath.
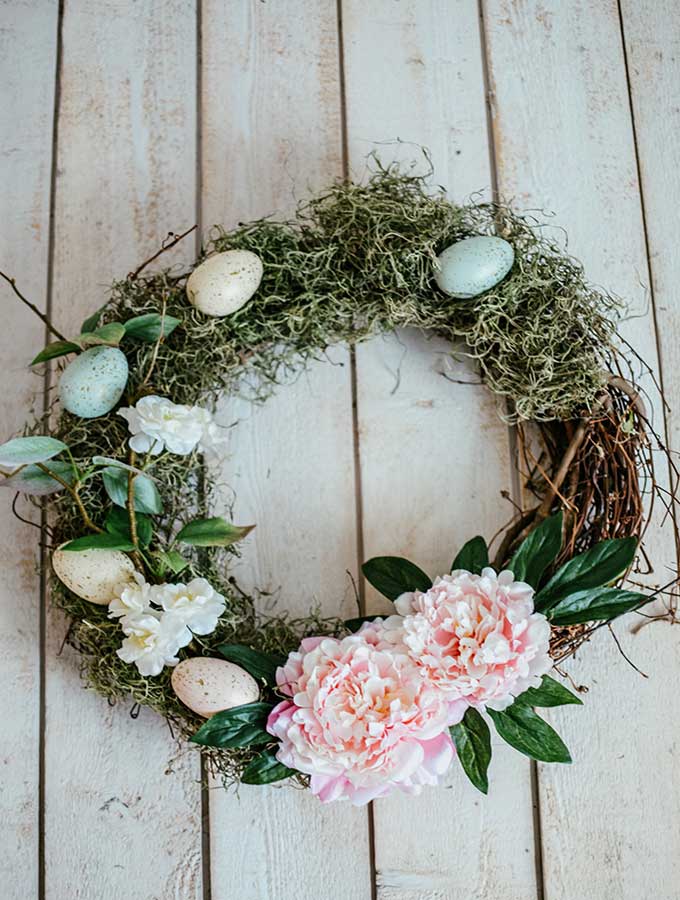
Rhonda made this lovely egg wreath.
Janine made these adorable chicks styled easter eggs.
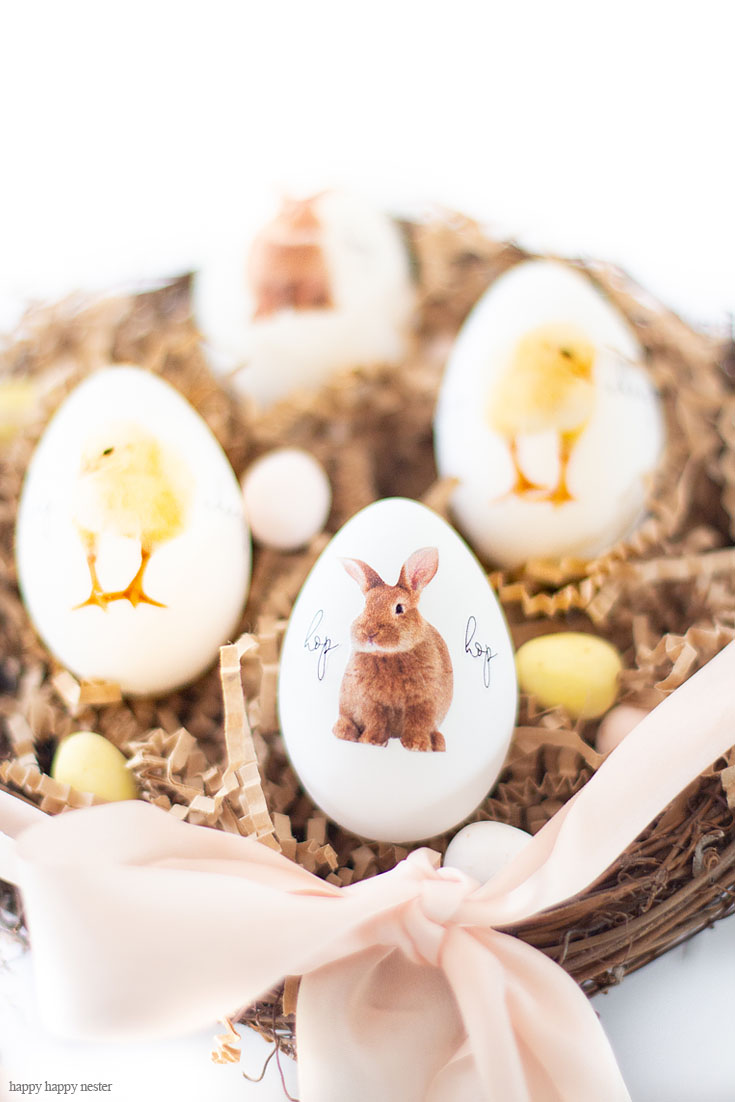
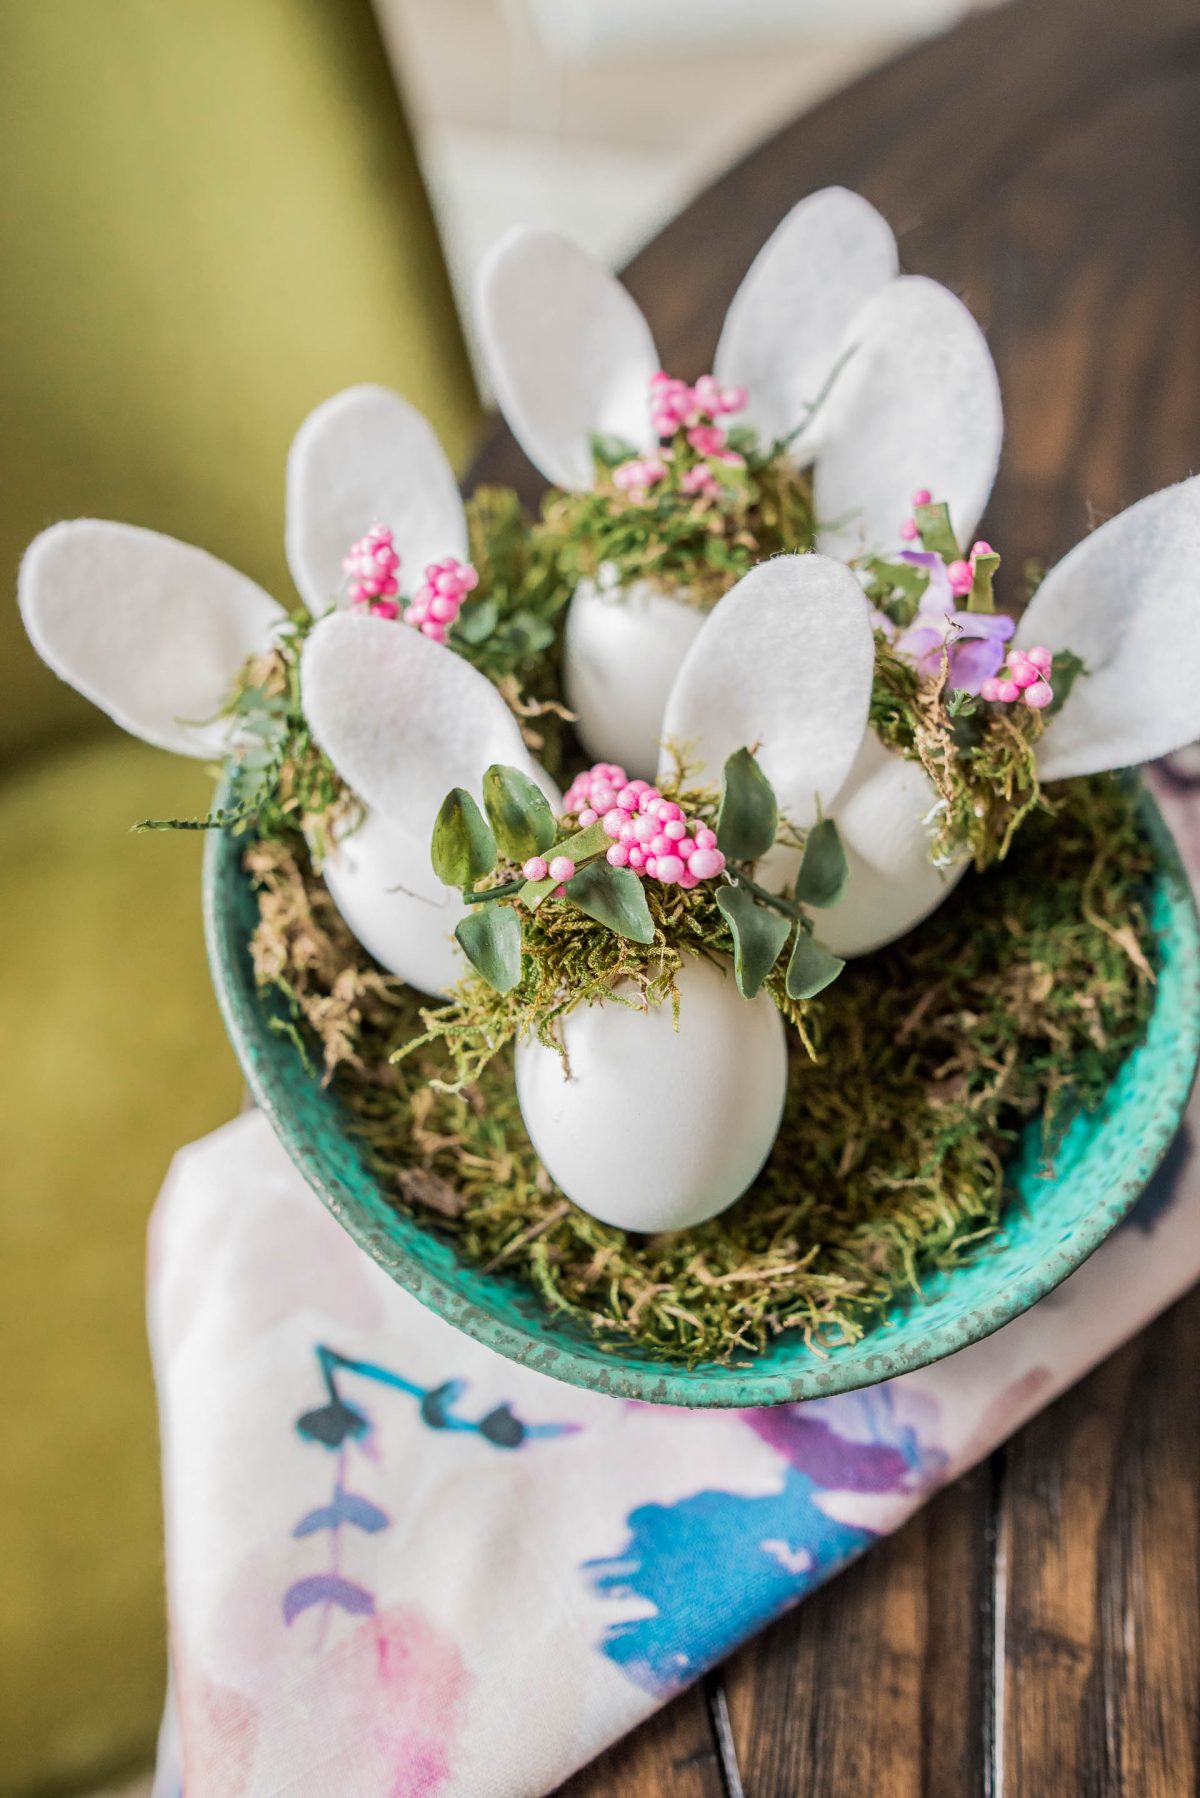
Christina is so talented! She made Easter Bunny Eggs with Tiny Floral Crowns.
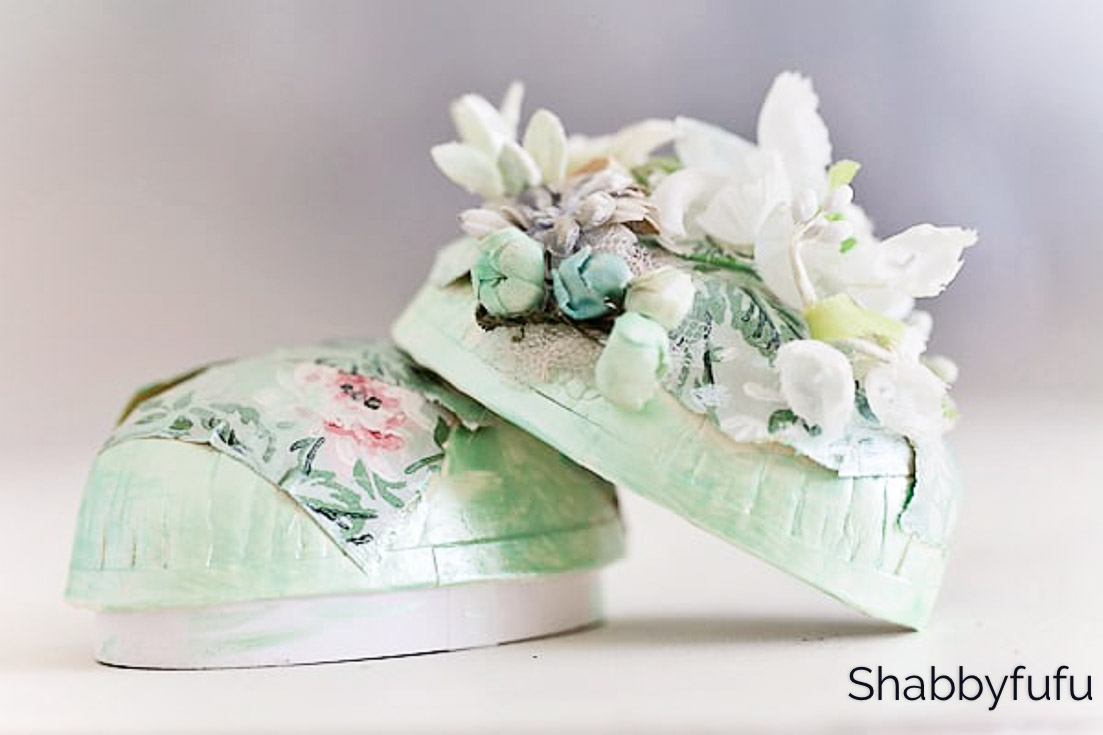
Janet did a great job creating her Easter Crafts by creating Vintage Flowers Easter Eggs.
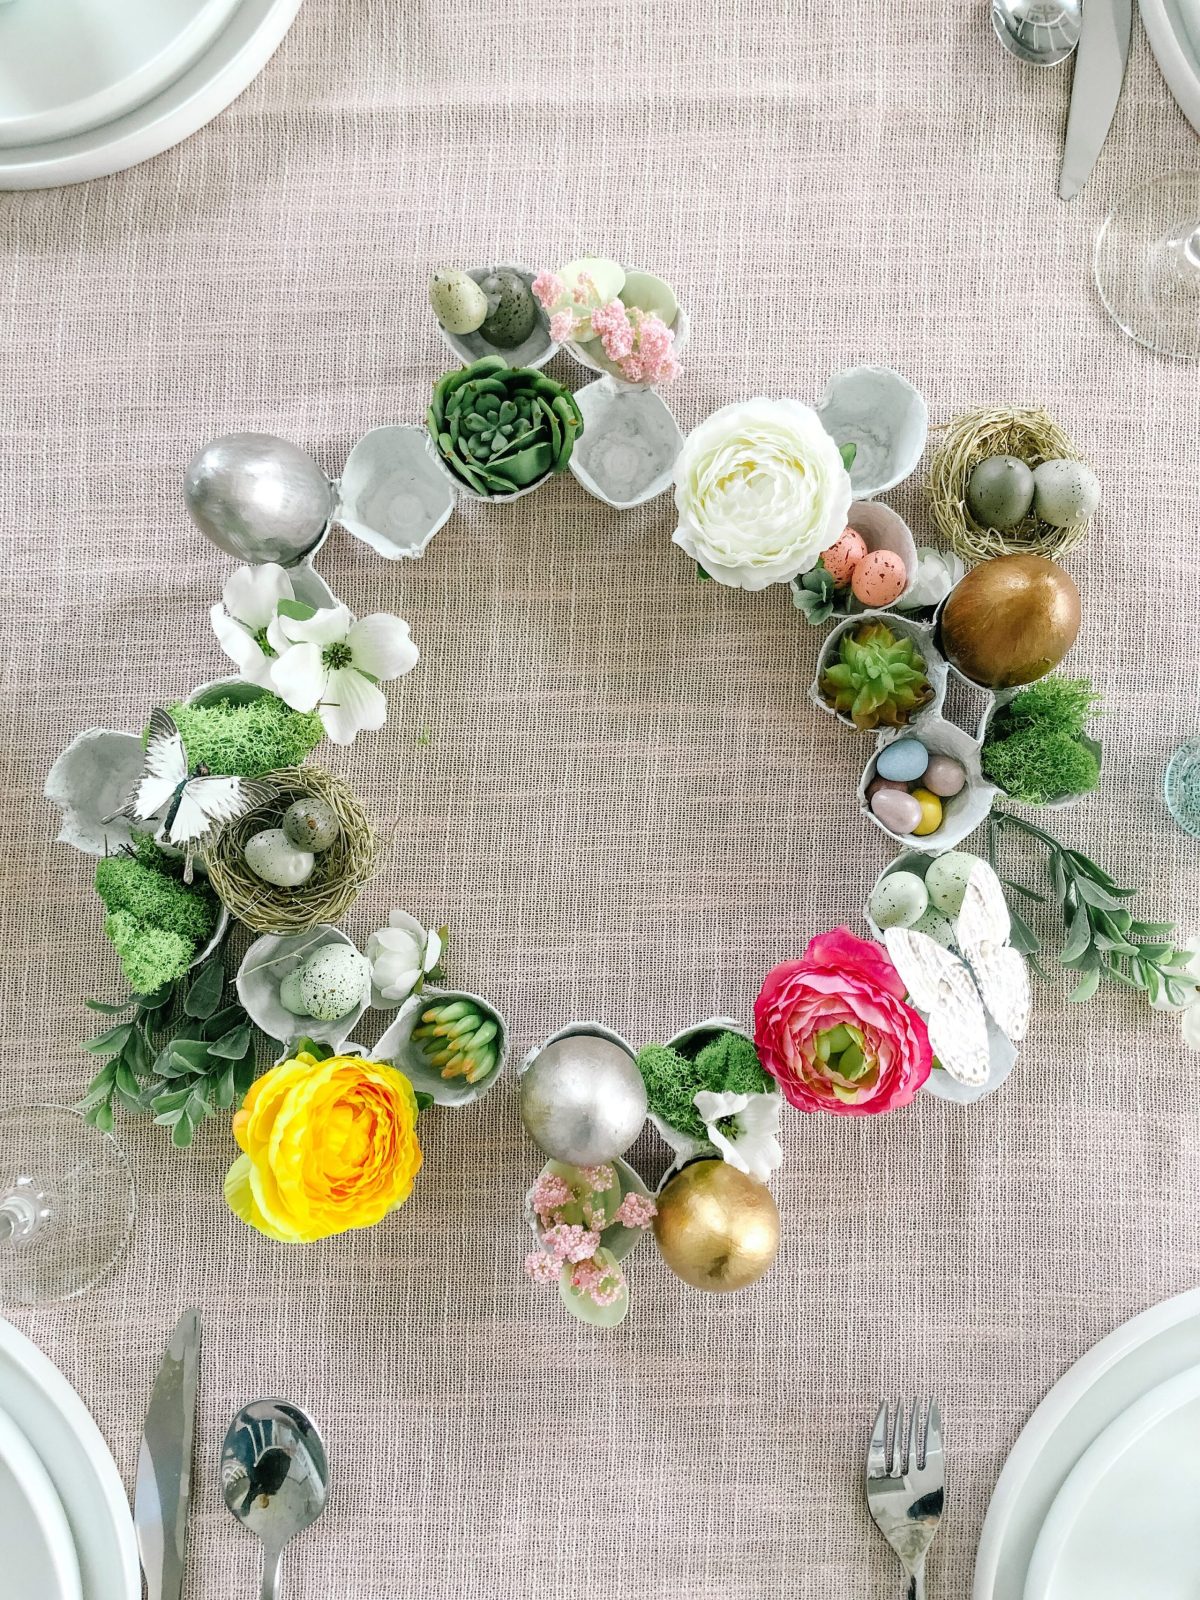
Jennifer designed this intricate DIY Gilded Easter Eggs Carton Wreath.
Ashley did a great job Decorating Brown Eggs for Easter.
Be sure and pin this on your Pinterest Easter ot Craft Board!


They are really beautiful! I have to say though, that I hope you are not pouring these bowls full of water & polish down the drain. The EPA considers nail polish to be household hazardous waste (HHW) due to the toxic chemicals it contains, as well as being highly flammable. This means we can’t pour it down the drain (nor are we supposed to toss bottles in the trash unless we have emptied them onto newspaper and let that, as well as the polish remaining in the bottle, dry).
Leslie what a beautiful and fun idea
I must try this! I love the marbelized effect it gives off…so cool!
Leslie these are awesome! And my favorite colors too! I can’t wait to try this when the kids are asleep! Haha!
So pretty Leslie! I’ve done this with mugs and need to try it now with eggs! xo
If you try it, let me know what you think. I can’t wait to see what you do.
Leslie
My daughter did the nail polish method on candles but I never thought about Easter eggs. They are beautiful
You will have to try it!
Leslie
Beautiful! My family doesn’t color Easter eggs much anymore but this makes me want to get into it again. Very fun 🙂
Awe. That makes me happy!
Leslie
My hens lay blue eggs, this would look amazing using them!
Oh my gosh! It really would.
Leslie
Hi Leslie, I would like to try this with my granddaughters. I’m wondering if your eggs are styrofoam or plastic?? I bought a few from AC Moore that are ceramic to try. Thank you
These are really beautiful, Leslie. But I, too, was wondering how you disposed of the used water with the nail polish in it. I also am not clear on how many eggs you can do in a bowl of water and polish before you advise discarding it. And do the painted eggs take a long time to dry? As long as the polish would on your nails?
I love your blogs, they are so inspirational, and so much fun to read. I look forward each day for your blog to pop up. Thank you so much for sharing. ❤️
We must be sisters!!!!
I love love everything you do !
Thanks for making me smile each day🥳
You are the best Sheri! Thank you so much.