4th of July Flag Ideas
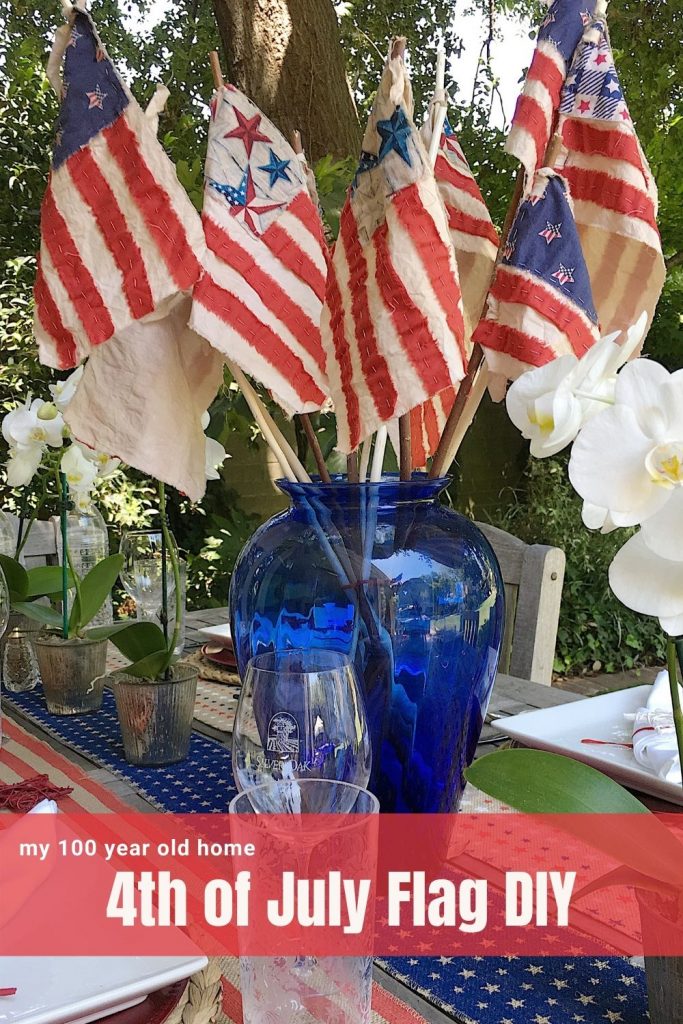
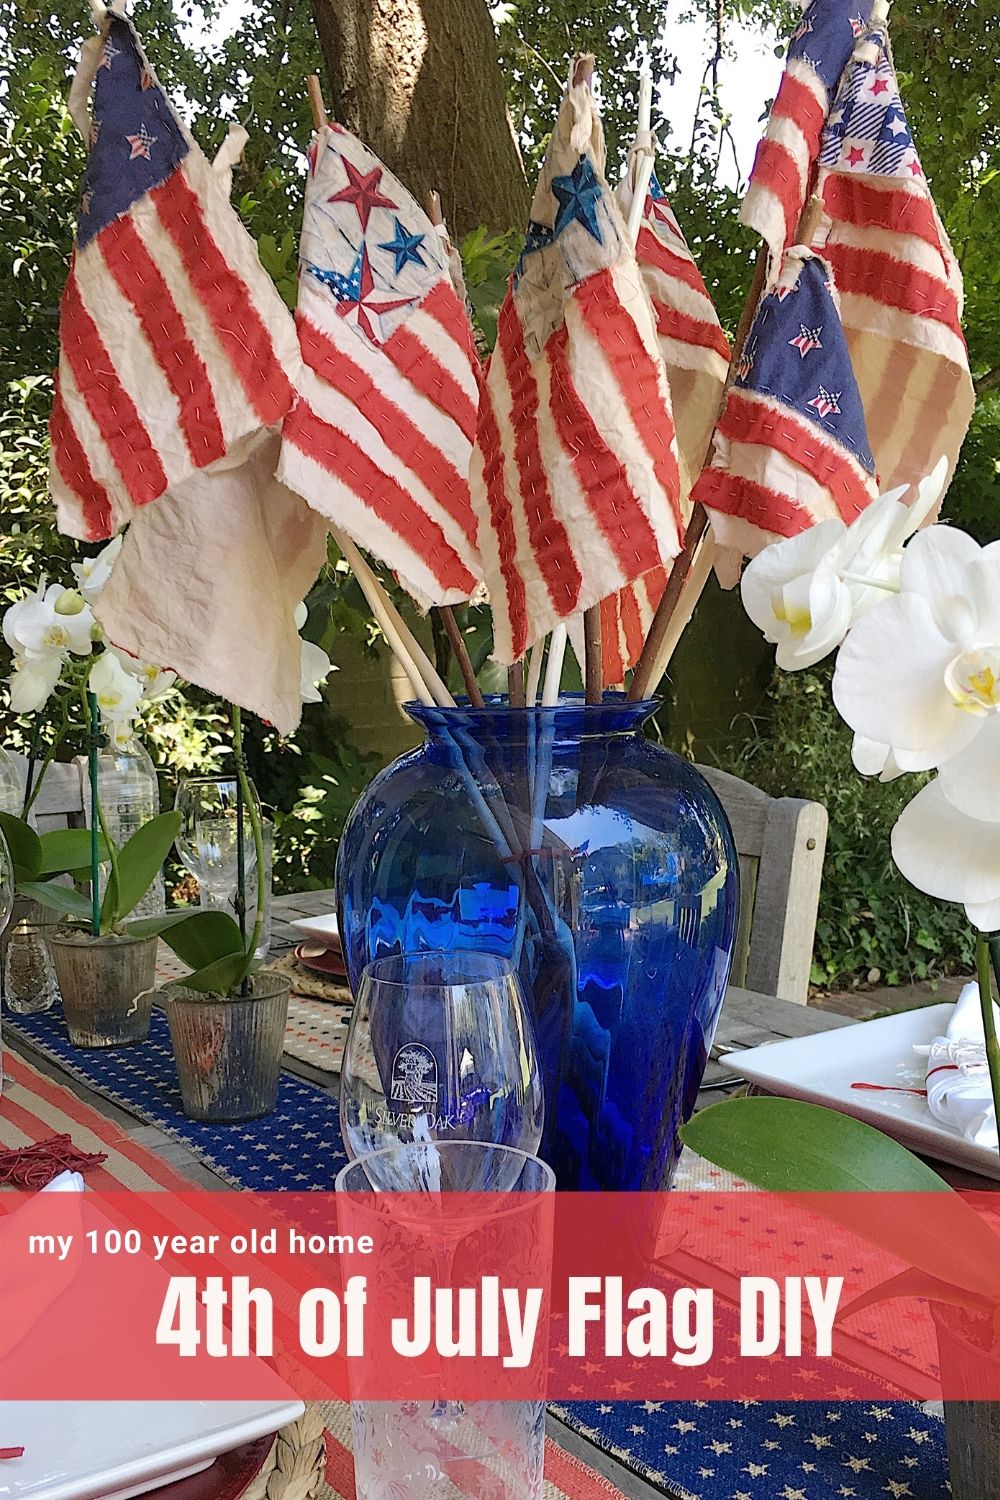
I am sharing more patriotic DIYs and thought you might like my hand-sewn 4th of July flag ideas that I made for my table.
I made these flags about four years ago and so many of you have made them! They are easy to make and add such patriotic fun to any table. If you’re looking for something a little more creative than the standard flagpole, this 4th of July flag project is for you!
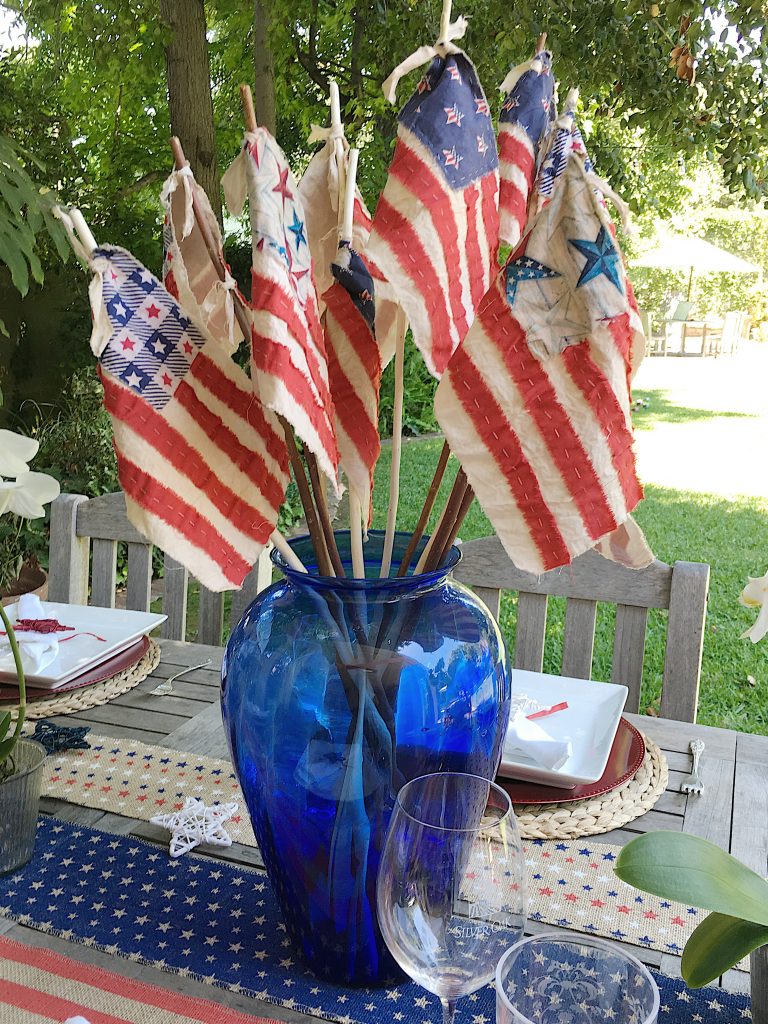
Every 4th of July we have a big dinner on the patio of our beach house. I love to set a fun, themed table and these homemade flags are my favorite! I can’t wait to share how easy these are to make.

How to Make an Easy DIY 4th of July Flag
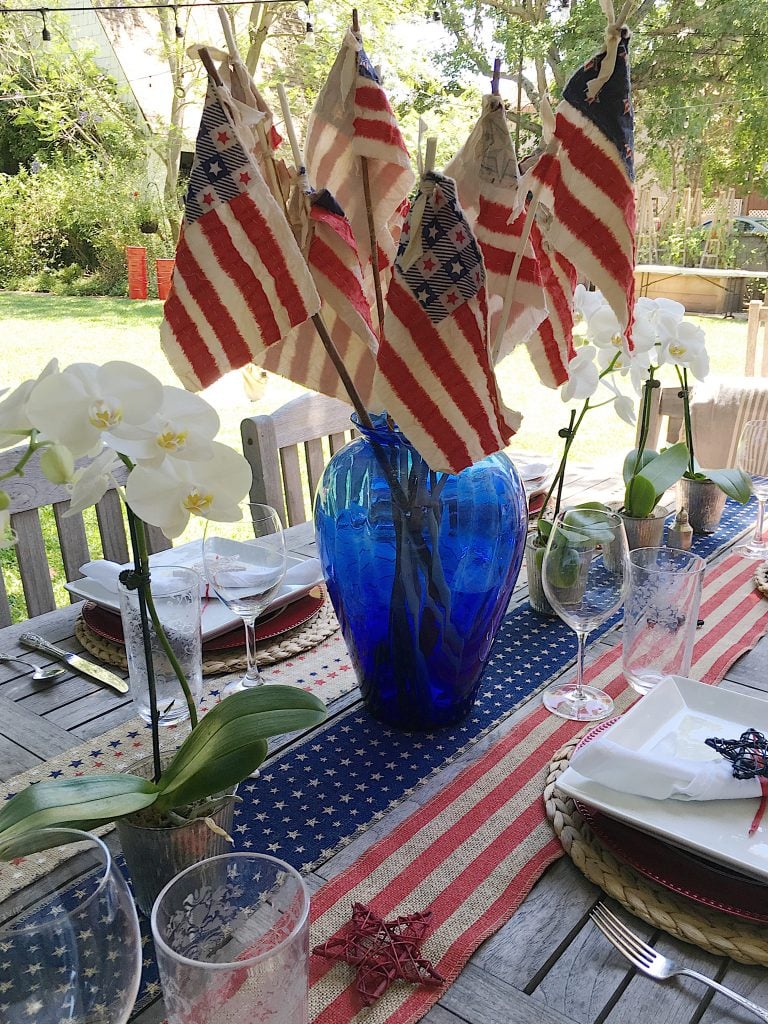
I am not sure if you have noticed but I love making crafts that look vintage. Anytime I can make something that looks amazing but vintage, then I am very happy. So how did I achieve that look?
I started by tearing all of my fabrics. When I use cotton fabrics, I always tear the fabric. When you tear fabric it tears on the grain so you will always get a straight piece. Tearing fabric is easier than cutting and it also creates a more handmade look. So of course I love it.
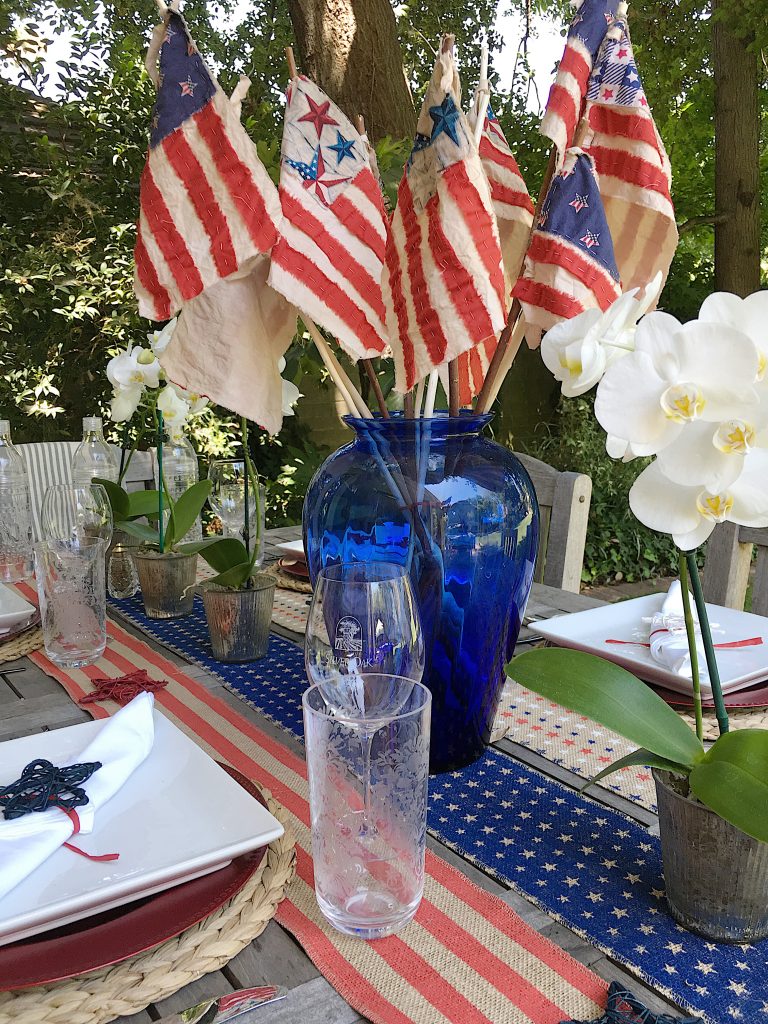
I also dyed my flags to make them look vintage. After I made the flags, I dipped them in some dye with hot water and salt to get an older, worn look. I didn’t leave them in the dye very long and you can barely tell. But I like that the fabric didn’t look so new. This is something you don’t have to do, which is perfectly fine! Keep reading, all of the instructions to make these flags are below!
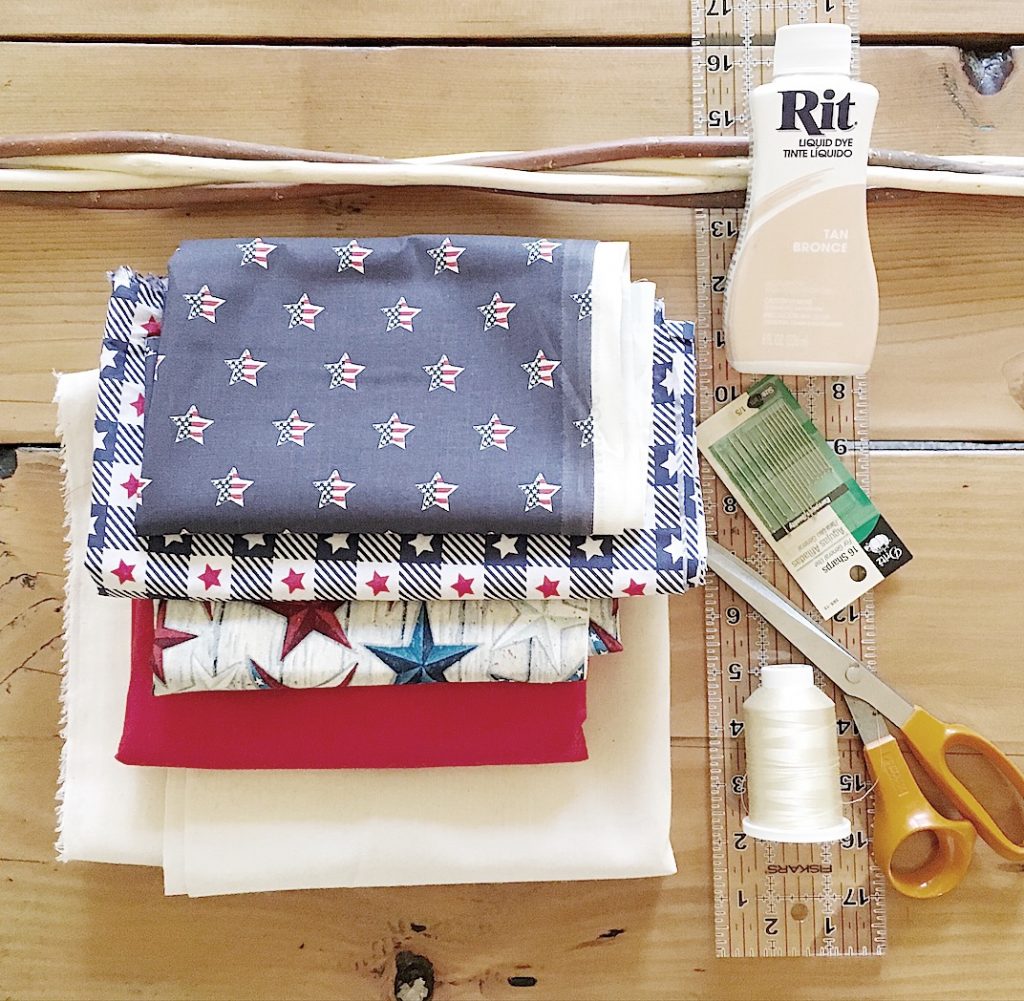
My 4th of July flag ideas are a craft that you can make without a sewing machine. Technically you could probably just glue the fabric but I used a needle and thread. My goal for this DIY was to make these flags simple and something all of you could make!
What You Will Need to Make These Flags
- 1/2 yard medium to heavy weight muslin
- 1/4 yard assorted blue fabrics with stars
- 1/2 yard red cotton fabric
- Embroidery thread, needles, and scissors
- Tall sticks (from your yard or a craft store)
- Rit Dye (tan color)
As I mentioned, I wanted a very rustic look so instead of cutting the fabric I ripped it. You are welcome to cut the fabric with scissors too. Here are the size pieces you need for each of the fabrics to make one flag.
Step By Step
STEP #1
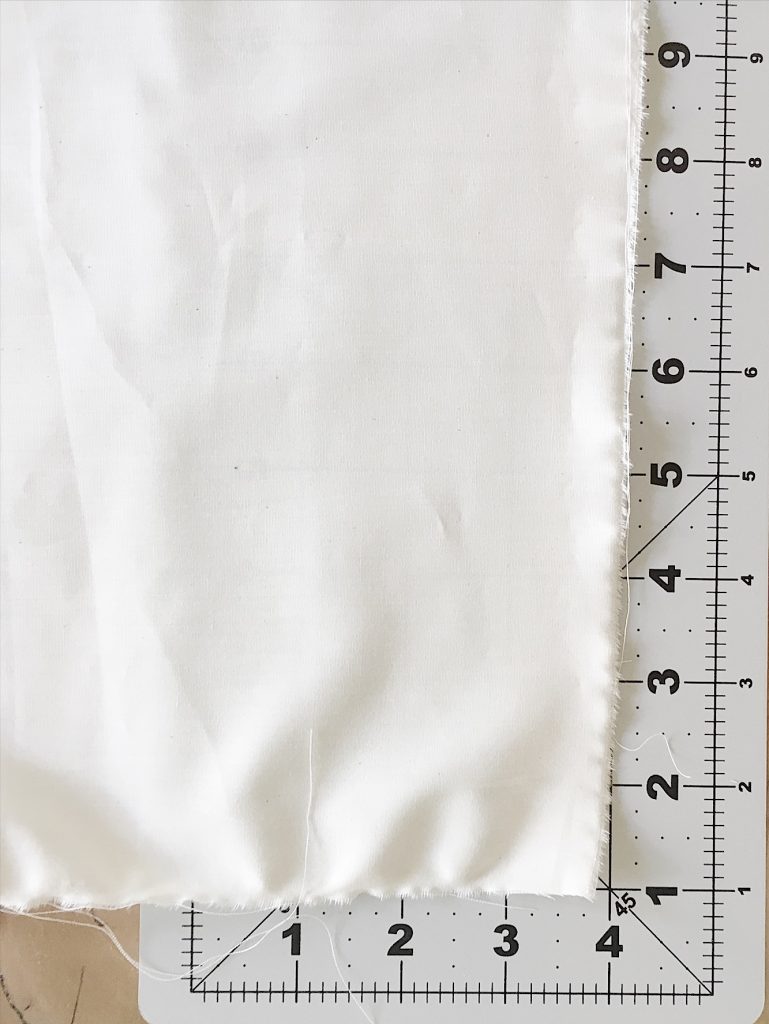
For the back of the flag, tear one piece of muslin into a piece the size of 6″ x 9″.
STEP #2
For the stripes, tear the red fabric into 3/4″ strips.
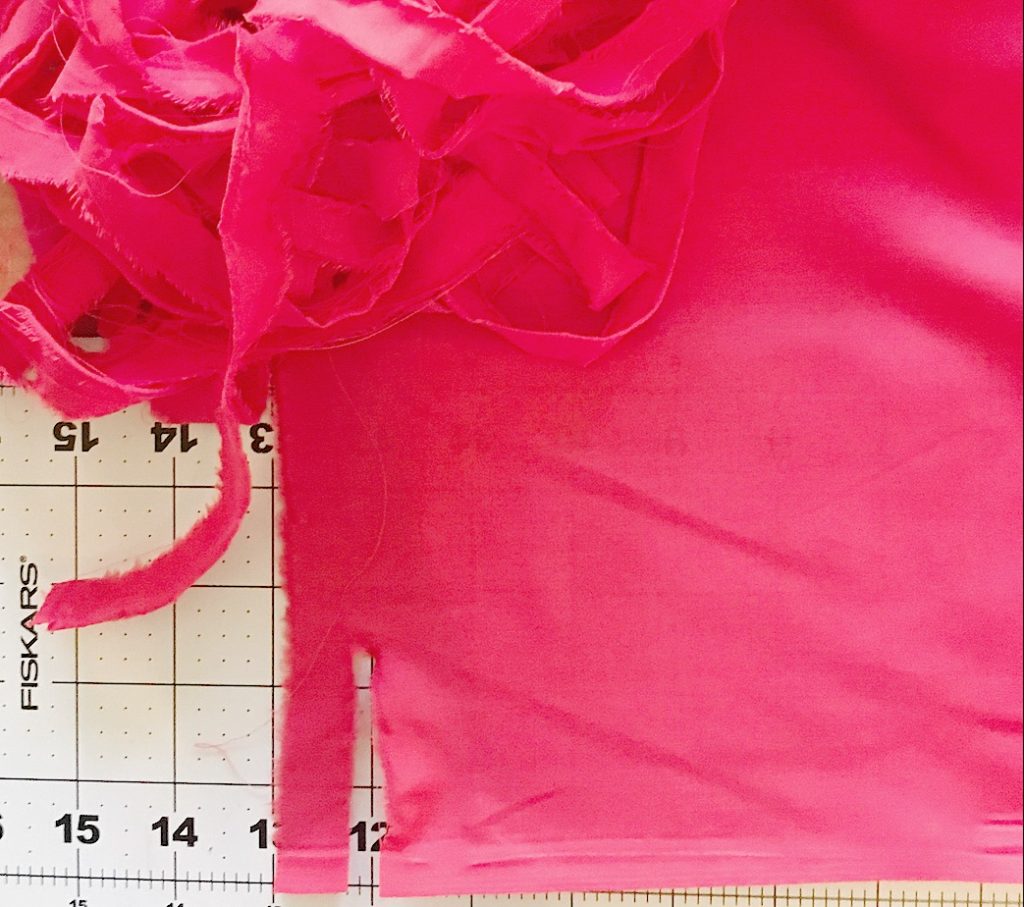
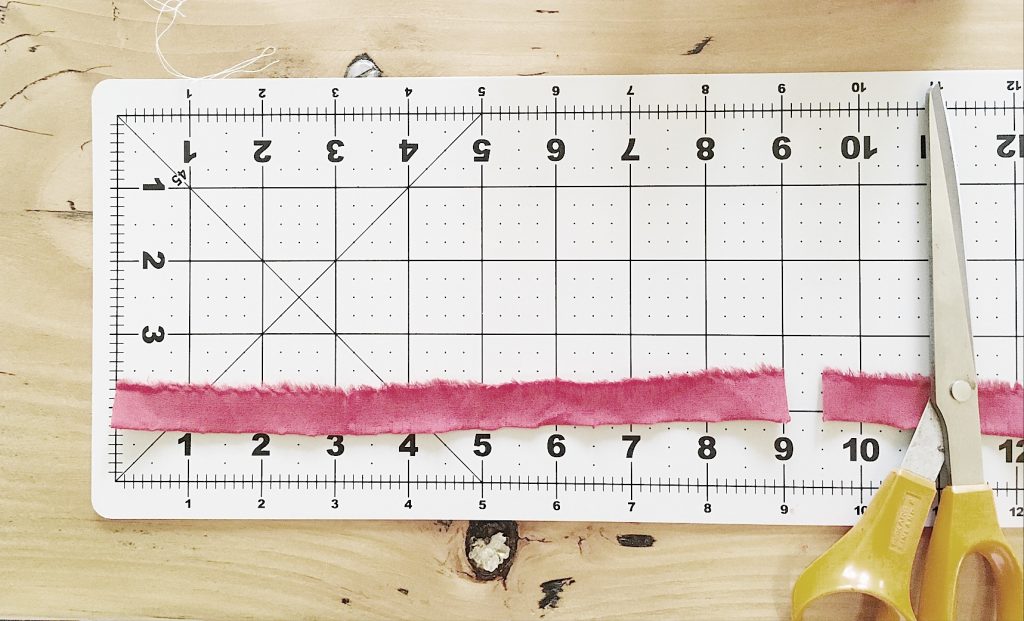
Next, cut the strips into 9″ lengths.
STEP #3
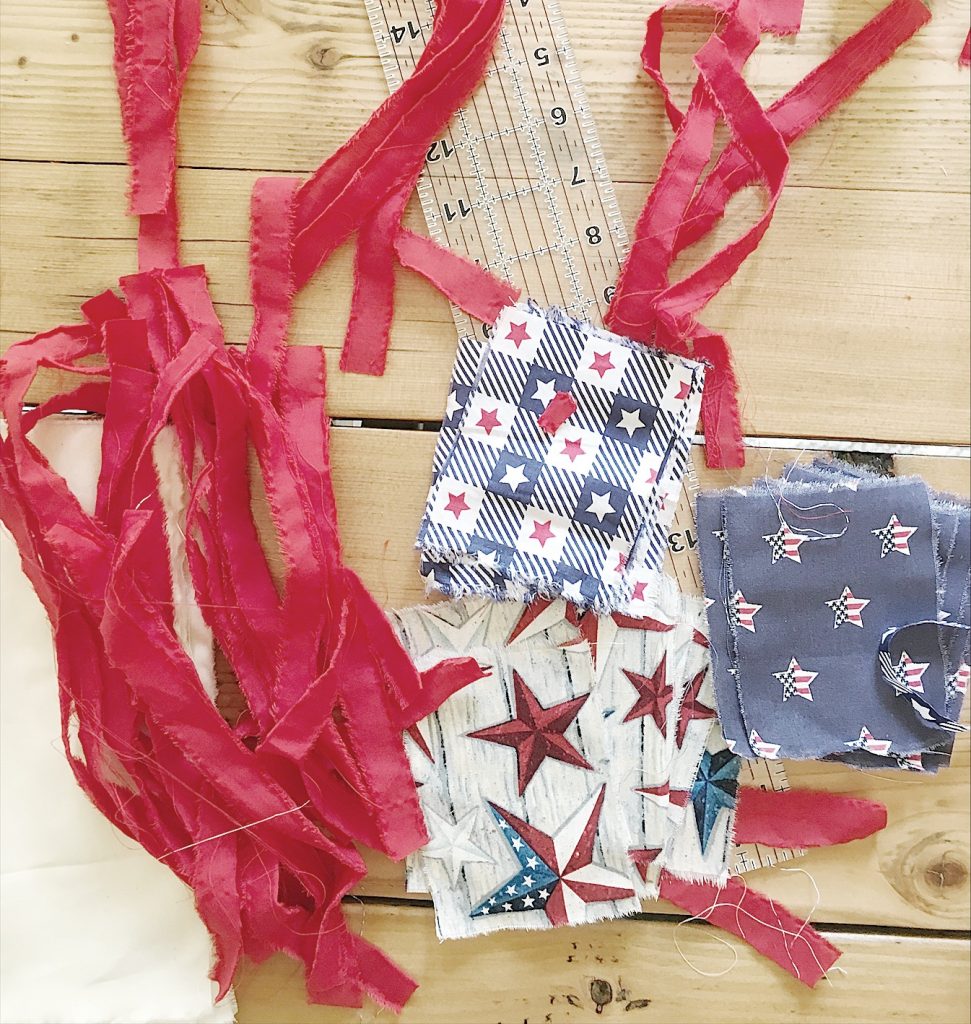
Tear the blue cotton blue stars fabric into a piece measuring 3″ x 4″.
STEP #4
Tear the ties out of muslin – 1/2″ x 5″ strips (two per flag)
When you are done you will have lots of pieces!
STEP #5
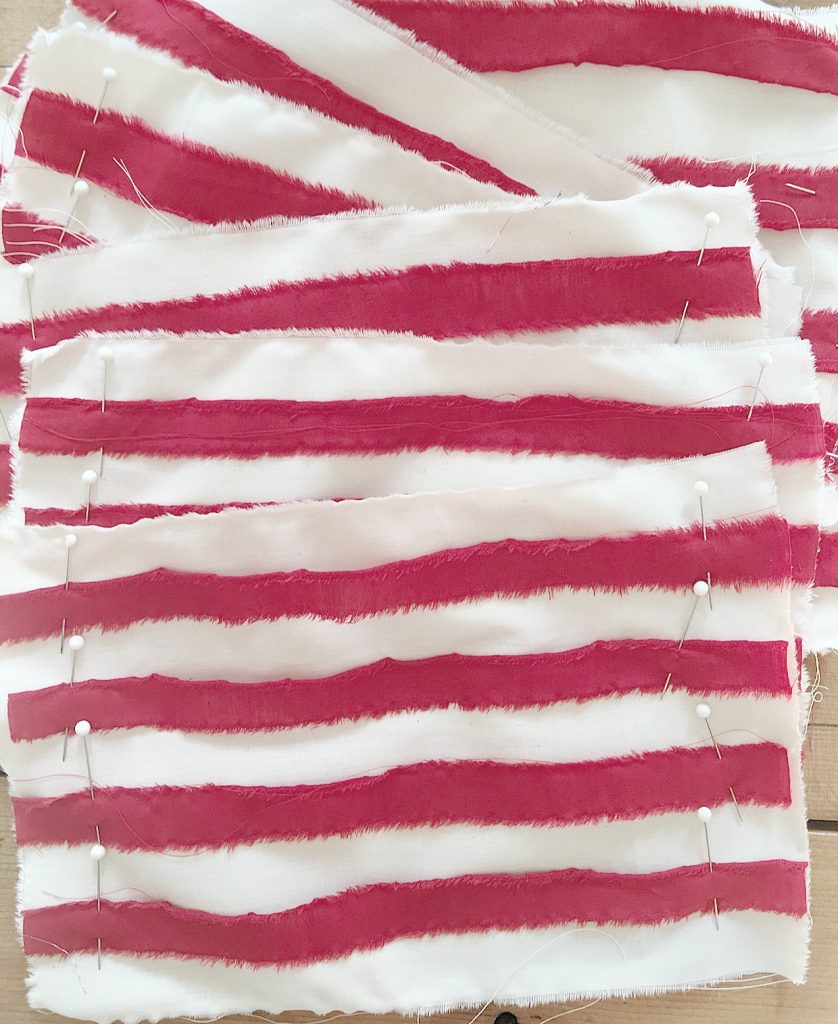
Pin four red strips on each piece of the white muslin. Sew through the center of each red fabric strip. (Or attach with fabric or heat glue.)
STEP #6
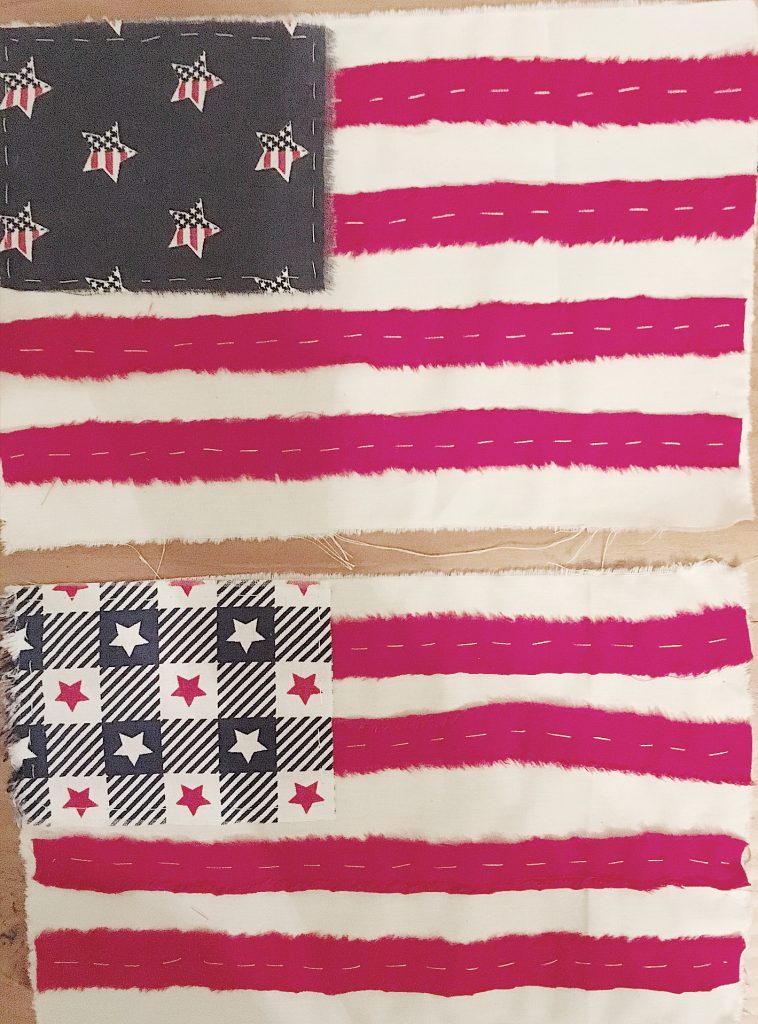
Sew one of the blue pieces around all of the edges, on the top left side of the flag.
STEP #7
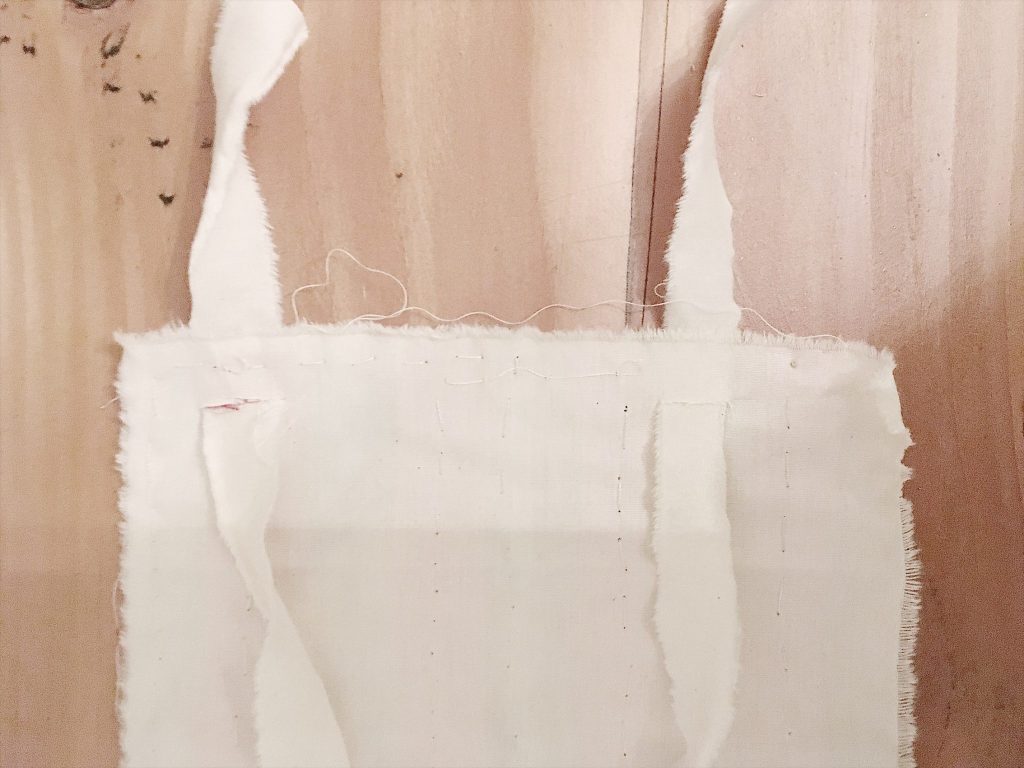
Tear two muslin strips per flag, 3/4″ wide and 7″ long.
Make a small cut on the left side of each flag between the bottom two red stripes and on the top side of the blue striped fabric. Be sure not to cut your hand-sewn stitches.
STEP #8
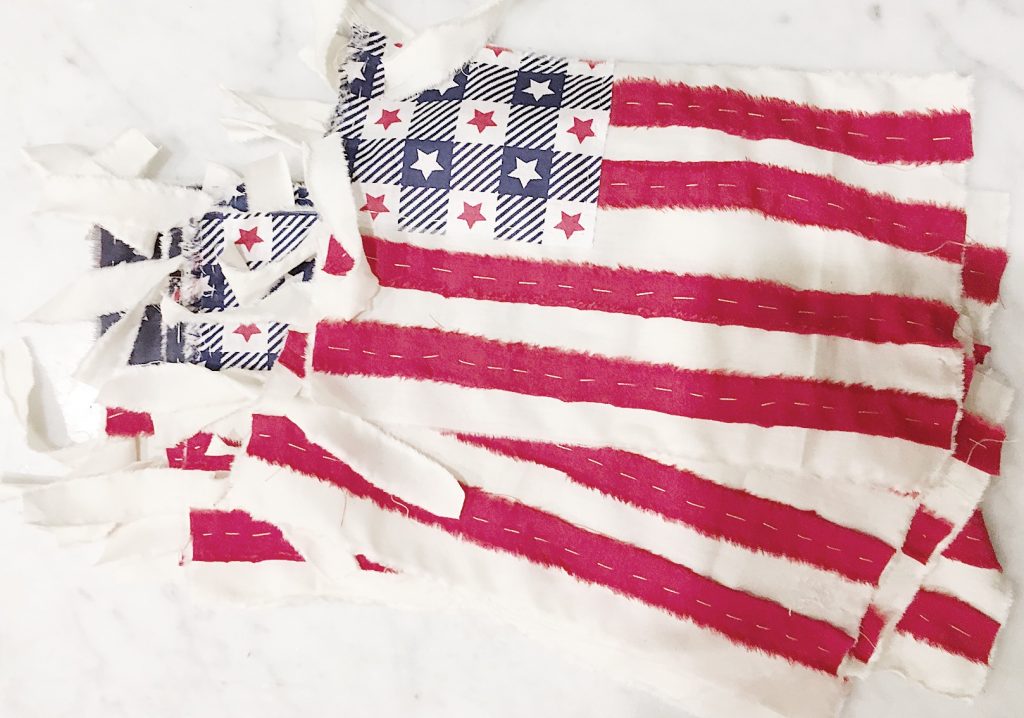
Insert one small muslin strip in each cut.
STEP #9 (not essential)
The last step is not-essential but I love it. I dyed my flags to make them look aged. You can do it or not, it’s up to you. I liked the vintage look so I included this step as I love how they came out.
To give your flags an aged look, mix half the bottle of Rit dye with 1/2 cup salt and very hot water (about 1 – 2″ deep) in a pan. Place the flags in the dye for about 30 seconds to give them an aged look. Rinse and lay flat to dry. Do not leave them too long or they may turn really brown.
STEP #10
Once dry, cut the sticks into varying lengths and tie flags to the sticks.
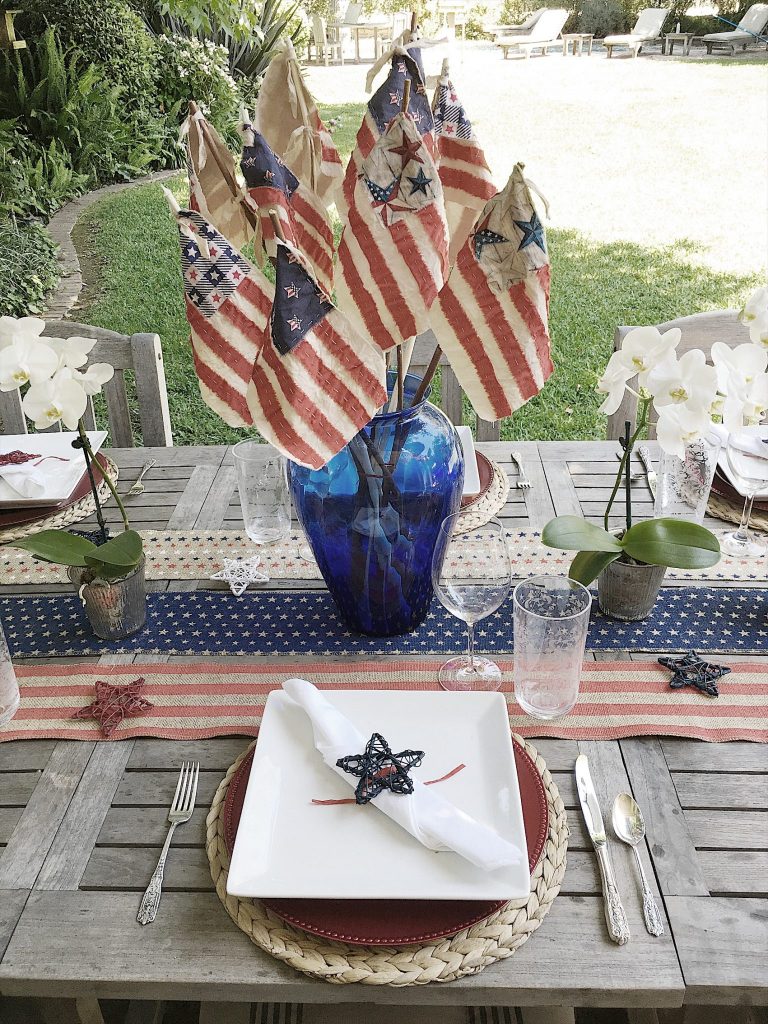
And you’re done! It’s such a simple and festive touch that adds so much to a table or any home!
Similar Posts
Pin the image below to your decor boards on Pinterest (just click the Pin button in the top left corner). You can also follow along with me on Pinterest!
For more real-time updates, follow me on Instagram @My100YearOldHome






These are adorable, can’t wait to try it. Thank you for sharing.
Love these. Thanks for the DIY.
Love this idea, can’t wait to make them. Thank you!
I can’t wait for you either! Such a fun project.
Seriously so cute! I love the aged look and feel of the darling flags! I would love to have you come and link to my Centerpiece Wednesday linky party and share this or any other of your amazing blog posts with us! http://karinskottage.com/2020/06/centerpiece-Wednesday-linky-party.html
Hope to see you there! 🙂
did you buy those runners or just cut fabric yourself?
I cut fabric!
Love these!!! The perfect mini project when my daughter comes to town next week!! Thank you for sharing your talent with us!
I hope you have the best time with your daughter 🙂
Another way to antique fabric . . . Make a cup of hot black tea and put your fabric in it!
Yes! I have heard this, thank you for the reminder Cheryl!
I honestly love these flags! I am heading to Joann Fabrics today and hopefully, I can find everything I need. Thanks for sharing. 🙂
Yay! I am so glad, Mary Beth. Best of luck!
I absolutely love this idea and can’t wait to try it myself! Thanks for the share and the info to guide us!
Glad you like it, Linda! Enjoy!
Perfect for the holiday!!! So creative and they do look vintage with the dye. Thanks for sharing.
So glad you like them!
Love these. Going to do with the grandkids. Have you ever tried to get the old look with tea ? I remember years ago a friend talking about doing.
No, I haven’t! That might be a good idea to explore!
Love this idea! My daughter is coming to visit this weekend from Virginia, this will be a fun thing to do together while she is here and then she can take them back home for her deck table to celebrate the Fourth of July. Another great DIY project.
Great idea, Debra! I am glad you enjoyed it! I hope you have a great weekend with your daughter!
Red! White! And blue! I love it!
Haha exactly! Thanks Linda! I am glad you like the ideas!
I just spent the afternoon making these adorable flags! I put them in tea and the white did become vintage however the red is still quite vibrant. I’m ordering the rot dye on Amazon it’ll be here tomorrow!
Yay! That makes me so happy!
These are adorable!
Back in the 80’s we used to dye things with tea. You just get hot water and throw a couple of tea bags in there. I suppose left over coffee would work too, just add it to the hot water. Then dip your fabric in the water. Easy, peasy. Just an alternative If you don’t have at dye handy.
I really like this, great job, I also love the table runner
Absolutely adorable..Love ALL your DIY🤗..Is step #4 and #7 for the same thing?