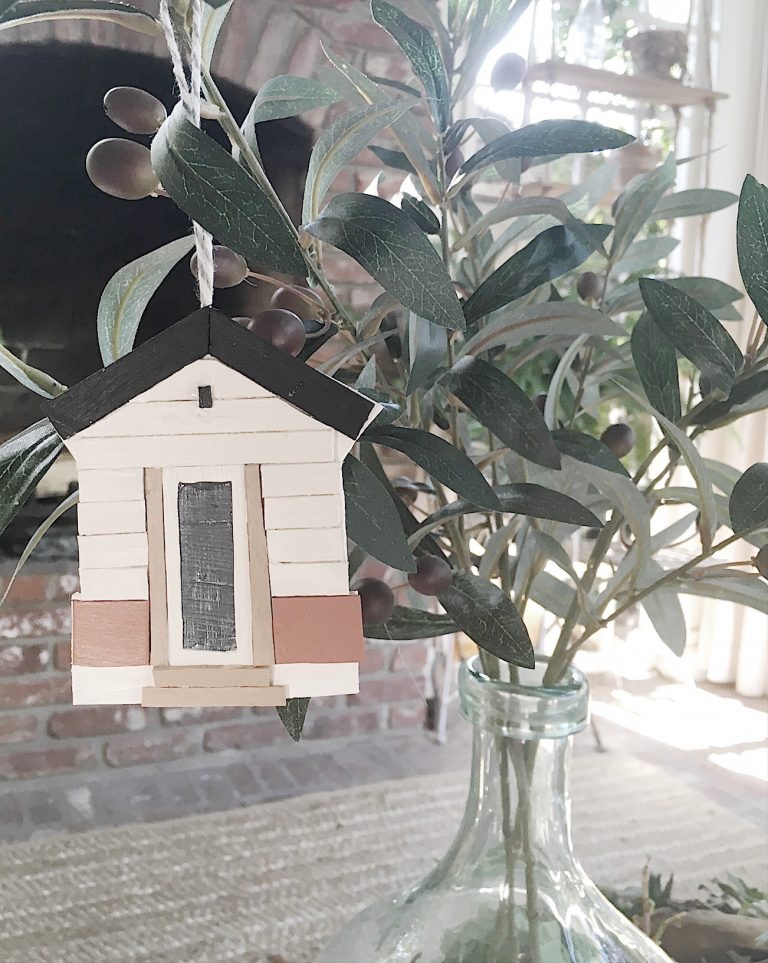
12 Days of Christmas Ornaments: A Handmade Christmas
It’s week one of my 16-week series titled A Handmade Christmas, and today I am sharing Christmas ornaments themed to the 12 Days of Christmas.
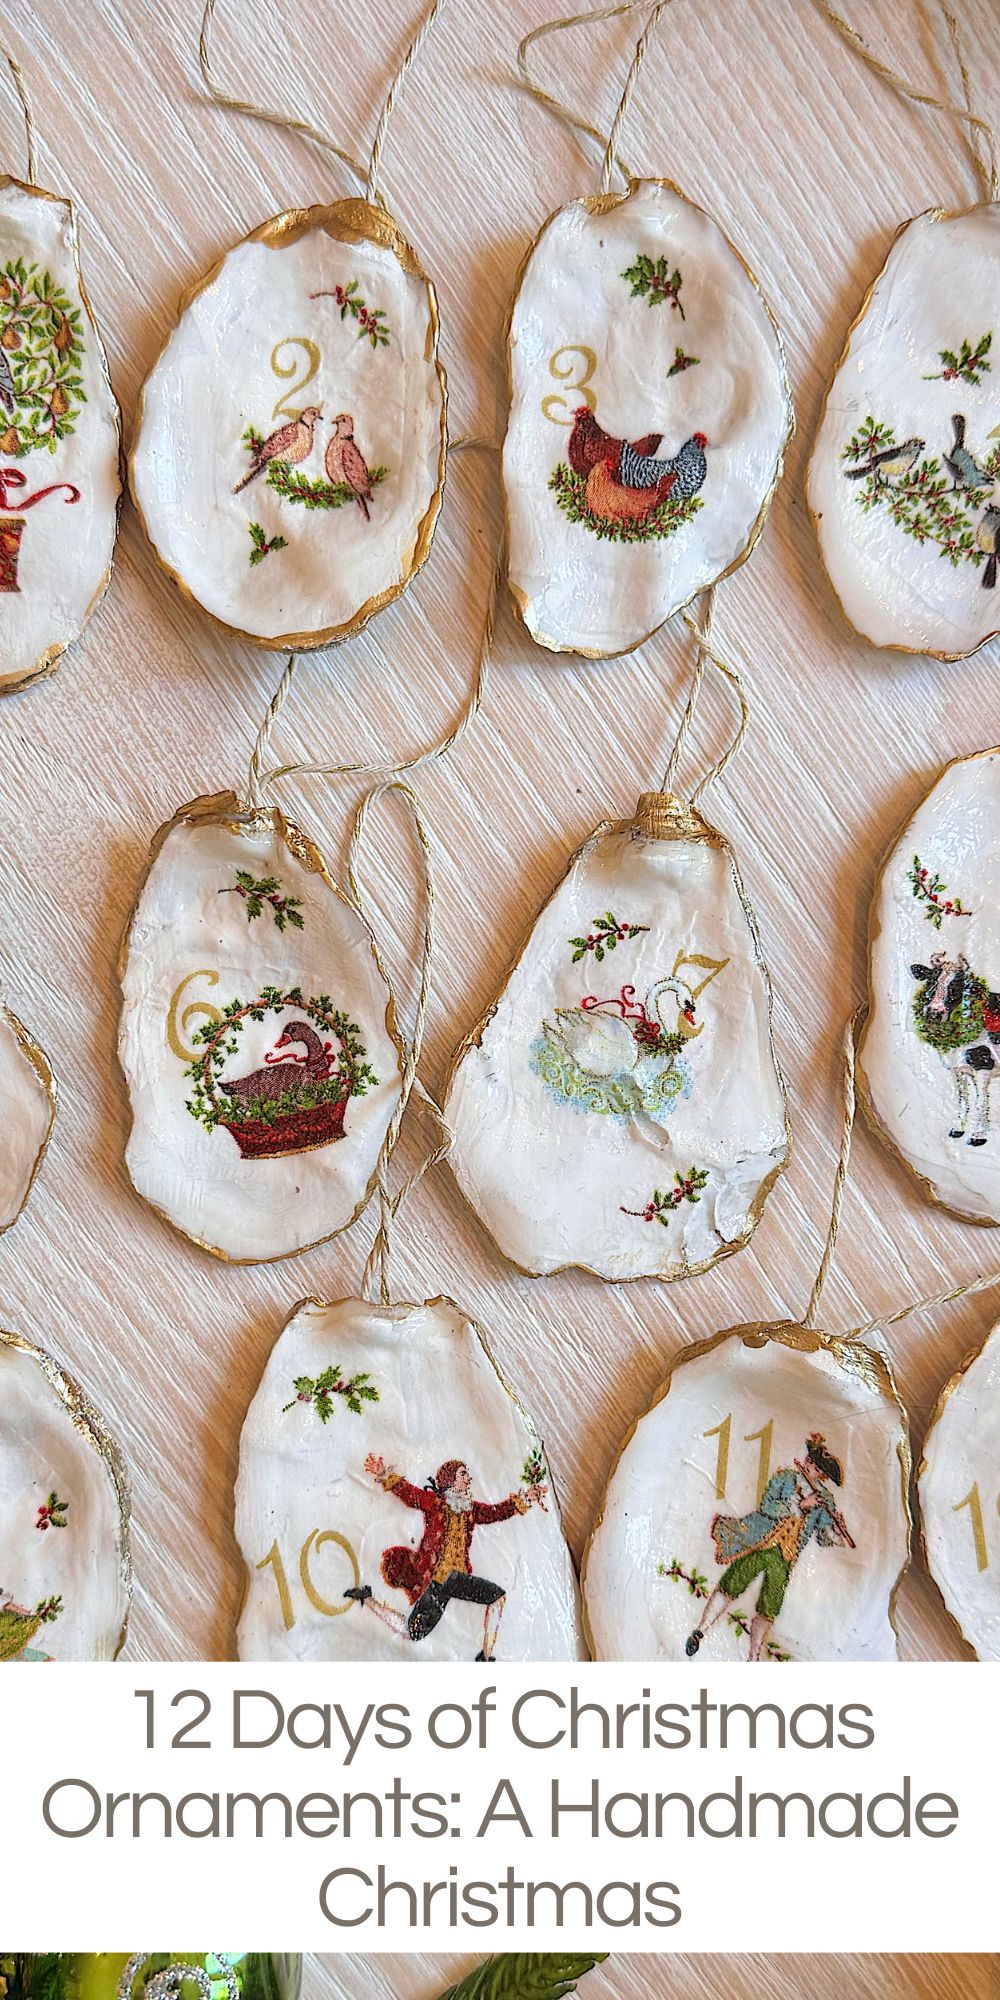
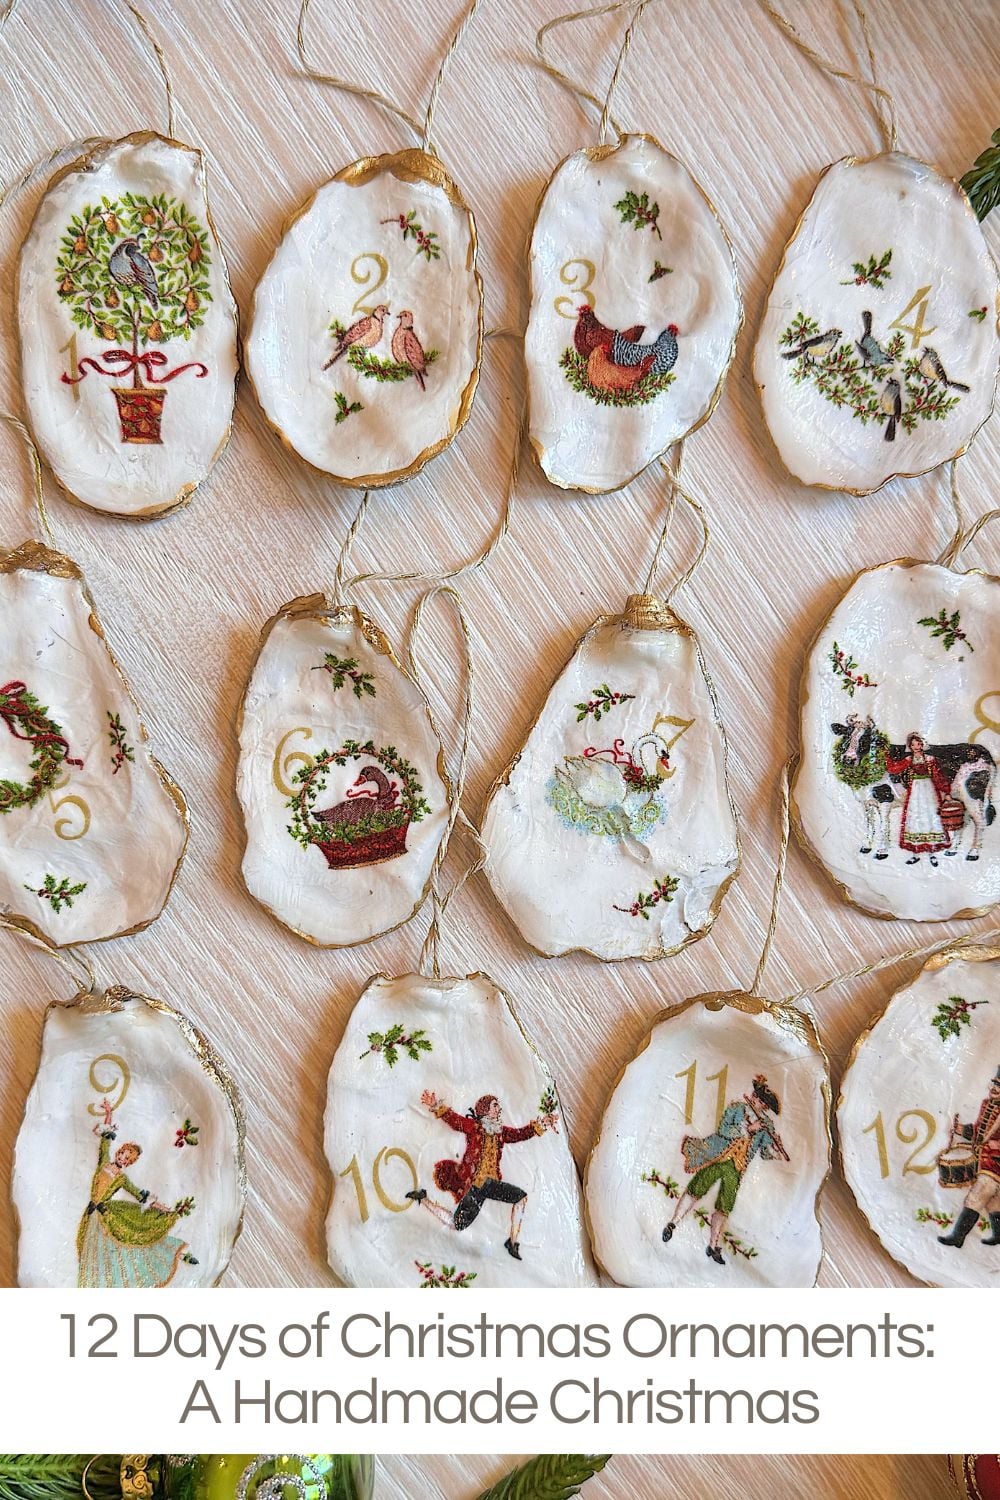
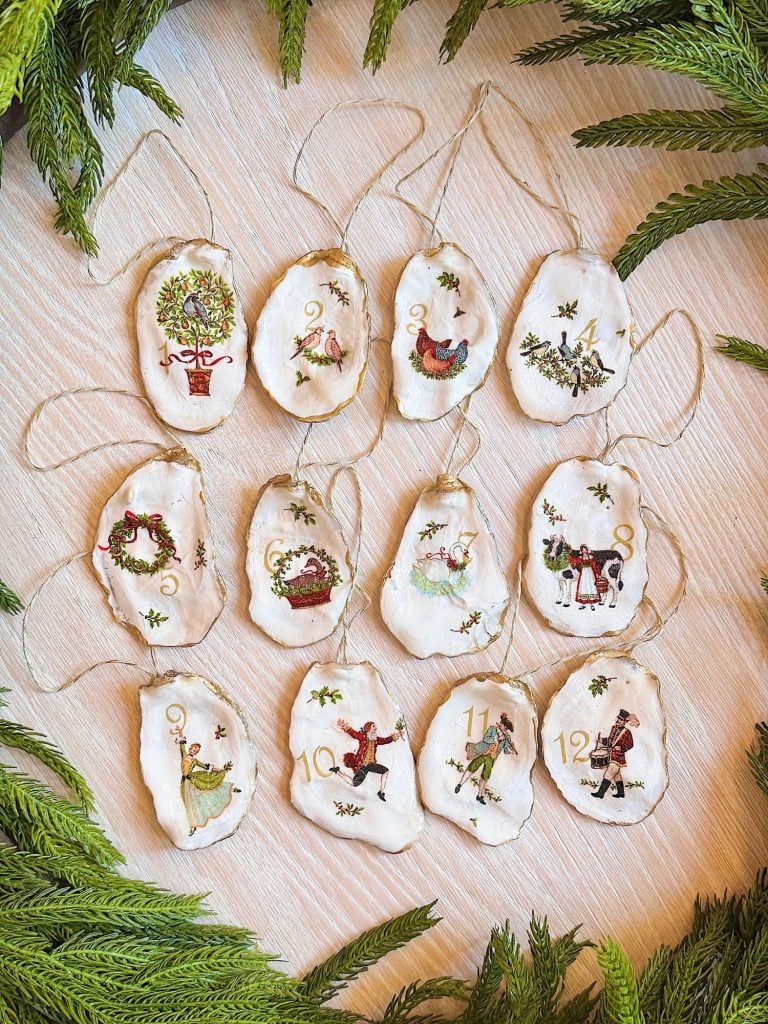
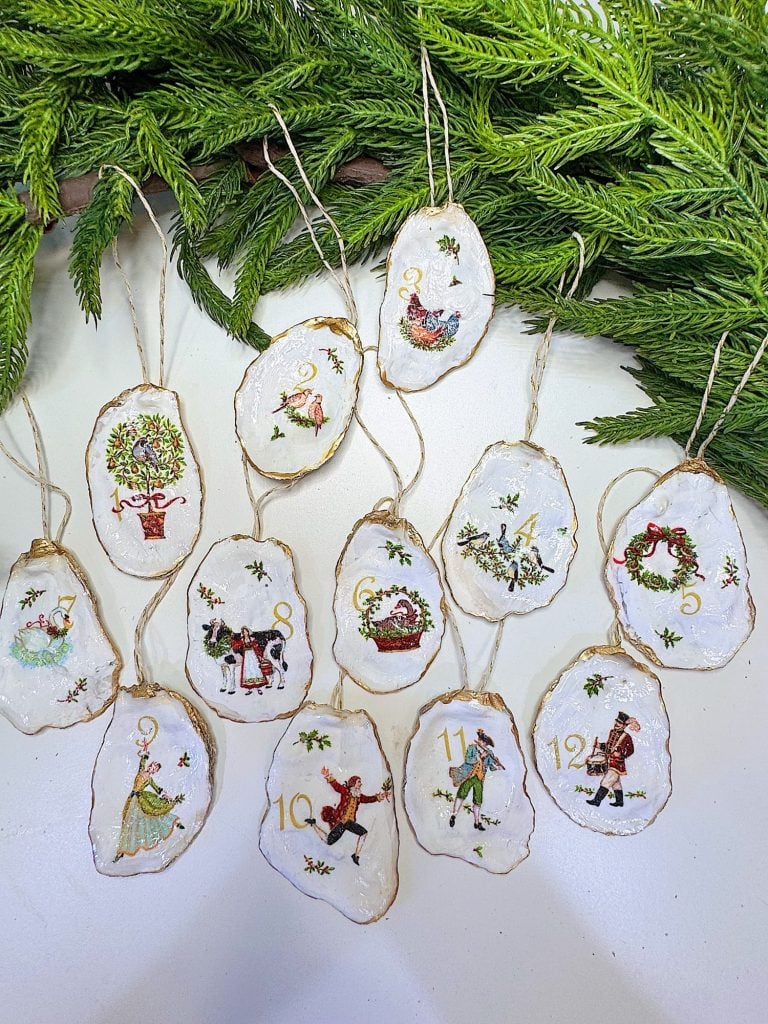
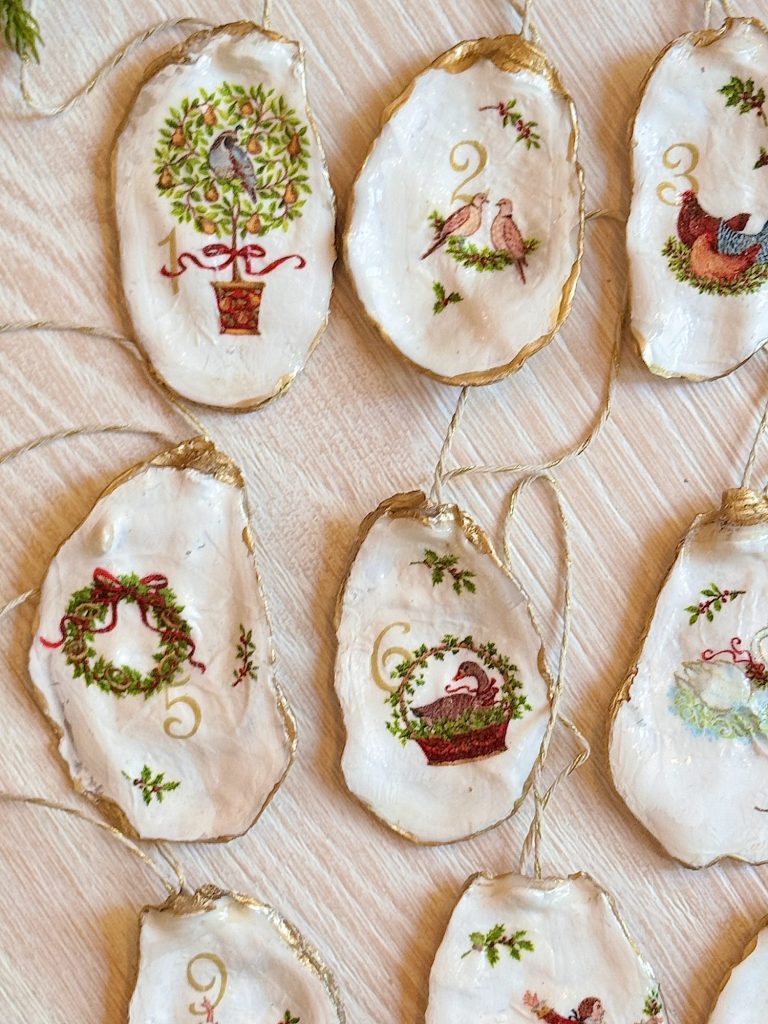
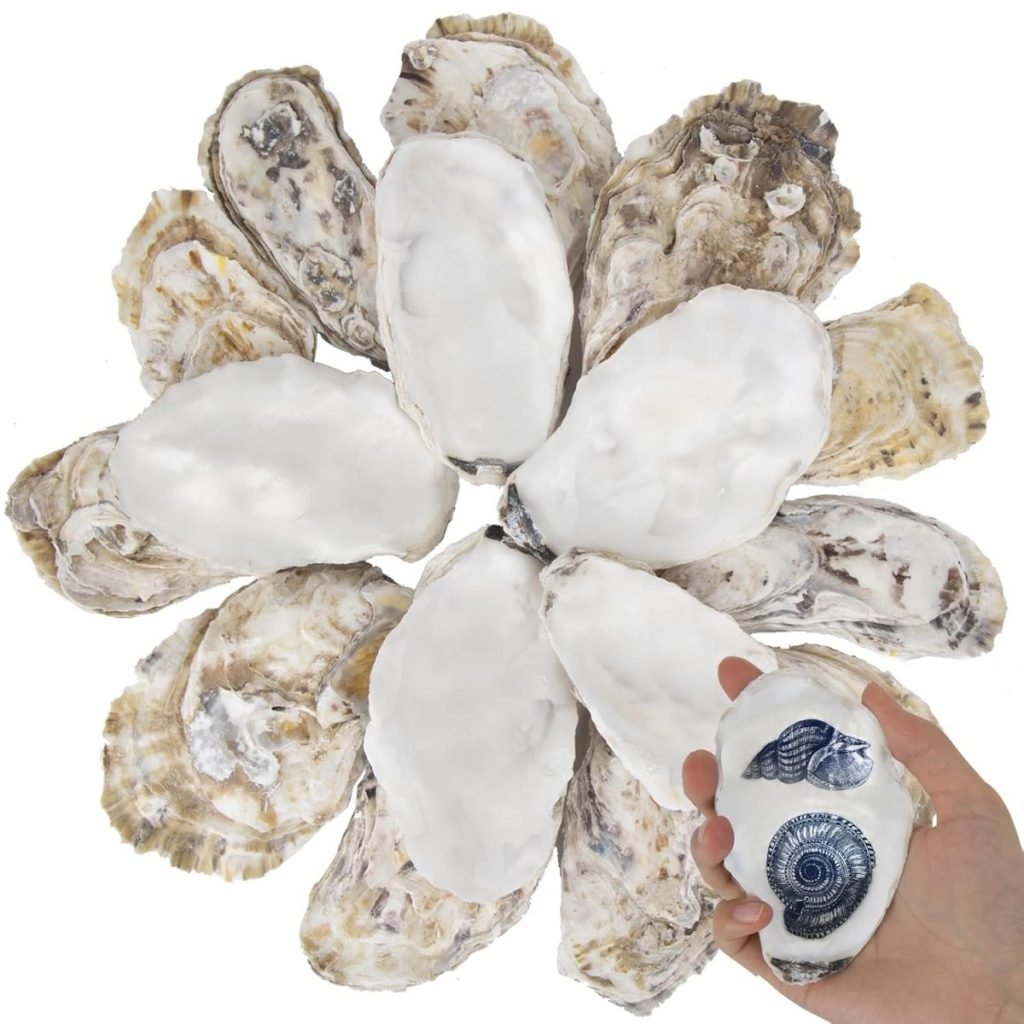
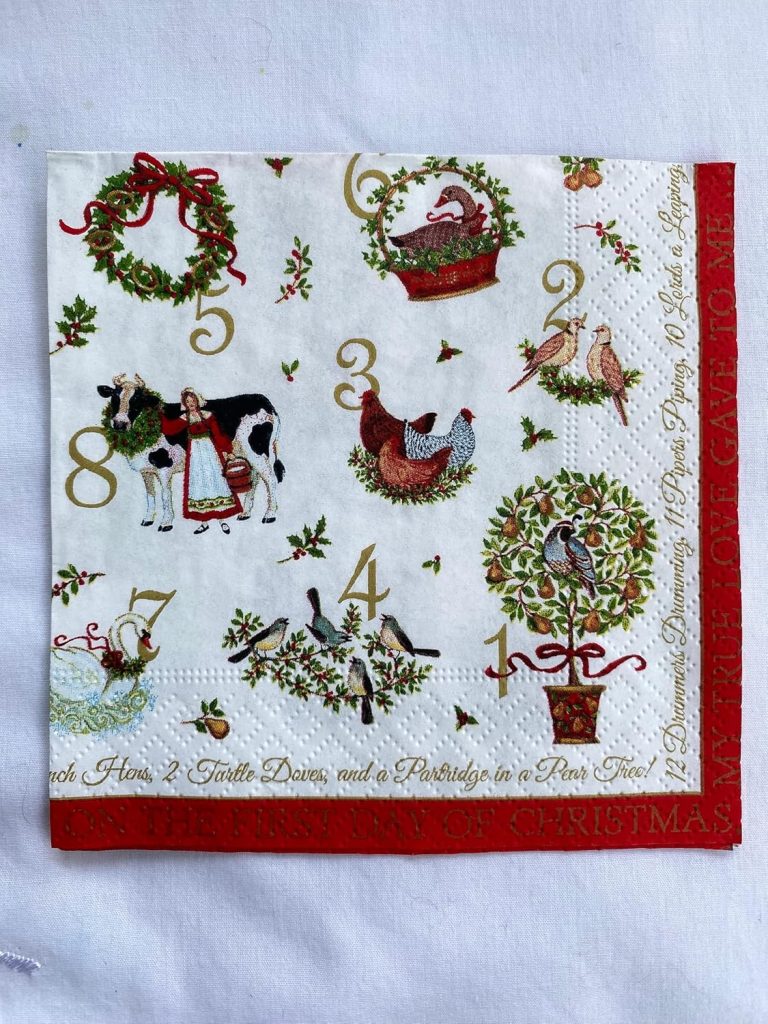
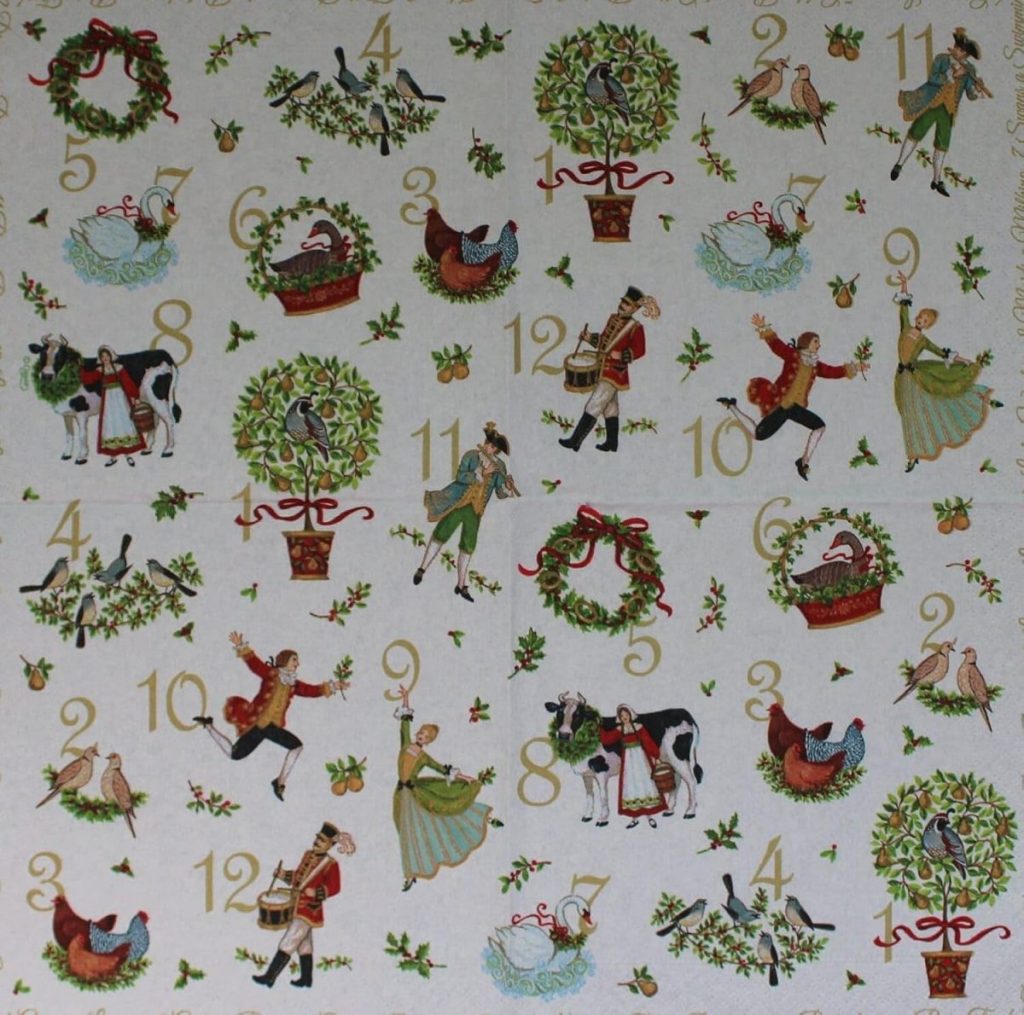
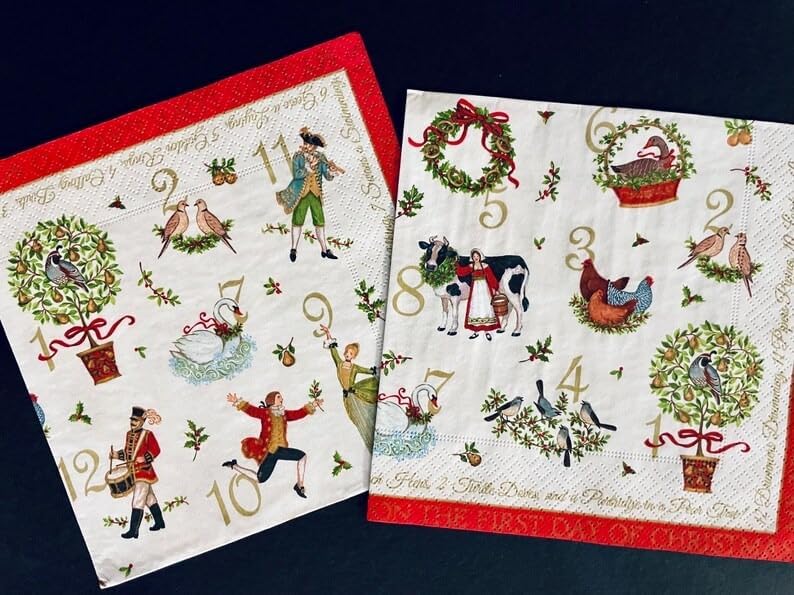
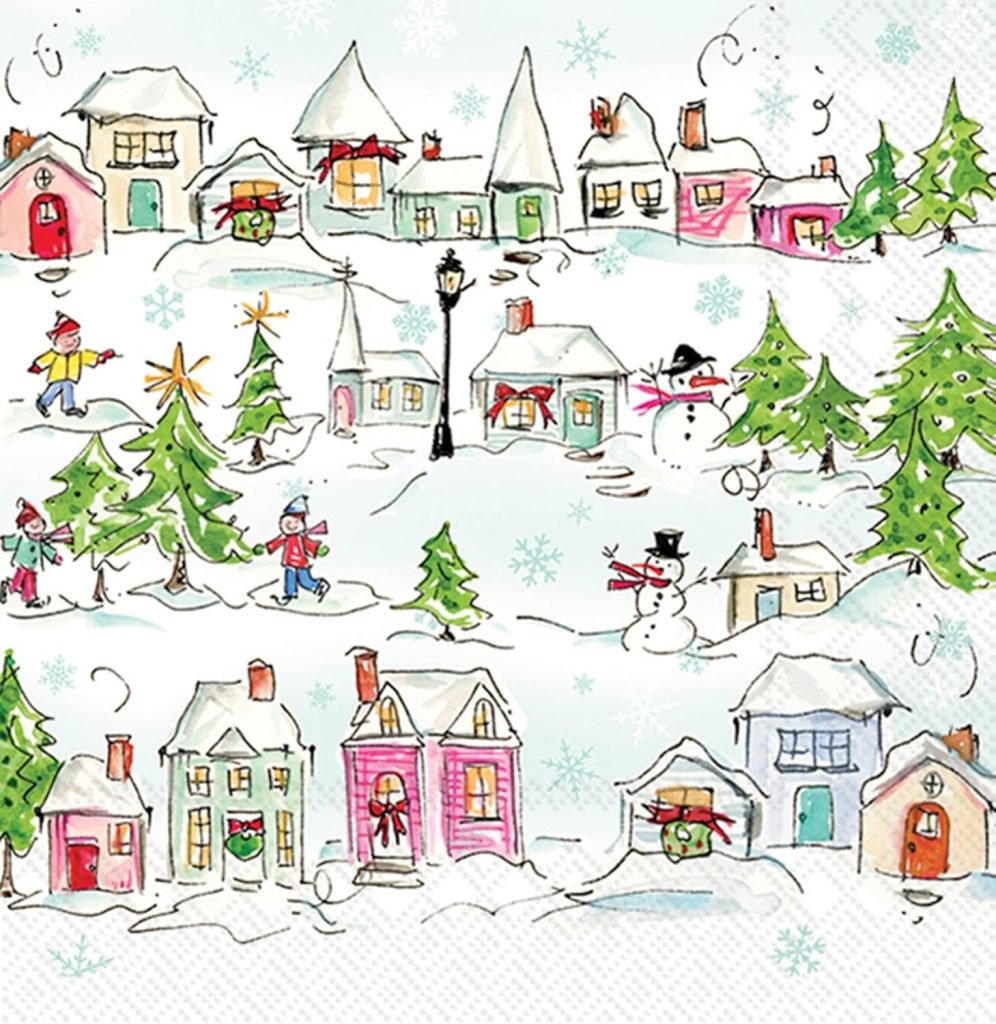
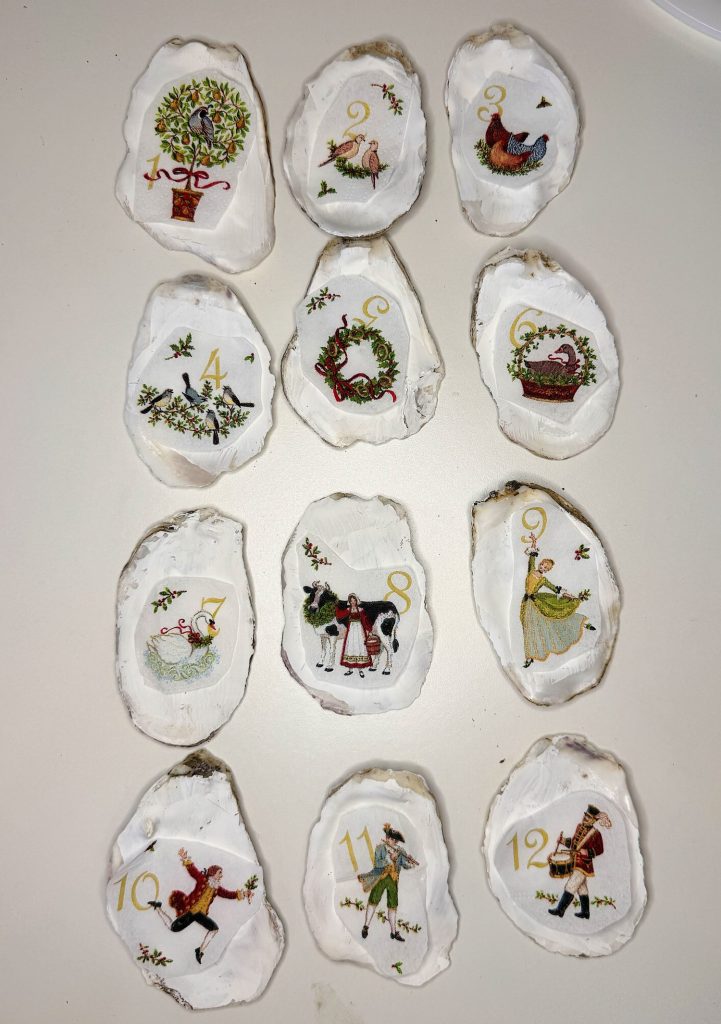
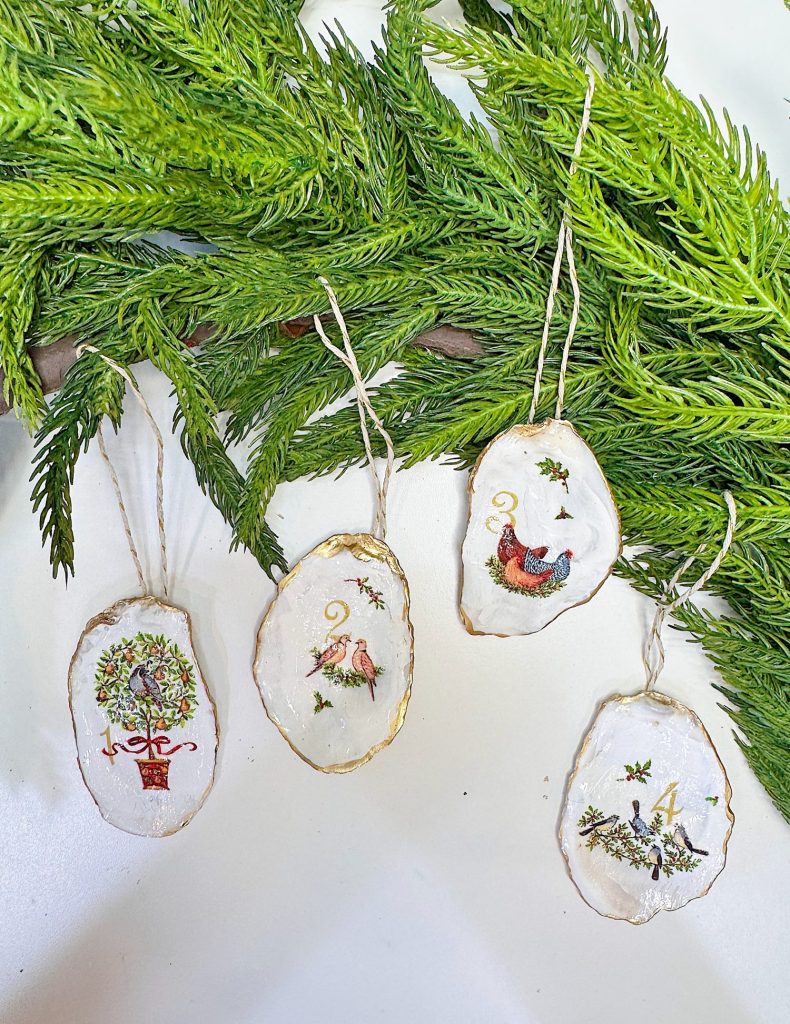
To kick things off, I’m starting with something that is both coastal and classic, whimsical and timeless: 12 Days of Christmas Oyster Ornaments. These beautiful ornaments combine the natural beauty of oyster shells with printed paper napkins, inspired by the traditional 12 Days of Christmas song.
A Handmade Christmas: 12 Days of Christmas Oyster Ornaments
I’m thrilled to share the first project in my new holiday series, A Handmade Christmas. Each Friday from now until Christmas, I’ll be sharing a brand-new handmade craft idea. That’s sixteen new projects designed to inspire, delight, and bring joy into your holiday season.
Why Oyster Shell Ornaments?
You probably know by now that I adore working with natural materials, and oyster shells are one of my favorites. Their irregular shapes, pearly interiors, and coastal feel make them the perfect base for Christmas ornaments.
They add texture and interest to a tree, and they’re also an excellent way to repurpose shells you may have collected from the beach, a restaurant, or purchased online if you don’t have a collection.
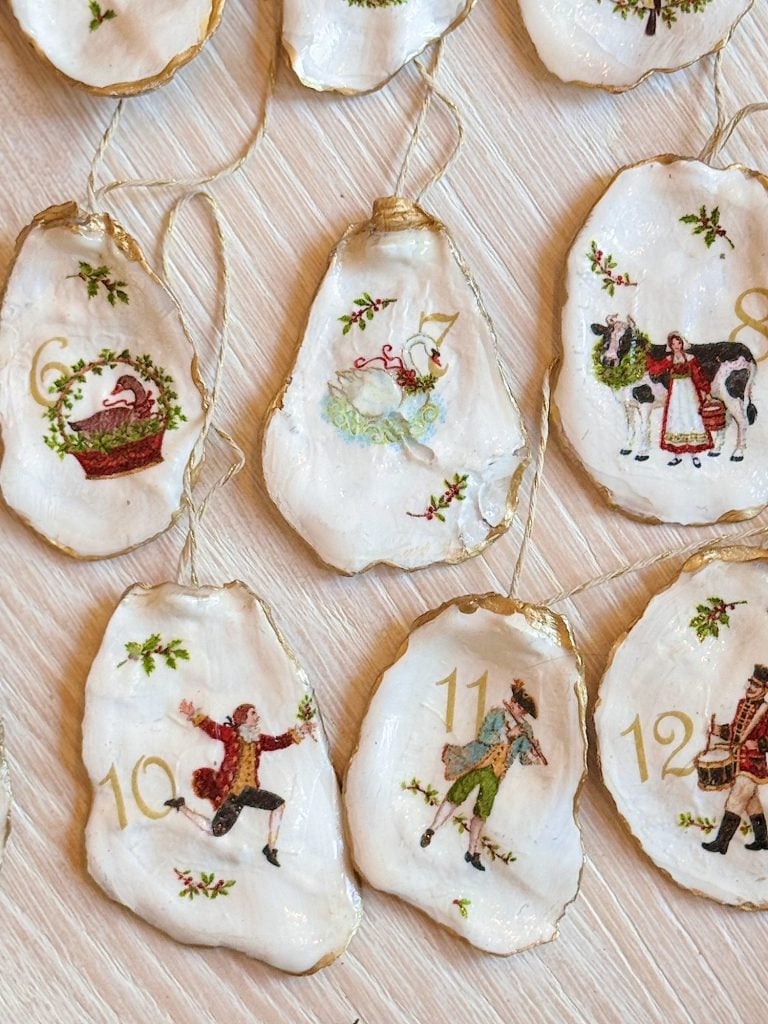
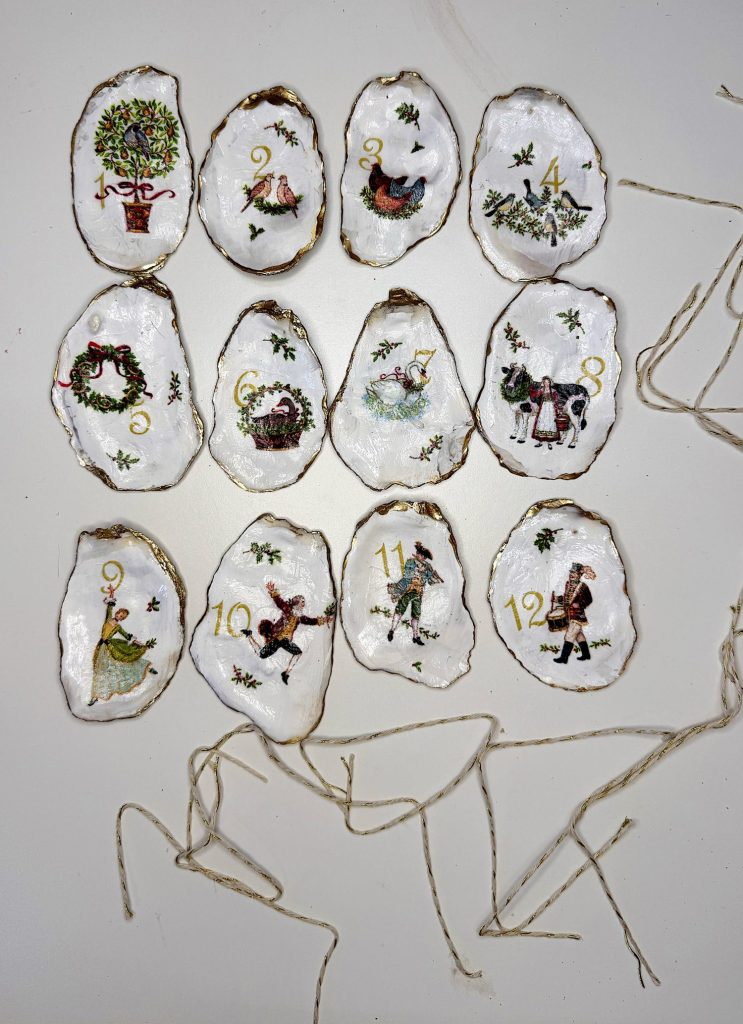
Pairing oyster shells with the 12 Days of Christmas felt like the perfect combination of seaside charm and holiday tradition. Each ornament is different, yet together they create a beautiful and cohesive set that tells a story. Imagine gifting a complete set to a loved one, or hanging them on your tree to spark conversation and holiday cheer.
The result is a set of unique, handmade ornaments that are sure to be cherished for years to come.
Supplies You’ll Need
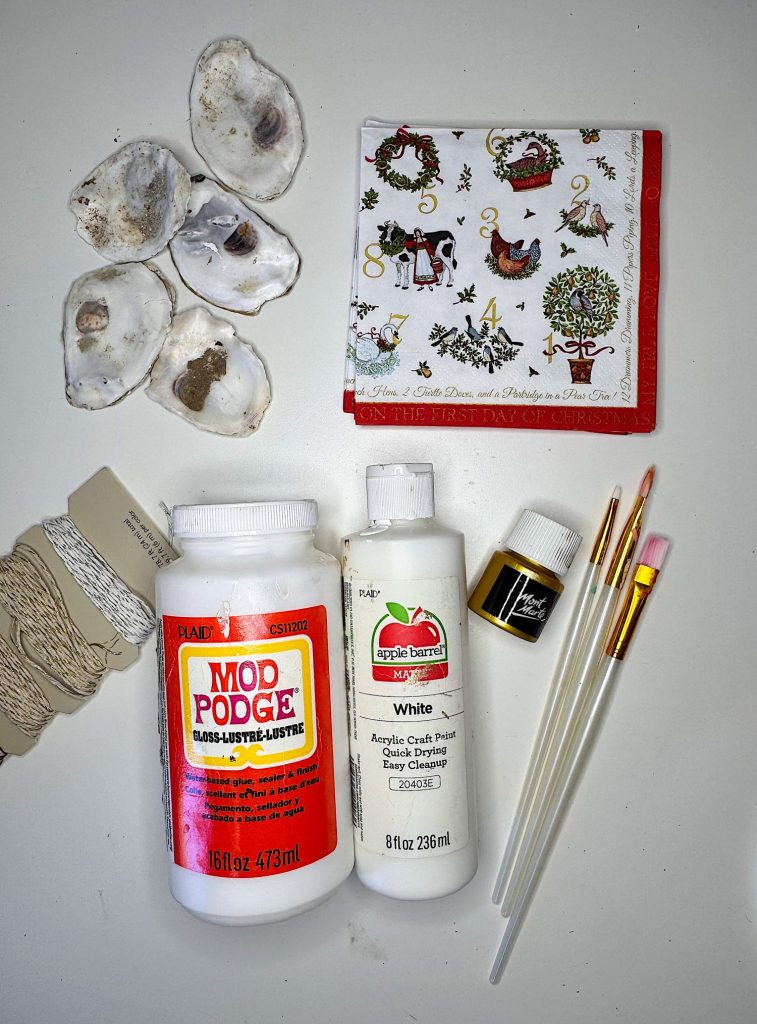
Here’s everything I used to create my set of 12 Days of Christmas Oyster Ornaments:
- Oyster shells – cleaned and dried (you can collect your own or purchase in bulk online)
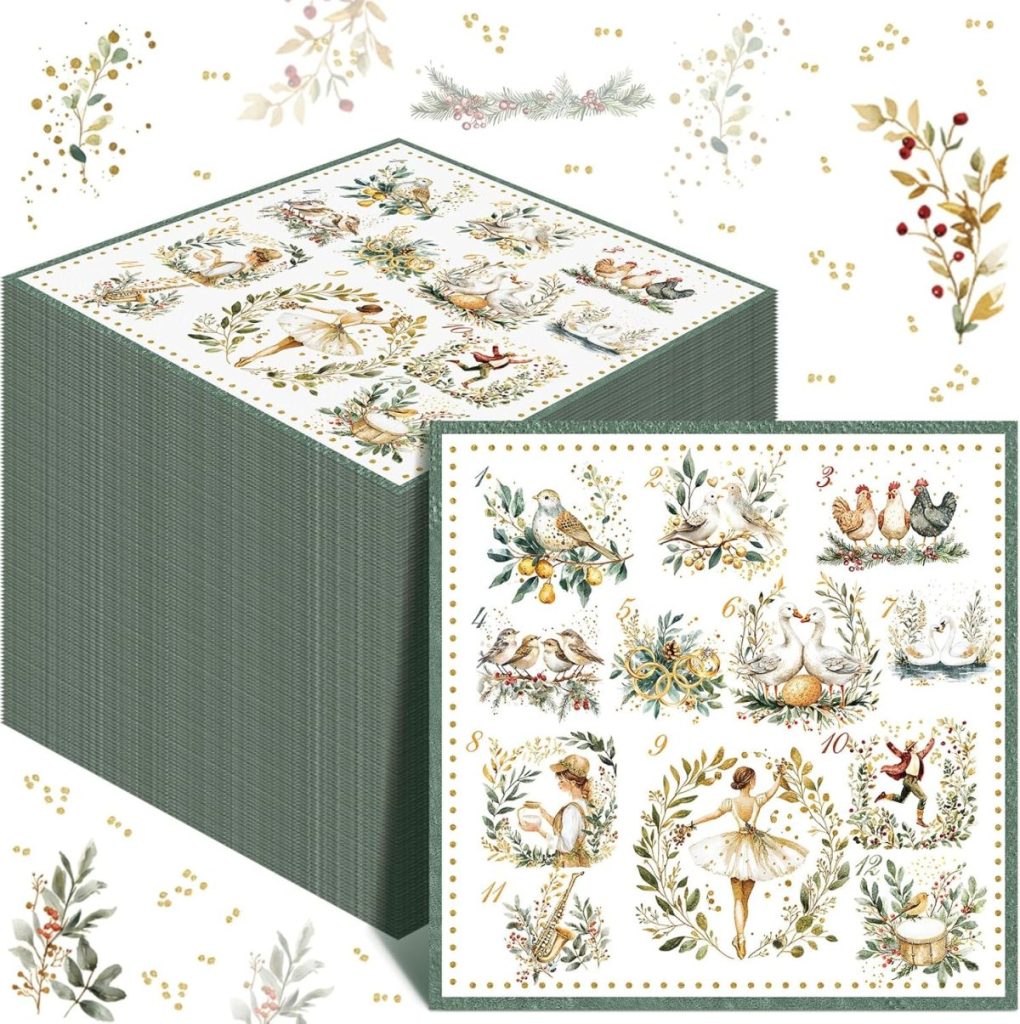
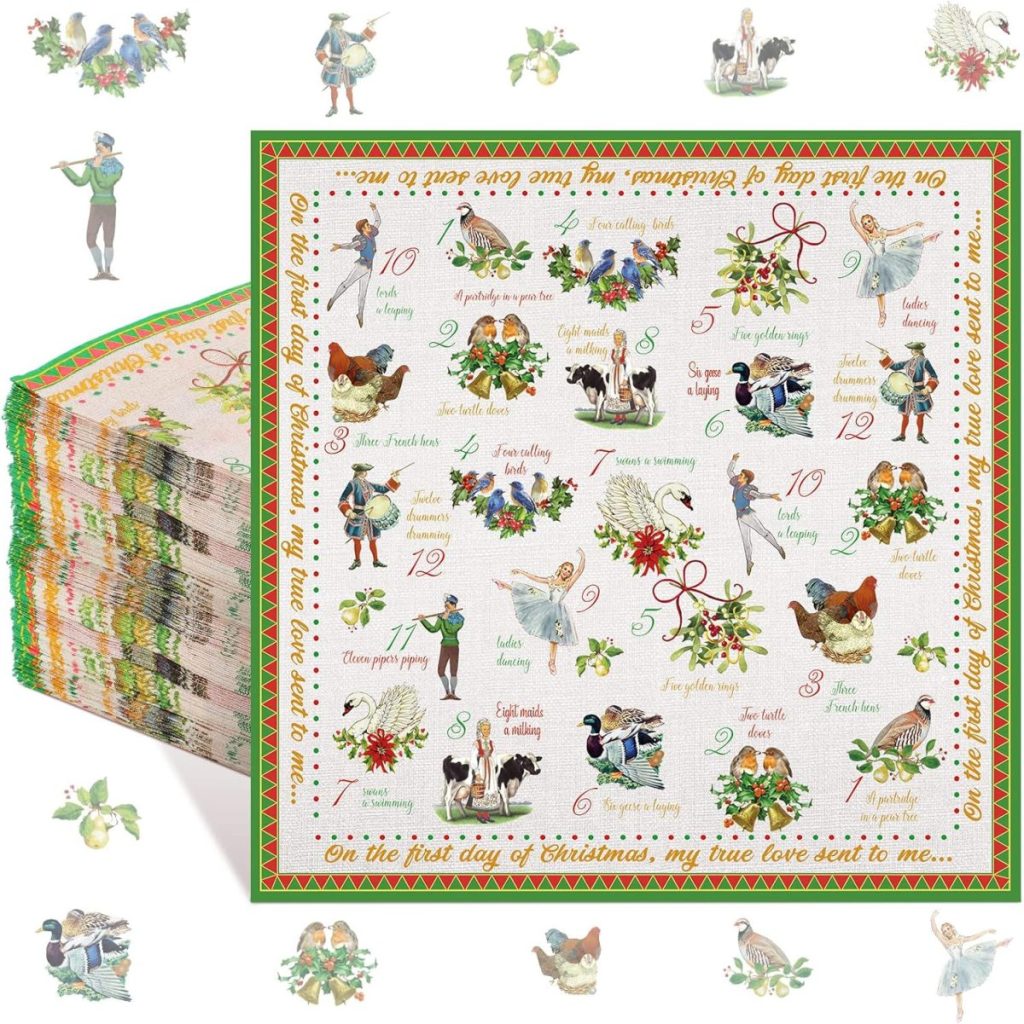
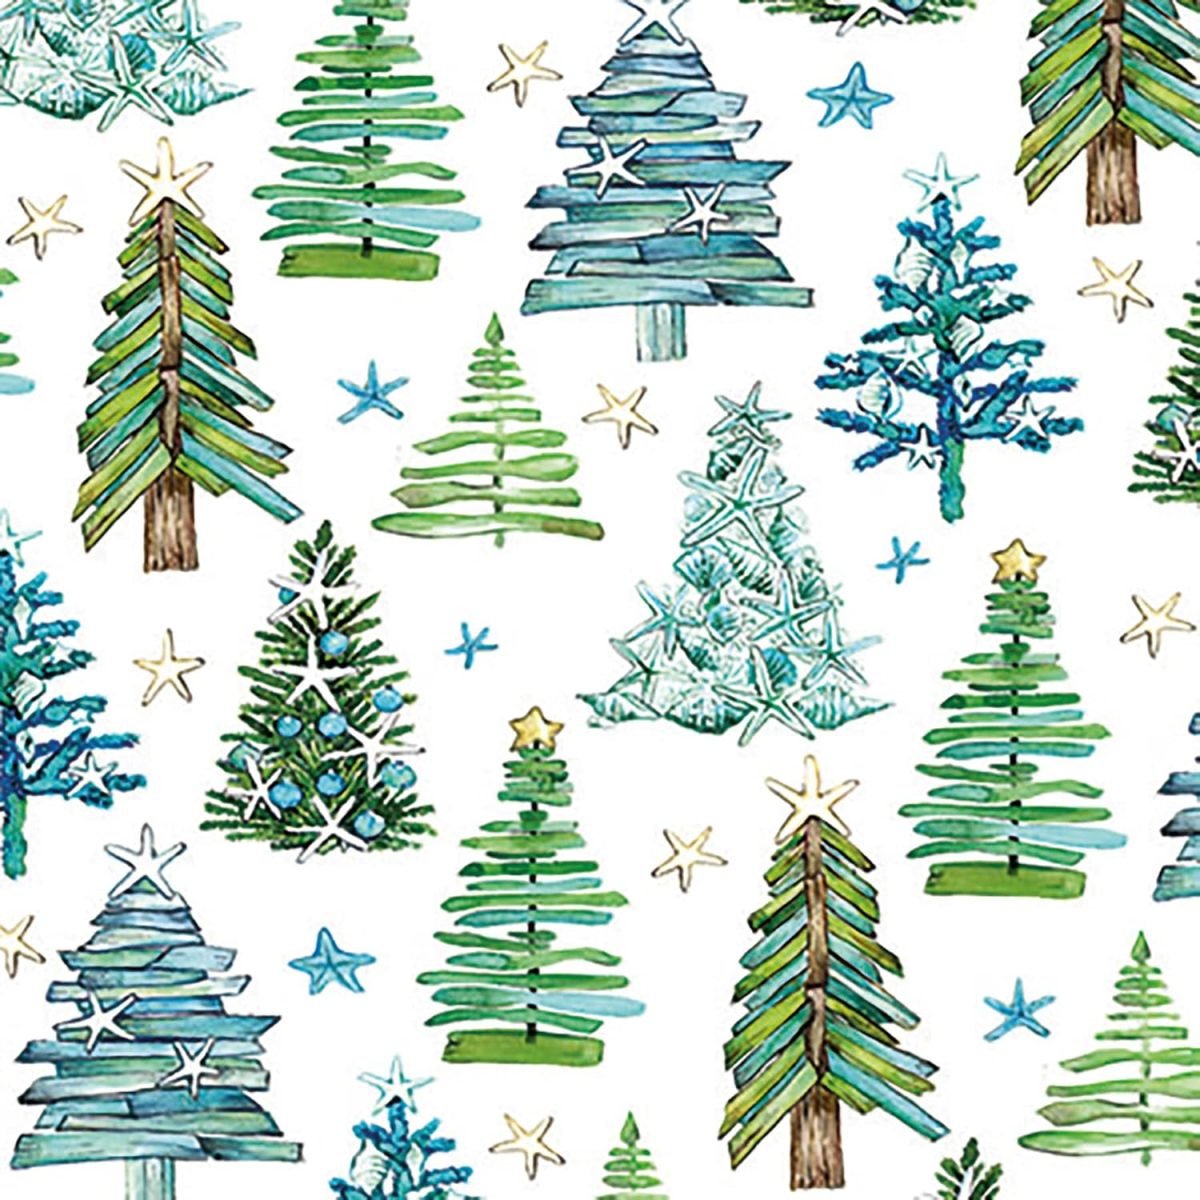
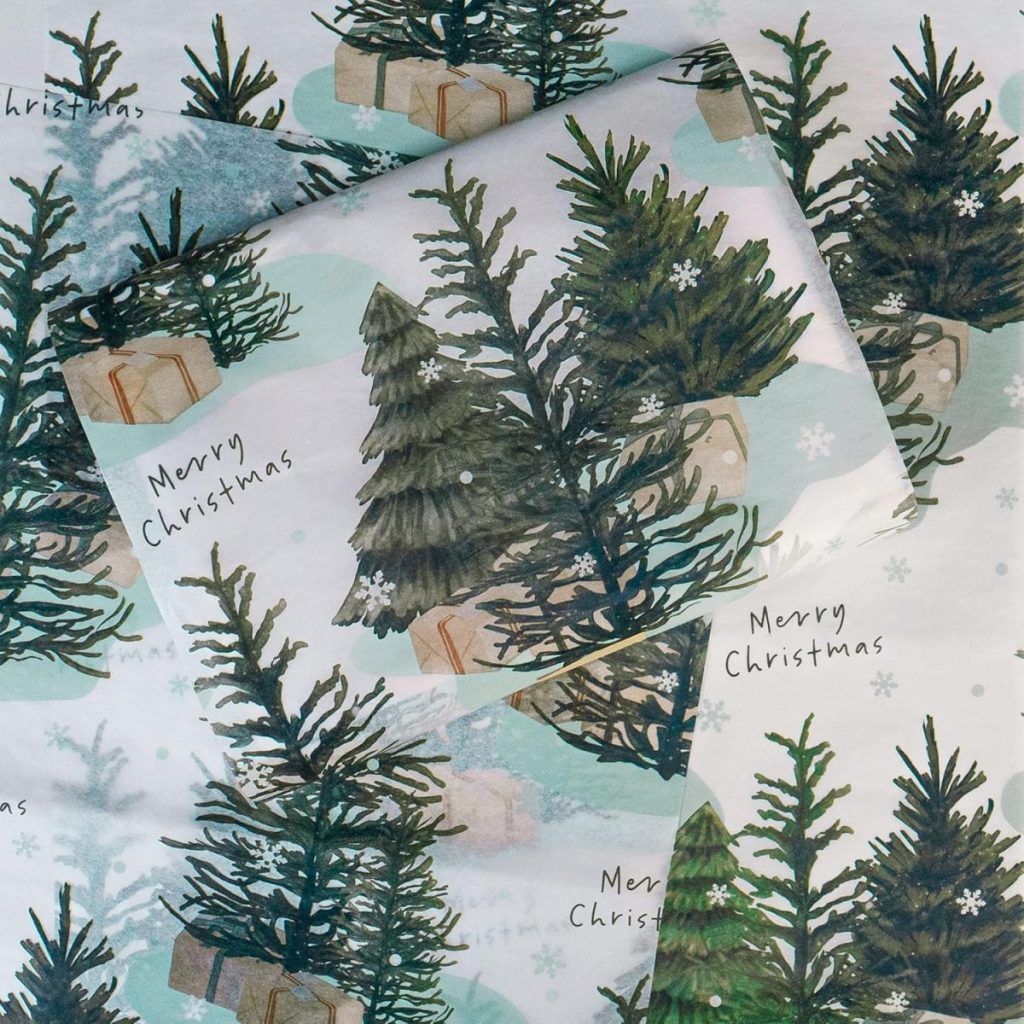
- 12 Days of Christmas paper napkins
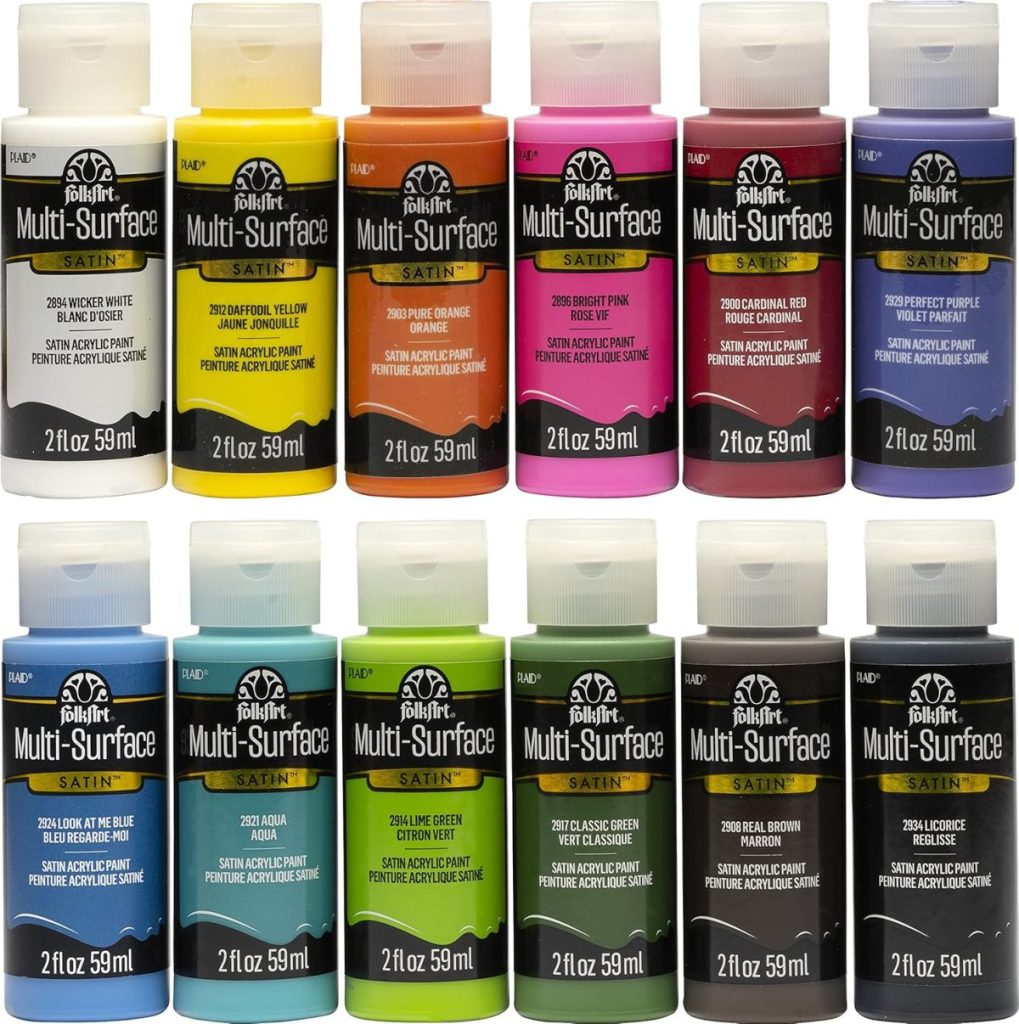
- White acrylic paint
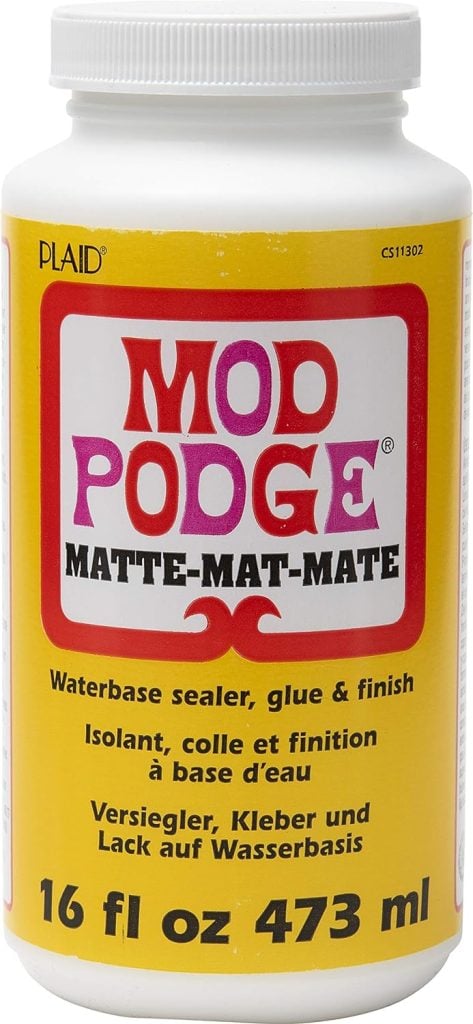
- Mod Podge (matte finish works best)
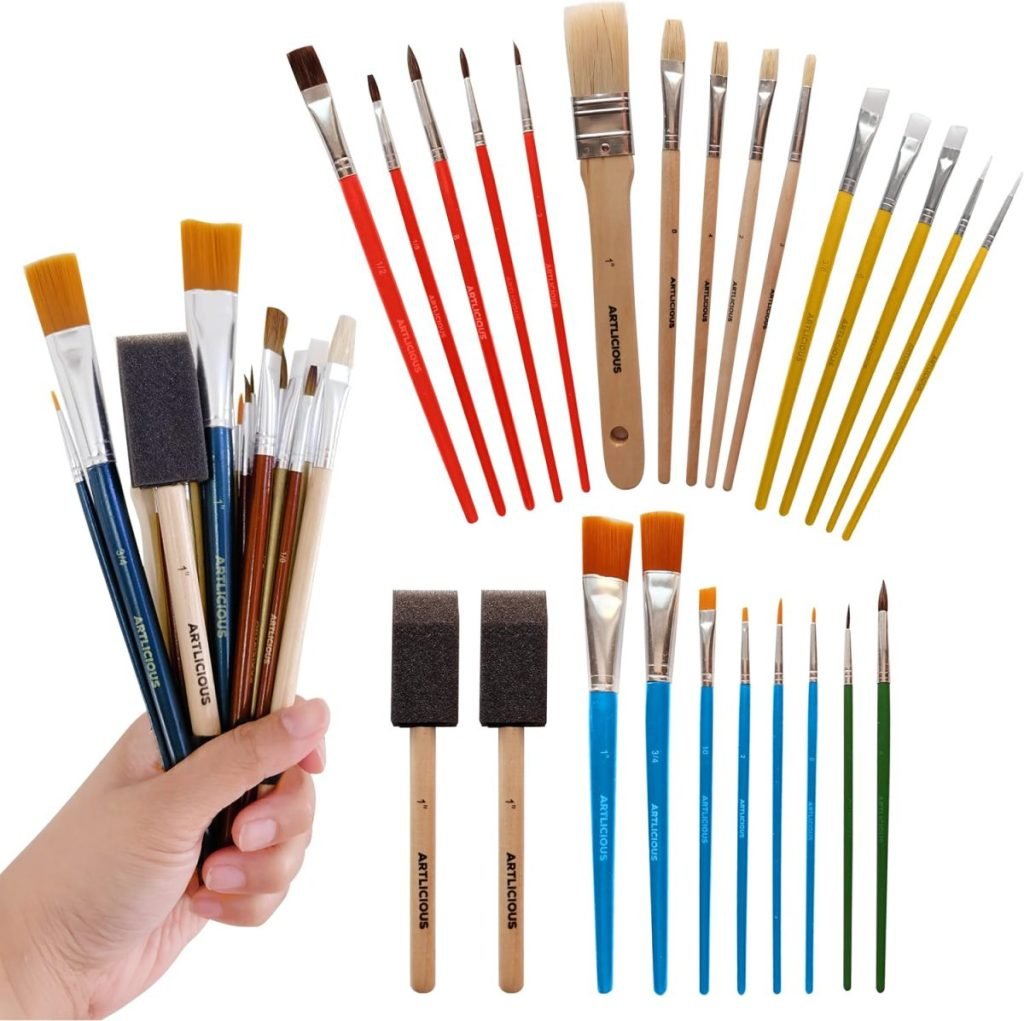
- Small craft brushes
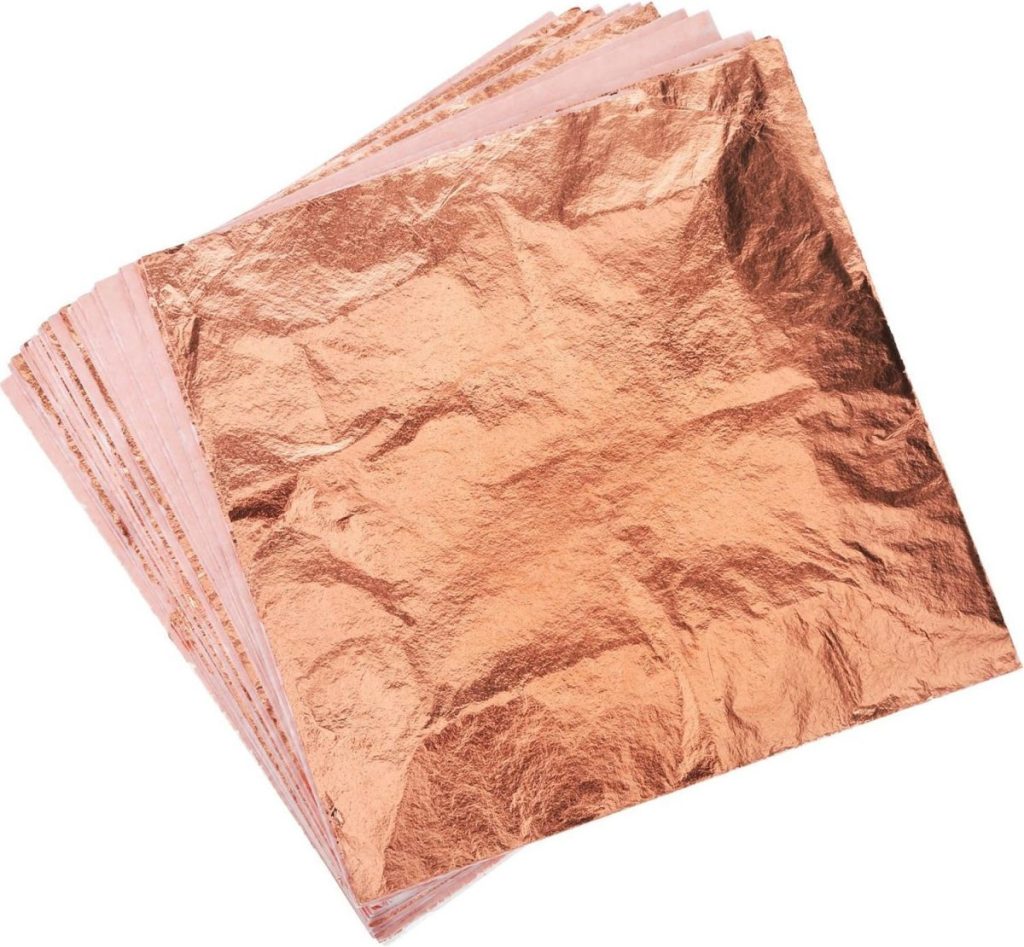
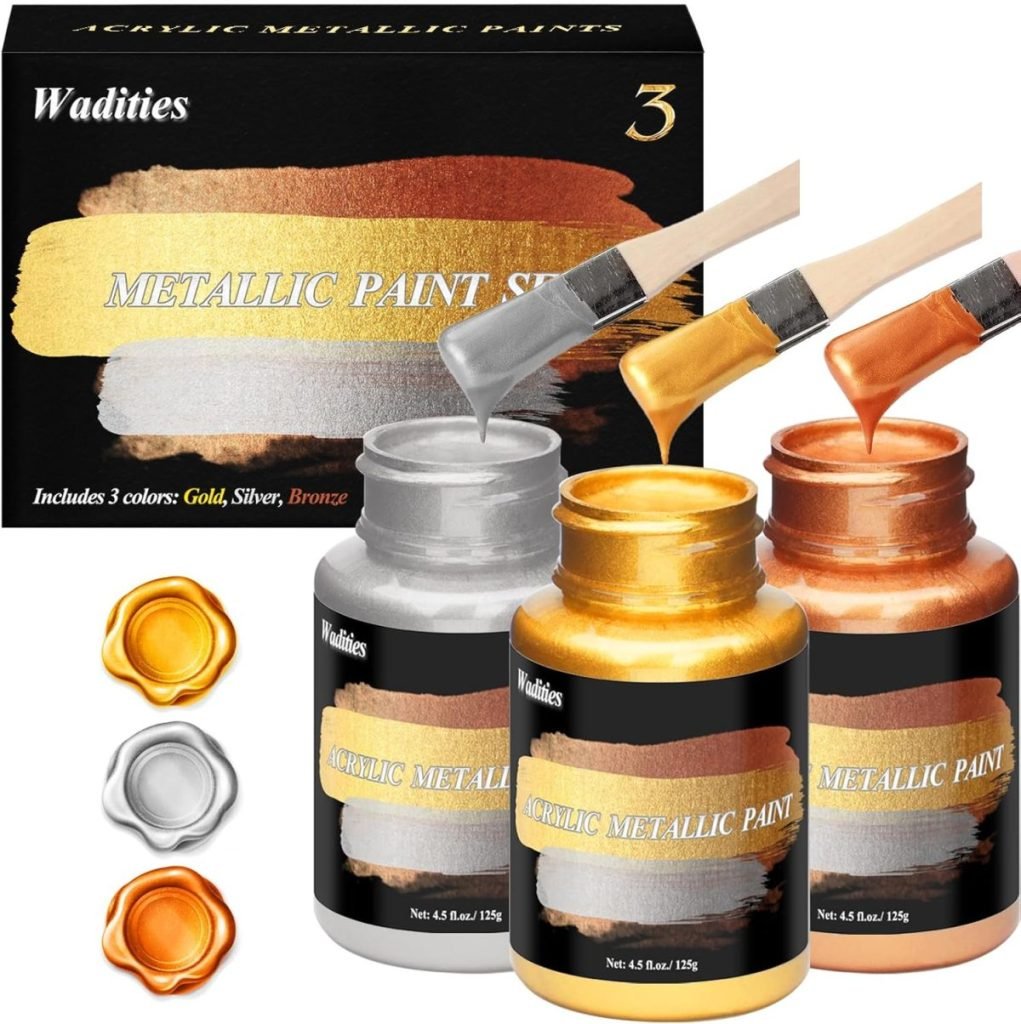
- Gold leaf or metallic gold paint (to edge the shells)
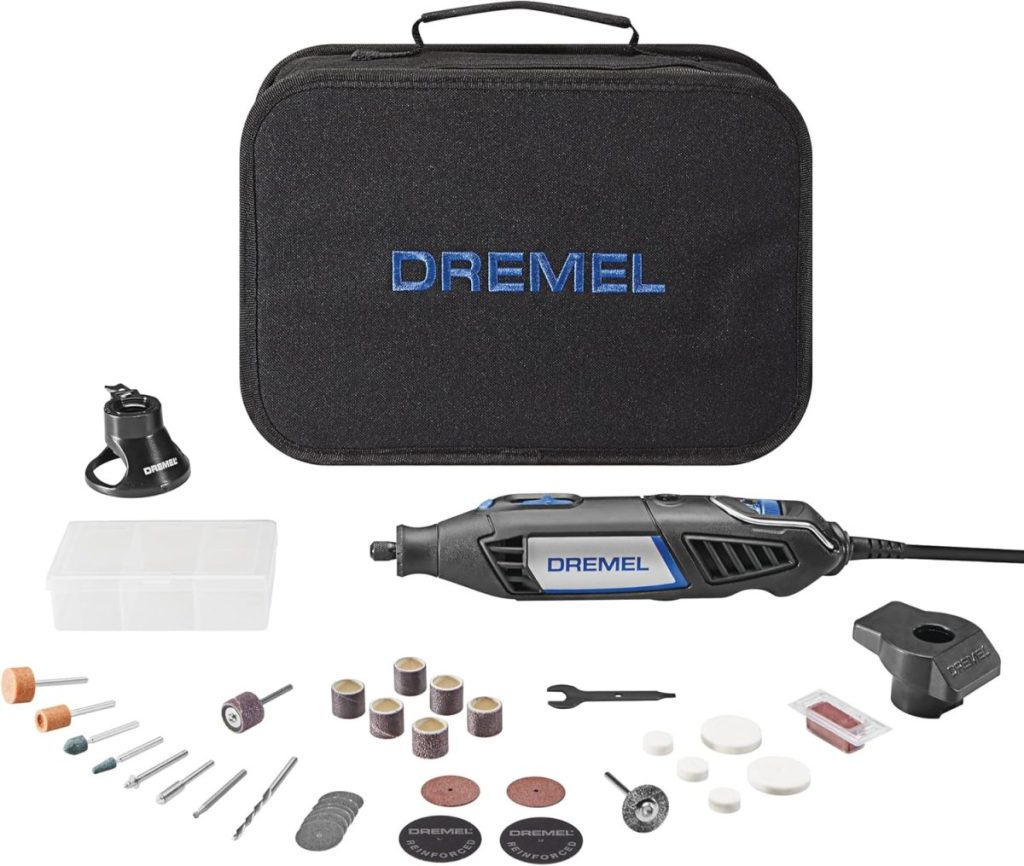
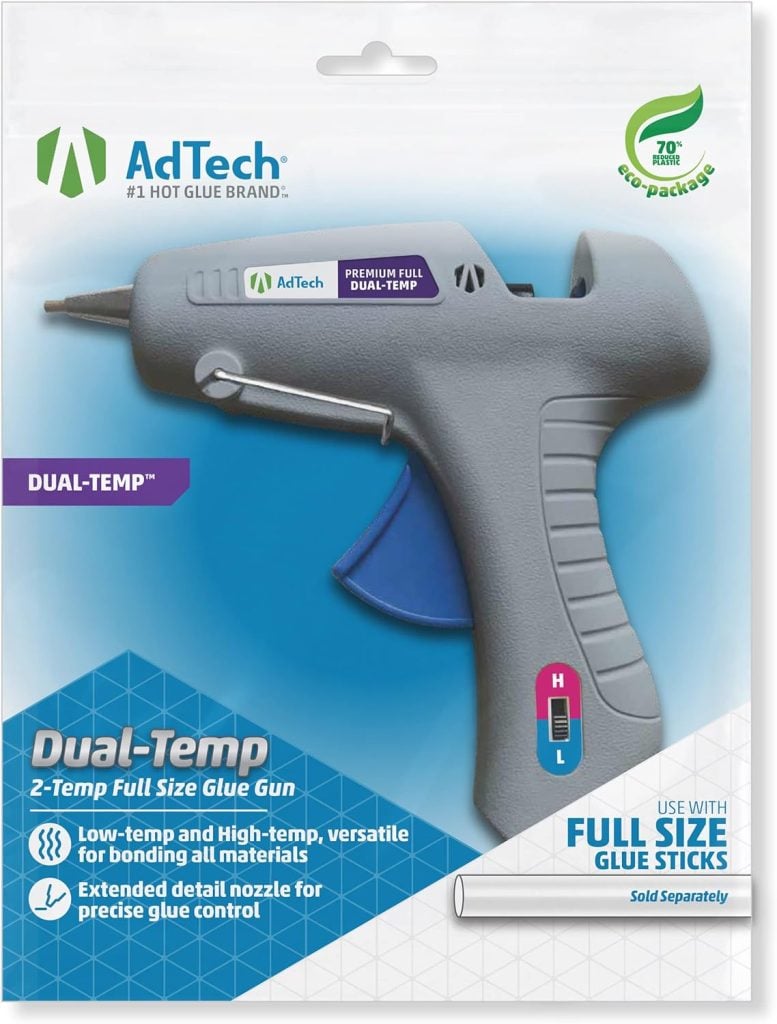
- Drill with a small bit (or Dremel) for creating a hole at the top (optional)
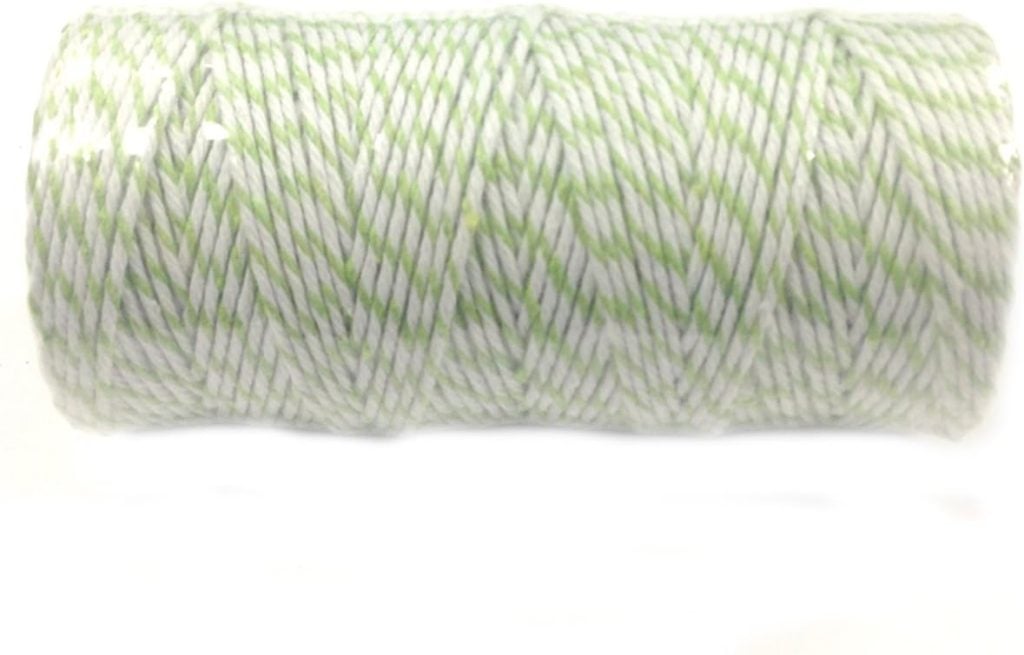
- Ribbon or twine for hanging
- Scissors
- Optional: Clear spray sealer for extra durability and glue gun
I may occasionally use affiliate links on this blog, which means I earn a small commission if you purchase through the link. The price will be the same whether you use the affiliate link or go directly to the vendor’s website using a non-affiliate link.
There are a lot of different paper napkins with the 12 Days of Christmas theme. Caspari makes the ones I used. All of them are great!
Step-by-Step Instructions

Step 1: Prepare the Oyster Shells
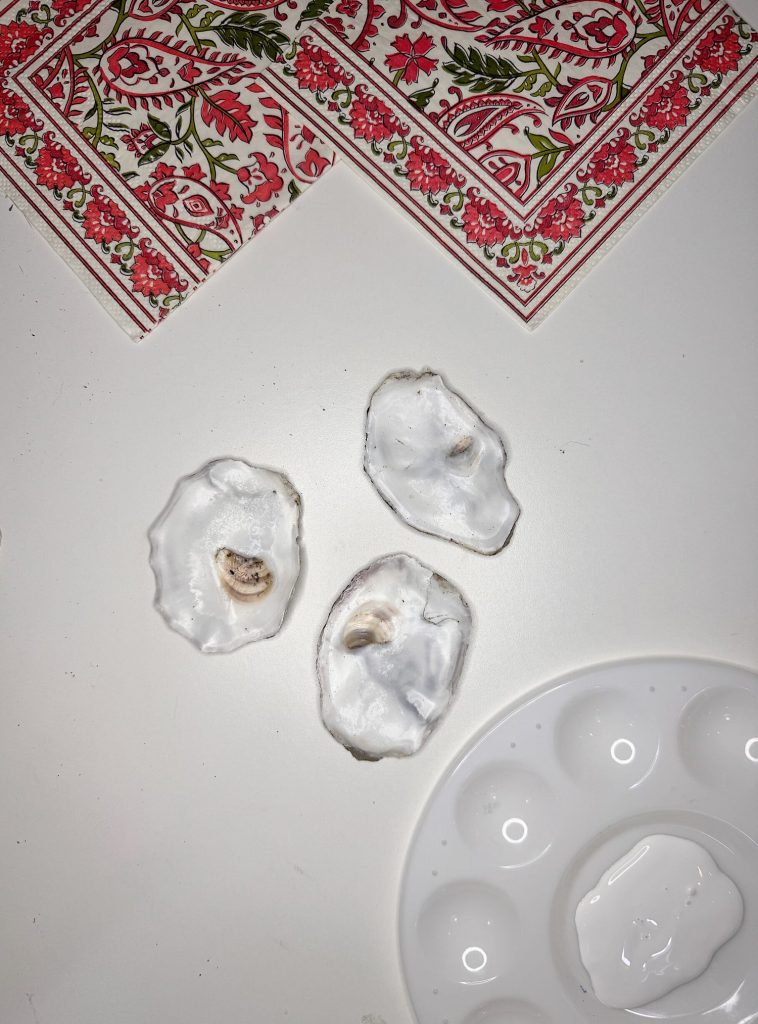
Ensure your shells are thoroughly clean and dry. If needed, soak them in a mixture of water and a little bleach, then scrub away any residue. Rinse thoroughly and let dry.
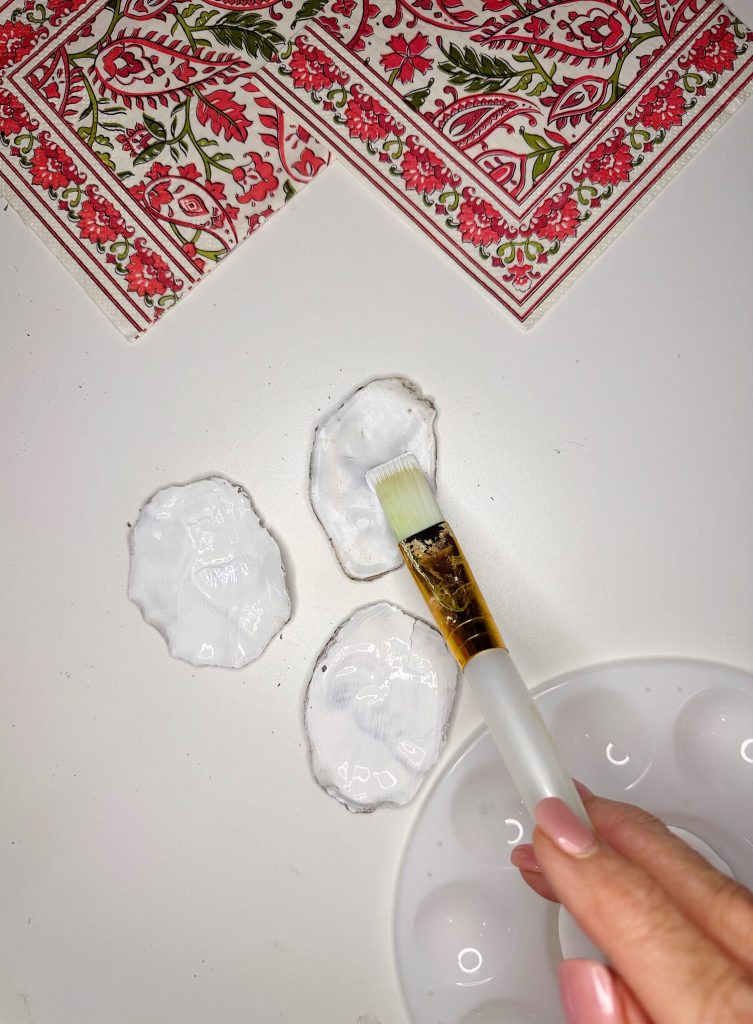
Once clean, paint the inside of the shells with white paint to hide the darkened muscle scar. Be sure to paint the entire inside of the shells.
Step 2: Drill the Holes for Hanging (optional)
To hang these ornaments, you have two options. You can drill a hole in each of the oyster shells, or you can attach a string to each shell with a glue gun.
Using a drill with a small bit, carefully drill a hole at the top of each shell. Go slowly to avoid cracking the shell. If drilling feels intimidating, you can also glue a jewelry bail or small loop to the back instead.
I chose to use the glue gun option. I have done both, and this is so much easier.
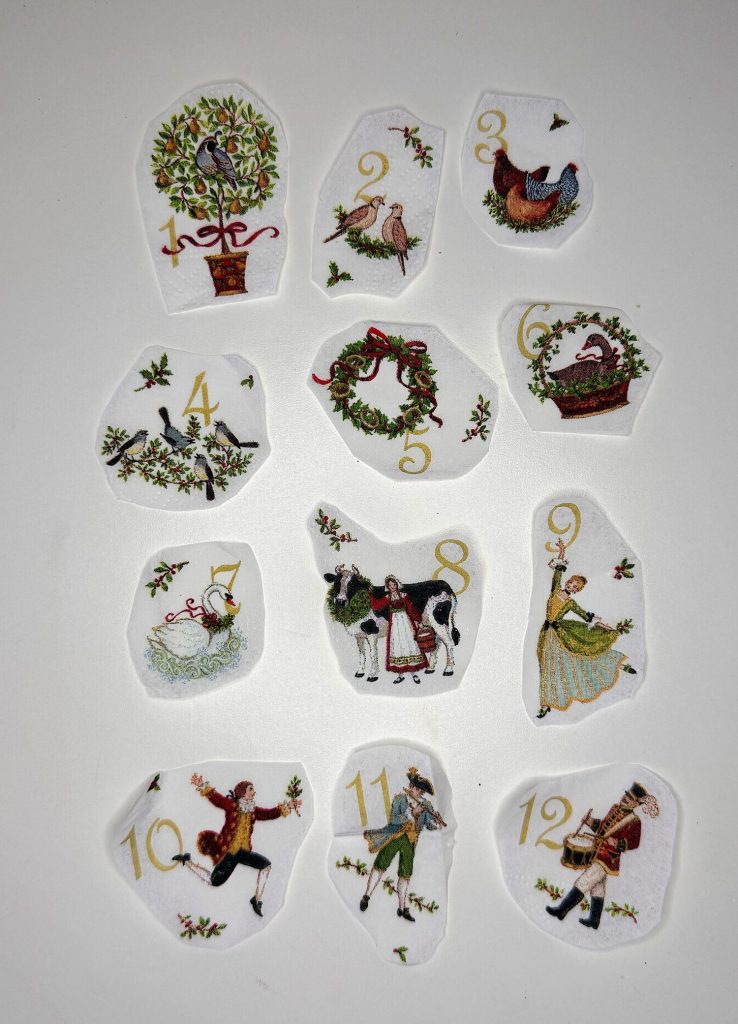
Step 3: Cut the Artwork from the Napkins
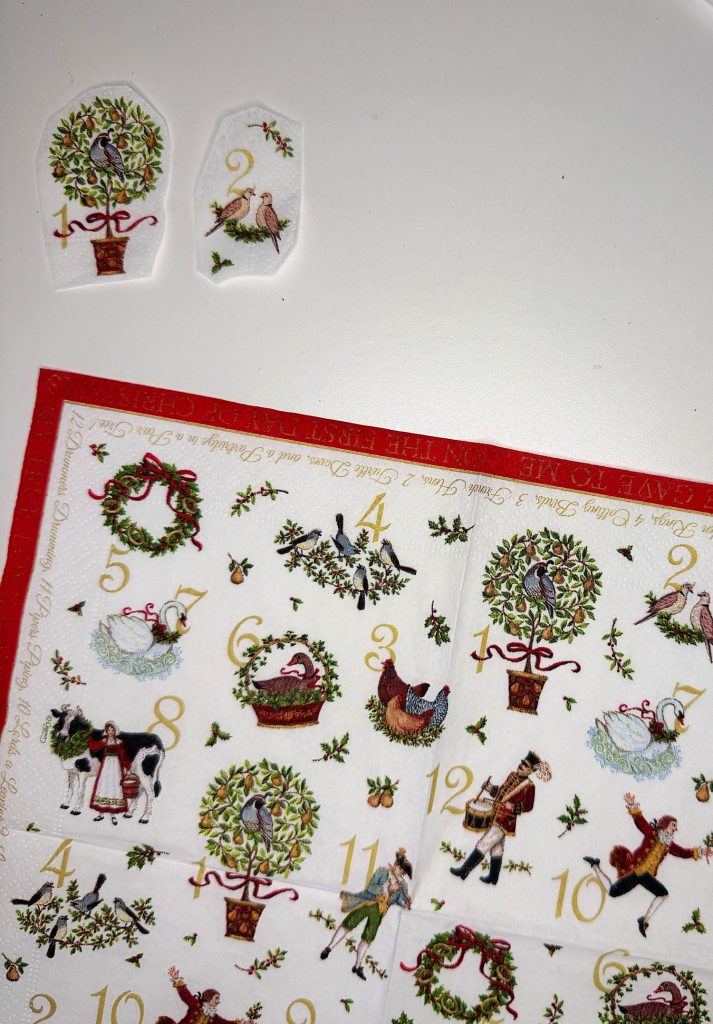
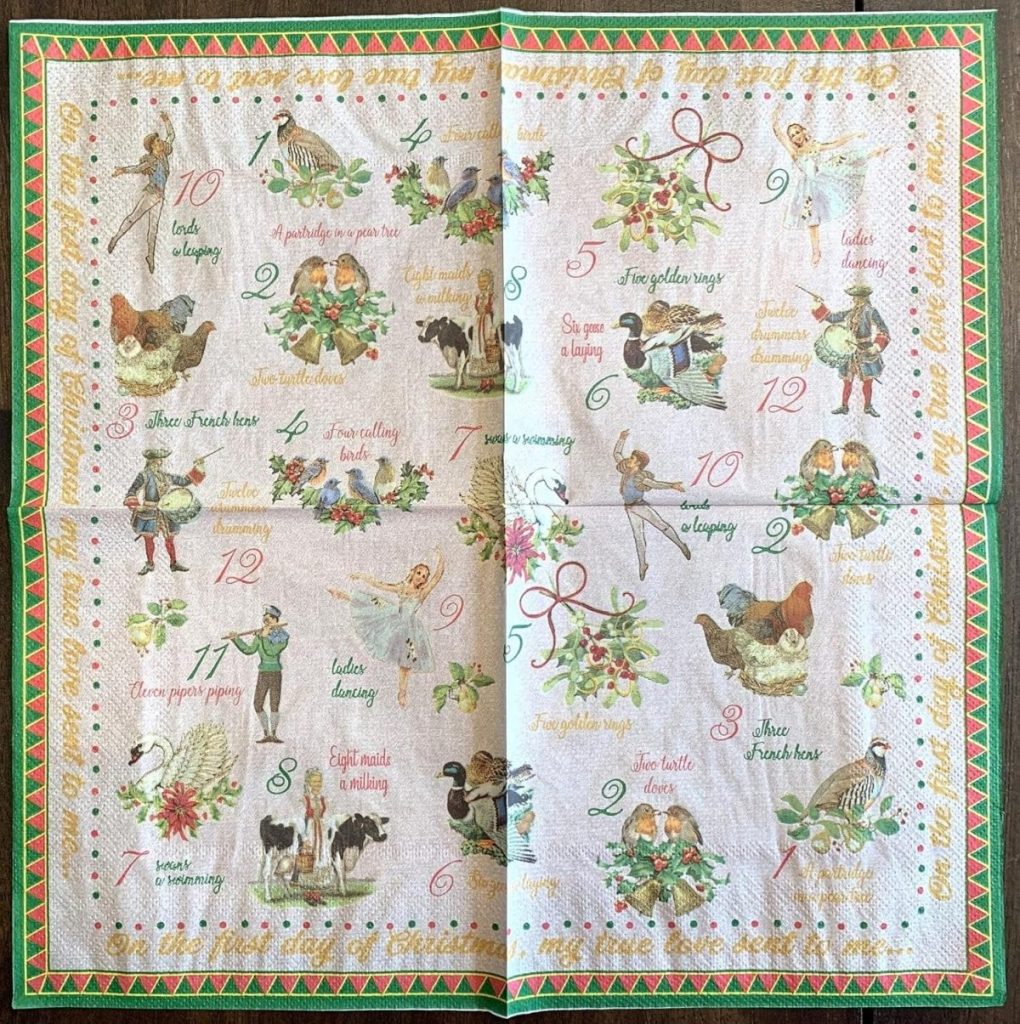
Remove the extra sheets of the paper napkin. Carefully cut each of the twelve-day designs from the paper napkin.
Step 4: Apply the Mod Podge and Attach the Paper Napkin
Using a small brush, apply a thin layer of Mod Podge to the interior of the shell. Place the paper napkin design inside and gently smooth it down with your fingers or the brush, pressing out any bubbles.
Apply another thin coat of Mod Podge over the top to seal it in. Don’t worry if it looks milky at first, as it will dry clear.
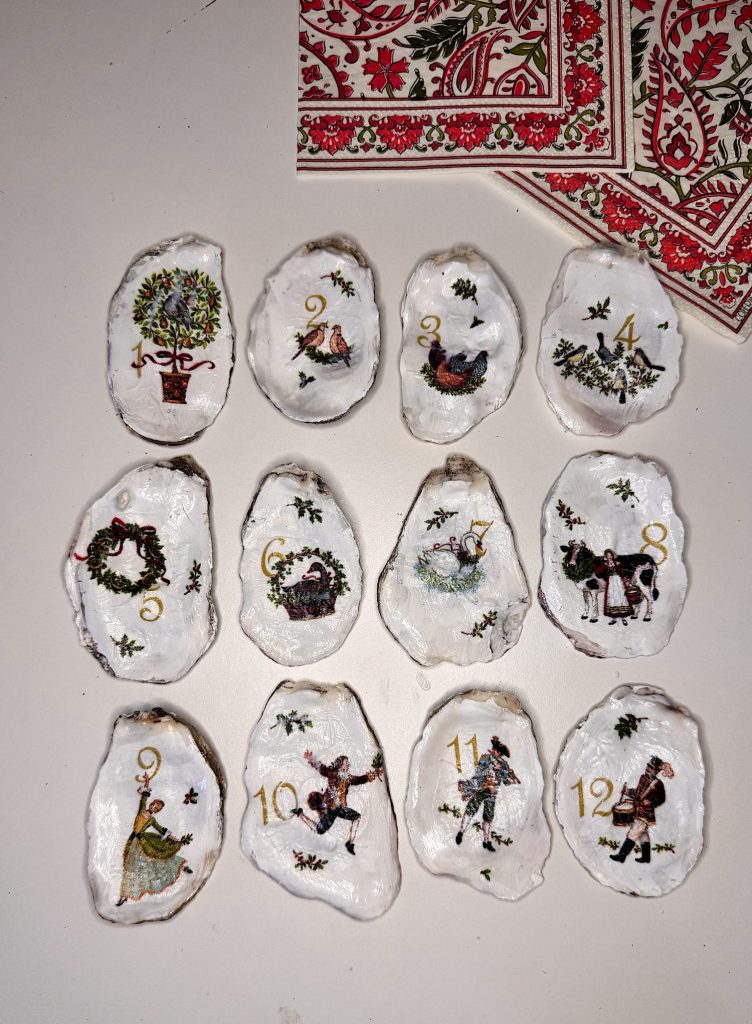
Step 5: Add the Gold Edges
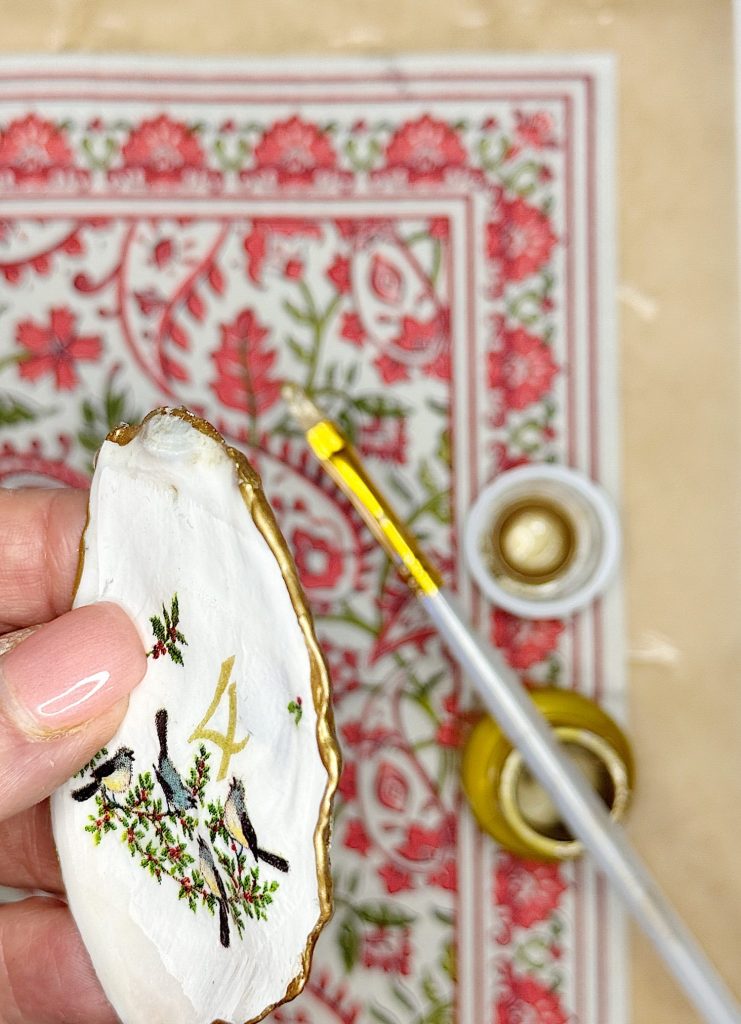
Once the shells are dry, add a touch of elegance by edging them with gold. You can either use gold leaf for a rich, textured finish or brush the edges with metallic gold paint. This step gives the ornaments a polished, festive look.
Step 6: Add Ribbon or Twine
Cut small lengths of ribbon or twine, and add them to the oyster shells by applying a small dab of hot glue to the top back. Place the ends of the string in the glue.
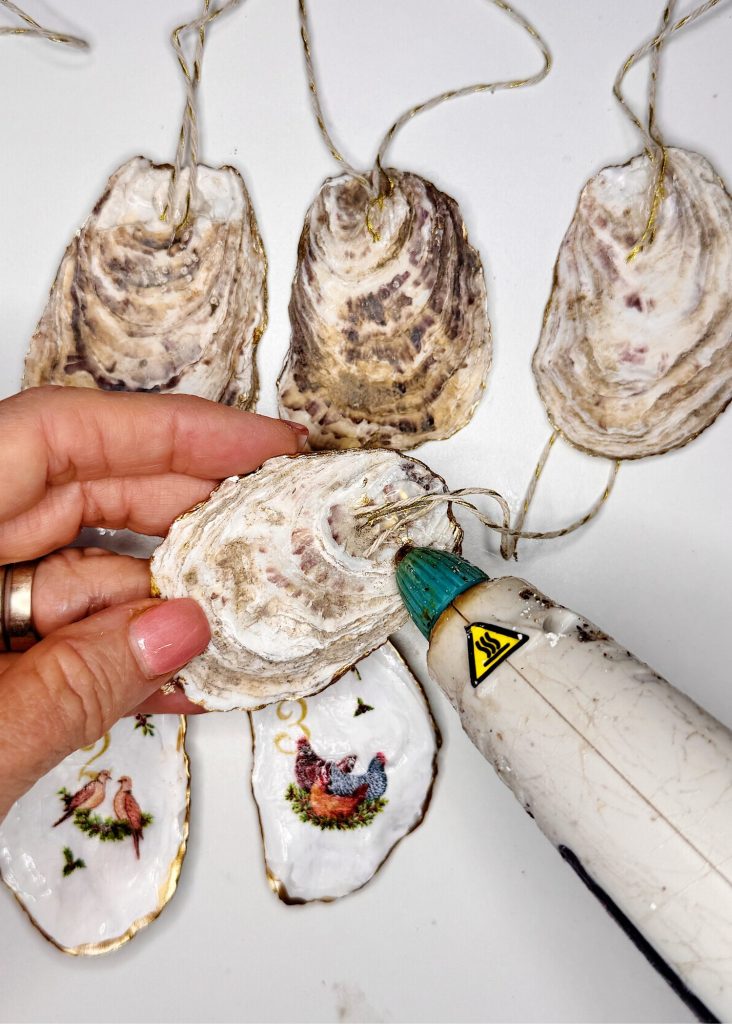
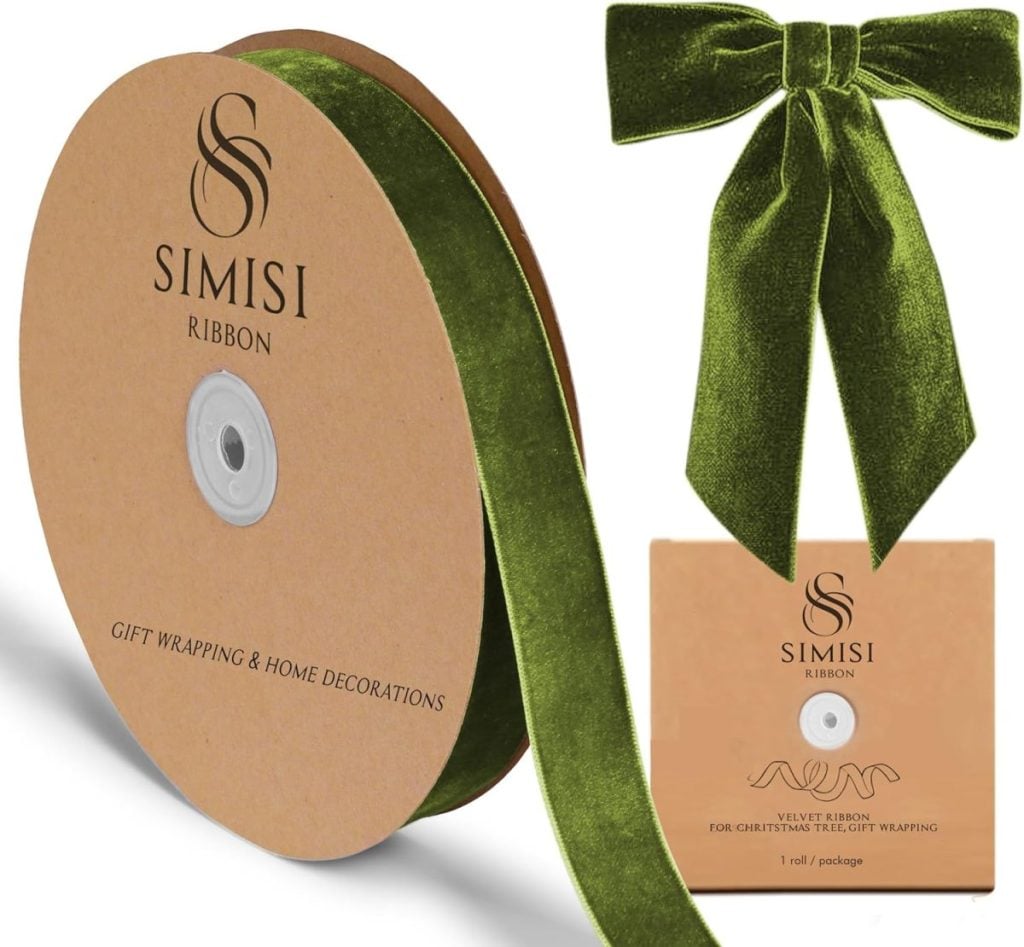
If you have holes in the shells, loop them through the drilled hole, and tie a knot to secure. I love using velvet ribbon in holiday colors, but natural twine or metallic cord also works beautifully.
Step 7: Seal (Optional)
For added durability, especially if your tree gets a lot of handling, spray the finished ornaments with a clear sealer. Or add another coat of Mod Podge.
Tips and Tricks
- Mix and Match: Not every oyster shell is the same size. Match the artwork to the shell size and embrace the variations.
- Personalize It: Add names, dates, or small embellishments to make each ornament a keepsake.
- Gift Idea: Package a set of 12 in a pretty box with tissue paper; it’s a handmade gift that feels thoughtful and luxe.
- Display Beyond the Tree: These ornaments also look stunning as napkin tie-ons, gift toppers, or in a decorative bowl as part of a holiday centerpiece.
Styling Your 12 Days of Christmas Oyster Ornaments
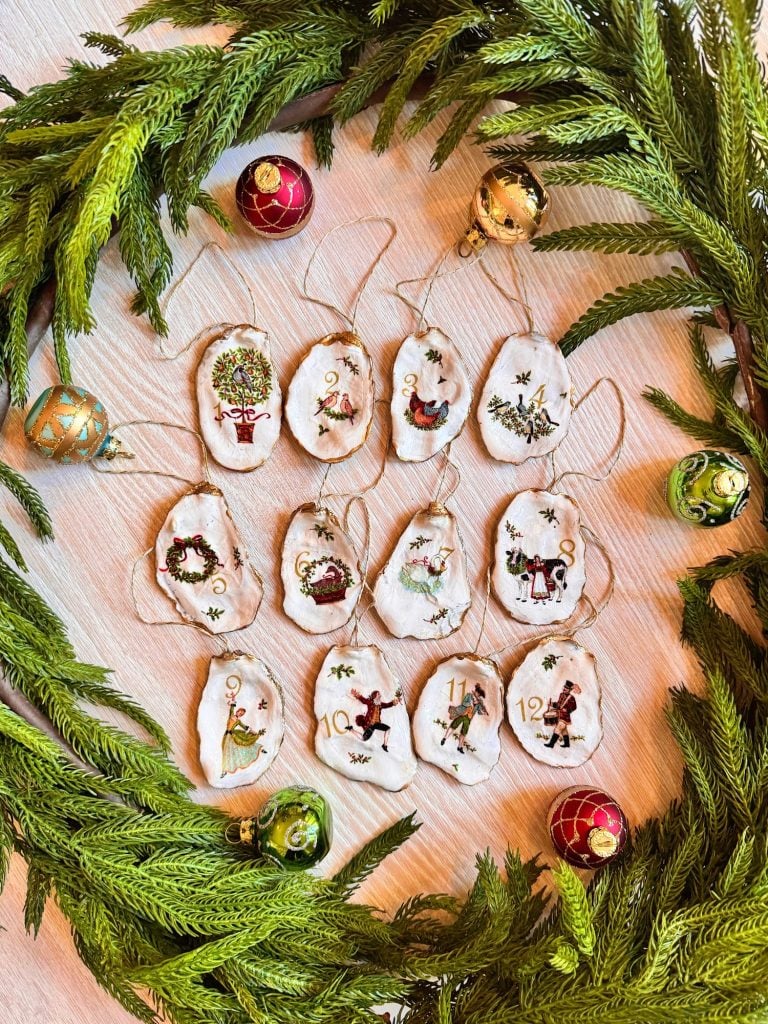
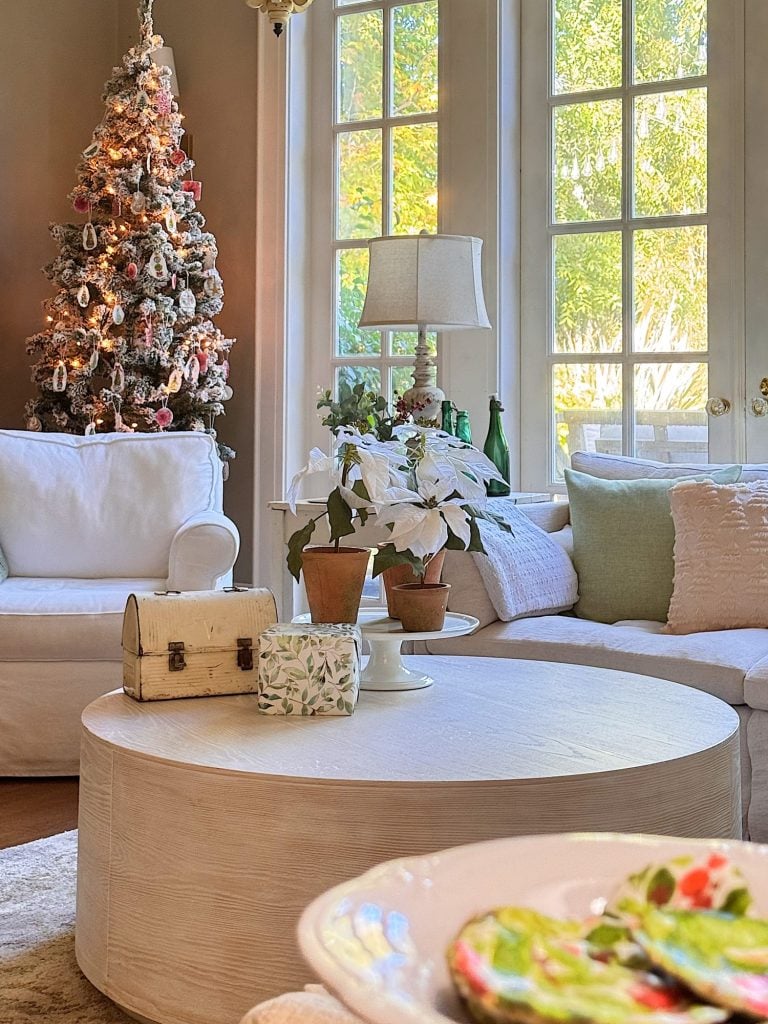
I love that these ornaments tell a story. Hung together on a tree, they create a narrative that invites guests to lean in and admire each one. The shimmer of gold against the pearly white of the shells feels festive and elegant, and the whimsical illustrations add charm and nostalgia.
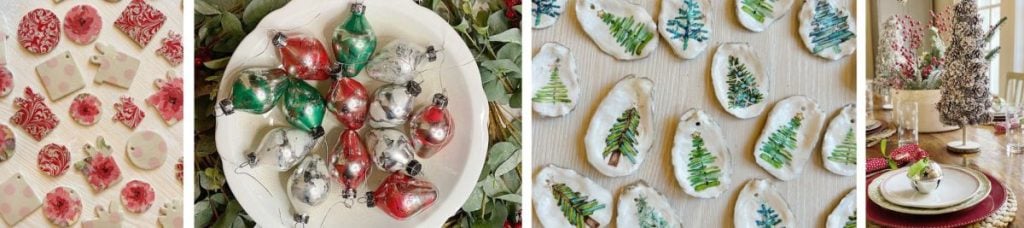
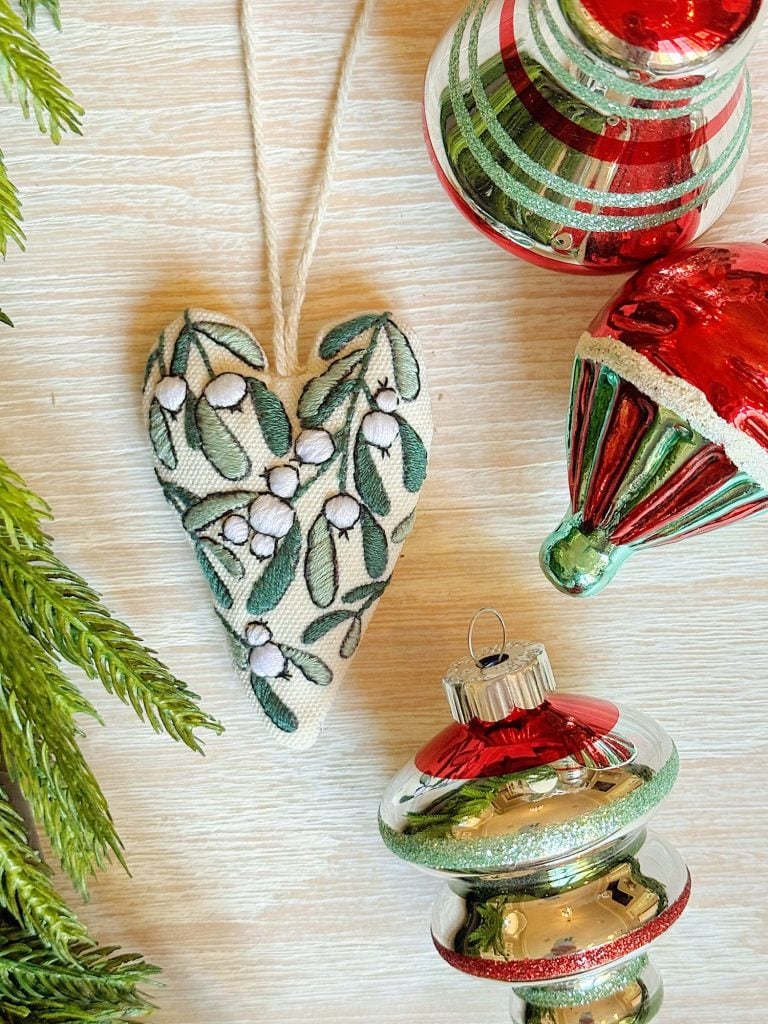
These ornaments also mix well with other handmade decorations. Imagine pairing them with dried orange slices, cinnamon stick bundles, and vintage glass ornaments. The overall effect is both rustic and refined, coastal yet timeless.

Why This Project is Perfect for A Handmade Christmas
Starting my A Handmade Christmas series with these ornaments felt just right because they capture the spirit of what this series is all about: making beautiful things with your own hands, adding a personal touch to your home, and creating traditions you’ll treasure year after year.
They are also very easy to make.
Crafting these oyster ornaments reminded me of the joy that comes from slowing down, using what you have, and creating something meaningful. The 12 Days of Christmas theme evokes a sense of tradition, and the oyster shells add a fresh and unexpected touch.
What’s Next?
Christmas will be here before you know it (only 15 Fridays away!), and I hope these 12 Days of Christmas Oyster Ornaments inspire you to get creative this holiday season. Handmade crafts don’t have to be complicated or expensive … they need to be made with love.
Whether you create a complete set of 12 or just a few to add to your tree, these oyster ornaments are a perfect way to start the season of crafting.
And don’t forget, this is just the beginning. Every Friday from now until Christmas, I’ll be sharing another new handmade project as part of A Handmade Christmas.
So gather your shells and napkins, and let’s get started. Christmas magic begins here.
If you enjoy my blog, you can sign up to receive my updates here.
.
Sixteen Weeks of A Handmade Christmas
- 12 Days of Christmas Ornaments – Week 1 (Watch the video tutorial here)
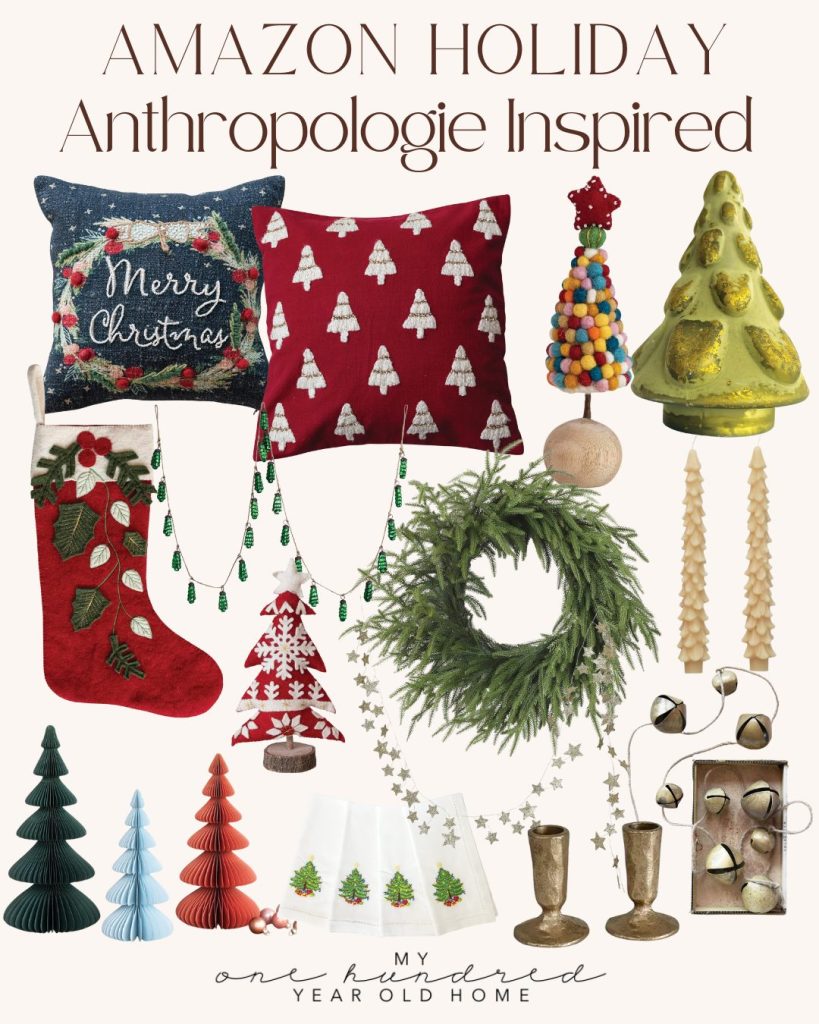
Anthropologie Inspired Christmas Decor
Latest Posts
-
Best Easter Brunch Egg Dish: Loaded French Onion Frittata
Easter brunch is one of those special meals where the table is complete, the laughter is loud, and the food is nothing short of spectacular. If you want to wow your guests with something savory, cheesy, and unforgettable, let me introduce you to your new Easter brunch hero: a Loaded French Onion Frittata.
-
The Best Spring Pillow DIY – A Handmade Spring
There are certain projects that start as an idea and quietly turn into something you love far more than you expected, and this Spring pillow is exactly that. As part of my A Handmade Spring series, I wanted to create something soft, beautiful, and full of texture, and this pillow checked every box. This pillow…
-
DIY Clay and Metallic Foil Easter Eggs
With Easter just around the corner this week, I decided to create something special and truly unique for my spring décor … handmade clay and metallic foil Easter eggs. These little works of art are soft, pastel, and subtly shimmery, and they’re a beautiful way to add a handmade touch to your Easter celebrations. While…
-
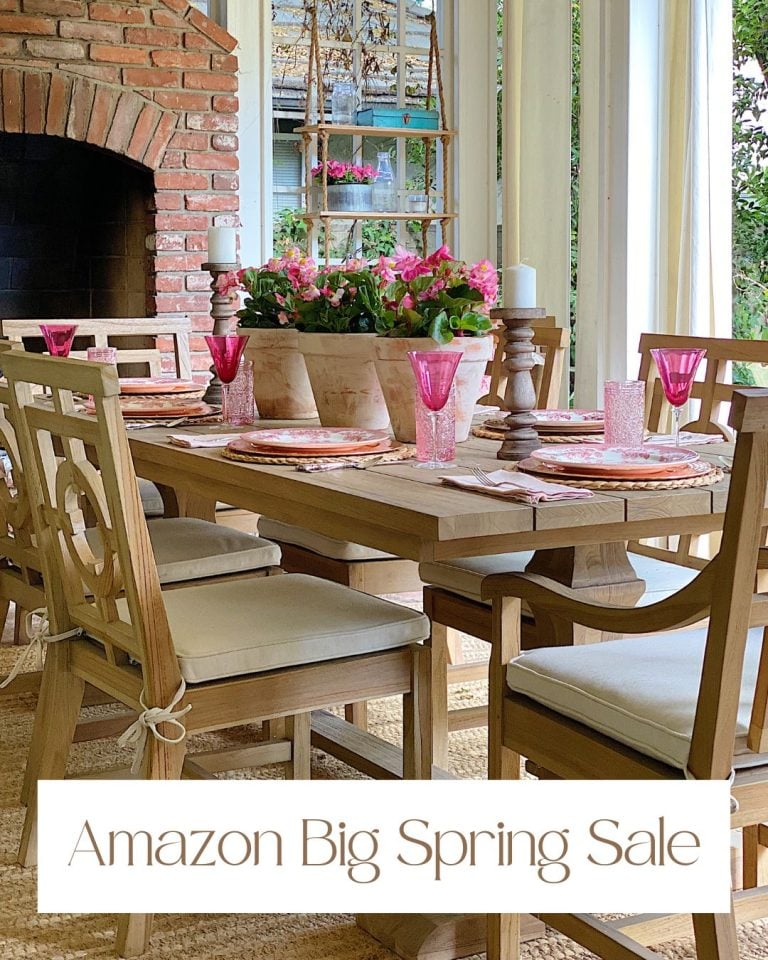
The Amazon Big Spring Sale is Here!
The Amazon Big Spring Sale is here! It runs from March 25th (today) through March 31st, and here are some of the best Amazon Deals ever! There are millions of deals available, and today I will help you find the best ones for everything you need. Now is the perfect time to shop for Spring.


My Recent Instagram Posts

You can pin the image below to your boards on Pinterest (click the Pin button in the top left corner) or follow me on Pinterest!

For more real-time updates, follow me on Instagram @My100YearOldHome

Love these 12 Days of Christmas ornaments however the cost of the napkins at $24 (with shipping) for two single paper napkins seems a bit over the top! Maybe a link to something more reasonable is in line. Thanks for all your inspiration!