Renovation Challenge with Jeffrey Court – Week #3 – Choosing the Bathroom Tile
This is week three of the Jeffrey Court Challenge. Follow the links below if you would like to catch up with my progress!
Renovation Challenge with Jeffrey Court – Week #1 – The Before
Renovation Challenge with Jeffrey Court – Week #2 – The Inspiration
But before I go on any further, would you like to vote for me to win this Challenge? Please? Pretty please? Just go to Jeffrey Court to vote. Thank you so much!!!
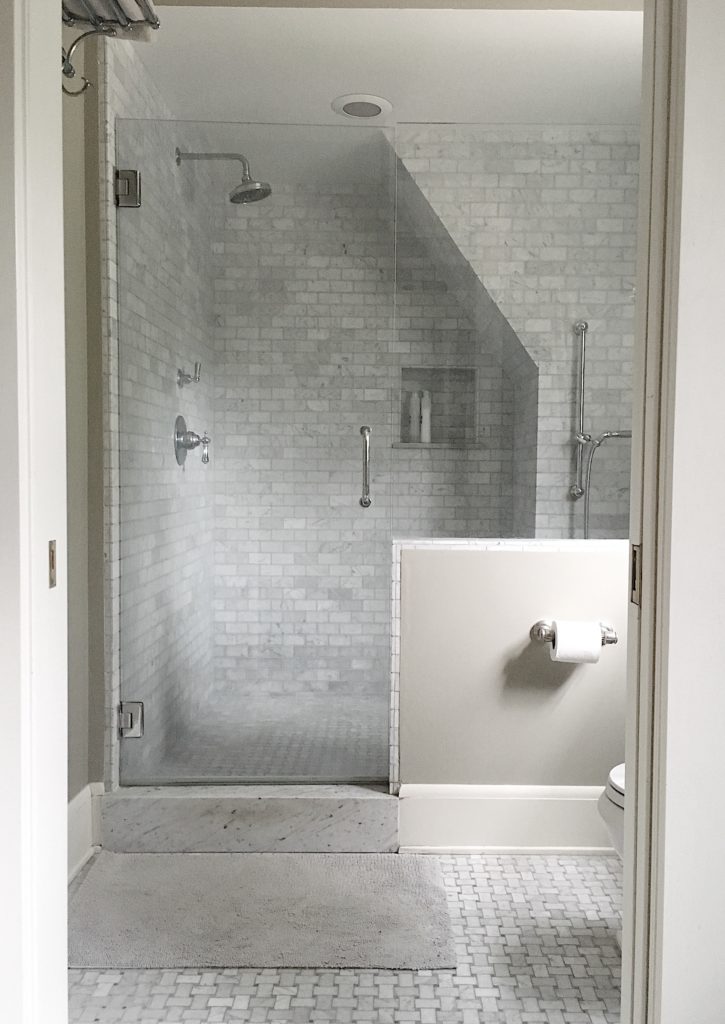
I can’t believe it is week three of the Jeffrey Court Challenge. I am so excited to be a part of this challenge and I am remodeling the master bathroom in our Waco Fixer Upper home. We just expanded out the back of the home and are adding a large master bathroom. Now it’s time to choose my tile and I am thrilled to share my choices with you.
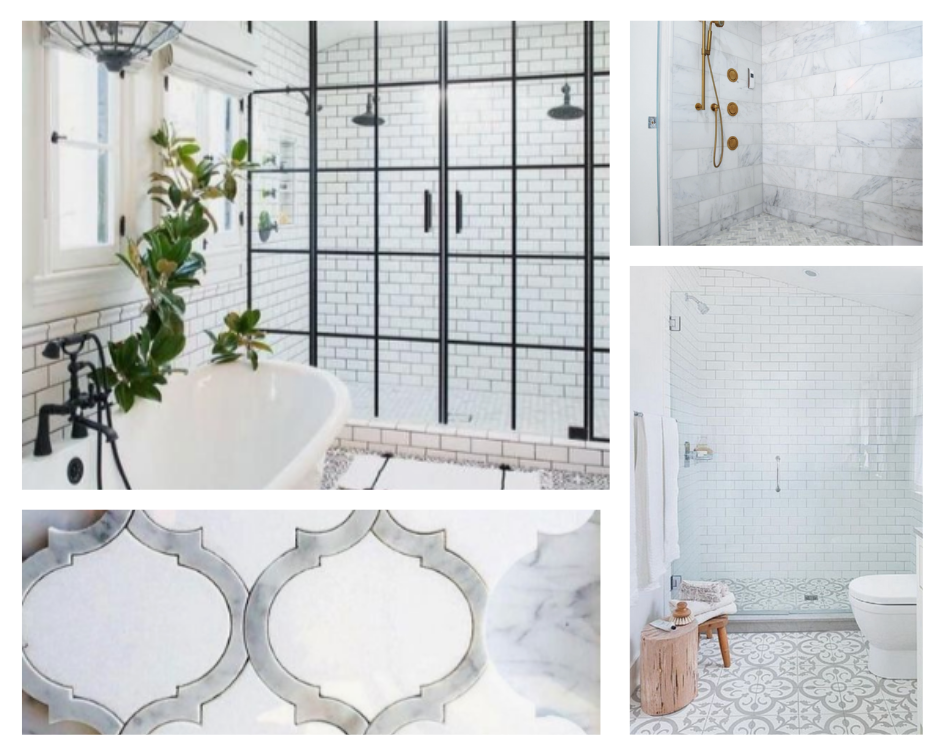
Last week on my blog I shared the inspiration for our master bathroom. I wasn’t sure if I wanted to use black and white tile or a white/grey marble tile.
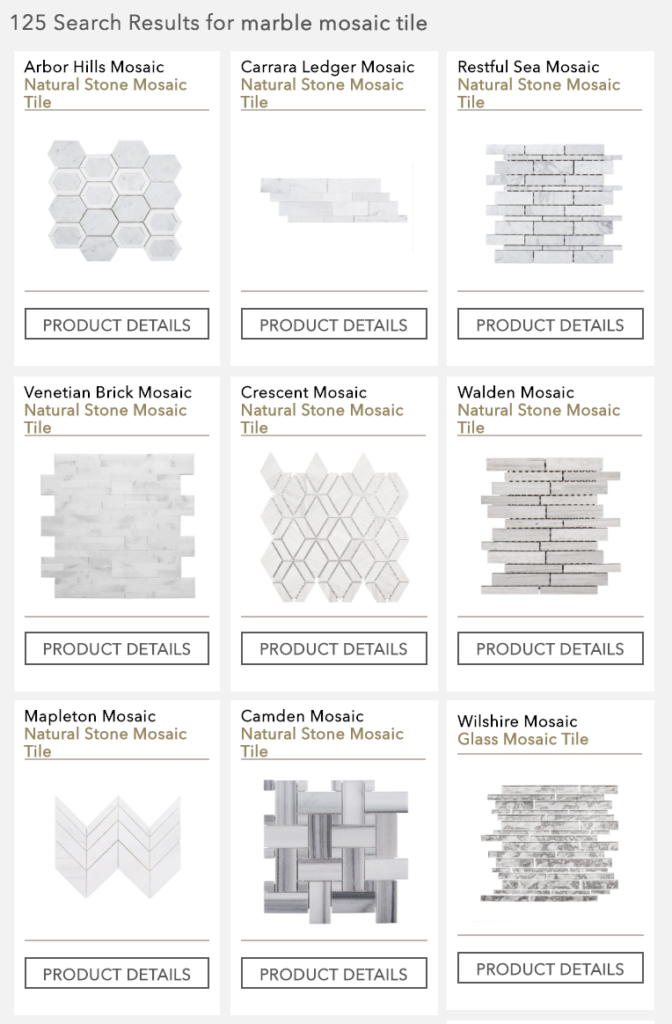
I went with my heart and decided I wanted to use the marble tile. I had no idea that Jeffrey Court had so many marble tile selections to choose from! How awesome is that?
Our master bathroom project requires three types of tile. We need tile for the shower walls, tile for the shower floor and tile for the bathroom floor. Of course, I over thought it and changed my mind about one hundred times.
Before I share the tile I chose, I discovered some tips for selecting the tile that I want to share with you.
Tips for Selecting Tile for a Remodeling Project
Don’t over design
This makes me laugh because I almost overdesigned the tile for this bathroom! It’s so easy to overthink things and I am so guilty of this. I just had to remind myself that I want the master bedroom to be a haven, like an oasis. I want it to be relaxing and not over-designed. Once I realized this, the selection process was easy.
Make sure you understand the scale of the tile
I can’t tell you how many times I looked at tile online and didn’t realize the actual size of each tile piece. At least half of the time I thought the tile design was smaller than it really was. Be sure to look at the measurements so you can get a true understanding of each tile size. Of course, if you can see it in person then you can be absolutely clear.
Be sure and see what the tile looks like after it is installed
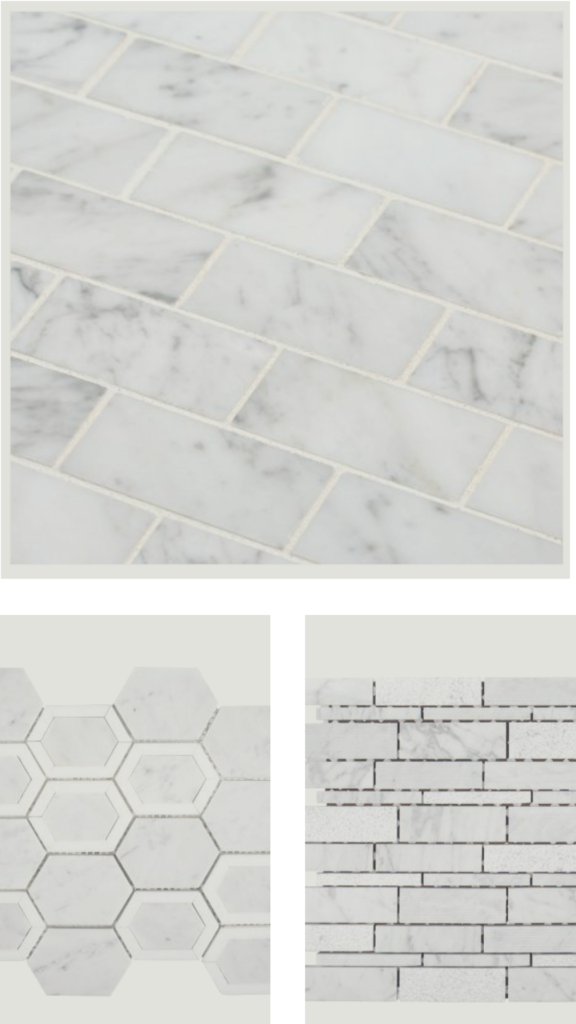
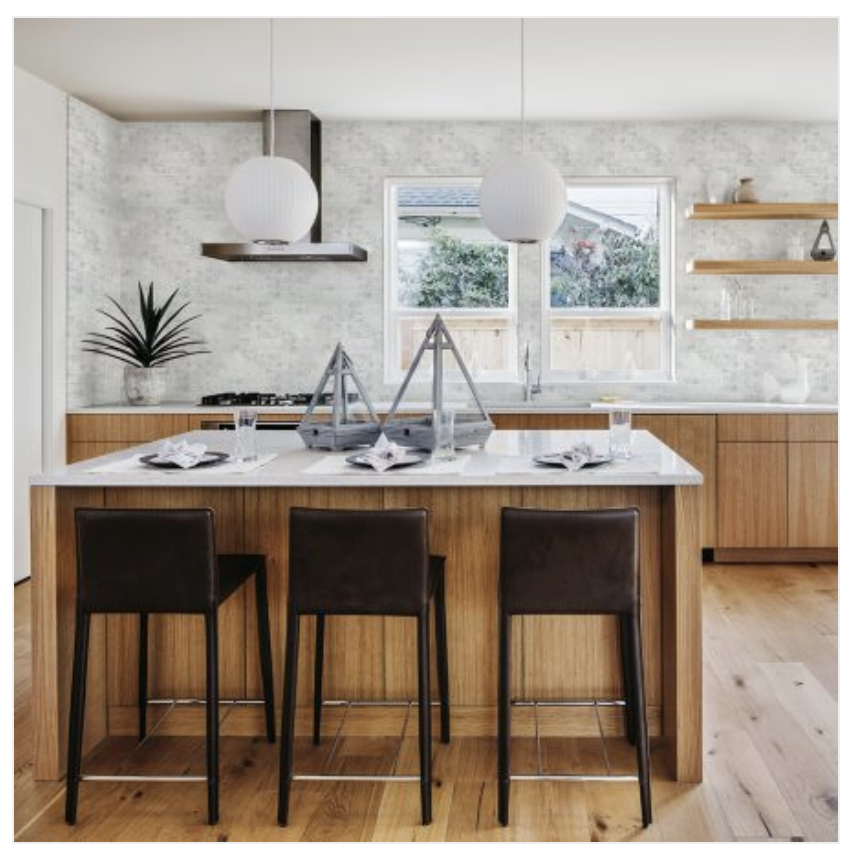
There was a lot of tile that looked very different in the tile photo than it did in the photo with the tile installed. A lot of times the grout can cause the tile to look different. (Especially if you use a darker grout.) Other times the colors of the individual tiles looked different. If you can’t see the tile in person then you need to find a photo that shows a large area of the tile. A few times I found there was an accent component to the tile that I didn’t notice until I saw the tile installed.
Stick to one statement piece
At one point during my tile selection, I had three different standout tiles selected for my bathroom. I was looking for a statement piece and didn’t realize I had three! Since I am creating a “haven” in my bathroom, I had to dial it back a bit. I even realized that my statement piece needs to be subtle too.
Shower Wall Tile
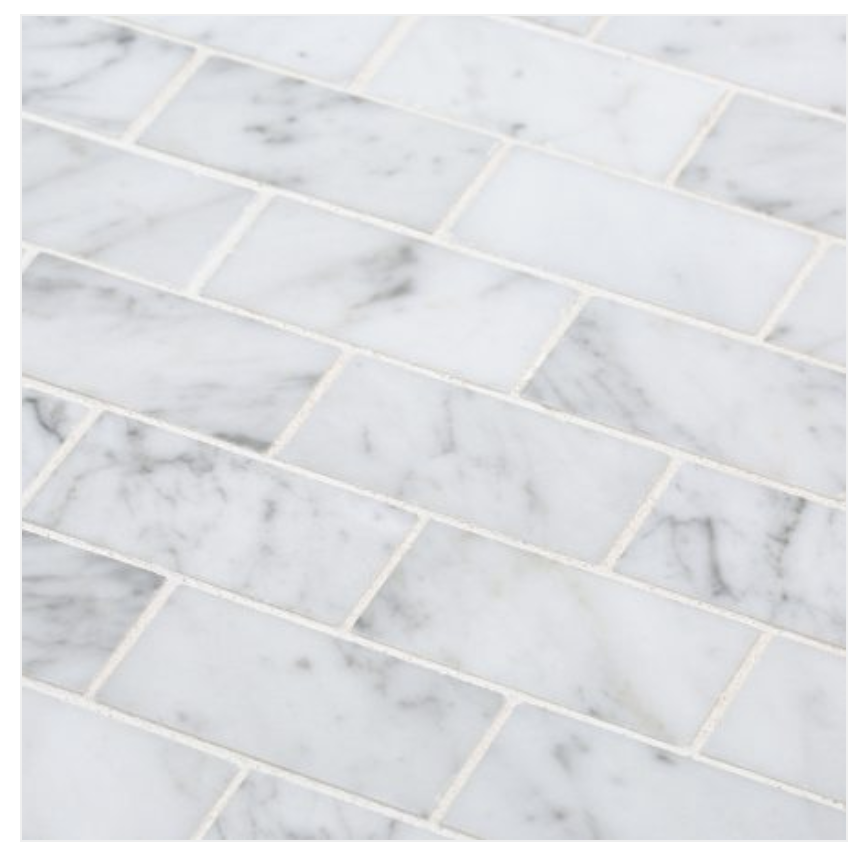
For the shower walls, it was between these three tiles.
I chose the first one primarily because it’s similar to the tile we have at home in both of our upstairs bathroom showers. I love horizontal brick marble tile so it was an easy choice.
Shower Floor Tile
I chose the first one in this photo for the floor of the shower. This choice was entirely based on what the tiles looked like in the photos after installation. I really love the one I picked out.
Floor Tile
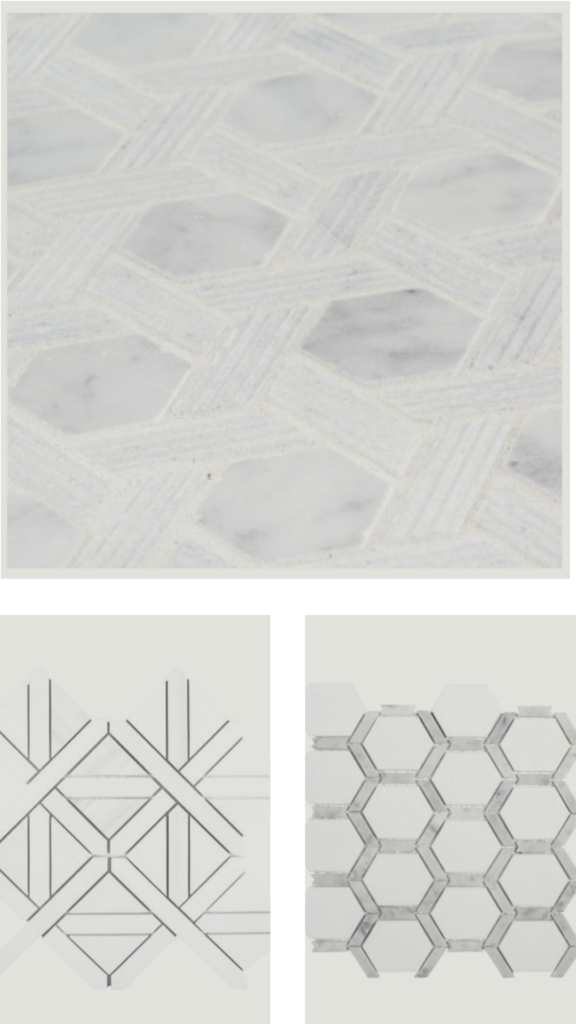
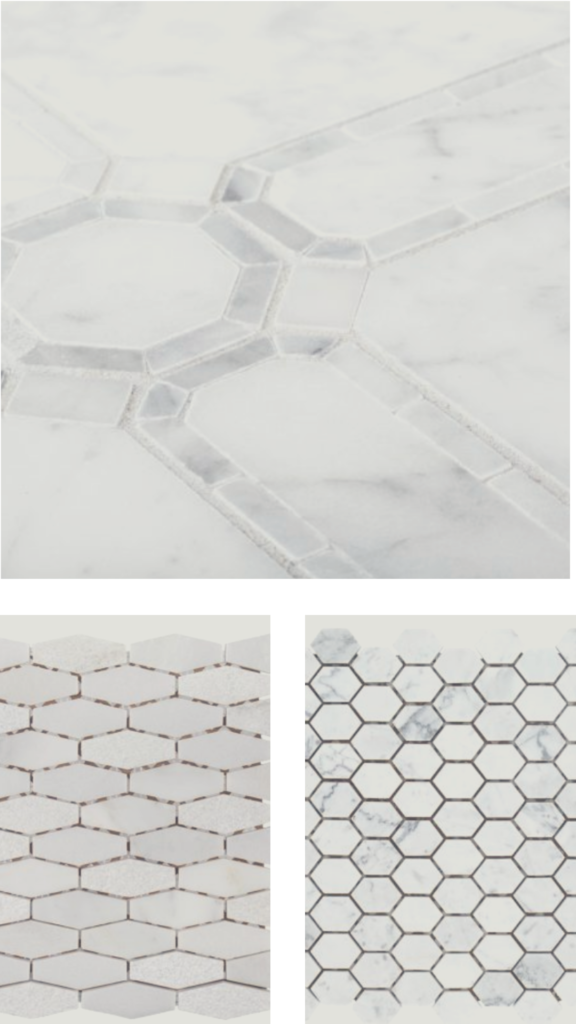
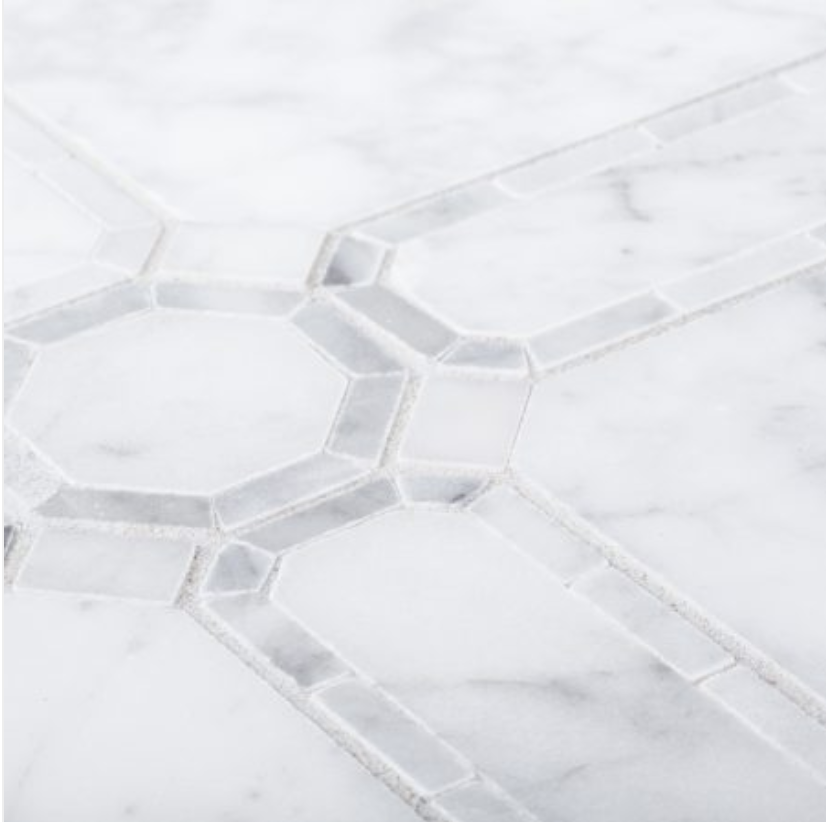
Selecting the tile for the bathroom floor was by far the hardest choice. There is a large amount of floor surface in this bathroom and I didn’t want it to be overwhelming. The smaller patterns with multi colors were very busy so I selected the first one. I absolutely love it!
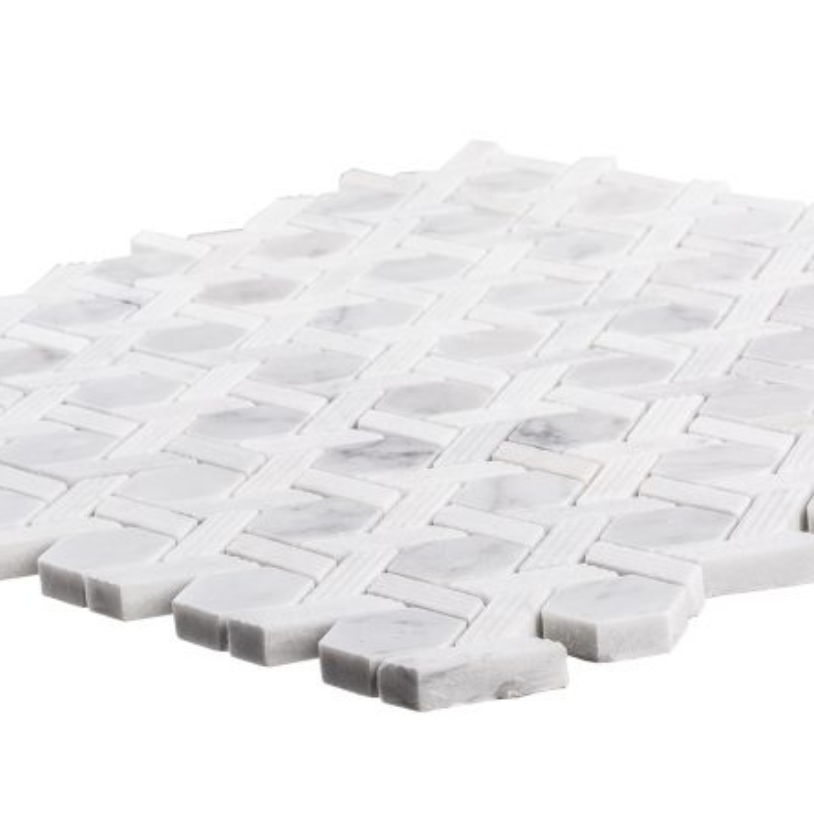
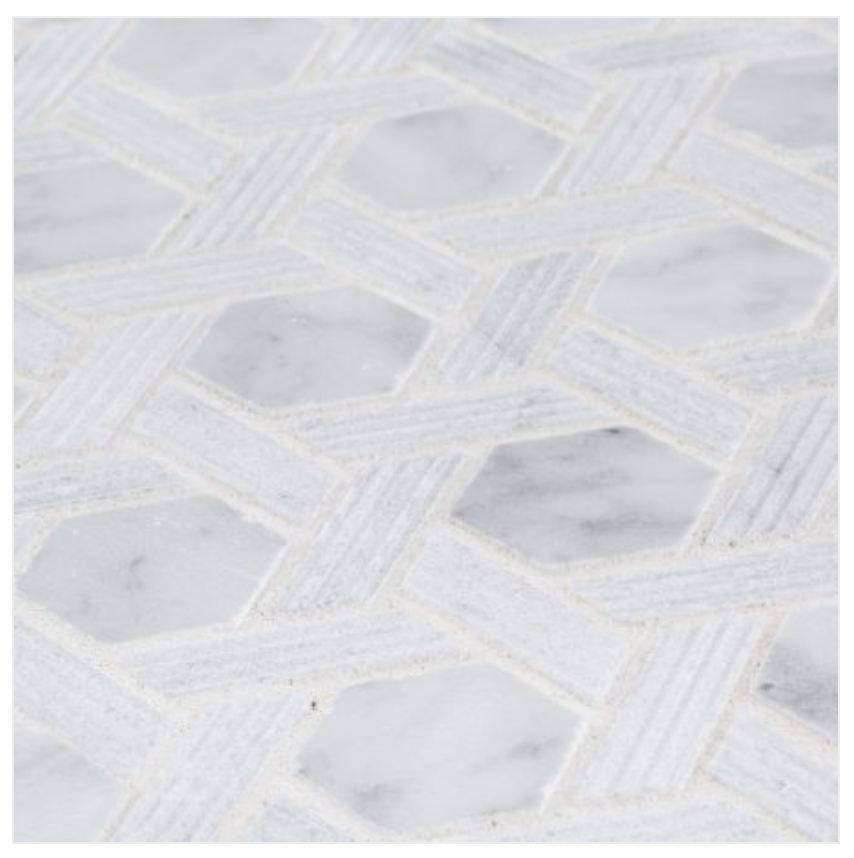
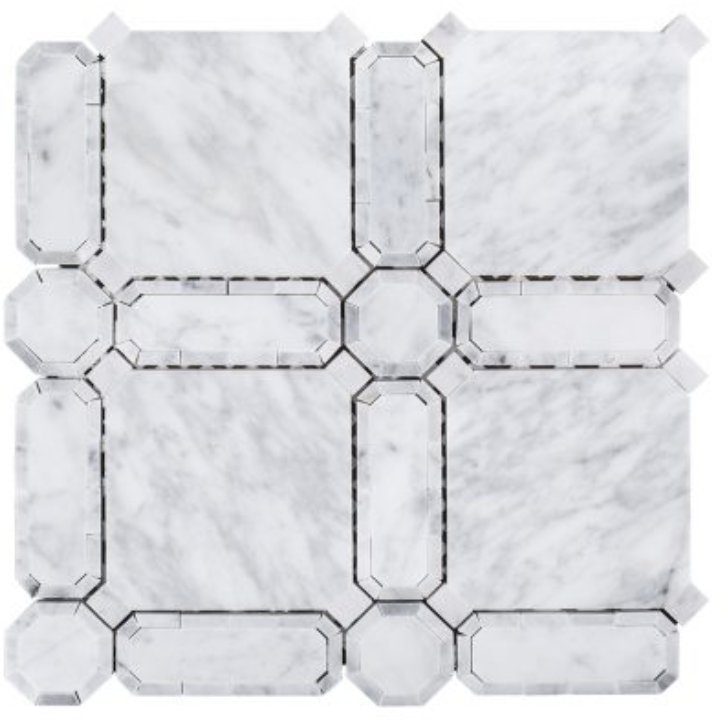
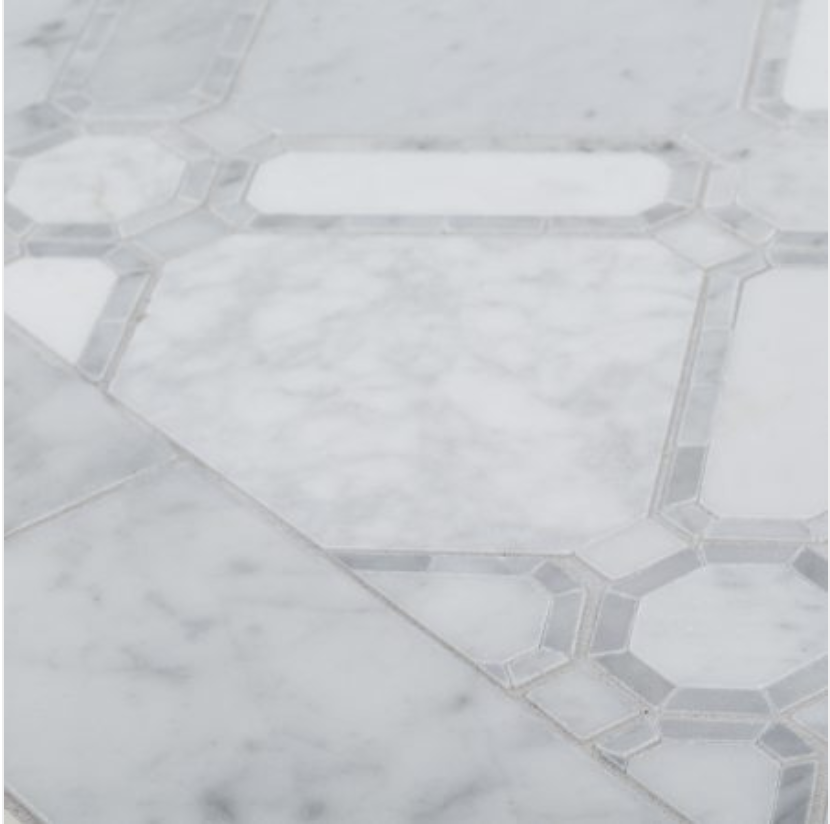
Here are the tiles I selected for our master bath. You can probably already tell how different some of these photos look from the pictures I showed you.
Where To Find My Tile
Coastal Haze 12.375 in. x 12.875 in. x 8 mm Natural Stone Mosaic Tile
Primrose Chapel 11.75 in. x 11.75 in. x 8 mm Marble Mosaic Tile
Windsor 11-5/8 in. x 11-5/8 in. x 10 mm Marble Mosaic Tile
And now it is time to get ready for installation. And don’t forget to cast your vote for your favorite designer here. Thank you!





I voted! Good luck!
Which is uglier? You Both Are Beautilful teenagers they
both look gorgeous too me
I short article them, they take 1 or 2 opinions, and then no extra.
I would which includes my article content in direction of do far more than precisely offer you me a couple of
viewpoints…how do I just take them upon the seem engines or everything
including that? Will no a person at any time shift toward my
website accurately given that I use’t short article each working day?.