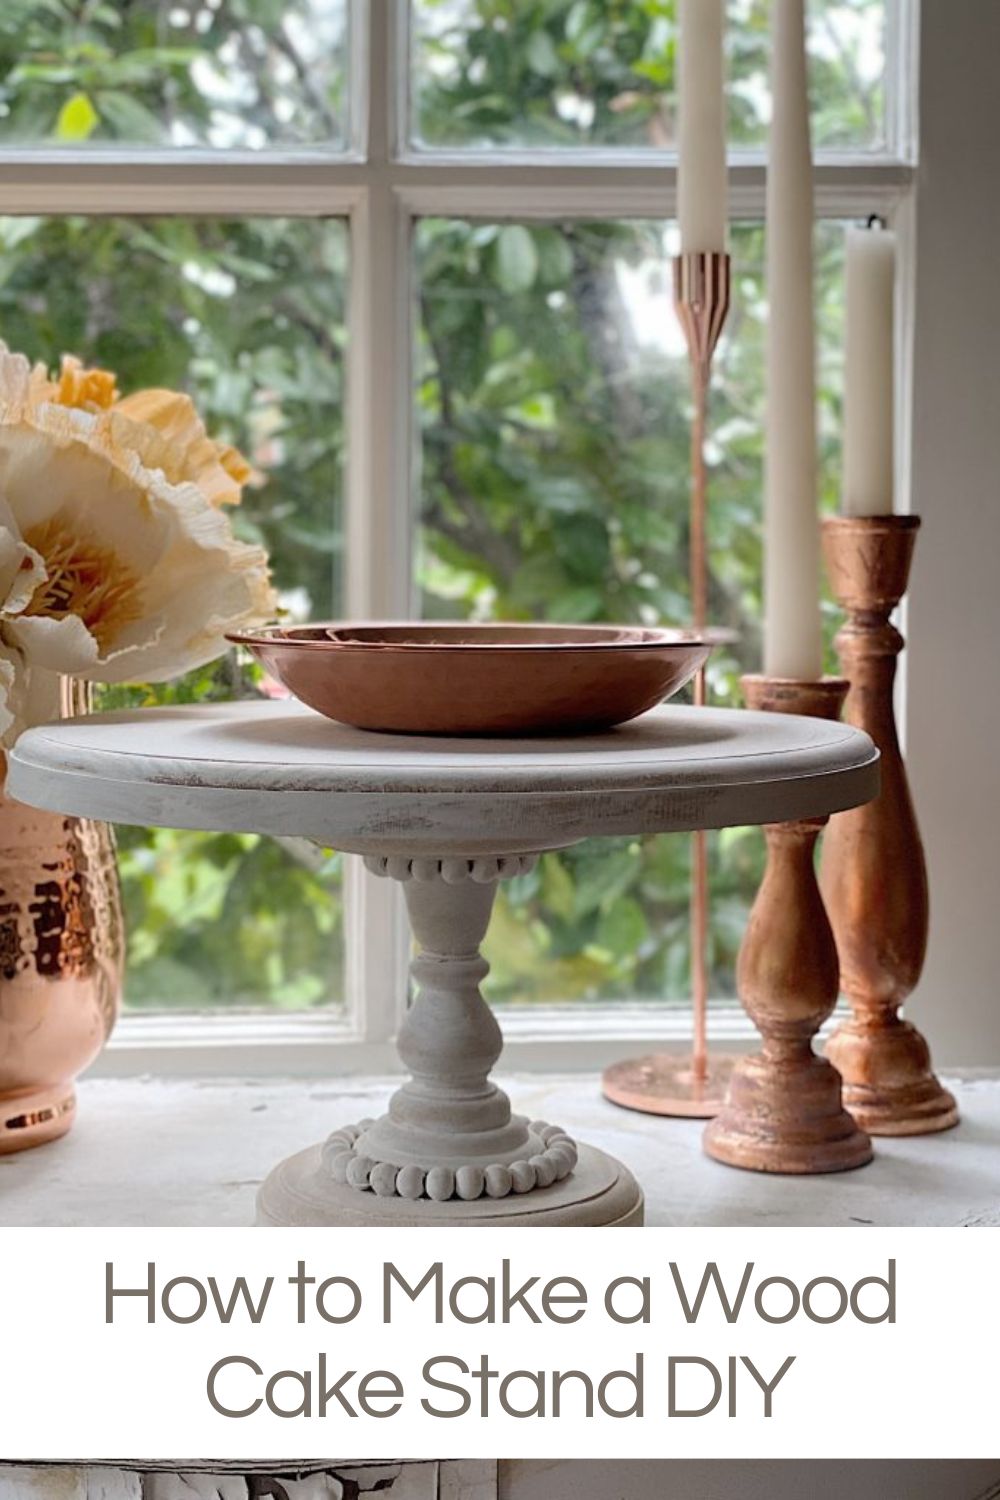
How to Make a Wood Cake Stand DIY
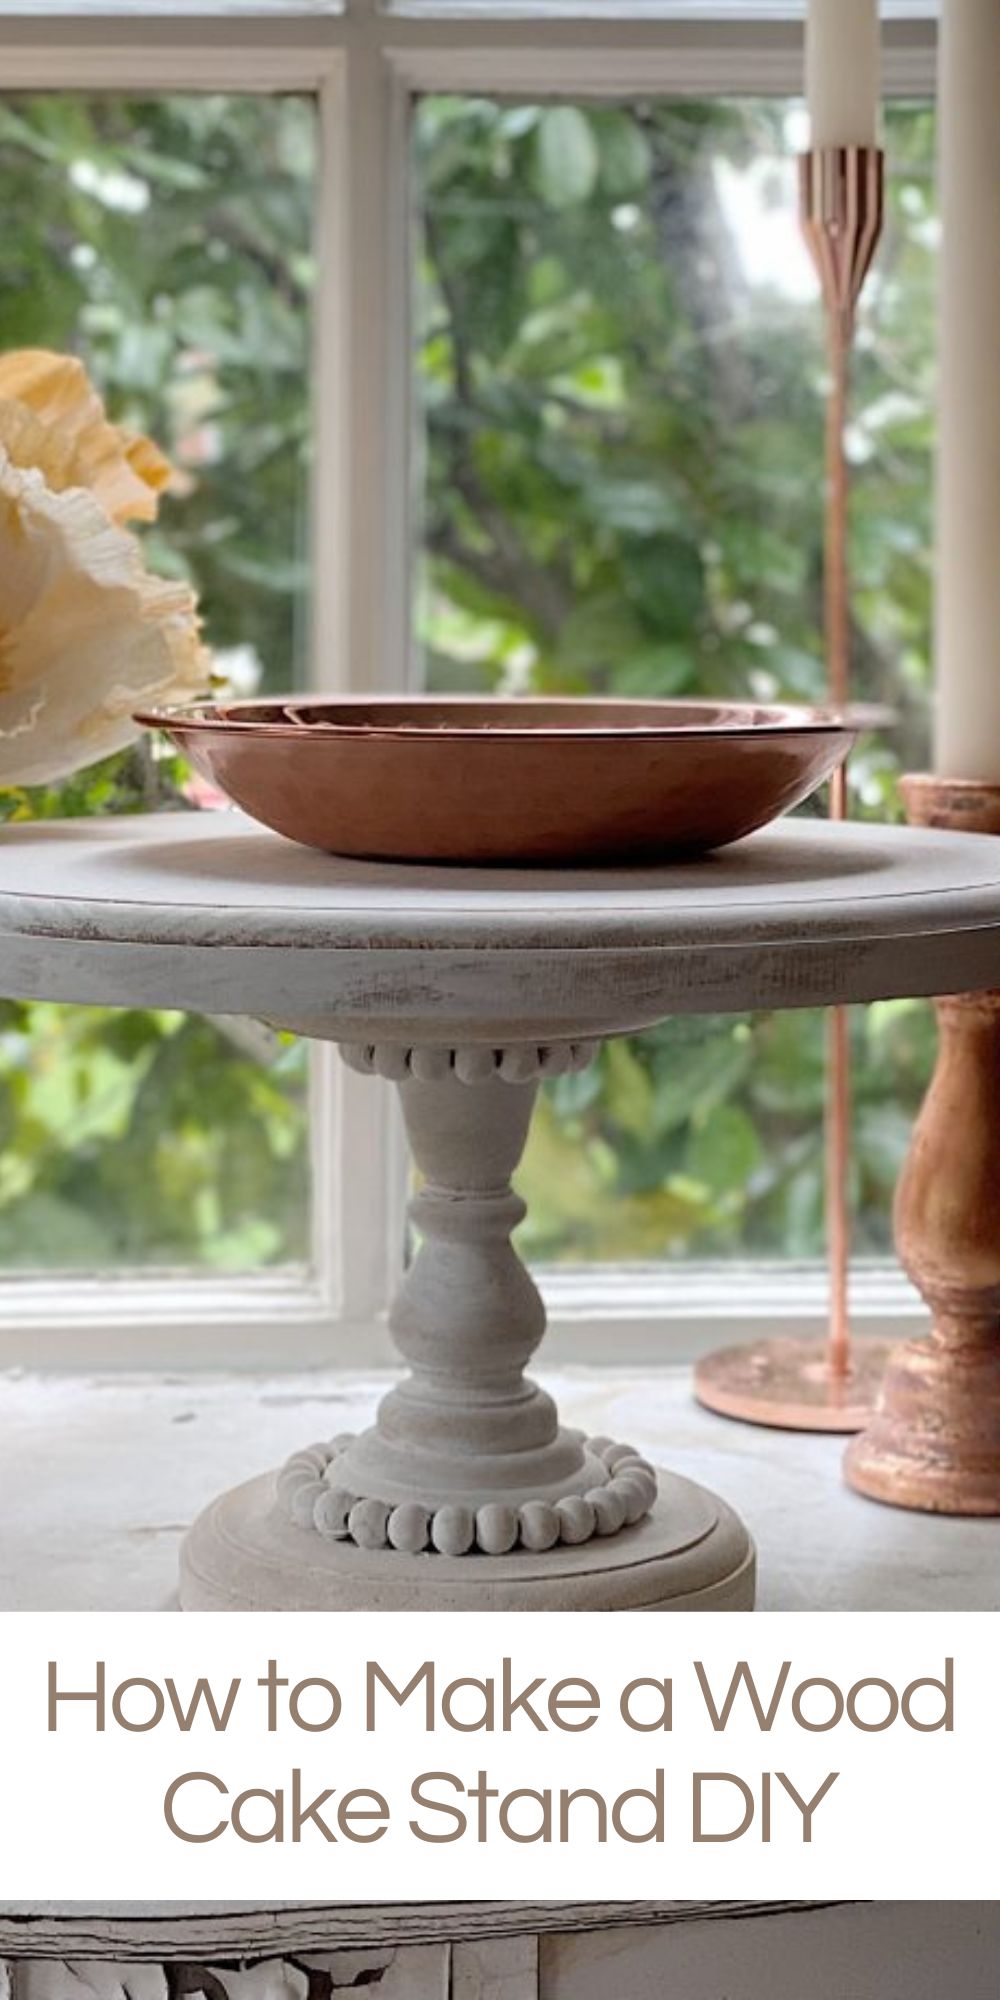
I love this wooden cake stand so much. It was such an easy DIY, and you should make one!
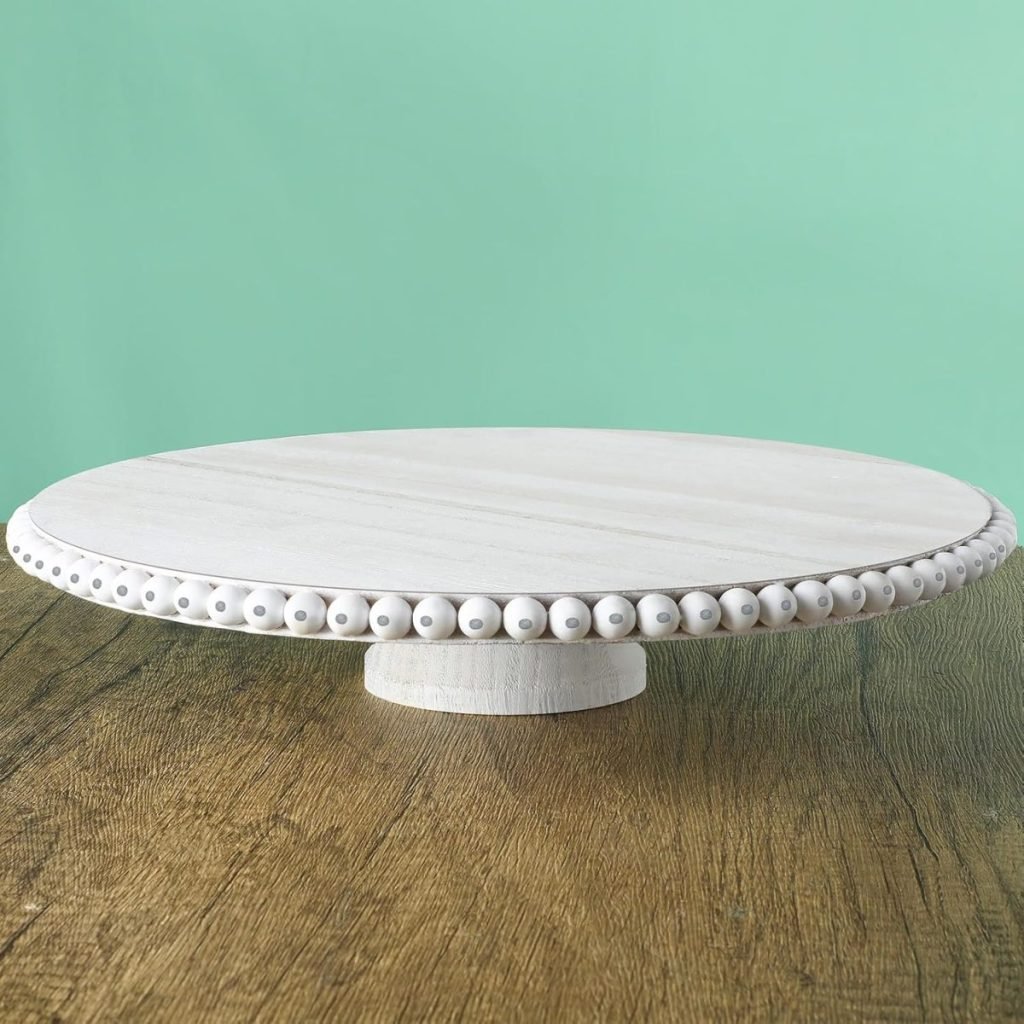
I bought a wood cake stand with beading and a white paint job at Magnolia in Waco a few years ago. Unfortunately, they don’t sell it anymore. I always get asked about the cake stand, so I decided to make one!


How to Make a Wooden Cake Stand
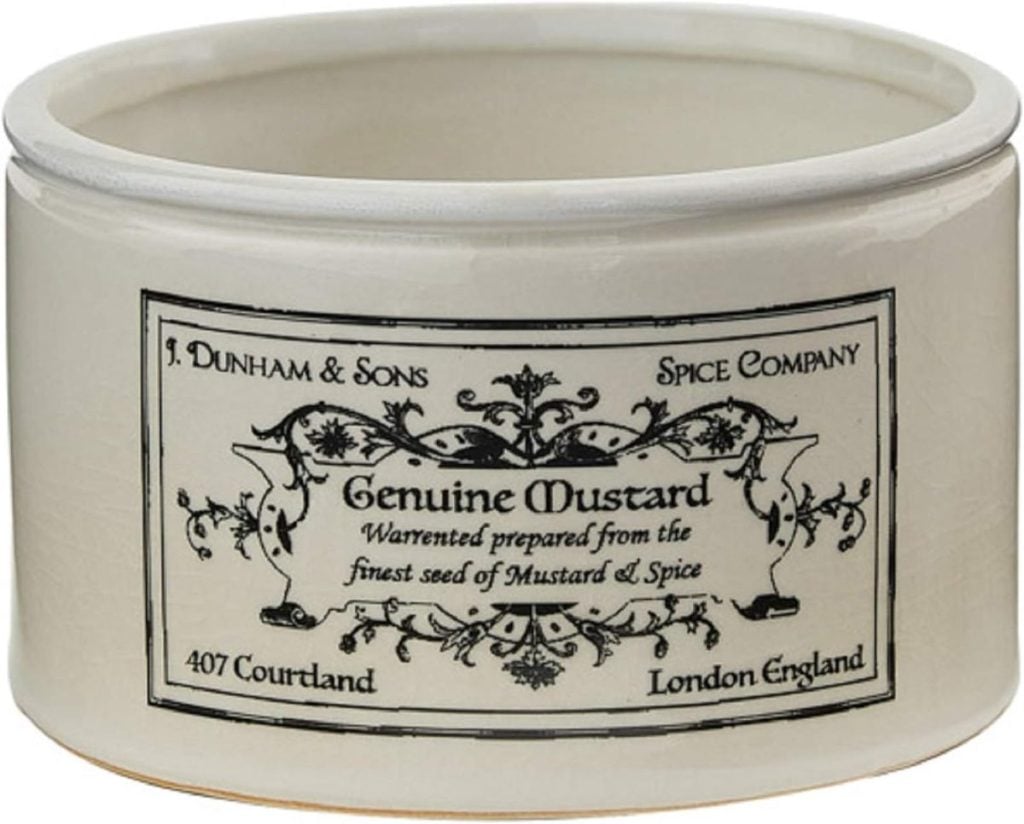
In the photo below, you can see the cake stand I bought a few years ago at the Magnolia Market at the Silos. The top is a plain round wood piece, which you can use if you want (it’s cheaper than I used). It also has a very small candlestick as the base.

It looks as if the Magnolia cake stand is a simplified version of the one I made. Why does that not surprise me? I am sharing this so you know there are a few different ways to make these.

On this blog, I may sometimes use affiliate links, which means a small commission is earned if you purchase via the link. The price will be the same whether you use the affiliate link or go directly to the vendor’s website using a non-affiliate link.

DIY How to Make a Wooden Cake Stand
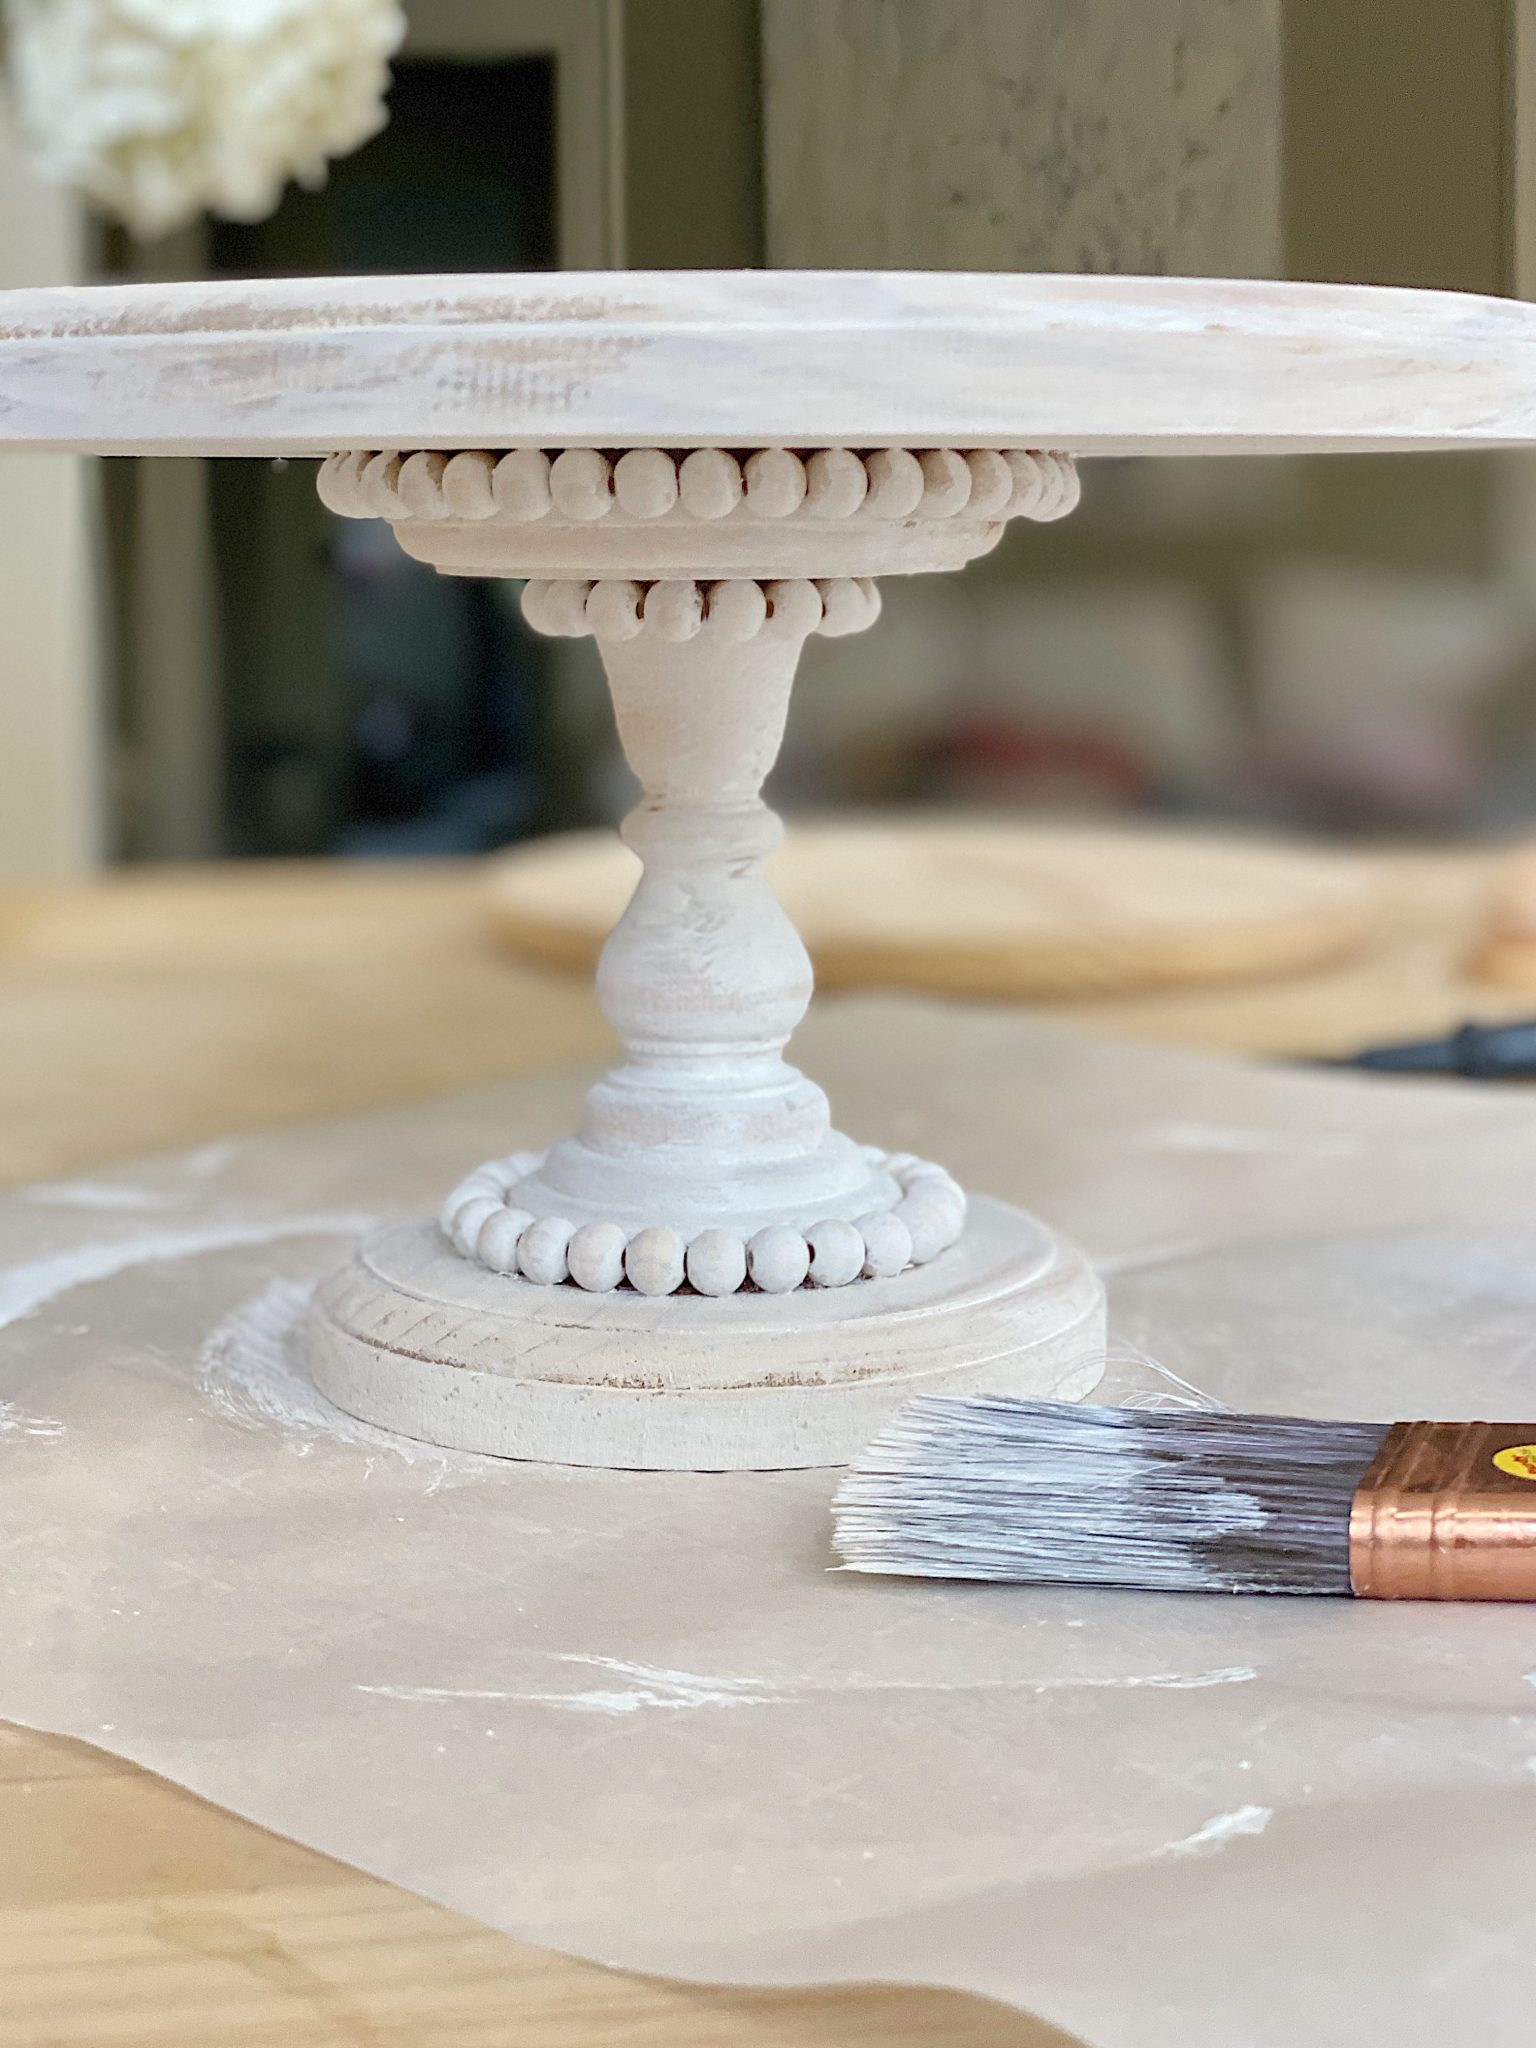
If you look at the photo below, you can see how the cake stand is put together.
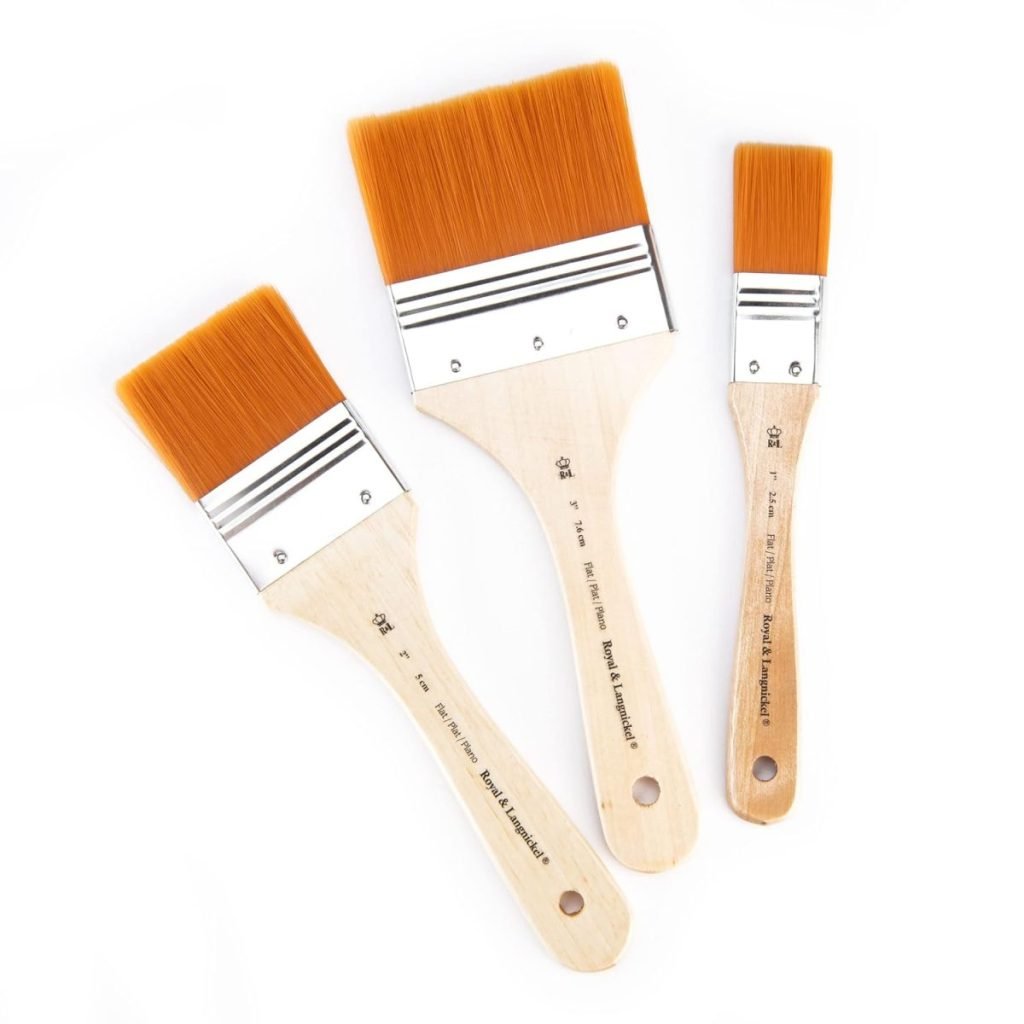
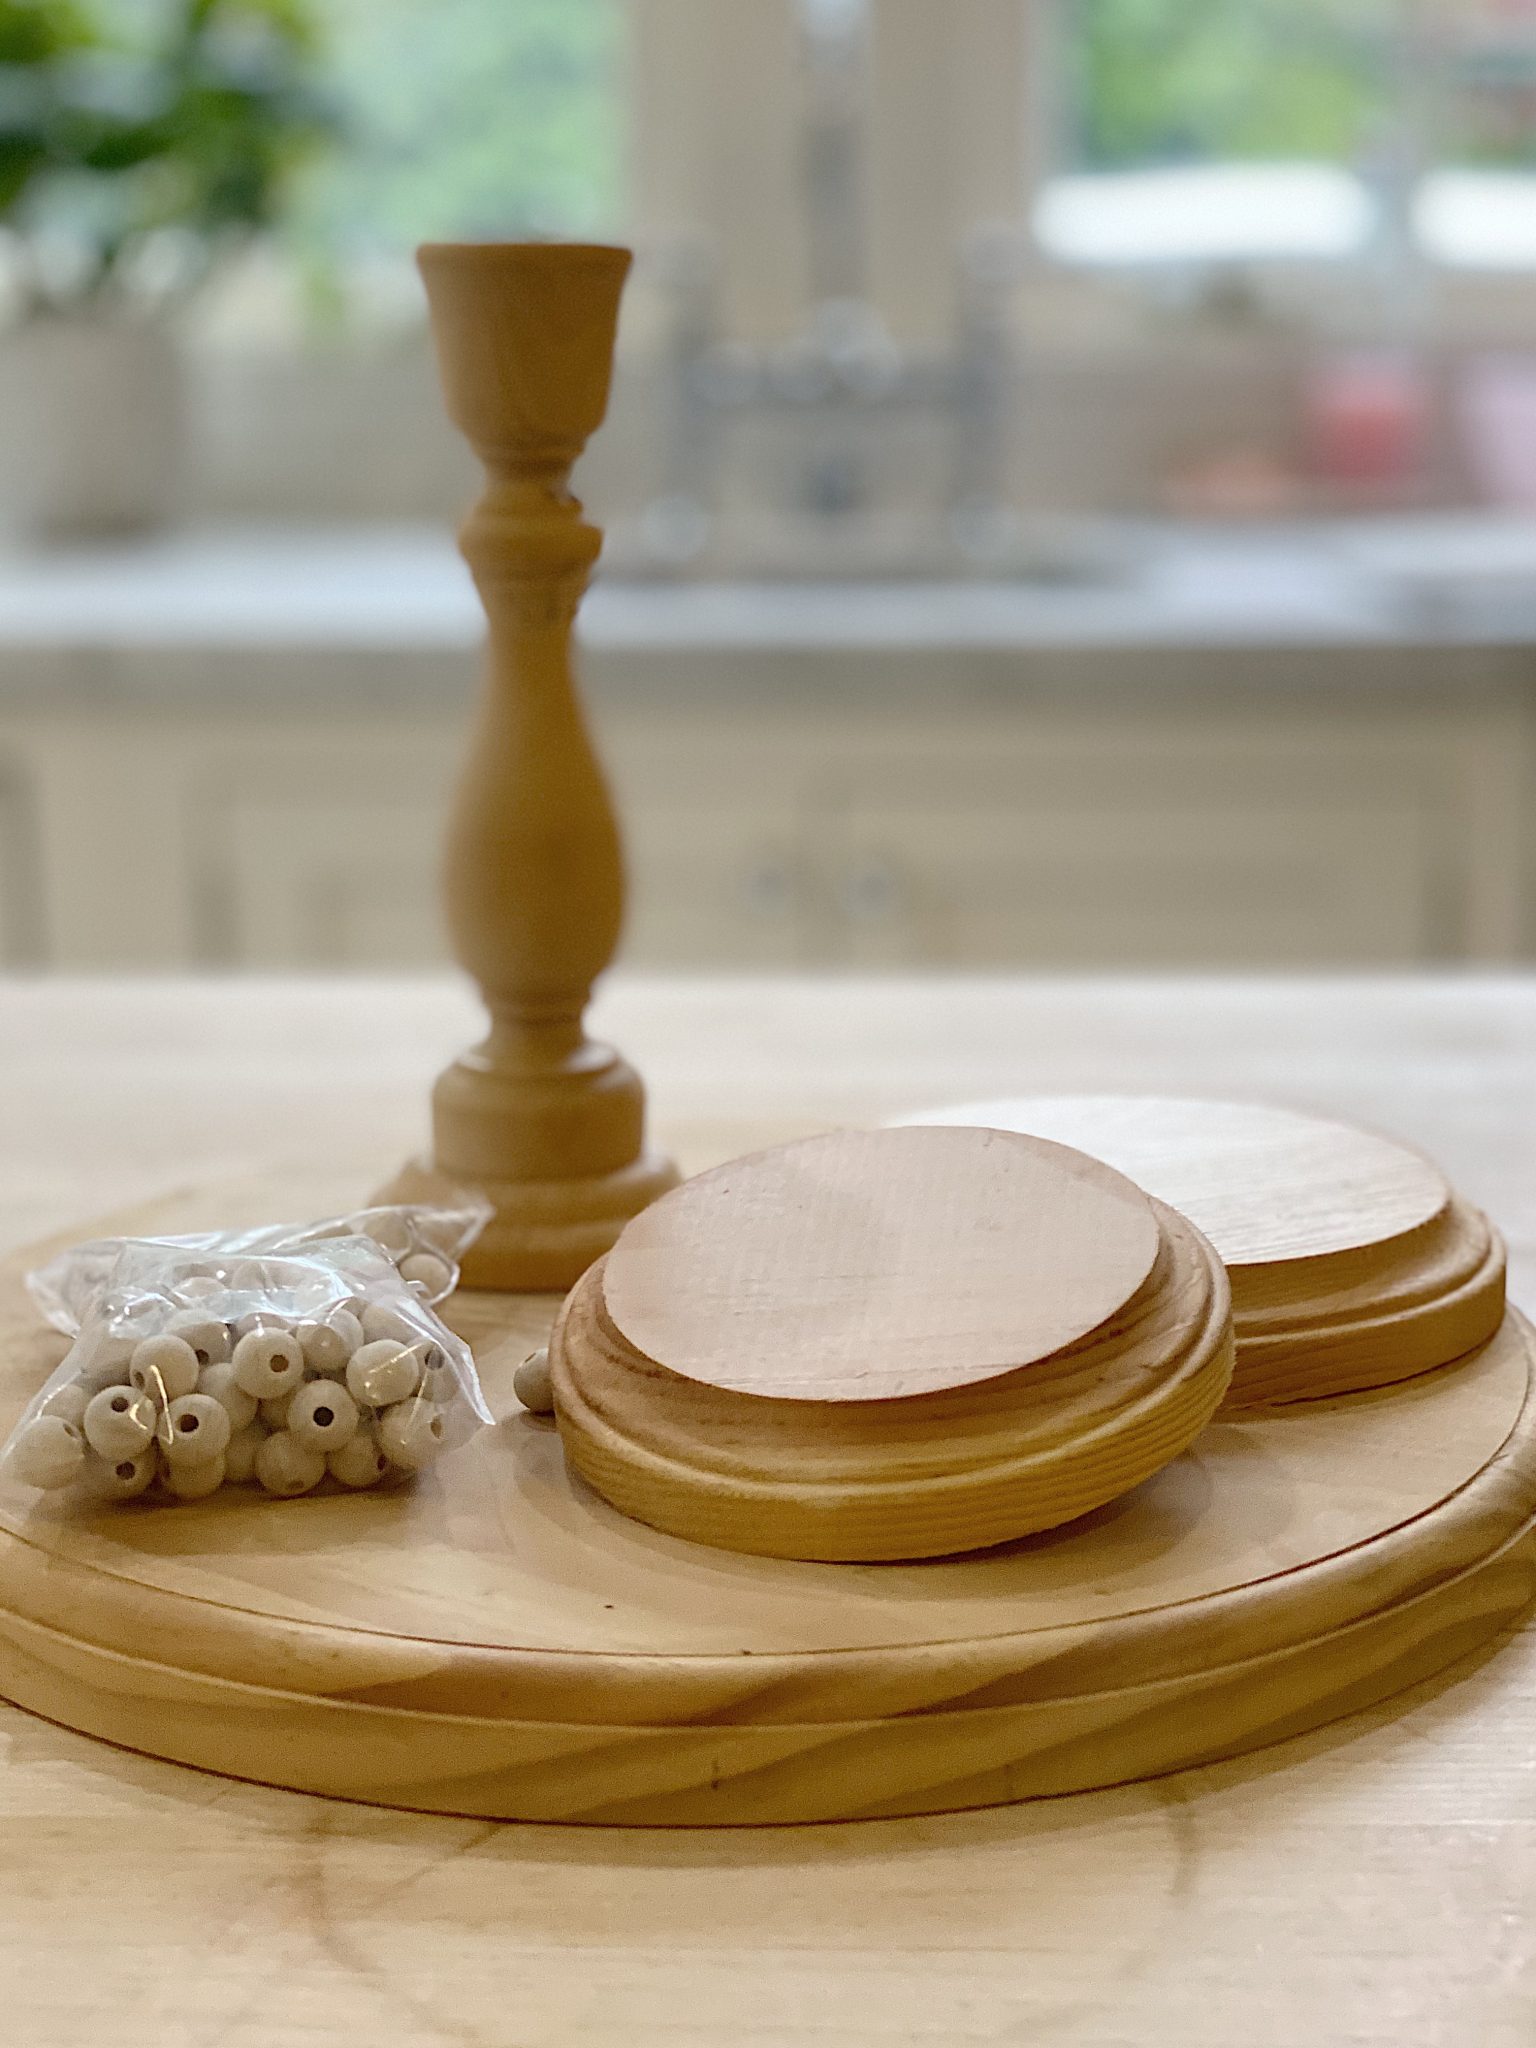
What You Need to Make This Craft
You can decide what size cake plate you want to make. Most of these wood materials come in all sizes, so just decide what you want and make it!
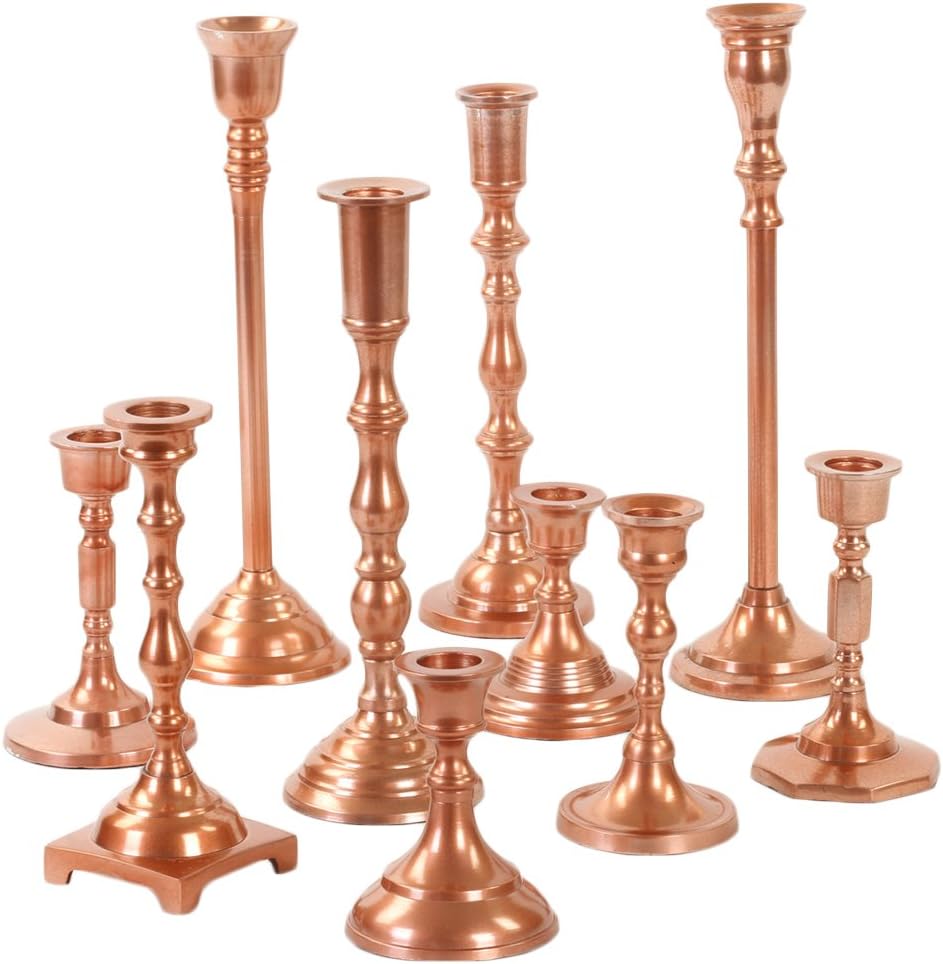
- one unpainted wooden candlestick (4.5″ – 10″)
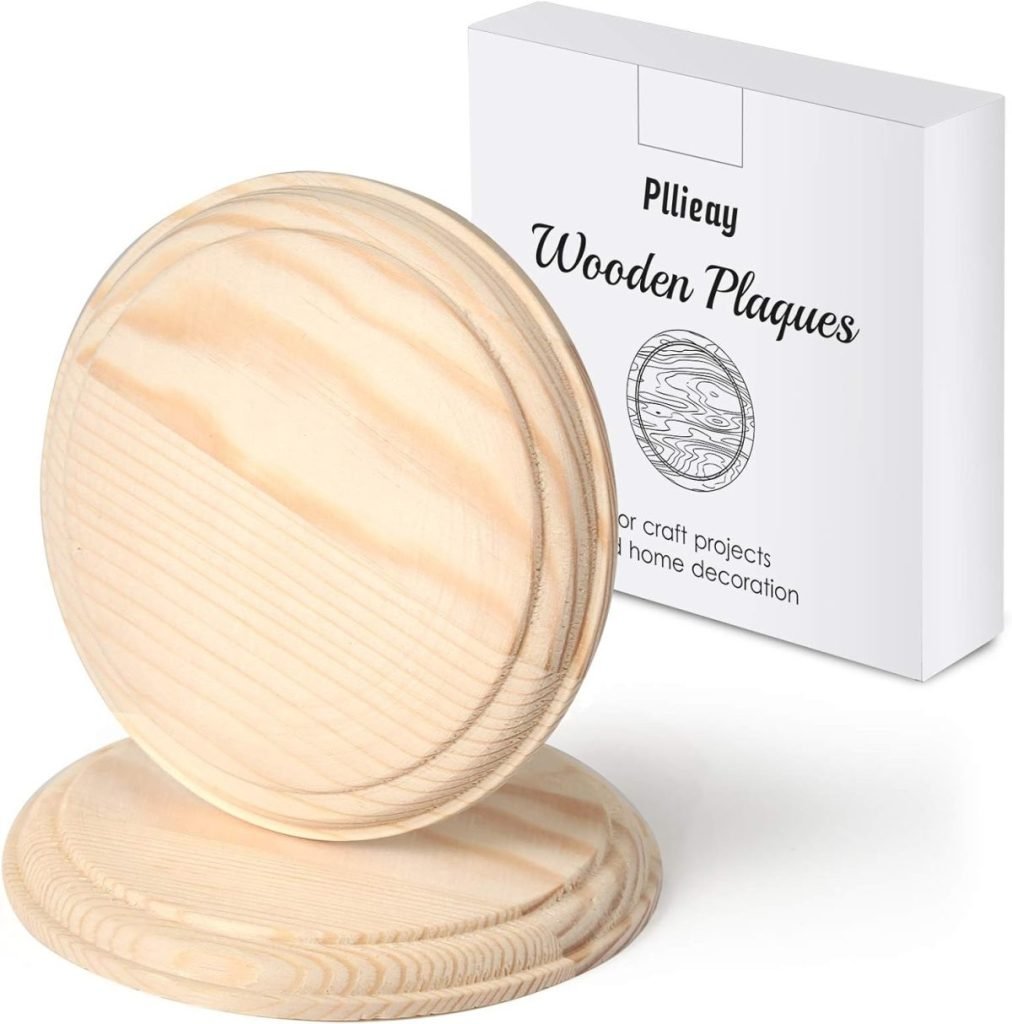
- two small unpainted wooden plaques, one 4″ Wood Base, and one 5″ Wood Base
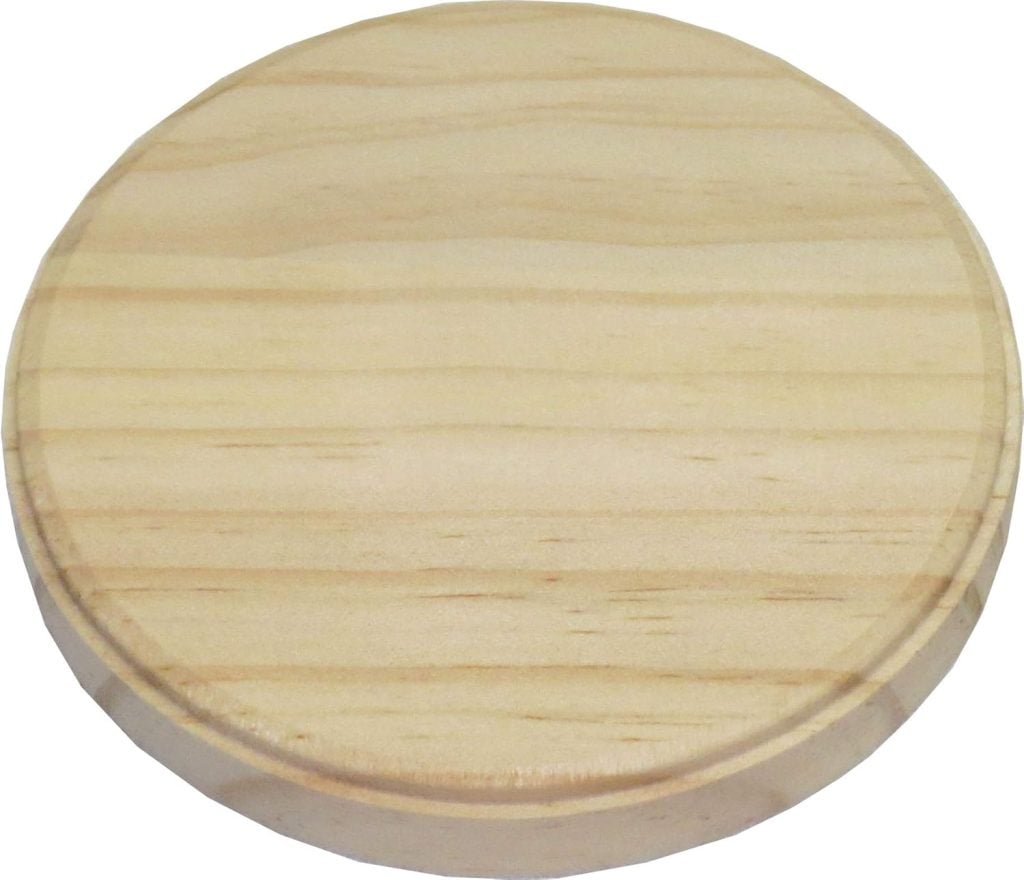
- one large round wood plaque for the top, 8″ – 12″, 8″ Wood Round
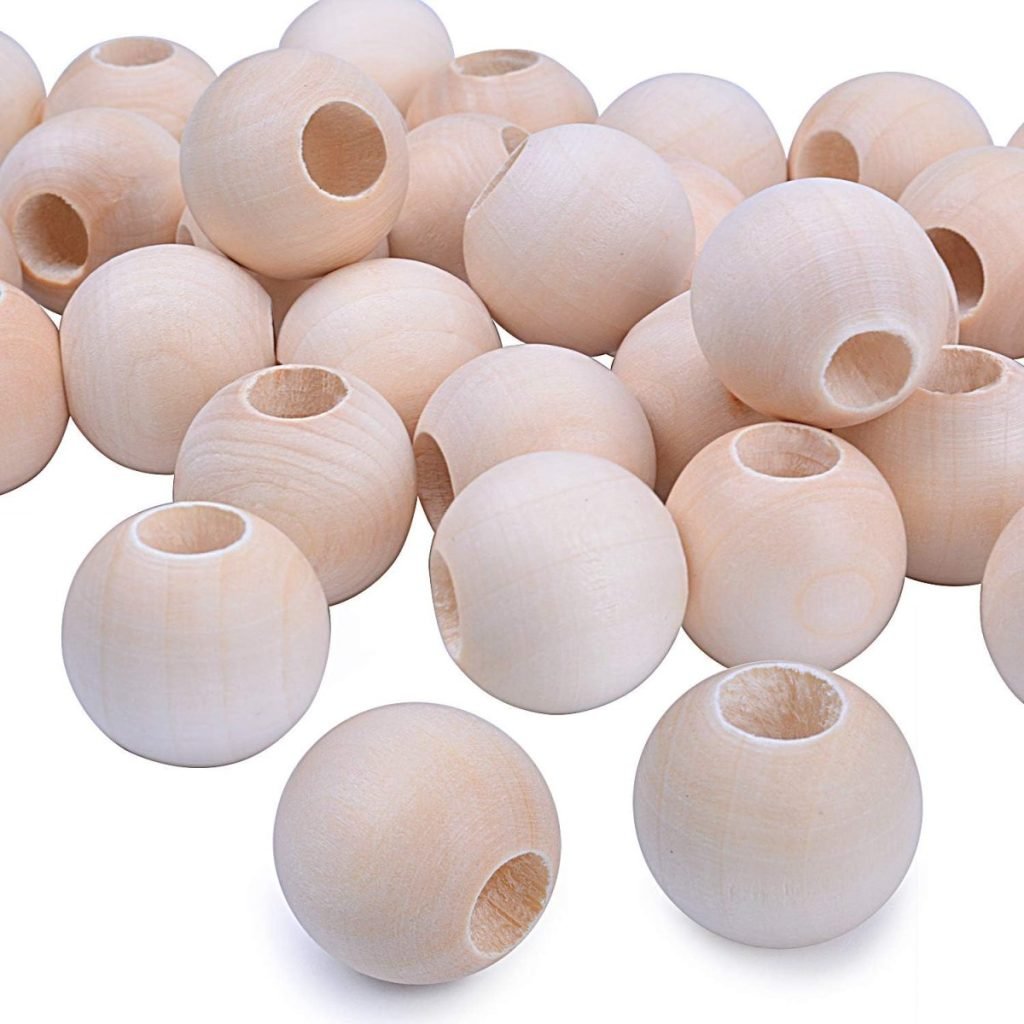
- one bag of 3/8″ wooden beads
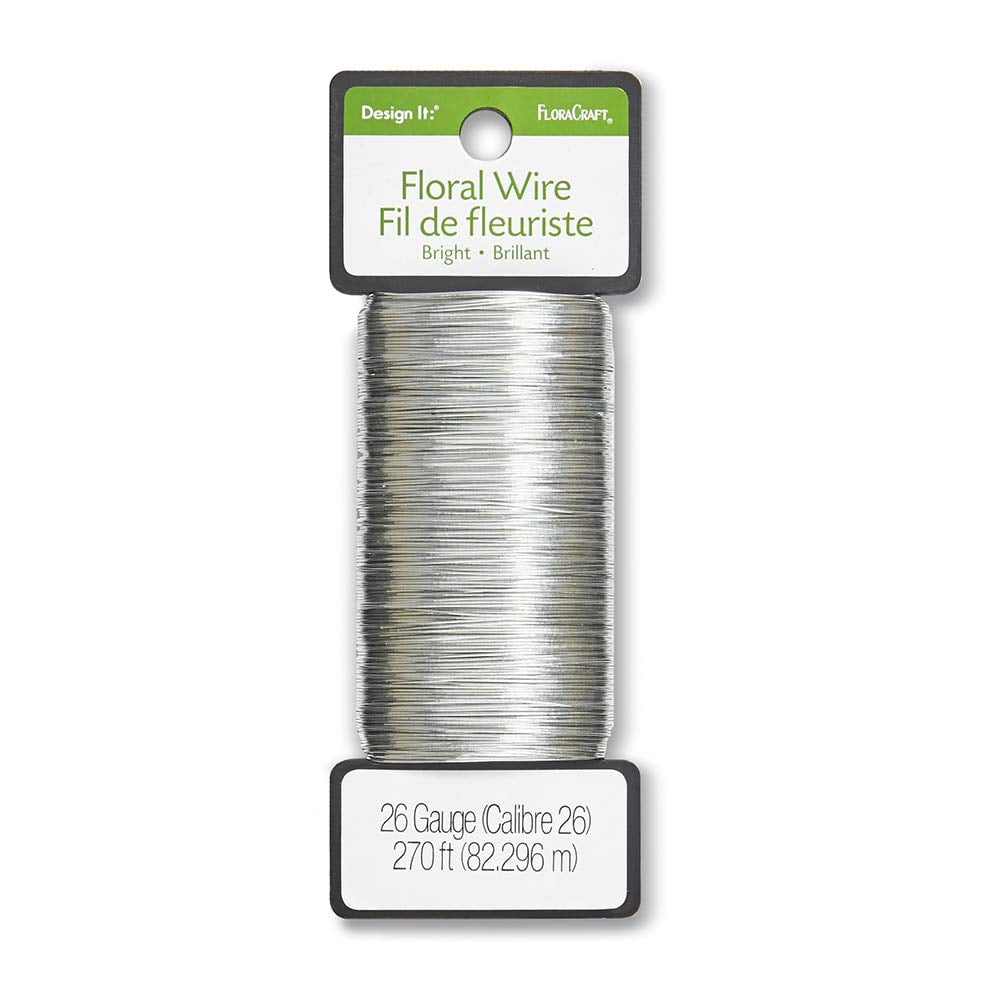
- thin wire
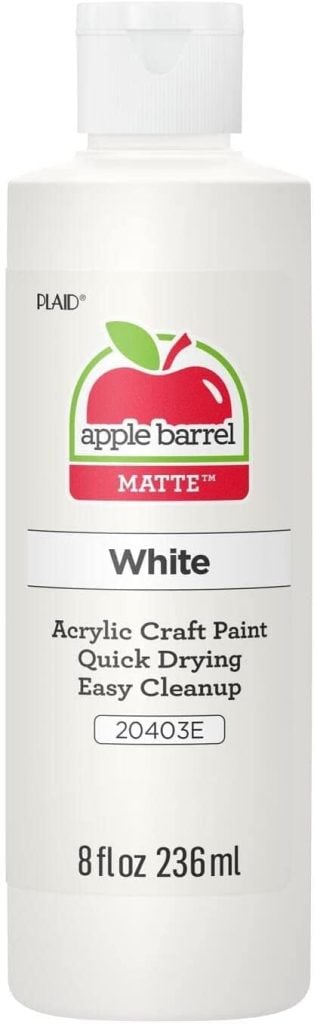
- white paint or stain and paintbrush
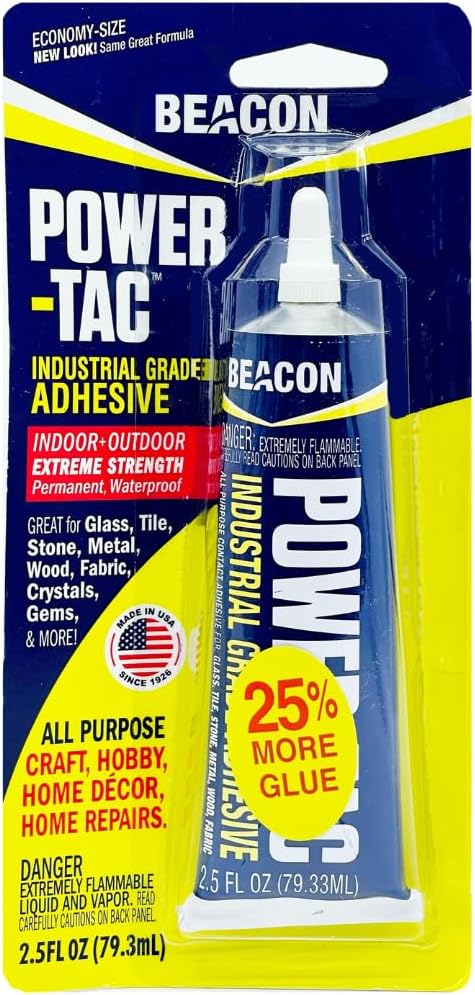
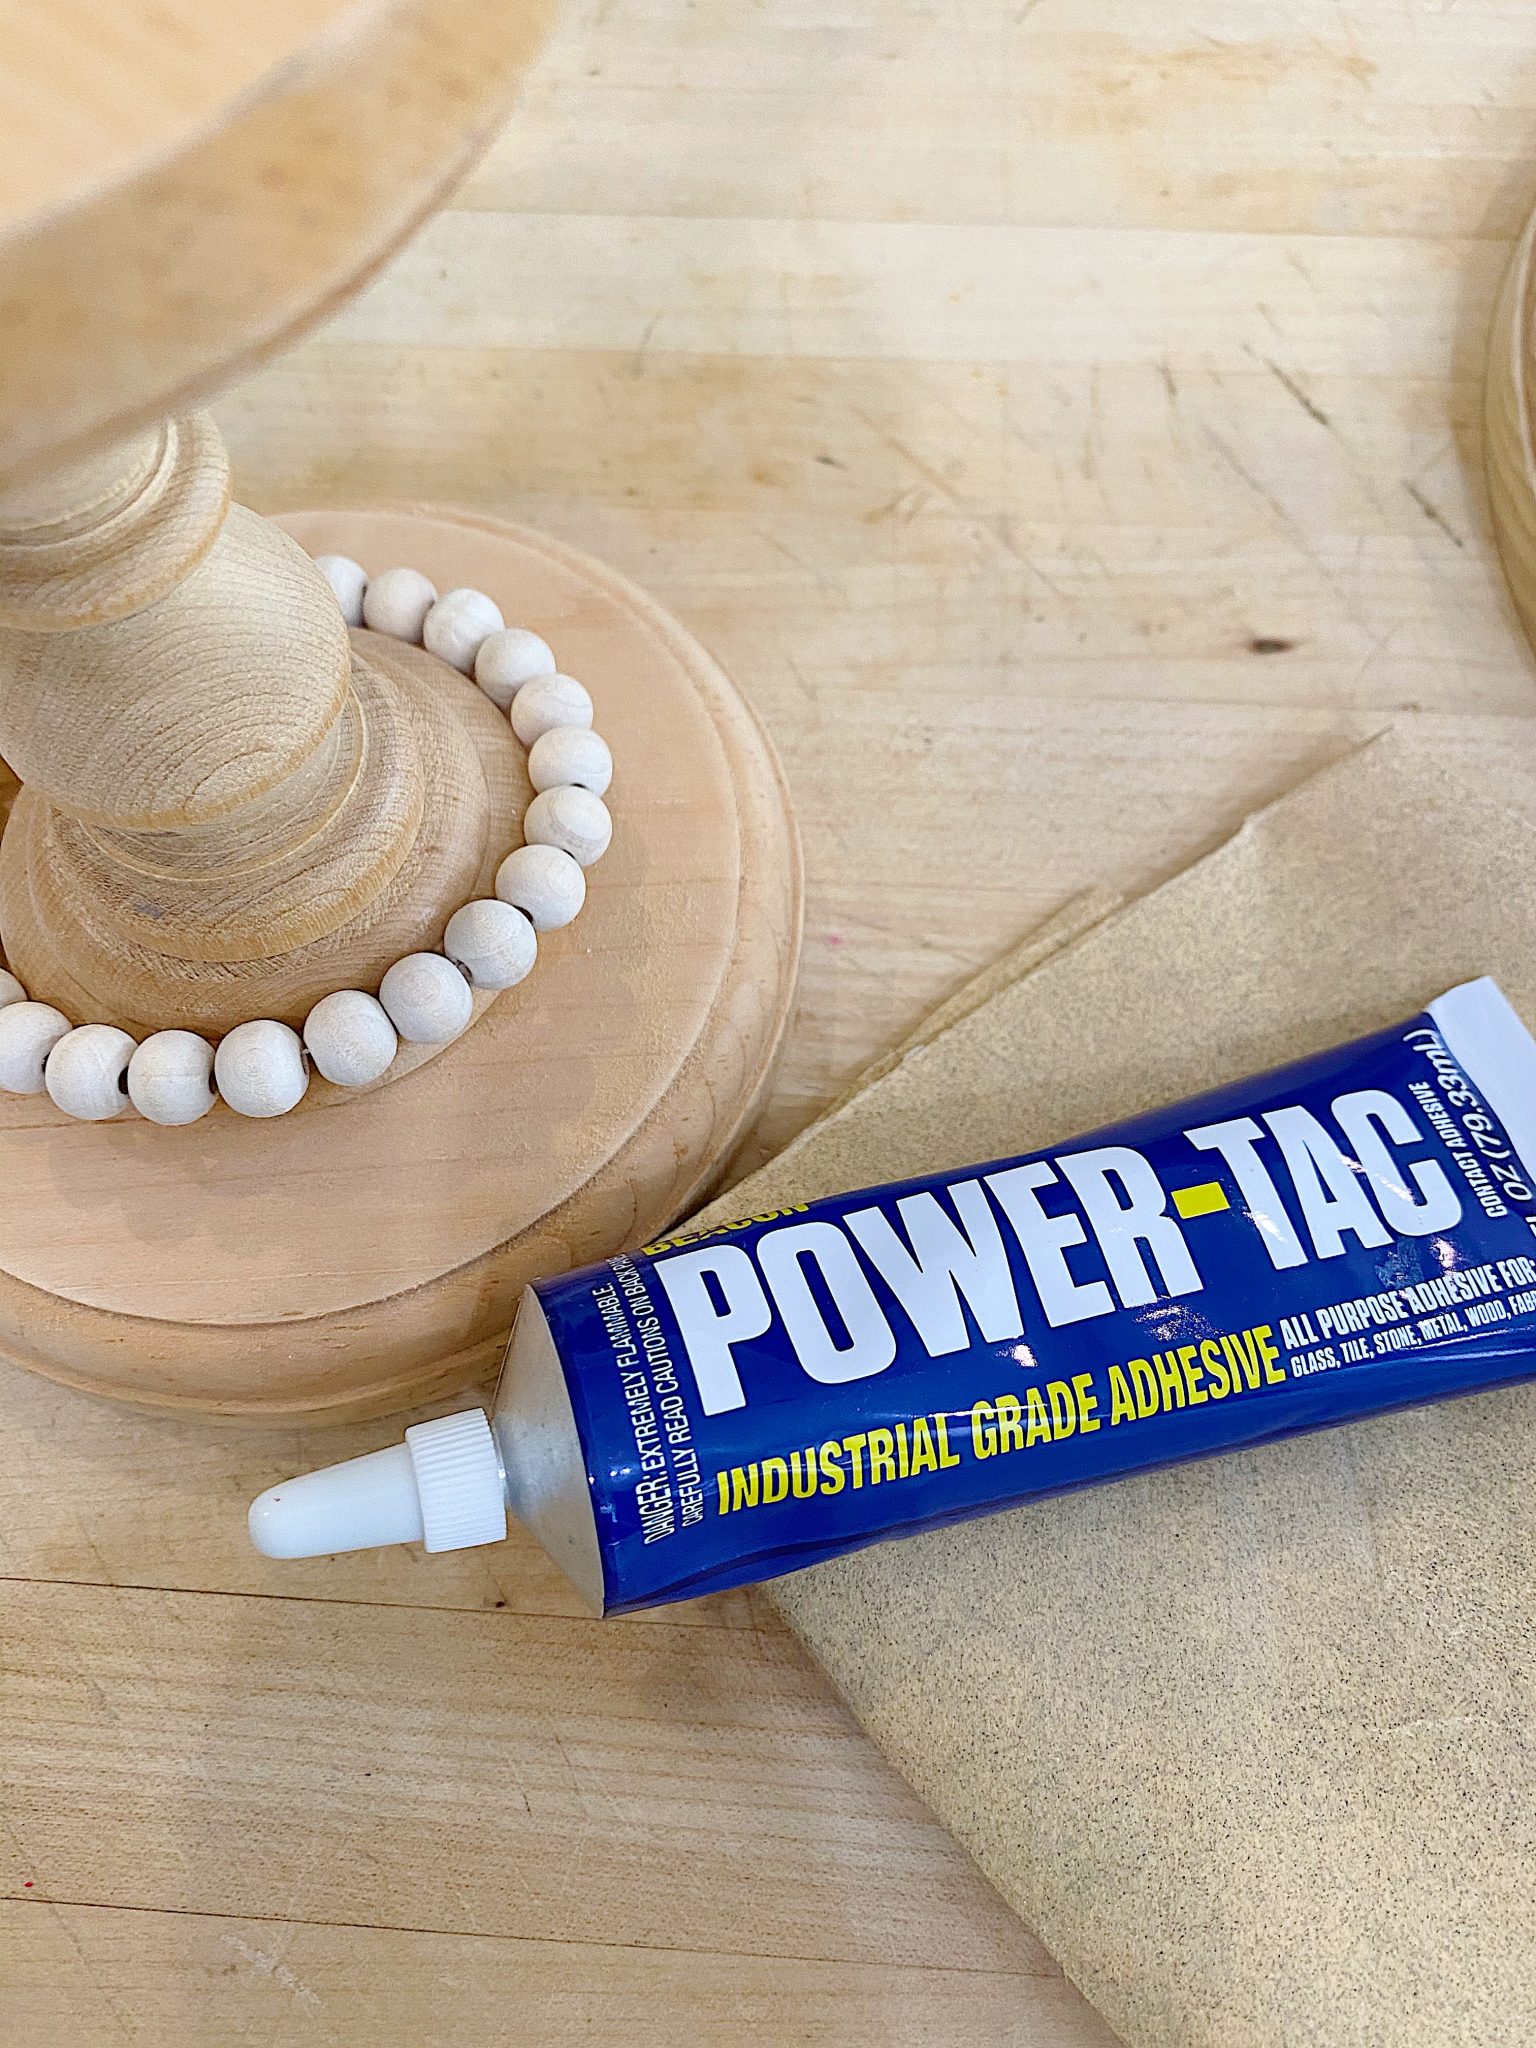
- wood glue (I used Beacon Power Tac), but any wood glue would work.
- polycrylic protective finish
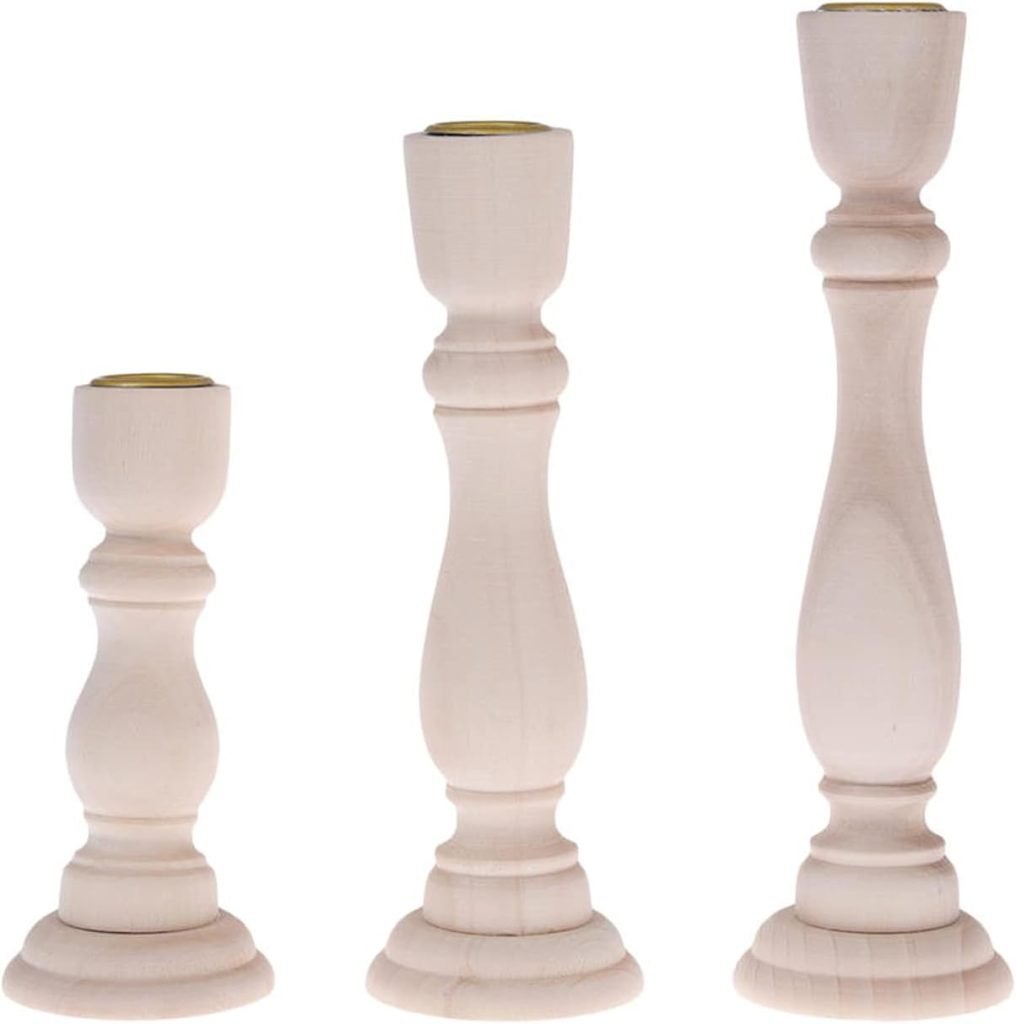

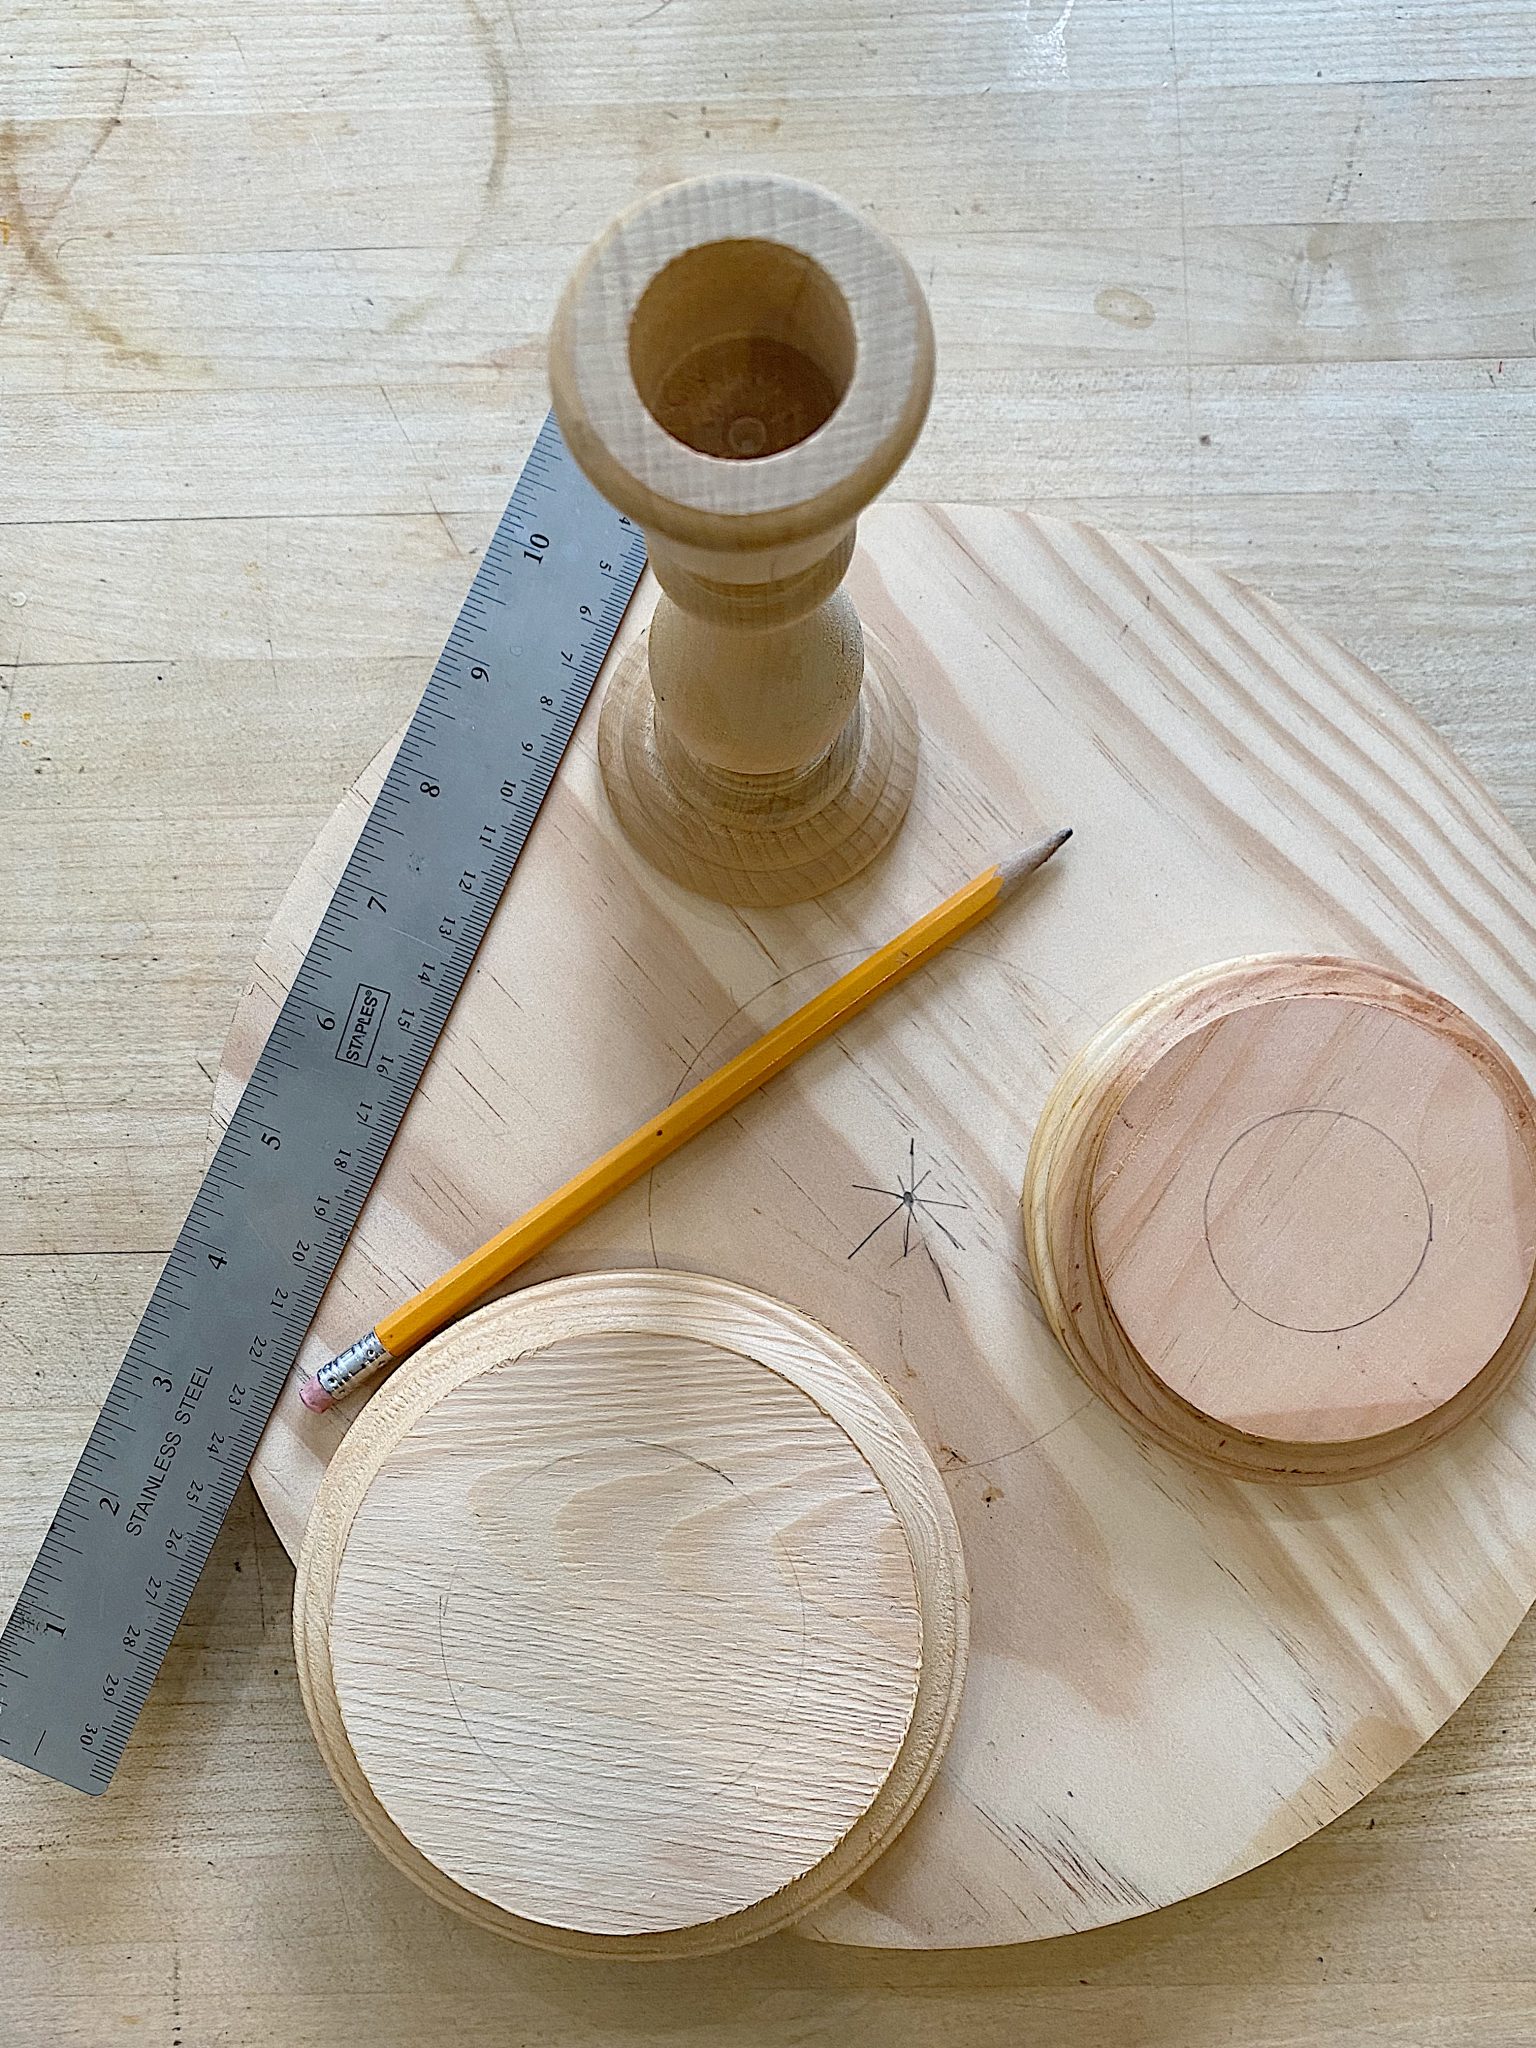
one – gather your materials, as listed above
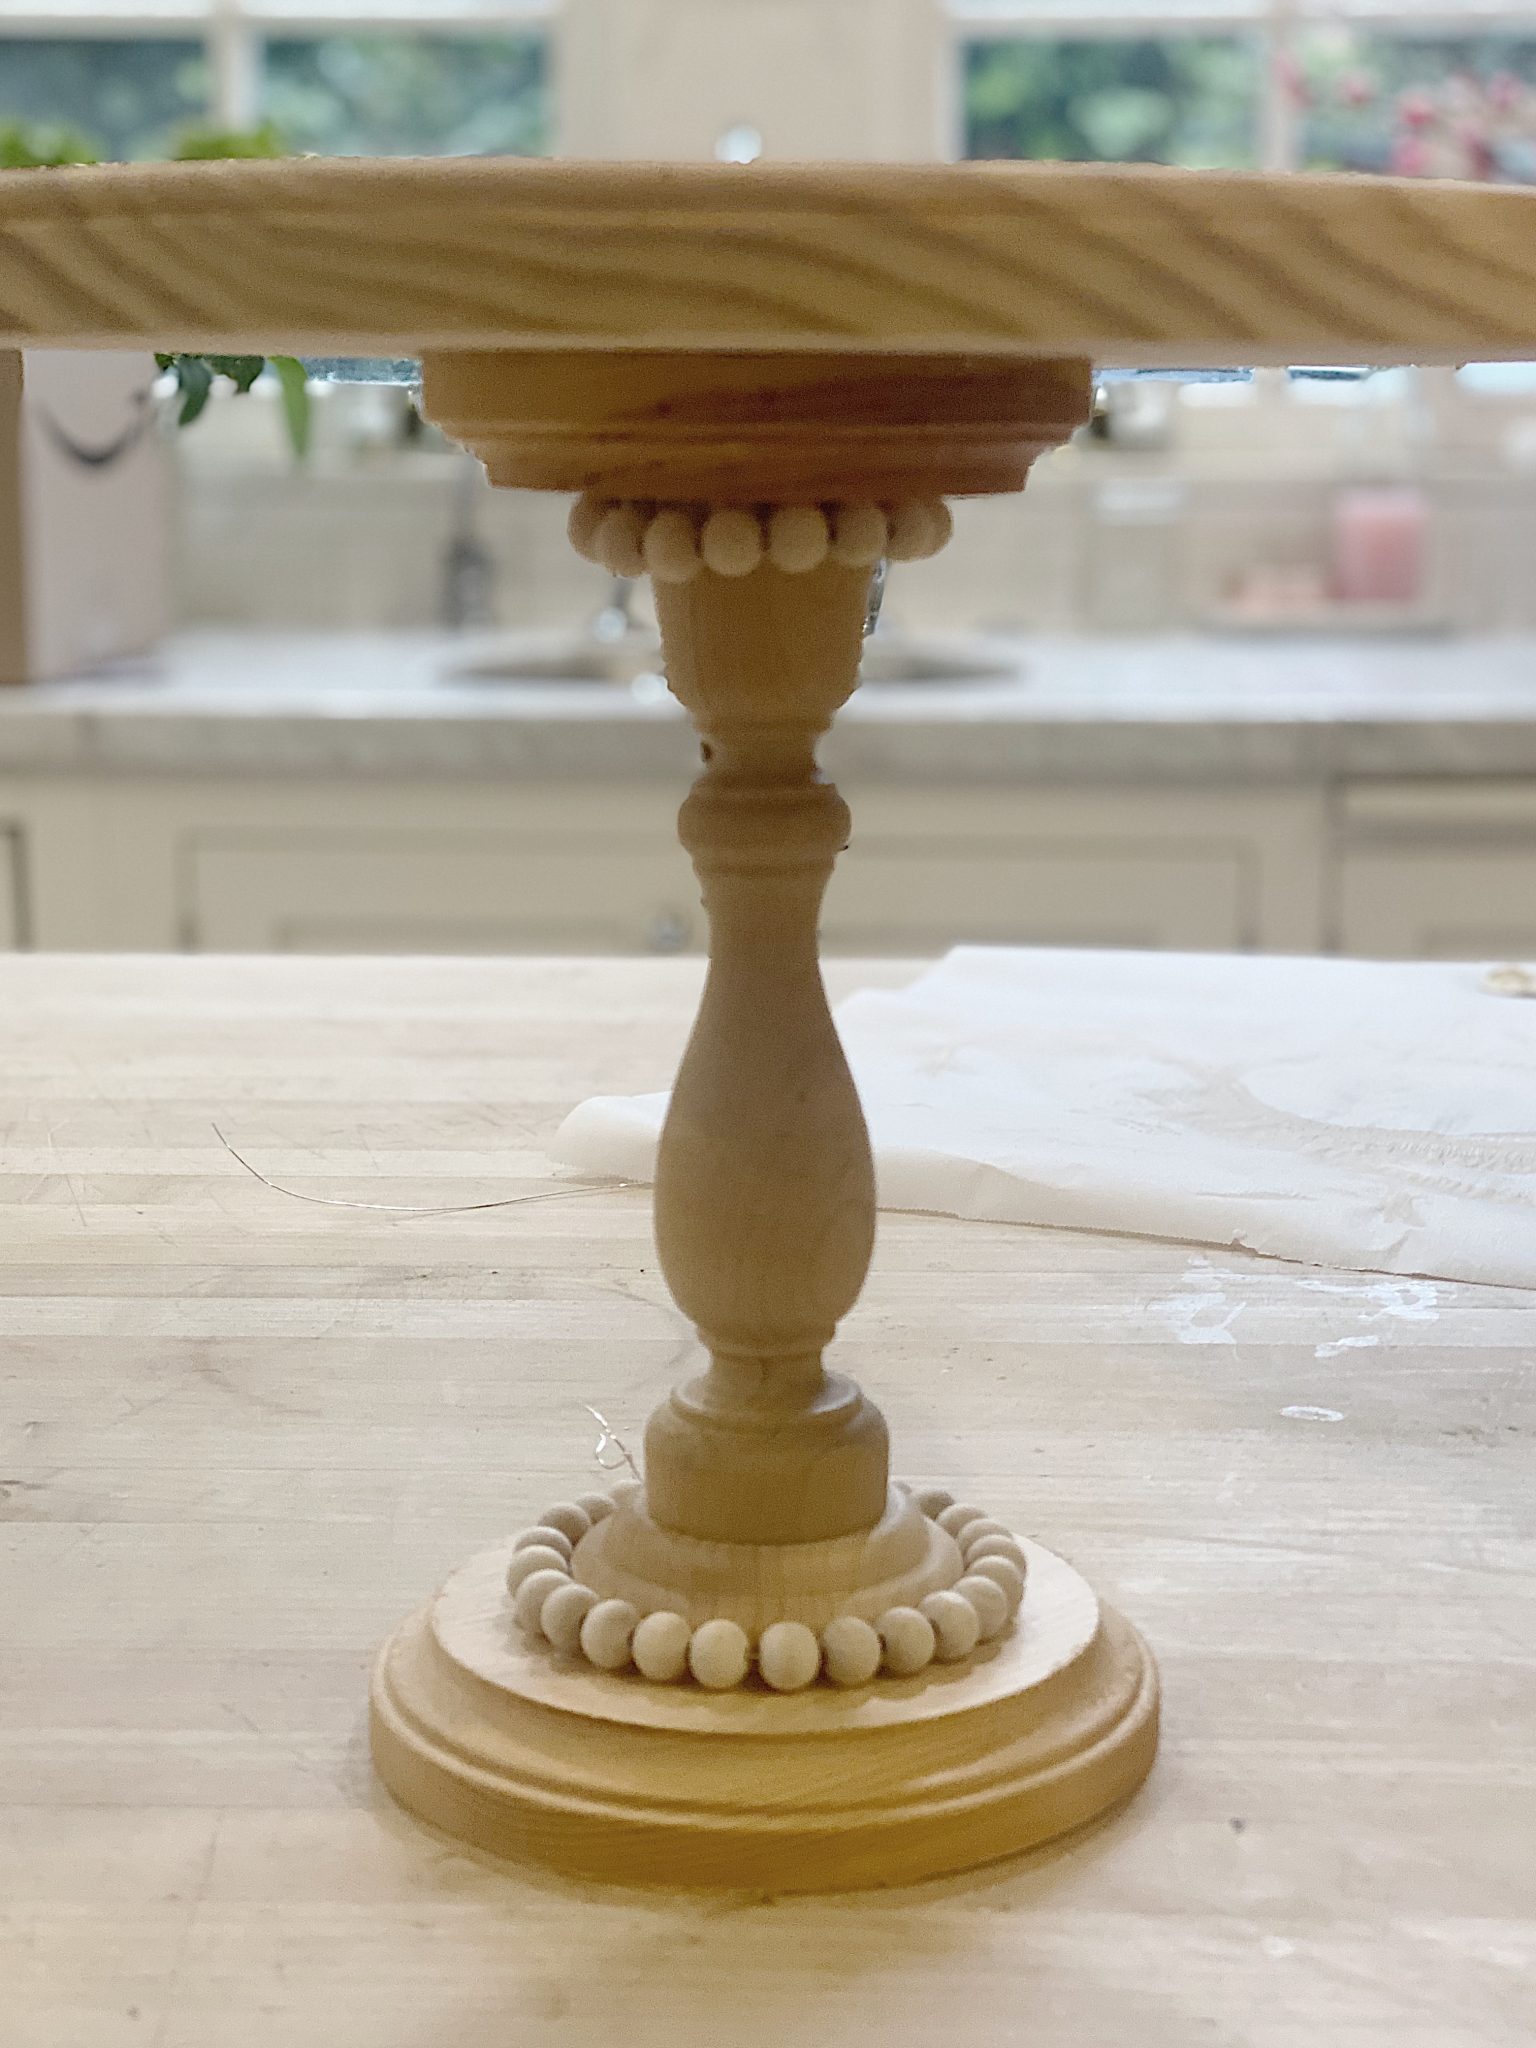
two – this is the order of the cake plate – 5″ circle on the bottom (right side up), candlestick (right side up), 4″ circle (upside down), top wood circle
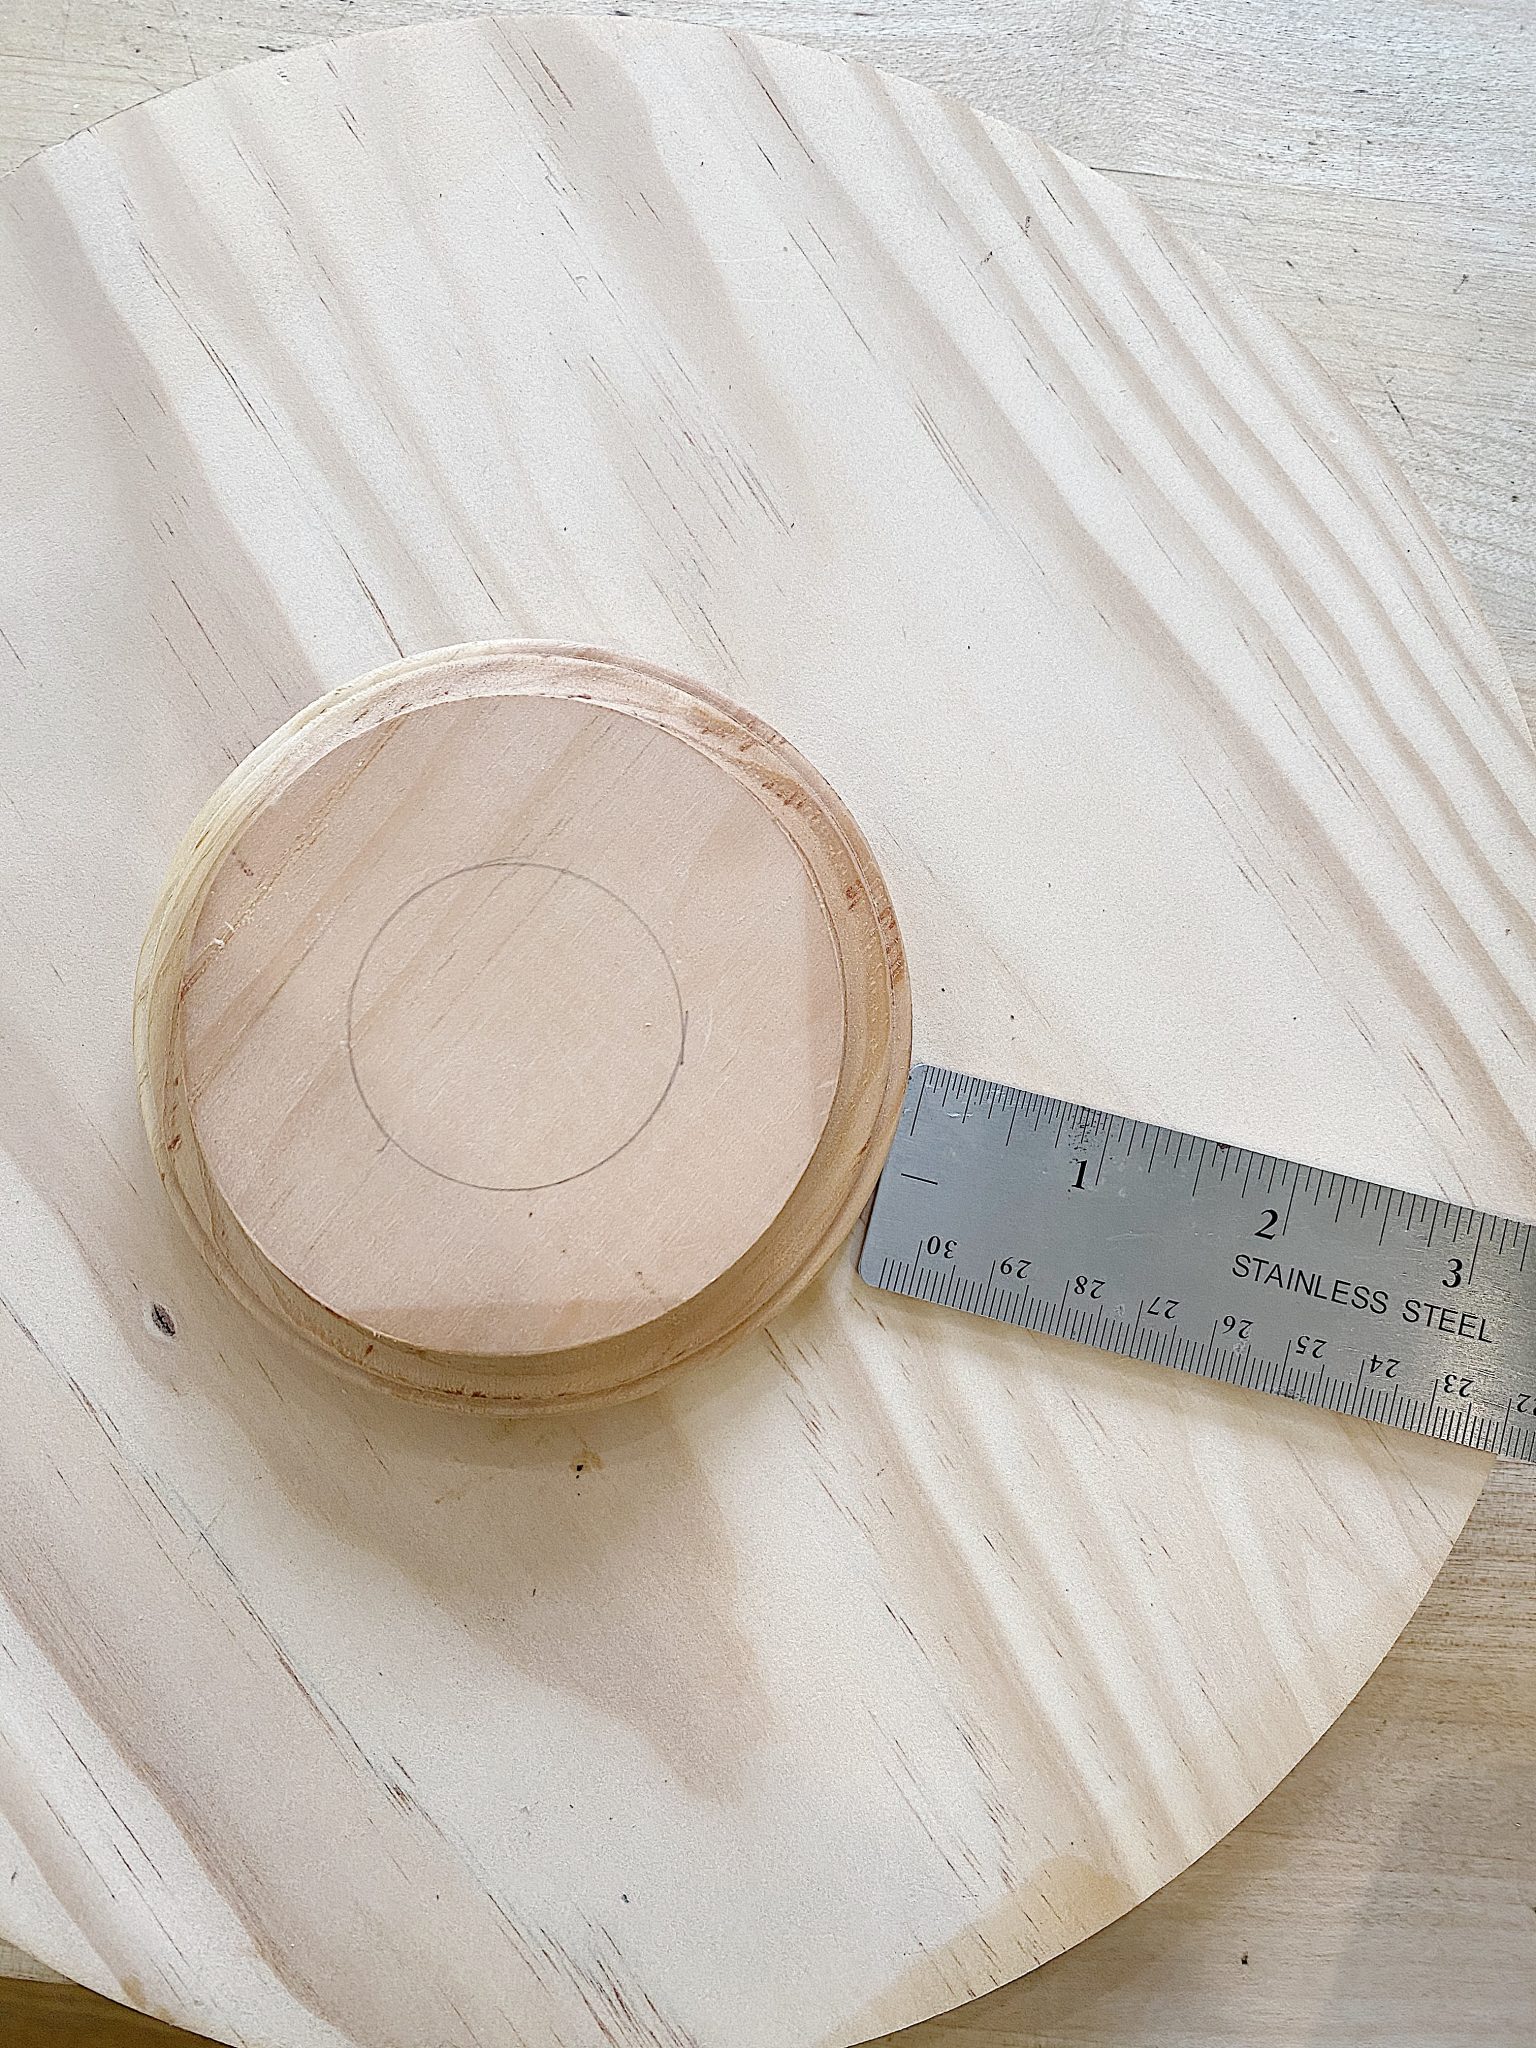
three – stack the pieces, and with a ruler, draw circles to line them up on the piece below
four – glue the 5″ piece to the candlestick and glue the 4″ piece on top.
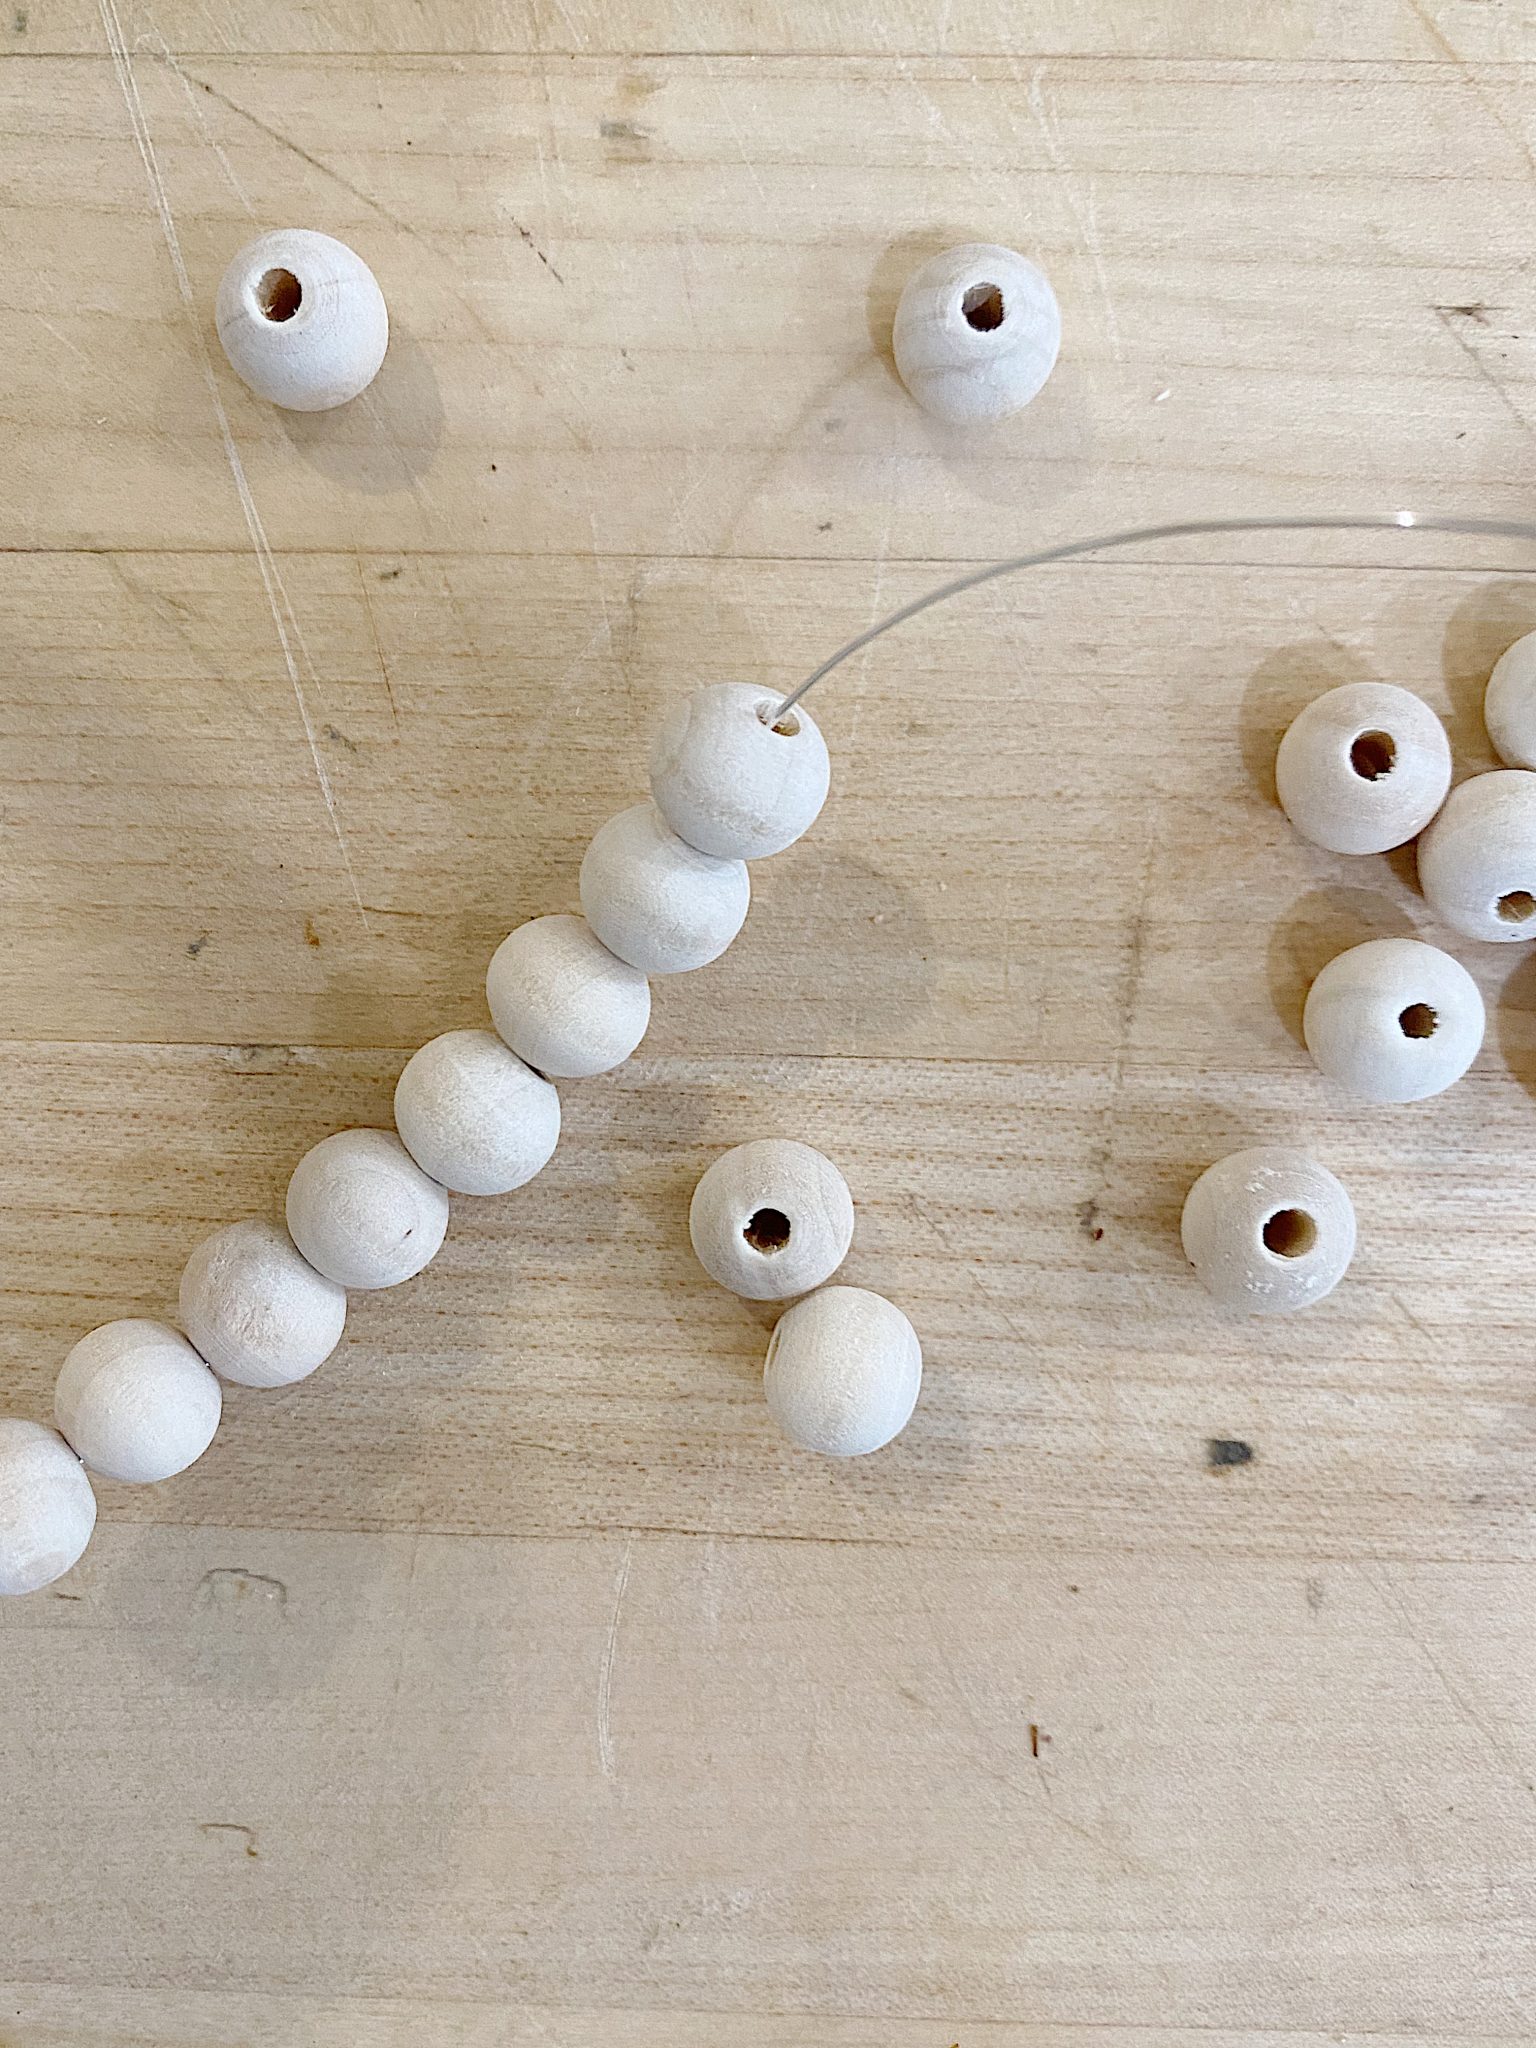
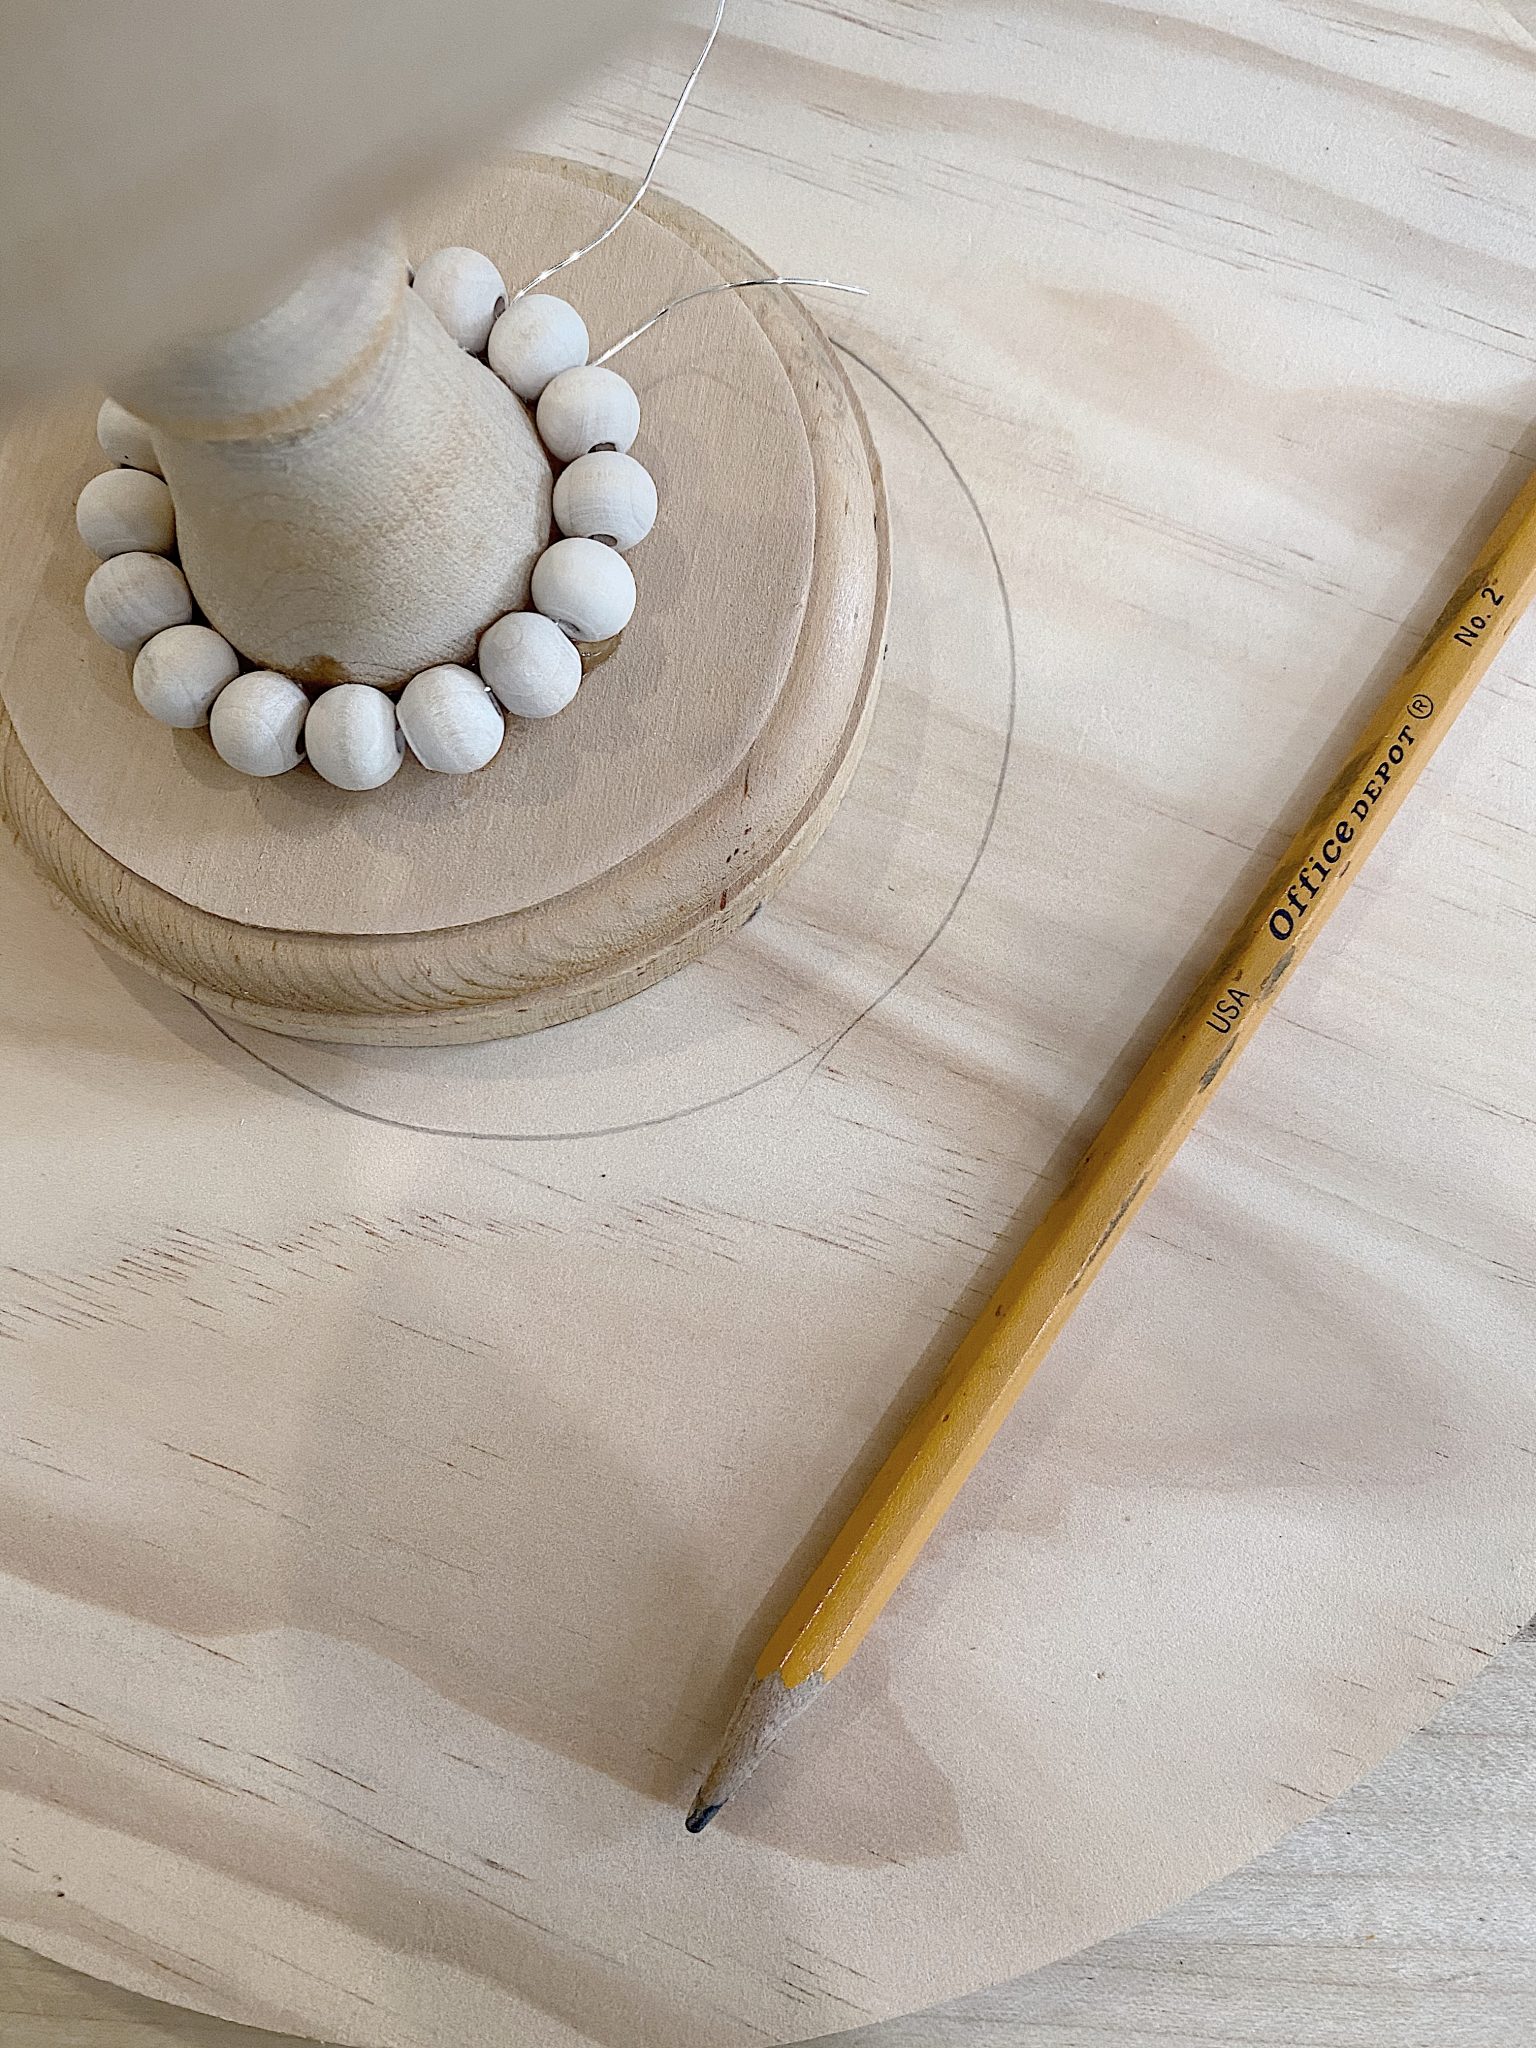
five – string some of the wooden beads onto the wire and measure them to fit around the bottom edge of the candlestick
six – once you have the correct number of beads, string one side of the wire through the next bead and pull tightly
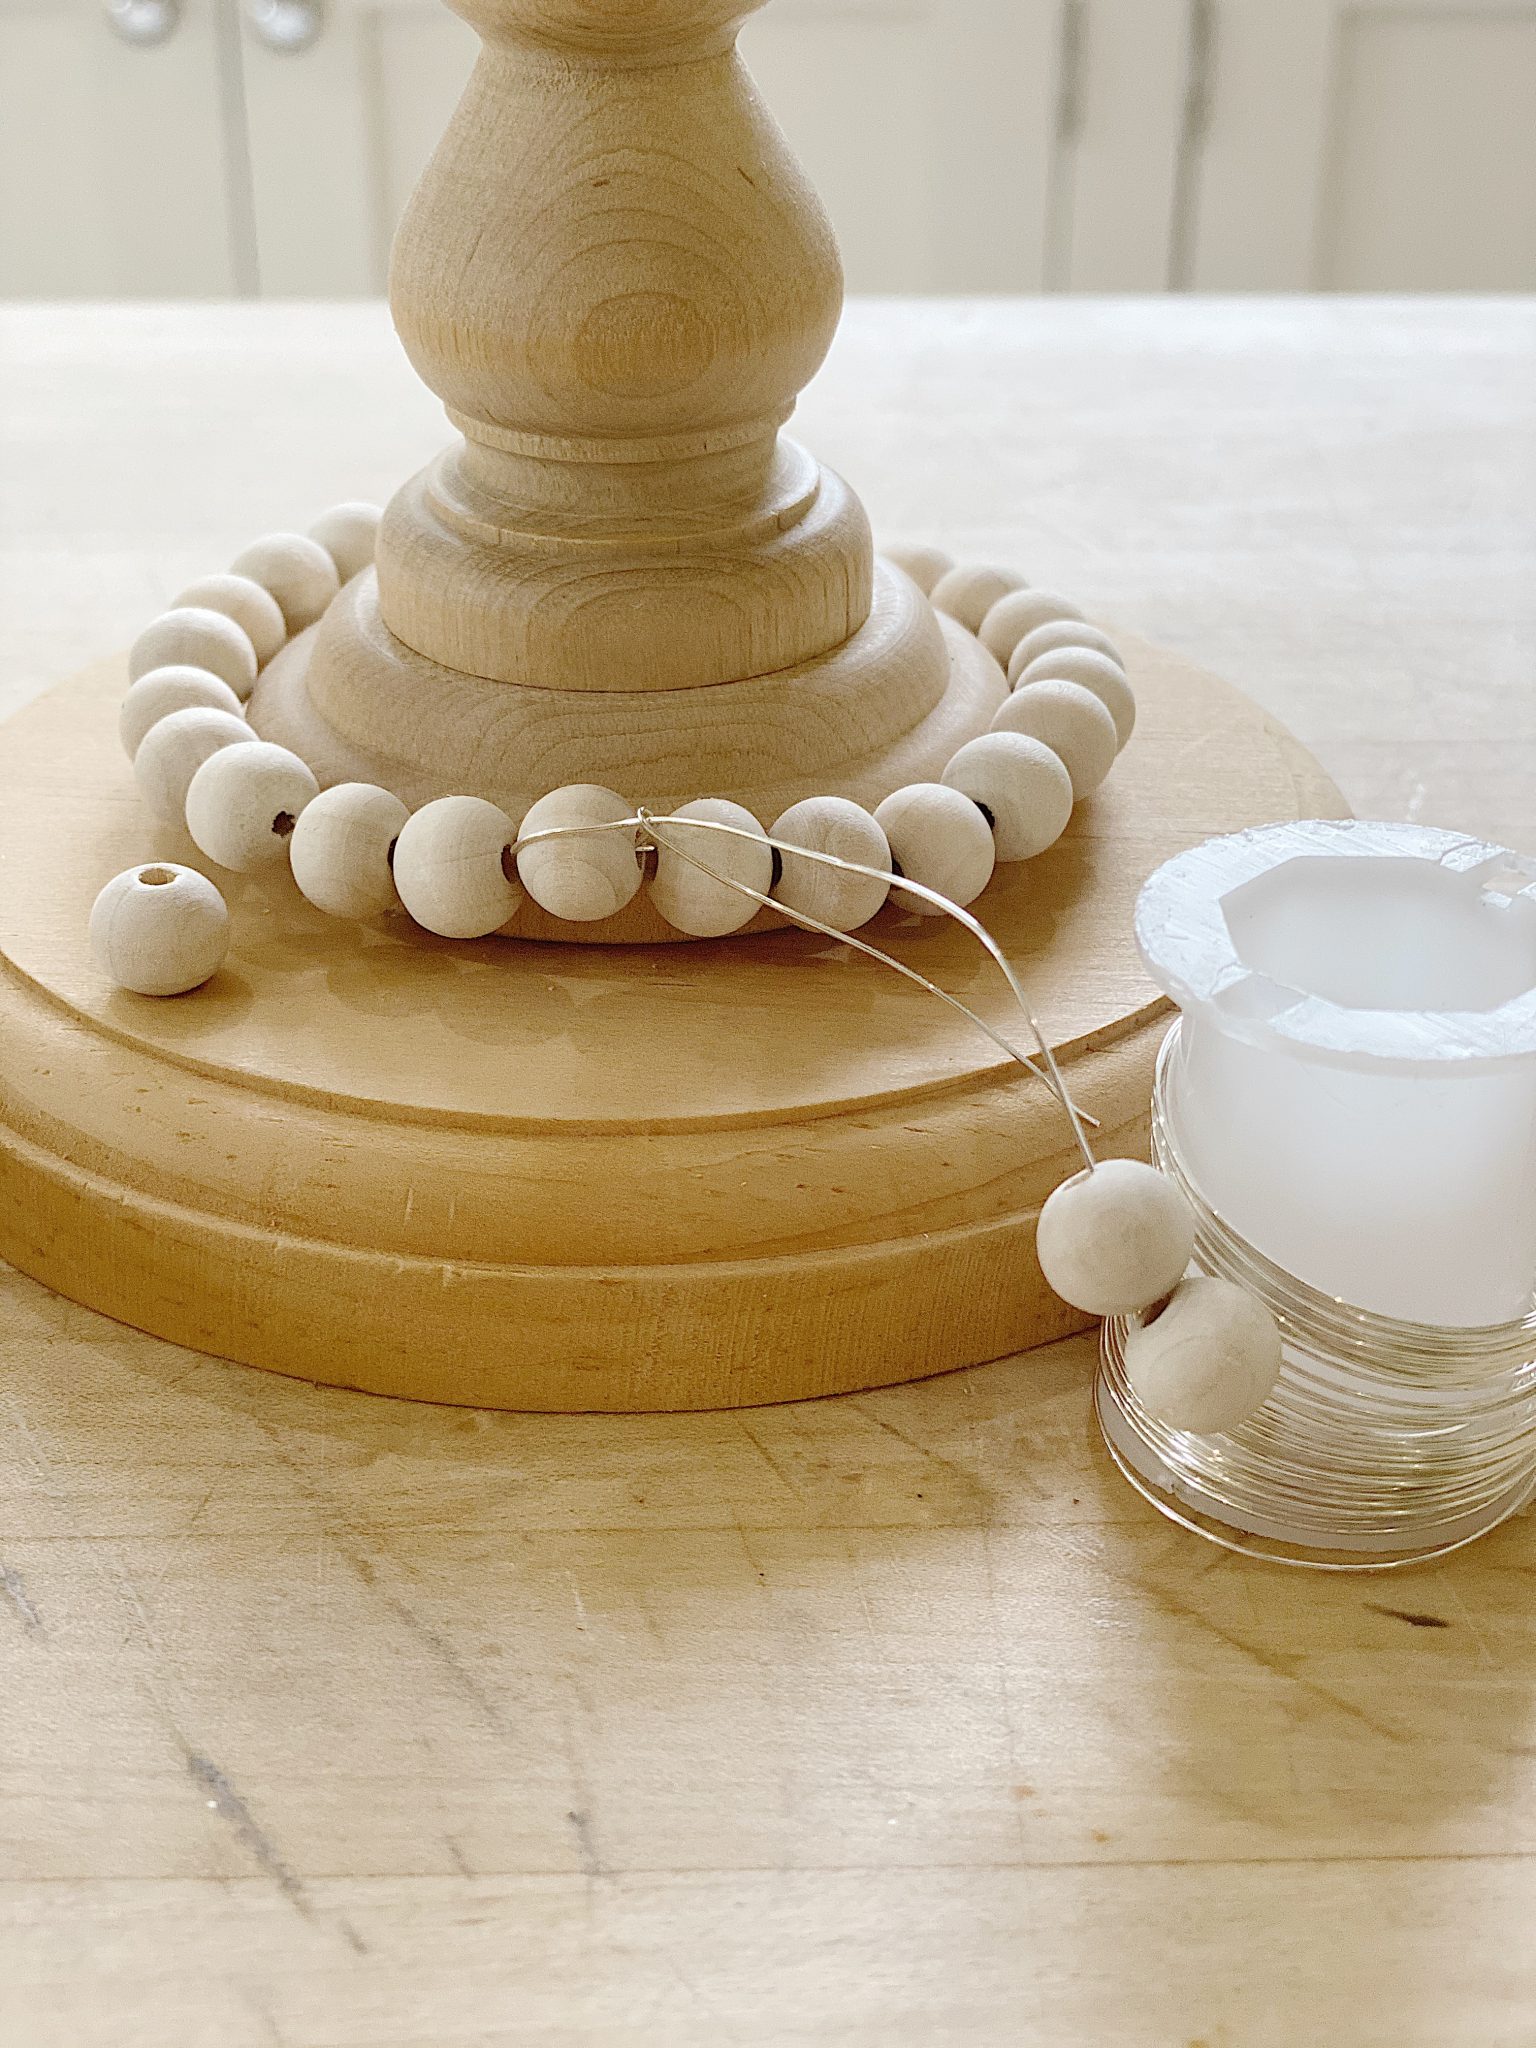
seven – lift the round wooden beads and apply some of the wood glue, then press and hold until adhered
eight – attach the base to the top piece with the wood glue
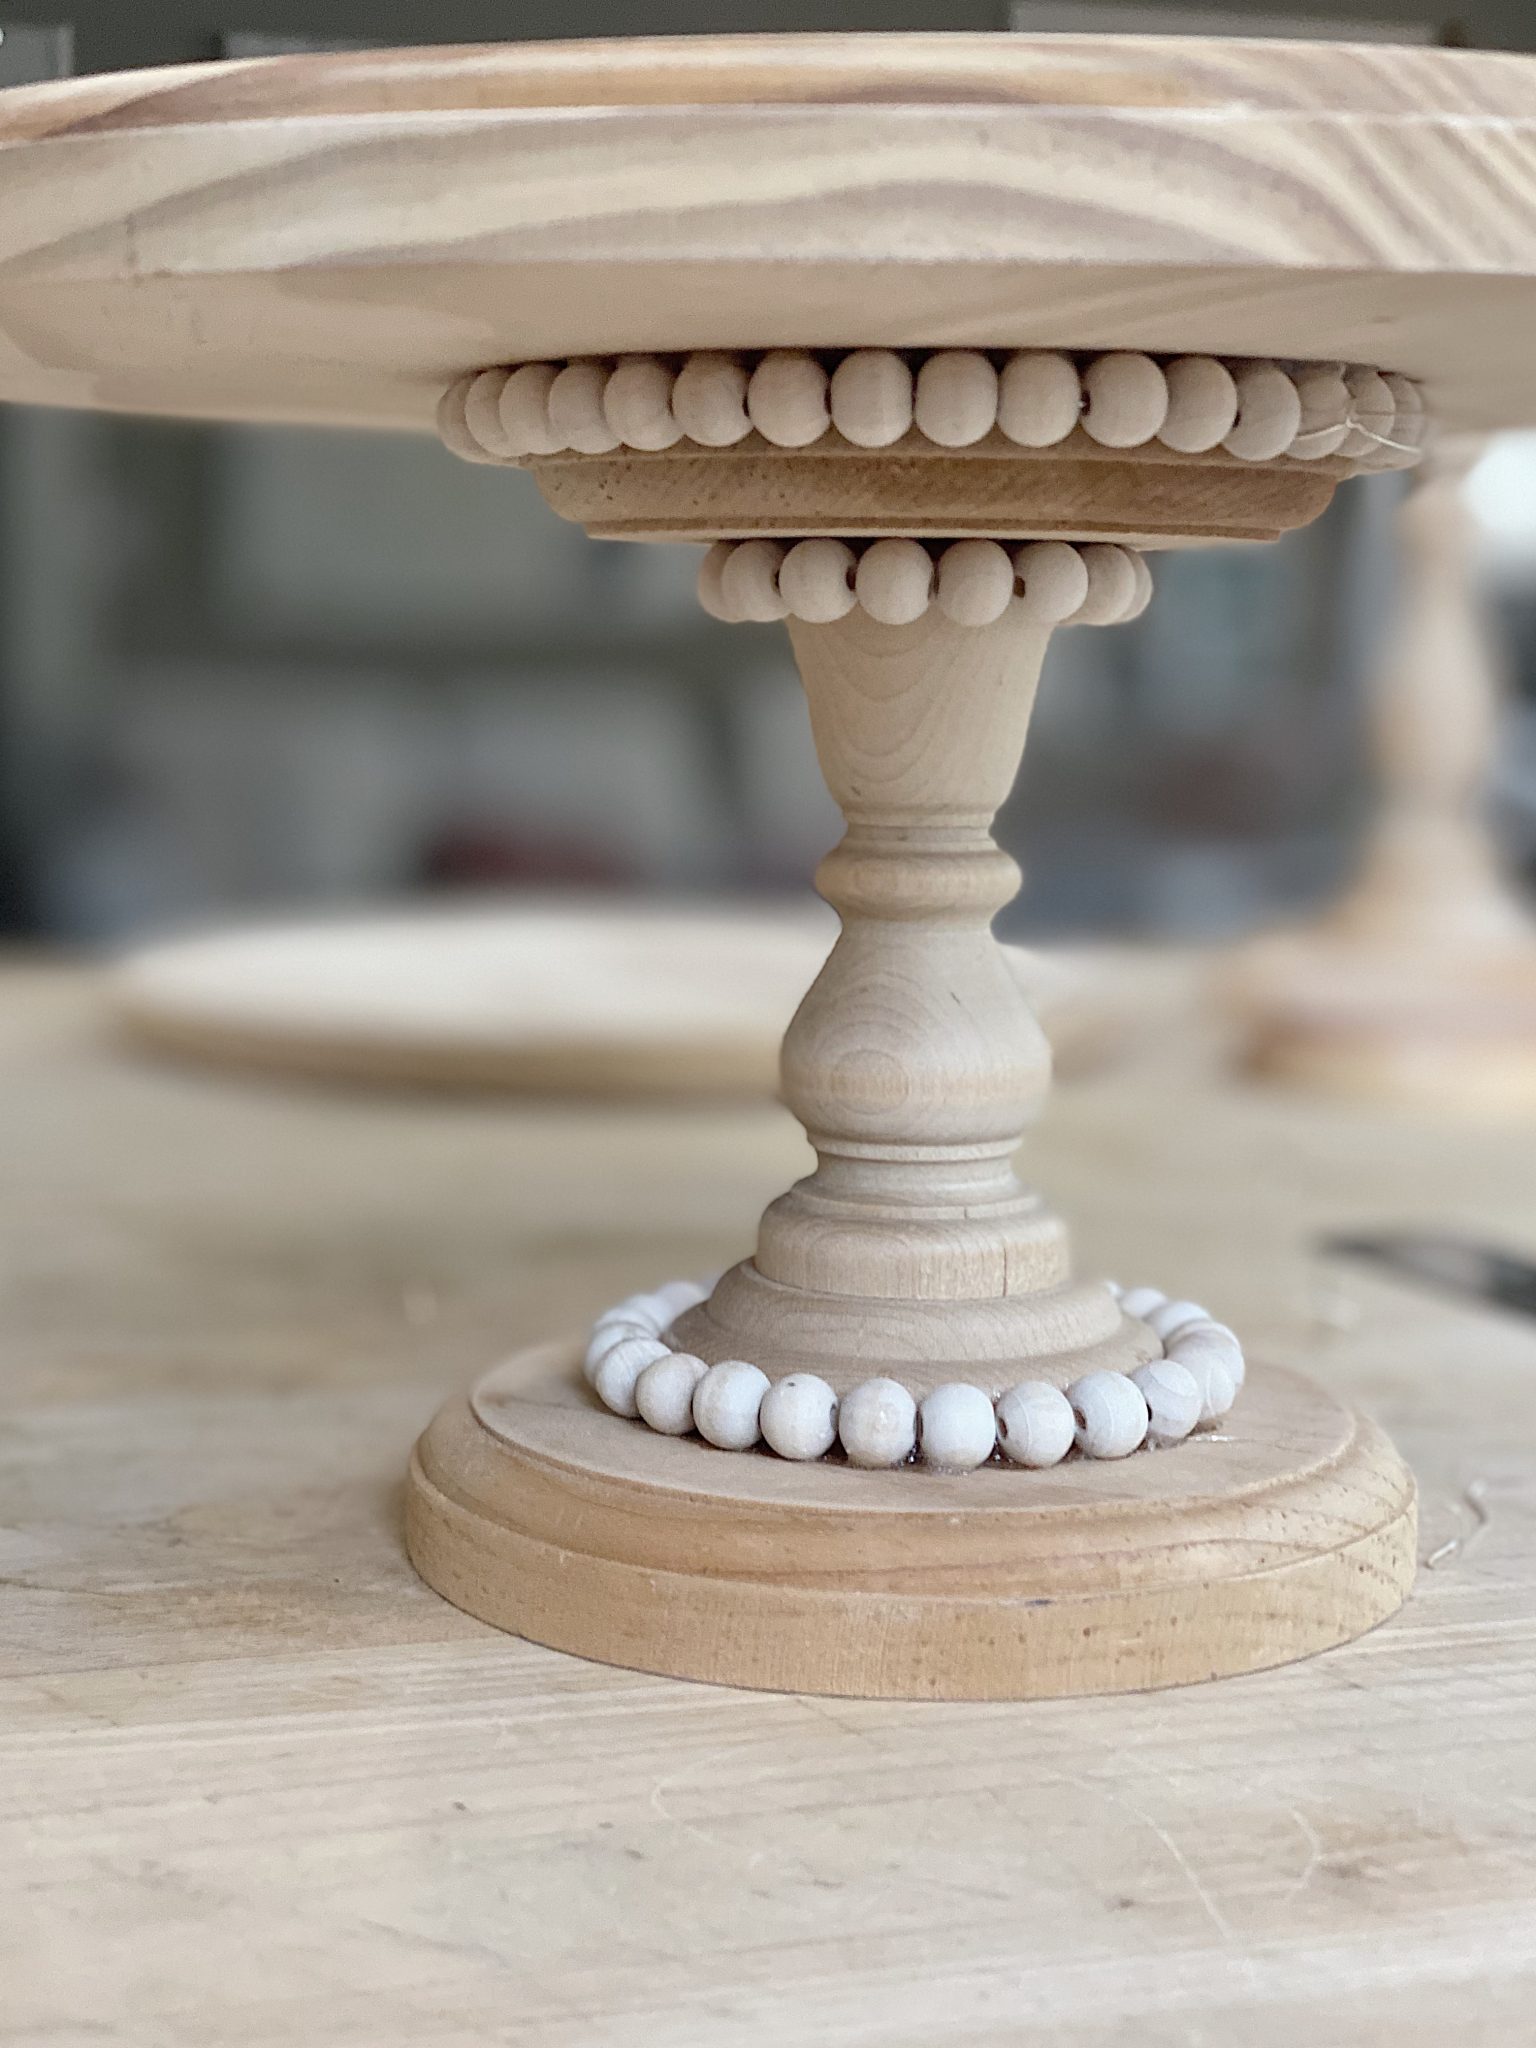
nine – add beading around all edges for a total of three
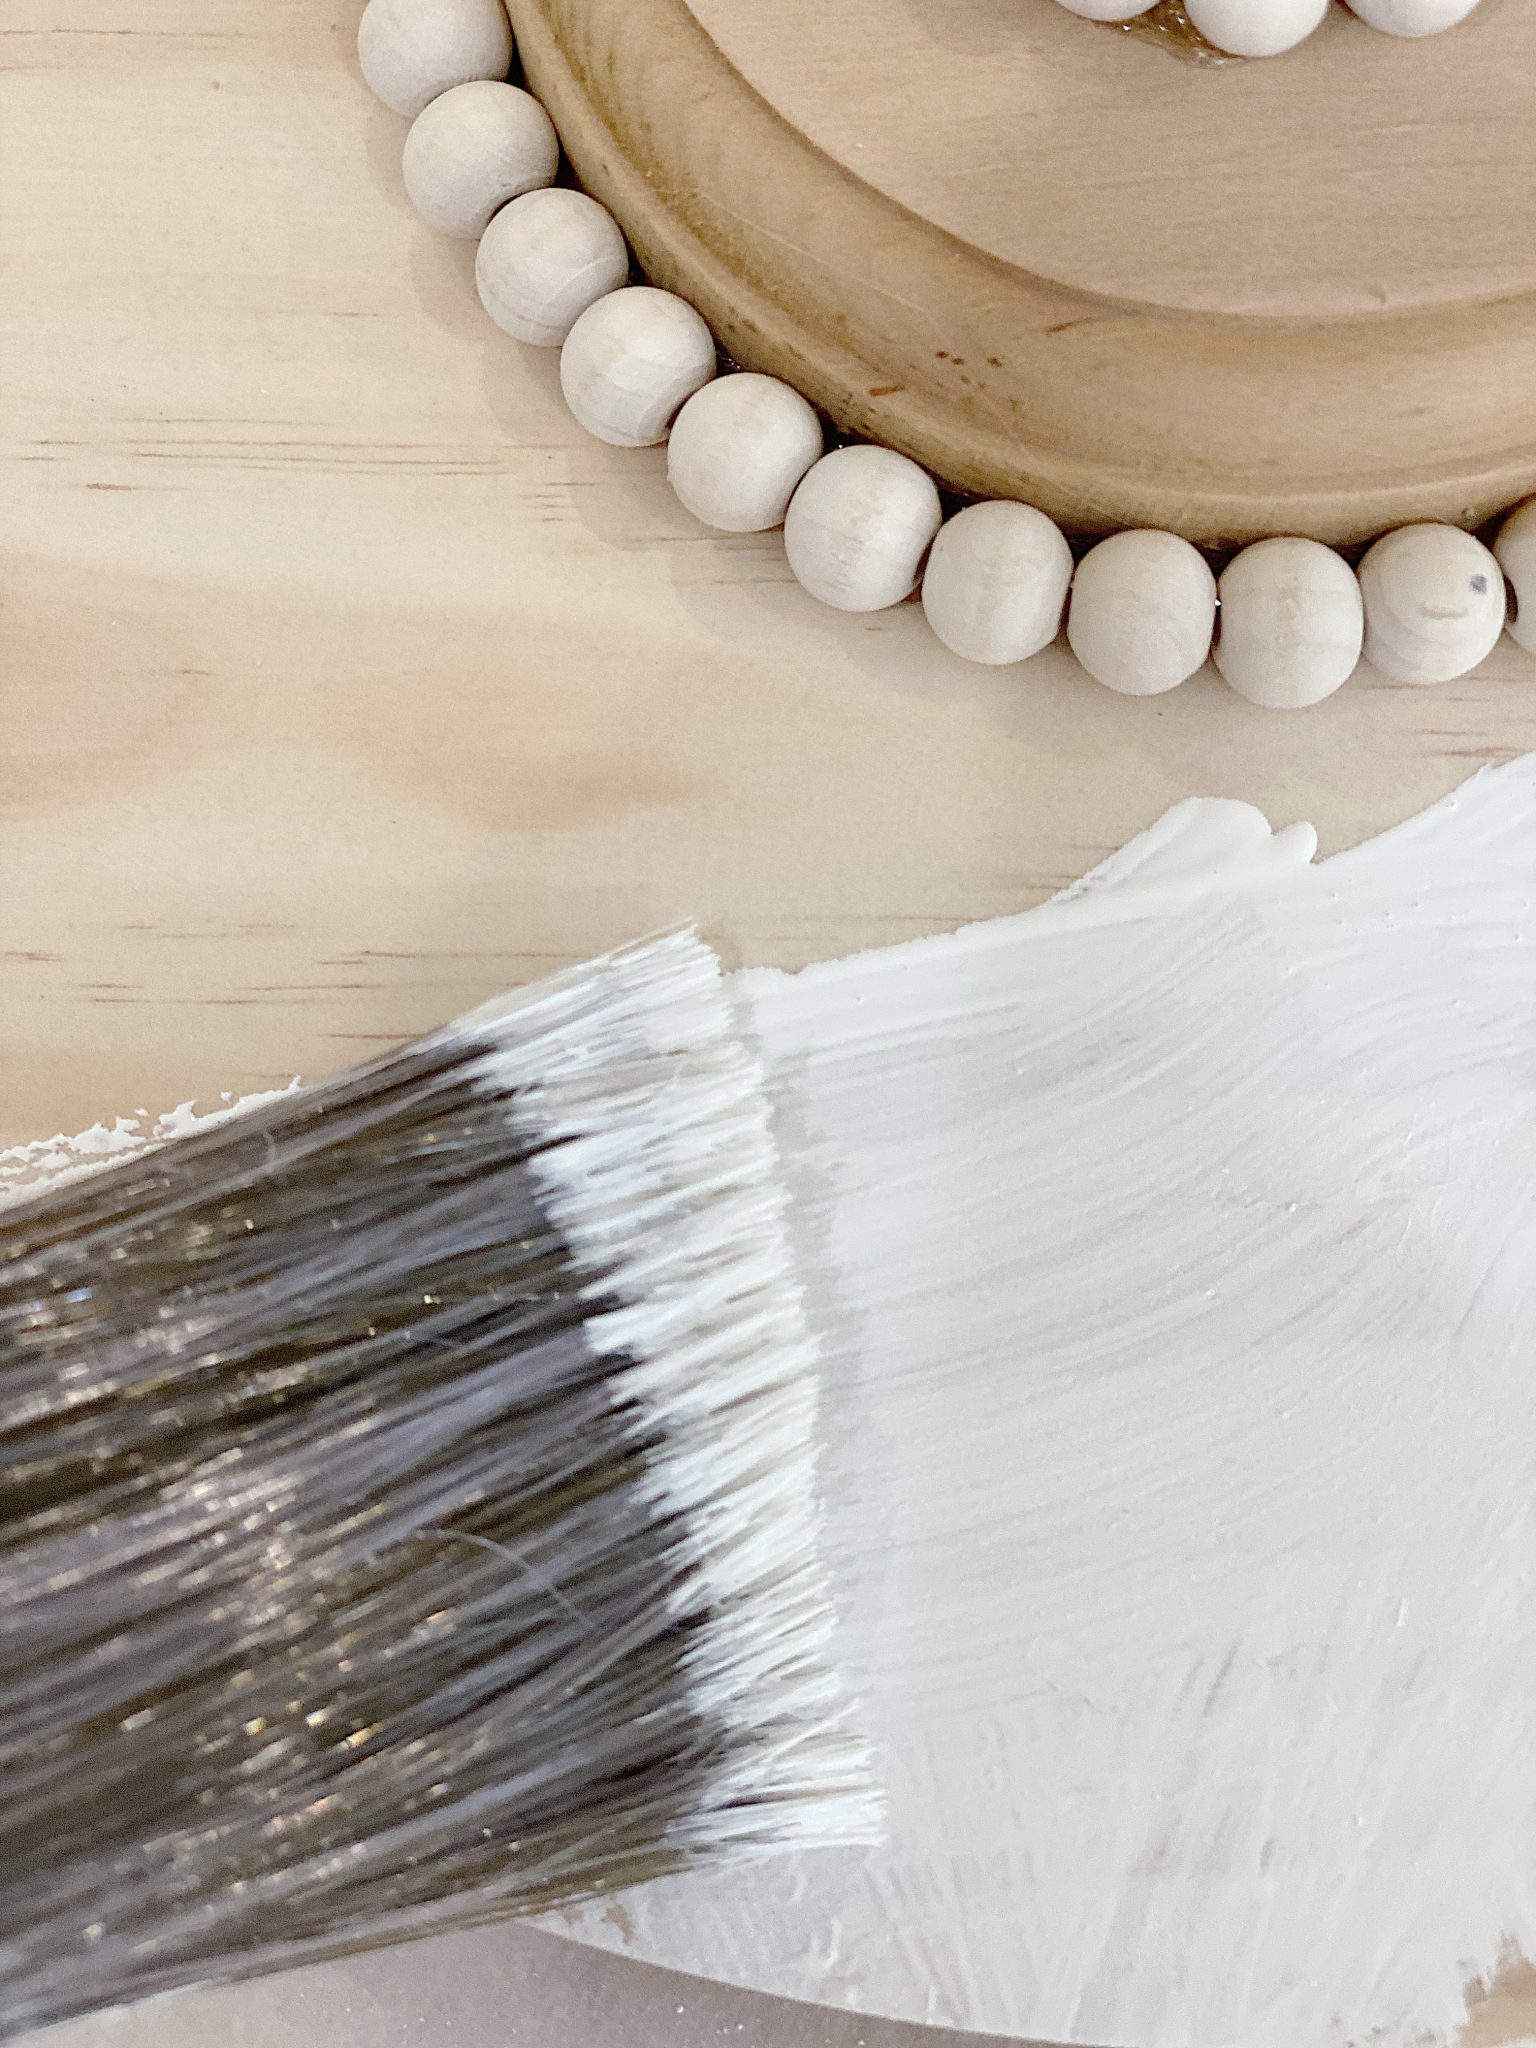
ten – once the beads are dry, pull out the wire and then get ready to paint
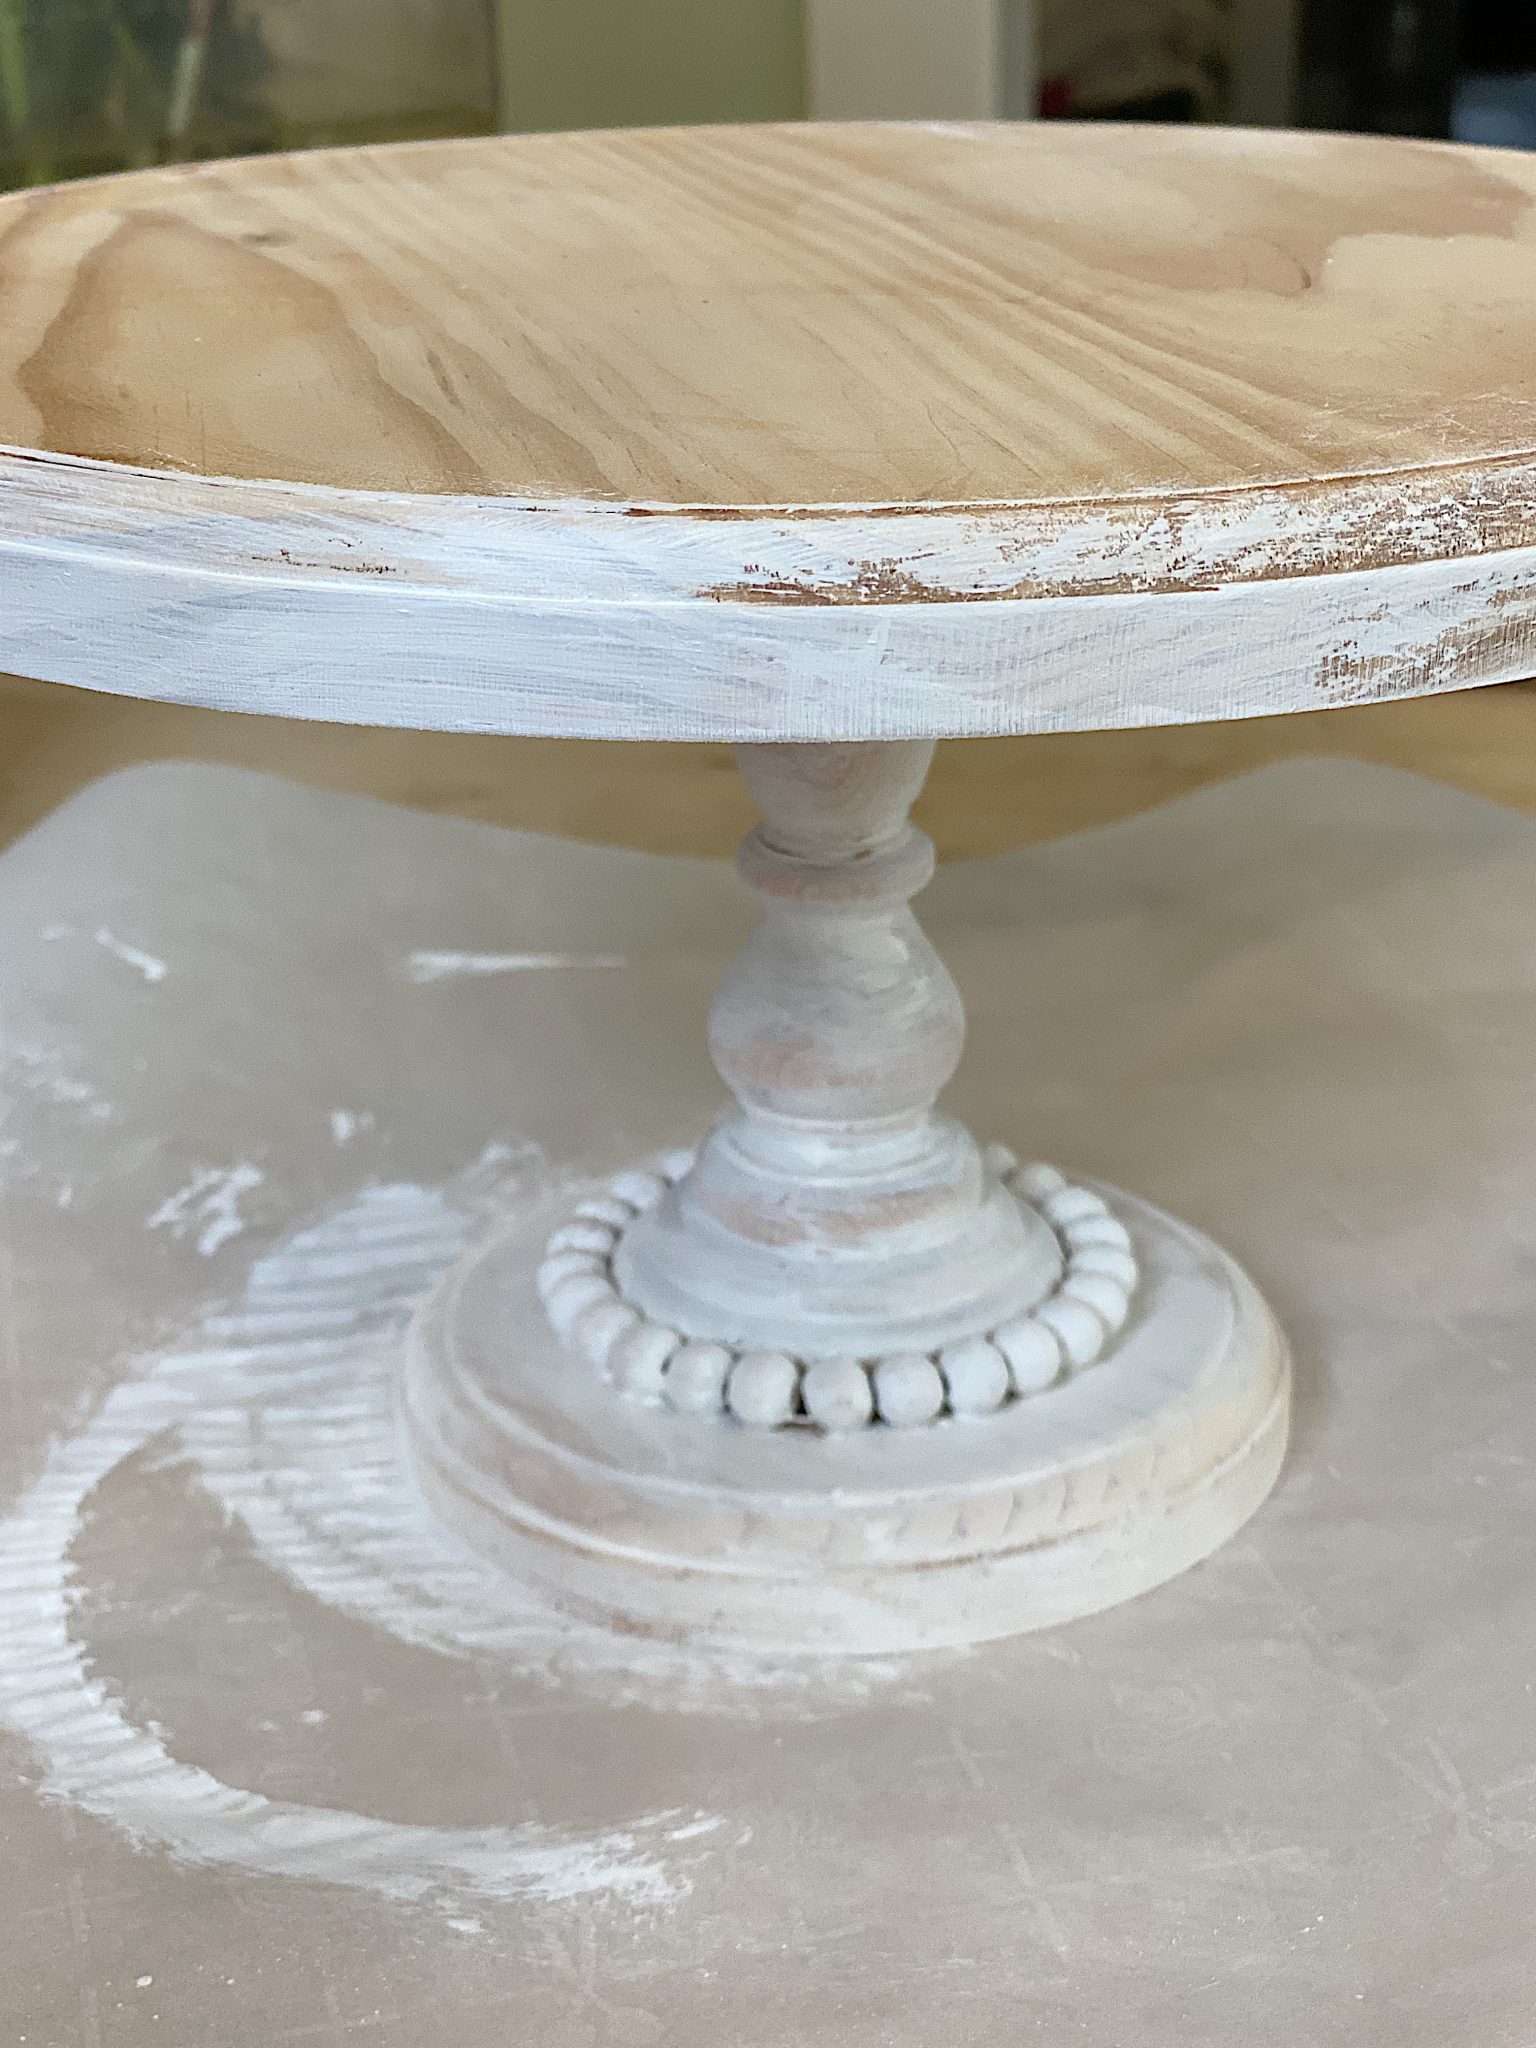
eleven – apply the paint thinly to all areas on the cake stand (if it’s too thick, wipe it off)
twelve – once dried, cover with a polycrylic protective finish
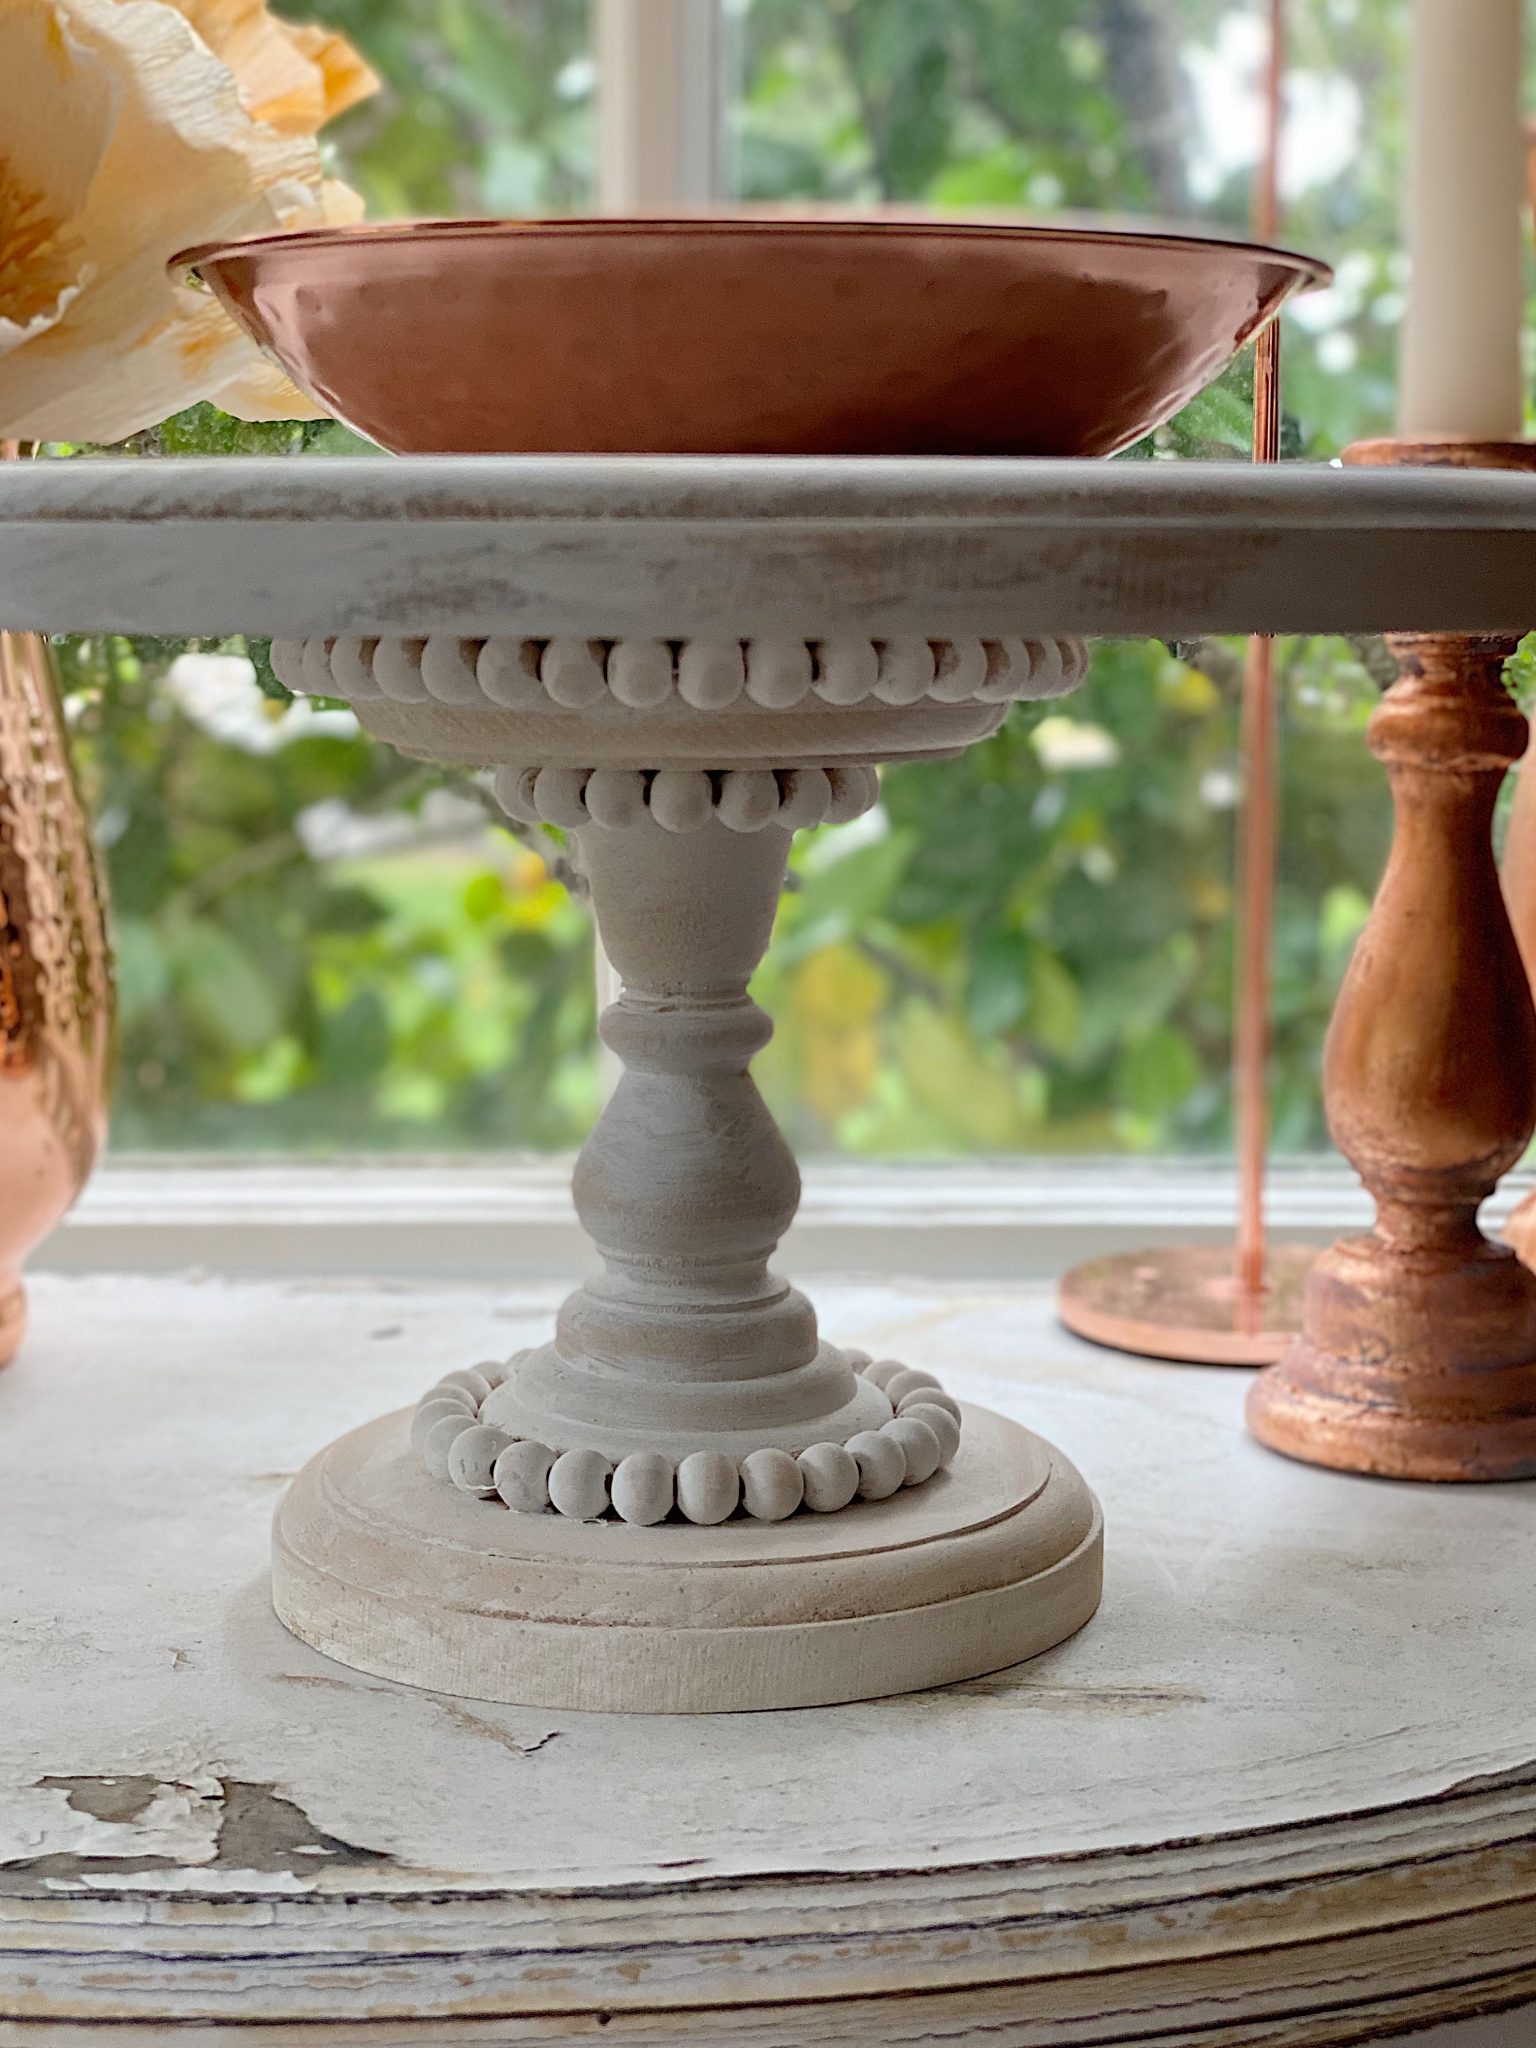
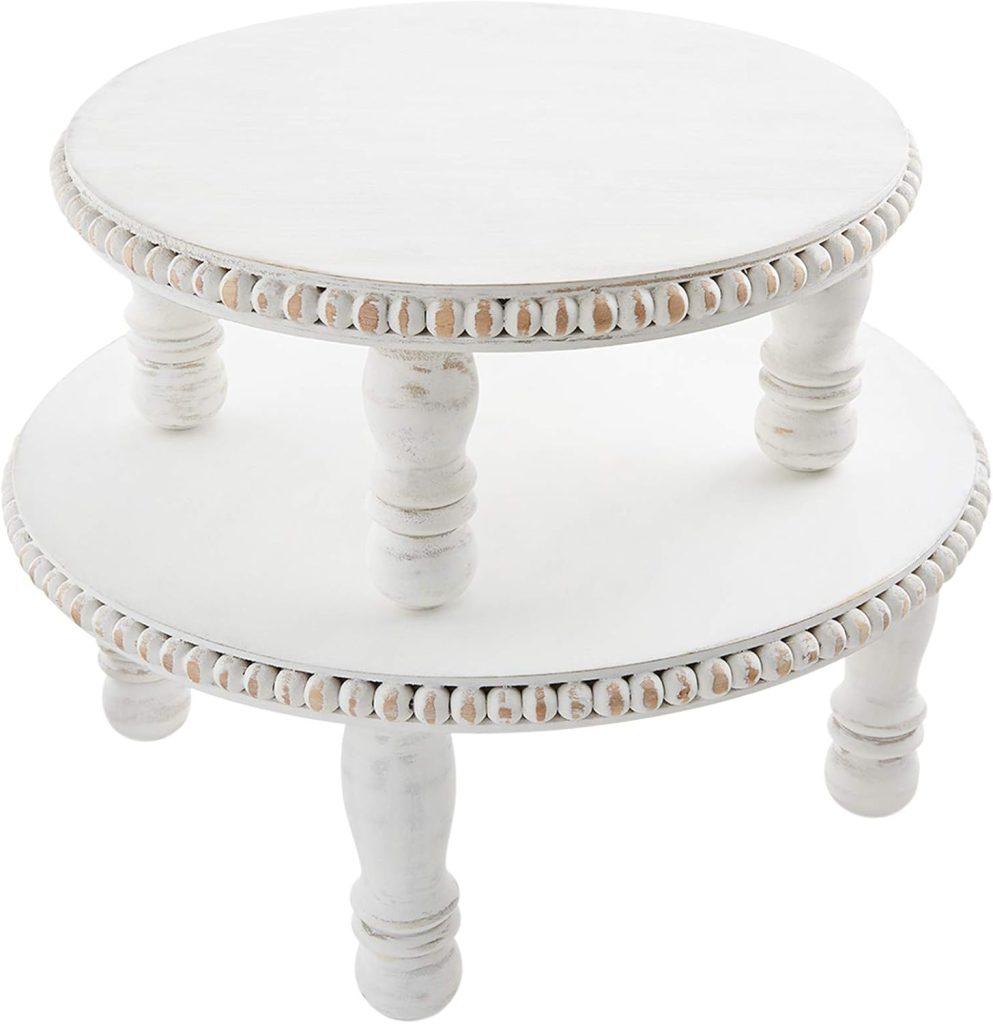
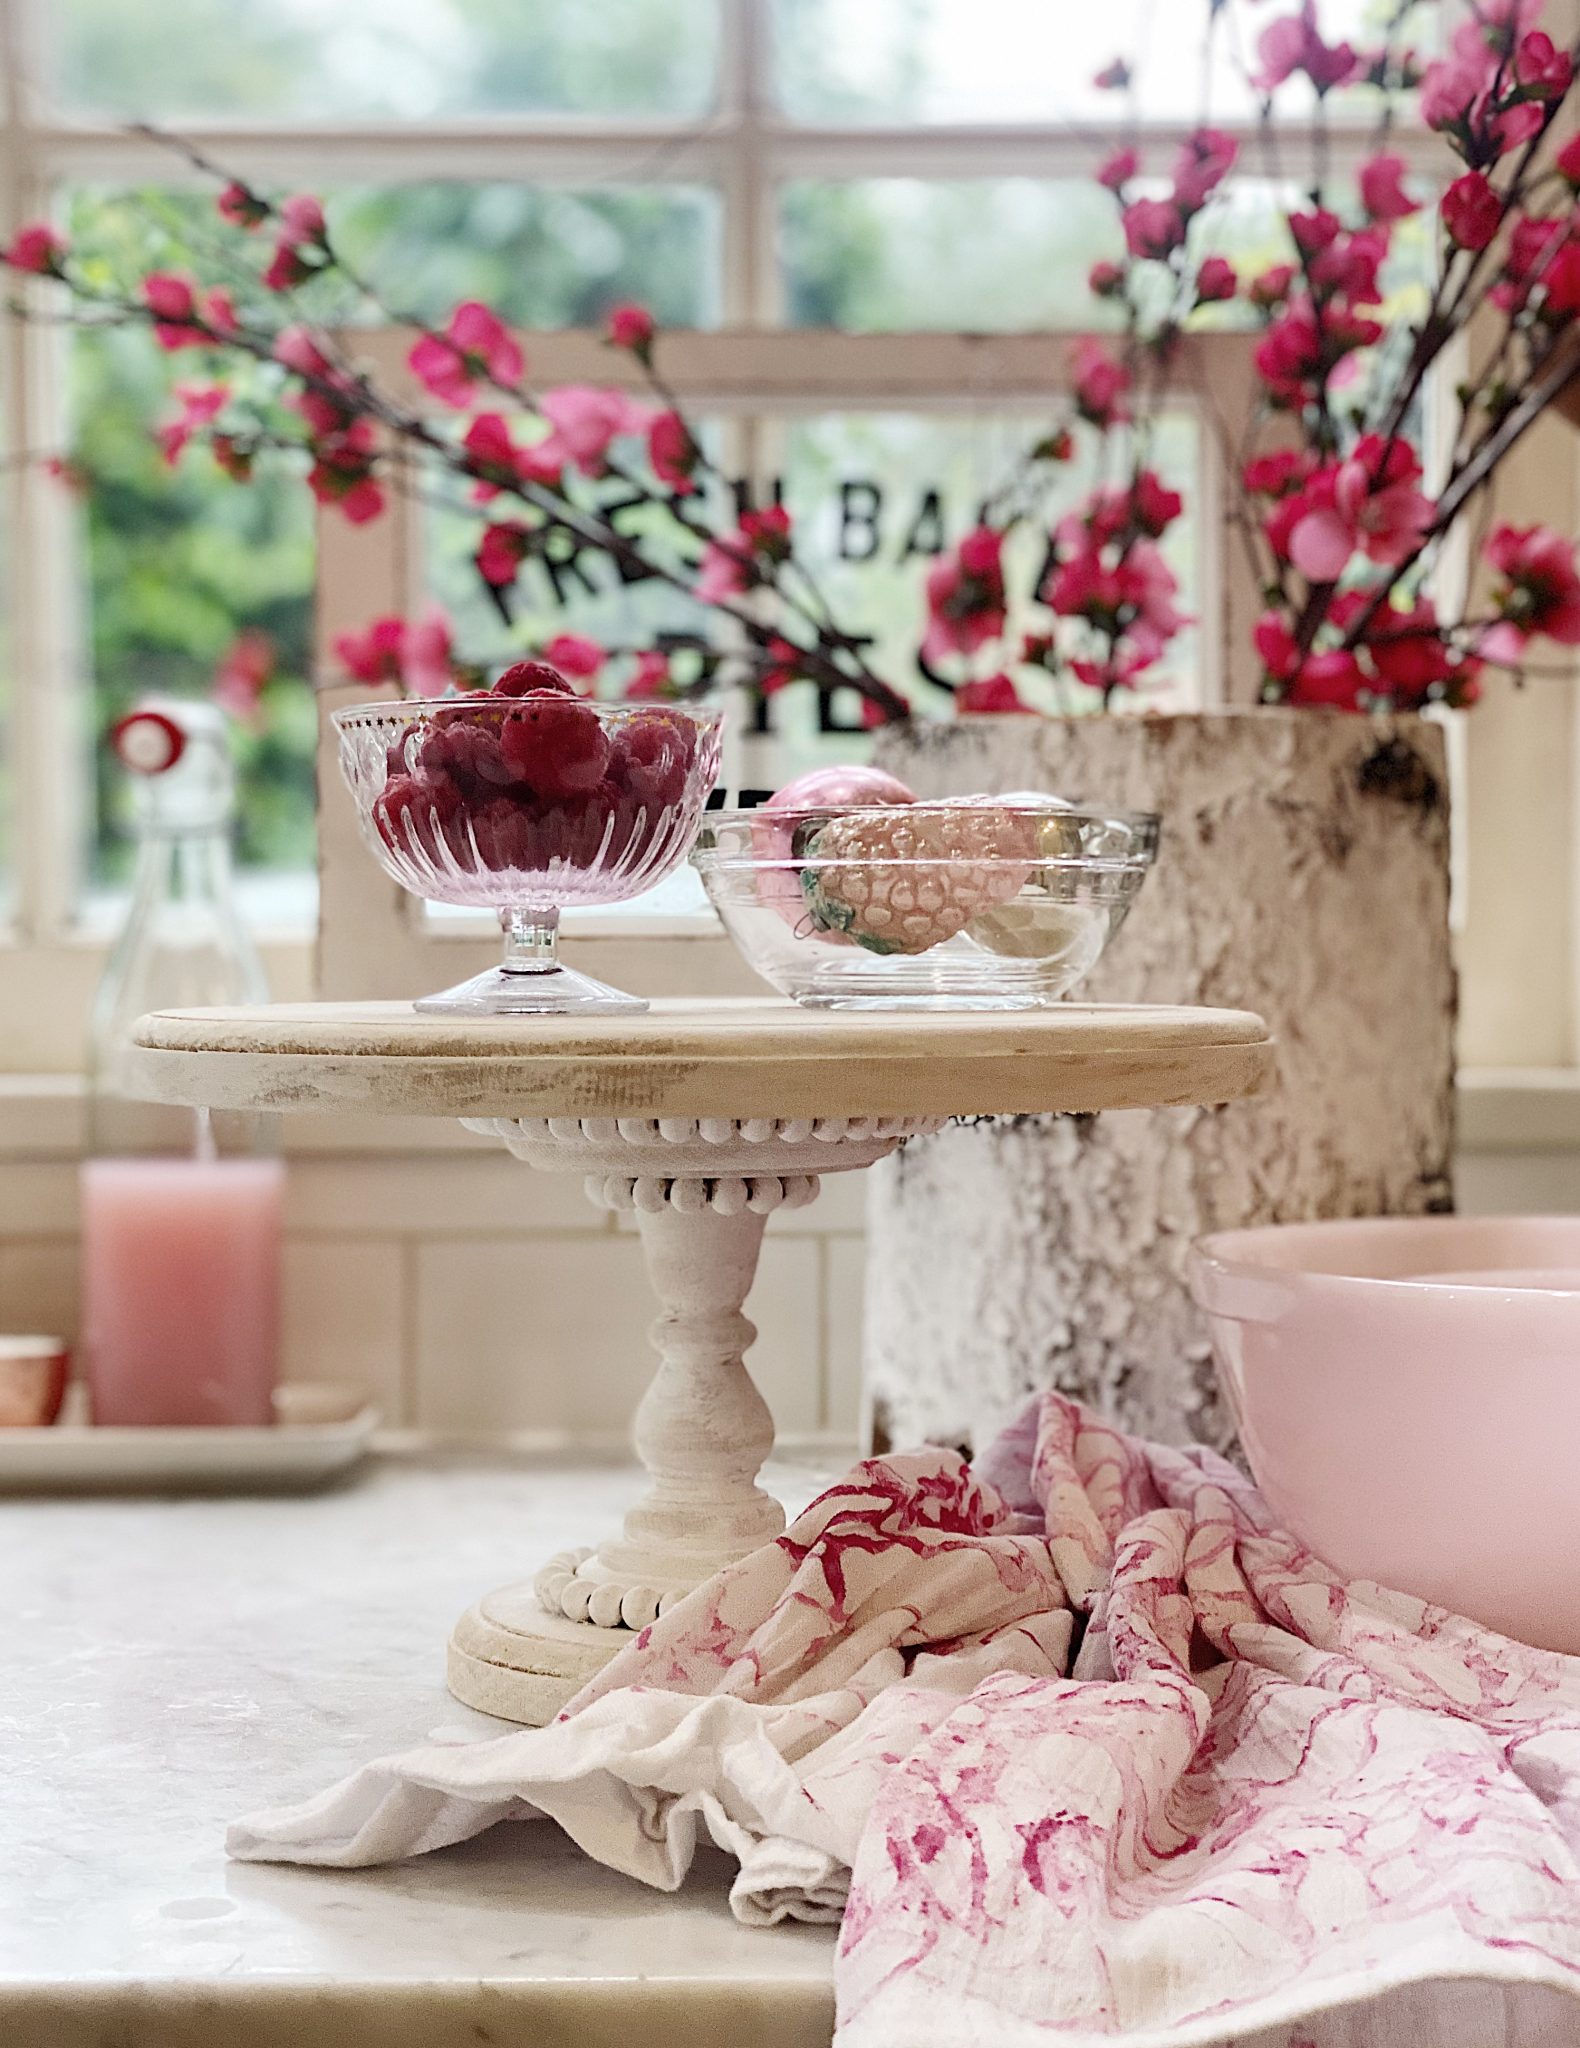
Cake Stand DIY
This is what your cake plate should look like! Doesn’t this look amazing?
If you enjoy my blog, you can sign up to receive my updates here.
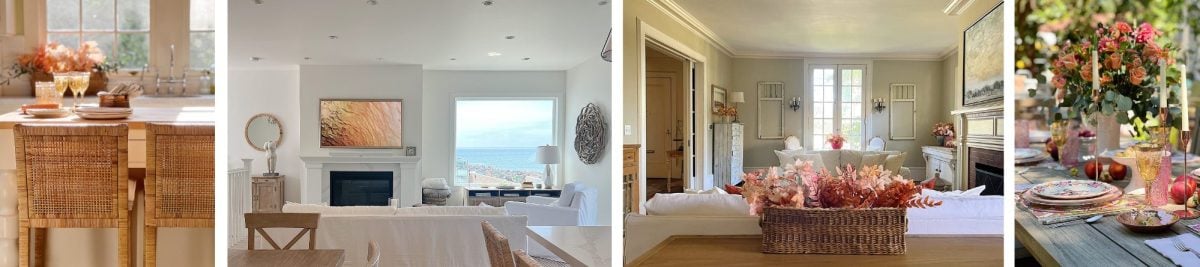
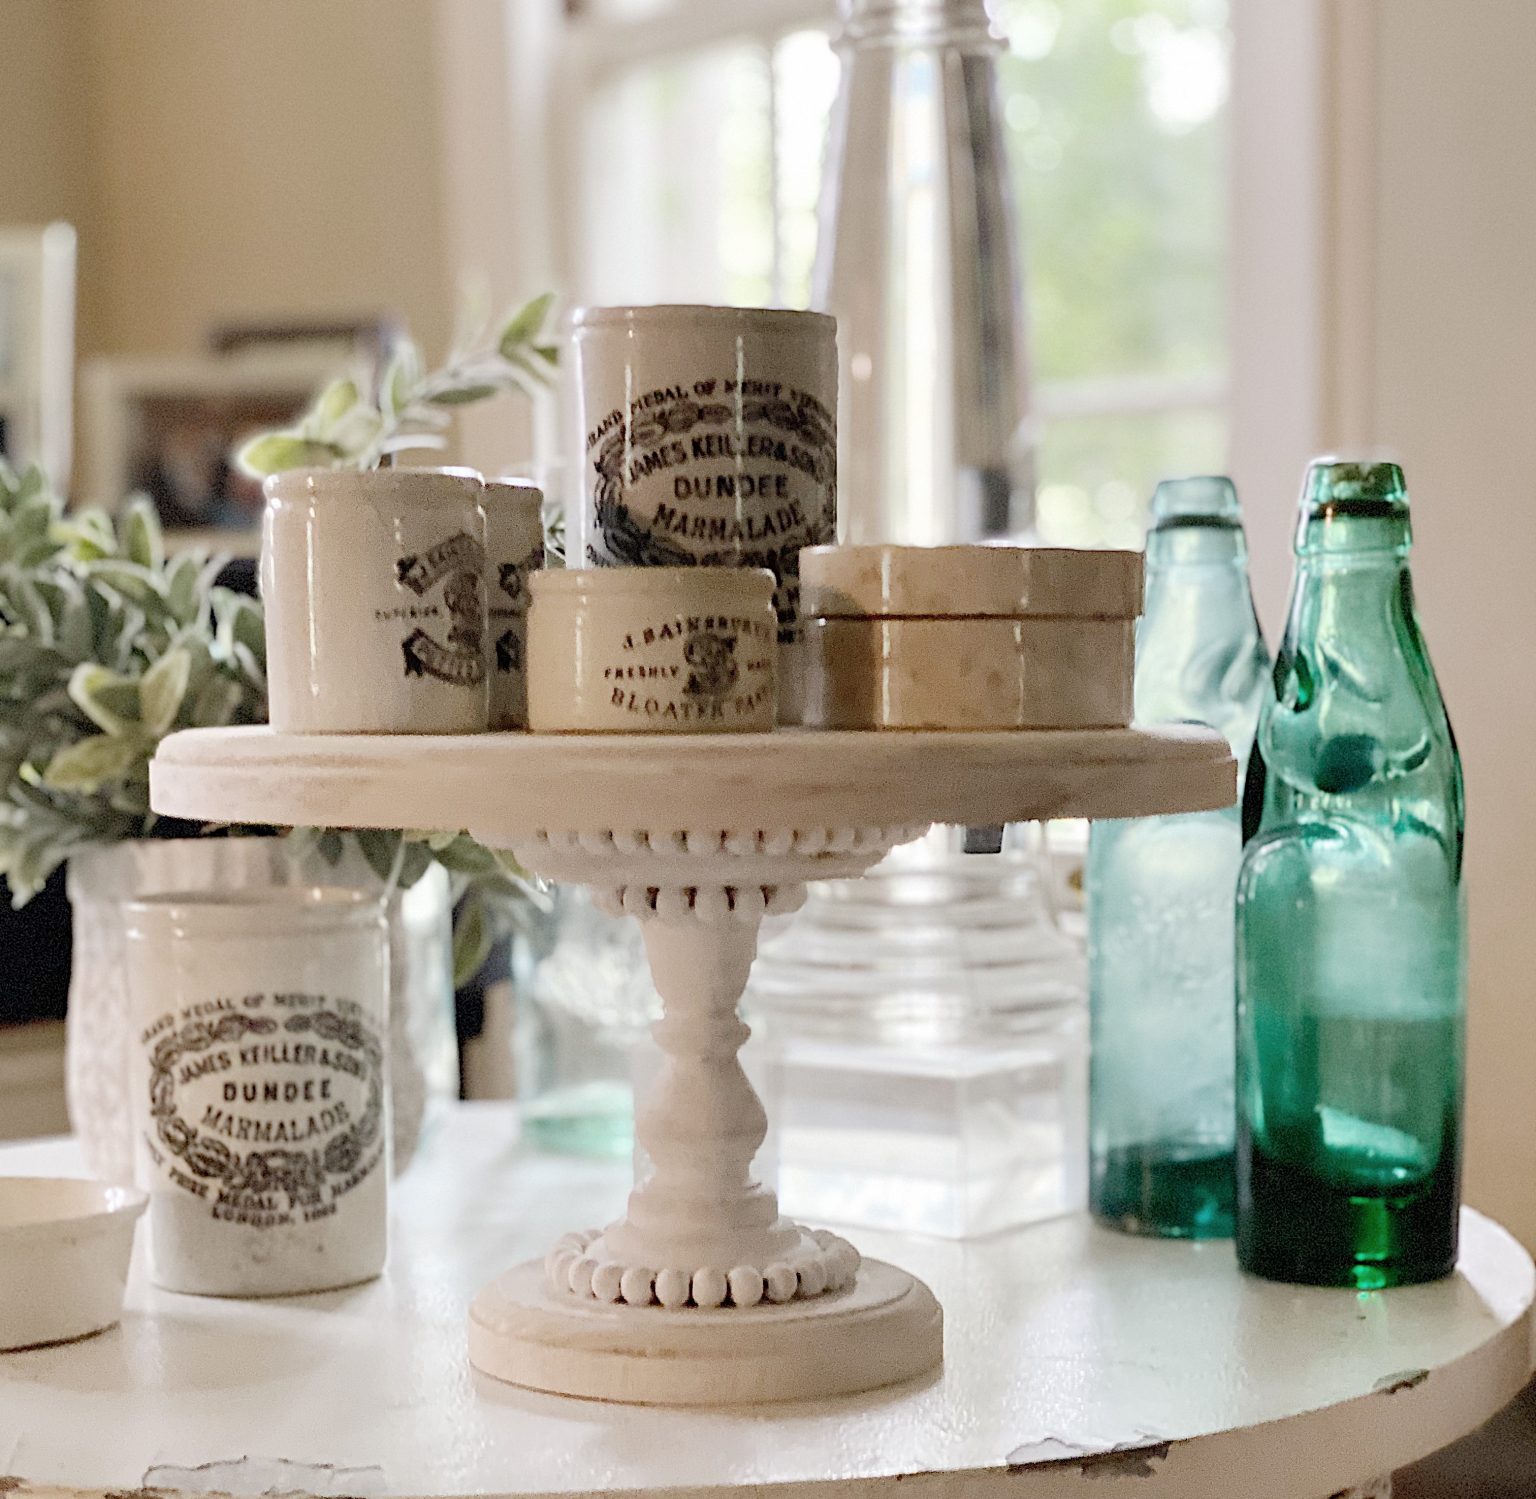
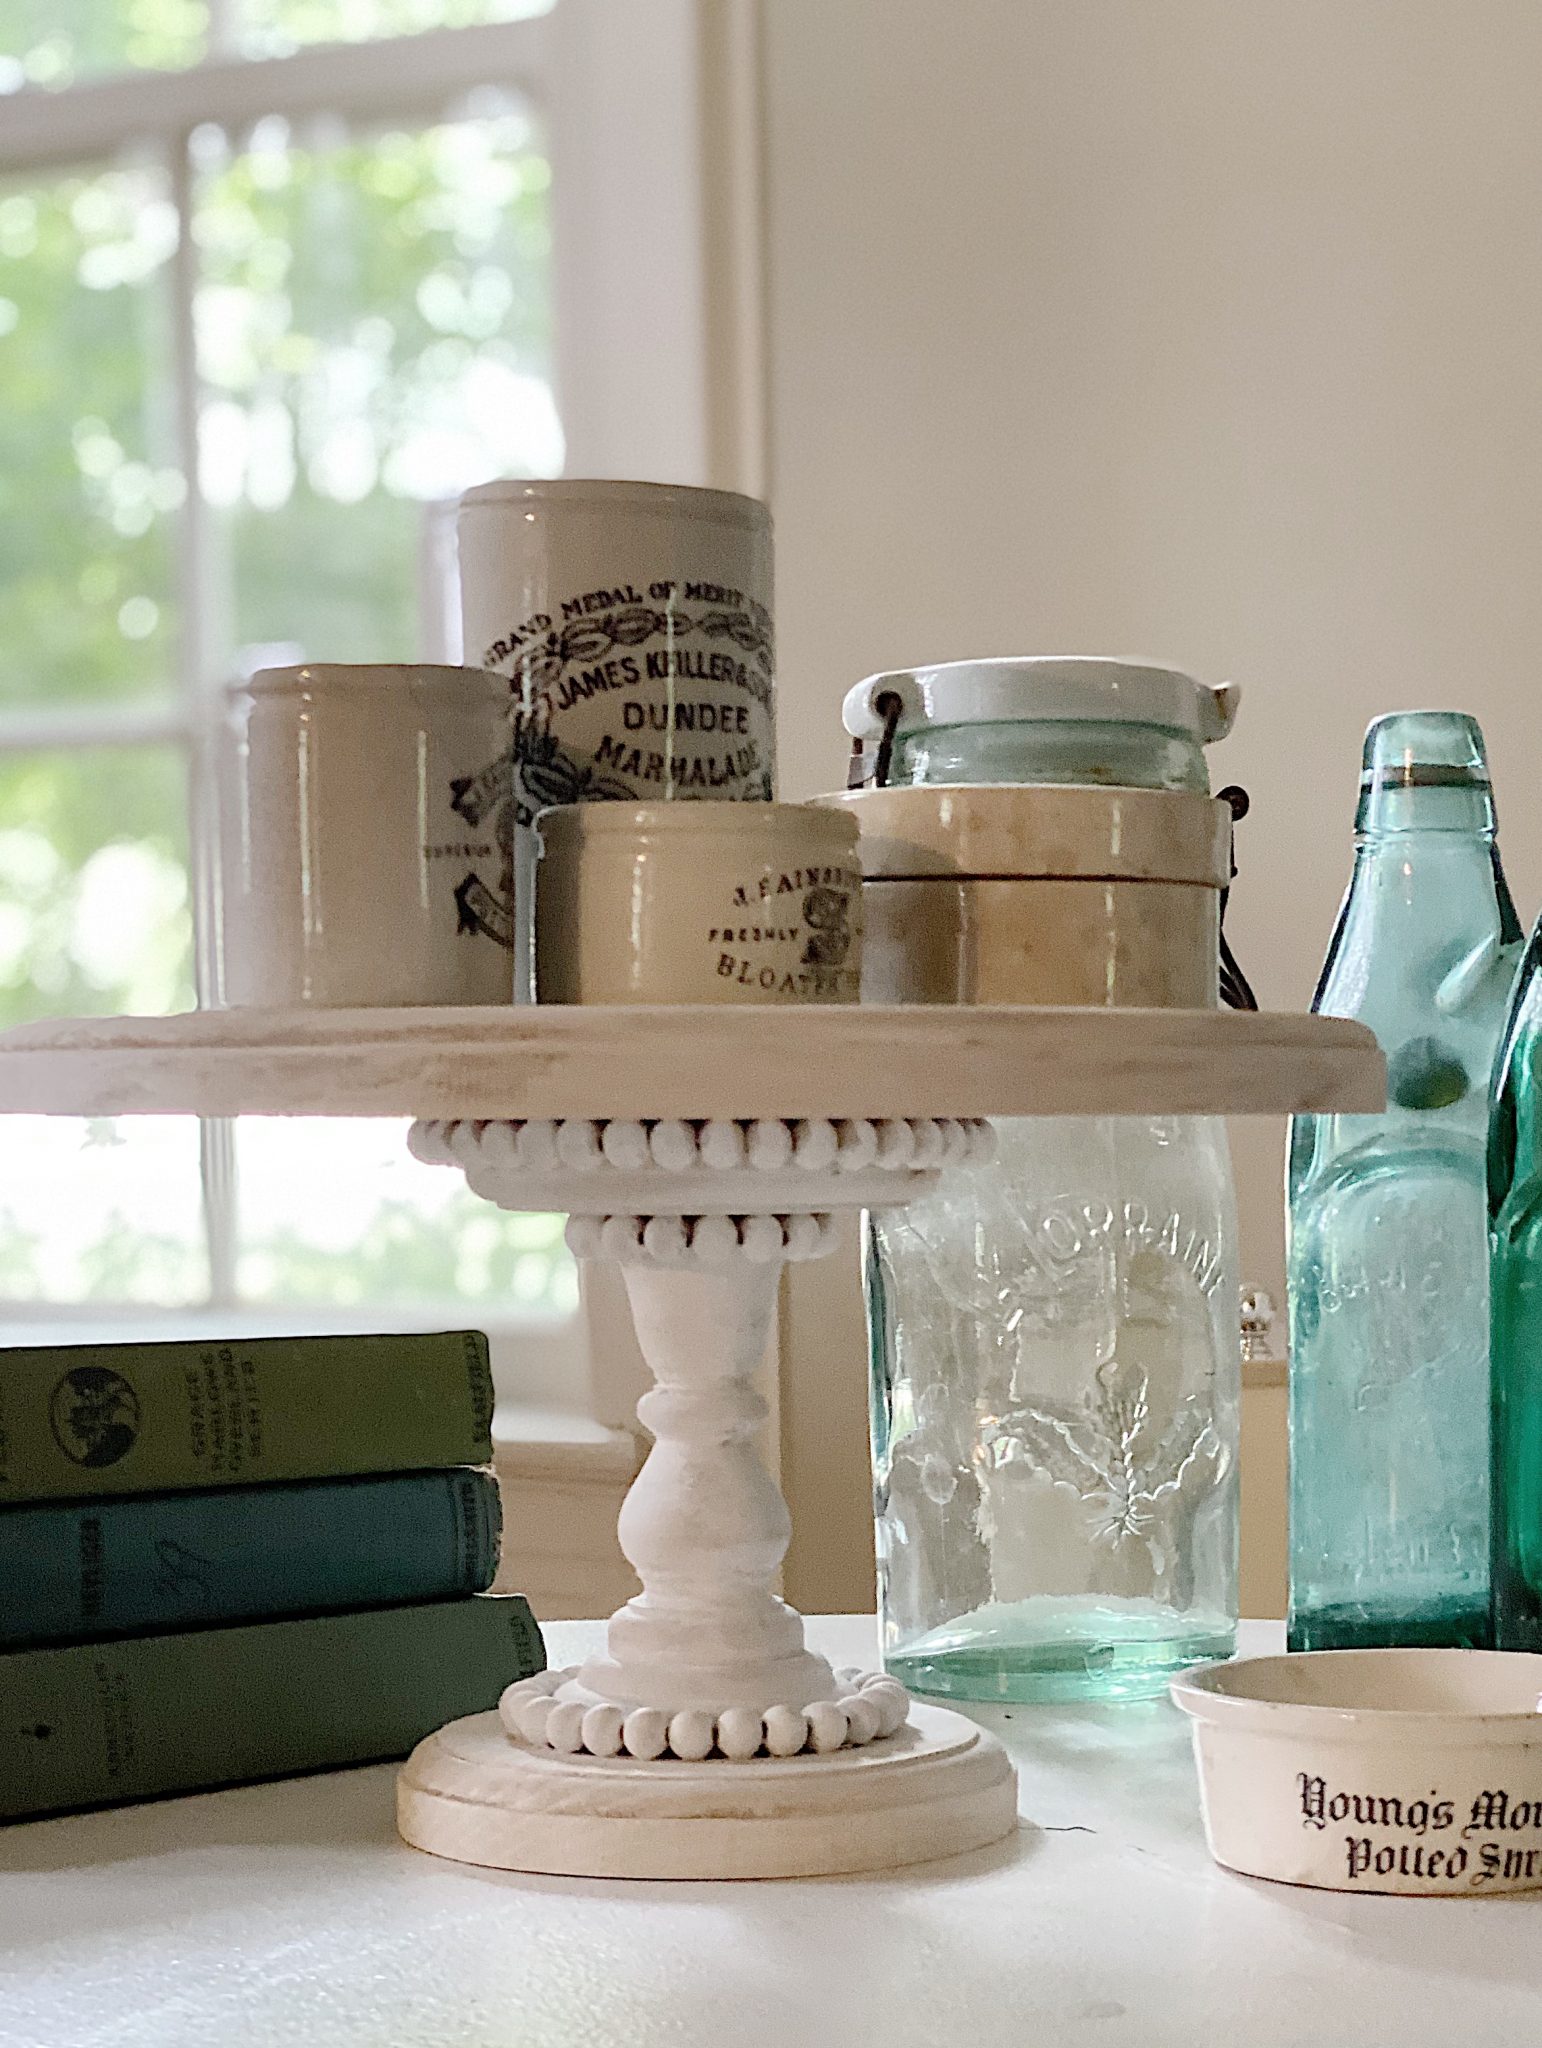
.I love that the same cake stand looks so different in many places in our home.
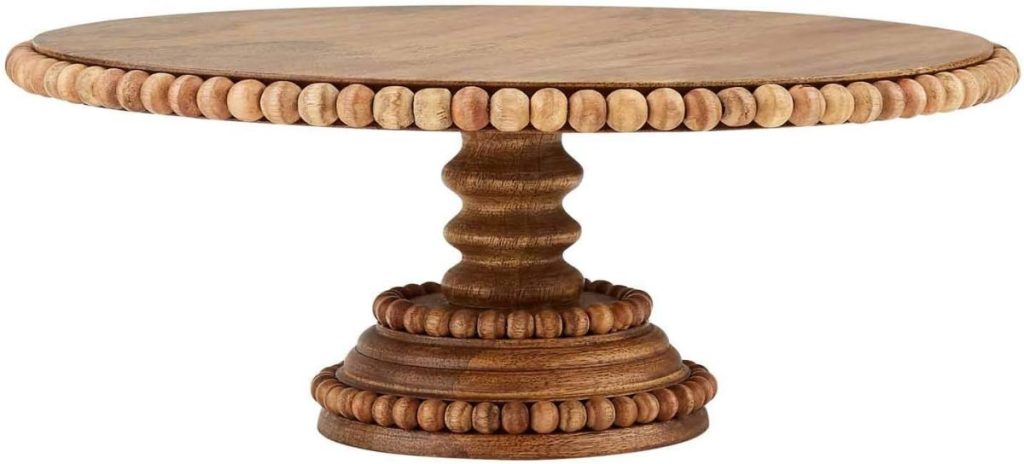
I can’t even imagine how great this will look with a gray stain or even painted a fun color! Pink perhaps??
Frequently Asked Questions
A cake stand, originally known as a salver, was made to hold a cake (duh), but some of us rarely use them for cakes. I use them for desserts, muffins, and all desserts. I also use my cake stands as a decor item; you can find many of them throughout our home, with many wonderful items stored on top.
This cake stand is one of a kind, and I am so happy with how it turned out – better than I expected.

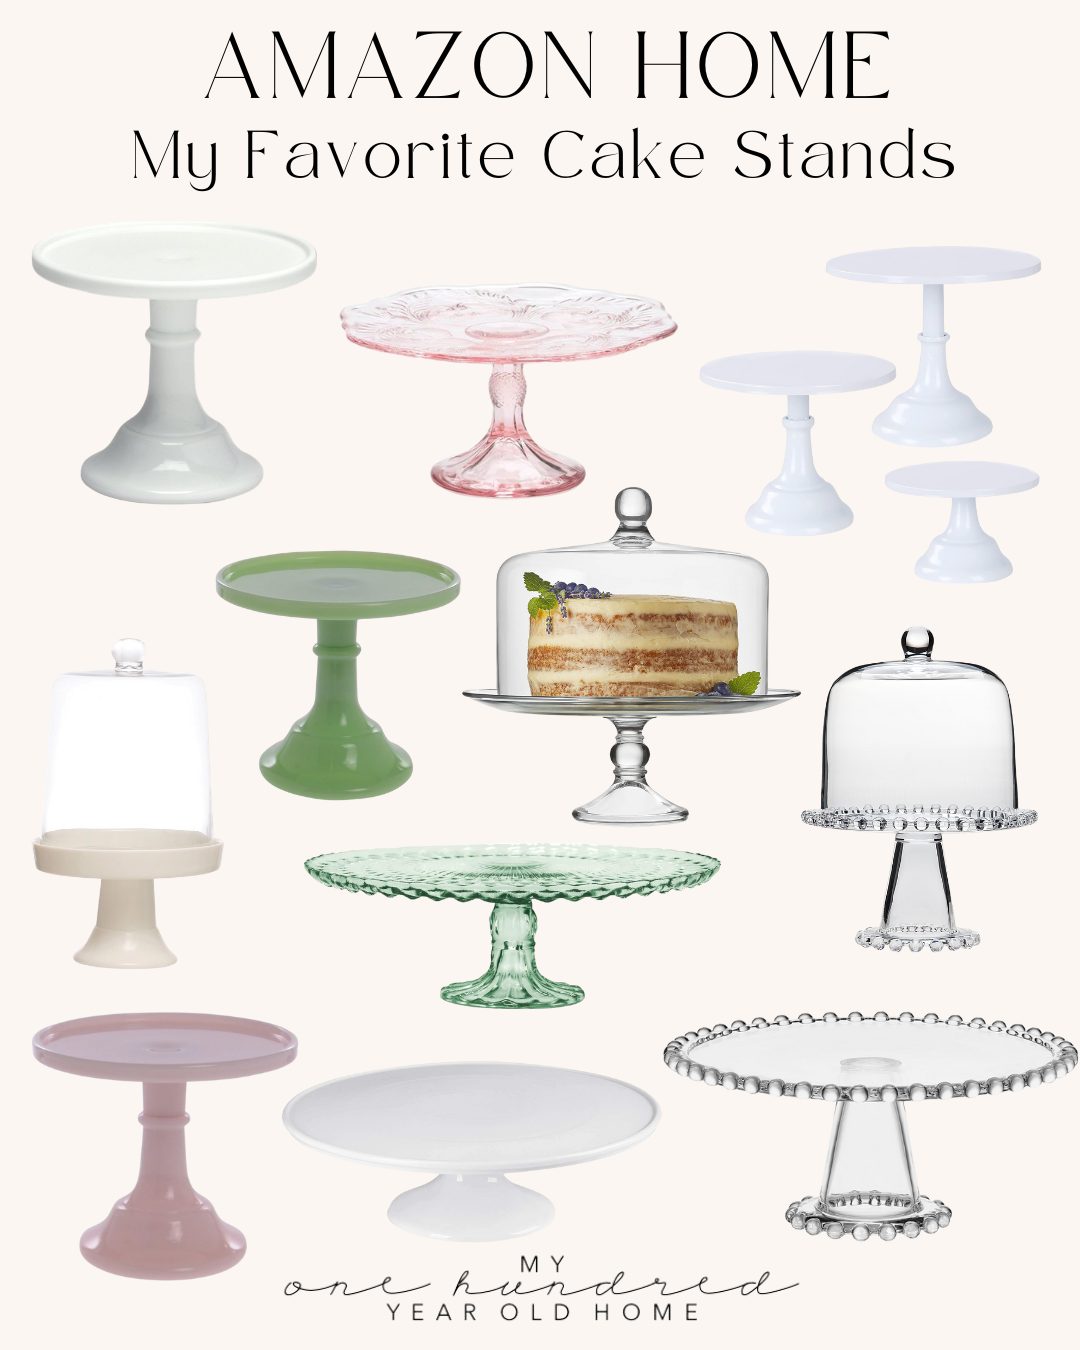
My Favorite Cake Stands
Similar Posts

You can pin the image below to your decor boards on Pinterest (just click the Pin button in the top left corner) or follow me on Pinterest!
For more real-time updates, follow me on Instagram @My100YearOldHome


I love this!!! I already have many of these items on hand!!
Time to craft.
A girl can never have too many cake stands!!!
Thanks so much Paula!
I like your cake plate better. Lol. It came out great and pretty simple. Thanks for the idea. XO- MaryJo
Haven’t heard from you today, Still no blog
Caught your blog for today in my notifications
Oh good, I am so glad!
Do you use Instagram?
Yes! I am on Instagram @My100YearOldHome
Love how it turned out. Perfect cake stand.
Thank you so much Tammy! I was really happy with the end result 🥰🙌🏻
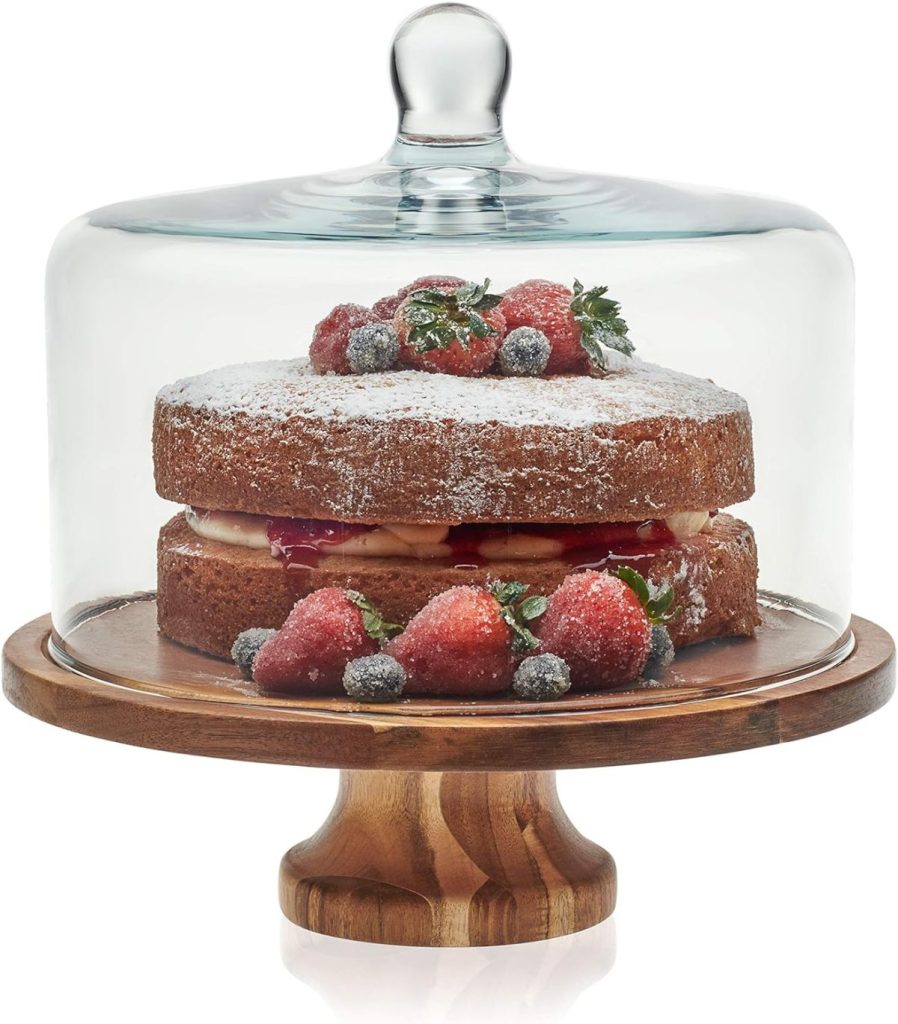
Love the cake stand. Where can I purchase a glass dome to cover cakes, etc?
Hi Leslie, cake stand is so pretty! I’m just wondering about washing it? I’m sure the finish allows you to wash with soap after use? Thanks!