How to Create Perfect Chalkboards for Every Season
 I love using my Silhouette Cameo to spruce up the décor in my home.As you know my home is decorated in a farmhouse/flea market style and I love hunting for treasures at our local antique flea market every month. One of my favorite things to collect are chalkboards.
As much as I think I have decent handwriting, I needed a better solution for writing words on my chalkboards. Fortunately, my Silhouette machine was the perfect solution.
I have been making stencils for my chalkboards for a few months now and they look so much better than the ones I used to handwrite. I have even simplified the process so that I don’t even need to edit the letters. When I first started making stencils I had to edit many of the letters because fonts don’t cut as stencils. You will lose the centers of many letters of the letters. So you have to edit them and attach the centers so they are part of your stencil. As you can see in this photo, the center parts of the letters B, A, O, and R are missing.
Then I discovered that I don’t even need to do that step. Because it’s easy to draw the letters just by looking at them!
What You Will Need
- Silhouette Cameo machine
- Stencil Material (I have used both the Silhouette Stencil Material and the Show-Off Stencil Blanks)
- Liquid Chalk Markers
Measure your chalkboard so you know how much space you have to work with. Select a font that fits with the words and size available on the chalkboard. I happen to have a lot of skinny chalkboards so I like the Belacu font. You can also use any of the designs in the Silhouette Design Store for your stencil.
Using the Silhouette design program, lay out your design and size it to fit your chalkboard.
 Be sure to select Stencil Material as your cutting material. If you are using the heavier Show-Offs stencil blanks use the settings of: blade – 10, Speed – 5, Thickness – 33, and Double Pass. The thicker stencil material is great because you can easily save your stencils and reuse them.
 Once you cut the stencil, tape it to your chalkboard. Using a liquid chalk marker (or regular chalk), fill in the letters. When drawing the “B”, as seen in the photo above, just draw in the letter as seen on your computer screen.
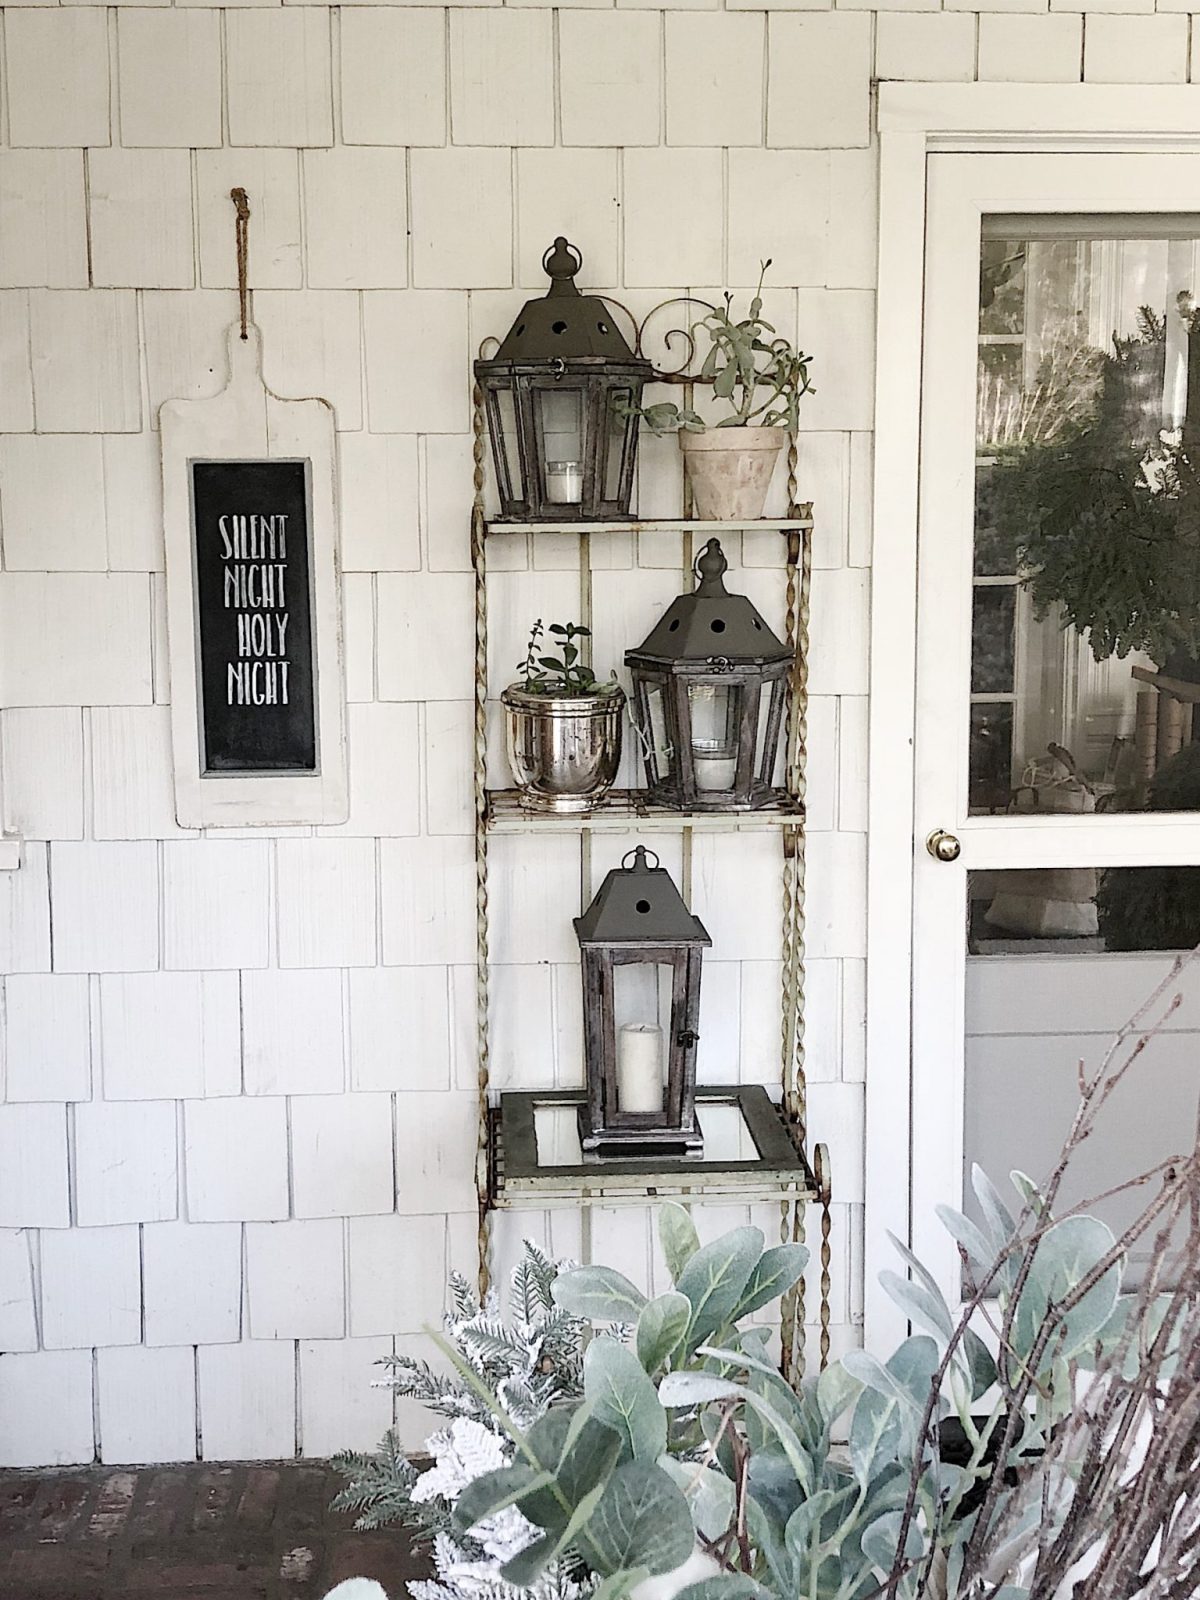
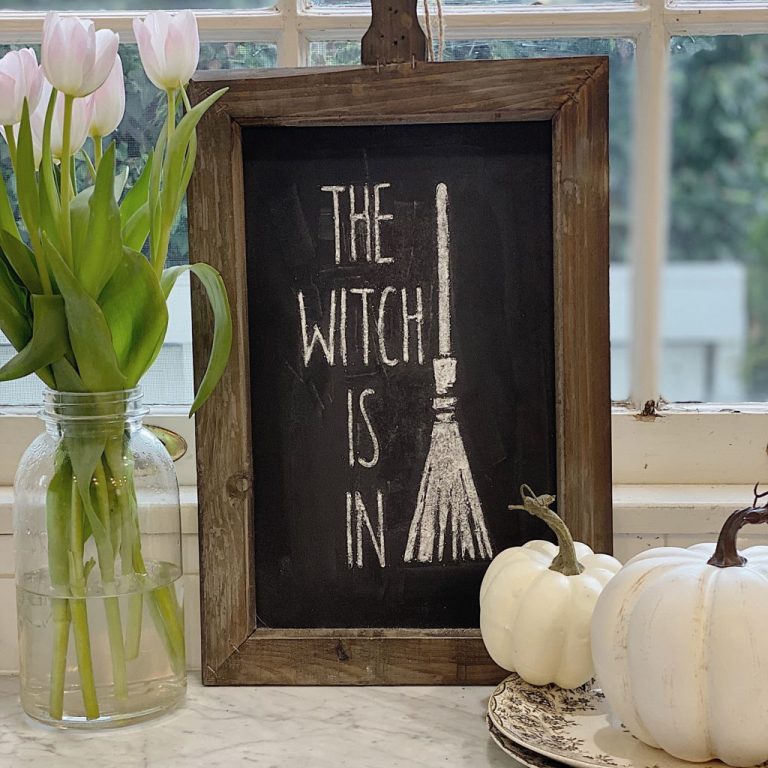
When you are finished, your chalkboards will look amazing! And they work for every season.
For more real-time updates, follow me on Instagram @My100YearOldHome






Hi Leslie. Thanks for sharing the instructions. You wrote about this in another post on your blog and I don’t have a Silhouette but I was inspired to upgrade my Cricut machine for xmas so that I can access all the pretty fonts that are available now. Wish you a Merry Christmas and Happy Healthy New Year. Linda
Leslie,
So excited to try out my new Silhouette Cameo, where do you get the liquid chalk?
do you ever make your own chalkboards. and can you take it off chalkboard and put different stencisl on? do you use chalk paint?