DIY Clay Easter Egg Designs


I just made a set of adorable clay-textured Easter egg designs that look like delicate ceramic pieces—but they’re made from air-dry clay!
The best part? This DIY project was surprisingly easy and incredibly fun. It produced stunning results that look beautiful and can be displayed anywhere in a home.


DIY Textured Clay Easter Egg Designs: A Beautiful Spring Craft

Springtime always brings out my love for crafting, and with Easter just over a month away, I’ve been inspired to create something charming and elegant for my home decor. I am slightly obsessed with clay projects and decided to make some clay easter eggs.
Aren’t they wonderful?
Today, I’m sharing exactly how I made these textured clay Easter eggs using textured rollers, acrylic paints, and clay glaze.
I promise that once you see how simple and fun this process is, you’ll want to make dozens of these beautiful decorative eggs!
I may sometimes use affiliate links on this blog, which means a small commission is earned if you purchase via the link. The price will be the same whether you use the affiliate link or go directly to the vendor’s website using a non-affiliate link.


Why Clay Easter Eggs?

Decorating eggs is a beloved Easter tradition, but real eggs can be delicate, messy, and temporary. I wanted something lasting, elegant, and versatile. Air-dry clay offered the perfect solution: it’s easy to work with, affordable, and dries hard, creating durable decor items that you can enjoy year after year.
These clay eggs look like delicate ceramics, adding a sophisticated yet handmade touch to your Easter decor.
Supplies You Need

Here’s everything you’ll need to create your own textured clay Easter eggs:
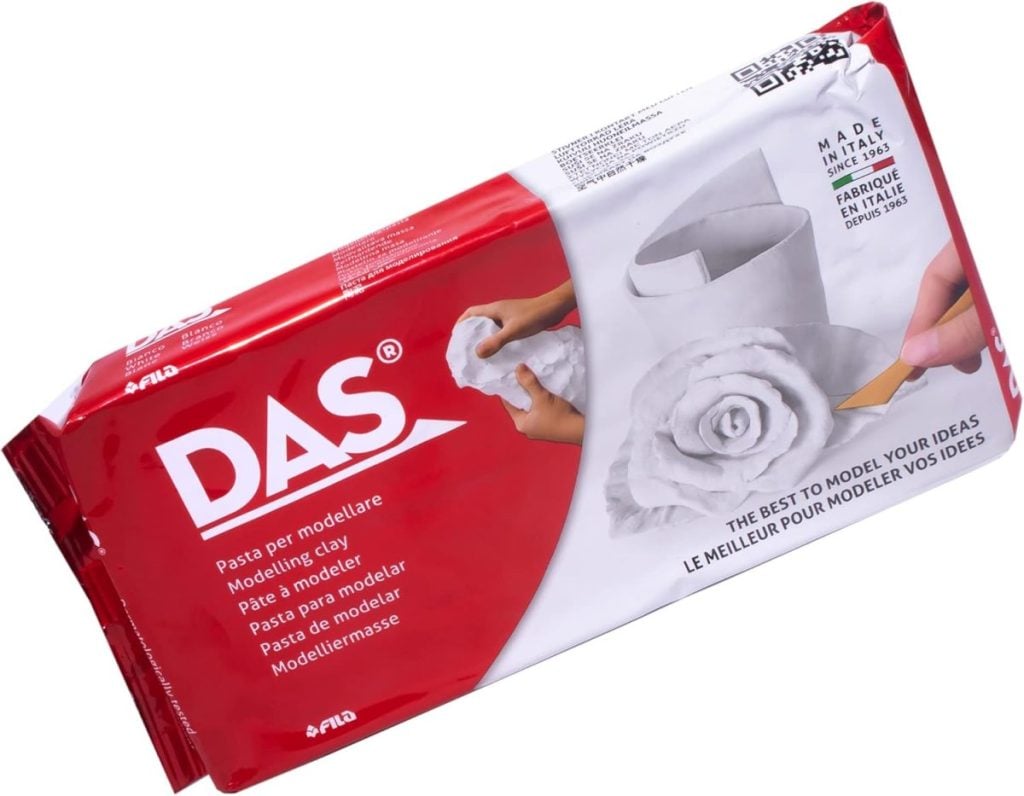
- Air-dry clay (I used DAS Air-Dry Clay)
- Egg-shaped molds or plastic eggs to use as shaping guides
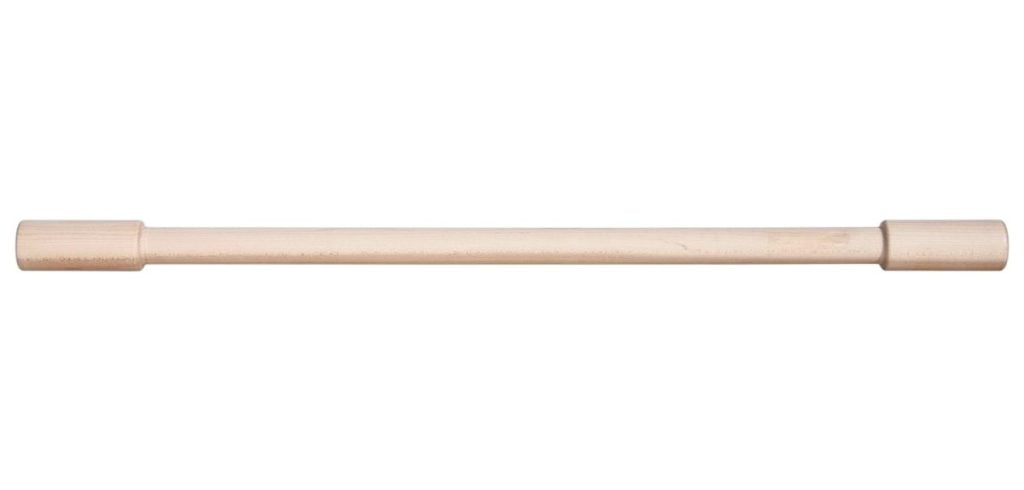
- Textured rolling pins or texture mats (for imprinting patterns)
- Craft knife or clay cutting tool
- Sandpaper (fine grit) or a dry sponge with textured side
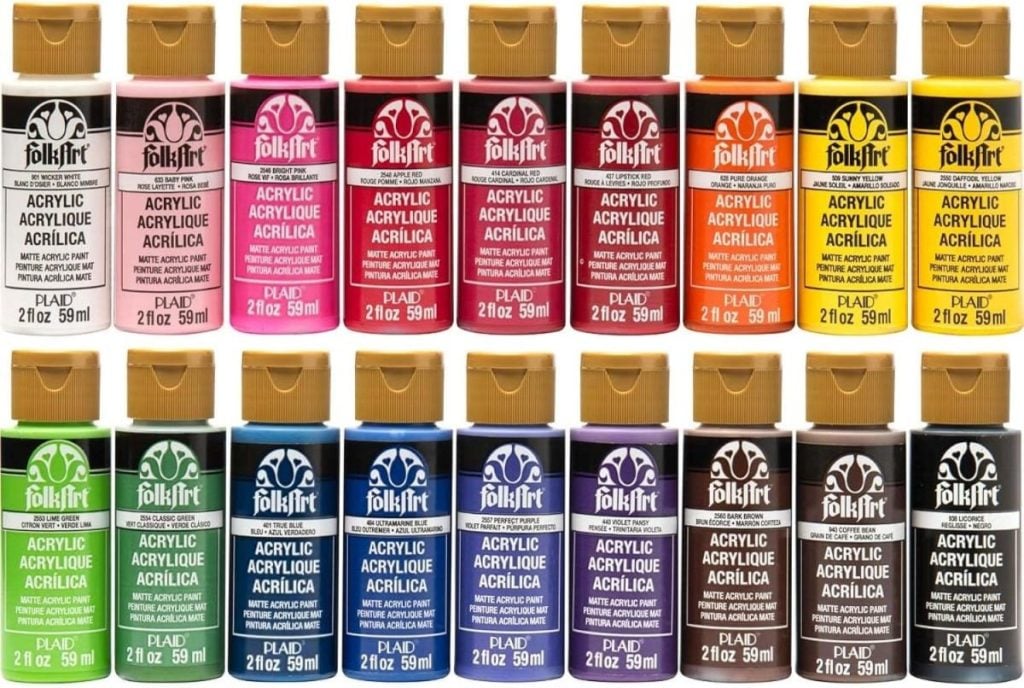
- Acrylic paints (soft pastels or spring colors)
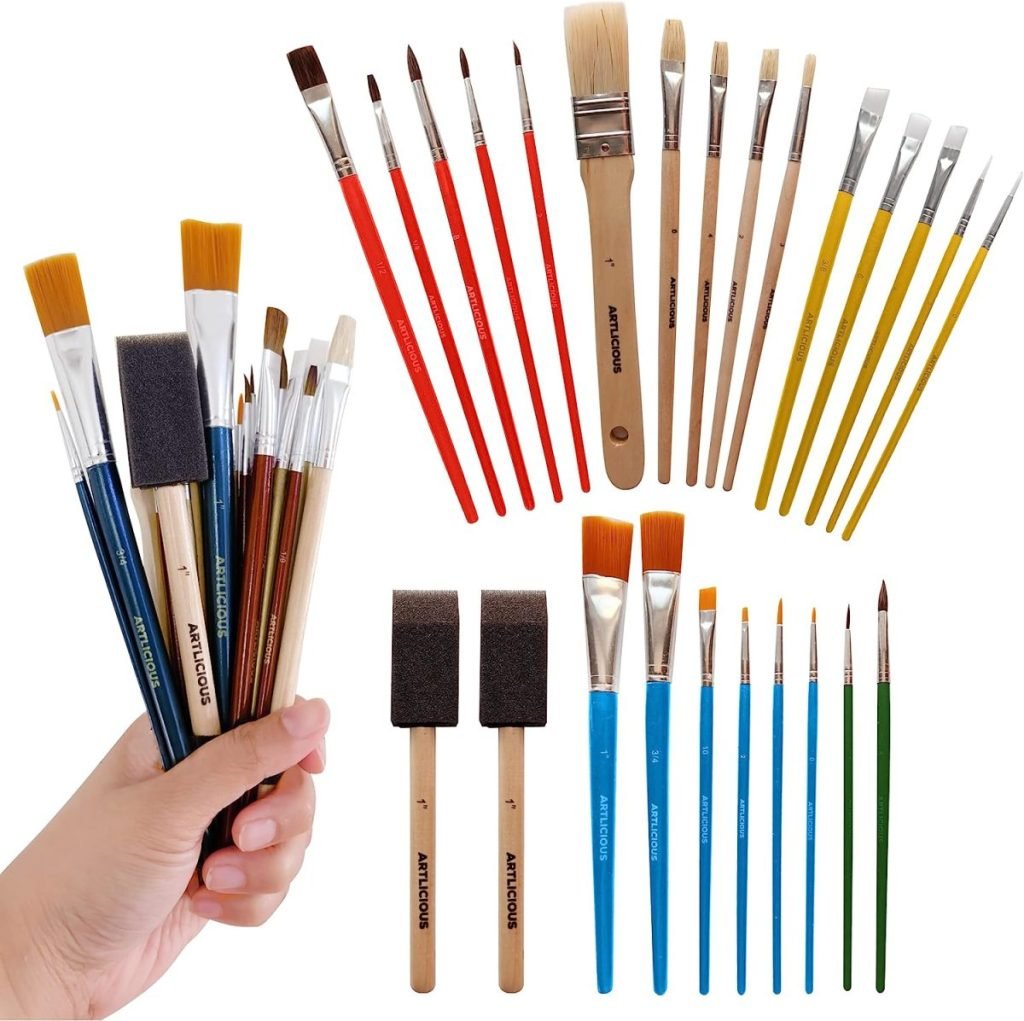
- Paintbrushes
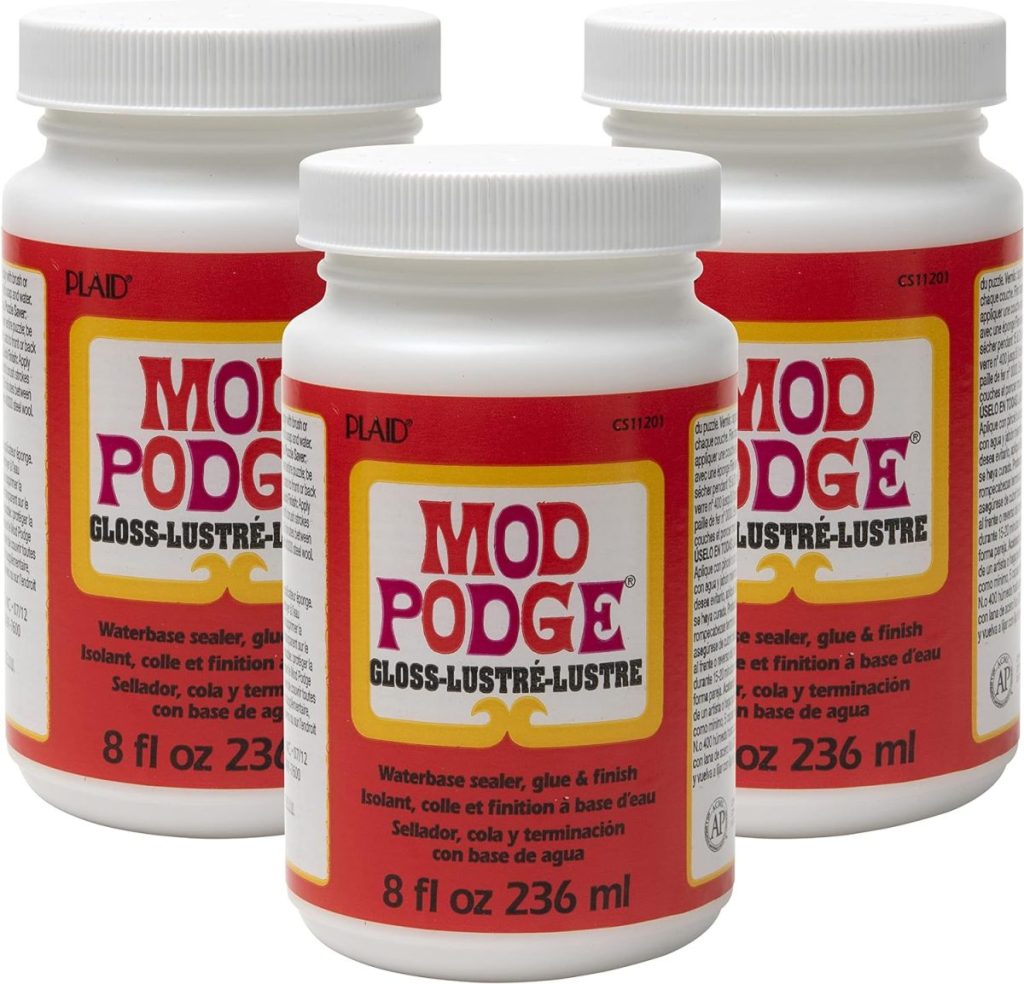
- Mod Podge (for sealing the clay)
- Clay glaze (for a glossy finish and much easier to use than UV resin)
- Wax paper or parchment paper (for a work surface)


Step-by-Step Guide to Making Textured Clay Easter Eggs
Step 1: Preparing Your Clay

Start by laying down wax paper or parchment paper to protect your work surface. Take a portion of air-dry clay and knead it gently to soften it, making it easier to roll and shape.
Step 2: Rolling Out and Texturing the Clay


Roll out your clay evenly to about 1/4-inch thickness. Using your textured rolling pin or a texture mat, gently roll or press it across the clay surface. For some I used two rollers for a more interesting design for each egg. The texture creates lovely patterns that transform the eggs from plain to beautifully ornate.
Step 3: Cutting and Shaping the Eggs

Using your craft knife or a simple egg-shaped cookie cutter, cut out your egg shapes from the textured clay. Smooth the edges gently with your fingertips, ensuring no sharp edges or rough spots remain.
Step 4: Letting the Clay Easter Egg Designs Dry

Place your shaped clay eggs carefully onto parchment paper and allow them to dry thoroughly. Drying usually takes 24–48 hours, depending on the thickness of the clay and humidity levels. For best results, flip the eggs over halfway through drying to ensure even drying on both sides.
If you are impatient, place the clay eggs on a baking rack and bake at 200 degrees for about 30 minutes. It works very time!
Once completely dry, gently sand any rough edges or imperfections with fine-grit sandpaper. This step ensures your finished eggs look polished and professional.
Step 5: Sealing with Mod Podge

Brush a thin, even coat of Mod Podge onto each dried clay egg to seal the surface. This step prevents the paint from being absorbed into the clay, helping achieve a smoother, more ceramic-like finish. Allow the Mod Podge to dry completely before moving on to painting.
Painting Your Clay Easter Eggs

Now comes the fun part—painting! I used acrylic paints in soft, pastel shades like blush pink, sky blue, mint green, and creamy yellow to give my Easter eggs a fresh, spring-inspired palette.
Apply two to three coats of acrylic paint, allowing each coat to dry completely before applying the next. This layering creates an even, smooth finish and beautifully enhances the texture.
Adding the Clay Glaze Finish

Rather than using UV resin, which I’ve used in past projects like my textured clay hearts, this time I decided to use Clay Glaze. The glaze gave the eggs a beautiful ceramic-like finish with a subtle shine.
Apply the glaze using a clean paintbrush, covering all surfaces evenly. Allow each coat of glaze to dry completely (approximately 2–3 hours) before adding additional layers. Two coats typically give the perfect glossy finish.
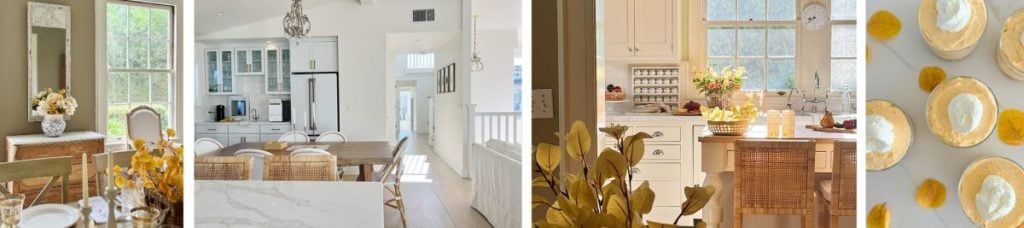
Styling Your Textured Clay Easter Eggs

These clay Easter eggs are versatile decor items. Here are some lovely ways to style them in your home:
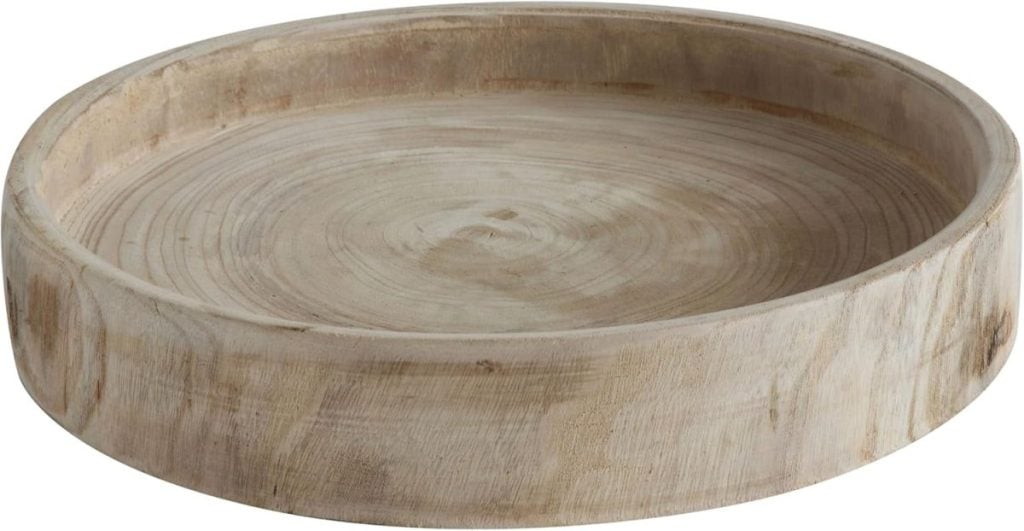
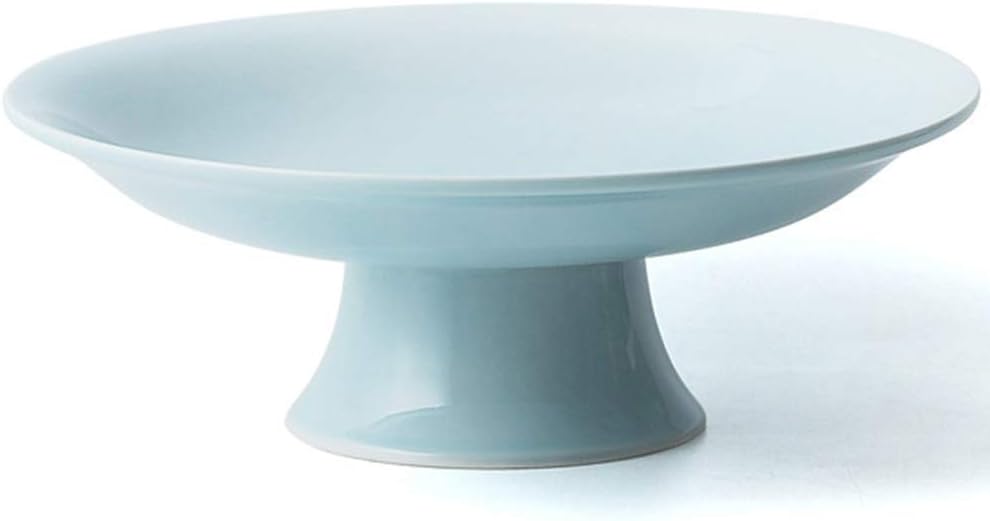
- Arrange them in a decorative bowl or basket as a centerpiece.
- Scatter them across your dining table for an elegant Easter brunch setting.
- Display them on a mantle or bookshelf with fresh greenery and spring flowers.
- Use them as placeholders at your Easter table by adding small name tags.


Why You’ll Love This Project

- Easy and enjoyable: No kiln or fancy equipment needed—just simple supplies and creativity.
- Customizable: Choose textures, colors, and finishes to match your home’s aesthetic.
- Durable: Unlike real eggs, these can be stored and reused year after year.
- Perfect for gifting: Wrap them up as thoughtful handmade gifts for friends and family.
Final Thoughts

Making these textured clay Easter eggs was an incredibly enjoyable experience, combining creativity, crafting, and home decor into one delightful project. Each egg feels like a miniature work of art, and knowing that I created them myself adds even more satisfaction.
I hope this inspires you to give air-dry clay a try—it’s a forgiving medium that’s ideal for both beginners and experienced crafters alike. Let your imagination guide you, play with textures and colors, and create your own unique Easter eggs to treasure for years to come!
Happy crafting, and happy Easter!
Are you planning to make textured clay Easter eggs this spring? I’d love to hear about your ideas and see your finished creations!


Easter Decor Favorites

If you enjoy my blog, you can sign up to receive my updates here.
.Latest Posts
-
Main Dishes | Recipes | Salads
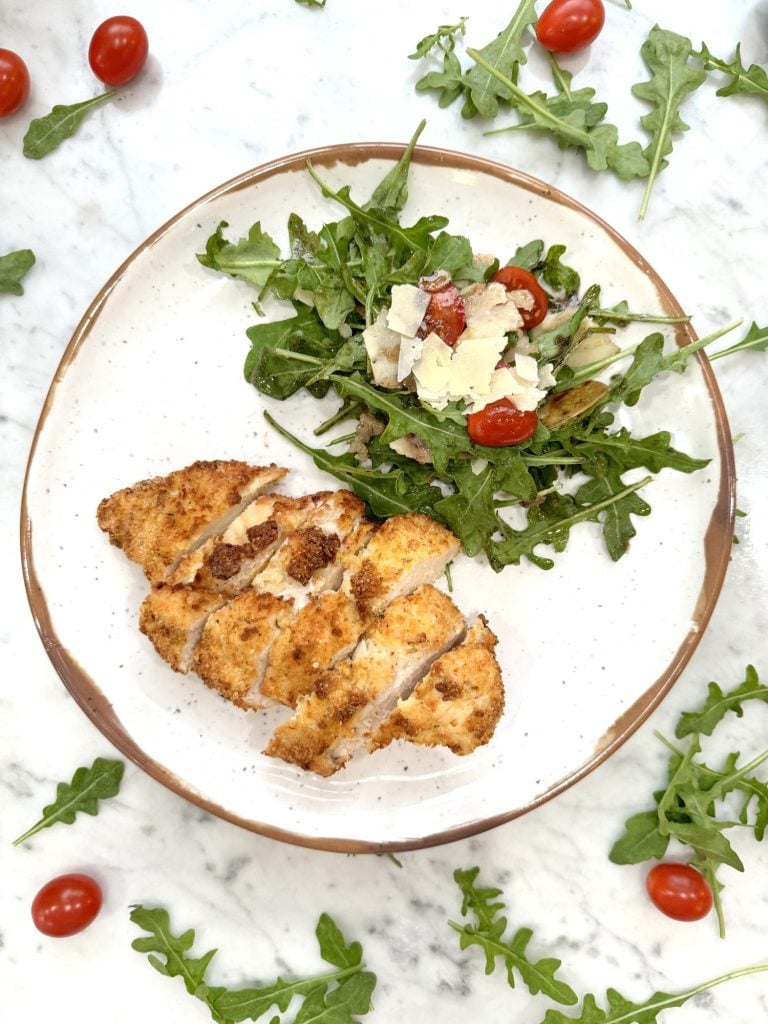
Healthy Air Fryer Baked Parmesan Crusted Chicken with Arugula Salad
Everybody needs a quick dinner recipe that’s easy to throw together at the last minute. My Baked Parmesan Crusted Chicken is just that! This recipe is also healthy, and if you cook it in the air fryer, it’s not only tender but also a delicious, guilt-free dinner. I paired it with my favorite healthy arugula…
-
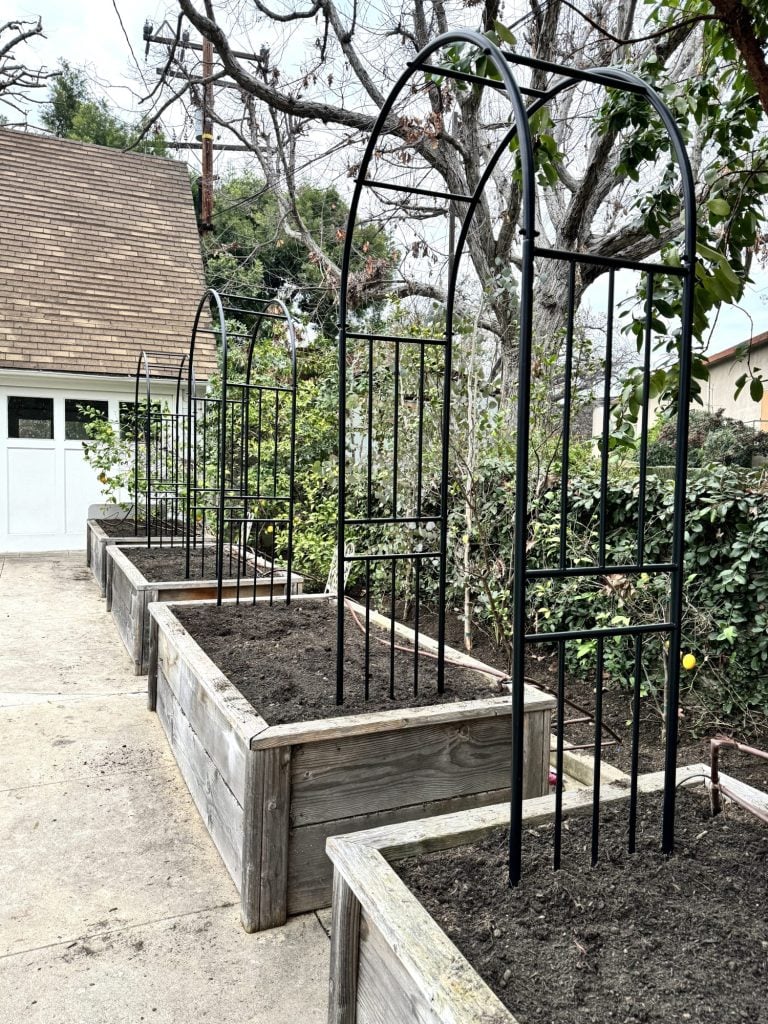
My Dream Vegetable and Herb Kitchen Garden
Two years ago, I tackled a big project – a vegetable kitchen garden. It was successful for the first year, and then it wasn’t. But I am going to do it again. But with a few modifications. In today’s fast-paced world, there’s something deeply satisfying about growing a kitchen garden. Not only does it reconnect…
-
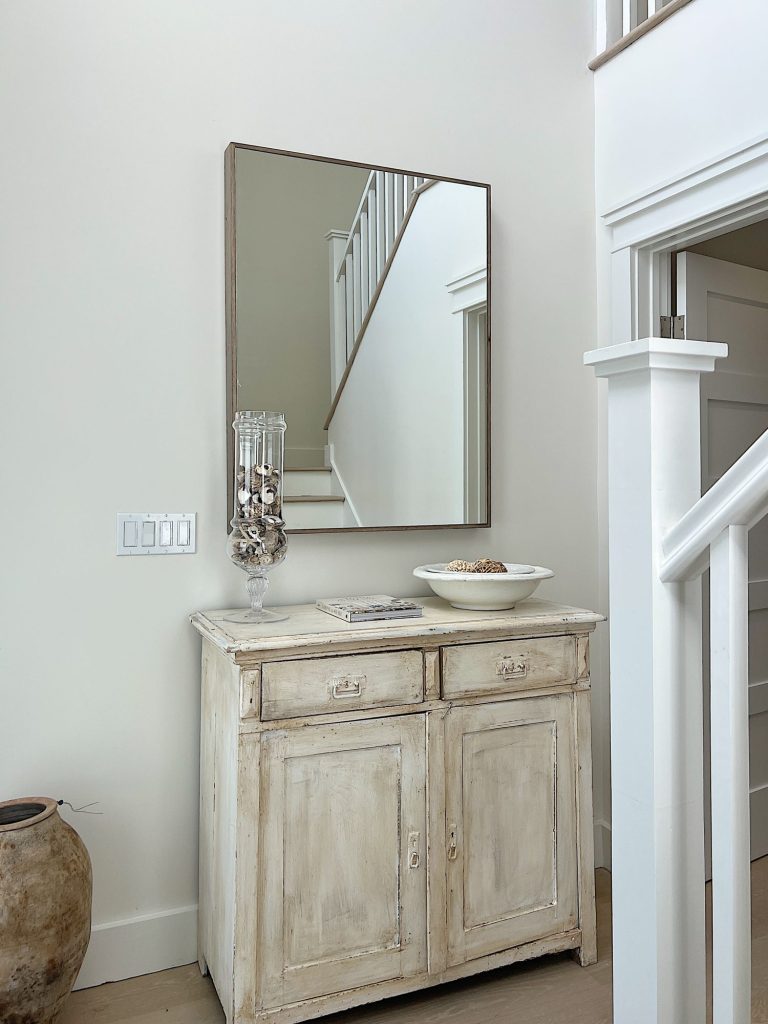
Mixing New and Vintage Decor in the Beach House
Mixing vintage decor with new items in your home is a great way to add character and charm to your space. It worked in our beach house! Whether you’re a seasoned vintage collector or just starting out, incorporating vintage pieces into your home can create a unique and personalized look. Today, I will explore some…
-
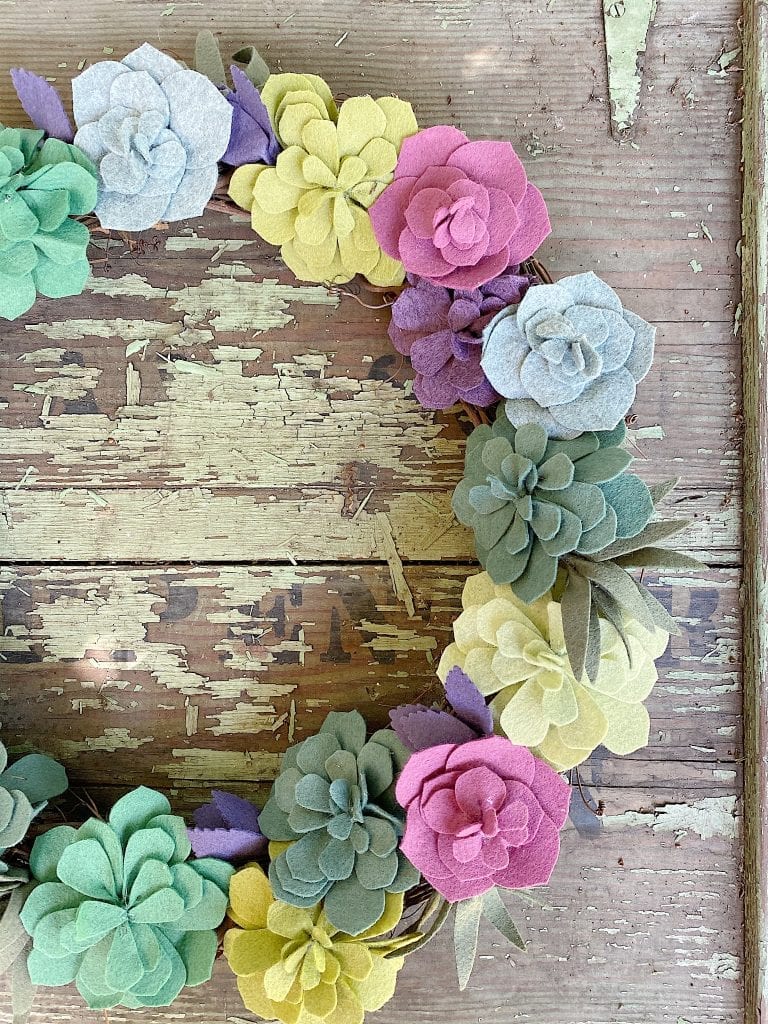
A Joyous Spring and Sunday Morning Coffee
This week has been a whirlwind of travel, family time, and some very fun surprises. What a joyous Spring it has been! We spent a few wonderful days in Marin County with our kids and THREE grandkids, then Dave and I headed to Indian Wells to meet Matt and Polina for an incredible weekend at…

My Recent Instagram Posts

You can pin the image below to your boards on Pinterest (click the Pin button in the top left corner) or follow me on Pinterest!

For more real-time updates, follow me on Instagram @My100YearOldHome
