Apple Pie with Flaky Sourdough Pie Crust
This Apple Pie recipe combines the tangy richness of sourdough with the classic apple pie … a flaky sourdough pie crust with layers of buttery goodness and a tender, flavorful apple filling.
Now that I have a healthy and growing sourdough starter, I had to try an apple pie with a sourdough pie crust! The sourdough adds a depth of flavor to the pie crust, making this apple pie truly special.
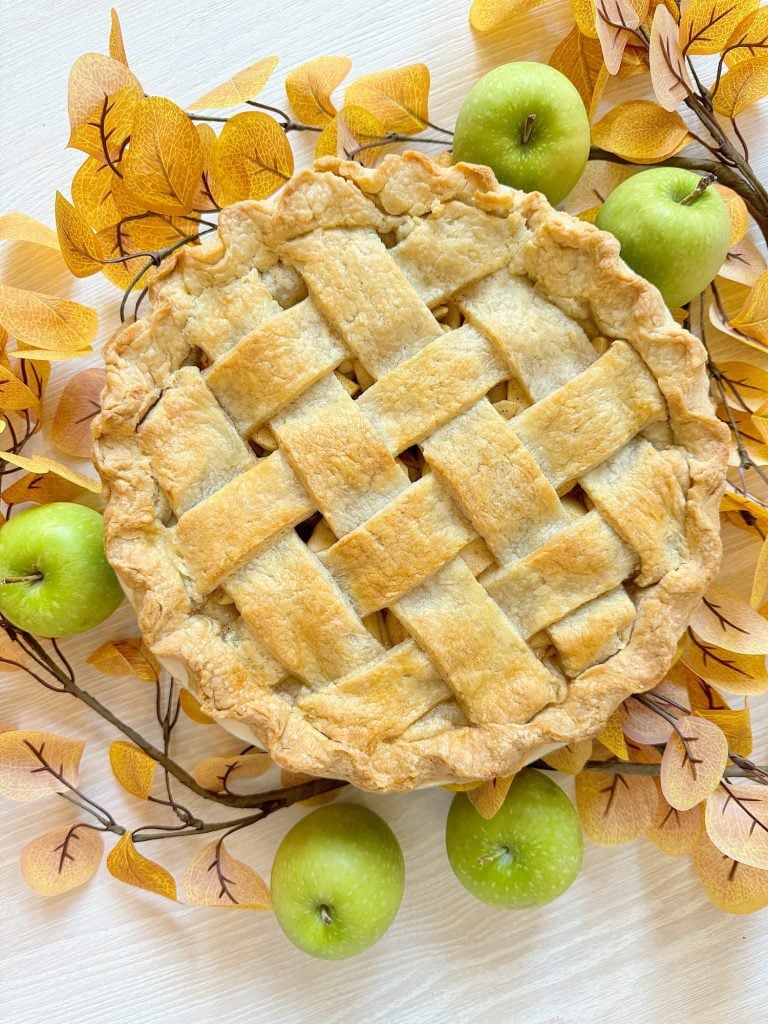


How to Make Apple Pie with Flaky Sourdough Pie Crust
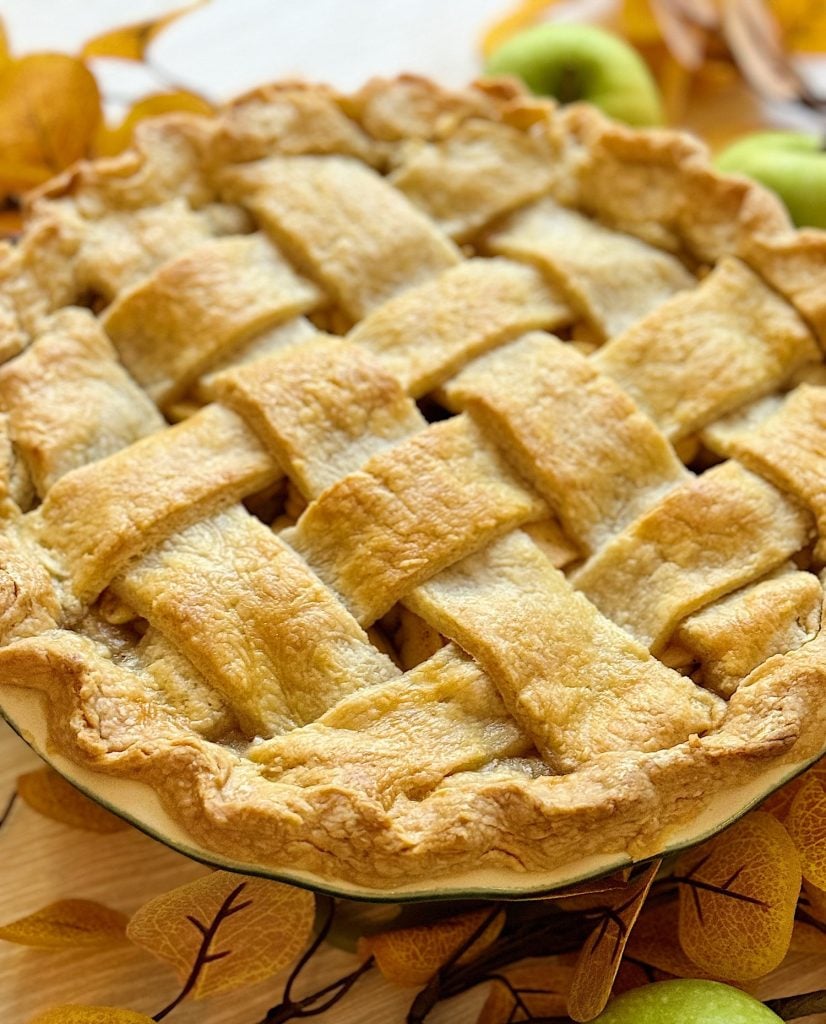
Nothing is like the smell of a freshly baked apple pie wafting through the house. It’s a comforting, nostalgic dessert that brings joy to family gatherings, holidays, and cozy evenings at home. But if you want to take your apple pie game to the next level, why not try a twist on the classic recipe by making a flaky sourdough pie crust?
Who doesn’t want to make an apple pie with a buttery, tender, and impossibly flaky sourdough pie crust? The sourdough element adds a subtle tanginess to the crust, elevating the flavor profile without overpowering the sweetness of the apple filling.
Plus, using sourdough discard for the crust is a fantastic way to reduce food waste if you’re already maintaining a sourdough starter.
Why Use Sourdough for Pie Crust?
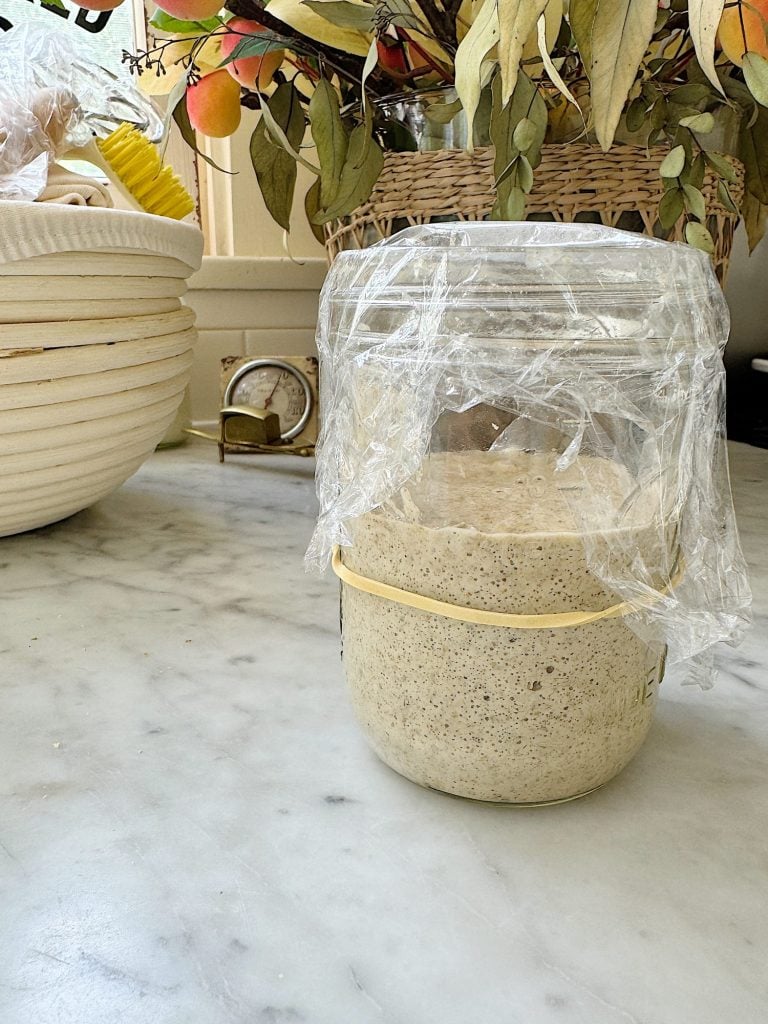
Sourdough is often associated with bread, but it can also do wonders for pastry. Here’s why incorporating sourdough into your pie crust makes sense:
- Enhanced Flavor: Sourdough’s natural fermentation process gives the dough a mild tang that enhances the overall taste of the pie crust without being too sour.
- Perfect Texture: Sourdough adds a slight elasticity to the dough, which, when combined with the buttery layers, creates an extra flaky texture.
- Better Digestibility: Like sourdough bread, sourdough pie crusts are easier on the digestive system, as fermentation helps break down gluten.
- Resourceful Baking: If you bake sourdough bread, you likely have some starter discard. This is a great way to discard and avoid waste.
If you don’t have a sourdough starter, you might want to make one. Head to How to Make a Sourdough Starter, and you will have one ready in less than two weeks. Not to mention that you will be making sourdough bread, too!
I may sometimes use affiliate links on this blog, which means a small commission is earned if you purchase via the link. The price will be the same whether you use the affiliate link or go directly to the vendor’s website using a non-affiliate link.
The Recipe Breakdown
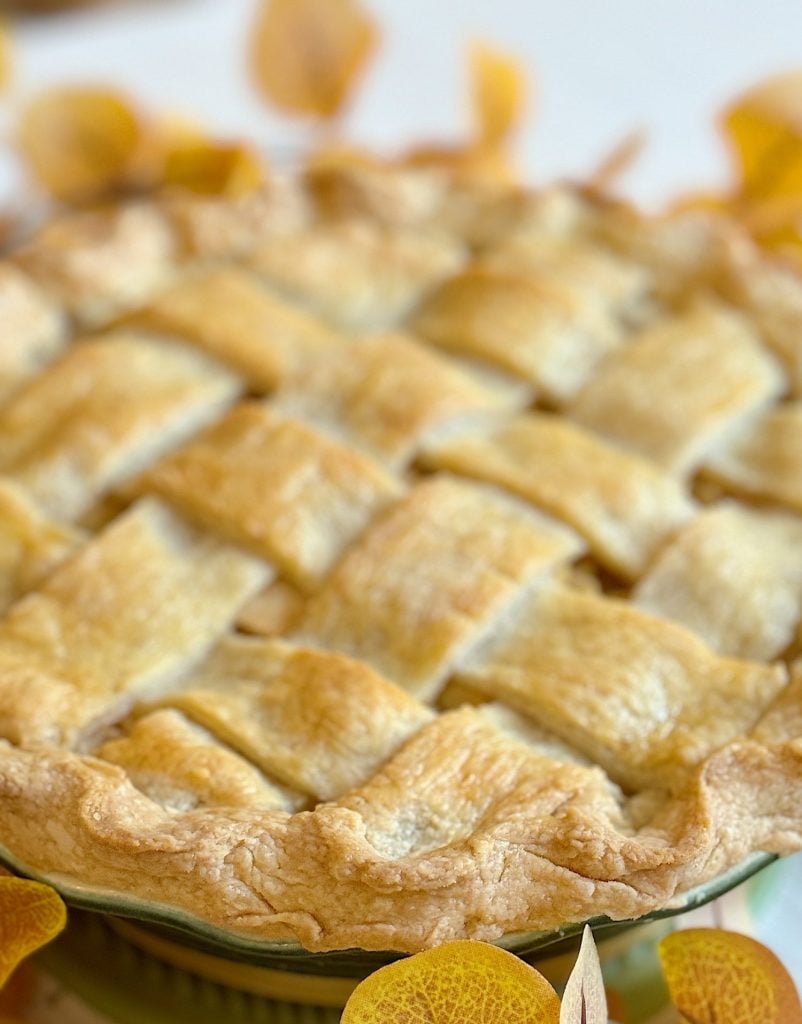
This apple pie recipe has two parts: first, we’ll create a sourdough pie crust and then fill it with a delicious apple filling that complements the rich, tangy crust. Let’s get started!
Step 1: Make the Sourdough Pie Crust
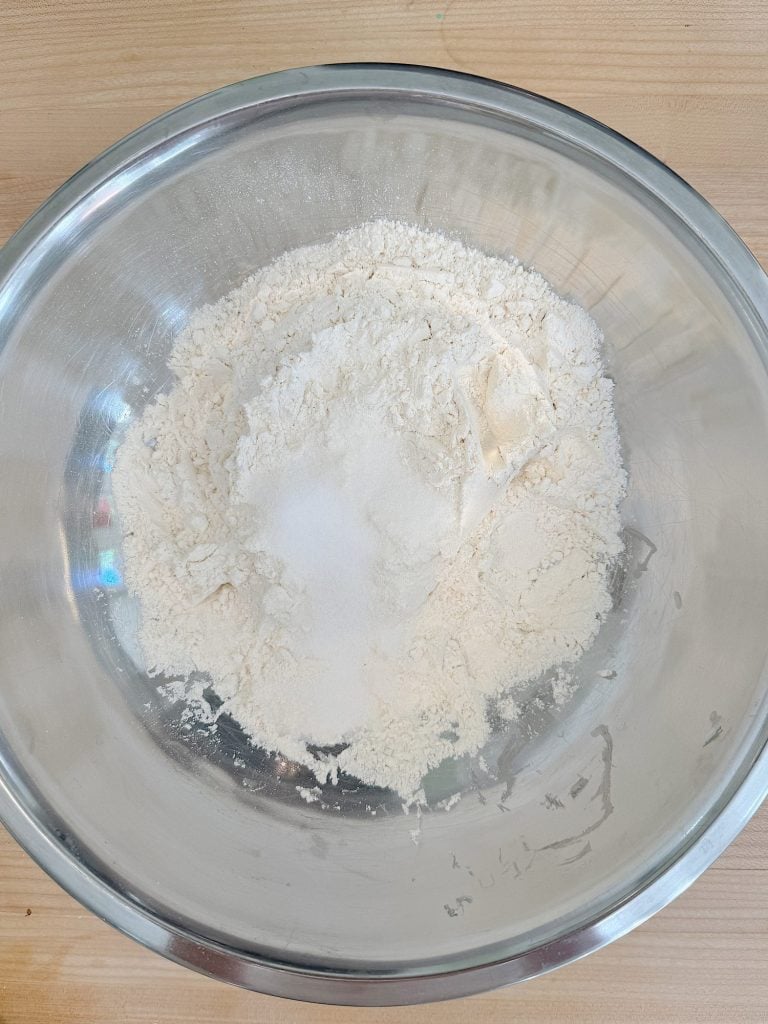
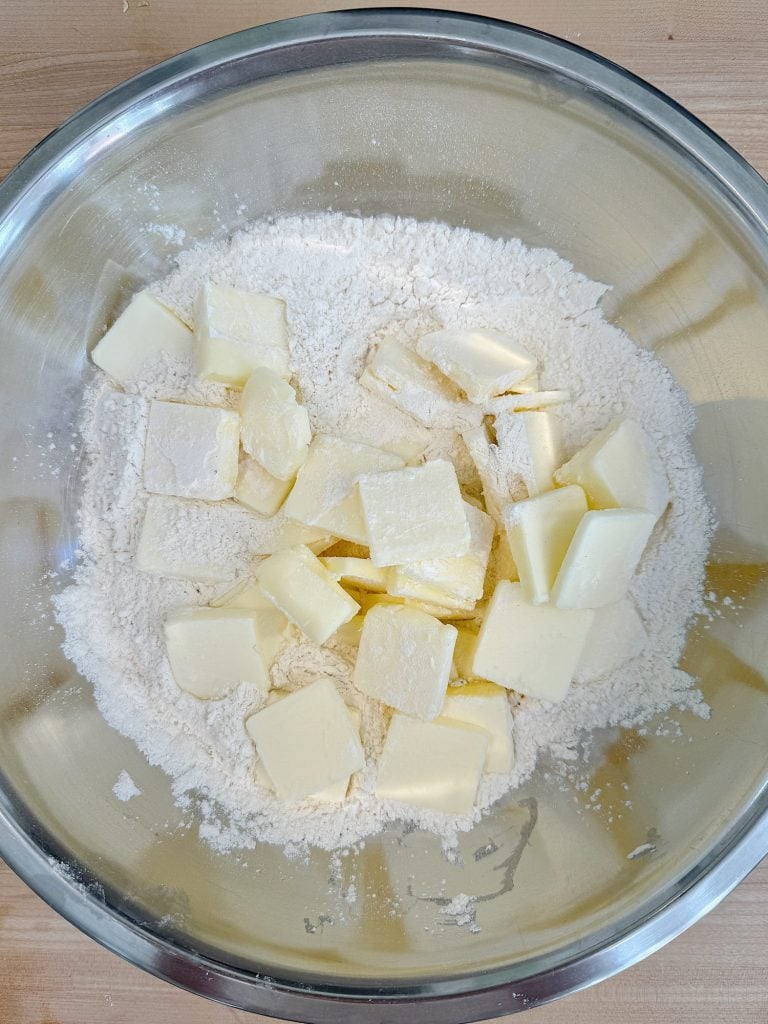
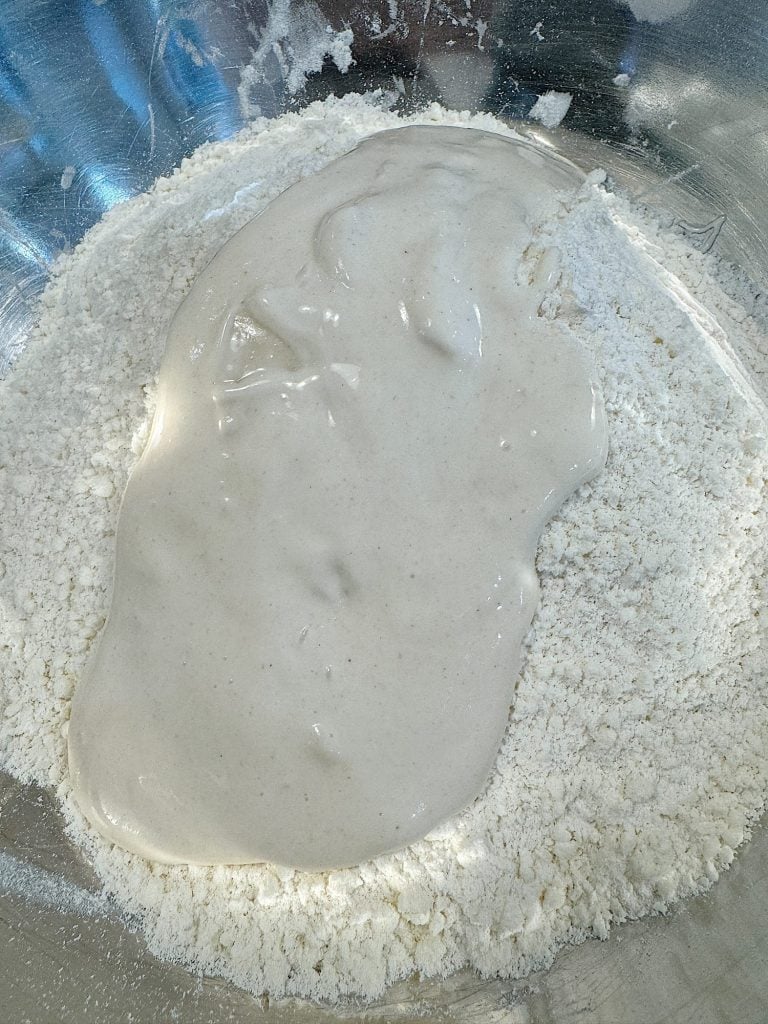
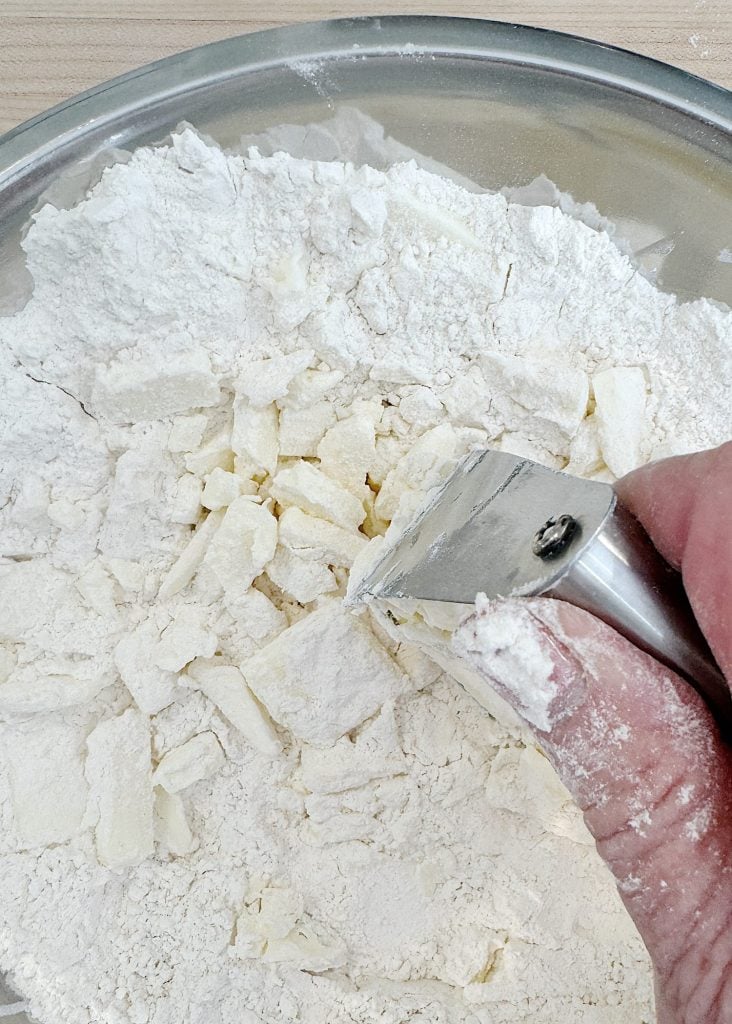
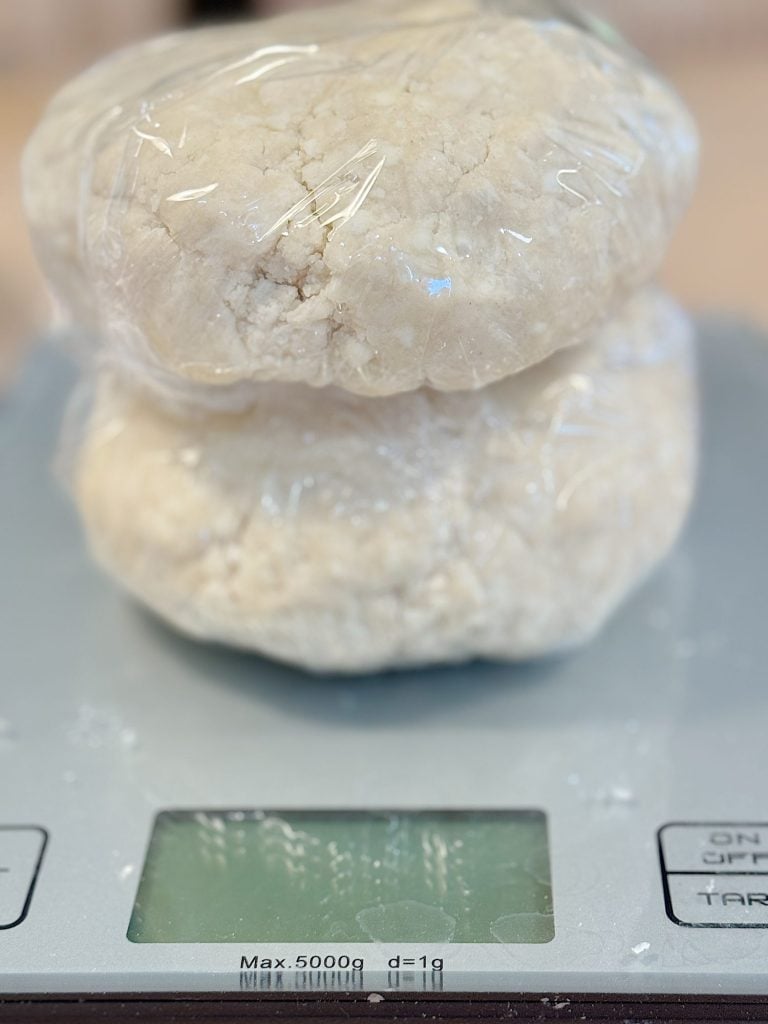
The foundation of any good pie is its crust; a sourdough pie crust is an exciting variation on the classic all-butter dough. It adds complexity to the flavor while retaining the same flakiness.
- Mix dry ingredients: In a large mixing bowl, whisk together the all-purpose flour, sugar (if using), and salt.
- Cut in the butter: Add the cold, cubed butter to the flour mixture. Using a pastry cutter or your fingers, work the butter into the flour until the mixture resembles coarse crumbs, with some pea-sized pieces of butter remaining. These butter chunks are essential for creating layers in the pie crust that will bake up flaky.
- Incorporate the sourdough starter: Add the sourdough starter discard to the flour and butter mixture. Use a fork or your hands to mix it in gently. The sourdough discard adds a slight tang and moisture to the dough.
- Add ice water: Add two tablespoons of ice-cold water to the mixture and gently mix it with a fork. Add more water, one tablespoon at a time, until the dough comes together. Be careful not to overwork the dough, which will result in a tough crust.
- Chill the dough: Divide the dough into two discs, wrap each in plastic wrap, and refrigerate for at least 1 hour. This resting time allows the butter to firm up and the sourdough starter to enhance the flavor and texture of the crust. If you want to prepare the dough ahead of time, you can refrigerate it for up to 24 hours.
Step 2: Prepare the Apple Filling
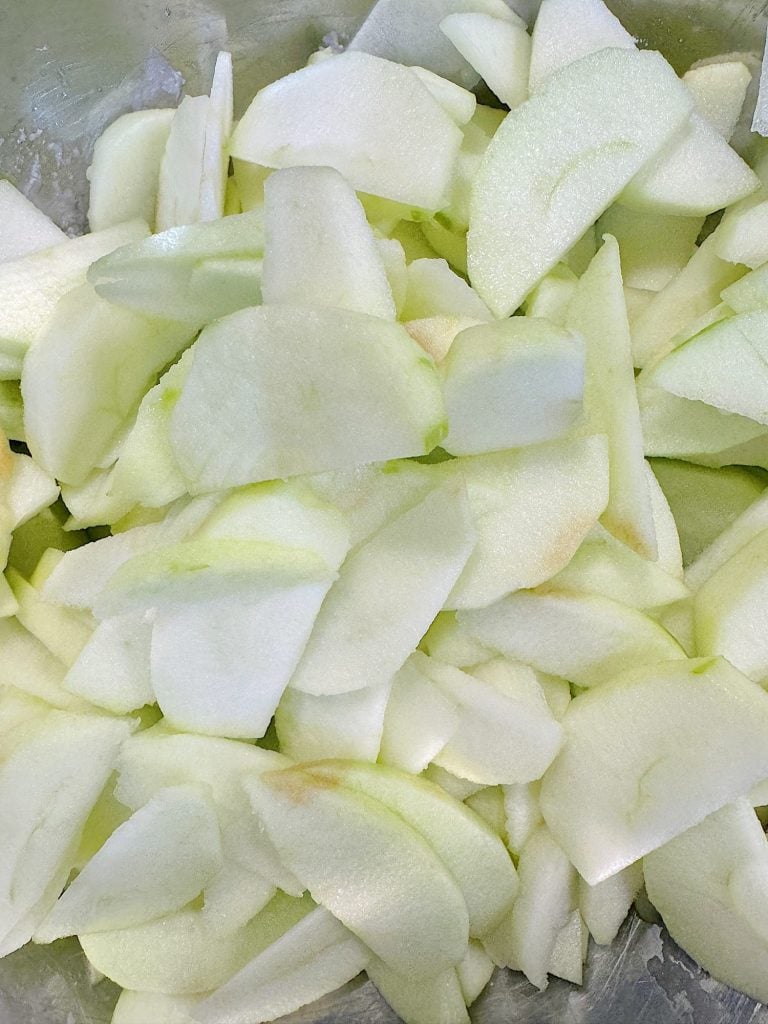
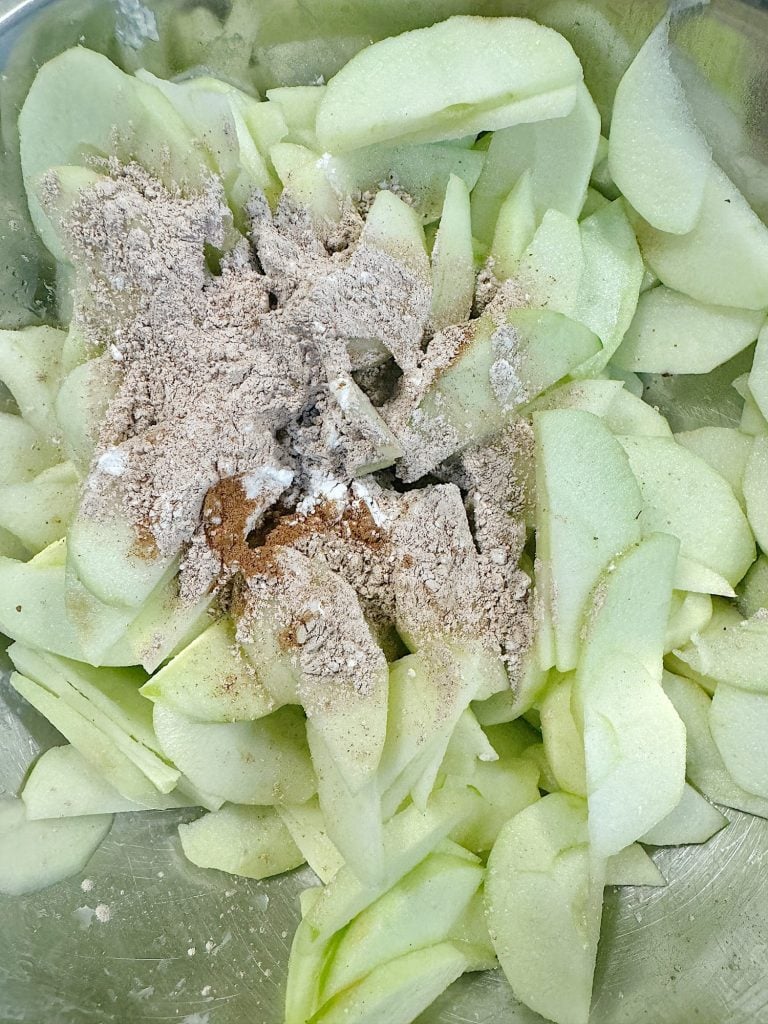
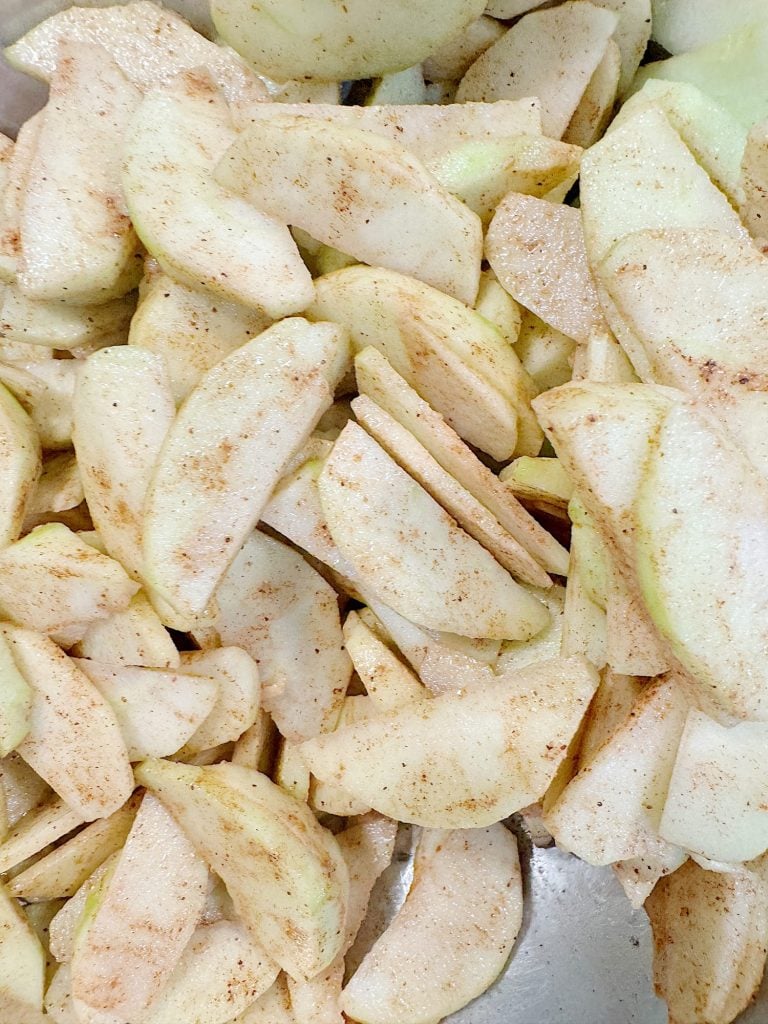
While the pie dough is chilling, let’s prepare the apple filling. This filling combines the tartness of Granny Smith apples with the sweetness of Honeycrisp (or other varieties), and is spiced with cinnamon and nutmeg for that classic apple pie flavor.
- Slice the apples: Peel, core, and thinly slice the apples. Place them in a large mixing bowl and toss with the lemon juice to prevent browning.
- Mix the sugars and spices: In a small bowl, mix the granulated sugar, brown sugar, cinnamon, nutmeg, and cornstarch. The cornstarch will help thicken the apple juices as the pie bakes.
- Toss the apples: Sprinkle the sugar and spice mixture over the apple slices and toss until the apples are evenly coated. Set aside while you roll out the pie dough.
Step 3: Assemble the Pie
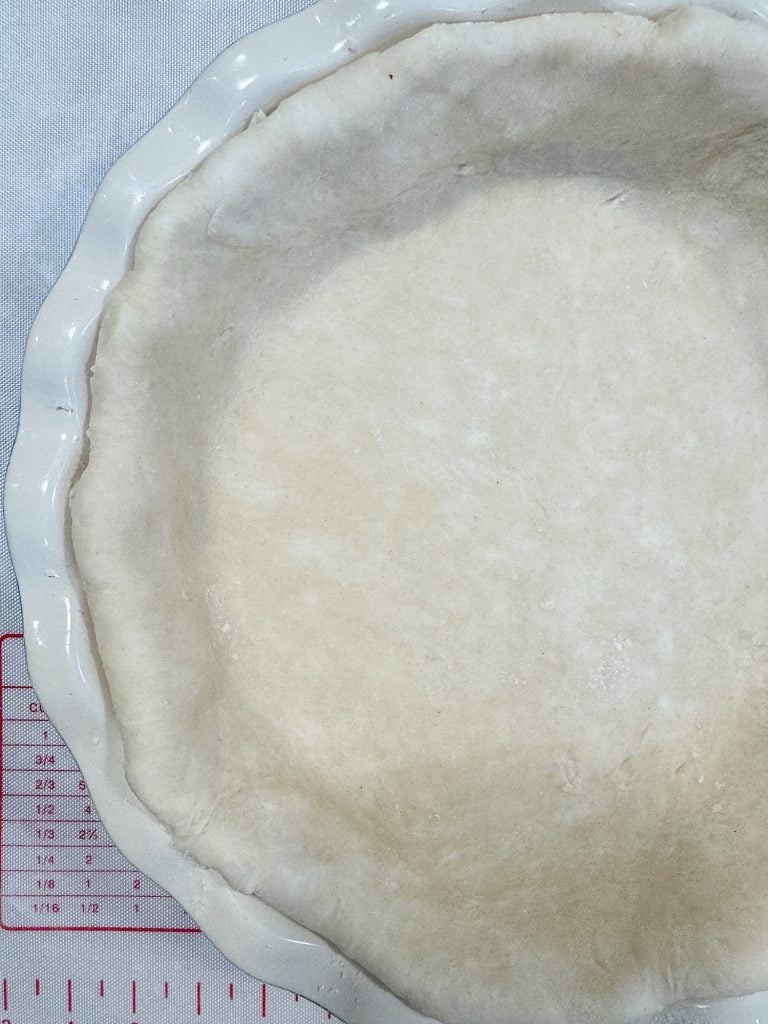
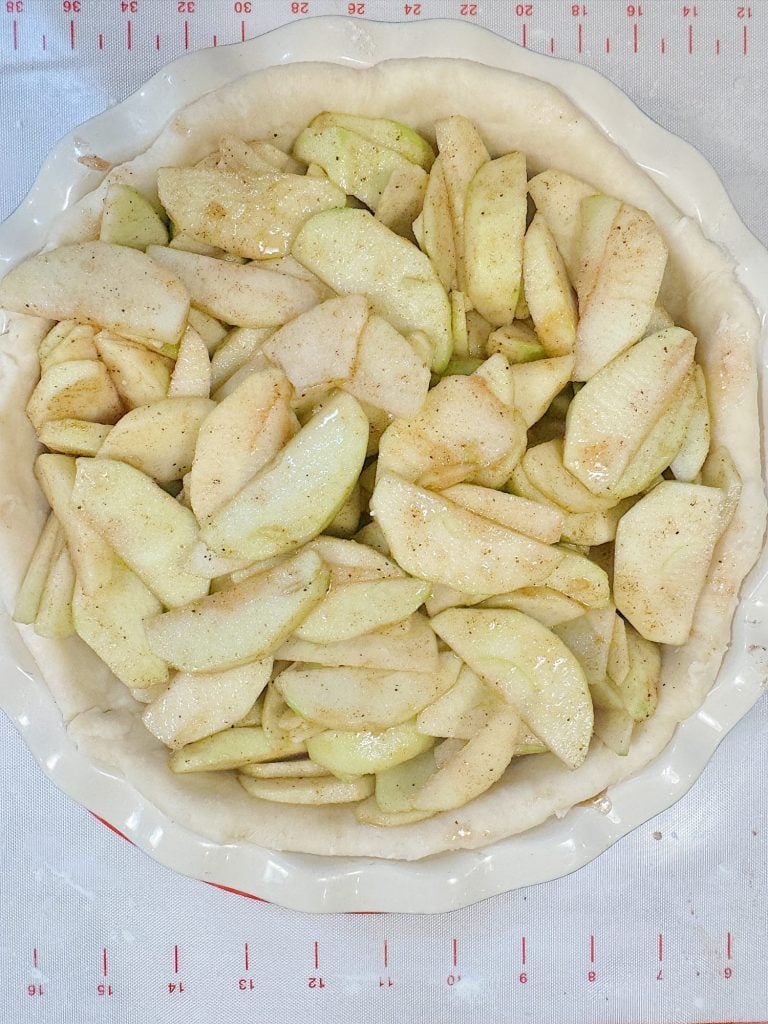
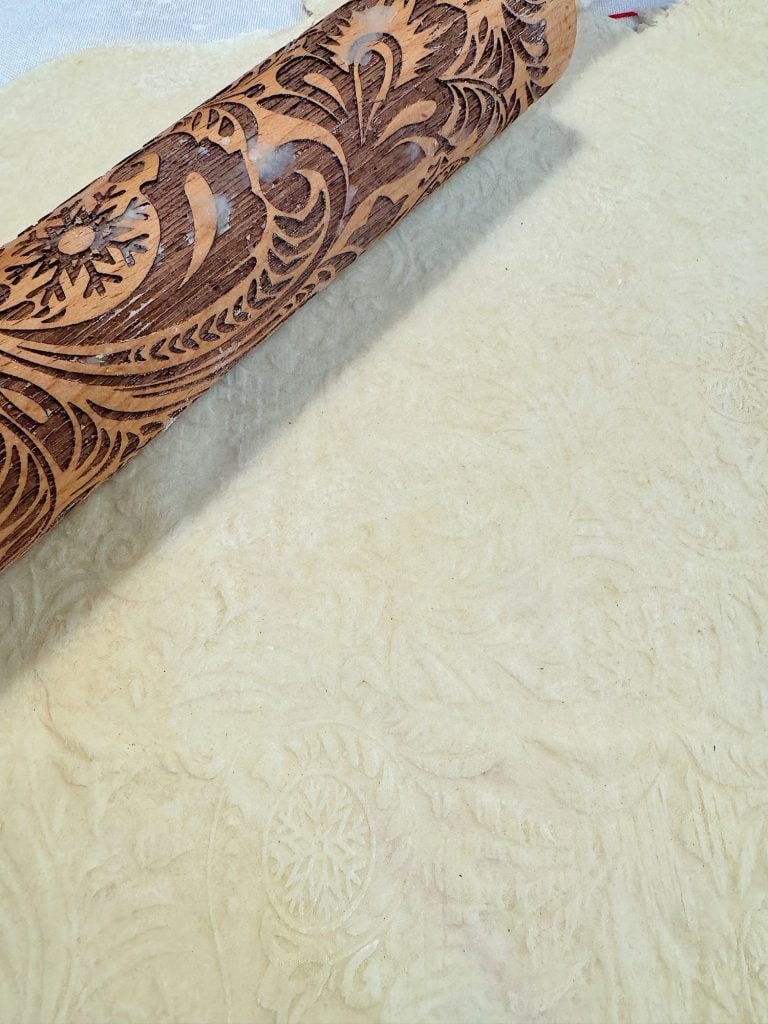
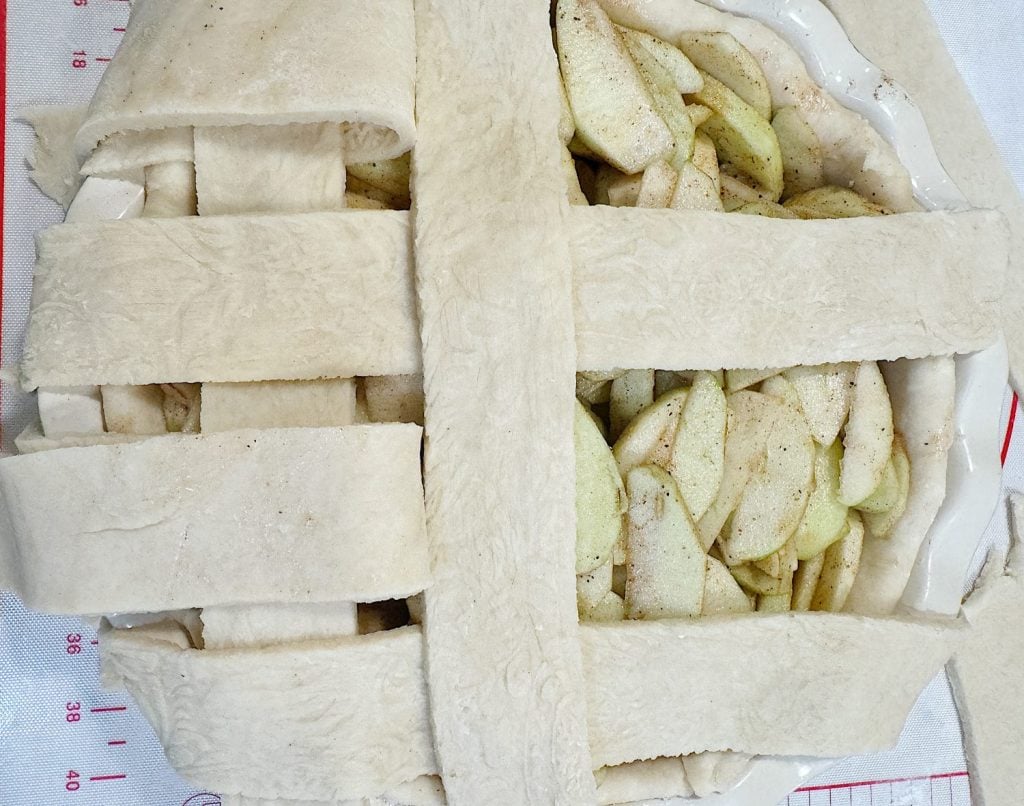
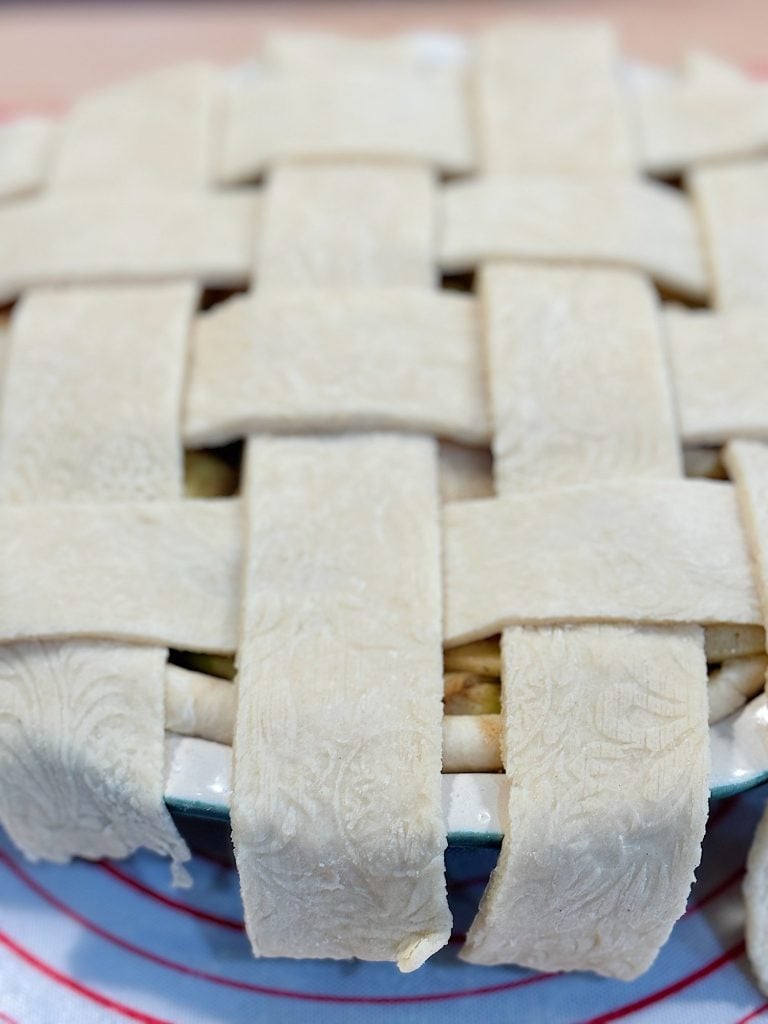
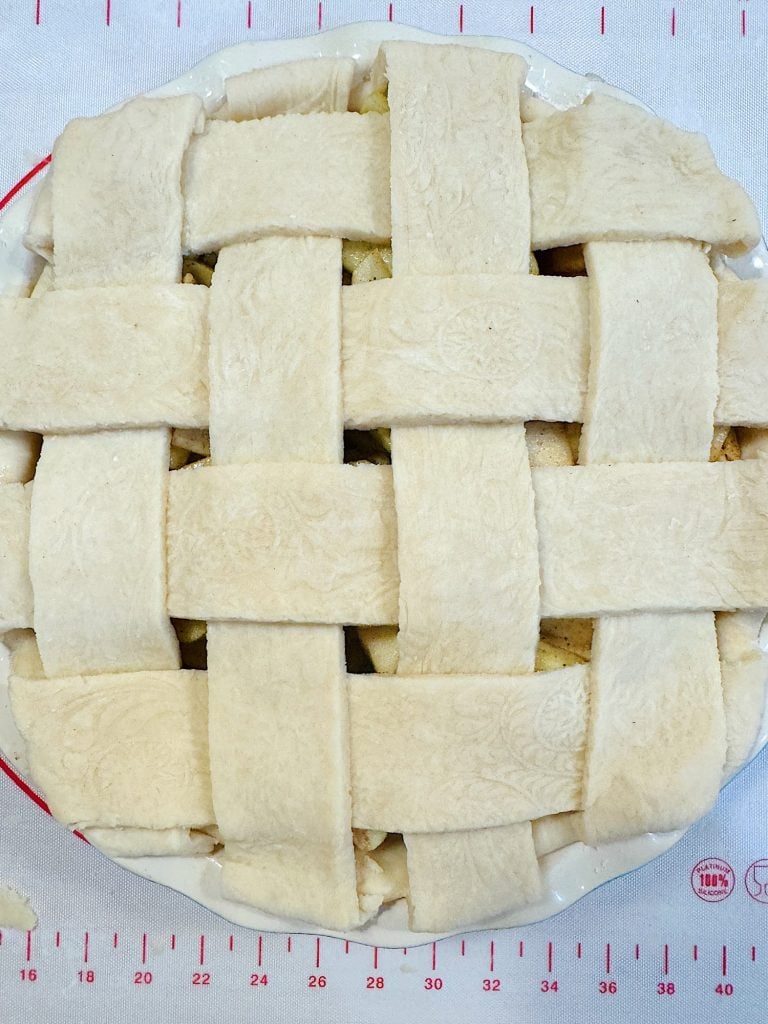
Now, it’s time to bring everything together and assemble the pie!
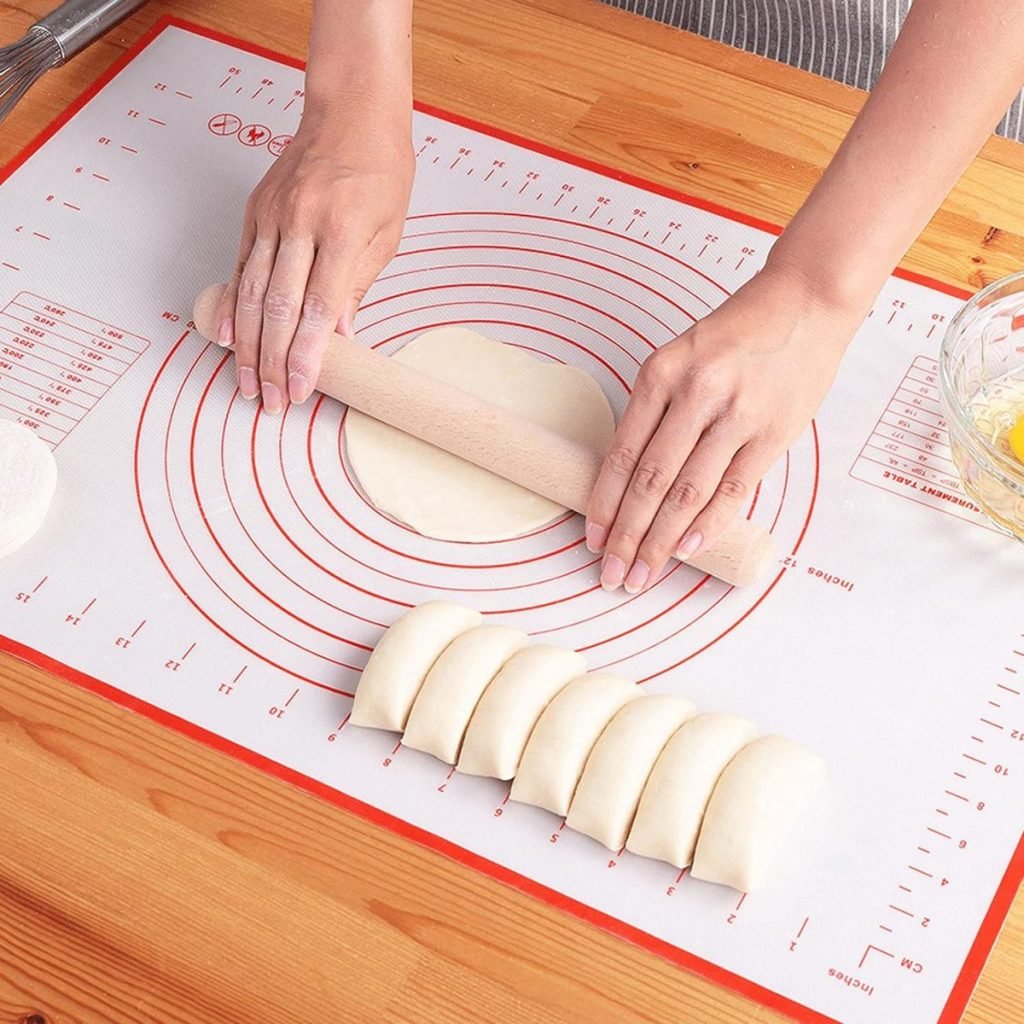
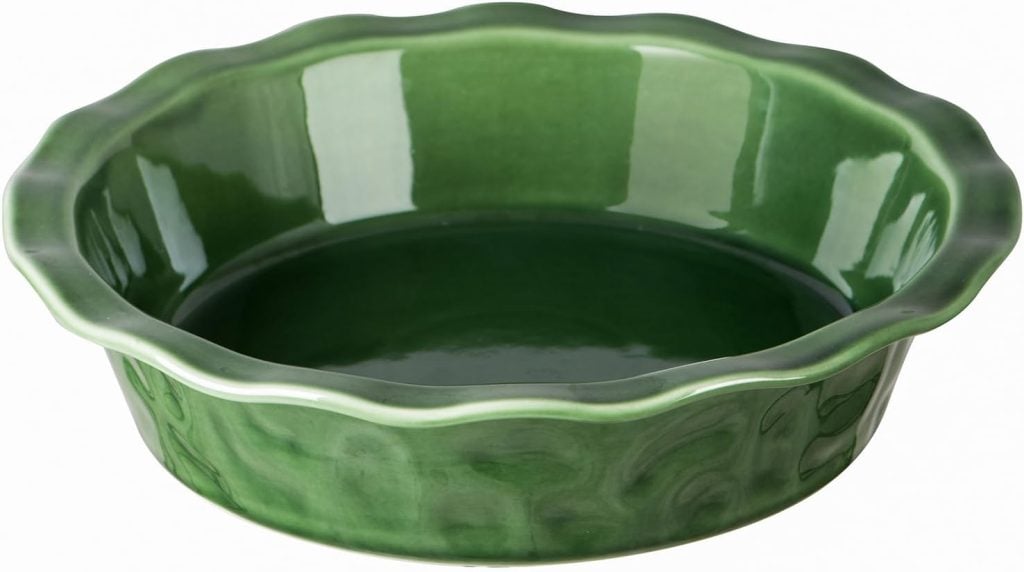
- Roll out the bottom crust: Remove one disc of dough from the refrigerator and place it on a lightly floured surface. Roll it out into a 12-inch circle that’s about ⅛ inch thick. Carefully transfer the dough to a 9-inch pie dish, pressing it into the bottom and sides of the dish.
- Fill the pie: Pour the prepared apple filling into the pie crust, mounding it slightly in the center. Dot the filling with small pieces of butter for added richness.
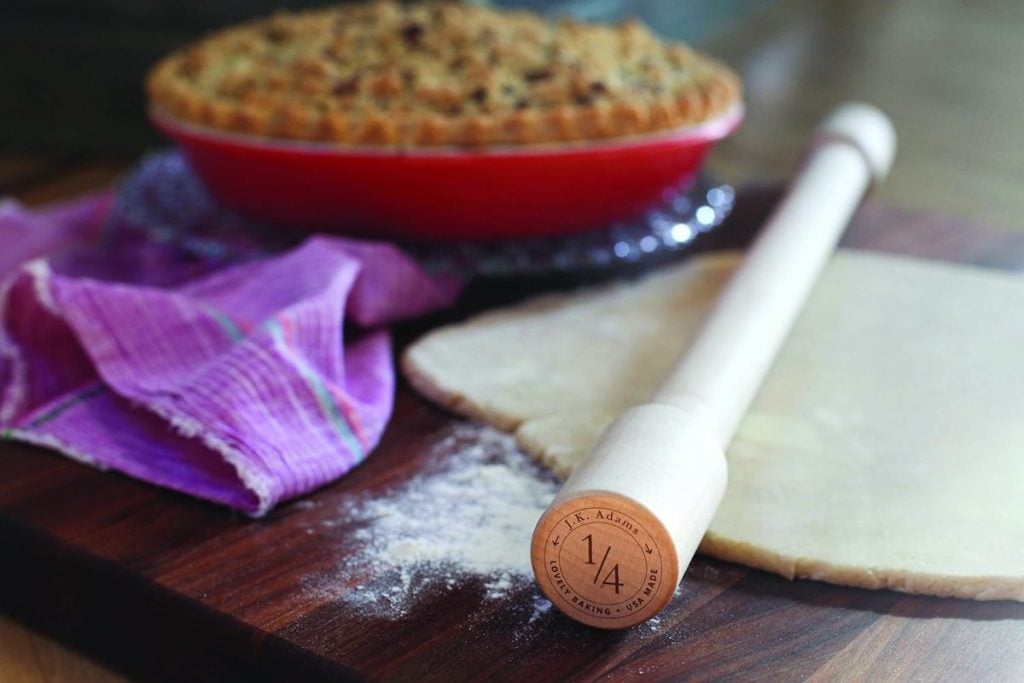
- Roll out the top crust: I wanted to make something fancy, so I used an embossed rolling pin. Roll out the second disc of dough in the same way. Using a decorative rolling pin, add the design to the top crust. Lay it over the apple filling or cut in strips and weave the top. Trim any excess dough, leaving about 1 inch of overhang. Fold the edges under and crimp with your fingers or a fork to seal the pie.
- Create air vents: If you use a solid top crust, use a sharp knife to cut several small slits in the top crust to allow steam to escape during baking. You can also create decorative designs if you like.
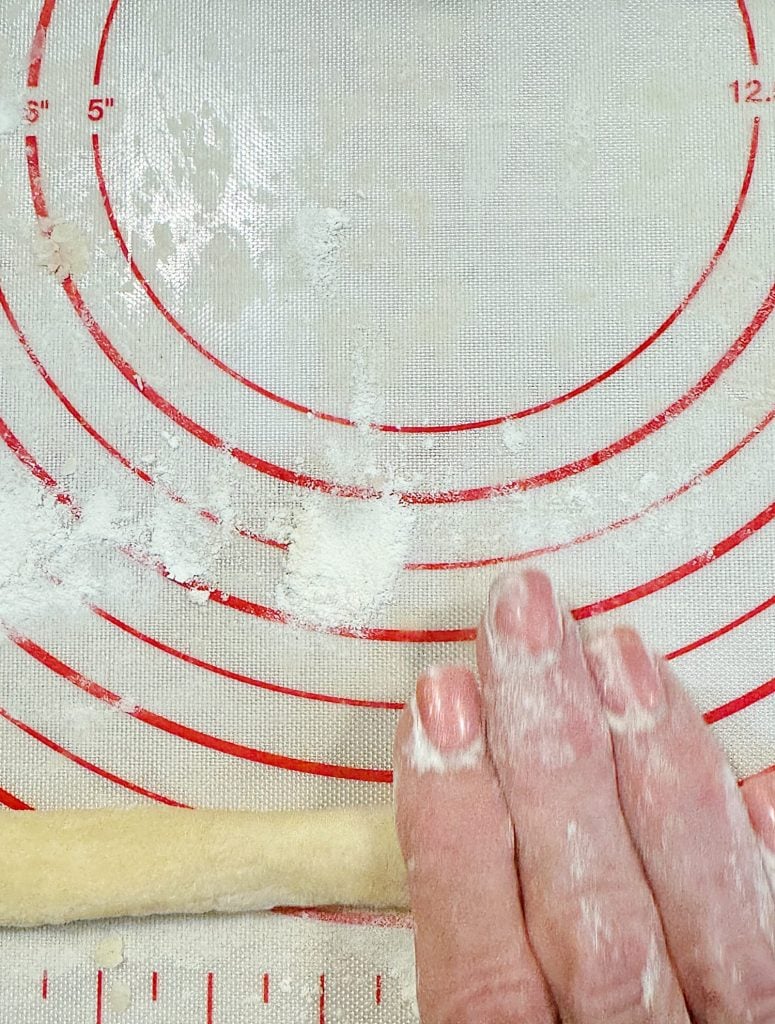
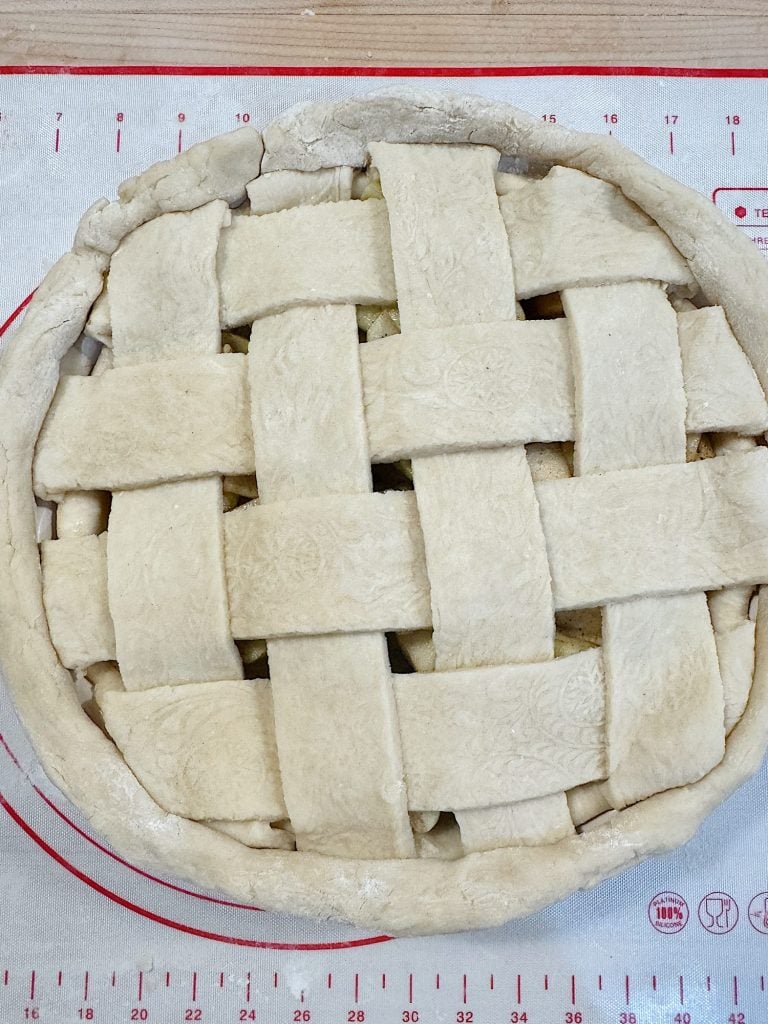
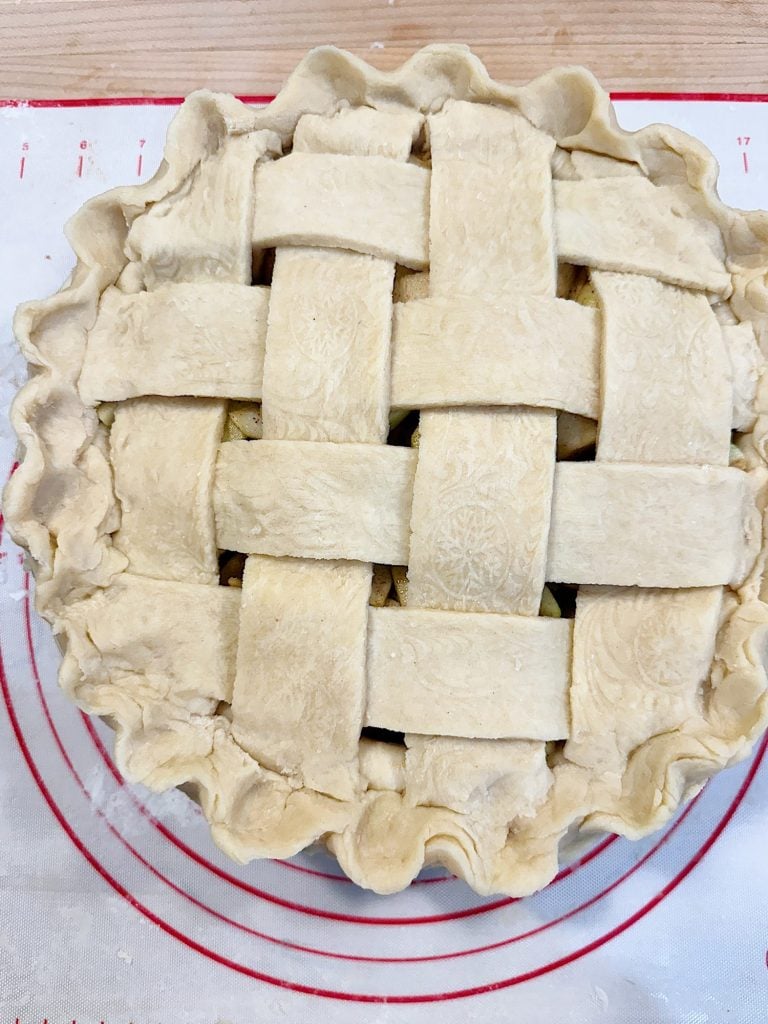
- To flute the edges, roll the leftover dough into a skinny roll. Add the roll to the edge of the crust, gently attaching it to the top of the pie. Flute the edges for a decorative touch.
Step 4: Bake the Pie
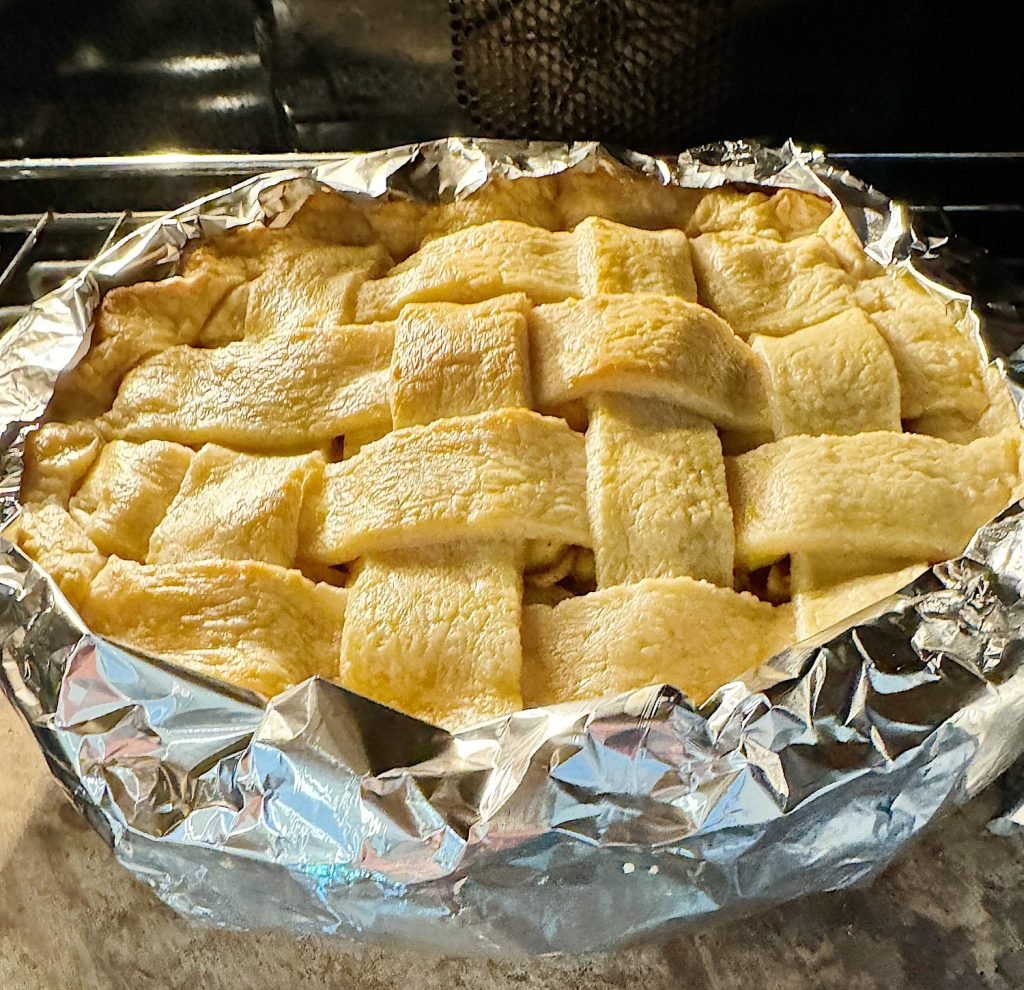
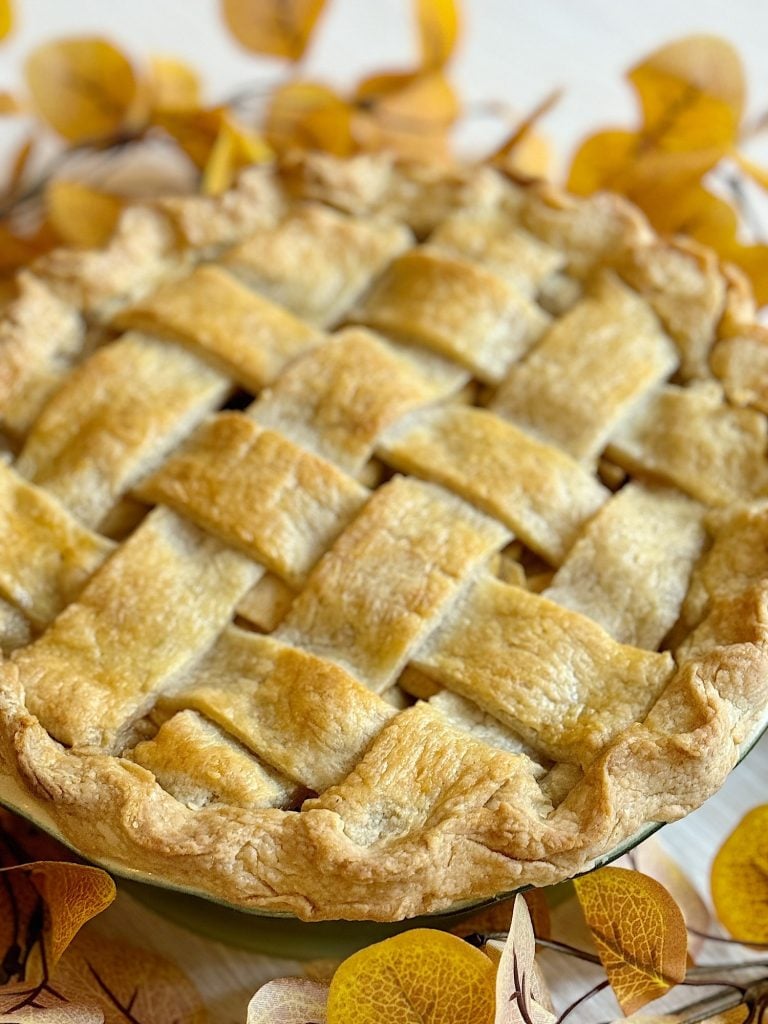
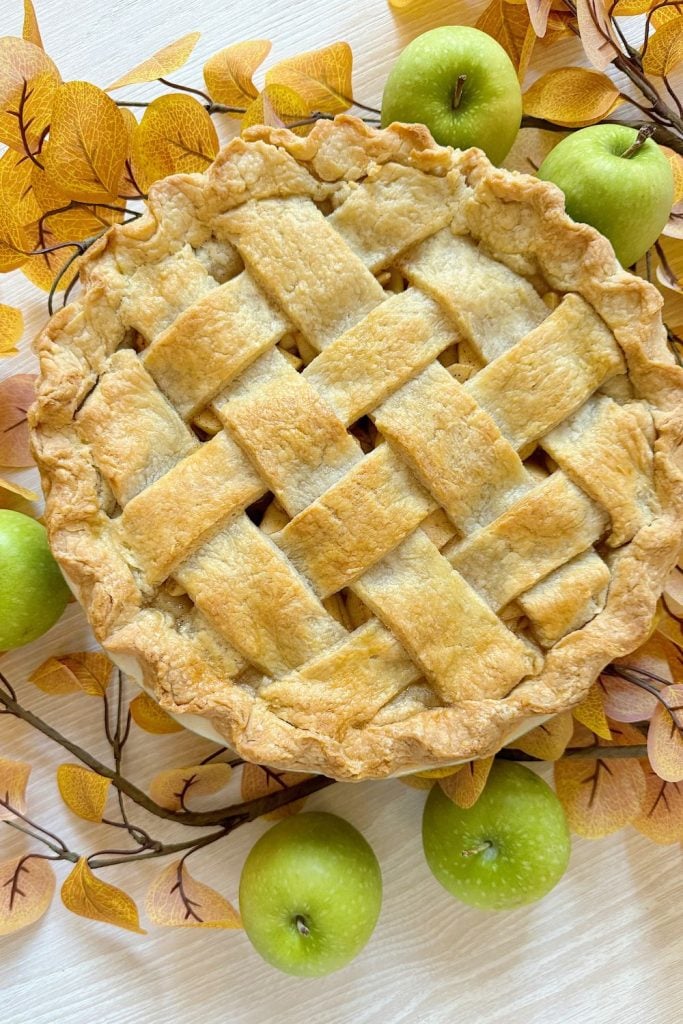
- Preheat the oven: Preheat your oven to 400°F (200°C).
- Egg wash and sugar: In a small bowl, beat the egg with one tablespoon of water to create an egg wash. Brush the top crust with the egg wash to give the pie a golden, glossy finish. Sprinkle coarse sugar over the top for a crunchy, sweet touch.
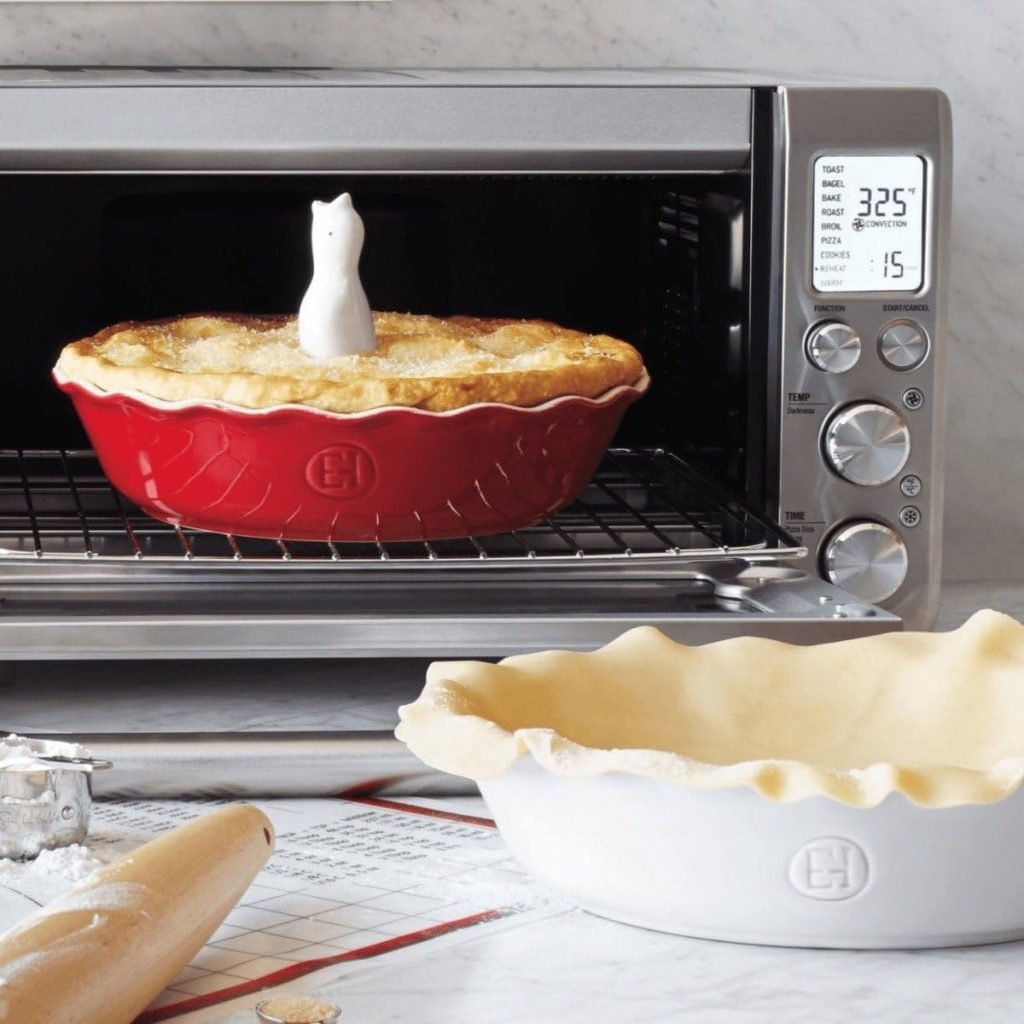
- Bake the pie: Wrap a foil around the edges of the crust to prevent it from cooking too fast and getting too brown. Place the pie on a baking sheet to catch any drips. Bake at 400°F for 20 minutes, then reduce the temperature to 350°F (175°C) and continue baking for another 40-45 minutes until the crust is golden brown and the apple filling is bubbling.
- Cool the pie: Remove it from the oven and let it cool on a wire rack for at least 2 hours before slicing. This cooling time allows the filling to be set correctly.
Tips for Success
- Use cold ingredients: Keeping the butter and water cold is crucial to creating a flaky pie crust. The cold butter creates steam pockets as it melts in the oven, resulting in layers of flakiness.
- Don’t overwork the dough: Handle the dough as little as possible to avoid developing too much gluten, making the crust tough. Gentle handling will ensure a tender, flaky crust.
- Chill the dough: Resting the dough in the refrigerator is essential for allowing the butter to firm up and the gluten to relax, which will help prevent the crust from shrinking during baking.
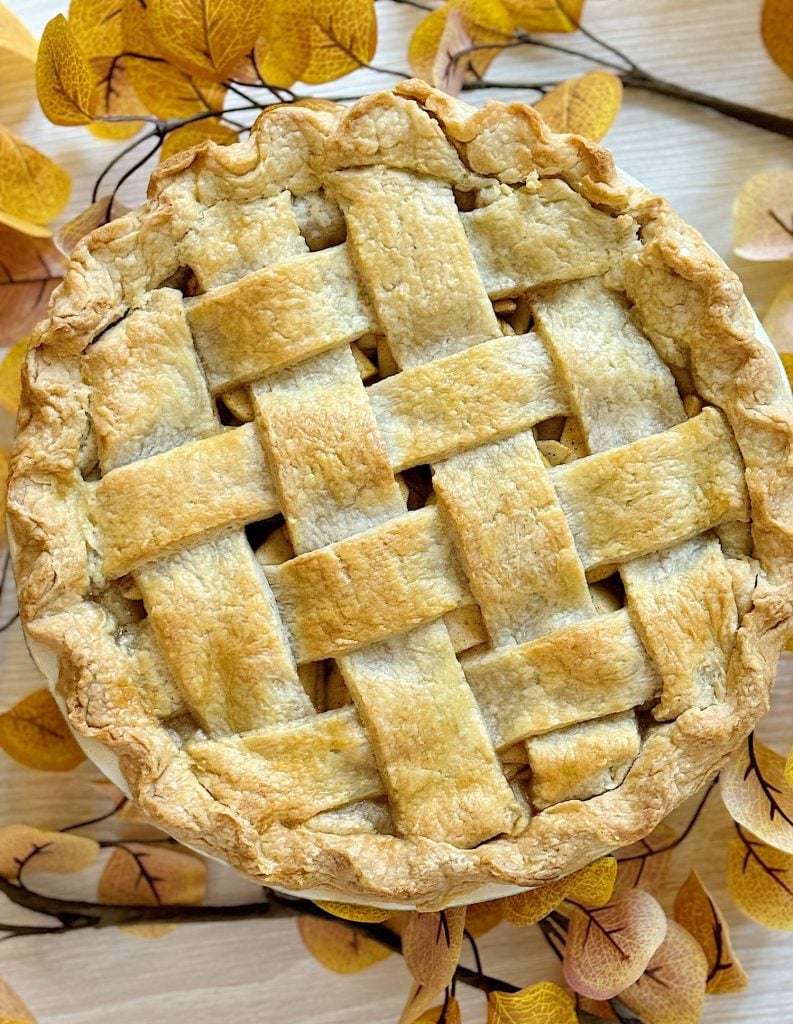
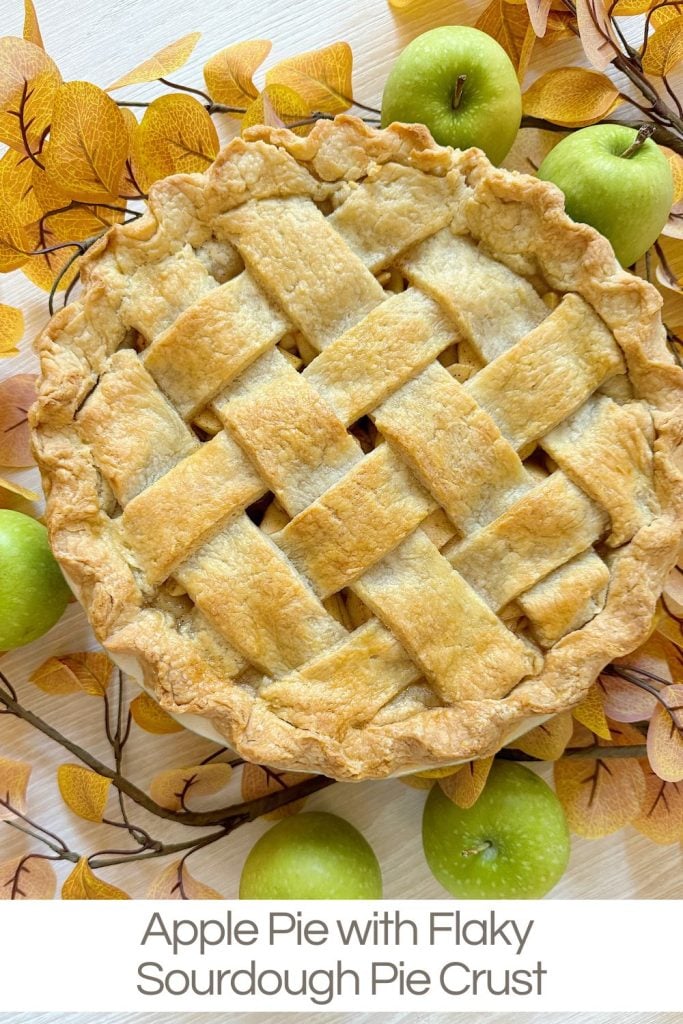
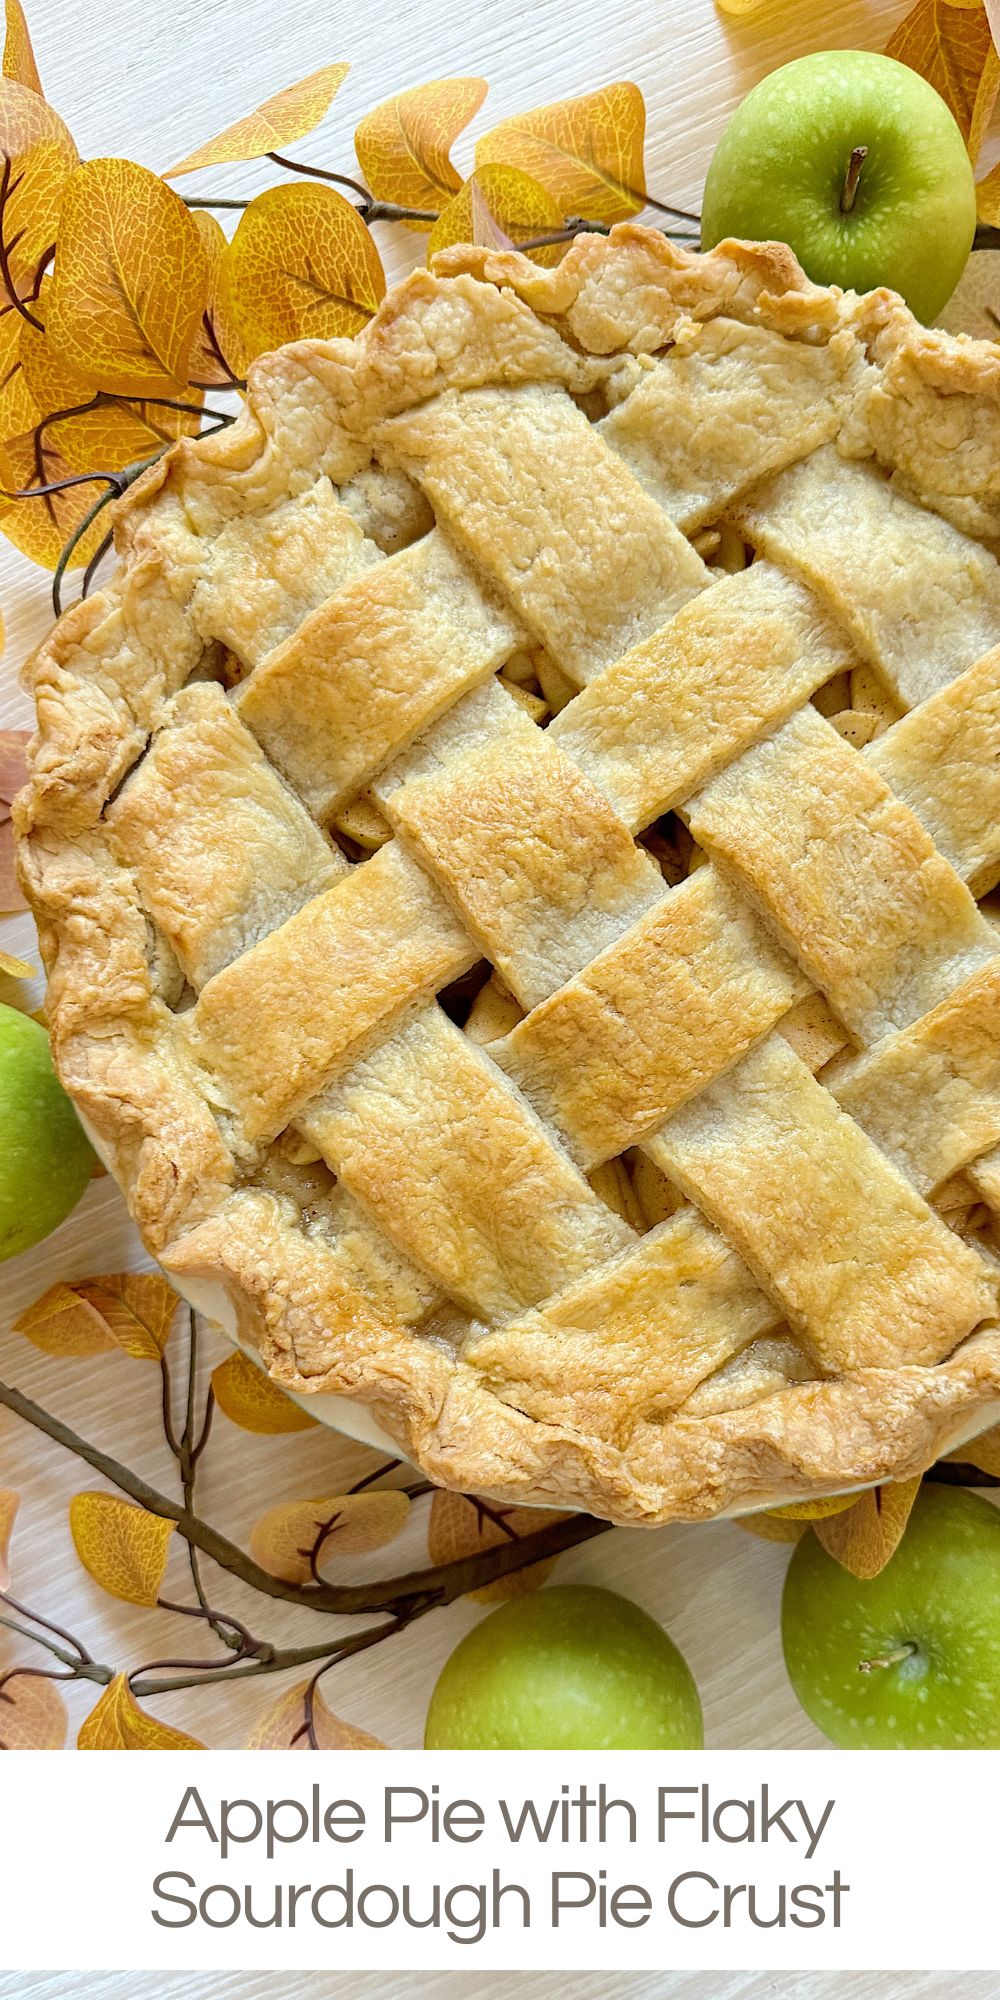
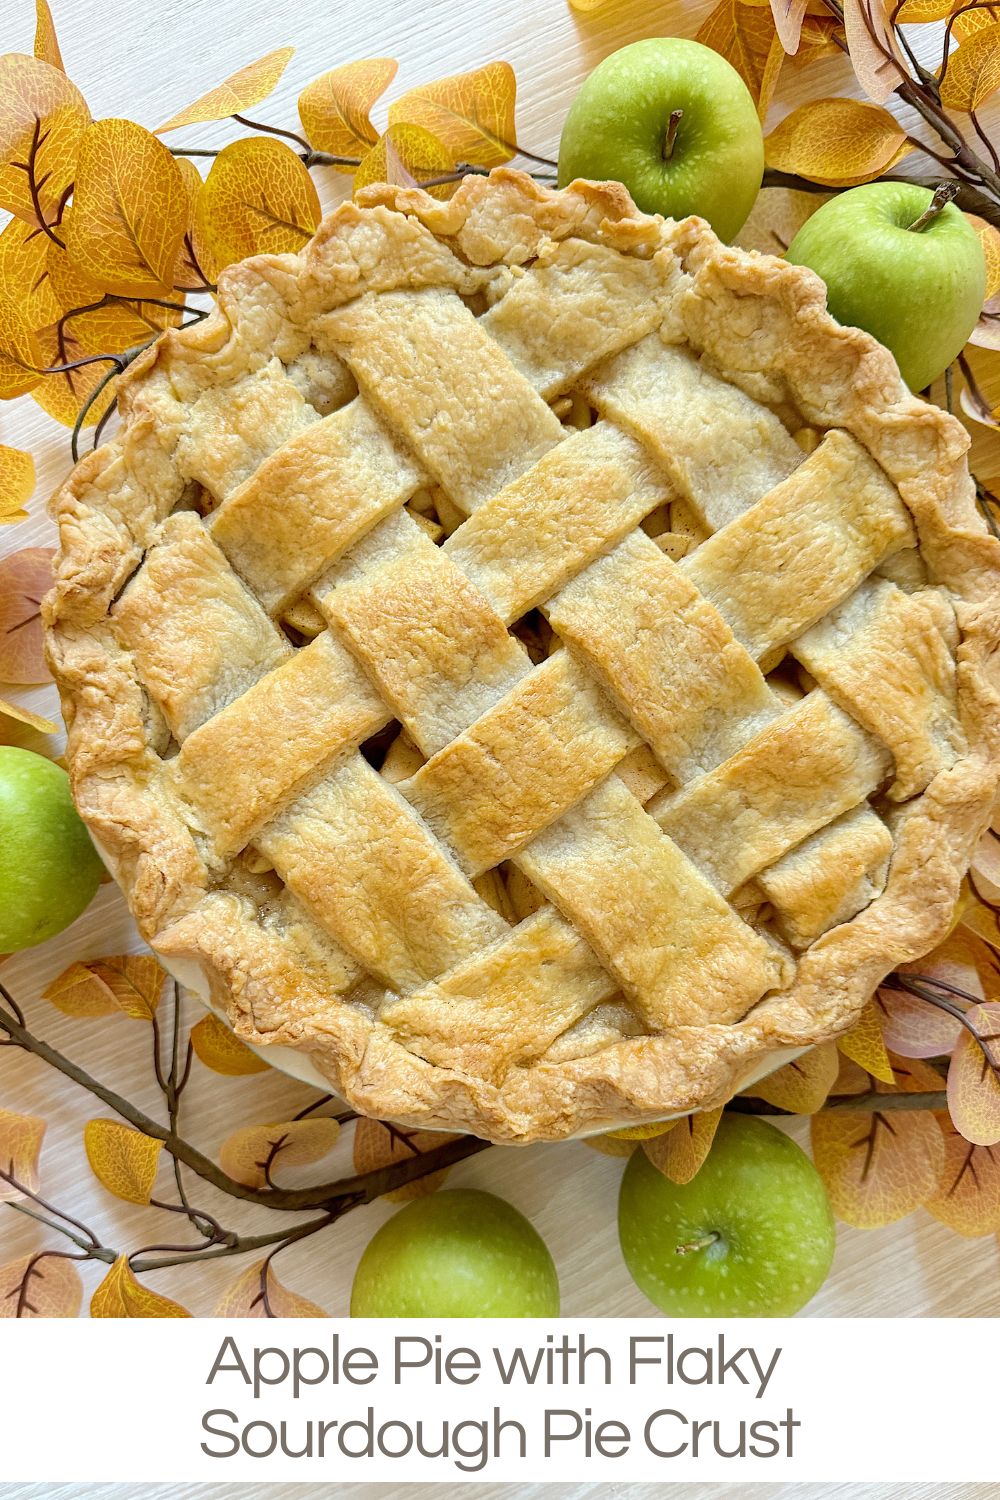
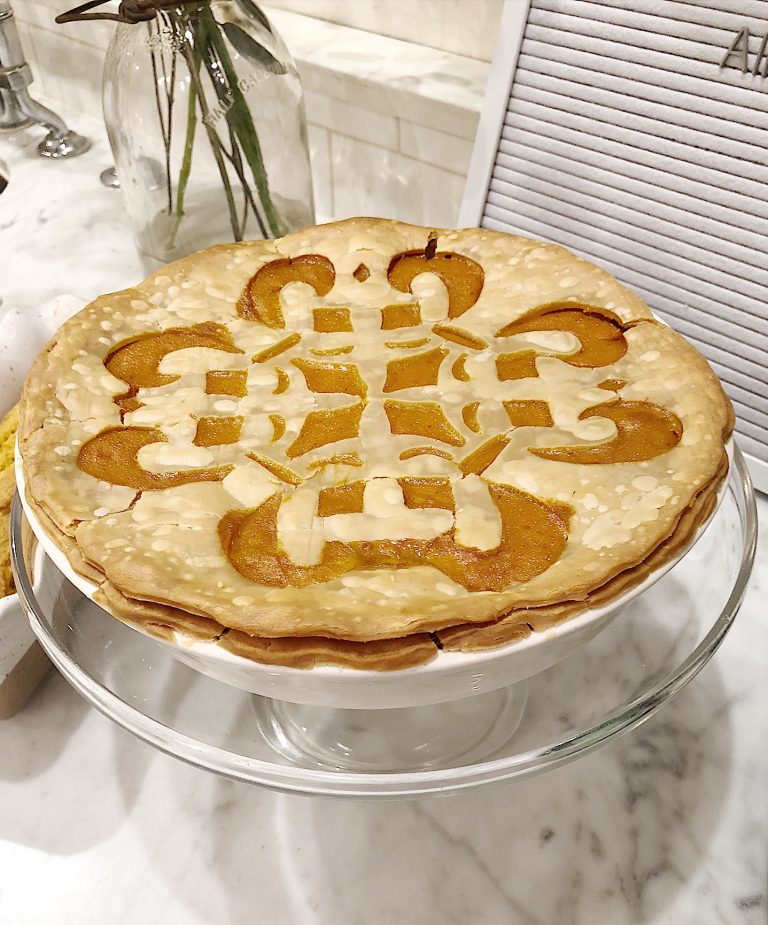
As you can see, the decorative rolling pin didn’t work. But that’s my fault! I made the pie in the evening and left it in the refrigerator overnight. I think the sourdough rose a bit, and my design disappeared. That was fine, though, because I still think it looks great.
Step 5: Serve and Enjoy!
Once the pie has cooled, slice it and serve with a scoop of vanilla ice cream or a dollop of whipped cream. The tangy, flaky sourdough crust and the sweet, spiced apple filling are sure to impress.
Why This Pie is Special
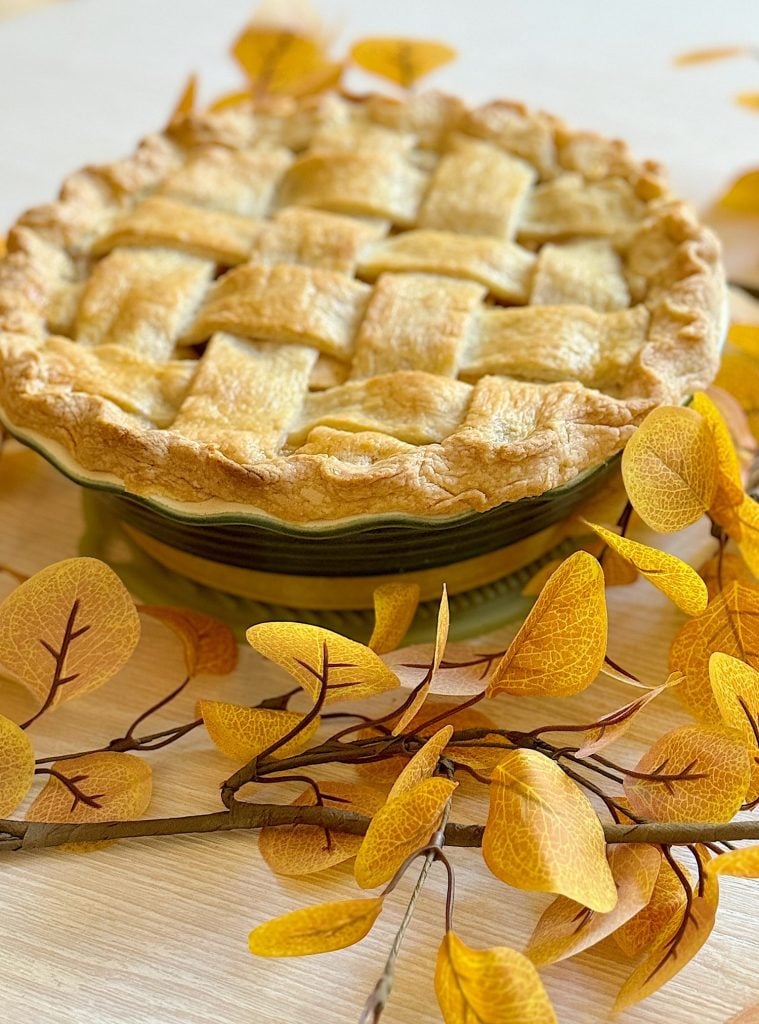
The sourdough pie crust adds a depth of flavor and a unique twist to the traditional apple pie. The tangy undertone from the sourdough complements the sweet and tart apple filling, making this pie stand out. Plus, using sourdough starter discard is a great way to minimize waste in your kitchen, making this pie as resourceful as it is delicious.
Storing and Reheating
- Room Temperature: The pie can be stored at room temperature for up to 2 days, loosely covered with foil.
- Refrigeration: For extended storage, refrigerate the pie for 4-5 days.
- Freezing: To freeze the pie, wrap it tightly in plastic wrap and foil. It will keep for up to 3 months. To reheat, thaw the pie in the refrigerator overnight, then warm it in a 350°F oven for 10-15 minutes before serving.
Apple pie is a classic dessert, but this version with a flaky sourdough pie crust takes it to the next level. The tanginess of the sourdough discard pairs beautifully with the sweetness of the apples, while the buttery, flaky crust provides the perfect texture.
Apple Pie with Flaky Sourdough Pie Crust
This Apple Pie recipe combines the tangy richness of sourdough with the classic apple pie ... a flaky sourdough pie crust with layers of buttery goodness and a tender, flavorful apple filling.
Ingredients
- For the Sourdough Pie Crust:
- 375g (3 cups) all-purpose flour
- 337g (1½ cups) unsalted butter, cold and cubed
- 150g (3/4 cup) sourdough starter discard (unfed starter)
- 1 tablespoon sugar (optional, for slightly sweet crust)
- 2 teaspoons salt
- 4-6 tablespoons ice-cold water
- For the Apple Filling:
- 6 large apples (Granny Smith, Honeycrisp, or a mix), peeled, cored, and sliced
- 100g (½ cup) granulated sugar
- 50g (¼ cup) brown sugar
- 1 teaspoon ground cinnamon
- ¼ teaspoon ground nutmeg
- 1 tablespoon lemon juice
- 1 tablespoon cornstarch
- 1 tablespoon butter (for dotting the filling)
- 1 egg (for egg wash)
- 1 tablespoon coarse sugar (for sprinkling on top)
Instructions
Step 1: Prepare the Sourdough Pie Crust
- Mix the dry ingredients: Combine the all-purpose flour, sugar (if using), and salt in a large bowl.
- Cut in the butter: Add the cold, cubed butter to the flour mixture. Using a pastry cutter or your fingers, work the butter into the flour until it resembles coarse crumbs with some pea-sized butter pieces remaining. This step ensures a flaky crust.
- Incorporate the sourdough starter: Add the sourdough starter discard to the flour and butter mixture. Stir gently with a fork or your hands until the dough comes together.
- Add cold water: Add 4- 6 tablespoons of ice-cold water to the mixture. Gently stir or knead the dough until it just comes together. If the dough is too dry, add a tablespoon of water at a time, but be careful not to overwork it.
- Chill the dough: Divide the dough in half and form two discs. Wrap each disc in plastic wrap and refrigerate for at least 1 hour (or up to 24 hours). This resting time allows the butter to firm up and the sourdough starter to enhance the dough’s flavor.
Step 2: Prepare the Apple Filling
- Slice the apples: Toss the sliced apples with lemon juice in a large bowl to prevent browning.
- Mix the sugars and spices: In a small bowl, combine the granulated sugar, brown sugar, cinnamon, nutmeg, and cornstarch. Sprinkle this mixture over the apples and toss until the apples are evenly coated. Set aside while you roll out the dough.
Step 3: Assemble the Pie
- Roll out the crust: Remove one disc of pie dough from the refrigerator. Roll it out into a 12-inch circle on a lightly floured surface, about ⅛ inch thick. Gently transfer it to a 9-inch pie dish, allowing the excess dough to hang over the edges.
- Add the apple filling: Pour the prepared apple filling into the pie crust, mounding it slightly in the center. Dot the filling with small pieces of butter.
- Roll out the top crust: Roll out the second disc of dough in the same way. Place it over the apples. Trim any excess dough, leaving about 1 inch of overhang around the edge of the pie. Tuck the top crust under the bottom crust edge and crimp the edges with a fork or your fingers to seal.
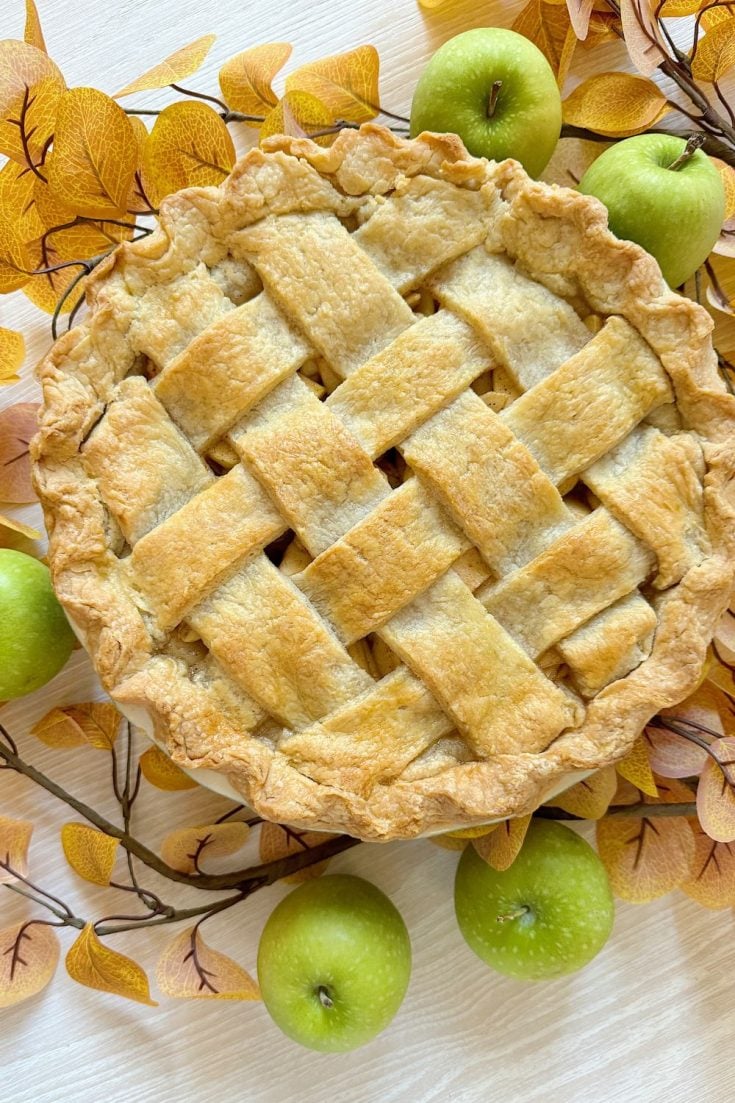
- Add a decorative top crust: I cut strips and wove them on top for this pie. I love this look.
- Create air vents: Use a sharp knife to cut a few small slits in the top crust to allow steam to escape during baking. You can also create decorative designs if desired.
Step 4: Bake the Pie
- Preheat the oven: Preheat your oven to 400°F (200°C).
- Egg wash and sprinkle: In a small bowl, beat the egg with one tablespoon of water to create an egg wash. Brush the top of the pie with the egg wash and sprinkle with coarse sugar for a golden, crunchy finish.
- Bake the pie: Wrap the edges of the crust in aluminum foil so they don't get too brown. Place the pie on a baking sheet to catch any drips. Bake at 400°F for 20 minutes, then reduce the oven temperature to 350°F (175°C) and continue baking for another 40-45 minutes until the crust is golden brown and the apple filling is bubbling.
- Cool the pie: Once baked, remove it from the oven and let it cool on a wire rack for at least 2 hours before slicing. This cooling time allows the filling to set.
Tips for the Best Flaky Sourdough Pie Crust

- Keep everything cold: Cold butter and cold water are essential to create flaky layers in the crust. Work quickly to prevent the butter from melting.
- Don’t overwork the dough. Handle it as little as possible to maintain the flaky texture when mixing and rolling out.
- Use a sourdough discard that’s 1-2 days old. The discard’s tanginess will add depth to the pie crust’s flavor without overpowering the sweetness of the apple filling.
Serving Suggestions
Serve your flaky sourdough pie crust apple pie with a scoop of vanilla ice cream or a dollop of whipped cream for an extra indulgent dessert. This pie is perfect for holidays, family gatherings, or simply when you want a delicious homemade treat.
Storage Instructions
- Room Temperature: The apple pie can be stored at room temperature, loosely covered with foil, for up to 2 days.
- Refrigeration: If you want to store it longer, refrigerate the pie for 4-5 days.
- Freezing: You can freeze the baked pie for up to 3 months. To reheat, let the pie thaw in the fridge overnight, then warm it in the oven at 350°F for 10-15 minutes.
This sourdough pie crust apple pie combines the tangy richness of sourdough with the classic flavors of apple pie. The result is a flaky, buttery crust that’s easy to make and filled with a deliciously sweet and spiced apple filling. Whether you’re a sourdough enthusiast or looking for a new way to elevate your apple pie, this recipe will surely become a favorite. Happy baking!
Blogger’s Best Thanksgiving Pie Recipes
Here are more pie recipes from some of my favorite bloggers.
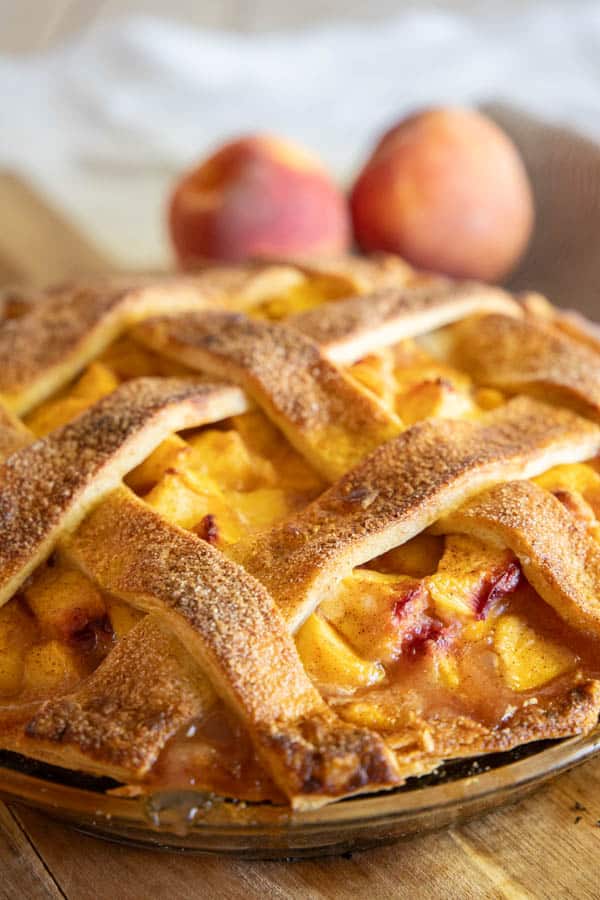
Amazing Spiced Peach Pie with Sourdough Pie Crust | Twelve on Main
This is the perfect peach pie just in time for Thanksgiving. With a sweet peach filling and a buttery sourdough pie crust it is the perfect combination of flavors your family will love
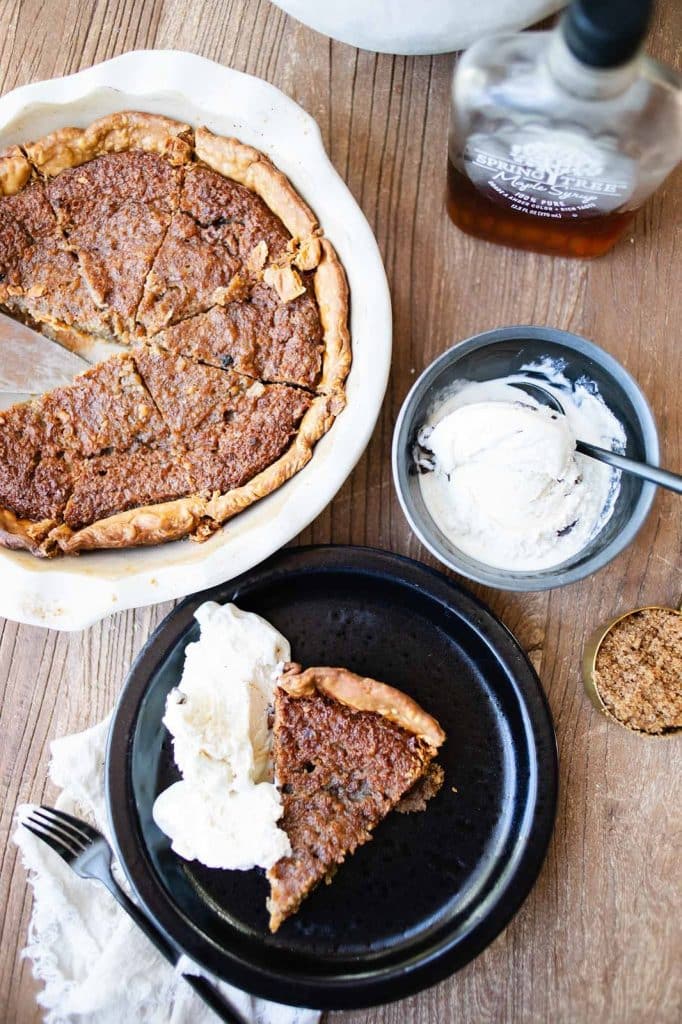
Brown Sugar Maple Pie | My Sweet Savannah
Brown Sugar Maple Pie is a rich and indulgent dessert featuring a luscious filling made with brown sugar and pure maple syrup, nestled in a buttery pie crust. With its sweet, caramel-like flavor and hint of vanilla, this pie is a perfect blend of cozy fall spices and classic comfort, making it an irresistible treat for any occasion.
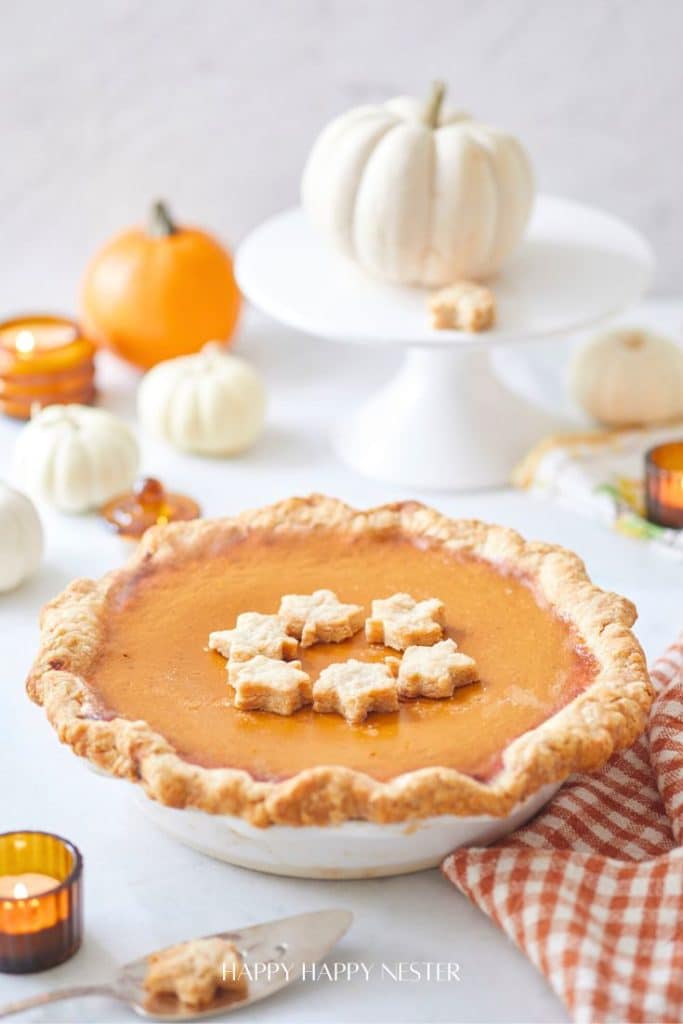
Costco Pumpkin Pie Recipe (Copycat) | Happy Happy Nester
Costco Pumpkin Pie Recipe copycat is a must-try if you love that rich, creamy, perfectly spiced slice from Costco. This homemade version brings all the fall flavors you crave, with the bonus of making it right in your kitchen. Prepare to impress your family and friends with a pie that tastes like the original!
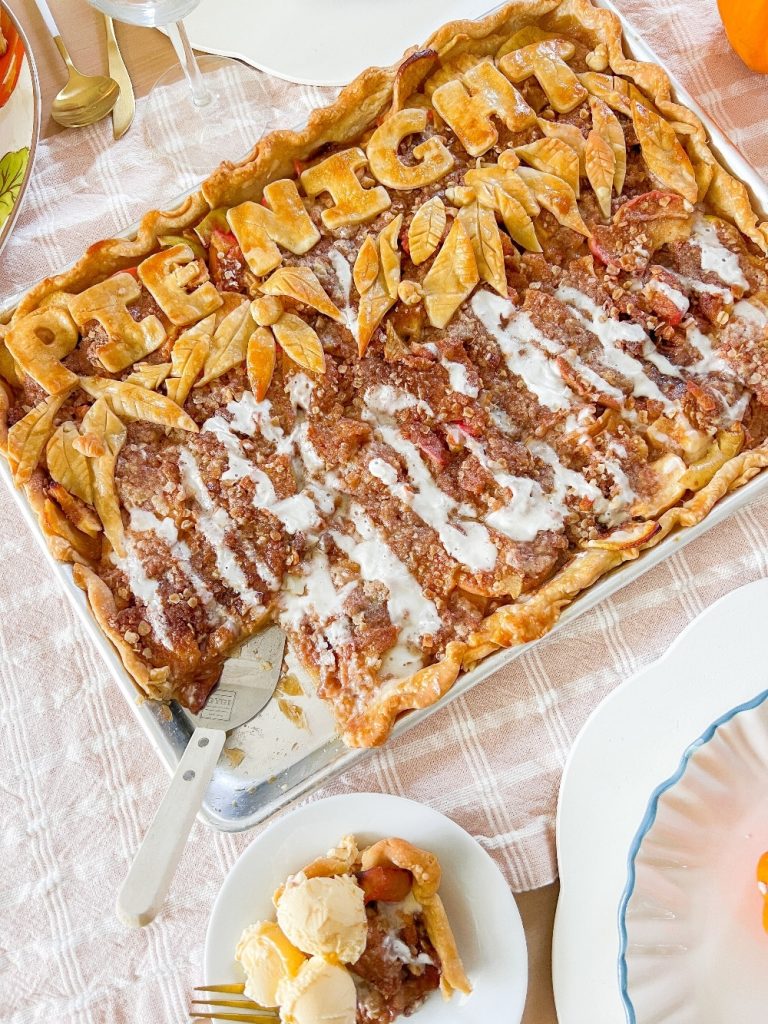
Apple Slab Pie with Streusel Topping | Tatertots and Jello
Apple Slab Pie with Streusel Topping is a crowd-pleasing dessert featuring a buttery crust, tender spiced apples, and a crunchy oat streusel, perfect for Thanksgiving or fall gatherings.
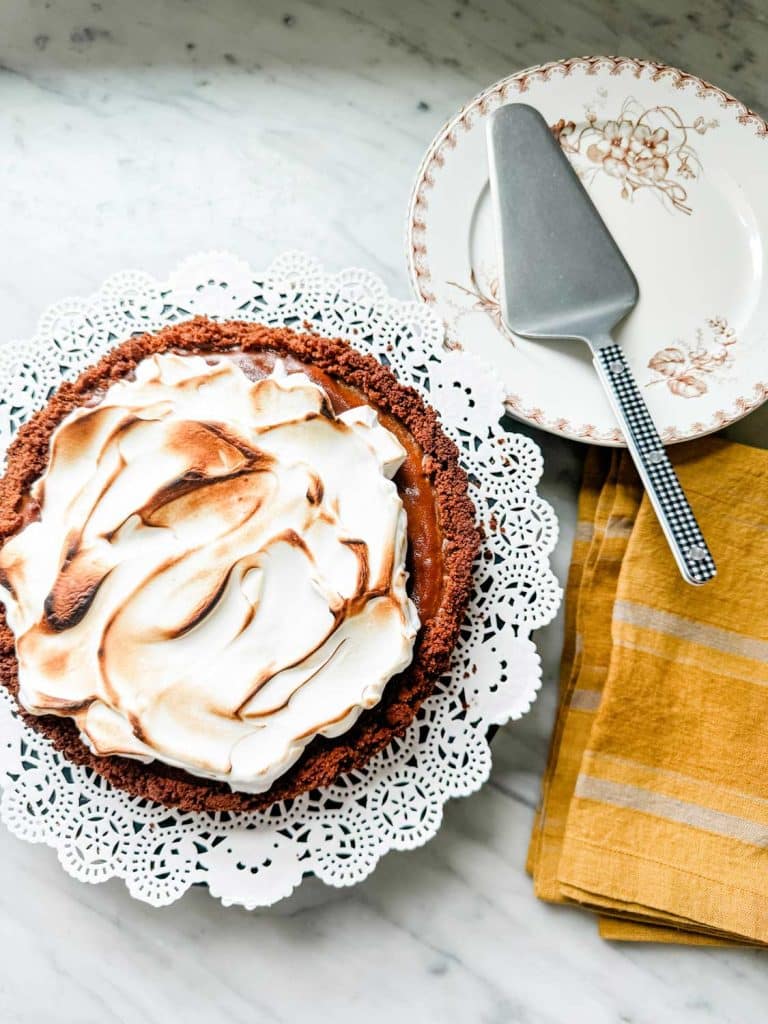
Pumpkin Pie with a Biscoff Cookie Crust & Toasted Marshmallow | Most Lovely Things
A traditional pumpkin pie, but with a Biscoff cookie crust with toasted marshmallow on top.
If you enjoy my blog, you can sign up to receive my updates here.
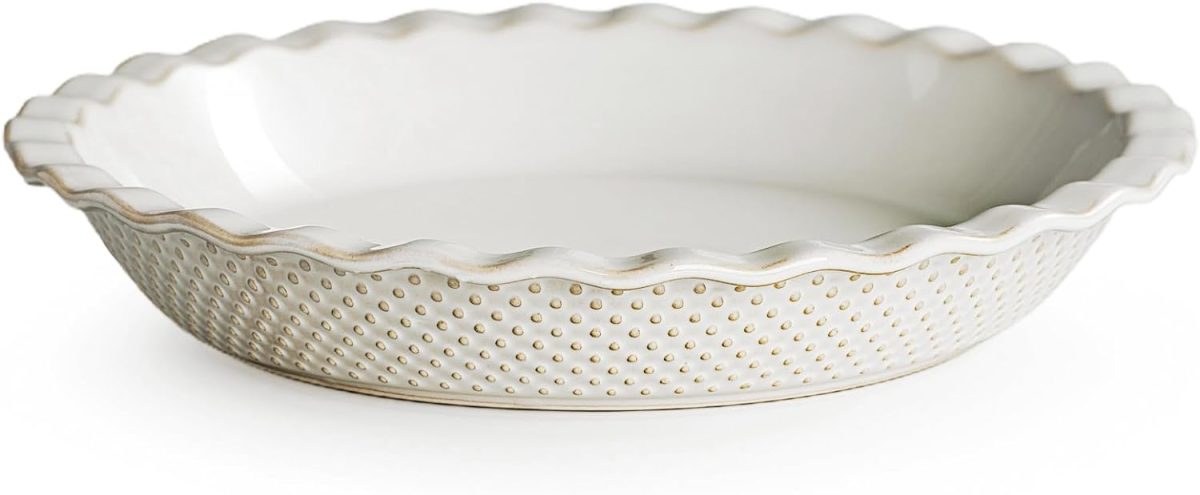
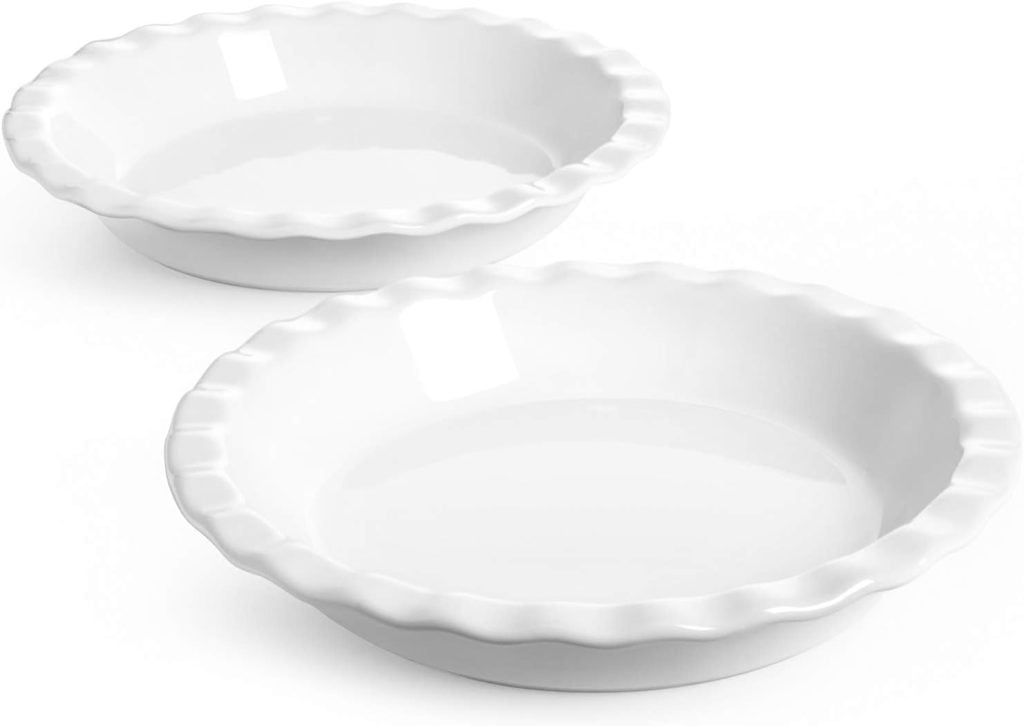
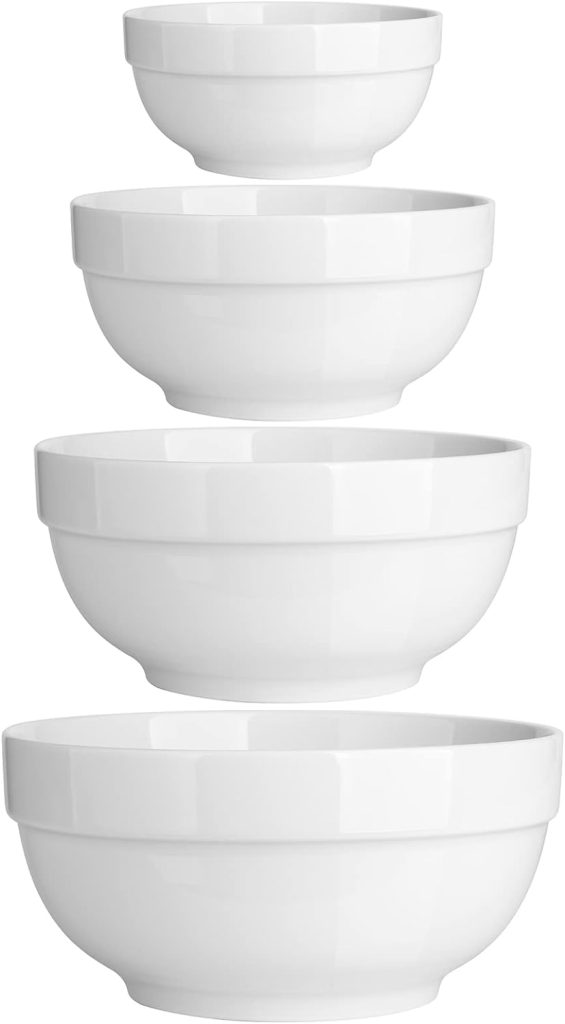
.Favorite Fall Kitchen Decor

Latest Posts
- Baked Brie with Jam

- A View From Above and Sunday Morning Coffee

- How to Make Beautiful Air Dry Clay Flower Frogs

You can pin the images below to your boards on Pinterest (click the Pin button in the top left corner) or follow me on Pinterest!

For more real-time updates, follow me on Instagram @My100YearOldHome














Your pie looks so yummy! I can’t wait to try it . Pinned 🙂
xoxo
Oh yay! Let me know how it turns out for you☺️
Leslie-your pie looks beautiful! I love the lattice crust.
This looks delicious!
Thanks so much! ☺️
Made this pie today, and shared it with my neighbors. I will definitely make it again but will cook it longer because the apple was more al dente than I prefer but the neighbors loved the pie. The neighbors and I LOVE the sourdough crust. Thank you for this delicious pie recipe.
You dont have to pre bake the bottom crust to keep it from getting soggy?