GUEST POST // MAKE IT YOURSELF // Stenciled Floor
Today’s make it yourself is so exciting as the wonderful of Jo of @the_simple_farmhouse is guest posting for me! When I saw this photo on her Instagram, I had to know how she did it. She was kind enough to take us step by step on how to make your own stenciled tile floor!
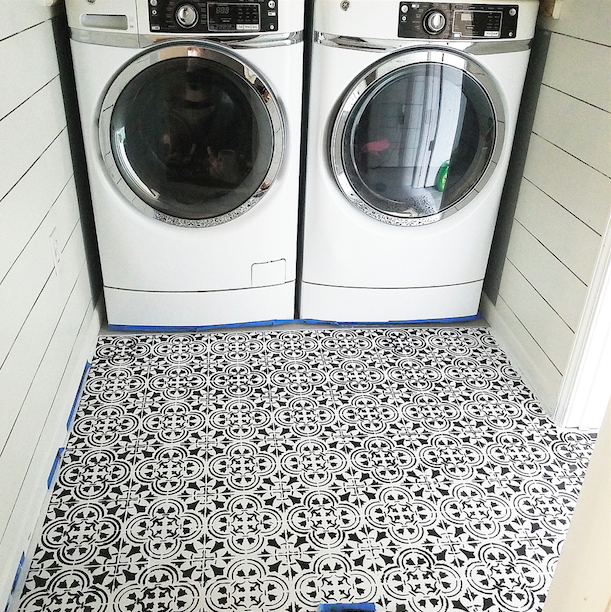
I have always wanted to have this floor ever since I saw it in the magnolia B&B. We already had tile laid so I decided to stencil my flooring. I ended up finding the perfect pattern stencil from @cuttingedgestencils … don’t you love it?
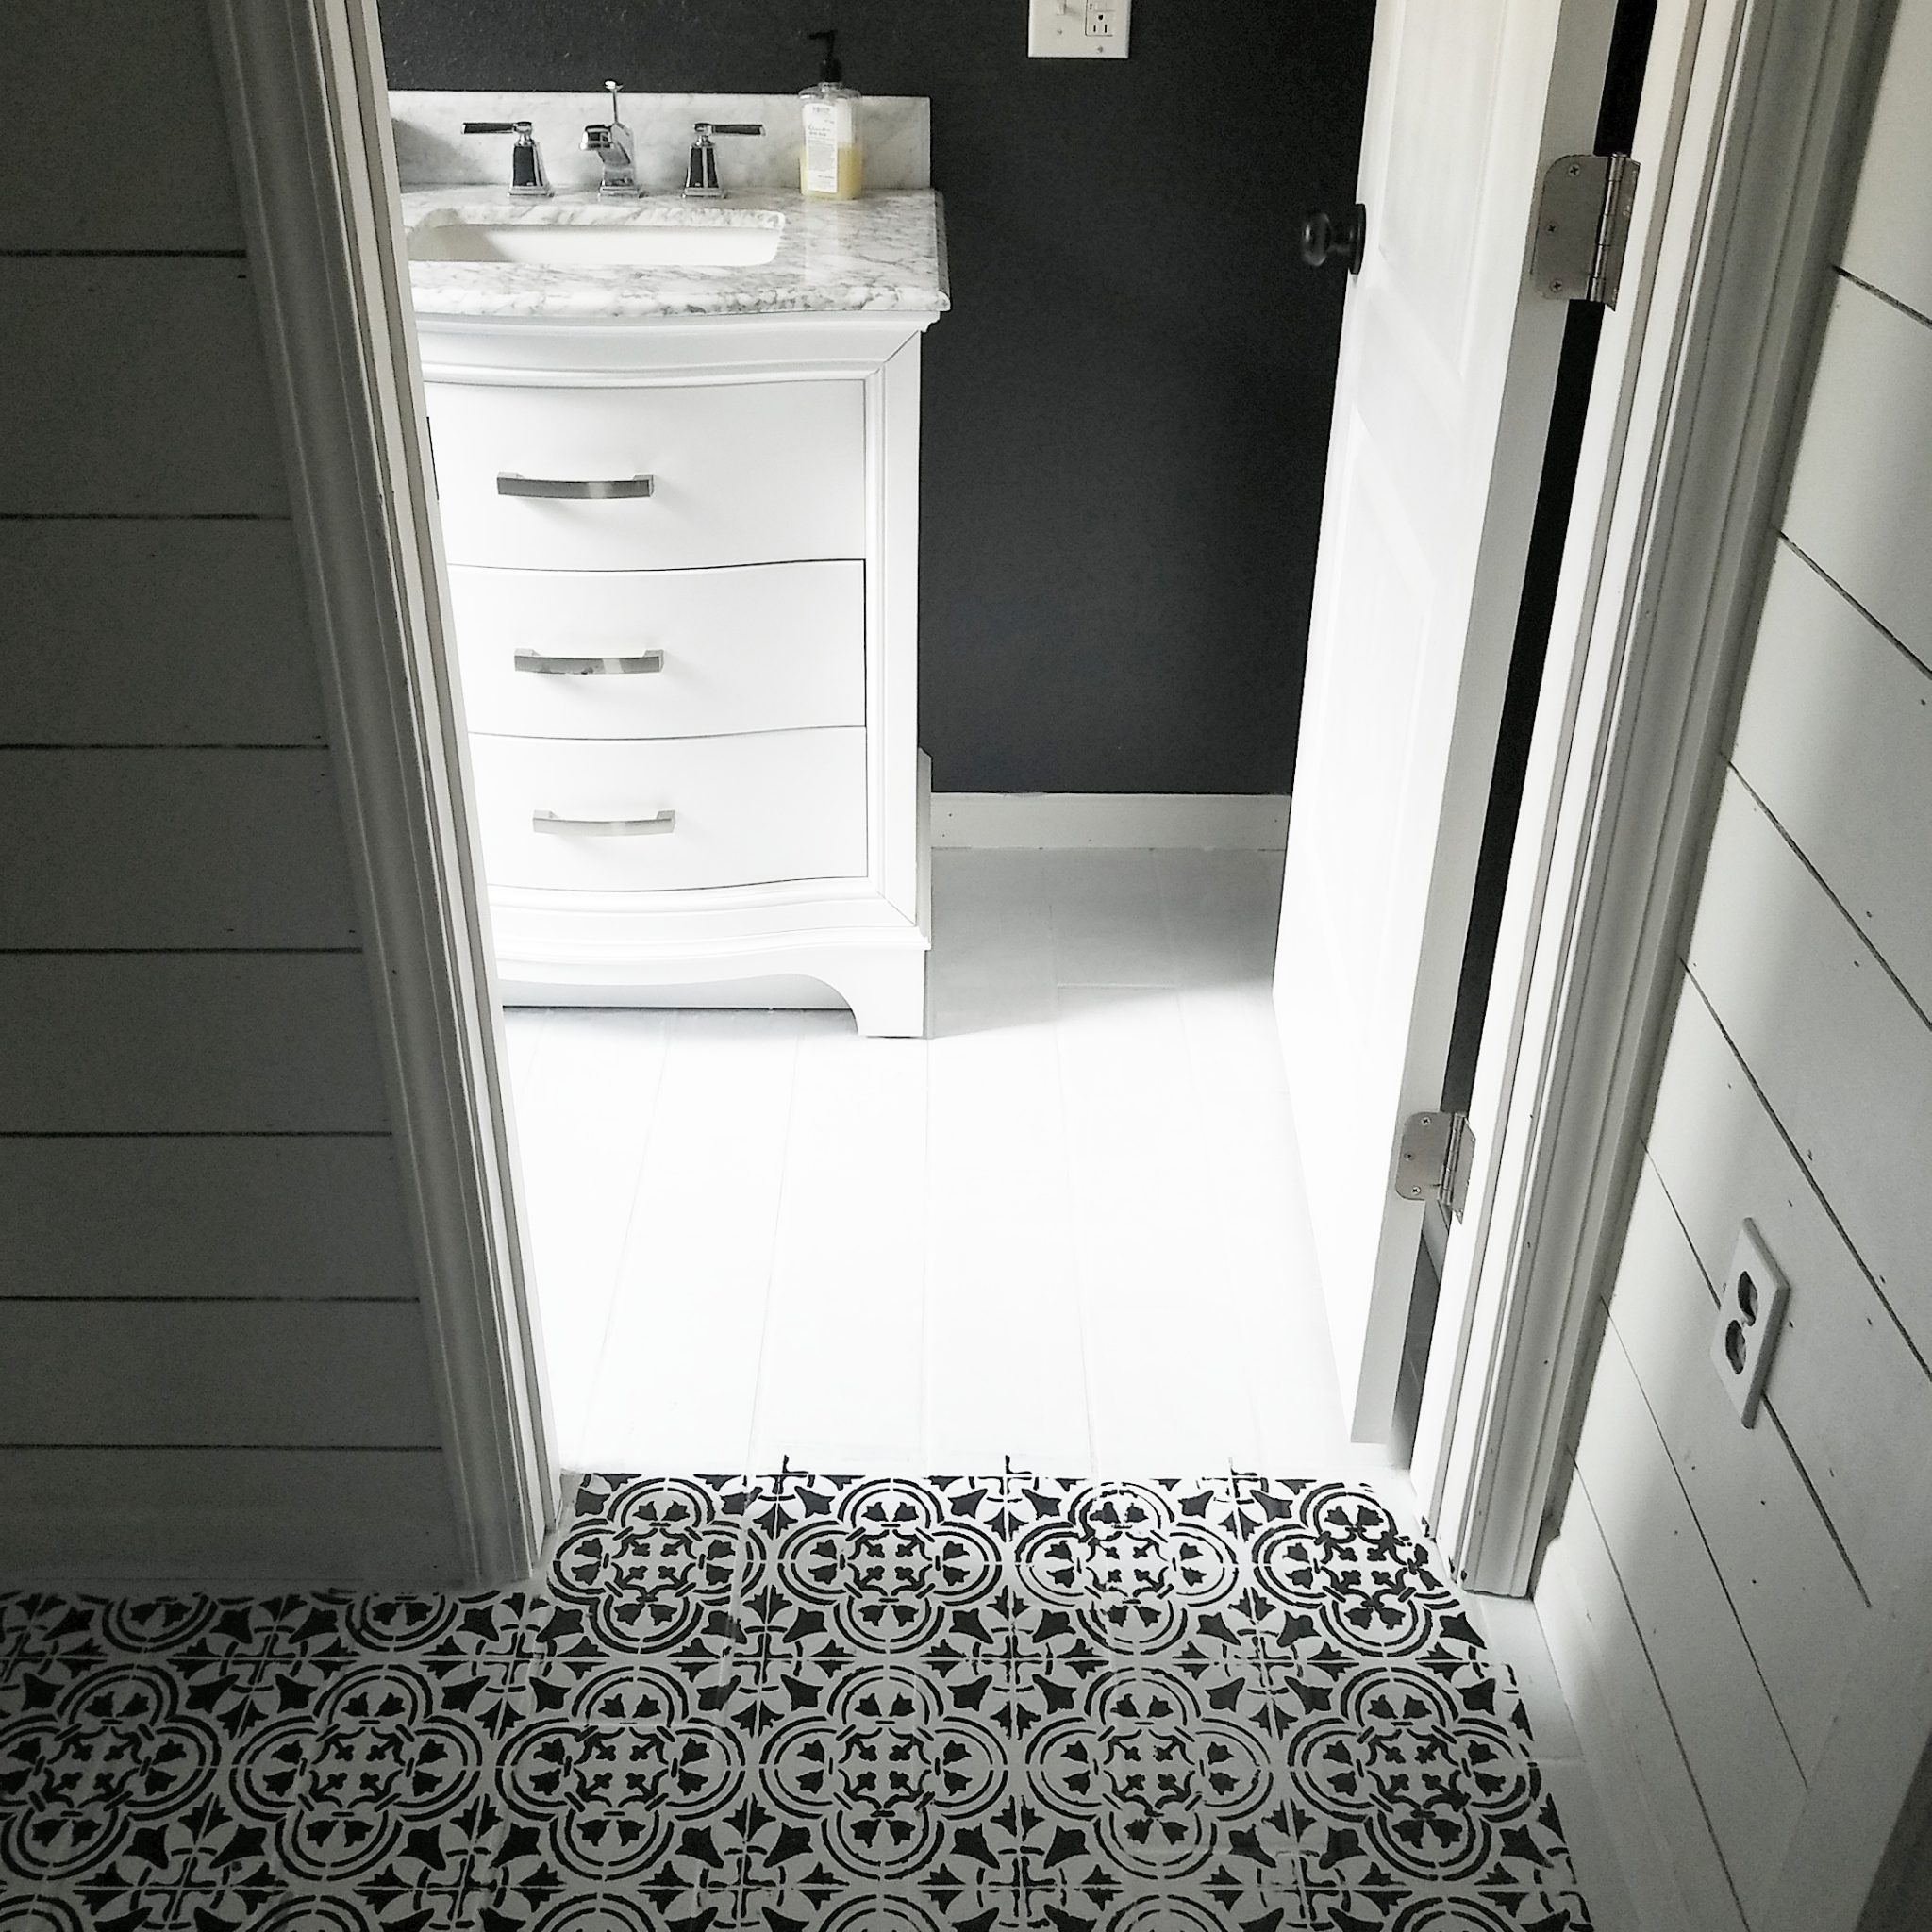
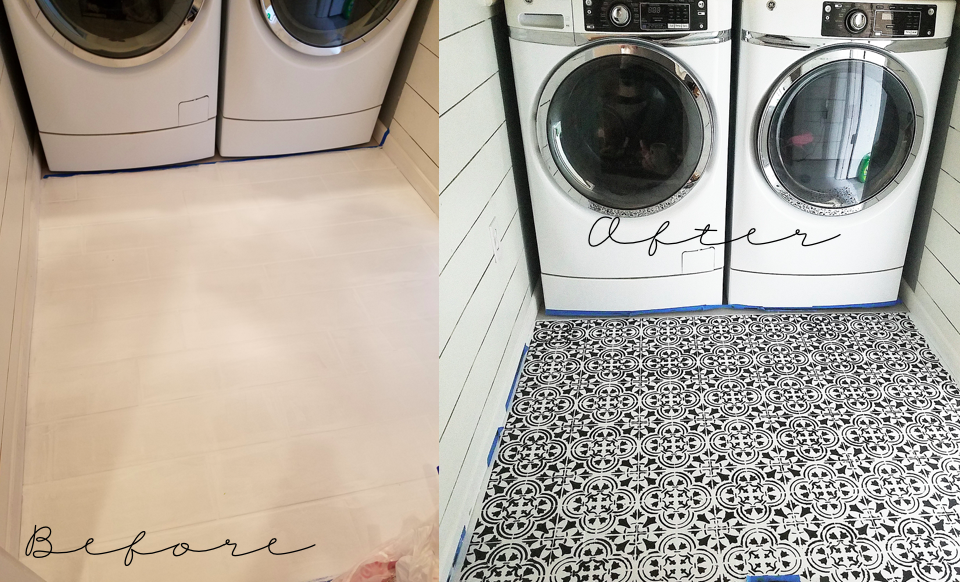
It was definitely a learning experience, And I’m not going to lie that I was nervous!! But I stuck with it and it was a process but I LOVE the turnout!! For less than $100, I transformed the entire room from blah to brilliant.

[one_half]
W H A T Y O U ‘ L L N E E D
Valspar Chalky Paint (boot black)
Miniwax Polycrylic Clear (satin finish)
Hair dryer
[/one_half]
[one_half_last]
C O S T B R E A K D O W N
Primer: $24.68
Chalk Paint: $17.83
Polycrylic Finish: $17.97
Small Foam Roller: $7.15
Blue Painter’s Tape: $12.99
Tile Stencil: $9.95
Total: $90.57
[/one_half_last]
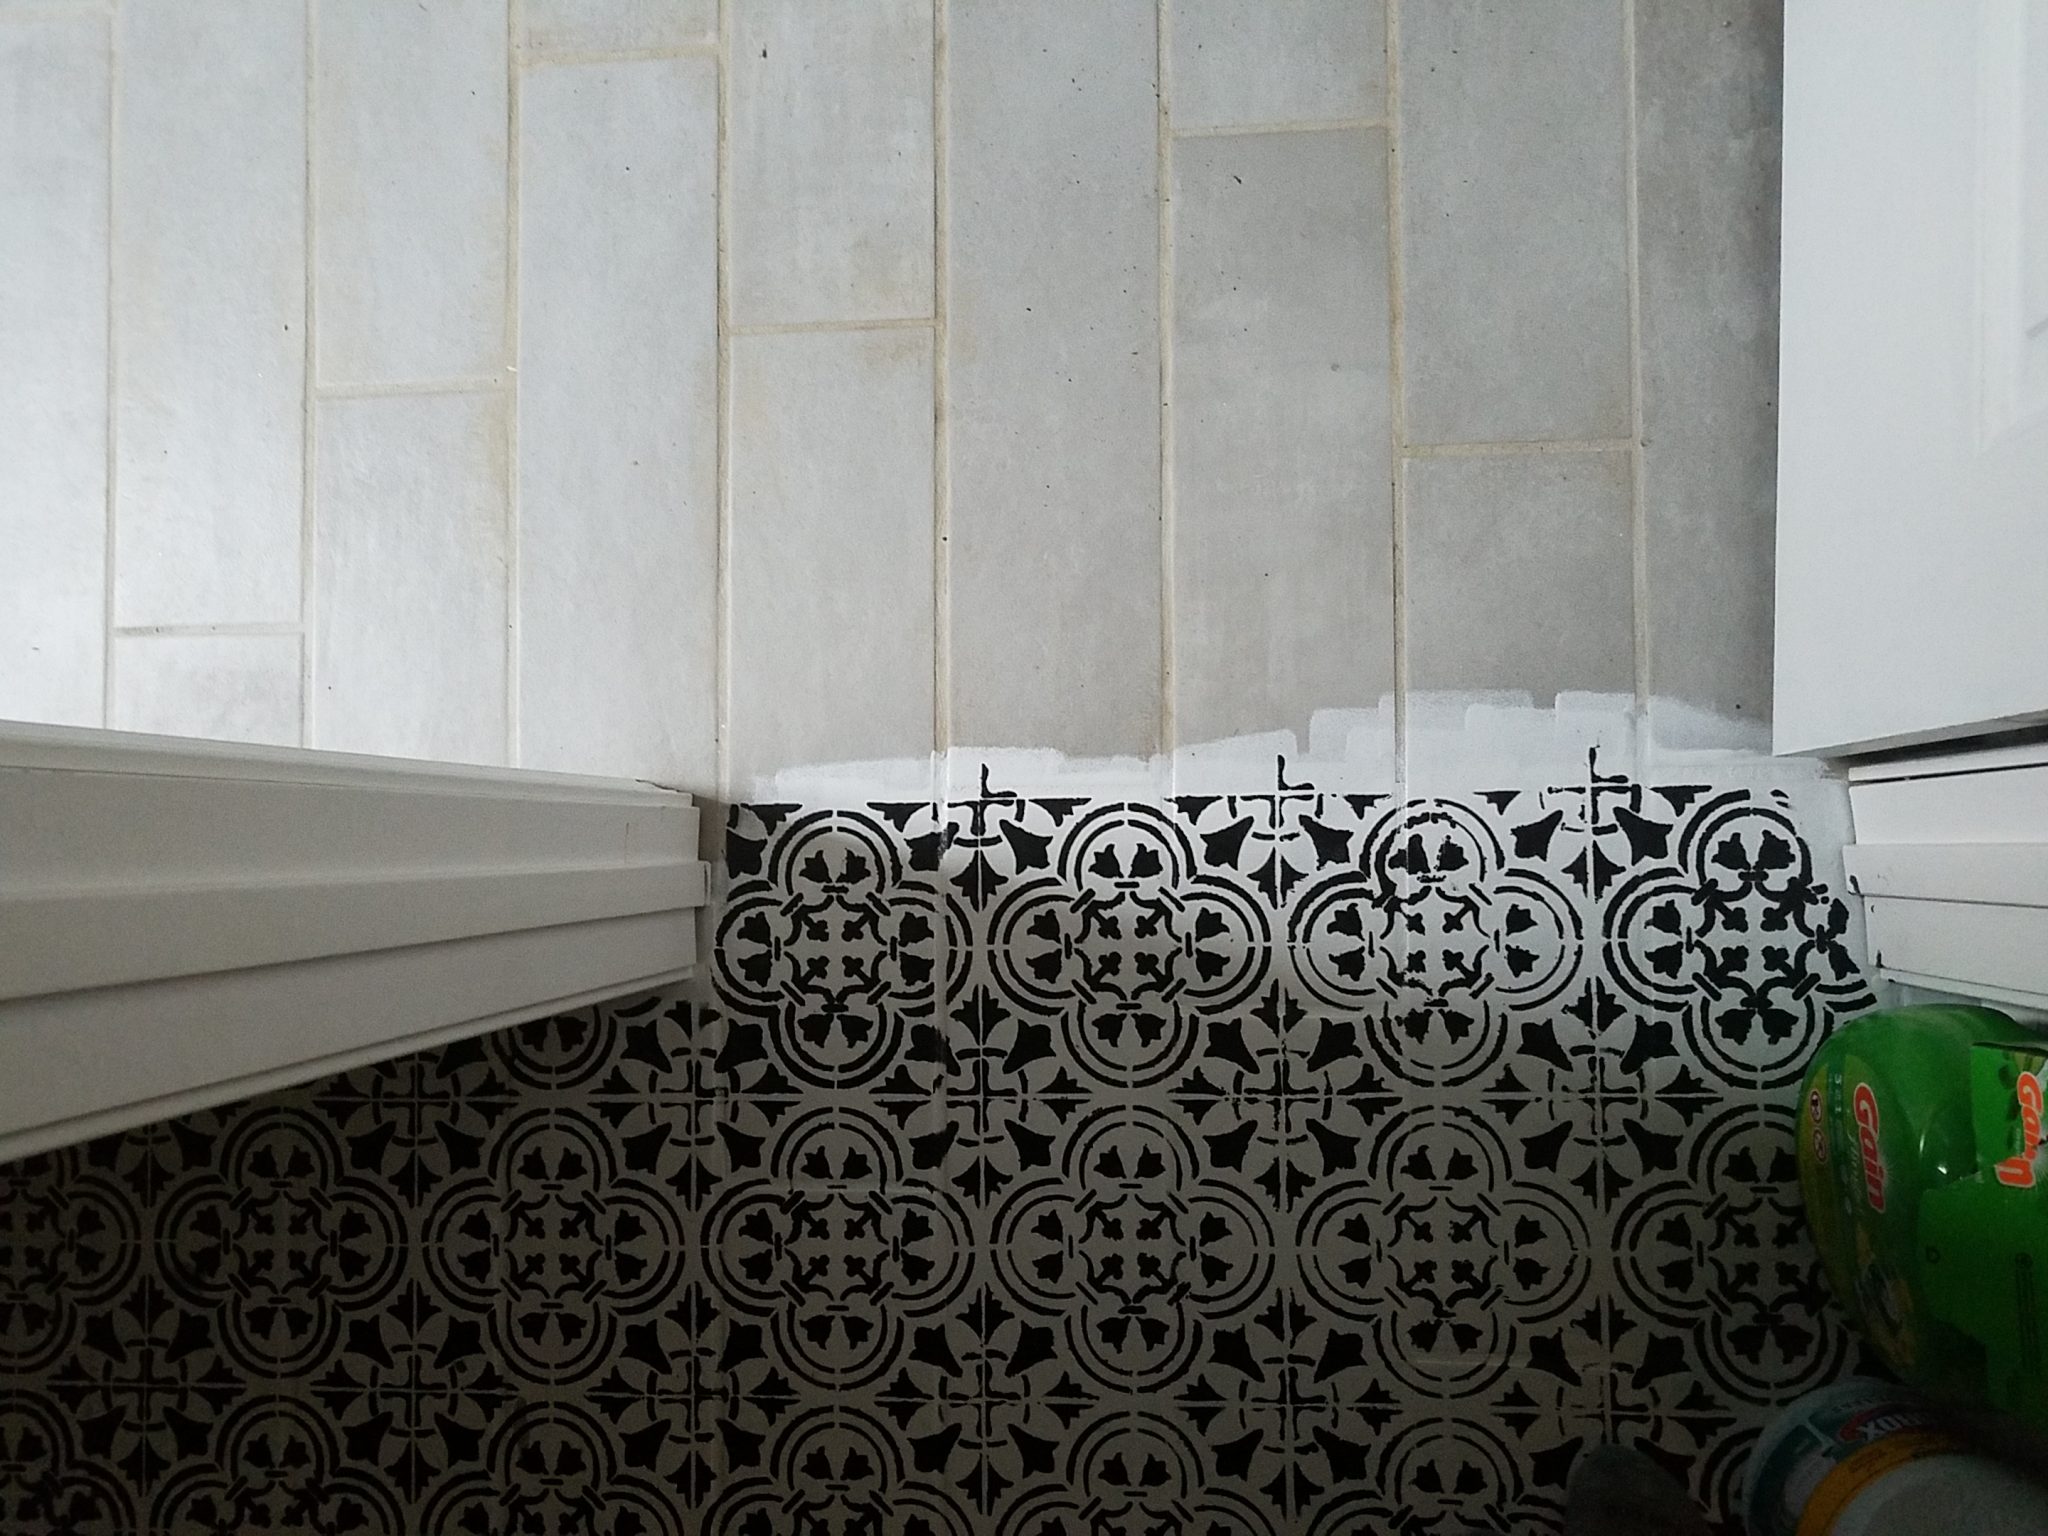
S T E P B Y S T E P:
STEP #1
Prime the floor with 2 coats of the Zinsser primer. Let it completely dry in between coats.
STEP #2
Next, place your stencil where you want to begin (I started on the edge). Tape down edges of the stencil.
STEP #3
Dip small foam roller in chalk paint very lightly (You want a very little amount of paint on the roller to prevent bleeding under stencil). Paint over the stencil.
STEP #4
Use a hair dryer on low to dry the paint before you lift the stencil. It drys fast but make sure it’s completely dry before you remove the stencil or else there will be smudges and mess ups.
STEP #5
Lift the stencil and place on next space. Re-tape it like the previous one and start the process over again.
STEP #6
When you get to corners or edges, just bend the stencil to match up with your lines.
STEP #7
Once the floor is complete, apply the polycrylic finish* with a different and clean small foam roller. Let that dry completely. (I used 3 coats for good measure)
*I used satin clear to prevent it from being too shiny but you could also use matte for no shine, depending on the look you want!
Thank you so much, Jo, for creating this amazing MIY! If you have any questions, you can ask them in the comments or find Jo on Instagram at @the_simple_farmhouse. Please go pay her a visit (give her a follow – you will LOVE her home) and let her know how much you loved this! She’s also working on a blog that is coming soon, so stay tuned!
For more real-time updates, follow me on Instagram @My100YearOldHome



Wow!!! Thank you so much for sharing our stenciled floor On your AMAZING blog !!! I enjoy your blog daily ,, your pretty amazing as well !!HOPE you have a wonderful day sweetest friend ????????
????Jo
How is this holding up? I love this look! Thank you for tutorial.