Spring Porch Makeover with JOANN
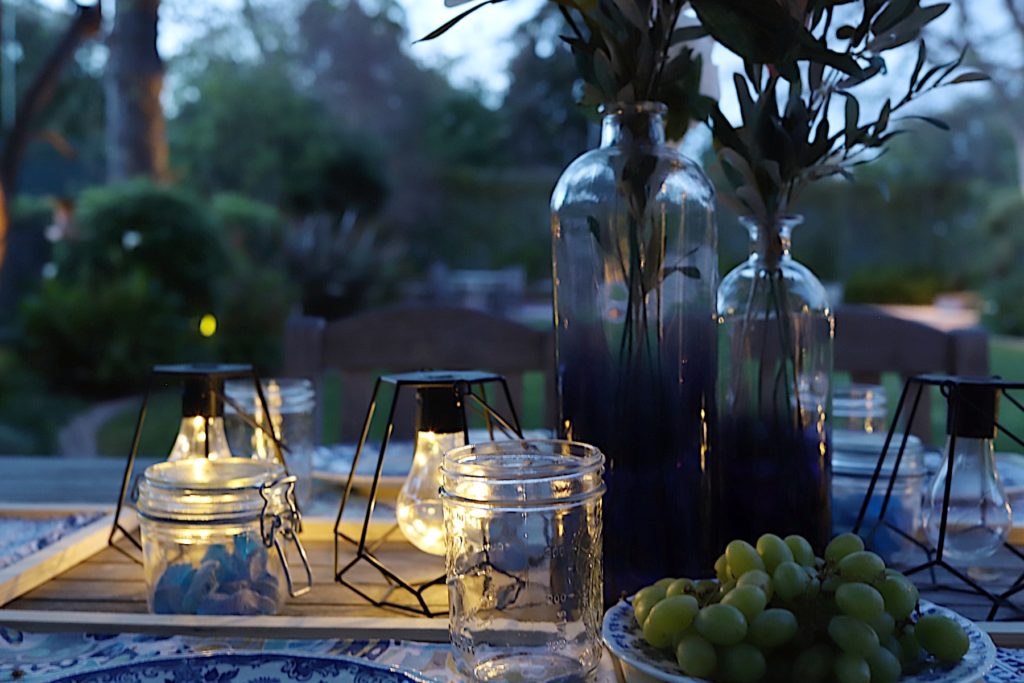
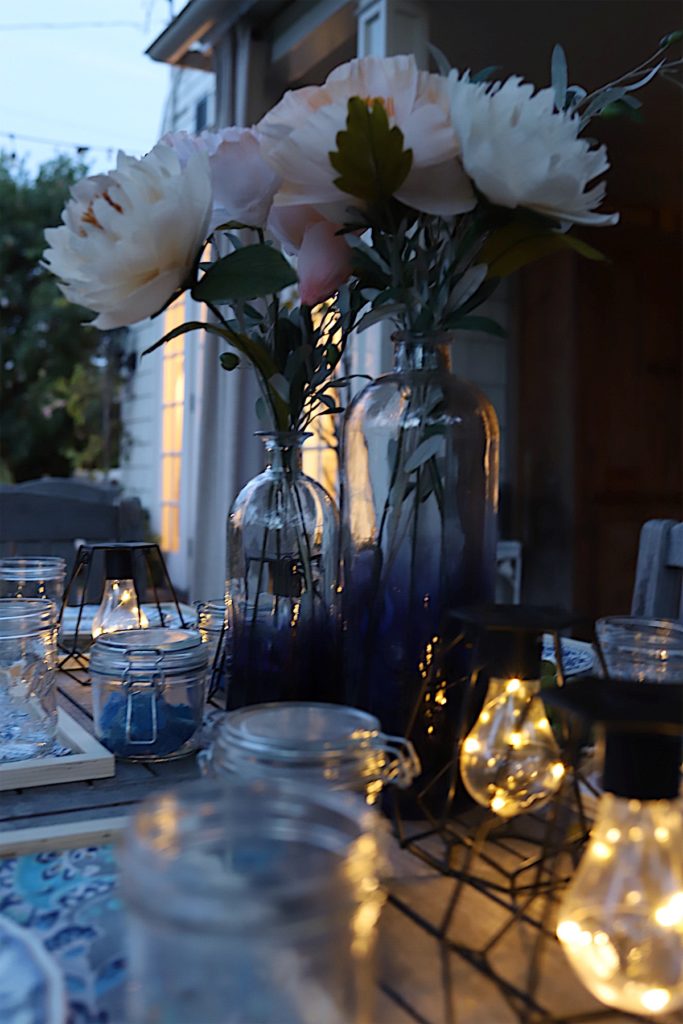
Spring is in full swing and after seeing all of the Indigo Mist products at JOANN, I decided to do a spring porch makeover with a touch of blue. I love how this table looks so different in the day and night.
This post is sponsored by JOANN. It may contain affiliate links but all words, reviews, and opinions are mine.
I am absolutely thrilled how the spring porch makeover came out and I can wait to share the products I used and my two DIY projects.
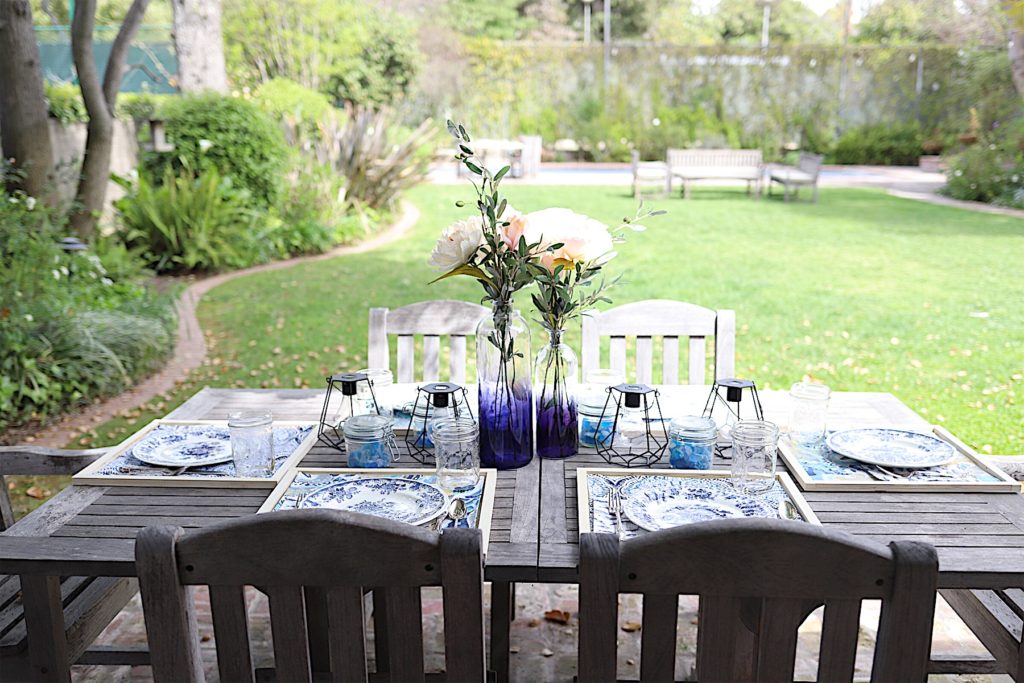
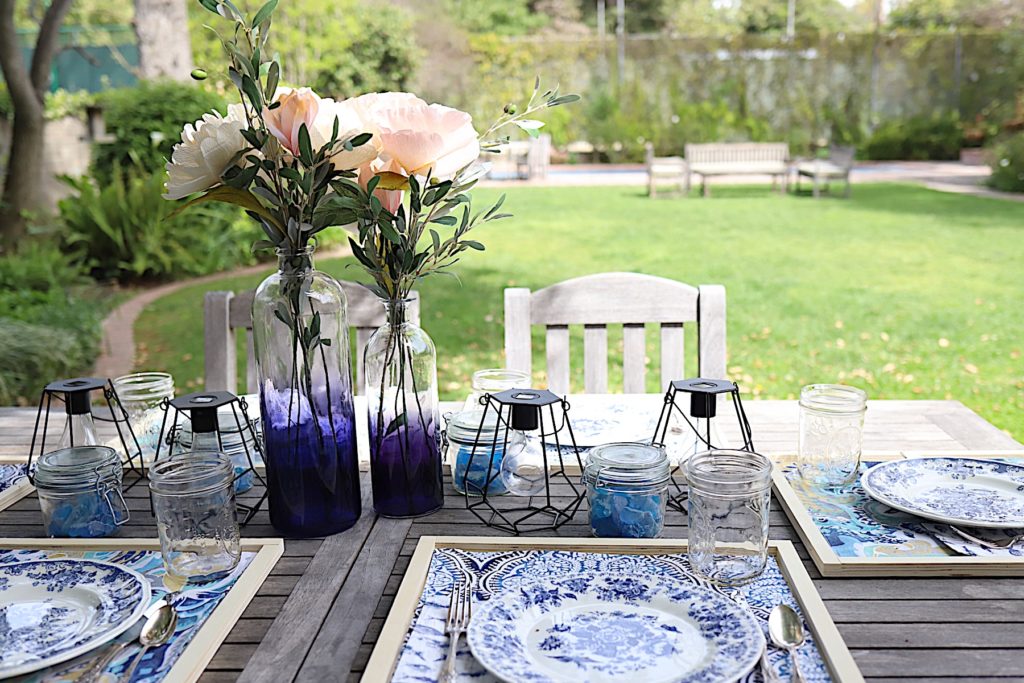
I created a tablescape for a Spring dinner party and also added new accessories on the back porch.
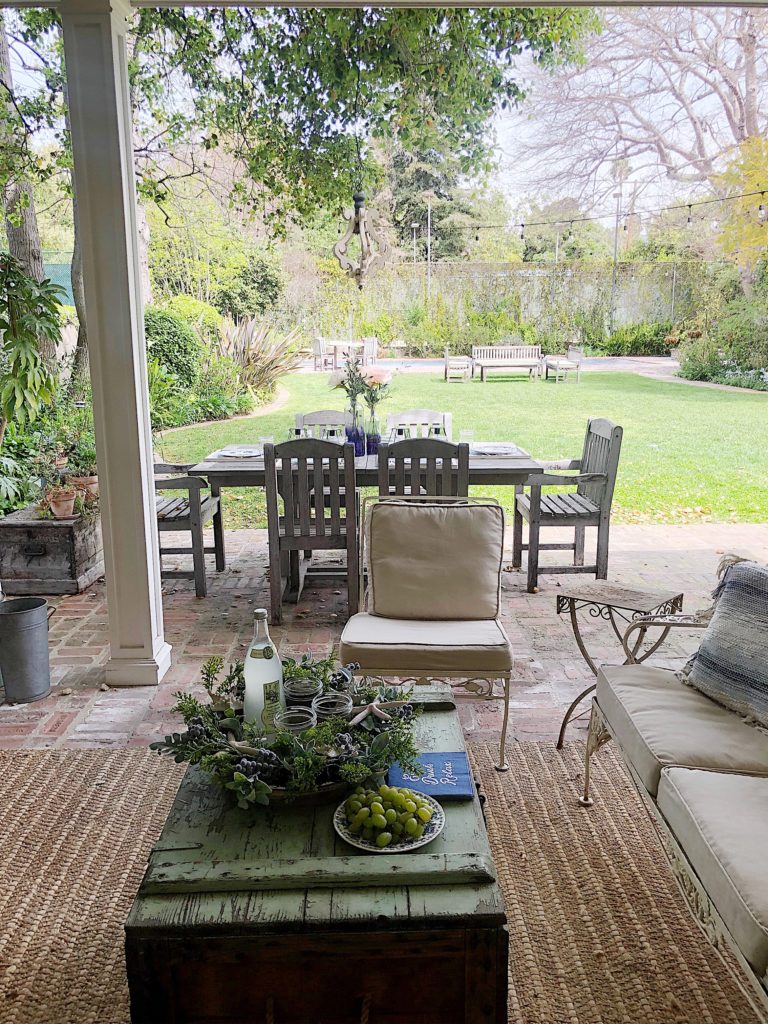
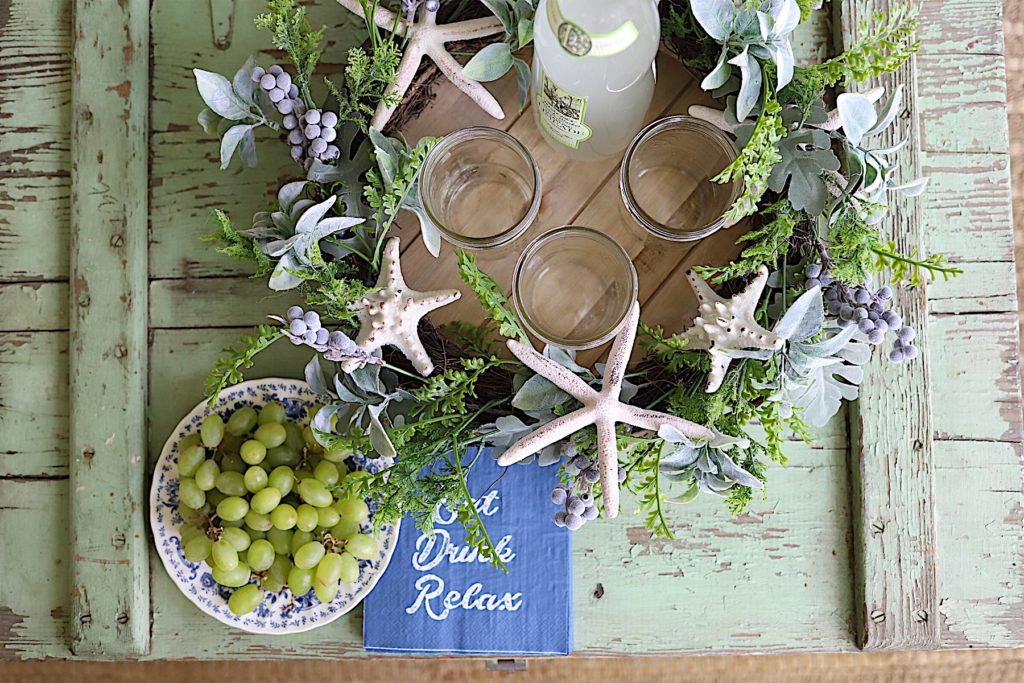
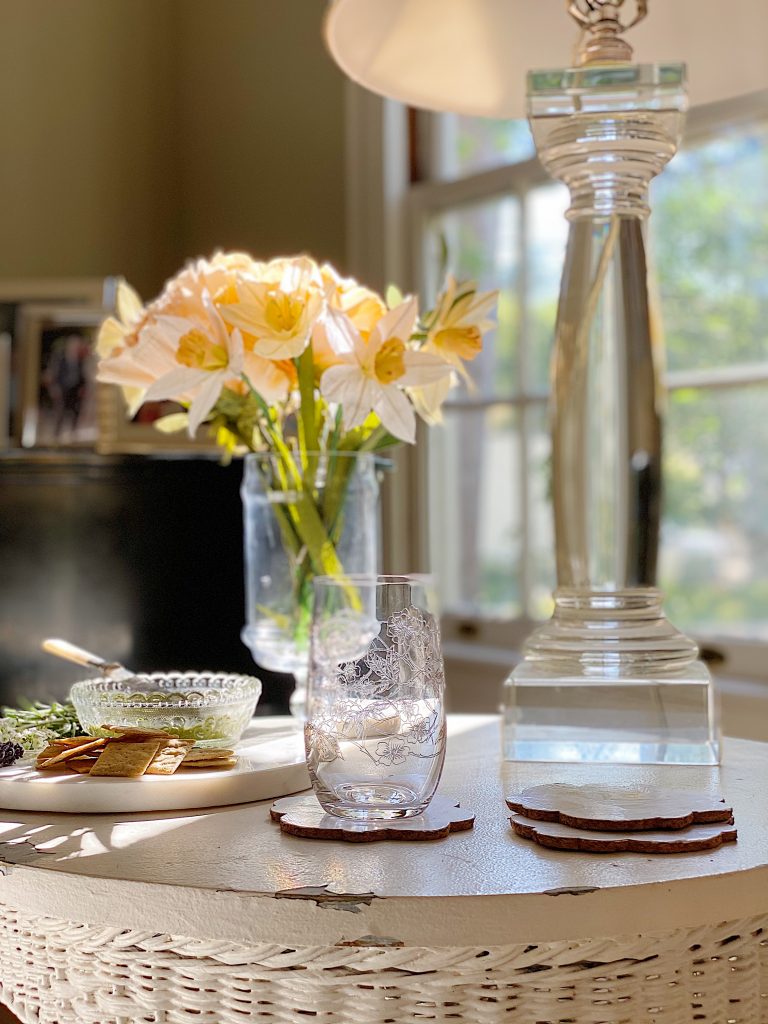
I love this photo. You can see how I used a round rustic wood tray and topped it with a coastal inspired Indigo wreath at JOANN. The Indigo Mist pillows on the sofa are perfect for this space.
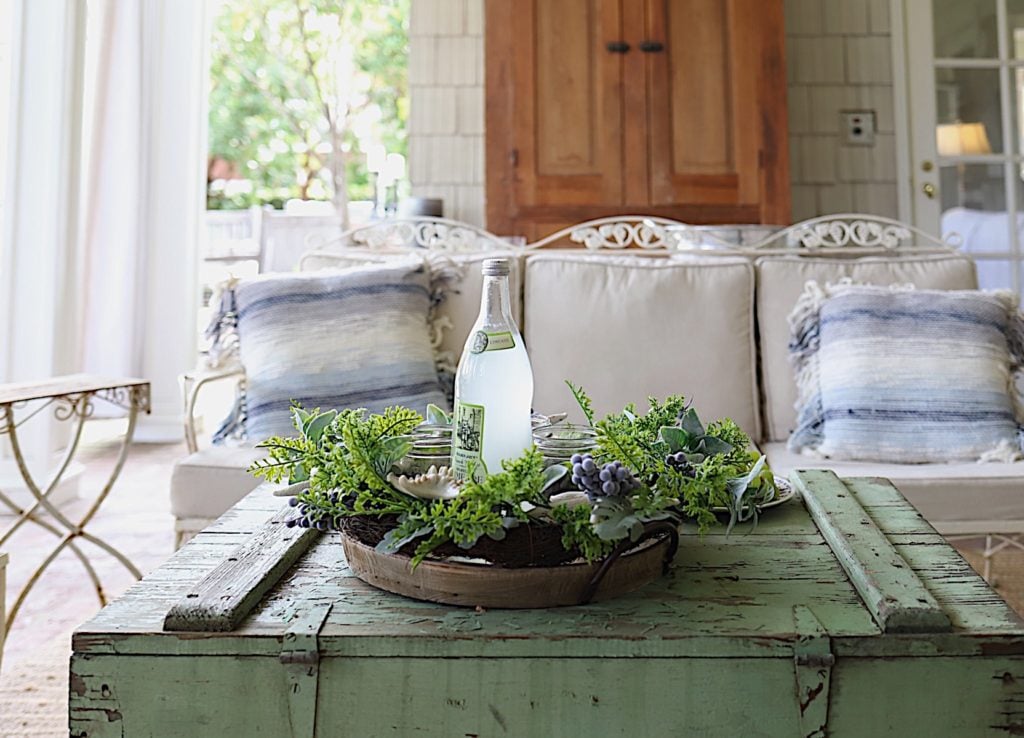
Wreaths aren’t just for hanging on the wall. They make great decor on a table! Plus the Indigo paper dinner napkins add the perfect touch.
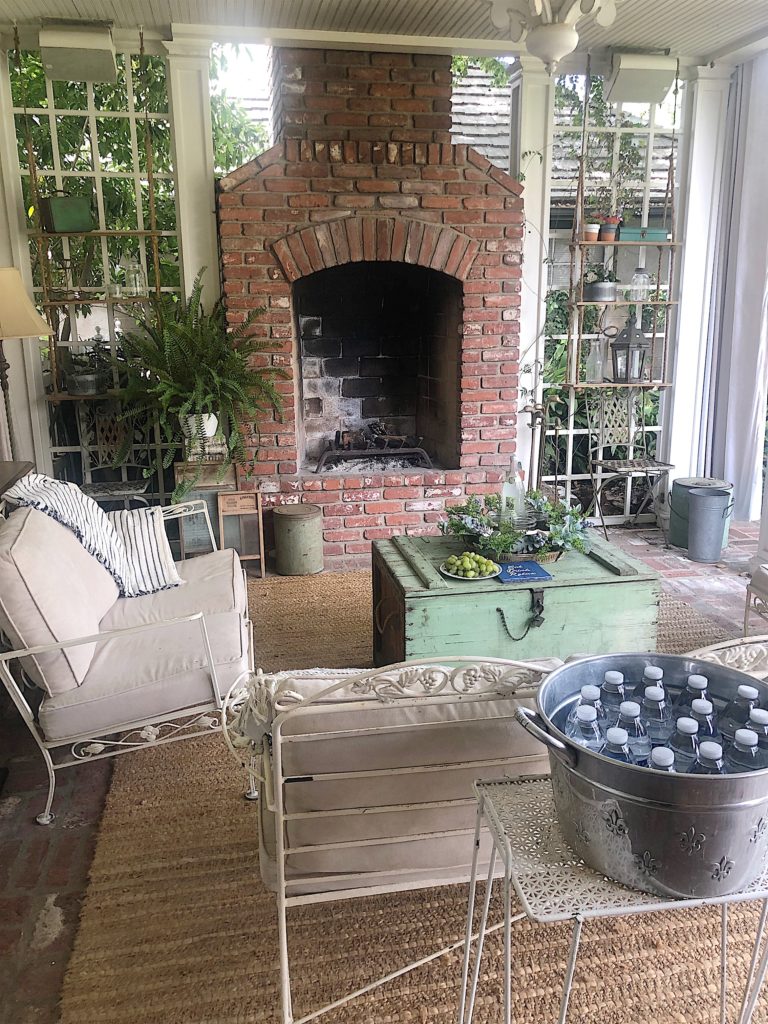
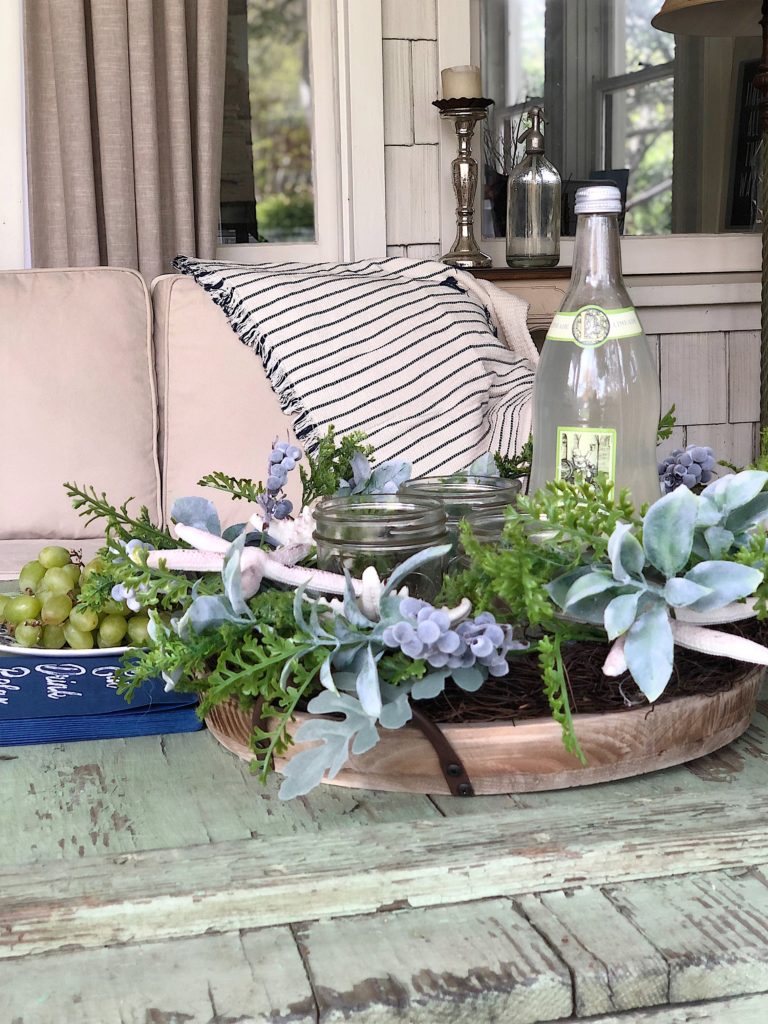
I also used this Indigo Mist throw that will come in handy on cooler Spring nights. We also have a fireplace and heaters in the ceiling so this light throw is perfect when we have a slight wind. Our Southern California weather is usually pretty warm so we use our porch almost every day.
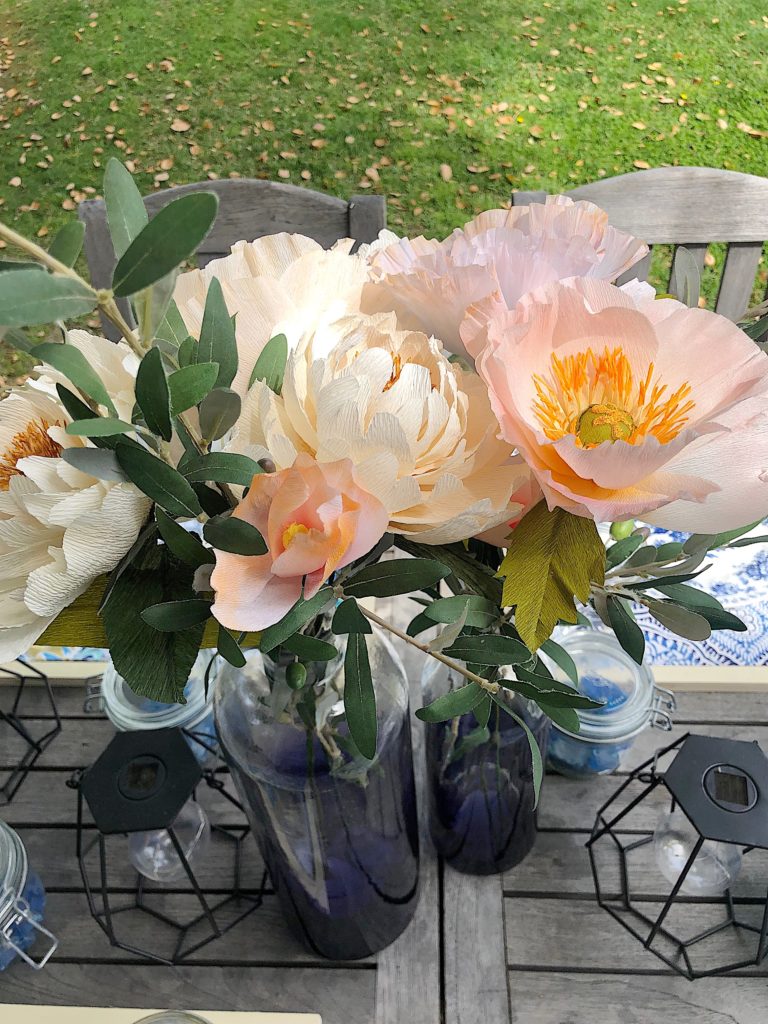
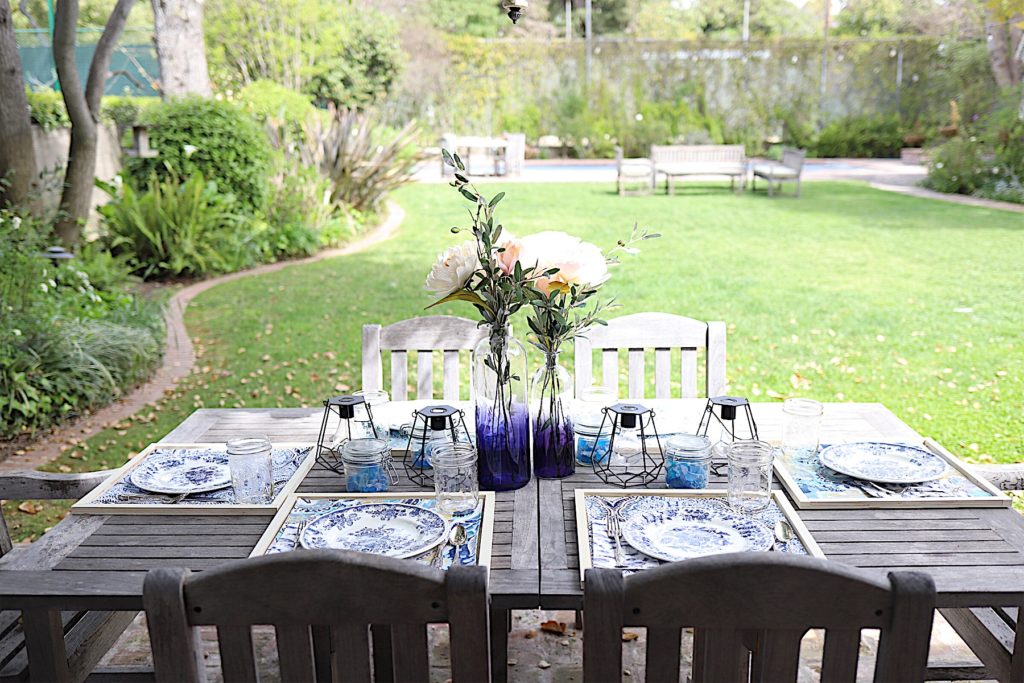
On the dining table, I used In the Garden Diamond Shaped Hanging Solar Lanterns, a 10″ Indigo Mist glass bottle, a 13″ Indigo Mist glass bottle, and jars with Indigo Mist Glass Fillers. The glass filler rocks add such a great splash of color!
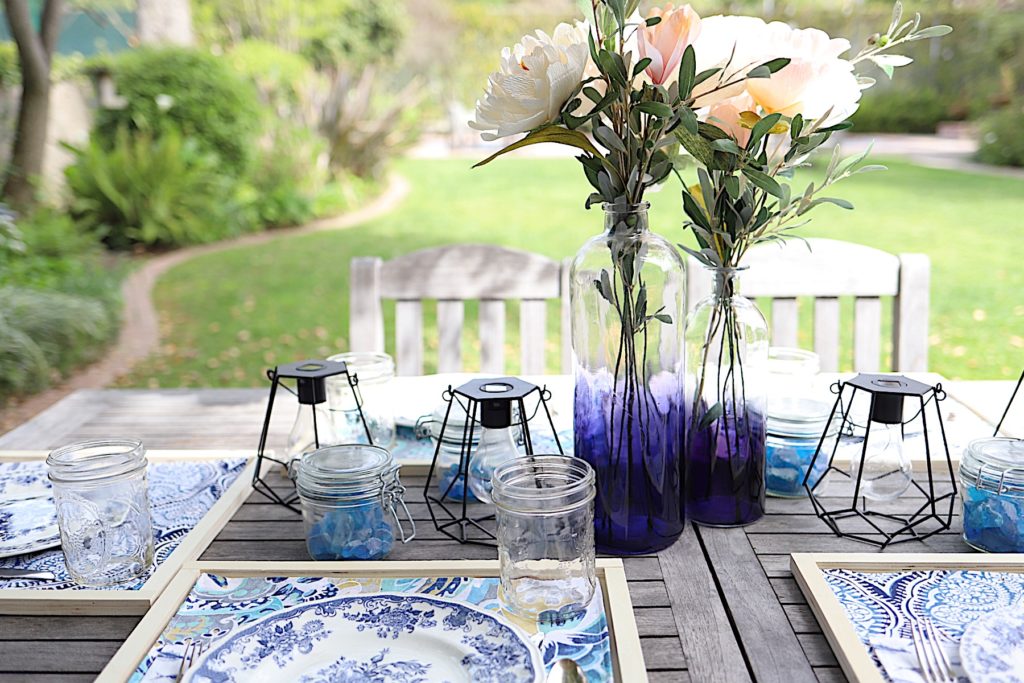
I used the In the Garden Diamond Shaped Hanging Solar Lanterns but chose to set them on the table instead of hanging them. Don’t they look wonderful?
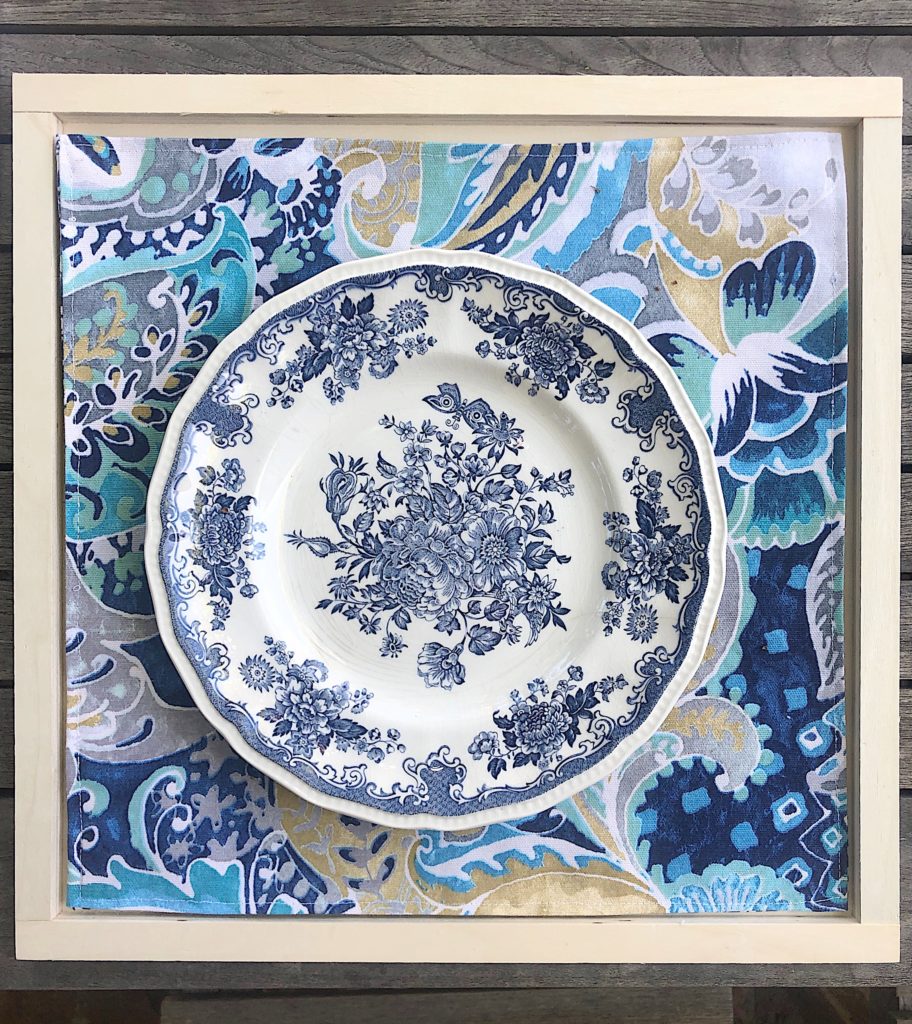
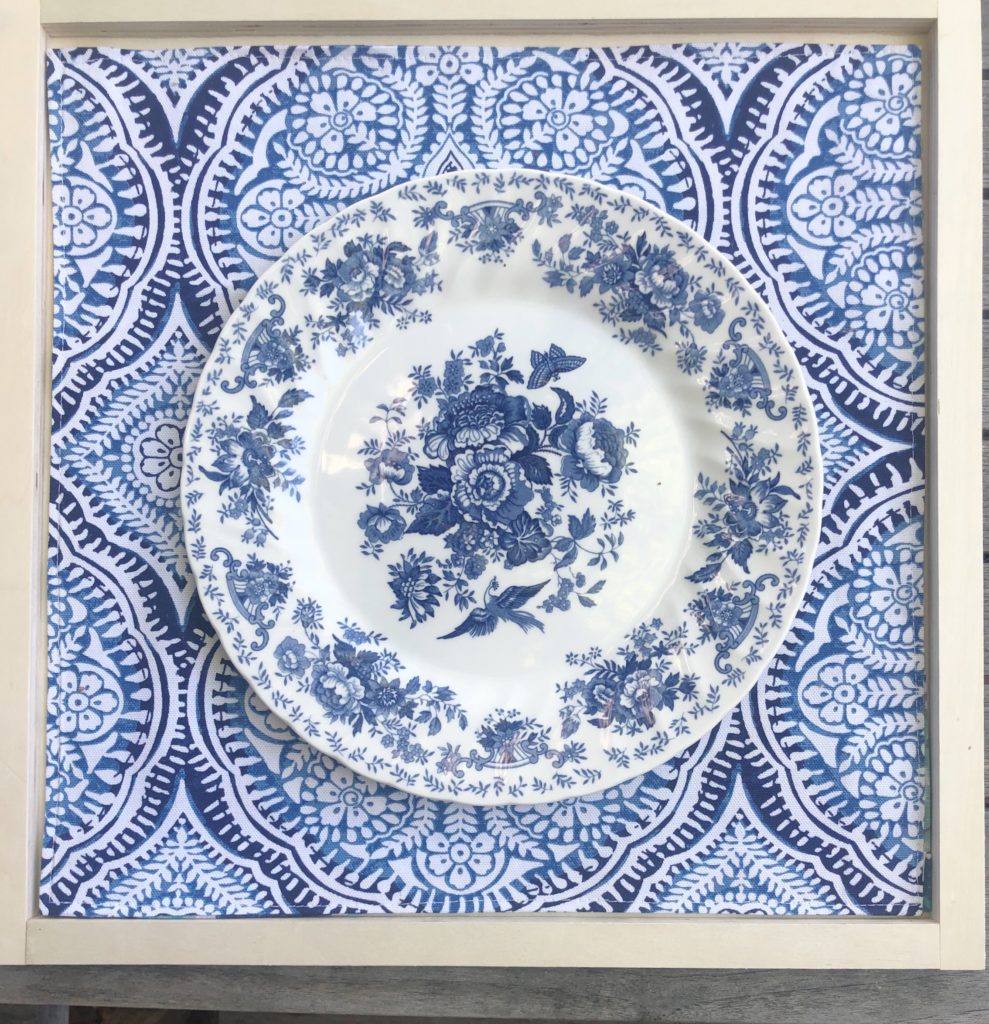
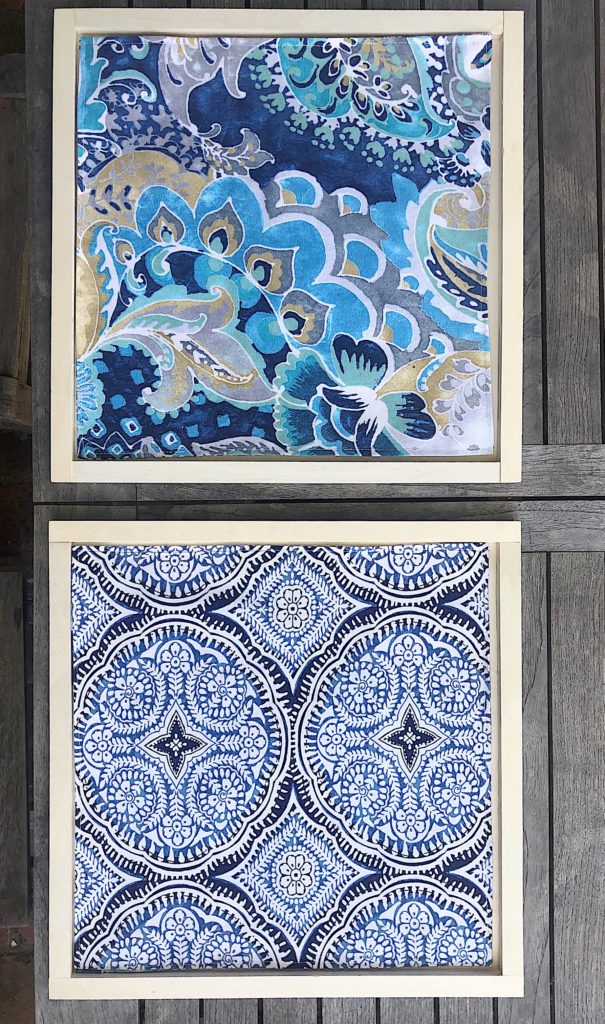
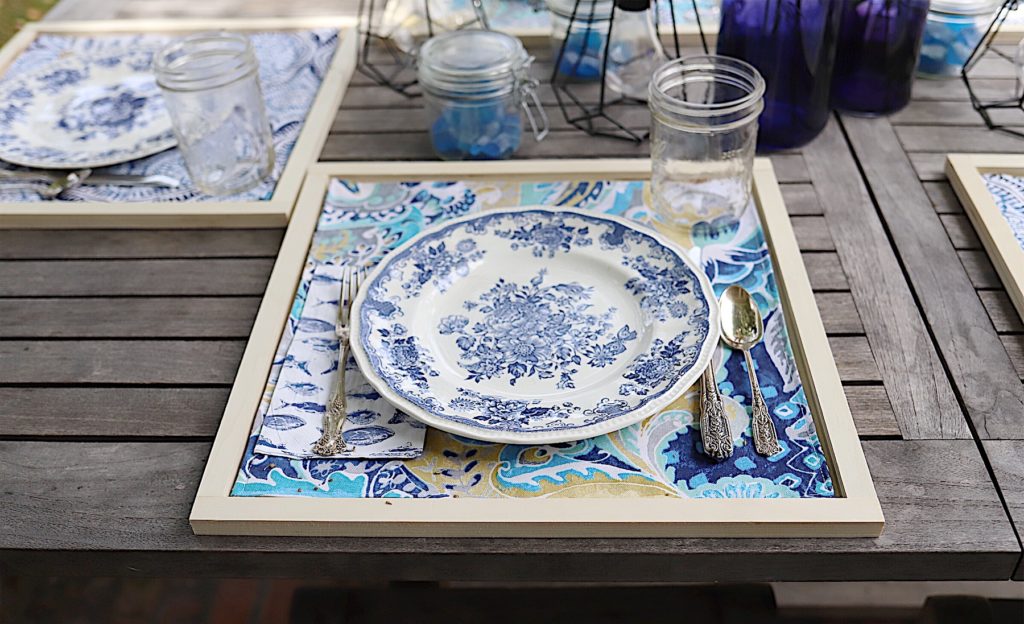
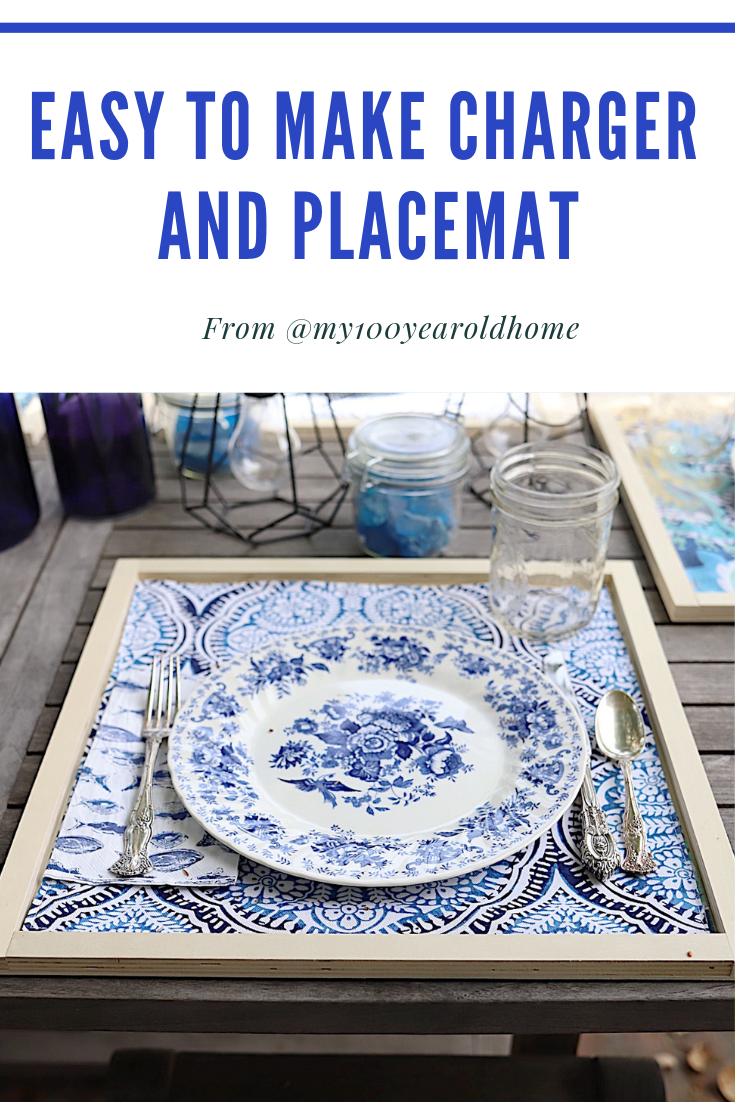
My first DIY are these reversible placemats I made to fit perfectly in a Simply Spring Wood Square Sign. Who would have thought you can turn a Simply Spring Wood Square Sign into the perfect charger? I didn’t even paint them (call me lazy) but honestly, I like them in the natural wood color. I selected two different home decor fabrics which means I now have six matching placemats in either fabric! You can also mix them as I did on this table. Three of each works perfectly.
I love how these placemats add so much color to the table.
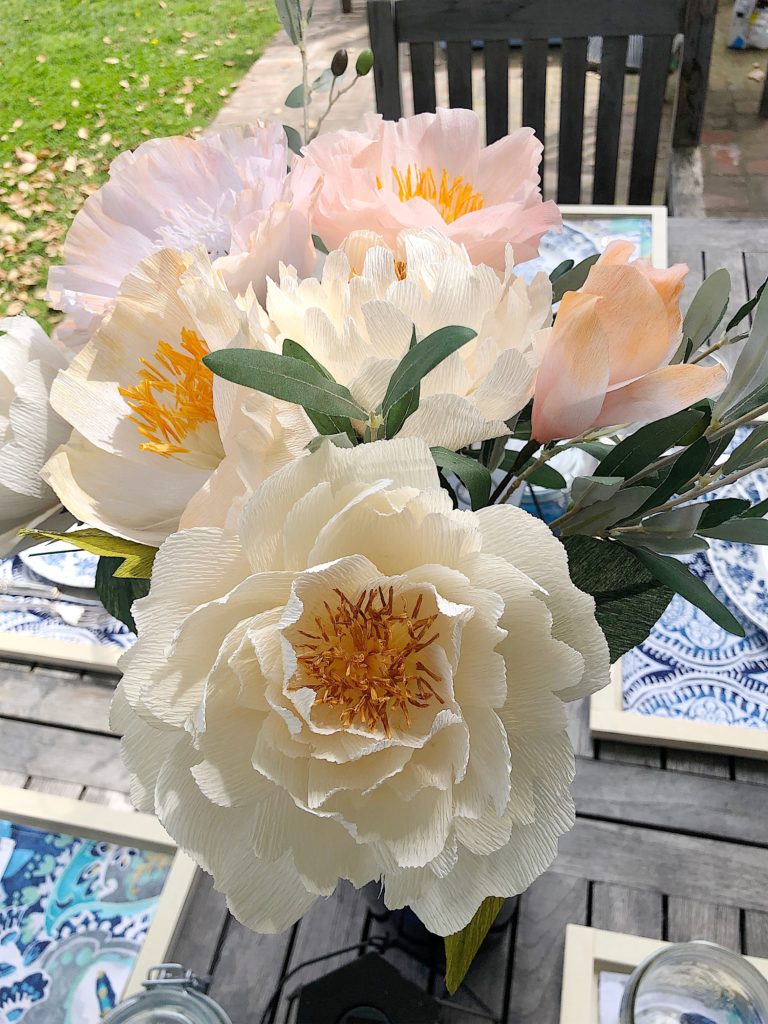
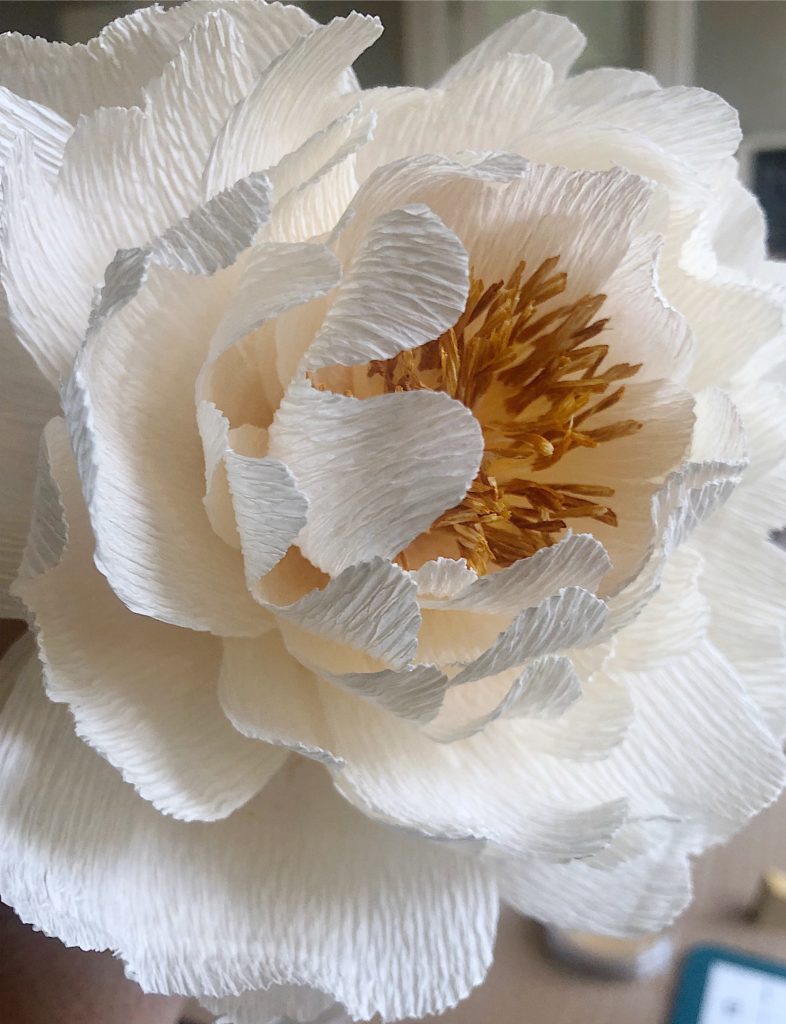
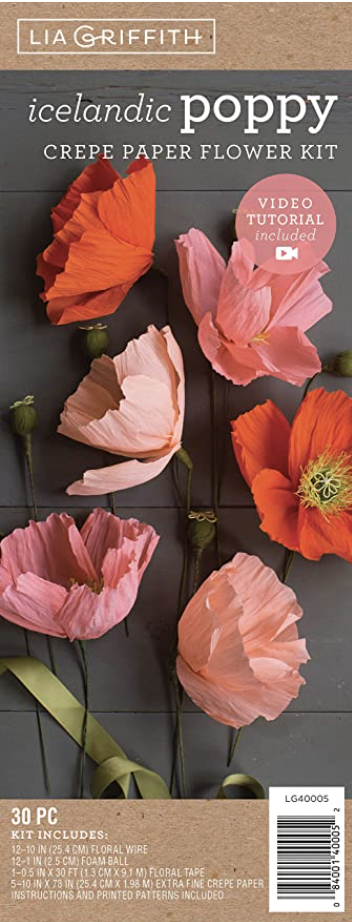
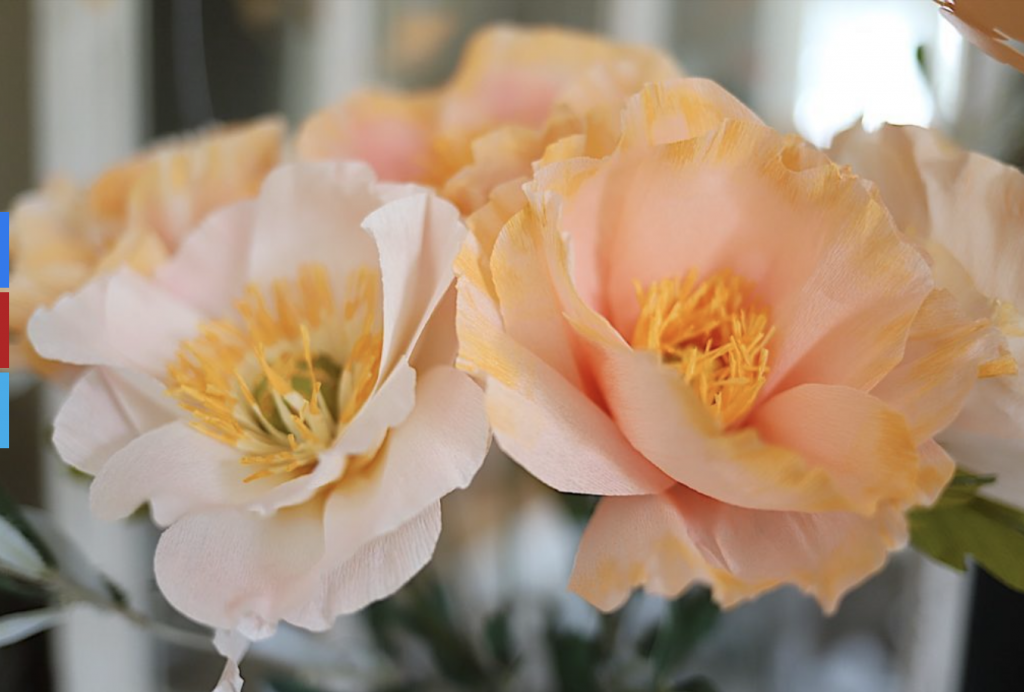
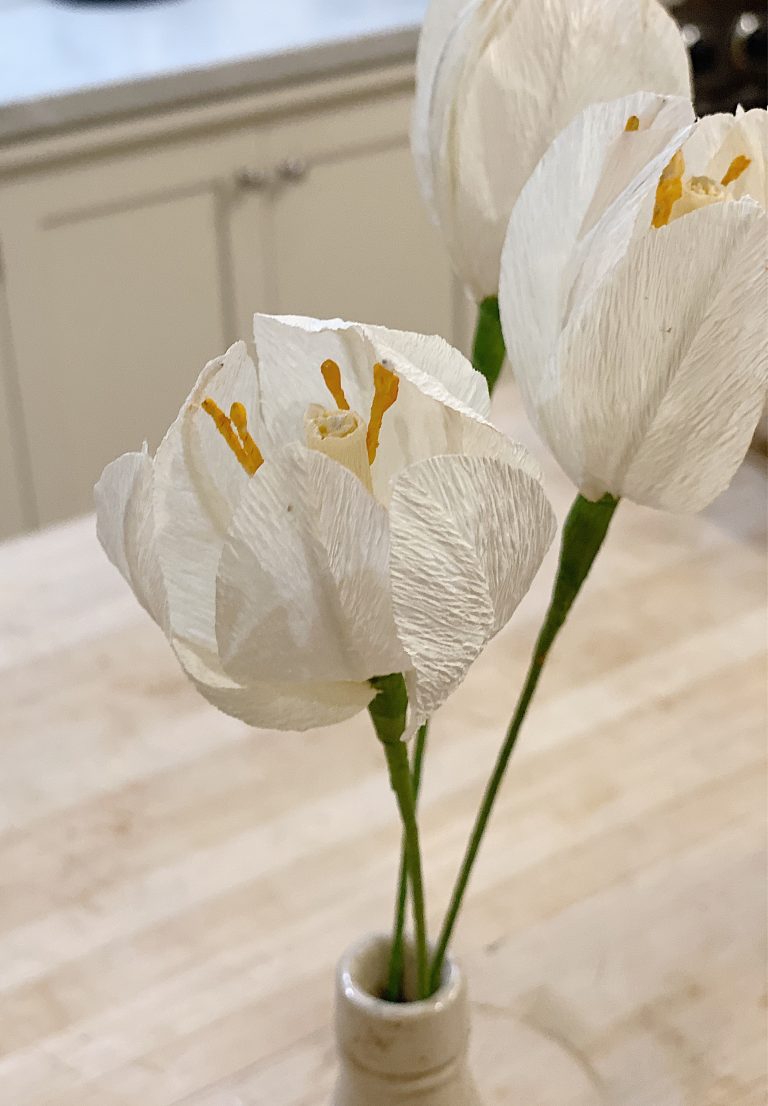
For my second DIY, I made paper flowers for my centerpiece. My floral arrangements are a combination of peonies, poppies, and tulips.
I am so inspired by these crepe paper flowers that I have decided to make about 100 of them for a big project in early June. Keep your fingers crossed that it all works out.
How to Make the Wood Chargers and Placemats
What You Need to Make Placemats and Wood Chargers.
Six Simply Spring Wood Square Signs
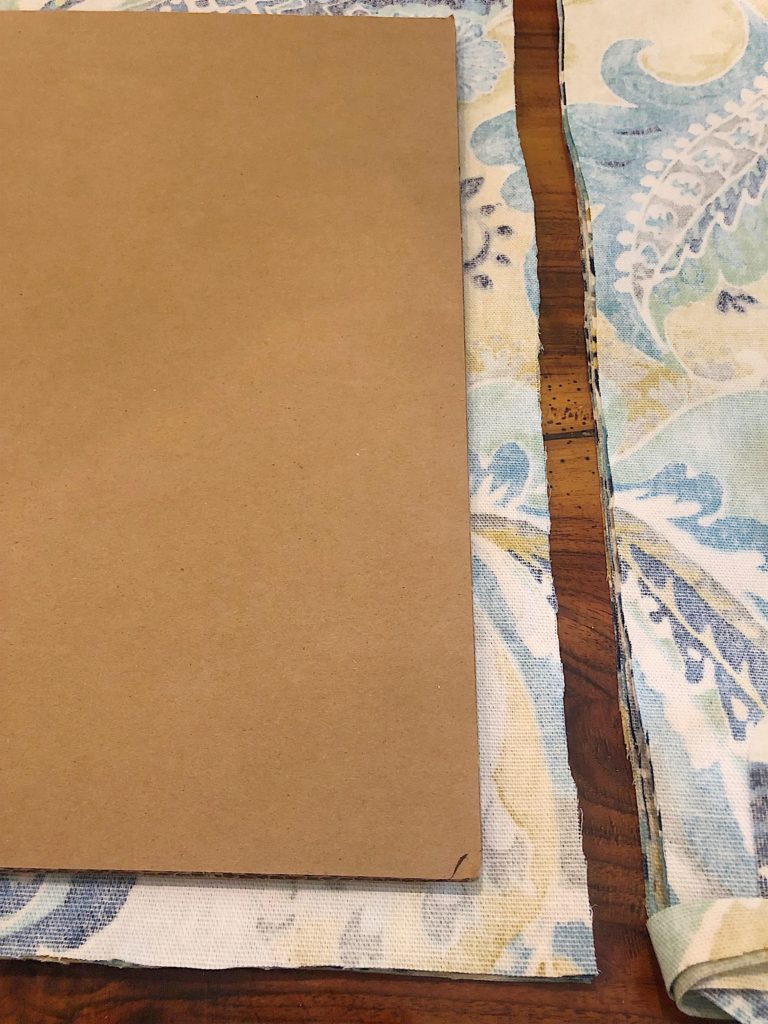
One cardboard template (14″ square) – I took the easy way out and bought a 14″ square cardboard Wilton Square Cake Platter.
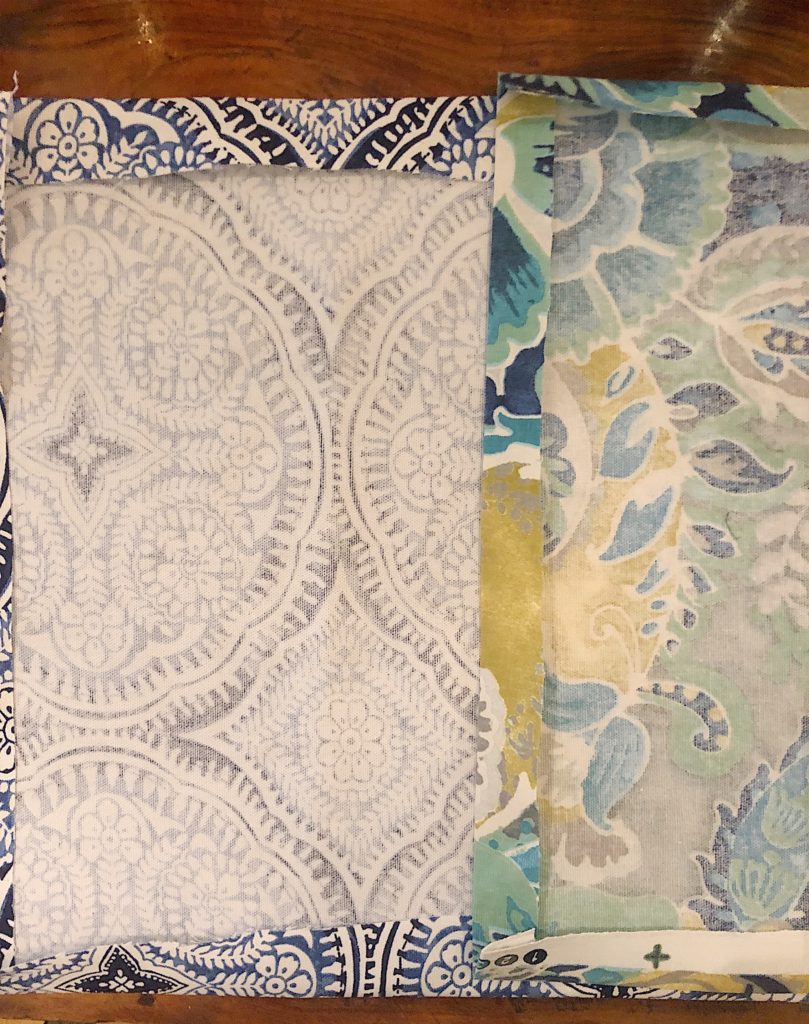
1 1/2 yds. of two different decor fabrics
Thread, sewing machine
Step By Step Instructions
1.Draw around the outside of the cardboard template on the fabric to make six squares of each fabric. Leave an extra 3/4″ (approximate) allowance, and cut out twelve total squares of fabric.
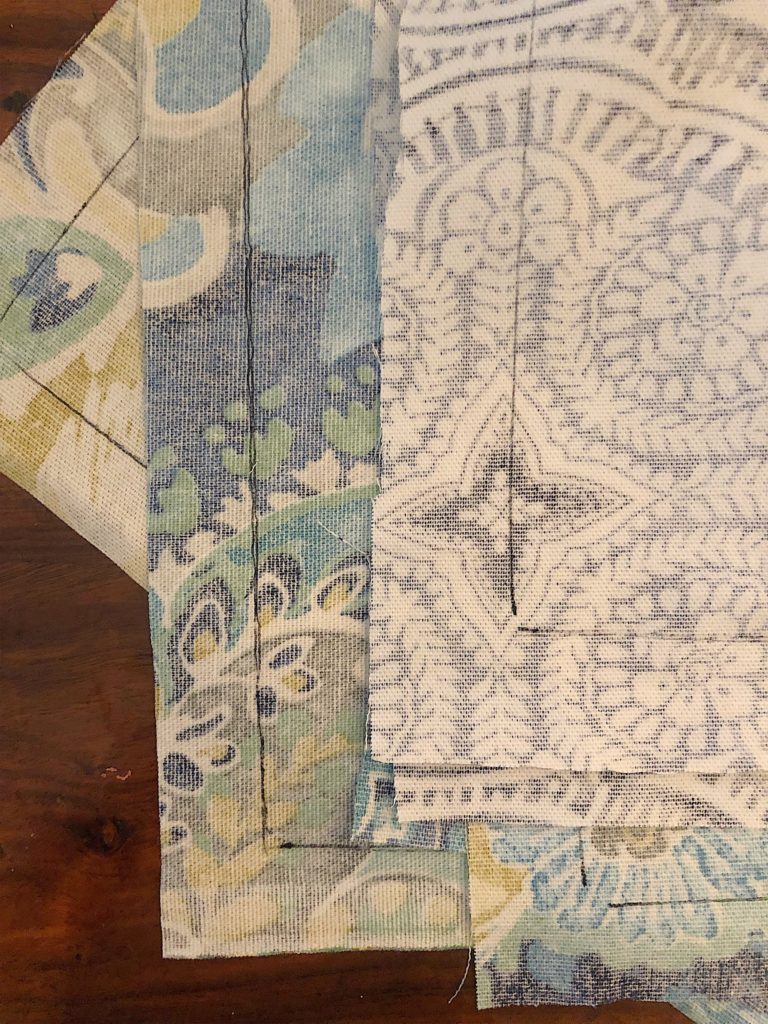
2. Fold along the line and iron down the seam allowances on all 12 squares.
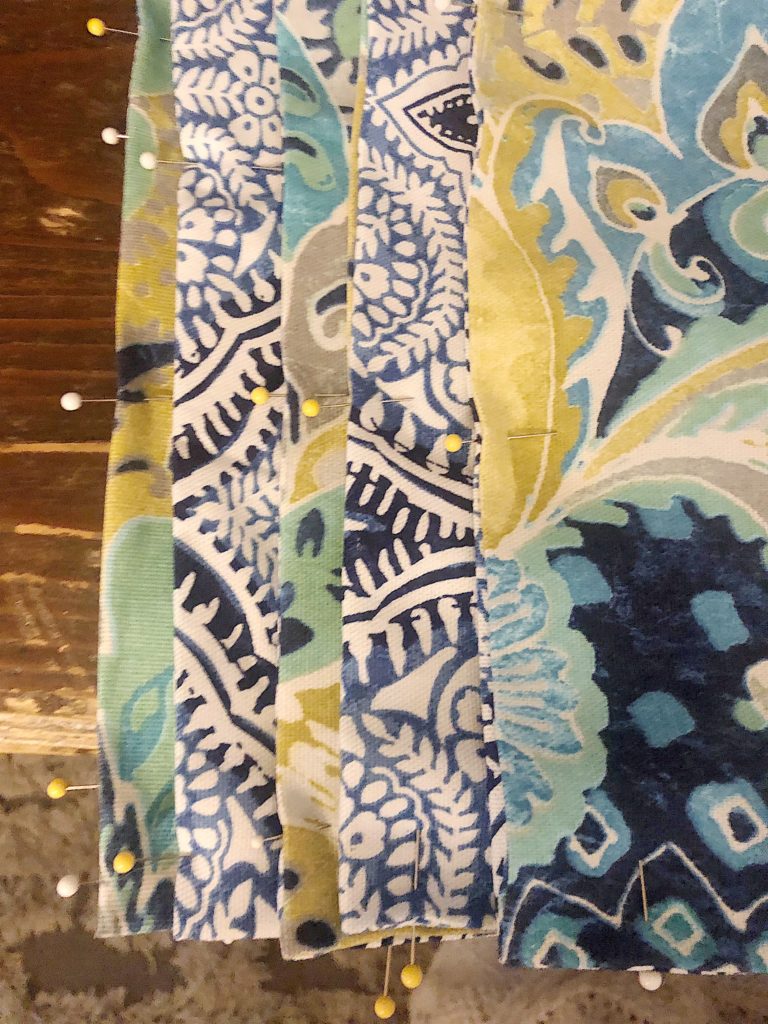
3. Pin one front and one back together.
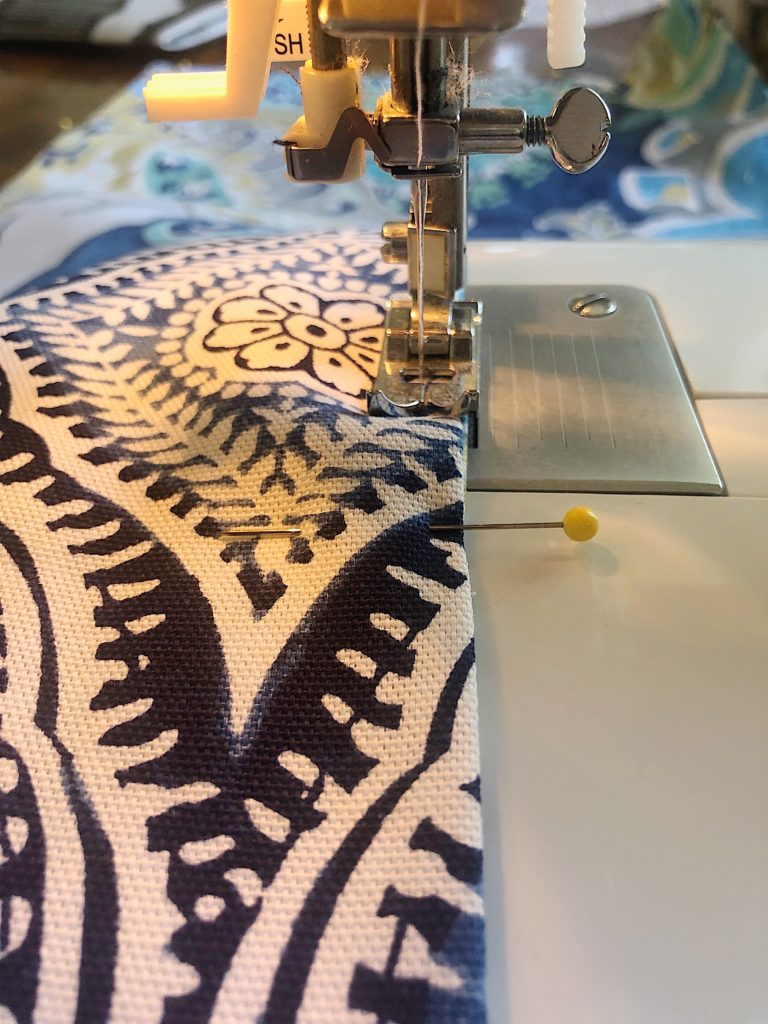
4. Sew around the outside edges of each placemat. Iron flat.
Aren’t they awesome? I love the way they add color to this table.
How to Make Paper Peonies
I love making paper flowers and these Peonies by Lia Griffith are fabulous. I have included a brief description on how to make the Peony flower but there is a link at the end of this post to the full DIY on the JOANN app.
What You Need to Make Paper Flowers (items are linked below)
Lia Griffith Peony Template
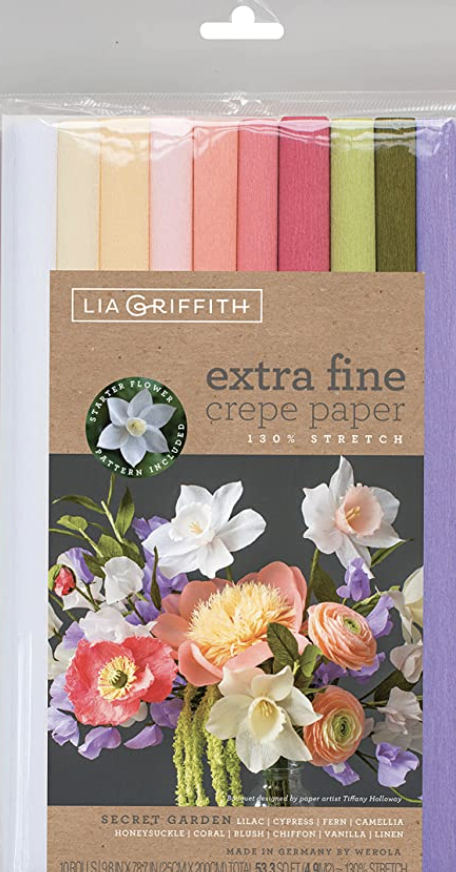
Lia Griffith Extra Fine Crepe Paper
Crepe Paper, green and light yellow
Lia Griffith Heavy Crepe Paper
Hot Glue Gun (low temp suggested)
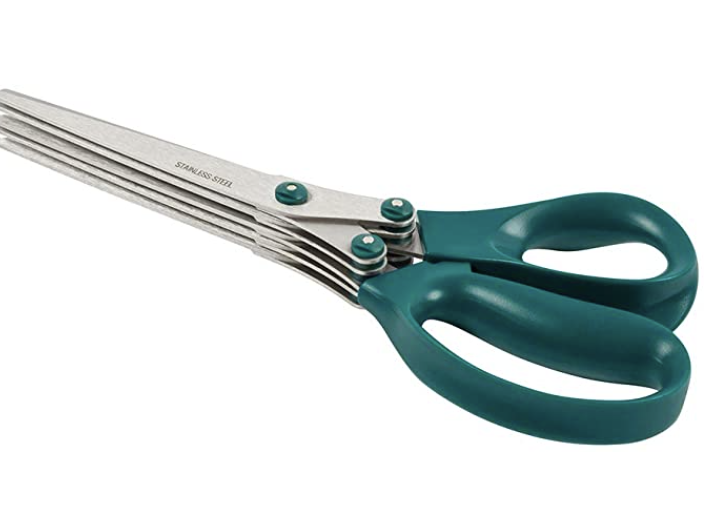
Lia Griffith Fiskars Fringe Scissors (optional but so worth it!)
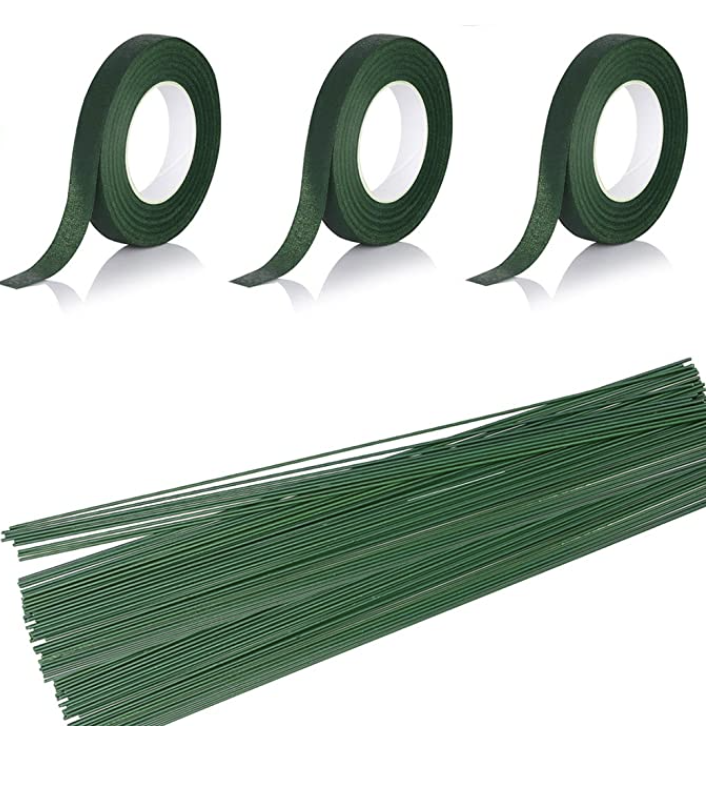
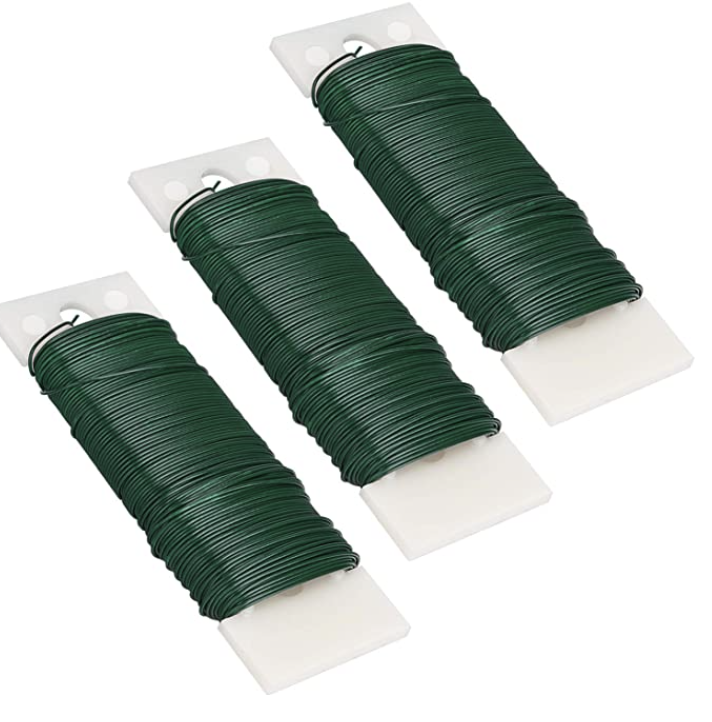
Floral Tape
Green 22 Gage Stem Wire
Green 16 Gage Stem Wire
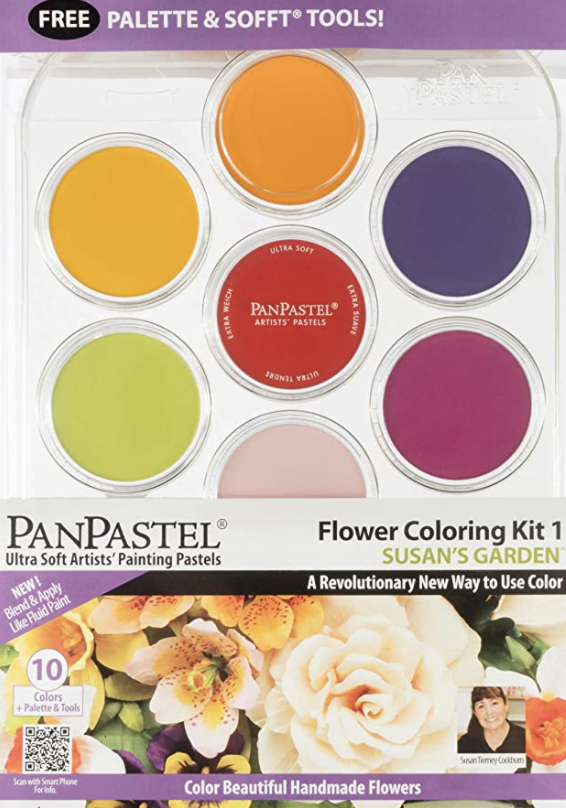
Pan Pastel Artist Pastels, Pearlescent Red and Orange (optional)
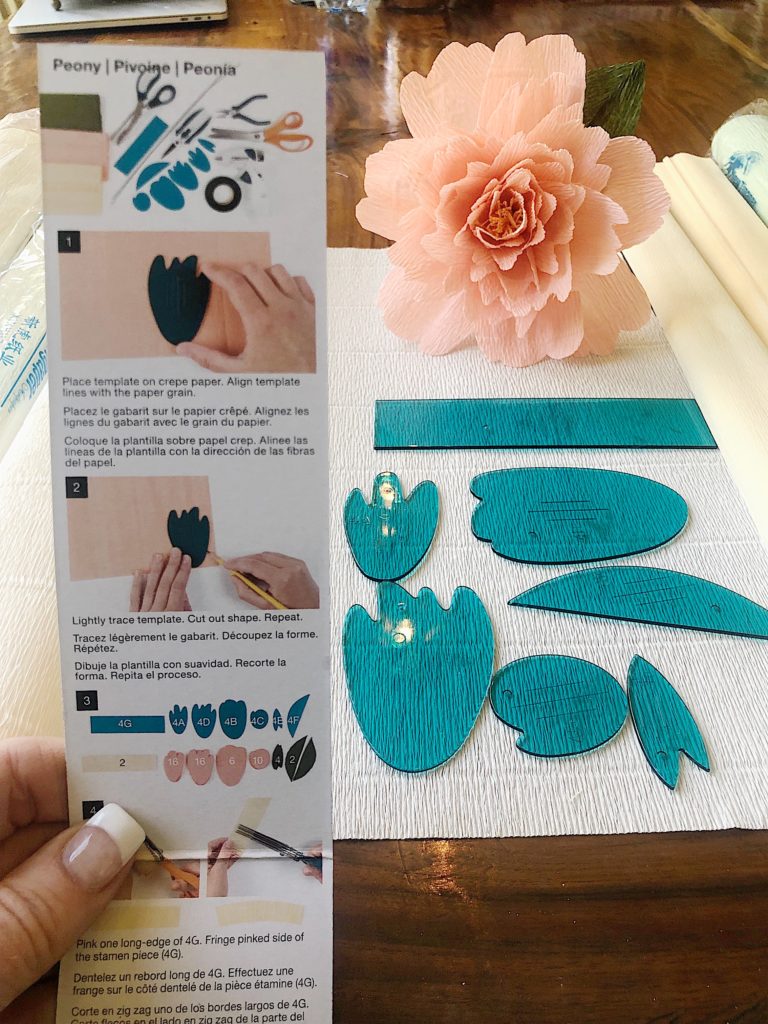
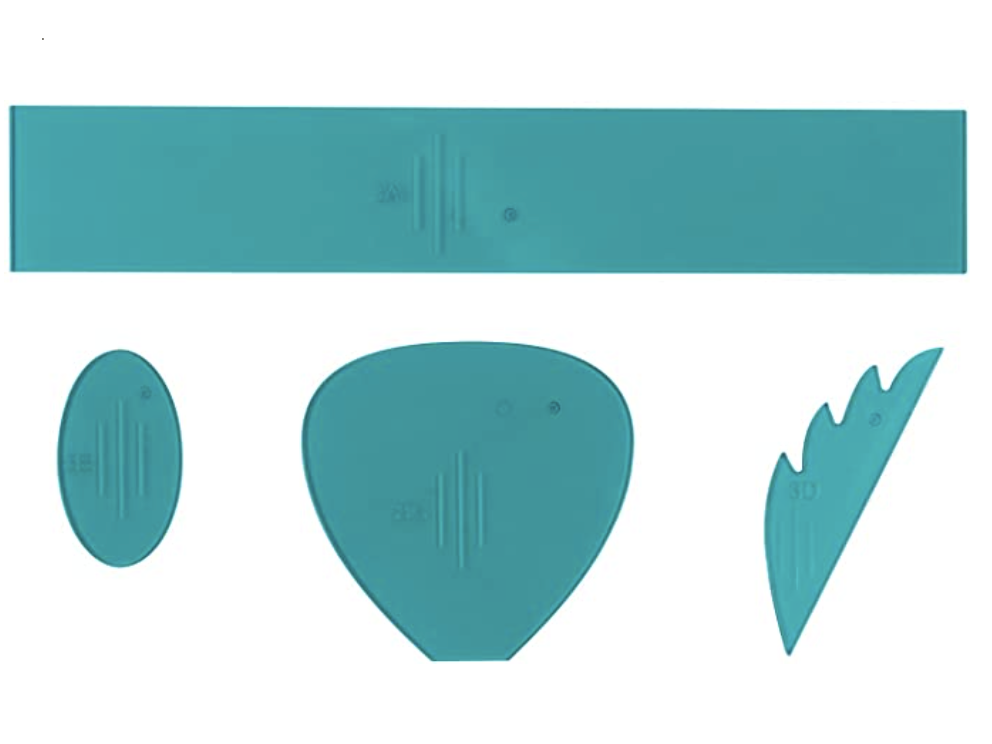
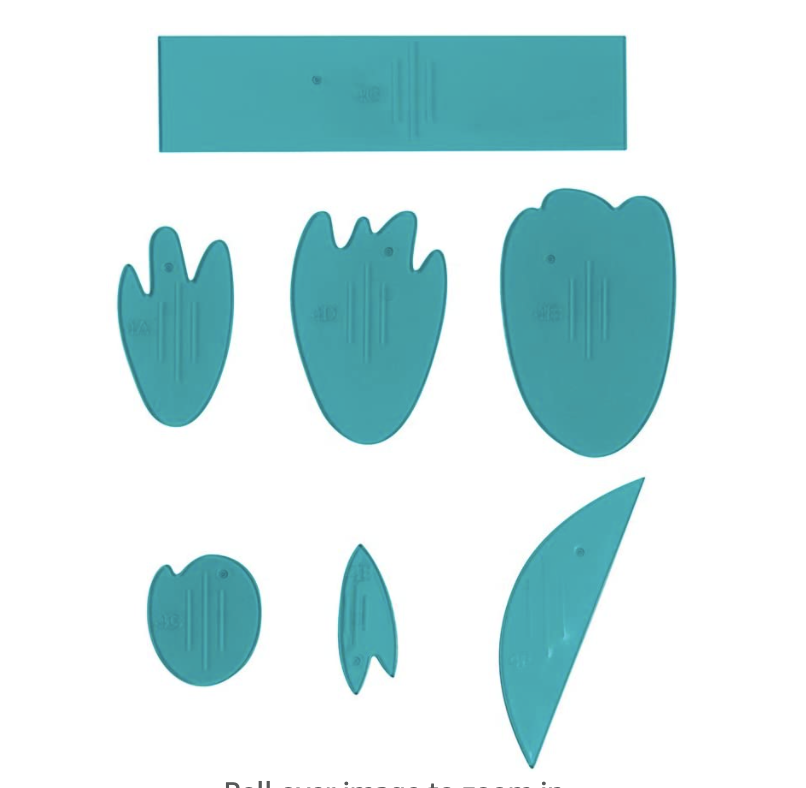
Lia Griffith sells wonderful template kits for paper flowers at JOANN. The templates and directions are included. I need to mention that I have made some changes to Lia’s directions. First off, I used fewer petals. (I use 4A – 10 petals, 4D – 10 petals, 4B – 6 petals. I don’t use 4C at all so omit.) Second, I curled and stretched the crepe paper petals. Third, I colored the ends of the stamen with a colored marker.
Of course, you can follow her instructions exactly and you will also have an amazing peony. I just like to change it up a bit.
I decided to make three peony flowers so I cut out all of the petals at once. I think this is faster, but I am not exactly sure that is the case. I used heavy duty crepe paper for all parts, except the rectangle strip for the stamen. I used fine crepe paper for the stamen.
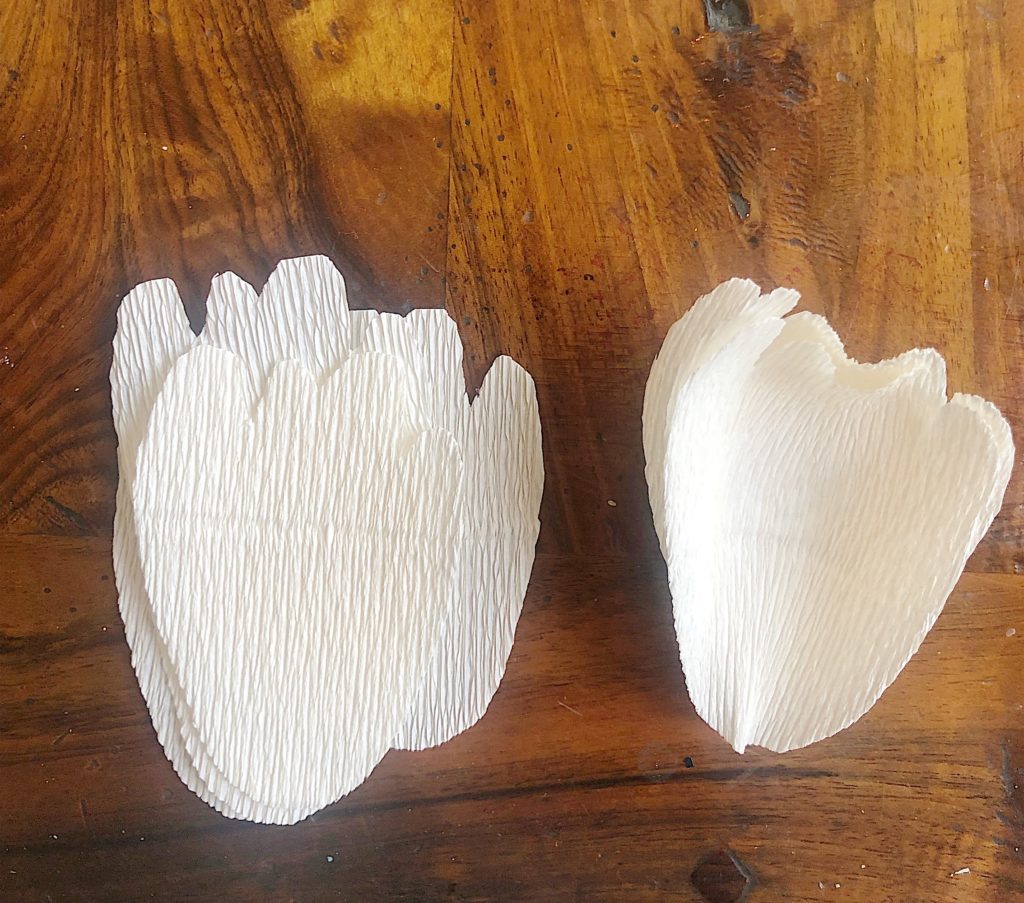
Use your pinking shears to pink one of the long edges. Then, with the Fiskar Lia Griffith Fringe scissors, cut the entire strip about 1/2″ from the long edge.
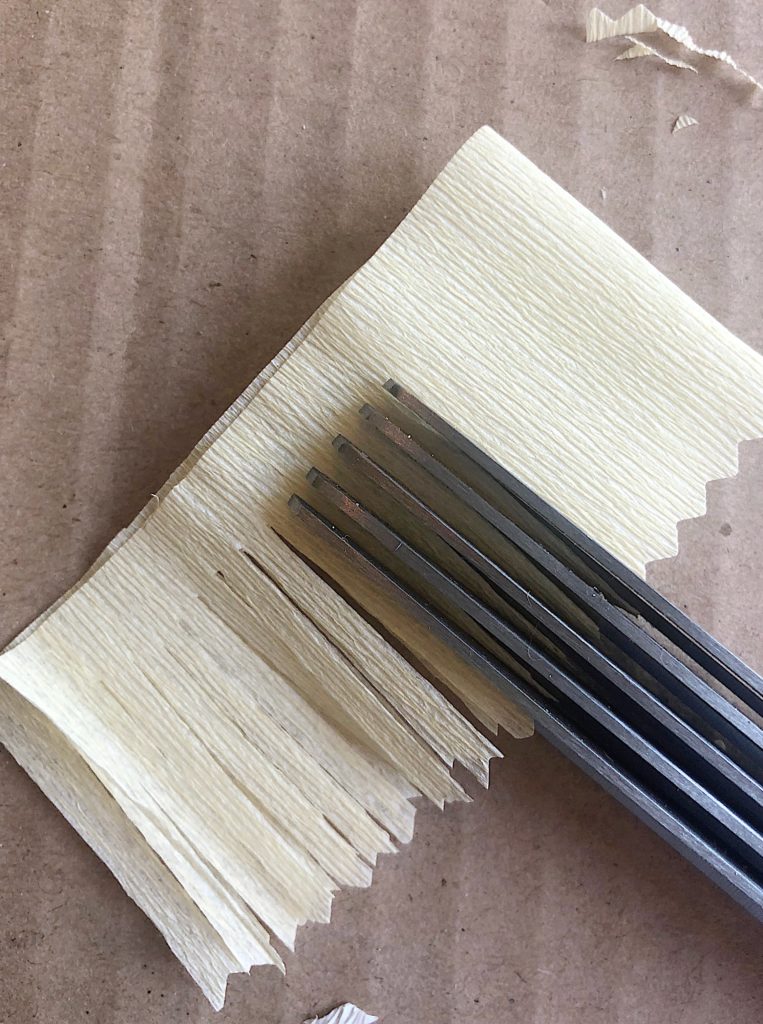
I rolled the ends of the petals with a pen and using both thumbs, stretched a cup into each petal. You can see the difference in the petals. The ones on the left are cut and the ones on the right are curled and cupped.
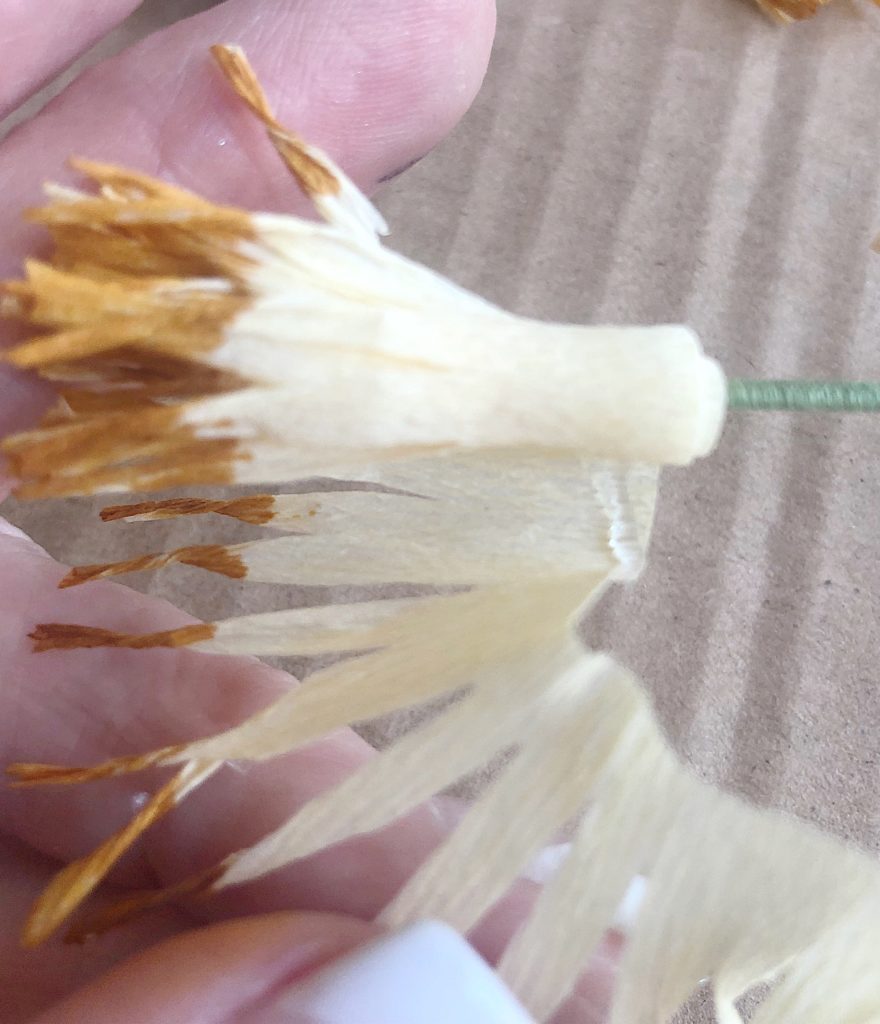
Next, I colored the edge with a marker and twisted each strand. Using a hot glue gun, I wrapped it around a paper wrapped wire stem.
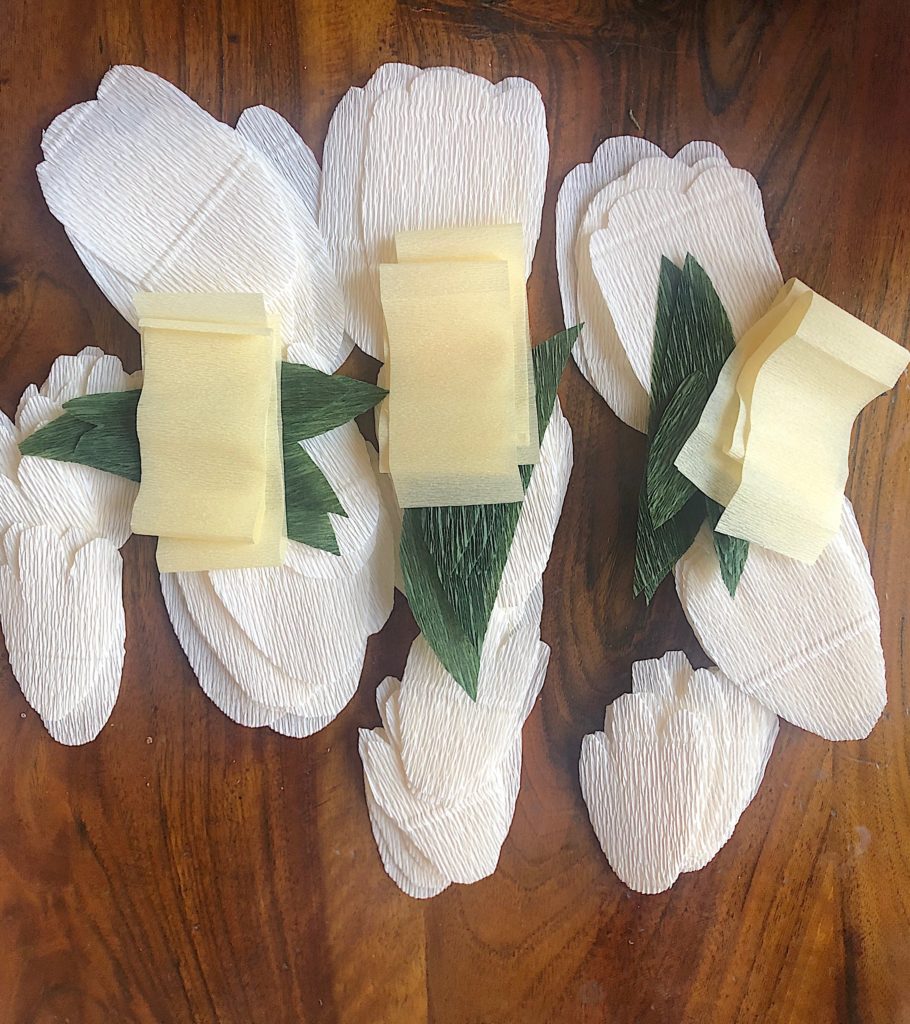
Starting with the smallest petal (4A), attach the first three petals in an alternating way.
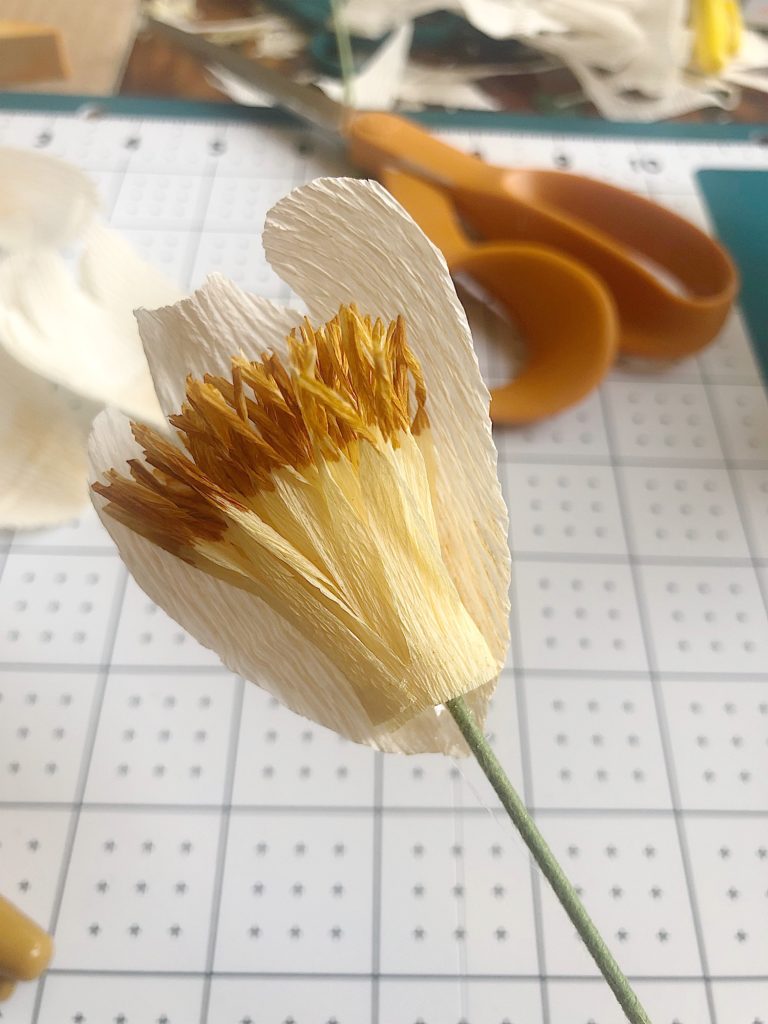
Add the rest of the small petals in successive rows. Then add the ten medium-sized (4D) petals and the ten largest ones (4B).
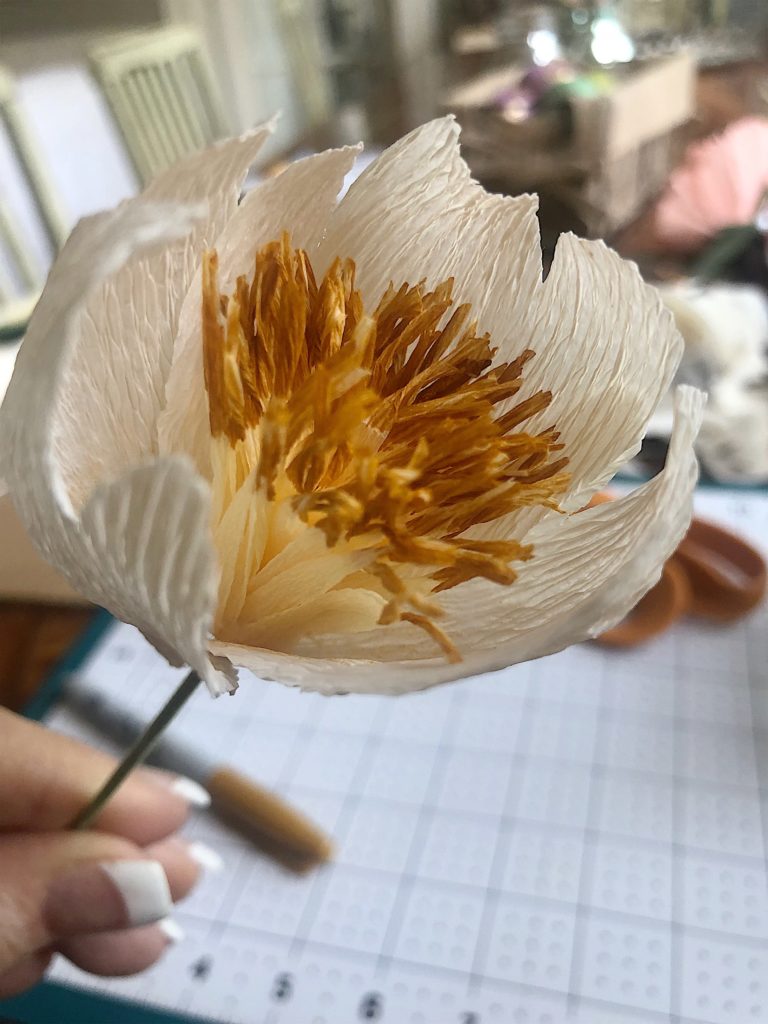
The end result is magical!
Lastly, I made the leaf and wrapped the stem with floral tape.
A complete DIY can be found on the JOANN app.
Links to Similar Items


What a remarkable spring porch makeover!
Pin the image below to your Craft boards on Pinterest (just click the Pin button in the top left corner). You can also follow along with me on Pinterest!


I love everything about this post and am excited to find those little solar lanterns! Thanks for all of your wonderful ideas!
Thanks Rebecca. I love the solar lanterns!
The lanterns are so reasonably priced! You will love them.
Wow this entire space looks amazing. Love the lanterns so different than the norm. So neat with the place matts 👏👏. Your paper Peonies are so pretty.. Can’t wait to see what 100 look like. Please post that beauty.
I have to tell you love your coffee table too.
Enjoy the rest of your day
Cindy
Thanks Cindy! I am so glad you like it! The solar lanterns were so inexpensive and they work great.
You are so sweet! Thanks you.
Kathy, love the square charger idea❣️ Can you tell me what the blue fabric is called or where I might find it? I love it and would use it for this project and elsewhere.🙋🏻♀️
It’s from JOANN. Isn’t it fabulous. I have seen both of the blue fabrics in a few of the stores recently. You will find it in the home decor section.
I don’t have the name but it’s still at JOANN!
What is the China? Love it!