DIY Placemats for Spring
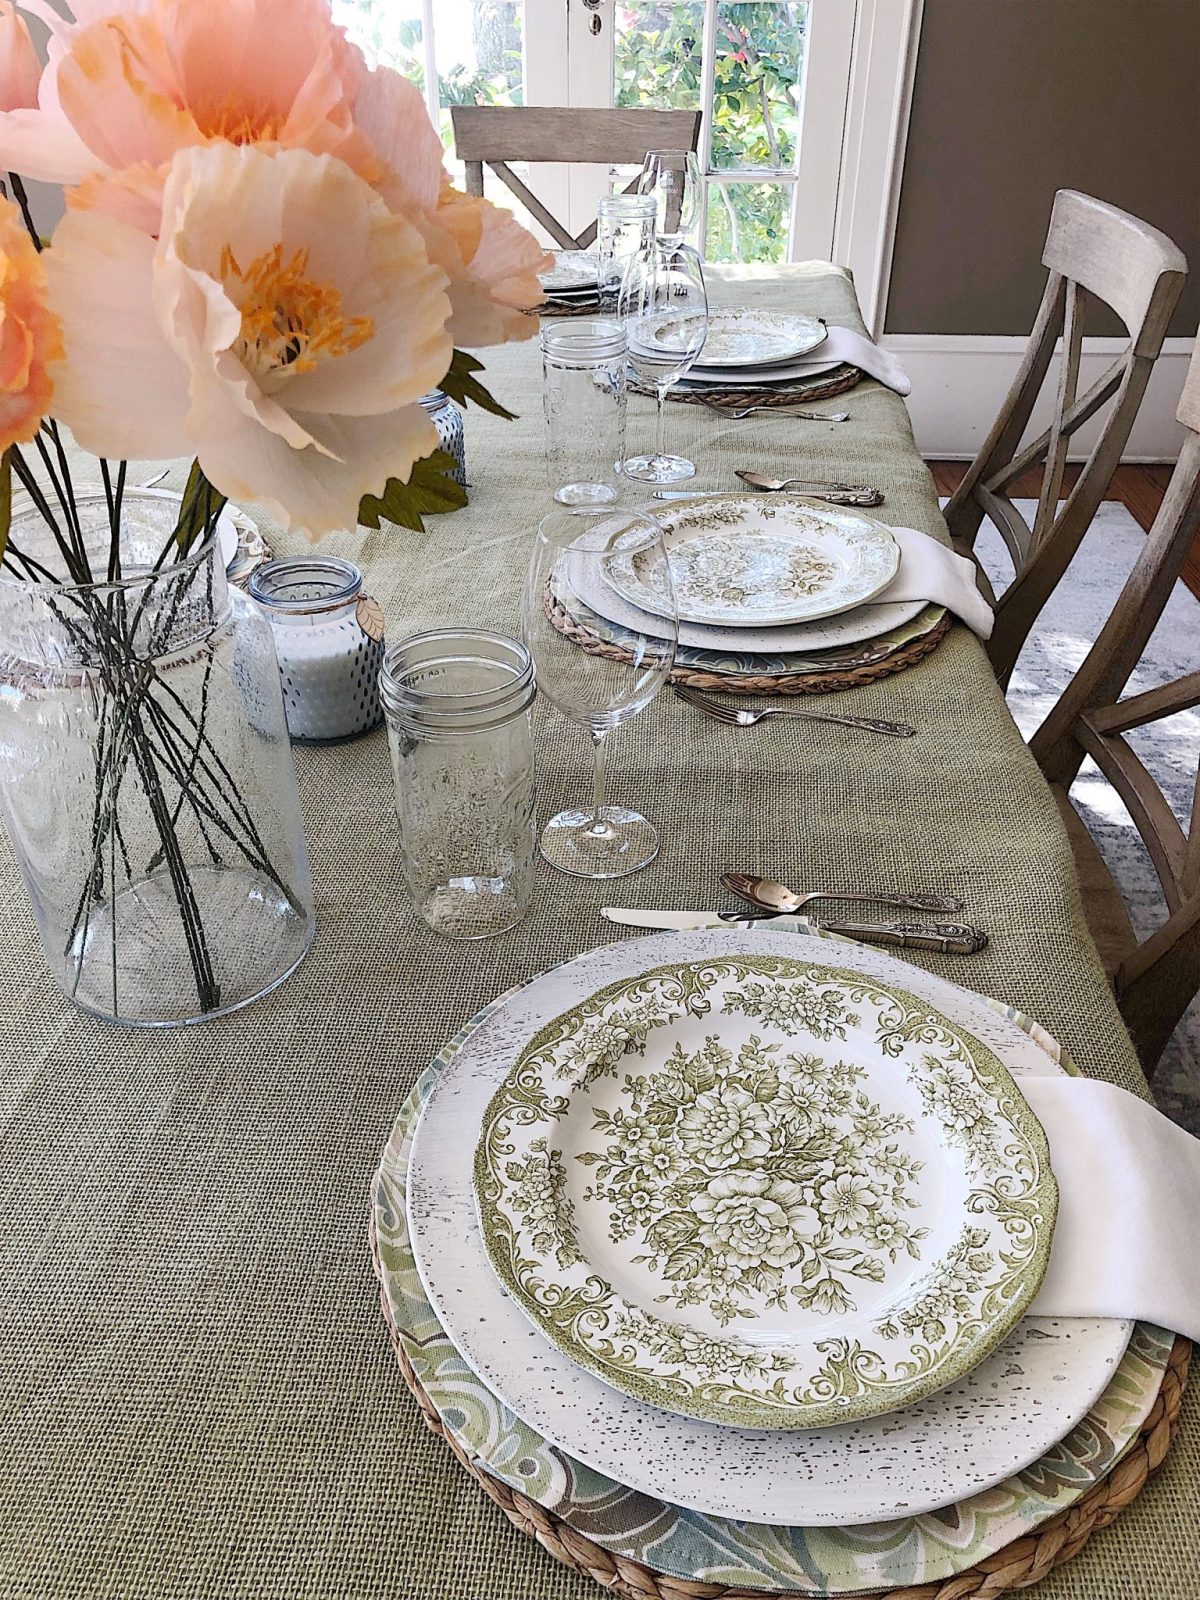
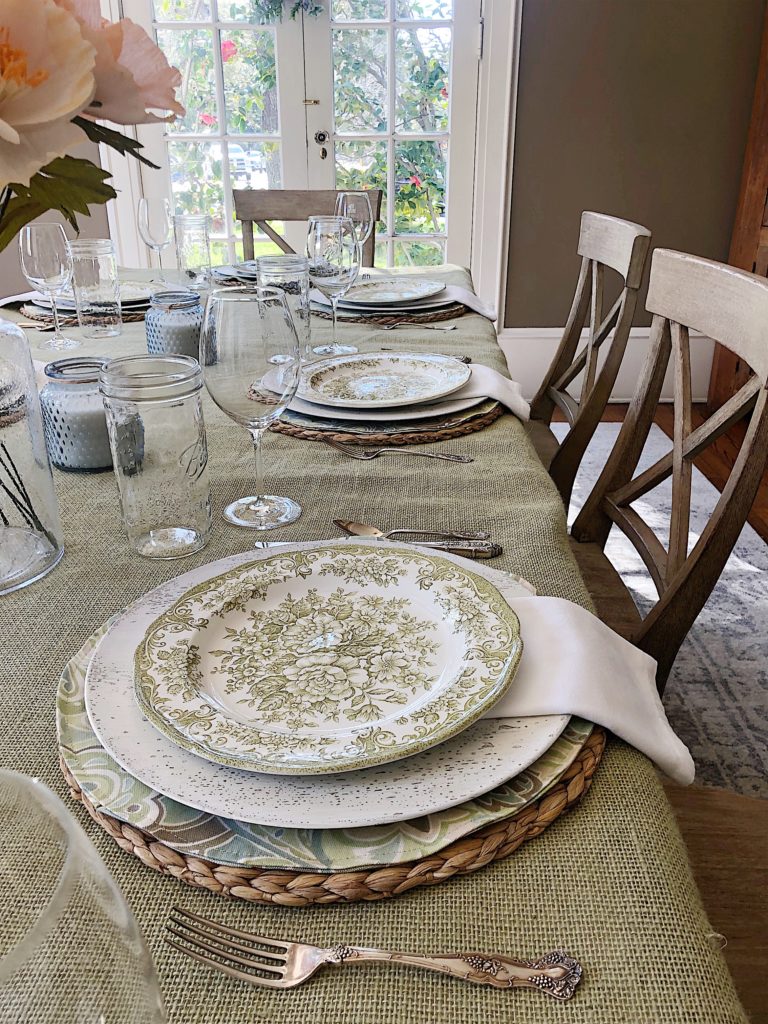
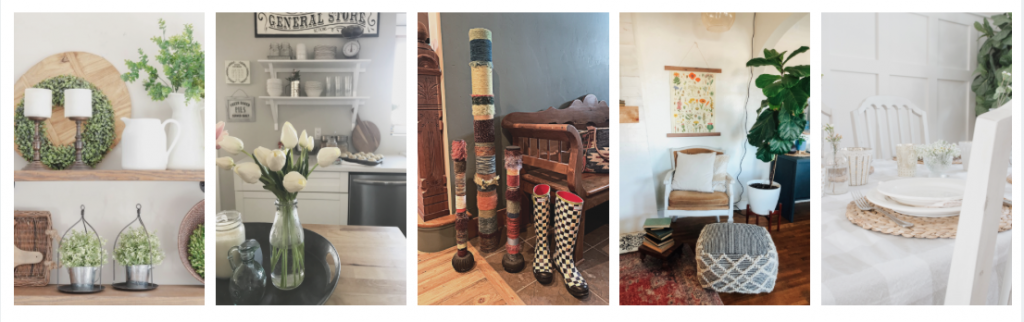
One of my favorite things to do is to create new tablescapes. I styled my dining room table last week with a hand-sewn burlap table runner and crepe paper flowers I made in a partnership with JOANN. I am always looking for ways to add color to my tables and I came up with some very fun DIY placemats and I am so excited to make some more.
Today I am also part of an I DIYed That Spring Blog Hop that my friend Jen from Noting Grace put together. If you are coming over from Seeking Lavender Lane, then welcome! I am sure you loved her Bunny Sillohette Pillow for Easter. Be sure to scroll to the bottom of this post to see more fabulous home decor DIY ideas from a lot of bloggers!
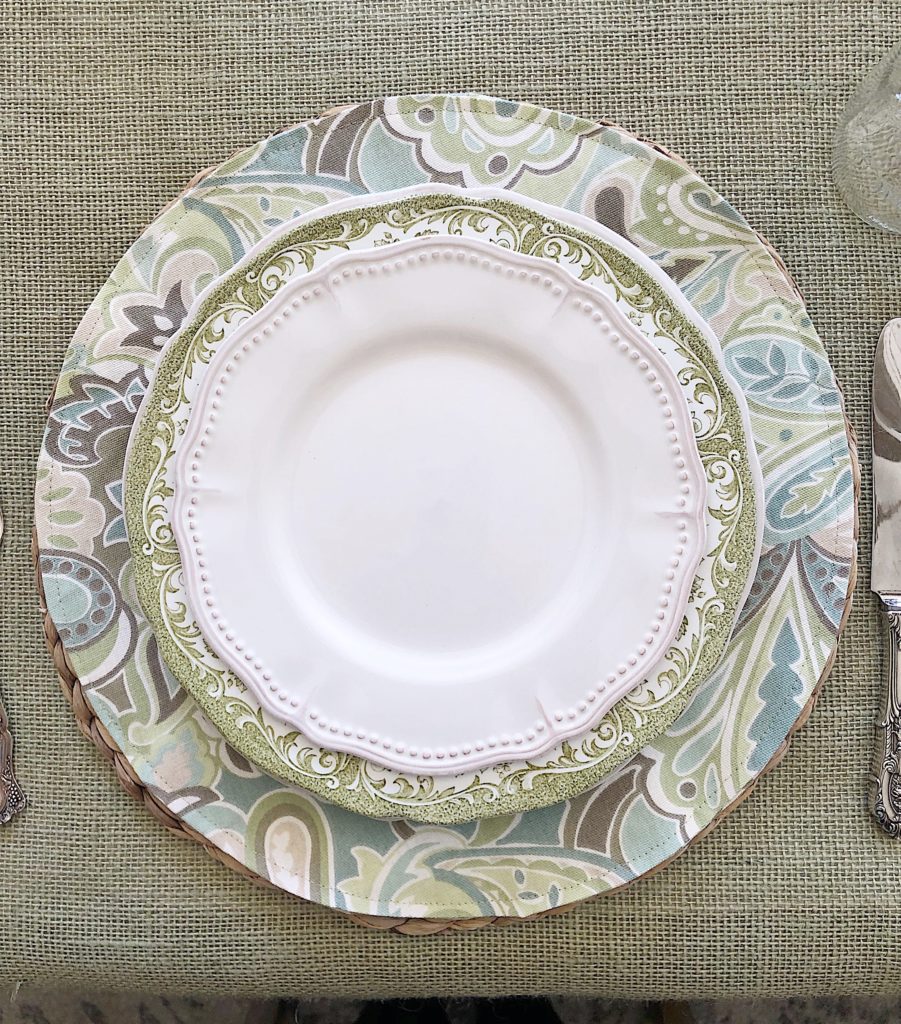
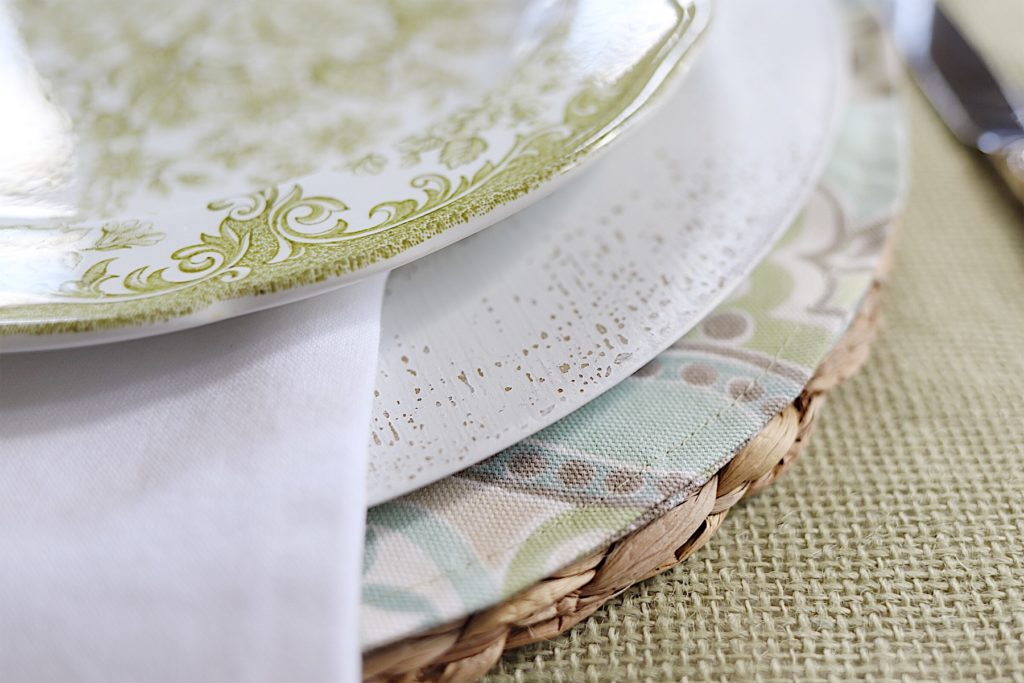
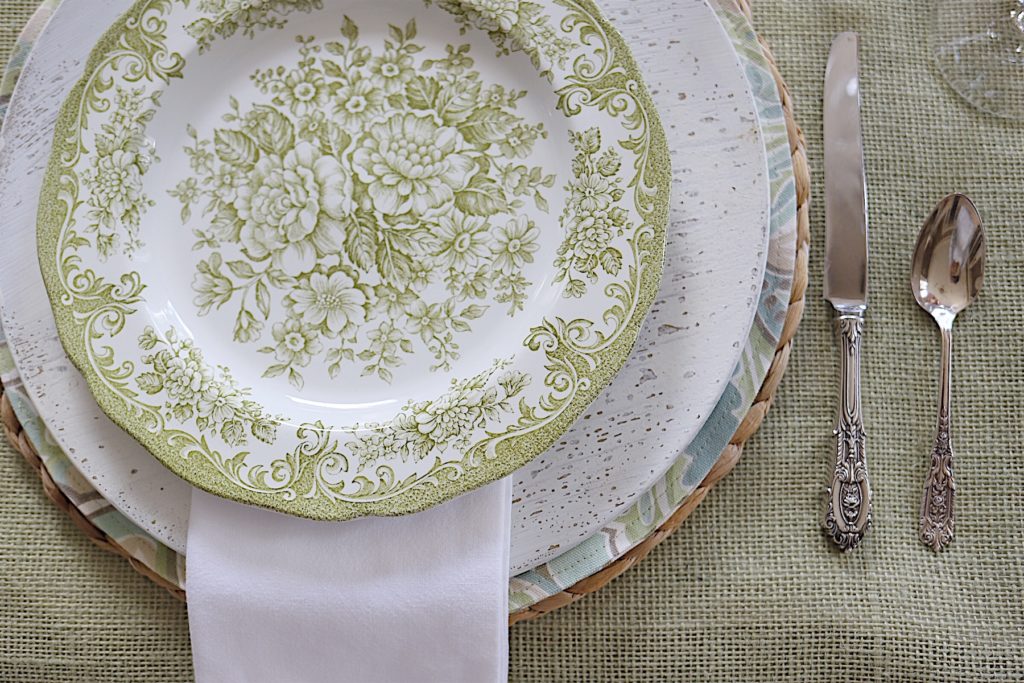
When I decided to make round placemats I stressed a bit about how to cut perfect circles and how to sew them. I absolutely love the idea I came up with and you are not going to believe how easy these are to make. You can use these as stand-alone placemats or stack them with other placemats and chargers for a really fun peek-a-boo effect.
What You Need to Make Six DIY Placemats
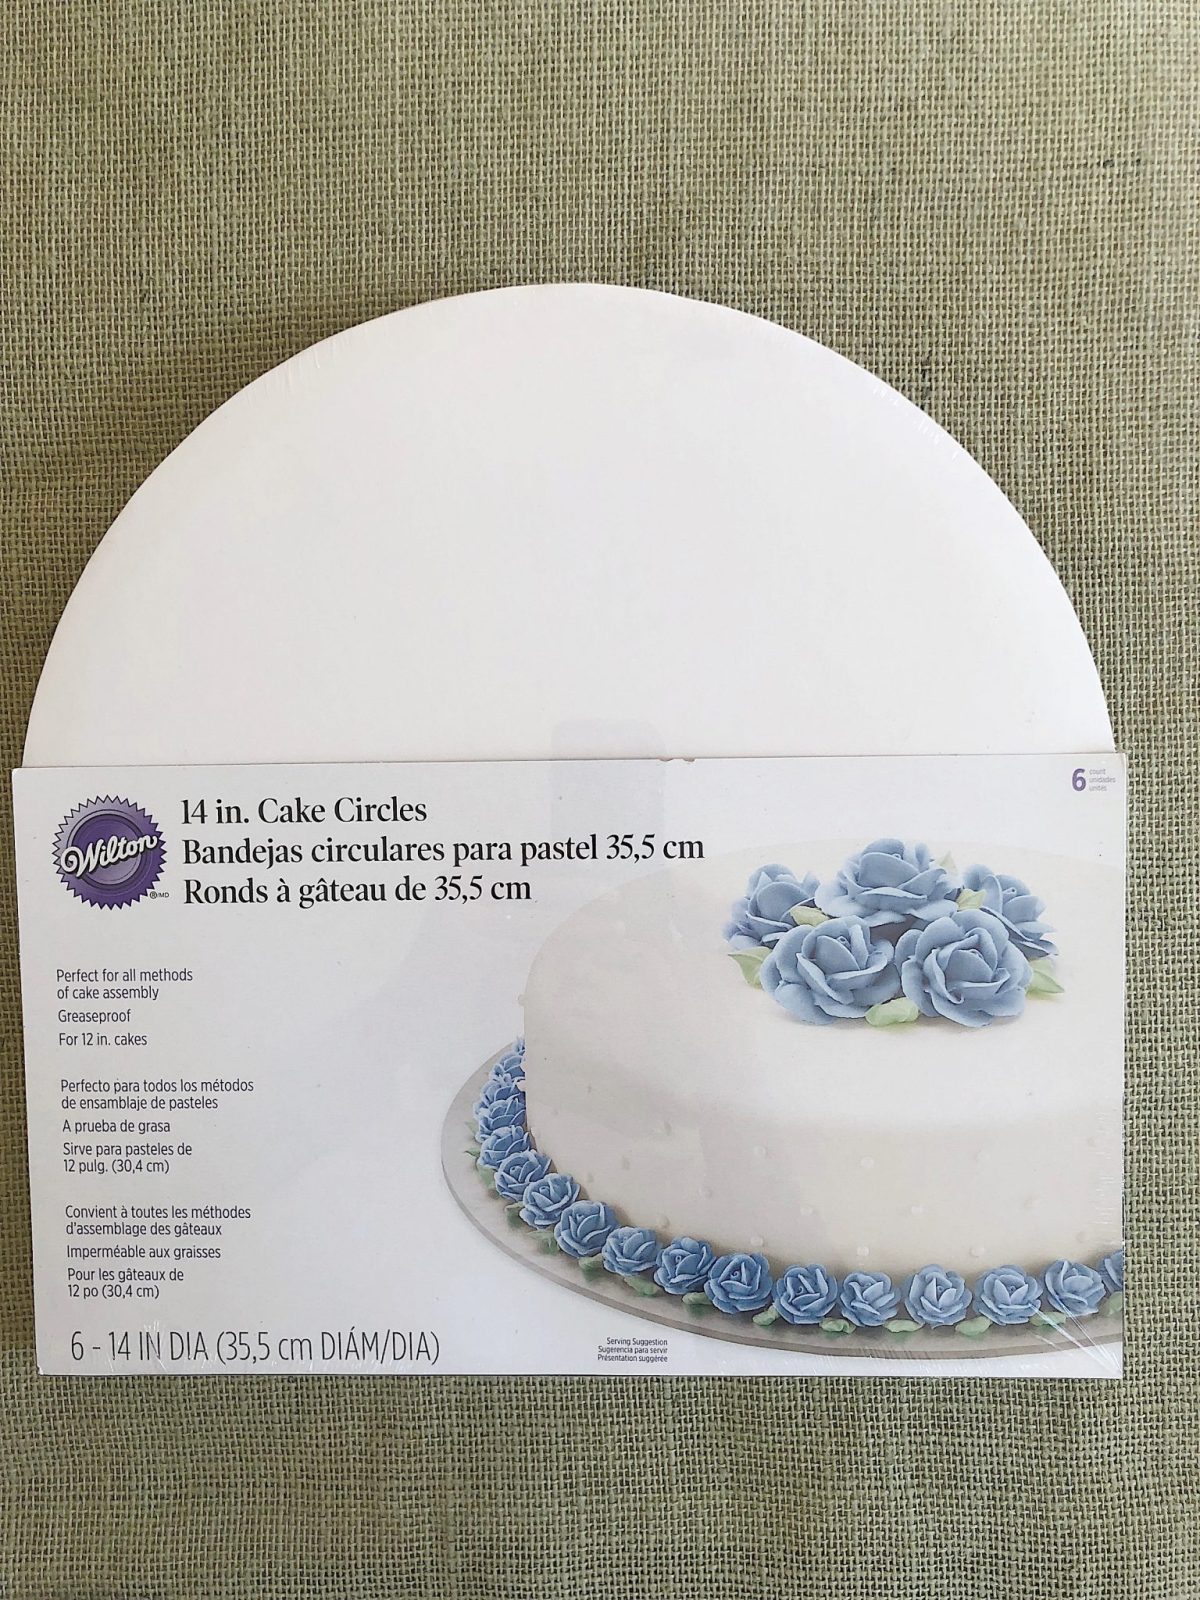
14-inch cake circle (or one round cardboard circle) You can find these in the cake decorating section at JOANN.
1 7/8 yards of 48″ home decor fabric. I used Waverly Home decor fabric from JOANN (you need two 16″ circles for each placemat so if your fabric is a different width, or if you need more than six placemats, it is easy to do the math to determine how much fabric you need.)
Thread
Sewing machine
How to Make the Placemats
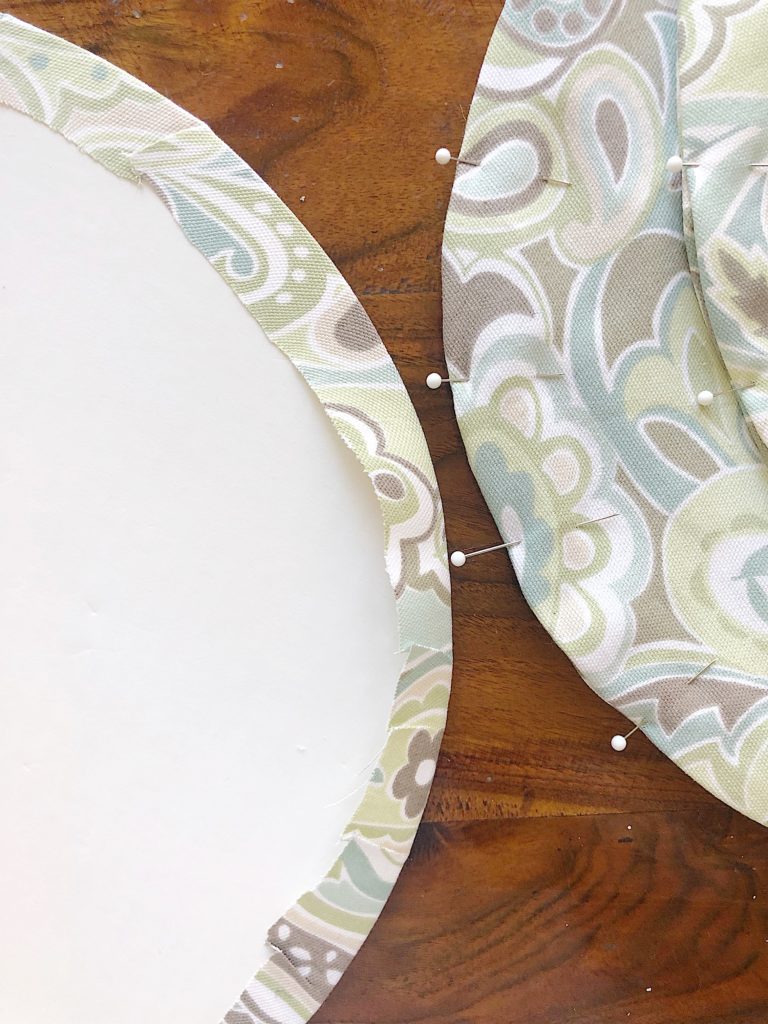
Using the cardboard circle as your guide, trace around the circle on the wrong side of the fabric. Be sure to leave two inches between each circle.
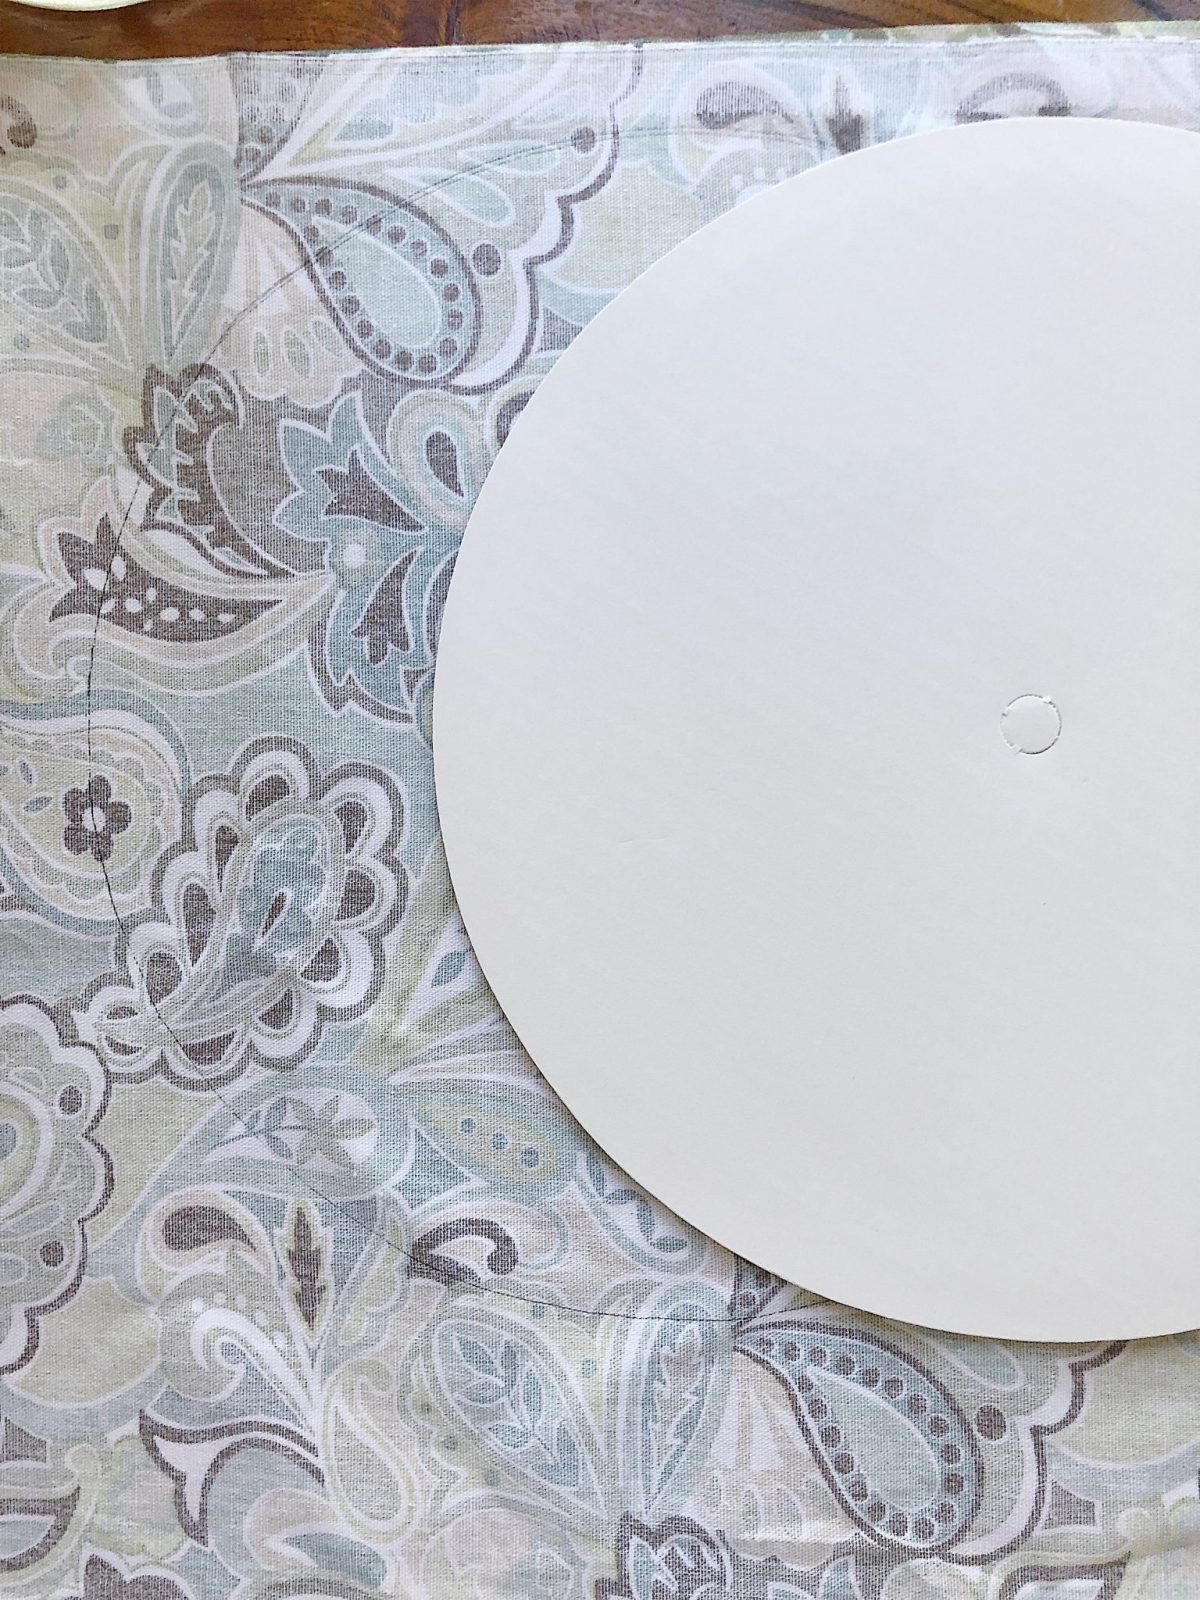
Cut out each circle adding about 1″ of fabric all the way around each circle.
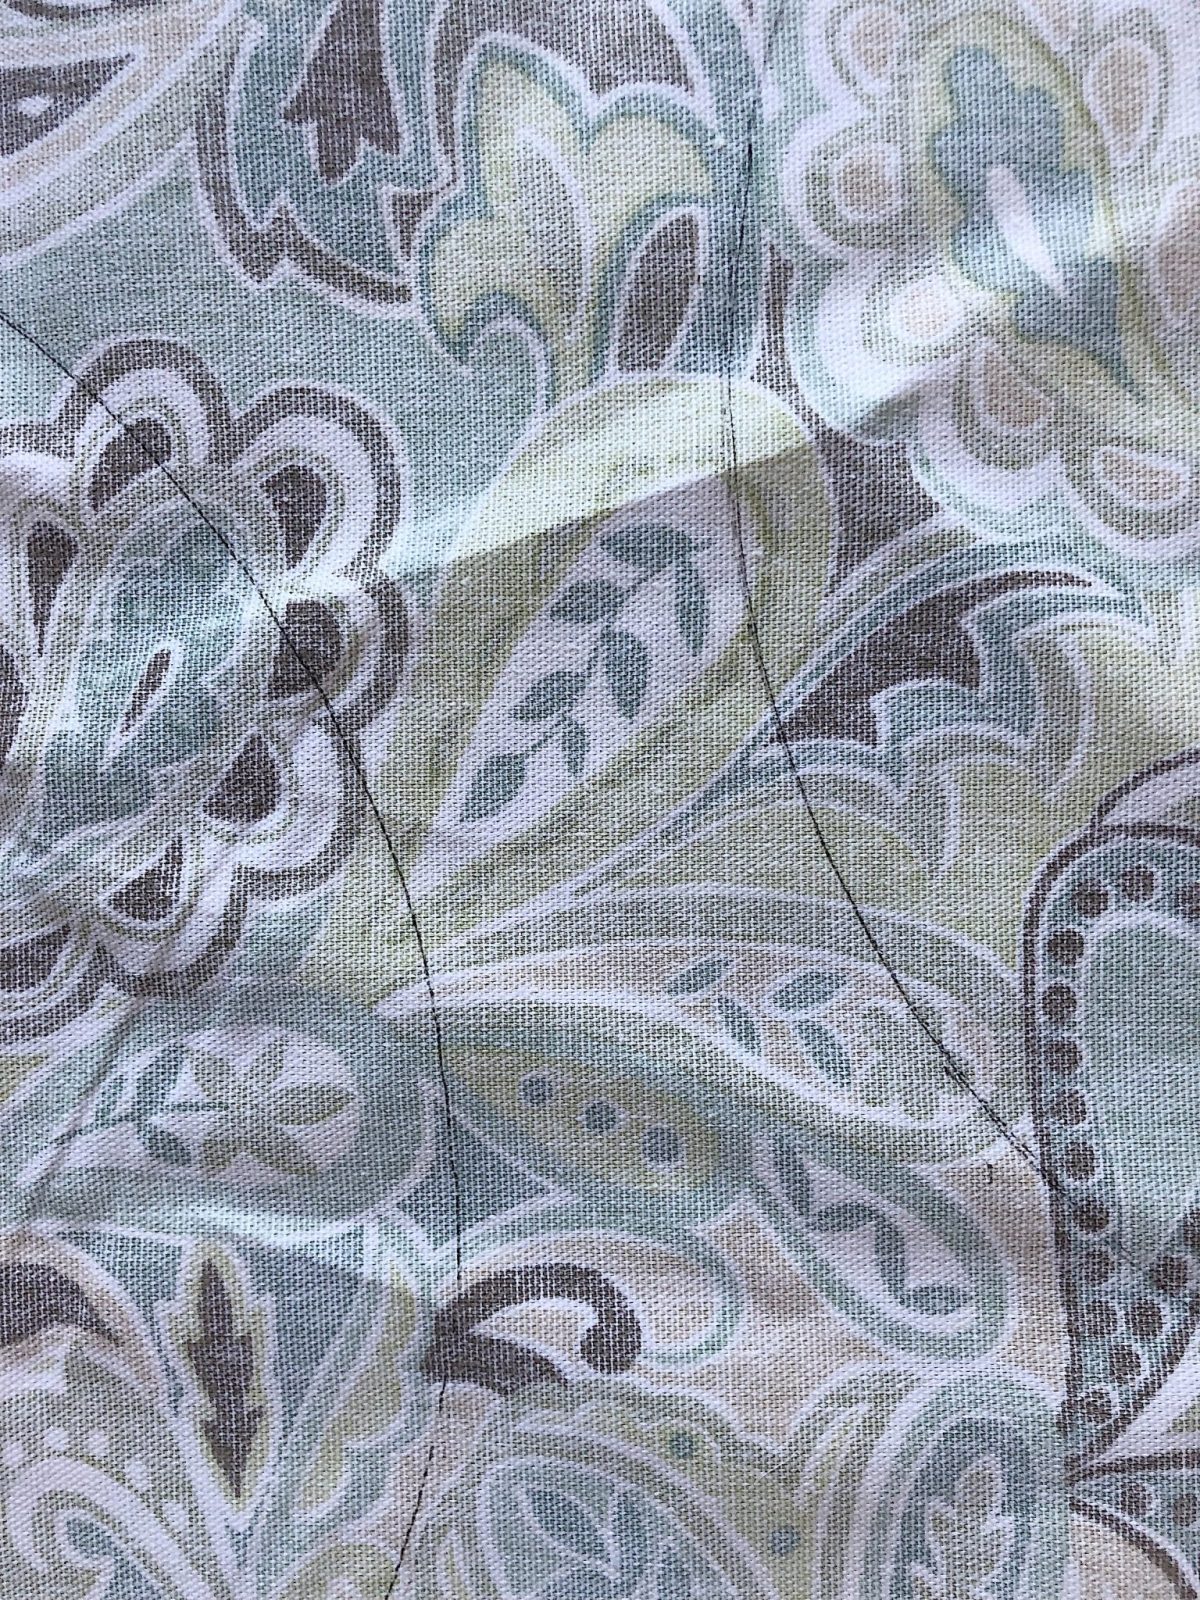
Place the piece of cardboard on top of each circle and iron around the entire edge, gently folding in the extra seam allowance.

Can you see how easy it was to iron a perfect circle?
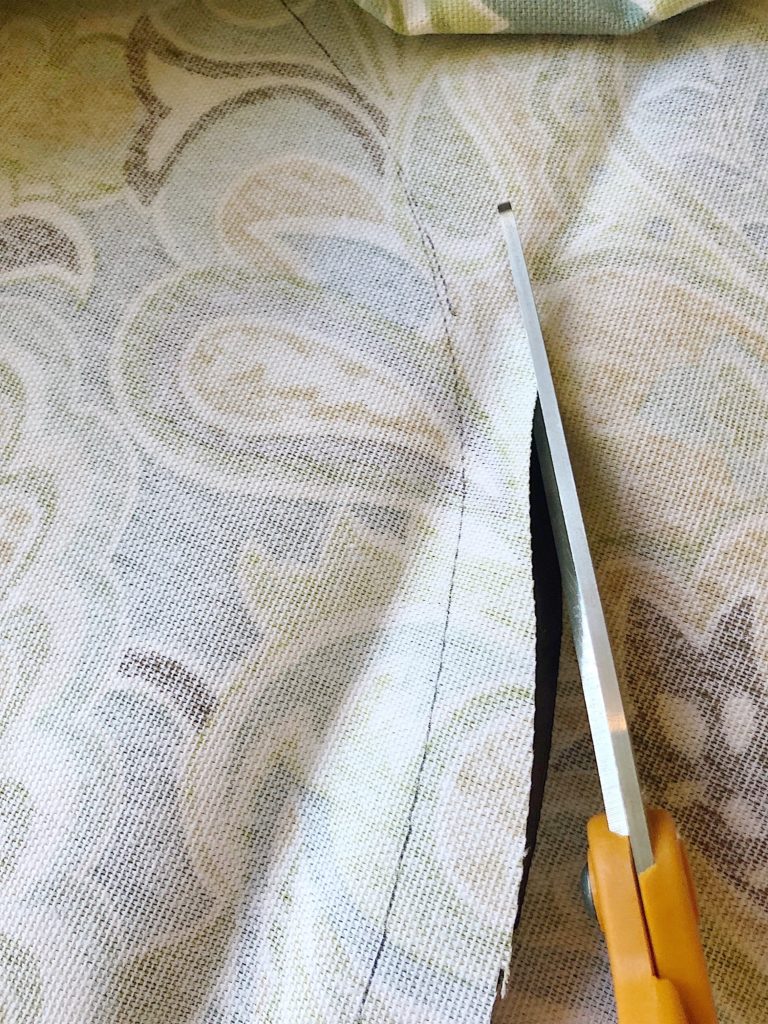
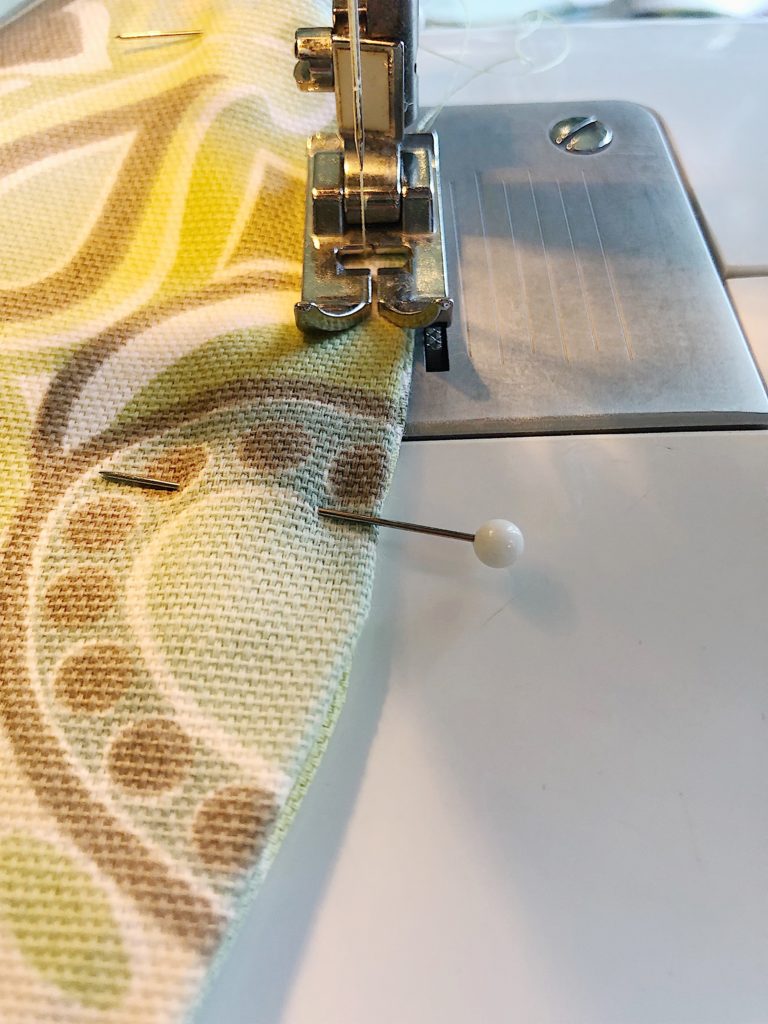
Place two circles, right side out on top of one another and pin around the outside edge.
Sew along the outside edge about 1/4″ from the edge, all the way around.
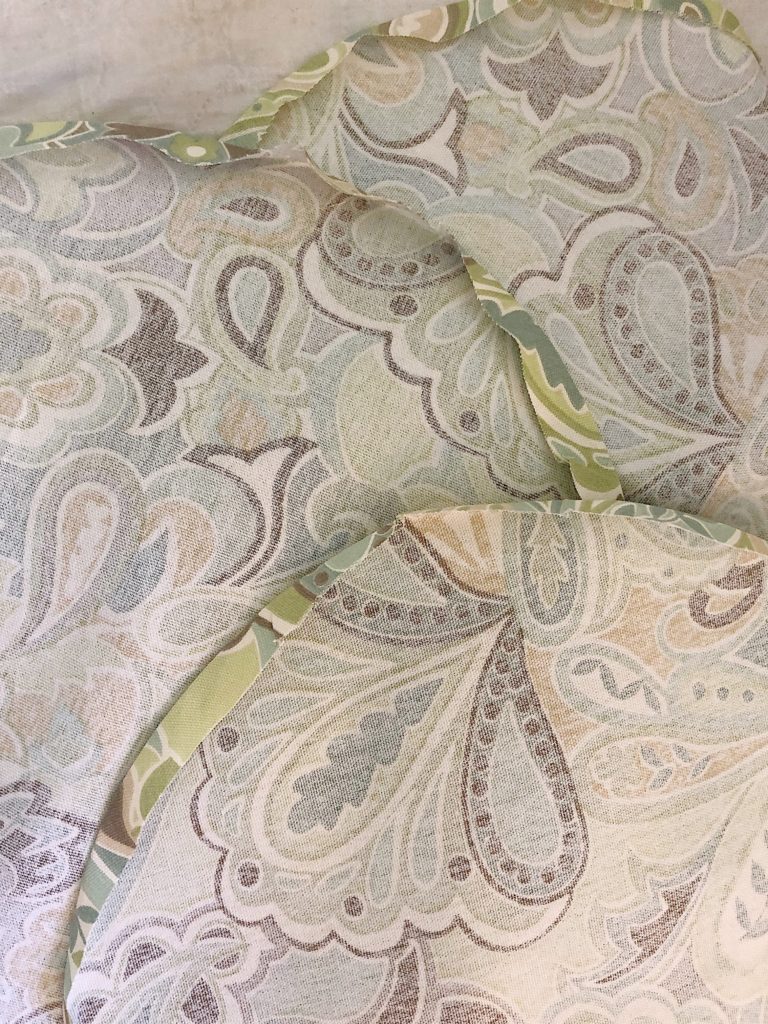
And you are done. I am not kidding when I tell you I made eight of these placemats in under two hours.
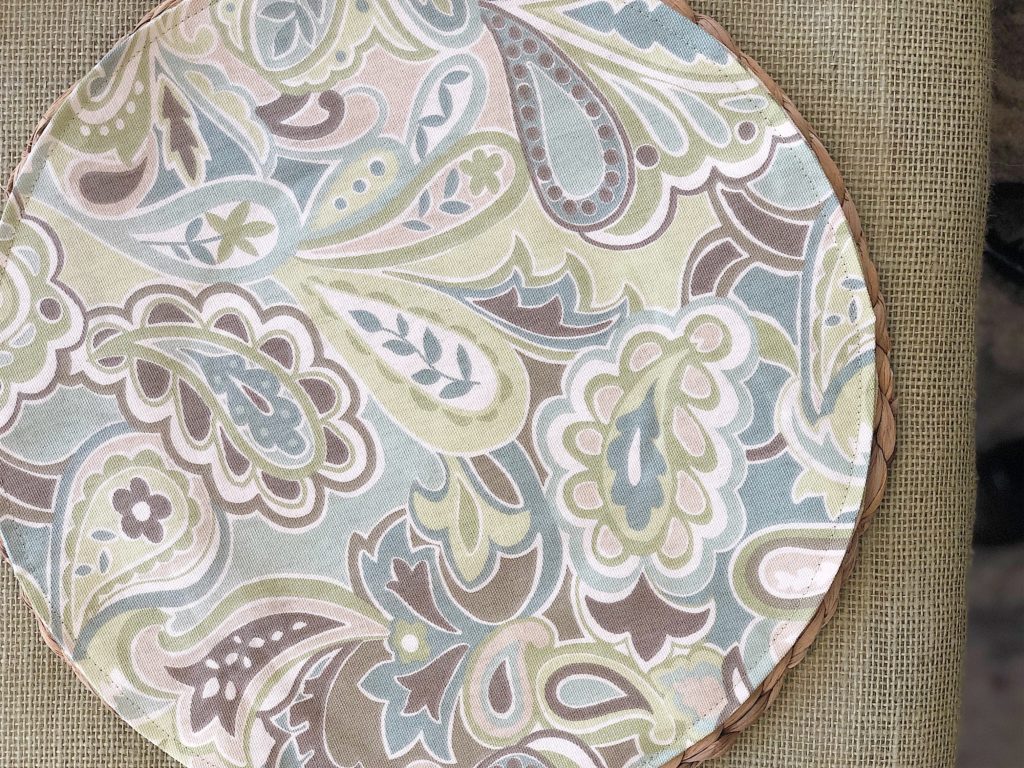
I love how much color they add to my table.
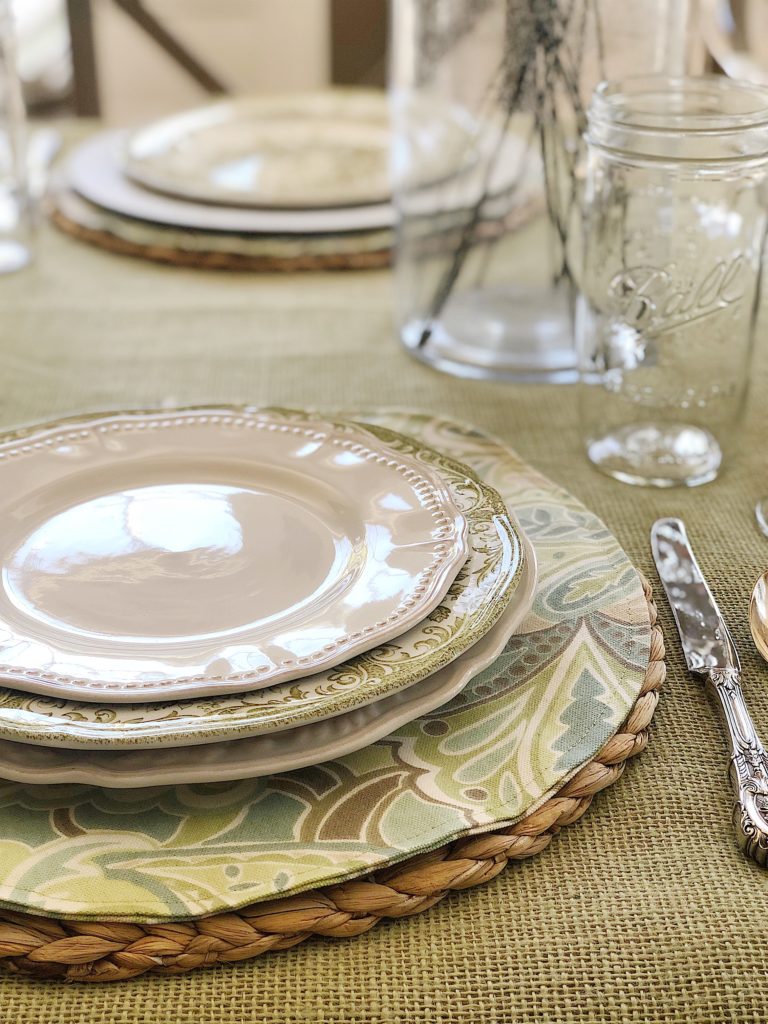
I cannot wait until I make more of these for future table settings. There are so many different patterns that I want to make to go with my china patterns.
I think you should make these DIY Placemats as they are so much fun! They are really easy and such a great addition to any table.
Next, you are going to want to head on over to my friend Kelly’s blog at The Tattered Pew and check out her Easy DIY Book Garland. Then follow the links below for lots more DIY ideas!
I DIY-ed That Spring Blog Hop

MONDAY
Repurpose & Upcycle | Thrify and Chic | A Blue Nest | Noting Grace
TUESDAY
My 100 Year Old Home | The Tattered Pew The Homemaking Momma | She Holds Dearly | Seeking Lavender Lane
WEDNESDAY
Worthing Court Blog | Joy In Our Home | White Arrows Home Uniquely Taylor Made | Making It In The Mountains
THURSDAY
Beauty For Ashes Home | Cuter Tudor | The Red Painted Cottage The Honeycomb Home | Designs By Karan
FRIDAY
Deeply Southern Home | Rocky Hedge Farm Twelve on Main | Life On Summerhill

33 Comments