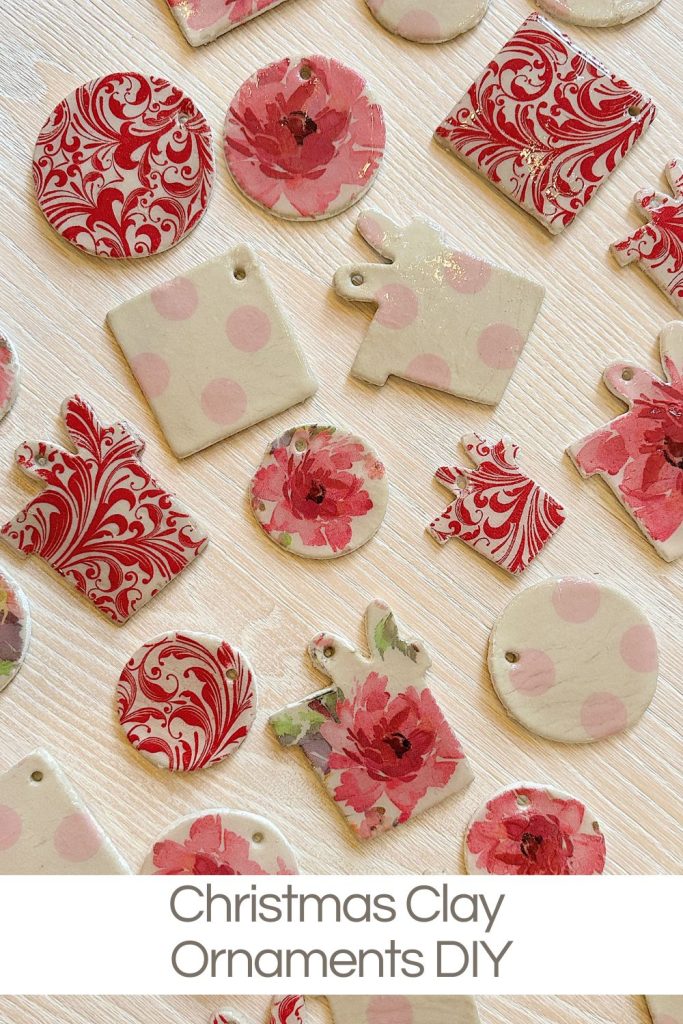
Christmas Clay Ornaments DIY
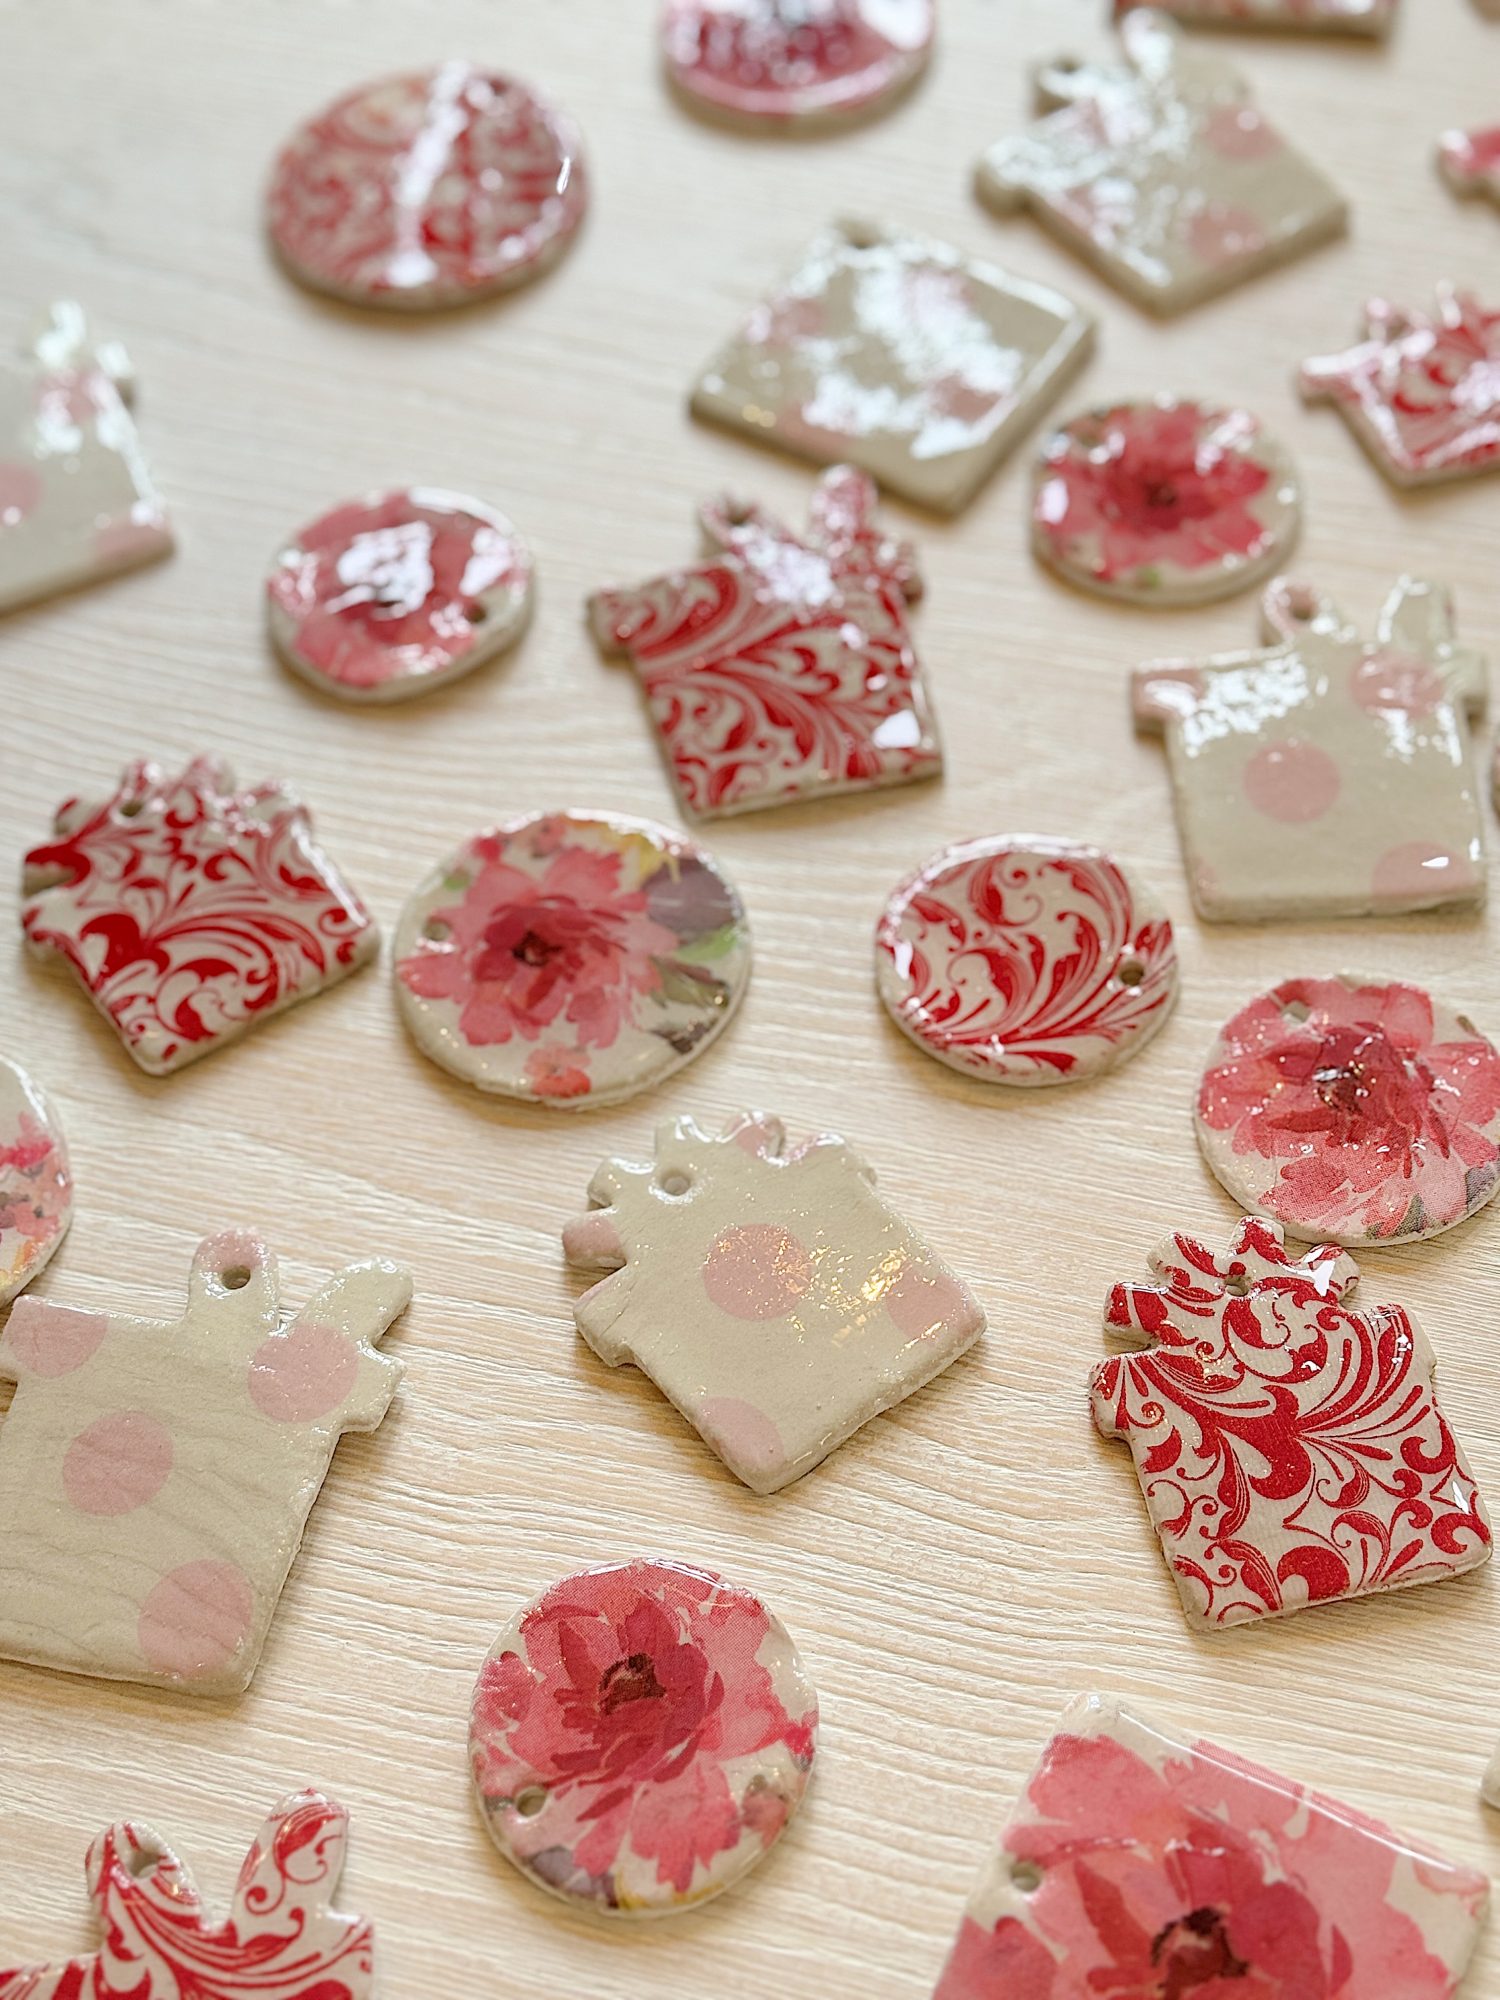
The holiday season is the perfect time to embrace creativity and make something special for your home or loved ones. I made Christmas clay ornaments with napkins and resin.
I crafted Christmas clay ornaments using napkin transfers, a fun and simple technique that turns polymer clay into one-of-a-kind holiday decor. These ornaments are great for decorating your tree, adding a personal touch to gift-wrapping, or crafting custom jewelry like earrings or pendants. They also make the perfect Christmas gift.
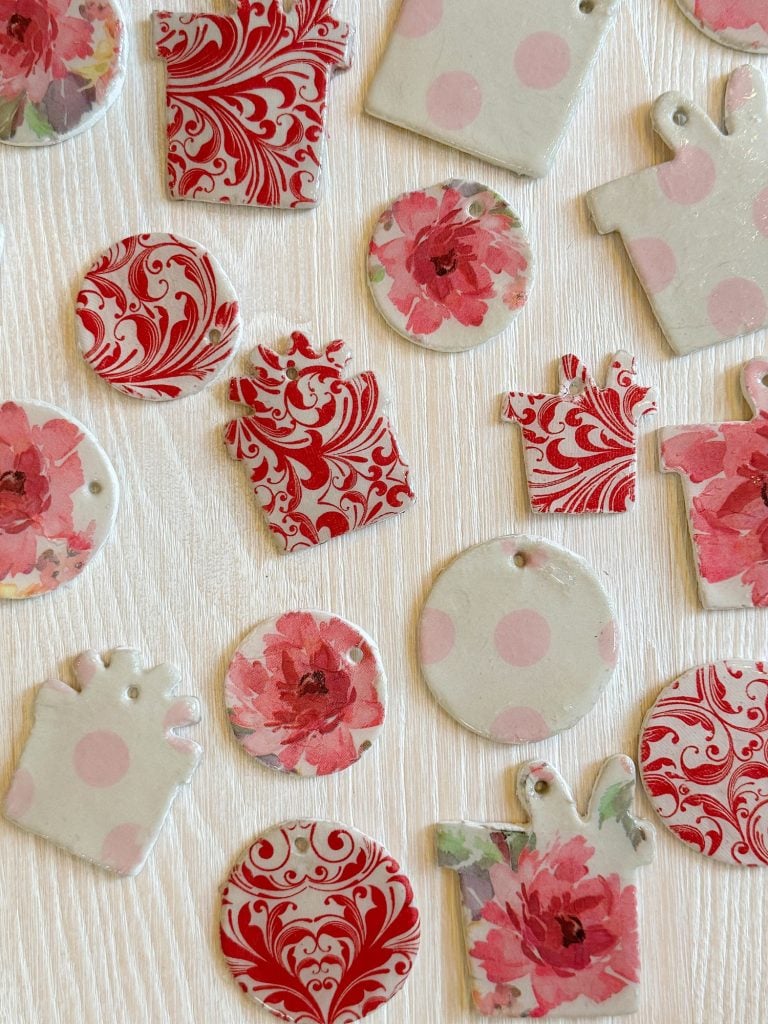


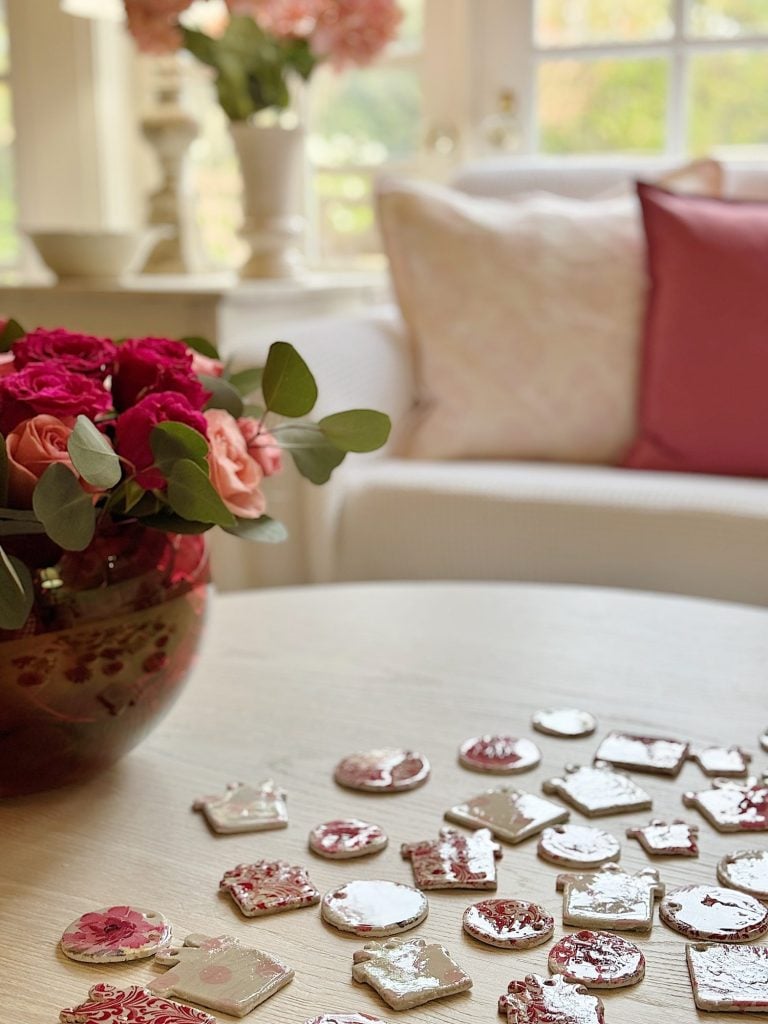
Crafting Clay Ornaments with Napkin Transfers
What’s wonderful about this project is how customizable it is. You can create beautiful pieces that feel uniquely yours with just a few materials and your favorite napkin designs.
As you likely are aware, I love using clay and napkin design. But over the years, I have struggled with finding a finish for my clay projects that resembled pottery and was not “homemade.” I finally found my answer … resin!
Today, I’ll show you how to bring these creations to life and provide tips to make the process easy and enjoyable.
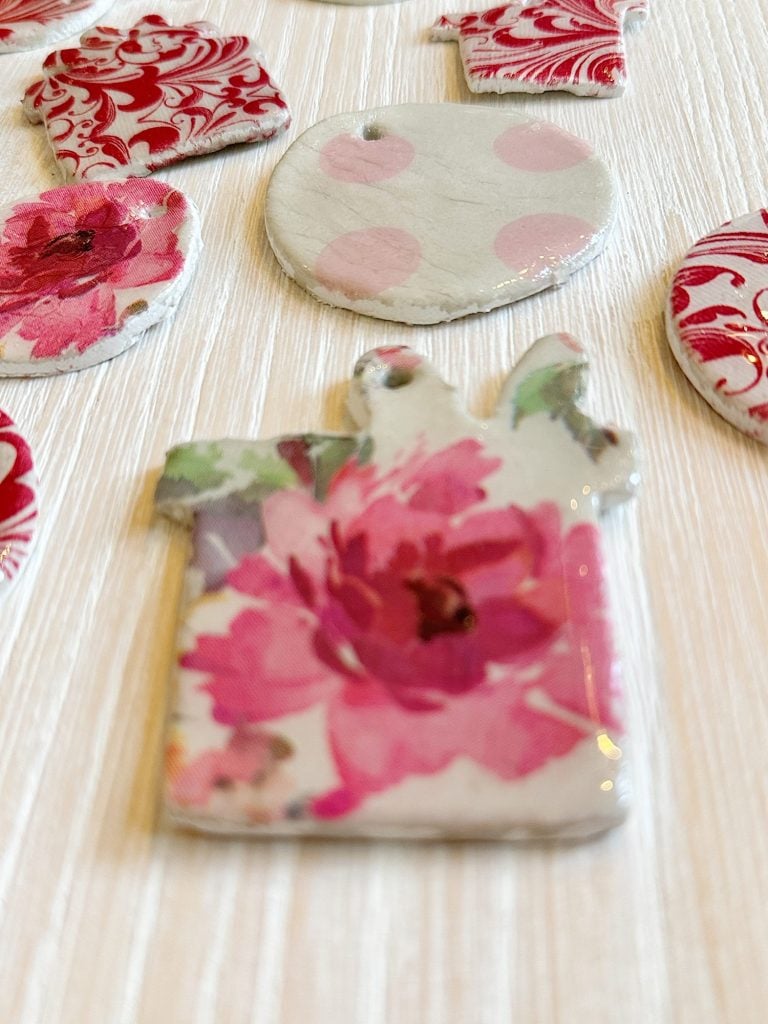
The glazed pottery look of these ornaments is perfect!
Supplies You’ll Need
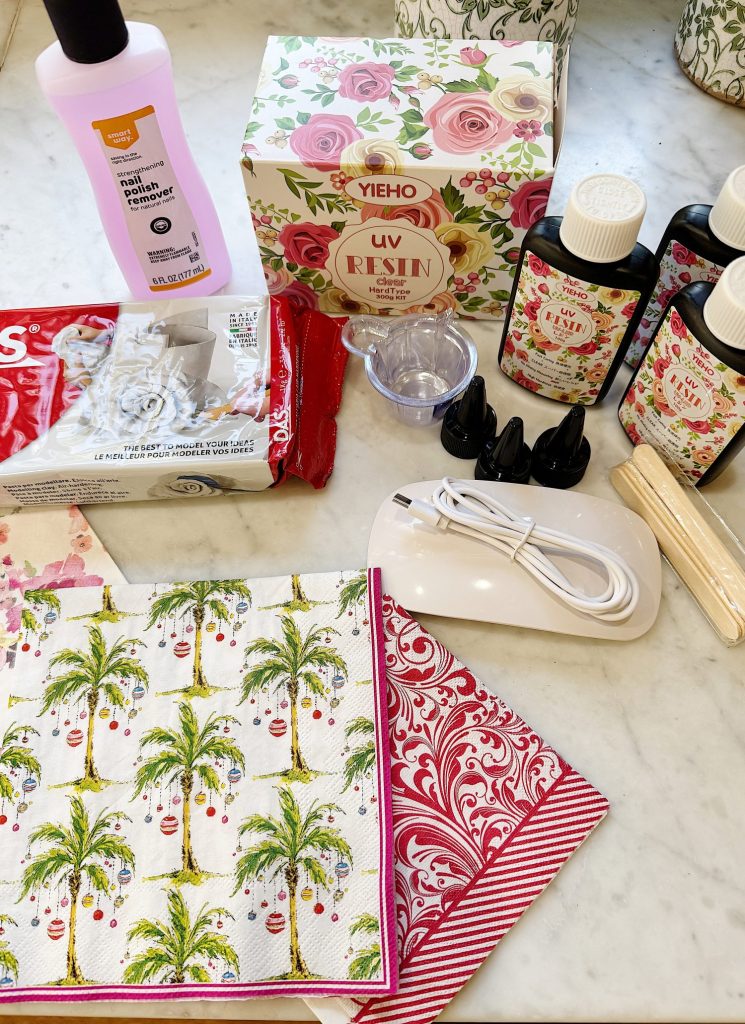
Before we get started, gather the following materials:
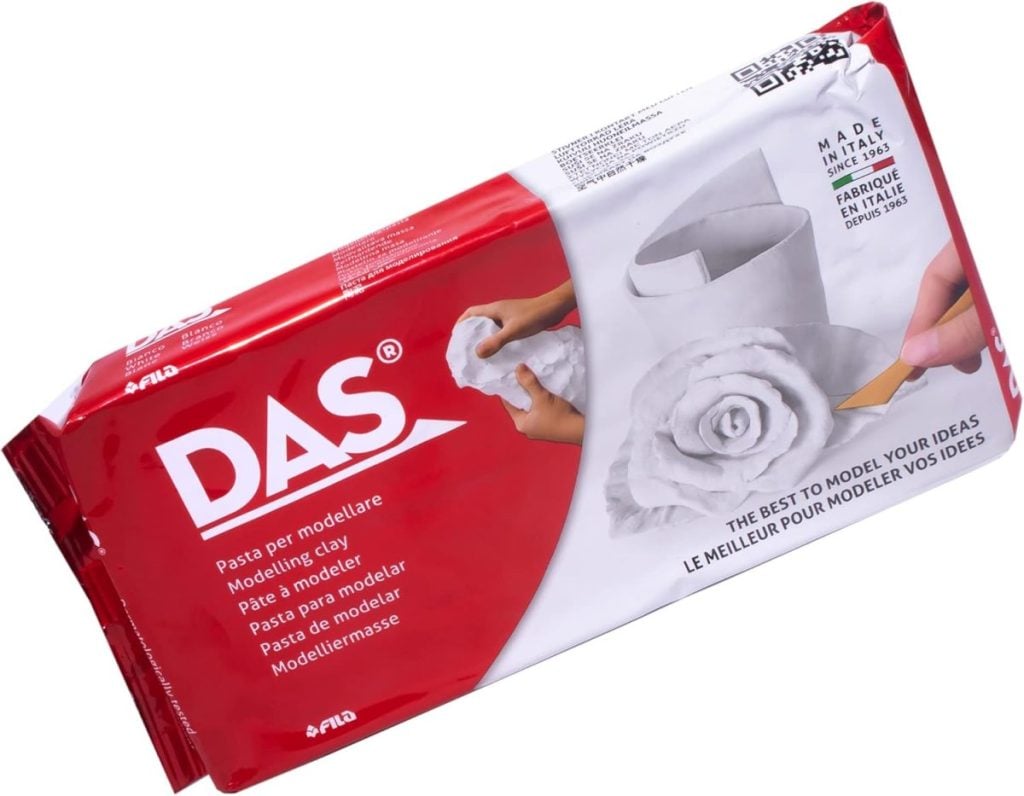
- Polymer Clay: A pliable clay that’s easy to work with and bakes nicely.
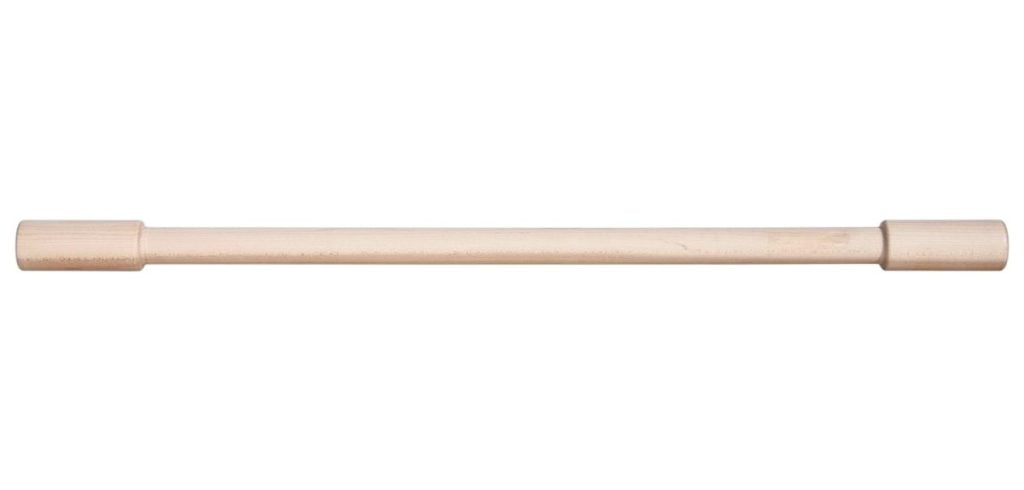
- Edged Rolling Pin: To roll your clay into smooth, even layers.
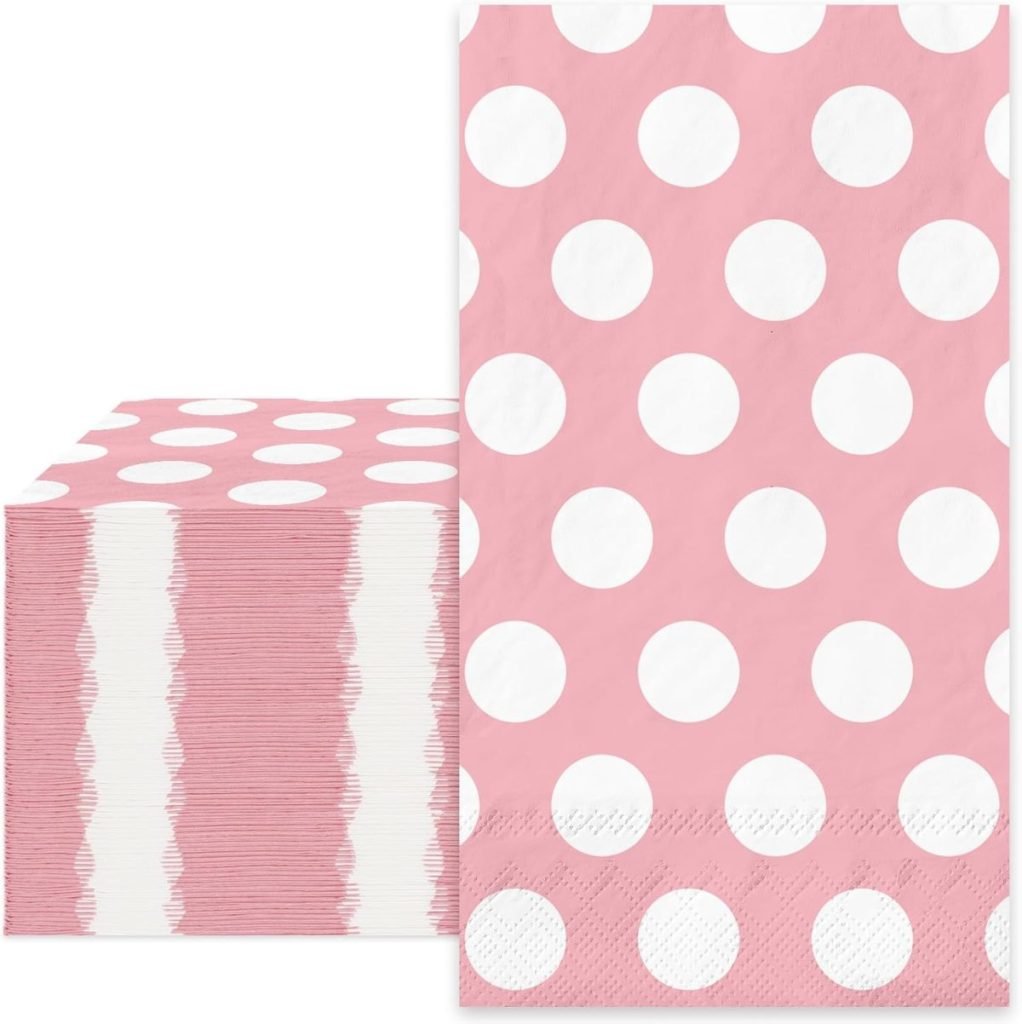
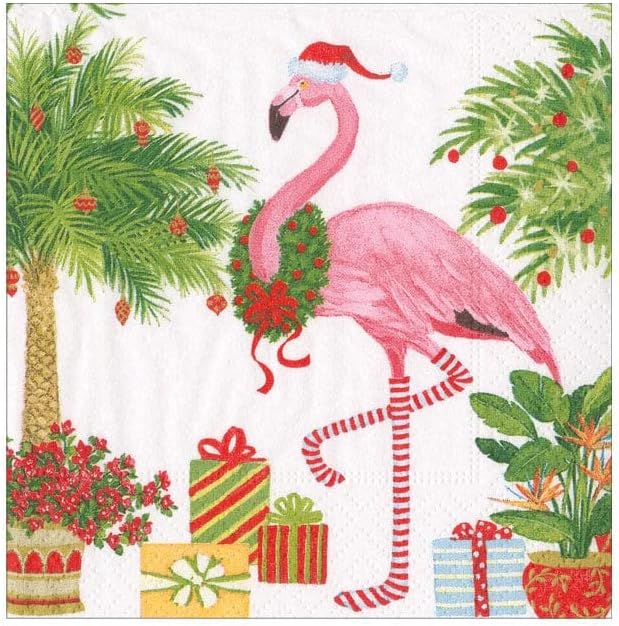
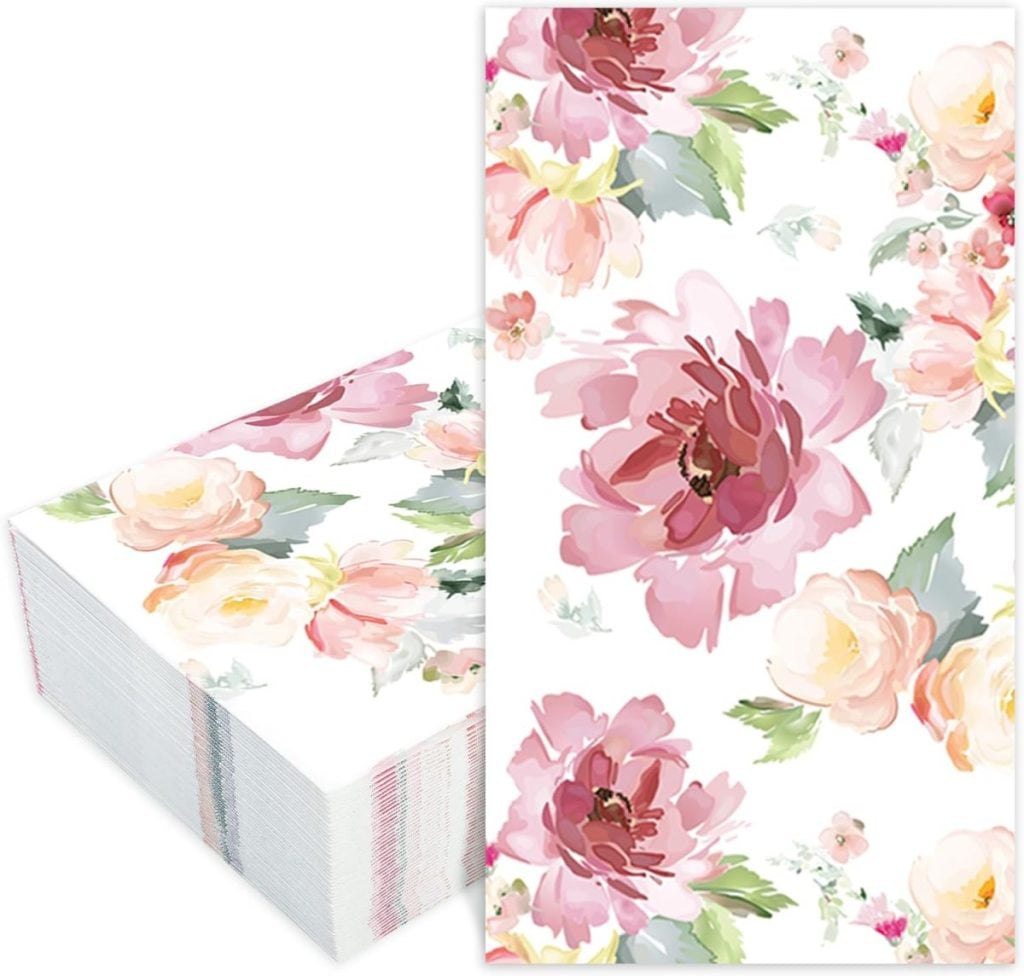
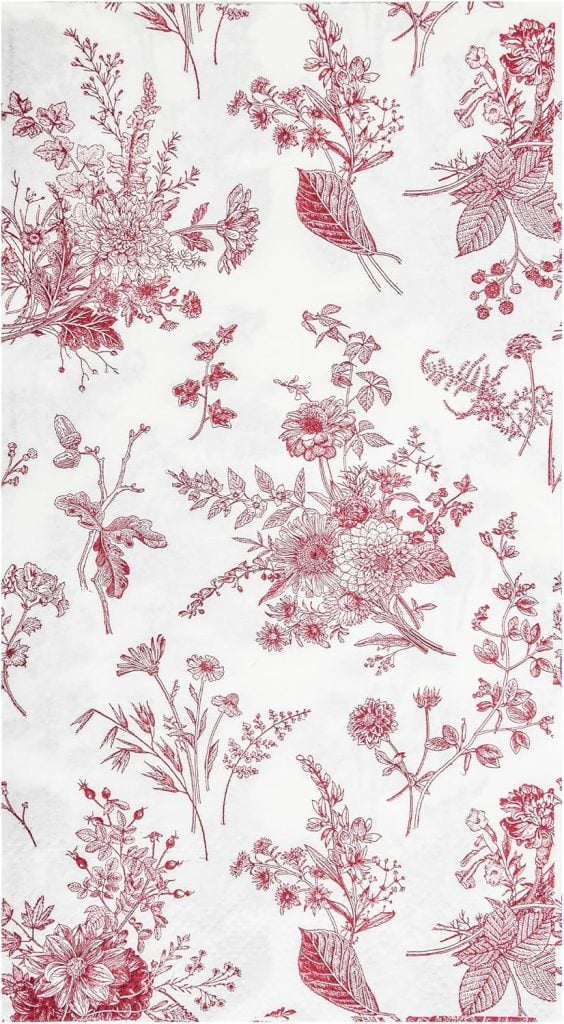
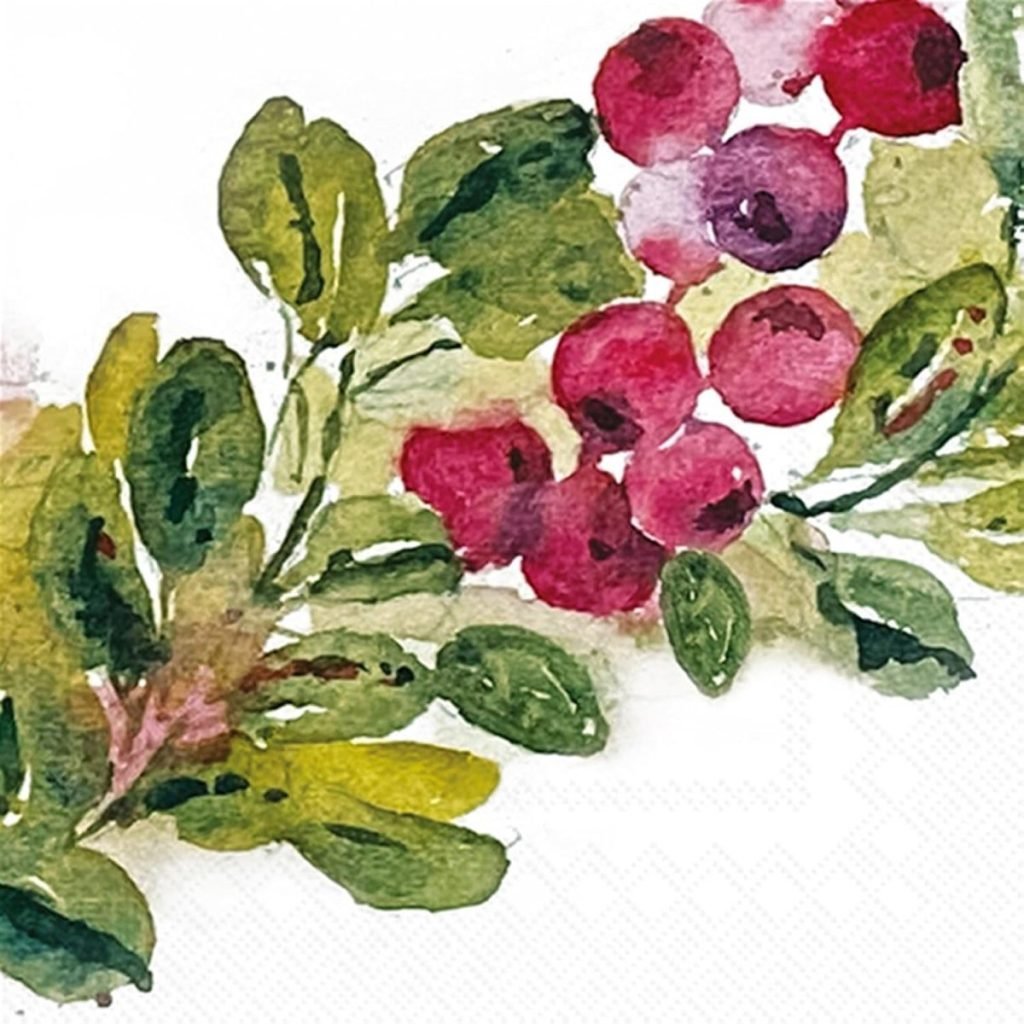
- Decorative Napkins: Choose napkins with patterns or designs that inspire you—holiday motifs, florals, or abstract prints all work beautifully.
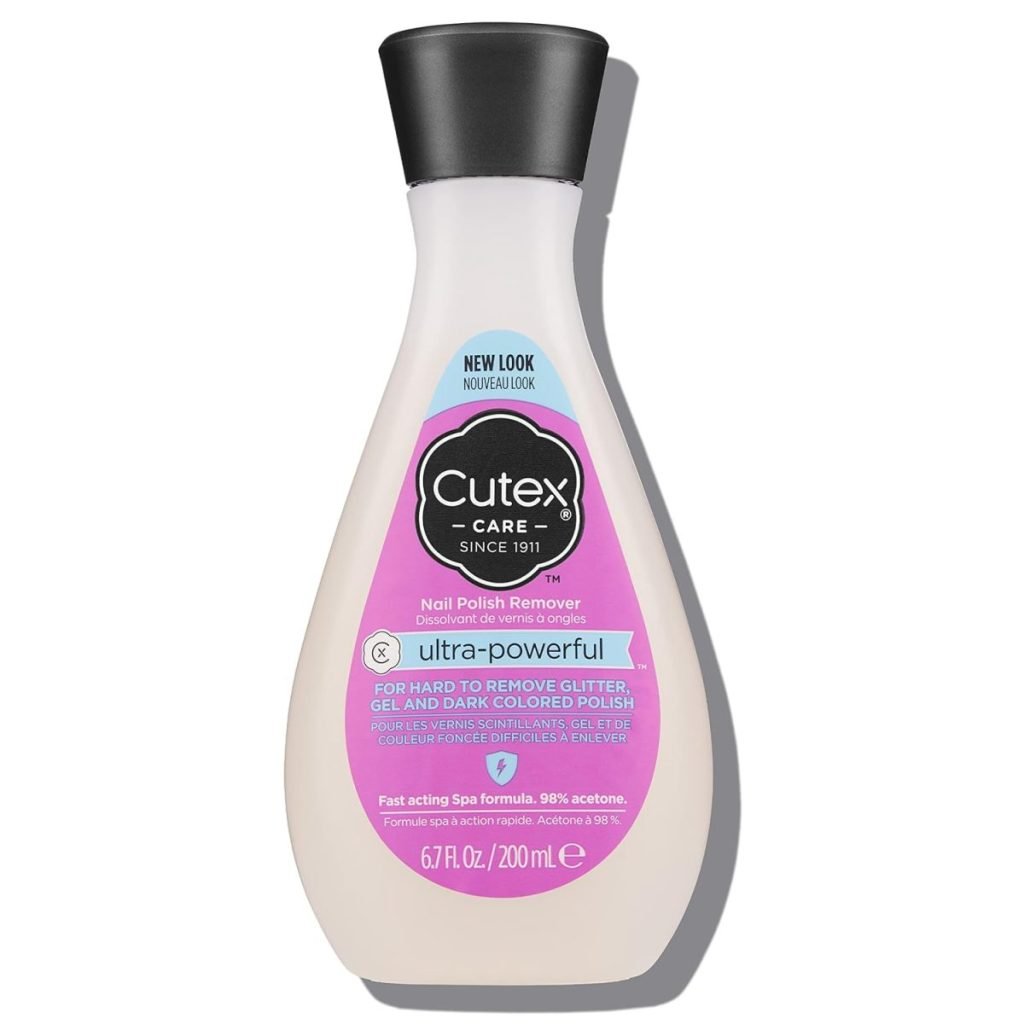
- Nail Polish Remover: This household staple will transfer the napkin design onto the clay.
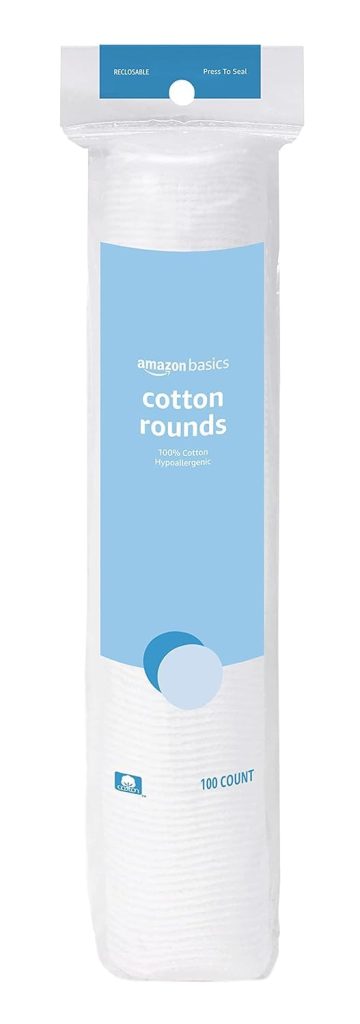
- Cotton Pads: For applying nail polish remover to the napkin.
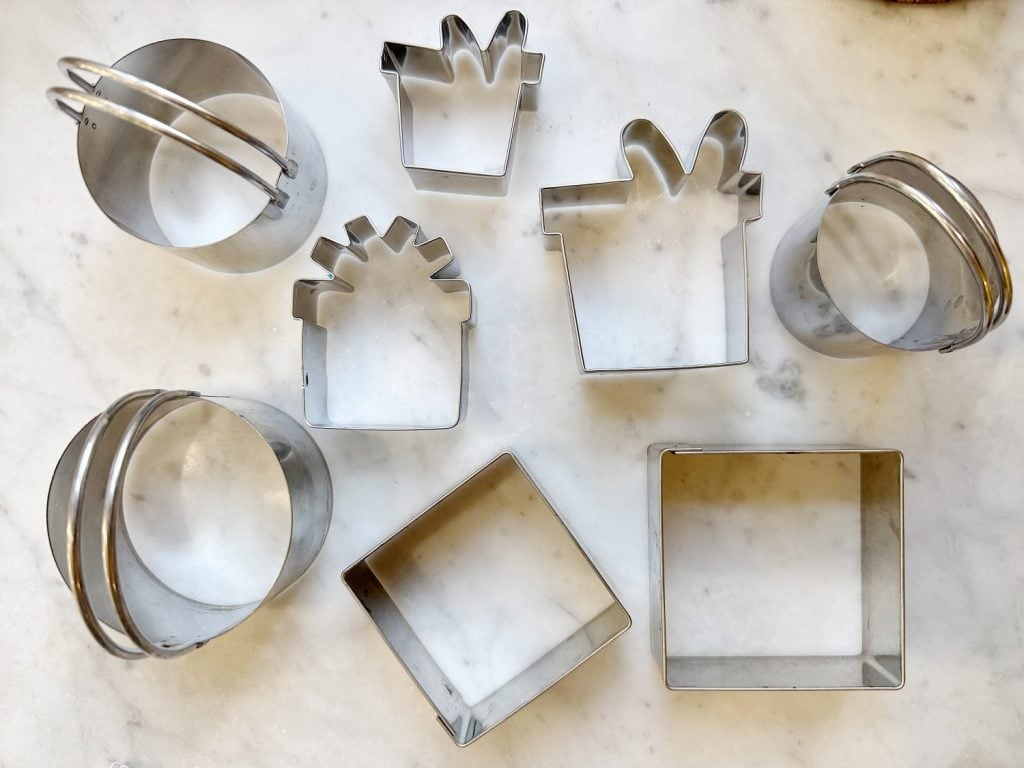
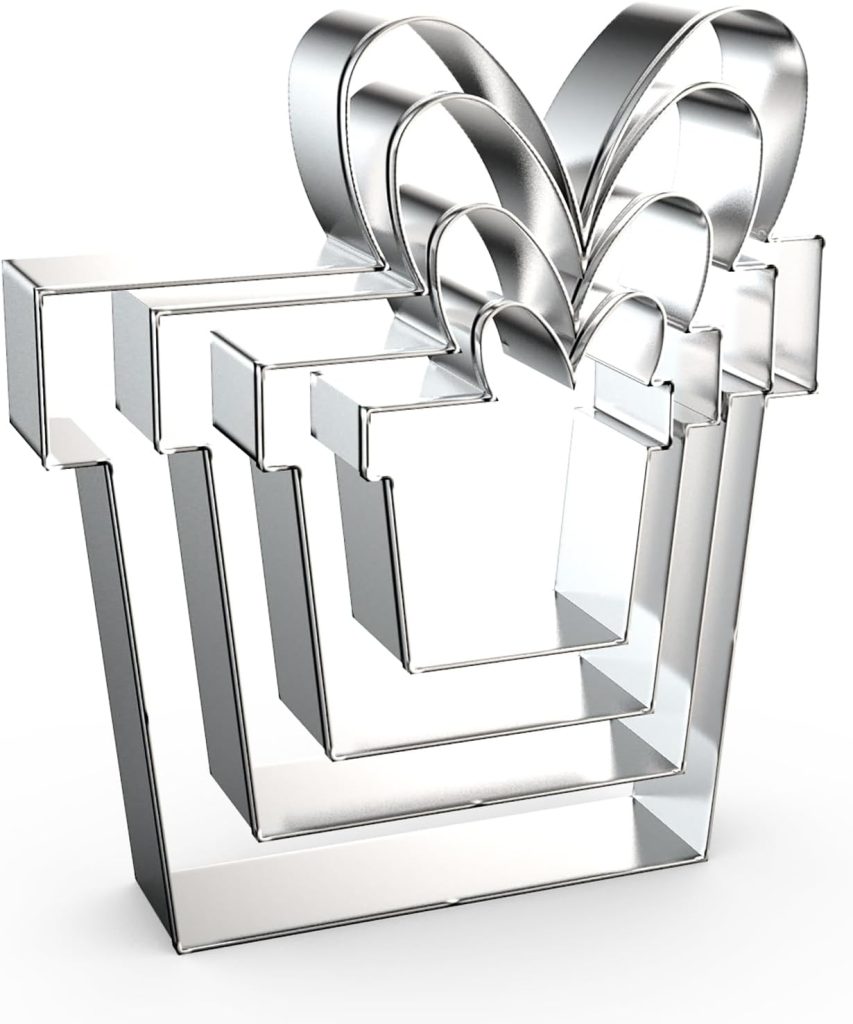
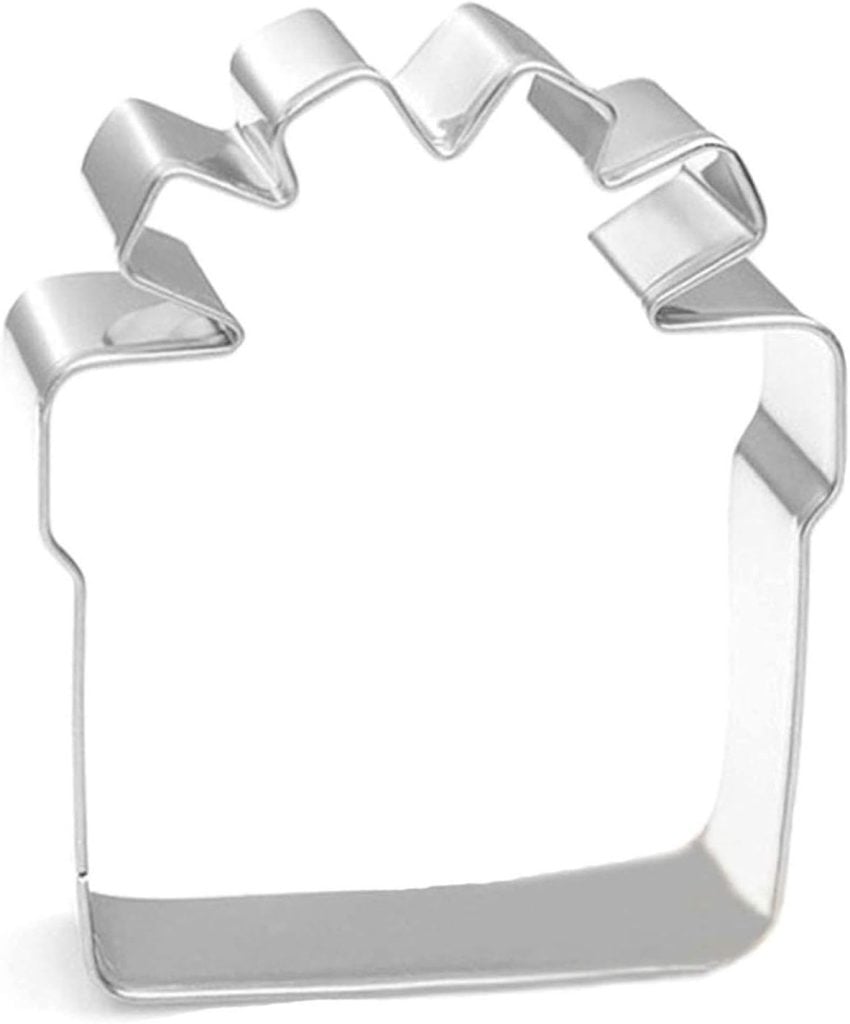
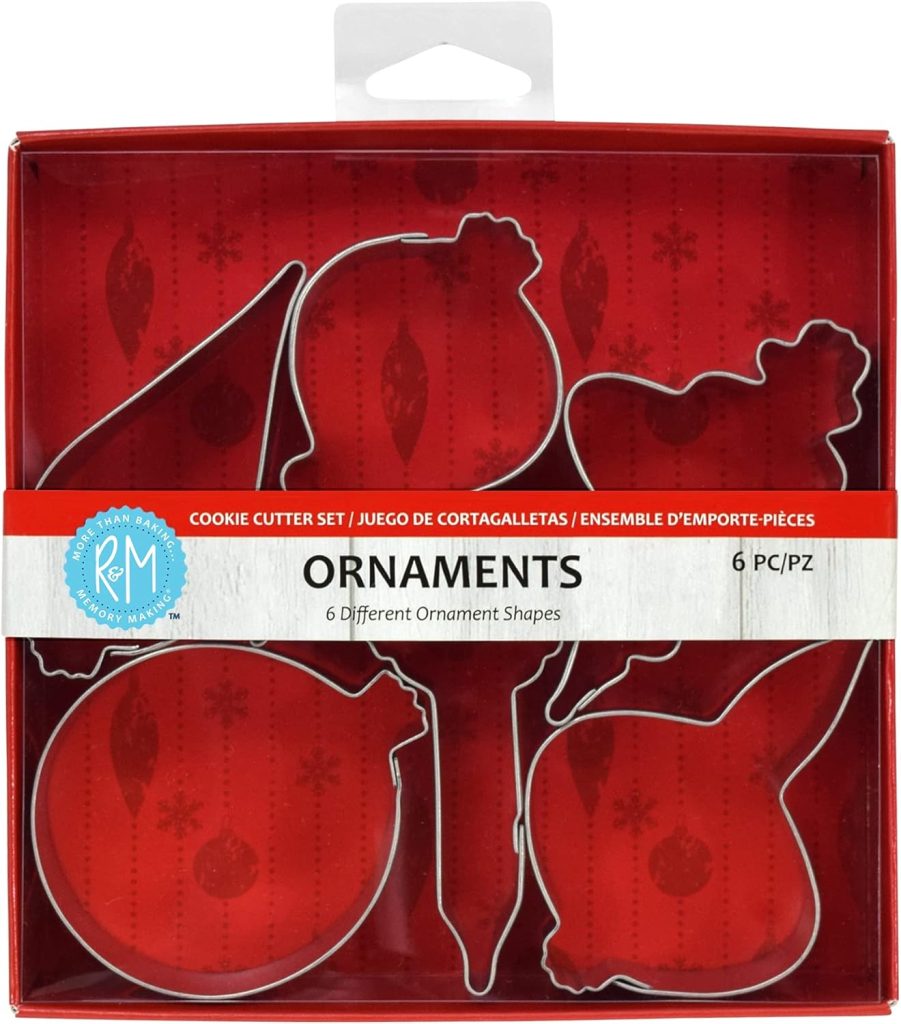
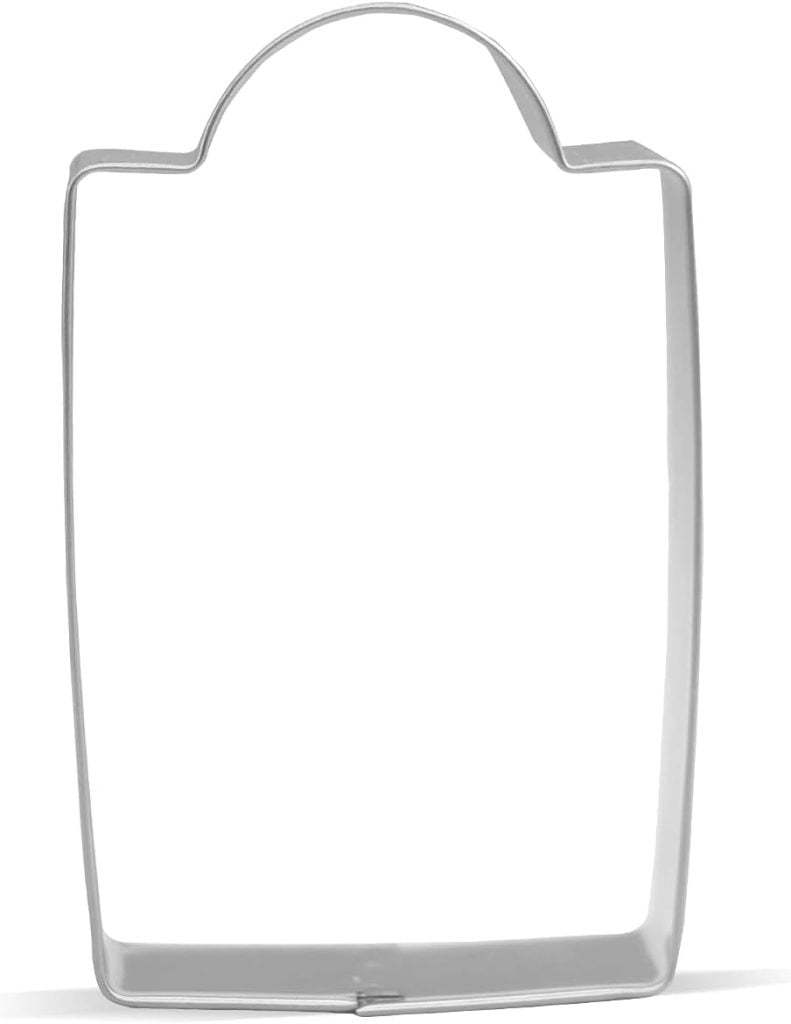
- Cookie or Clay Cutters: These shape your ornaments into festive designs.
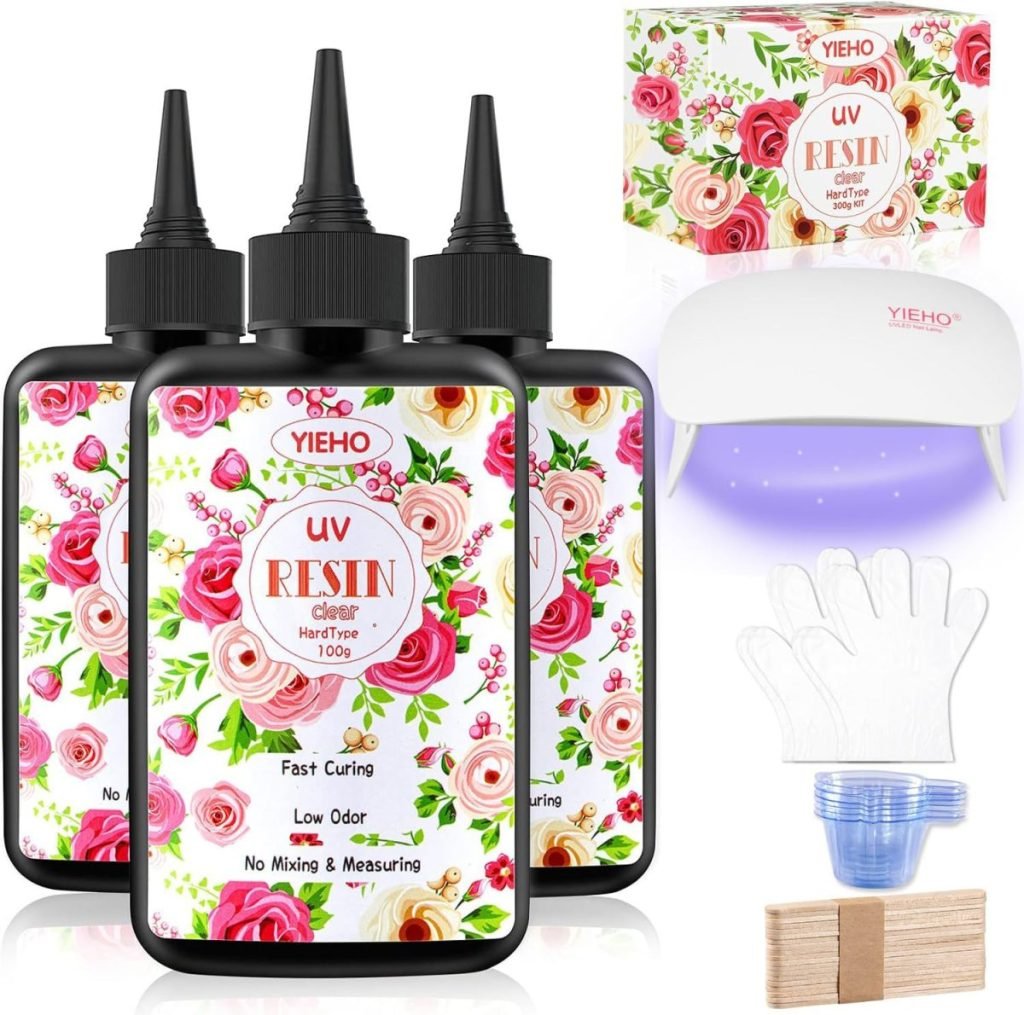
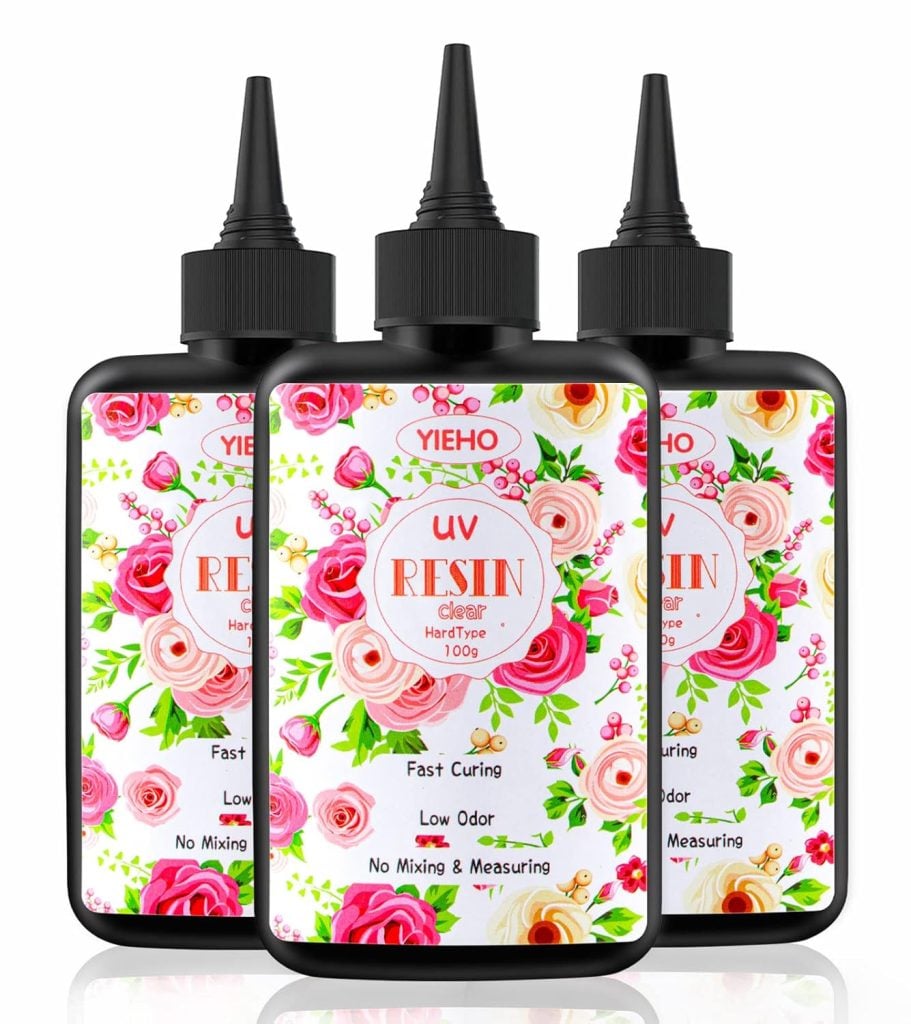
- UV Resin: Adds a glossy finish and protects the design.*
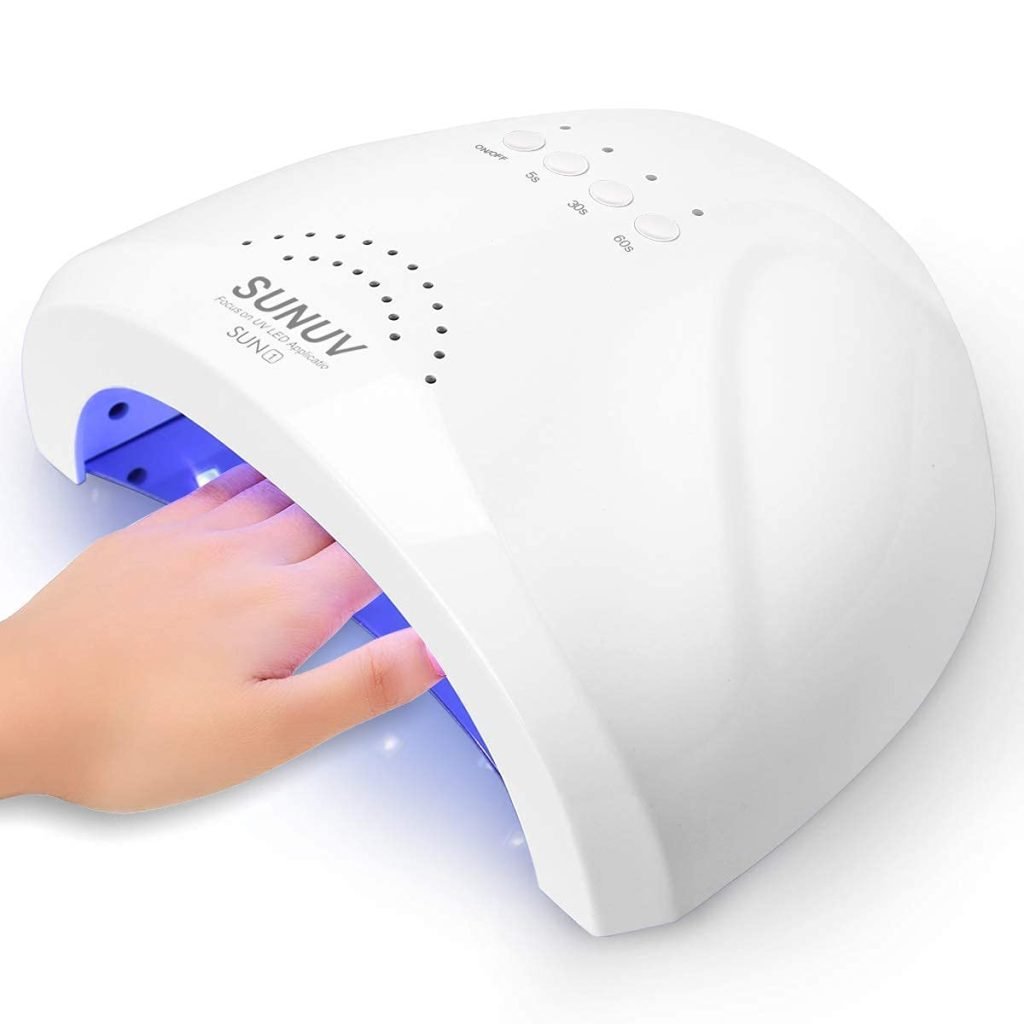
- UV Lamp: Speeds up the curing process for the resin.*
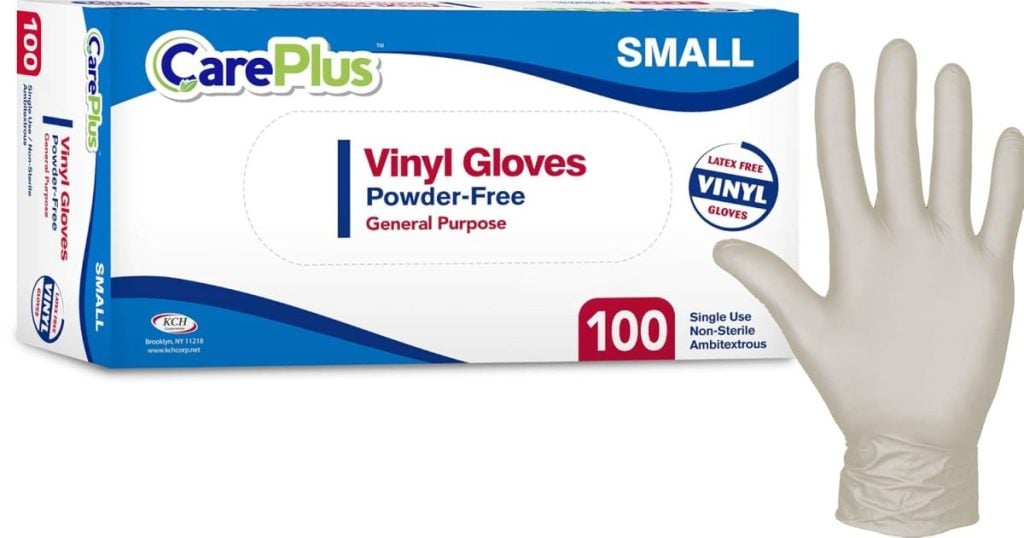
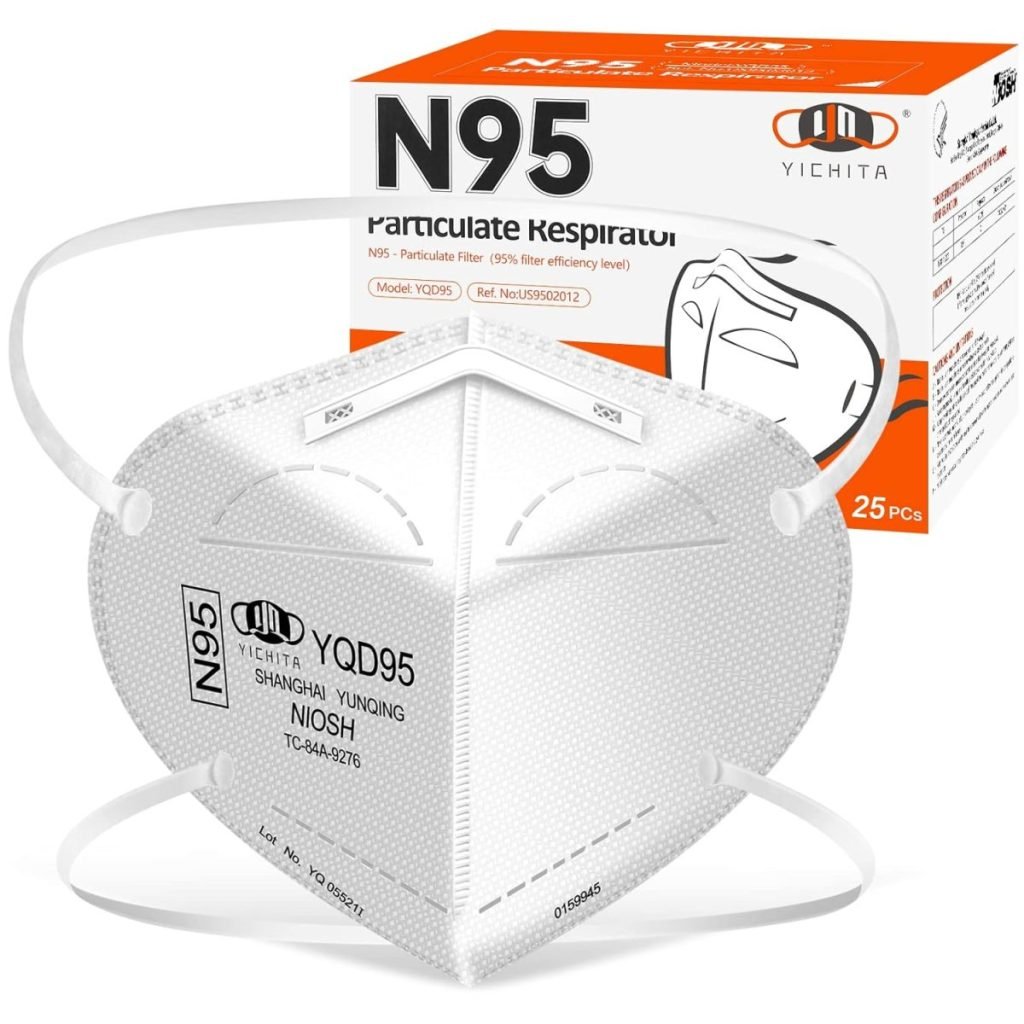
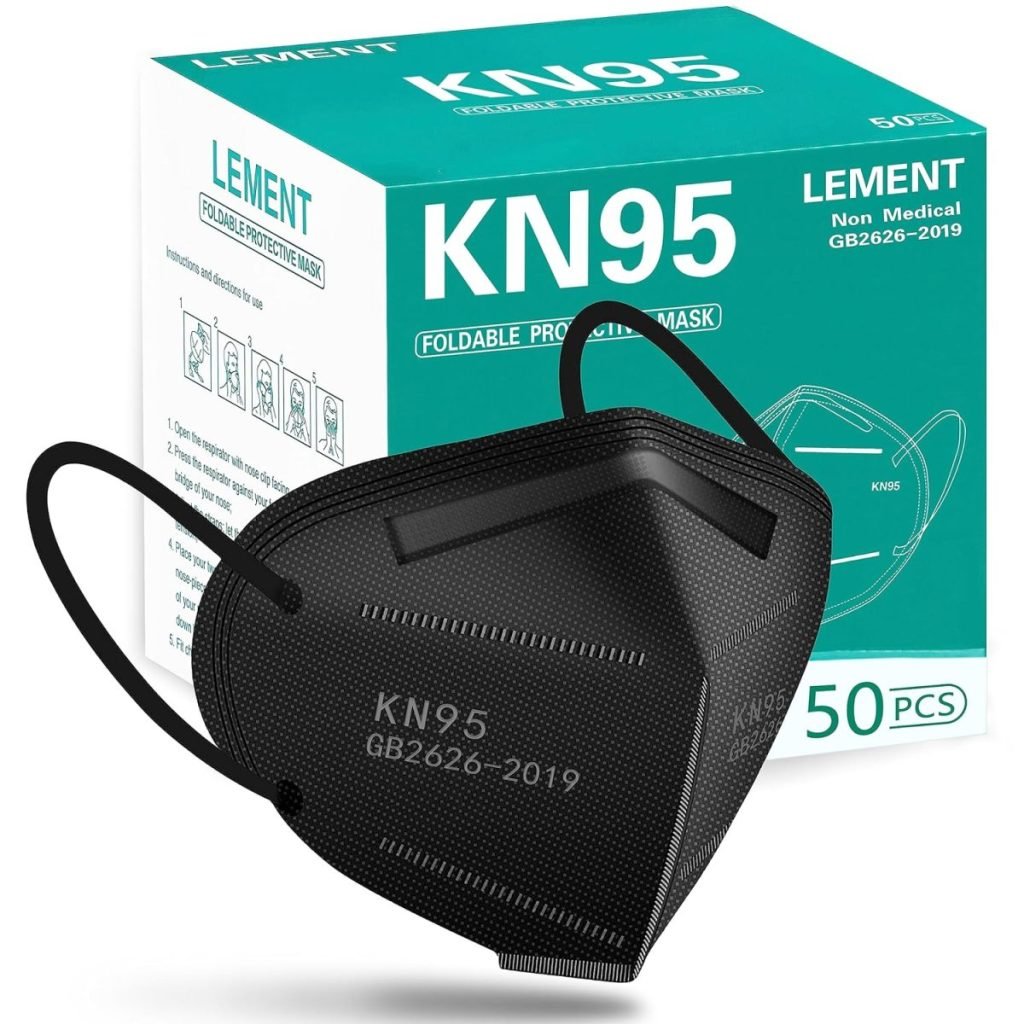
- Protective Gloves: To keep your hands clean while working with resin. You should also wear a mask.
*I bought a kit with the resin and lamp.
On this blog, I may sometimes use affiliate links, which means a small commission is earned if you purchase via the link. The price will be the same whether you use the affiliate link or go directly to the vendor’s website using a non-affiliate link.
If you are wondering about my color palette for these ornaments, check back tomorrow to see the colors I used in our family room.

Step-by-Step Instructions for Crafting Clay Ornaments
1. Roll Out the Clay
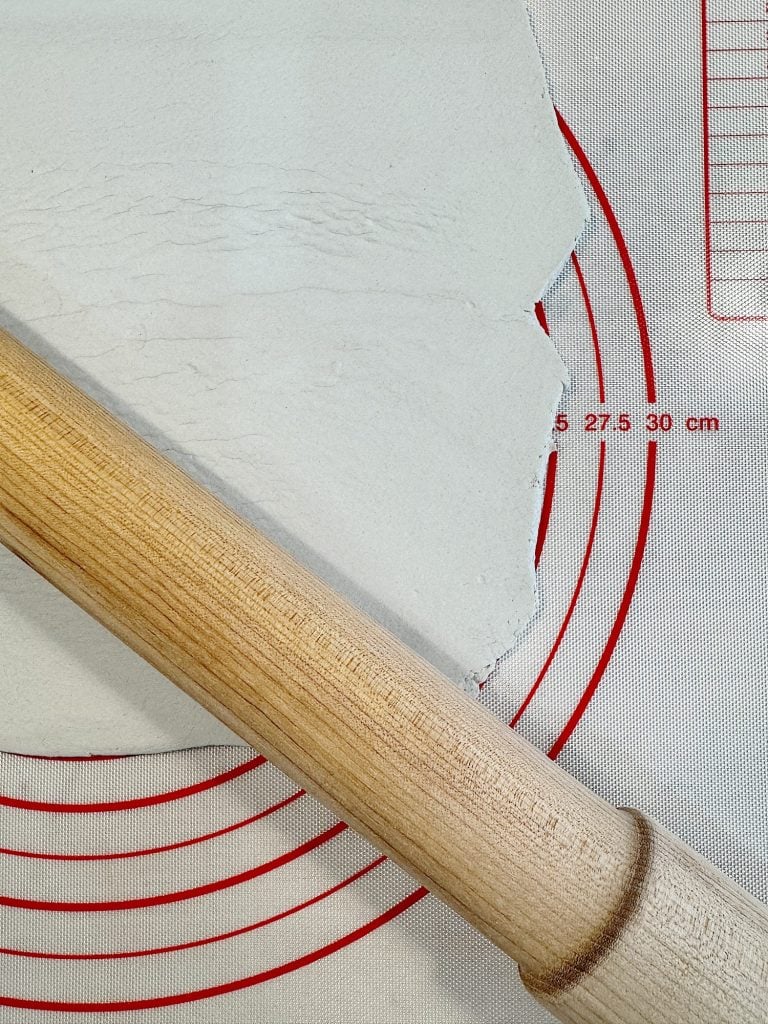
Begin by rolling your polymer clay into a flat sheet. I used my rolling pin with a raised edge to ensure the clay was the same thickness on the entire sheet. Aim for consistent thickness—about 1/8″- ideal for sturdy but not heavy ornaments.
2. Prep Your Napkin
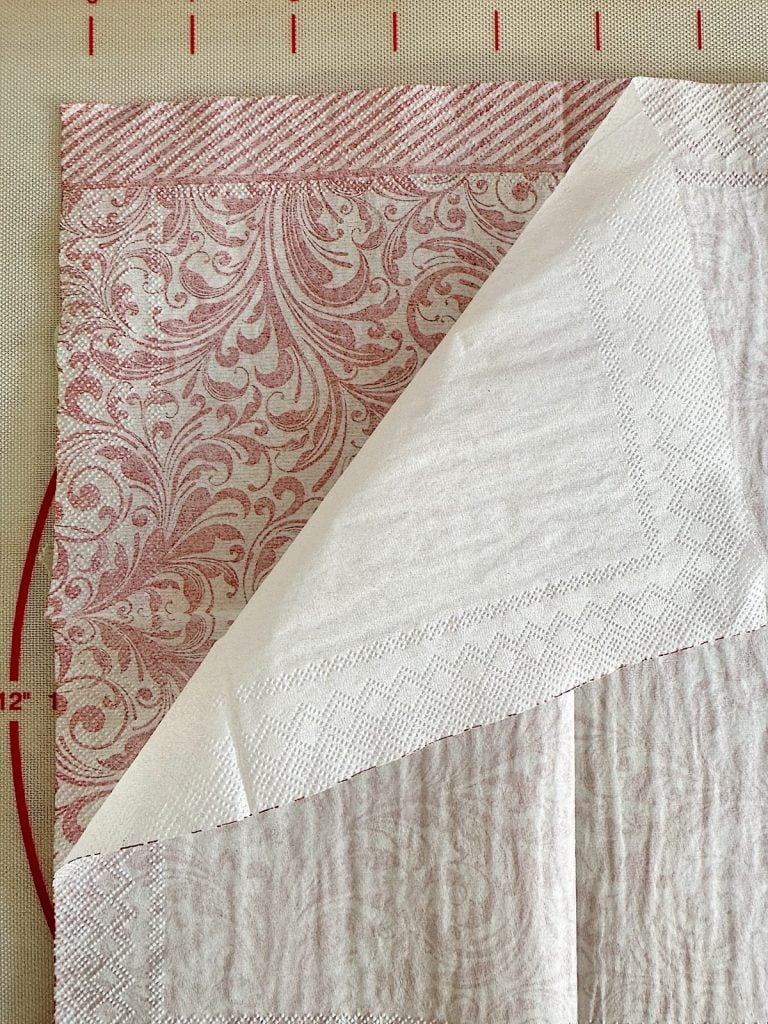
Separate the top printed layer of your napkin from the plain backing layers. Only the thin, printed layer is needed for this project. Handle it gently to avoid tearing.
3. Position the Napkin on the Clay
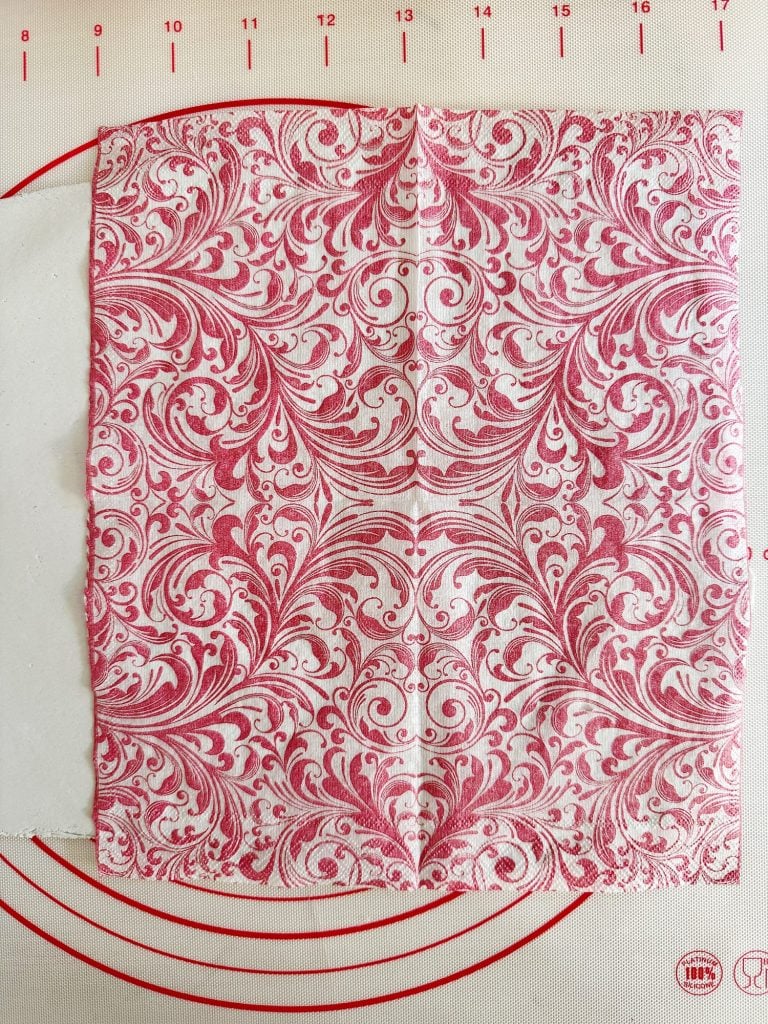
Lay the napkin design side down on your rolled-out clay. Position it carefully, as this will be the visible side of your ornament. Gently rub the napkin into the clay for a smoother design.
4. Attach the Design
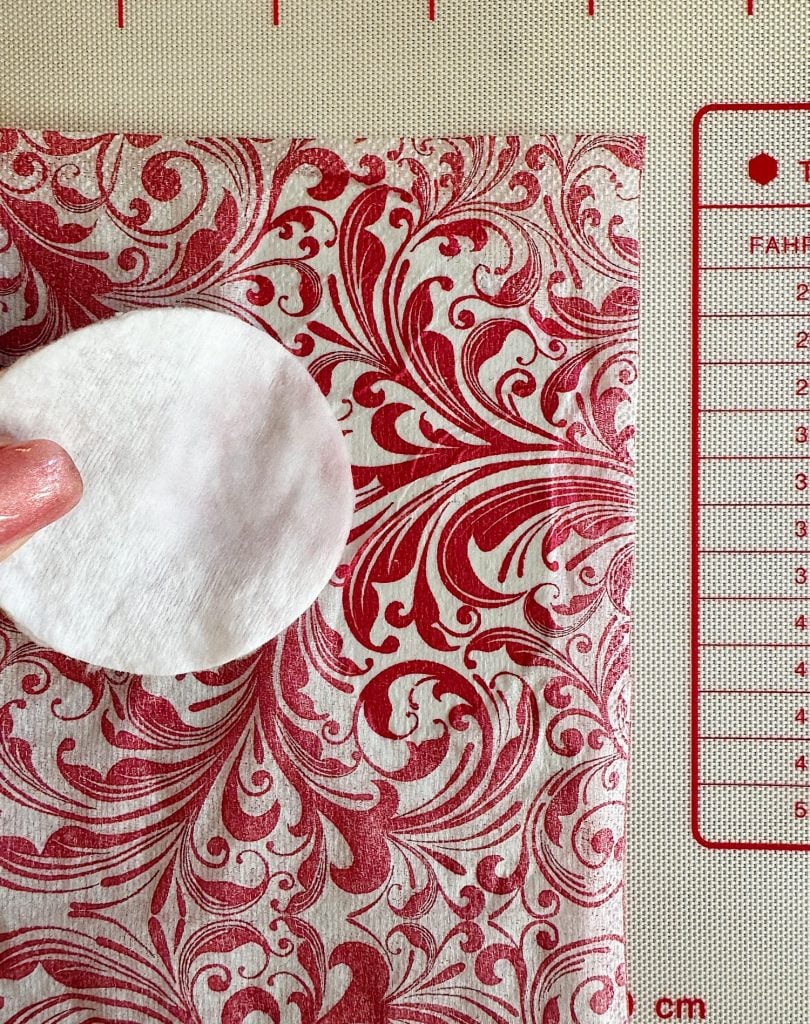
Dab gently over the napkin using a cotton pad soaked in nail polish remover. The remover will adhere the napkin’s design to the clay’s surface. Avoid rubbing, as this can distort or tear the napkin—light tapping works best. You’ll see the pattern start to adhere as you work.
Do not lift the napkin off of the clay. Leave it on.
5. Cut Out Shapes
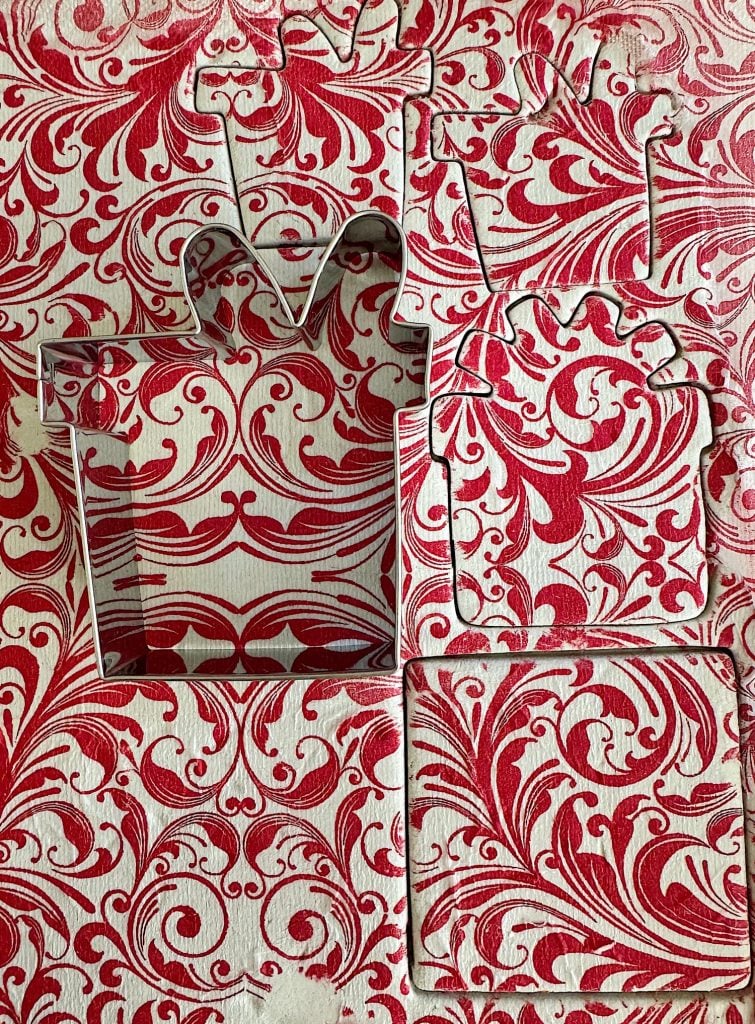
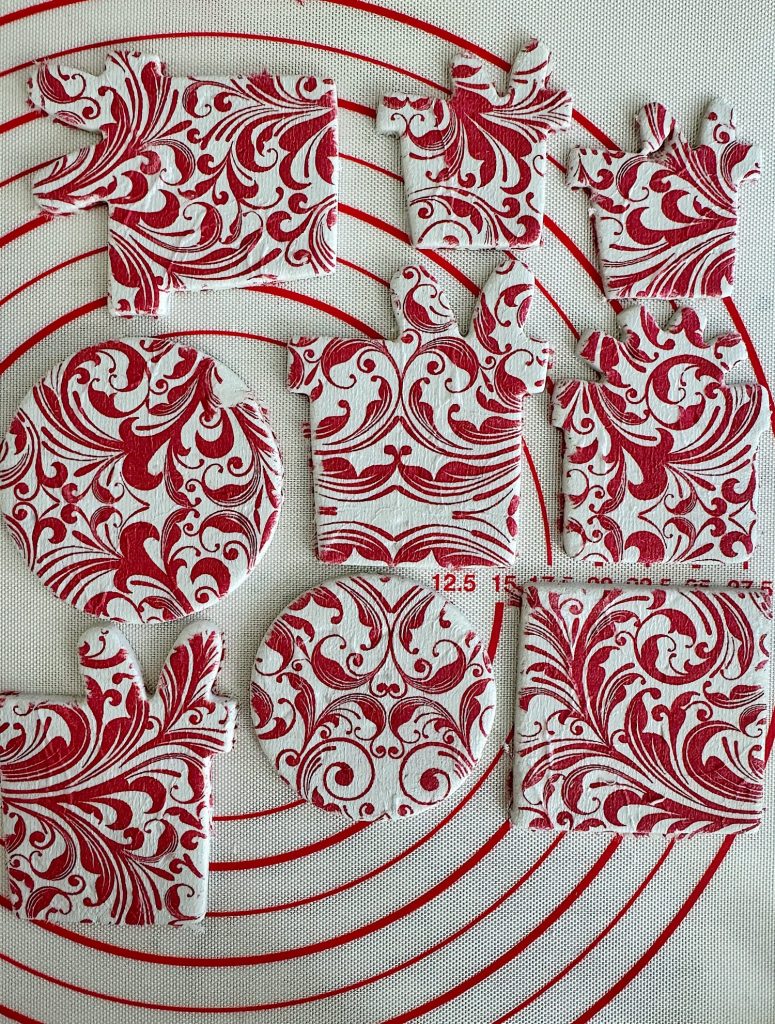
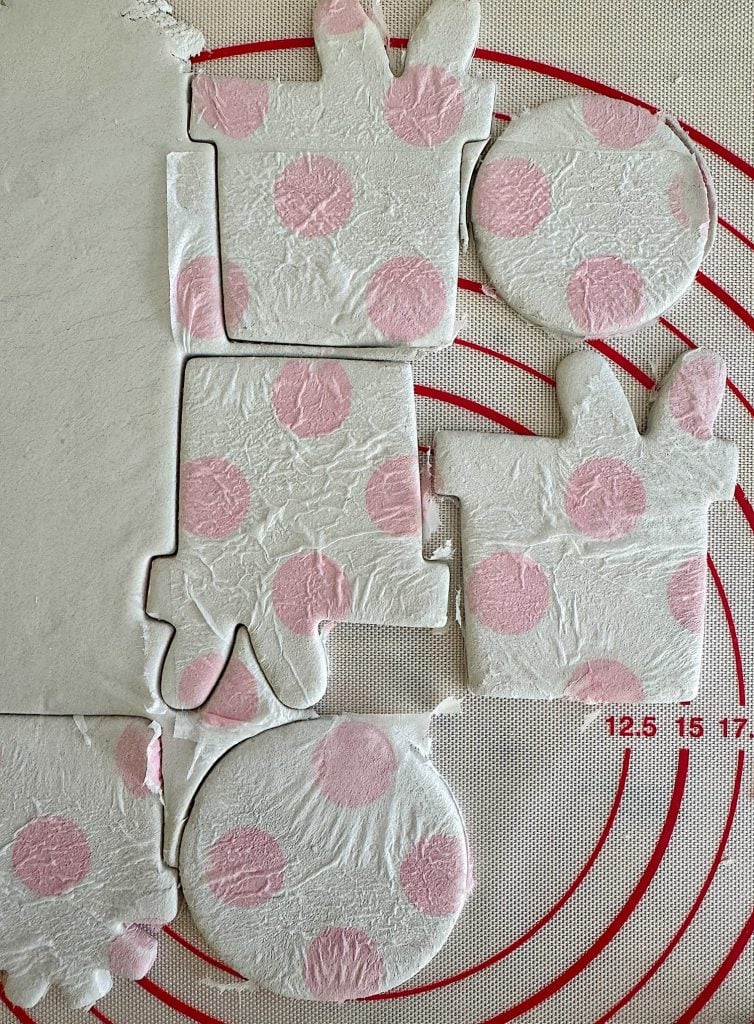
Use cookie cutters or specialized clay cutters to create your desired shapes. Holiday-themed shapes like stars, snowflakes, or trees are always a hit, but circles, hearts, or abstract shapes work beautifully, too.

Press down hard so the napkin and clay are cut through. This will make it easier and prevent tears in the napkin. As soon as you are done cutting, remove the excess napkin on the scraps so you can reuse the clay.
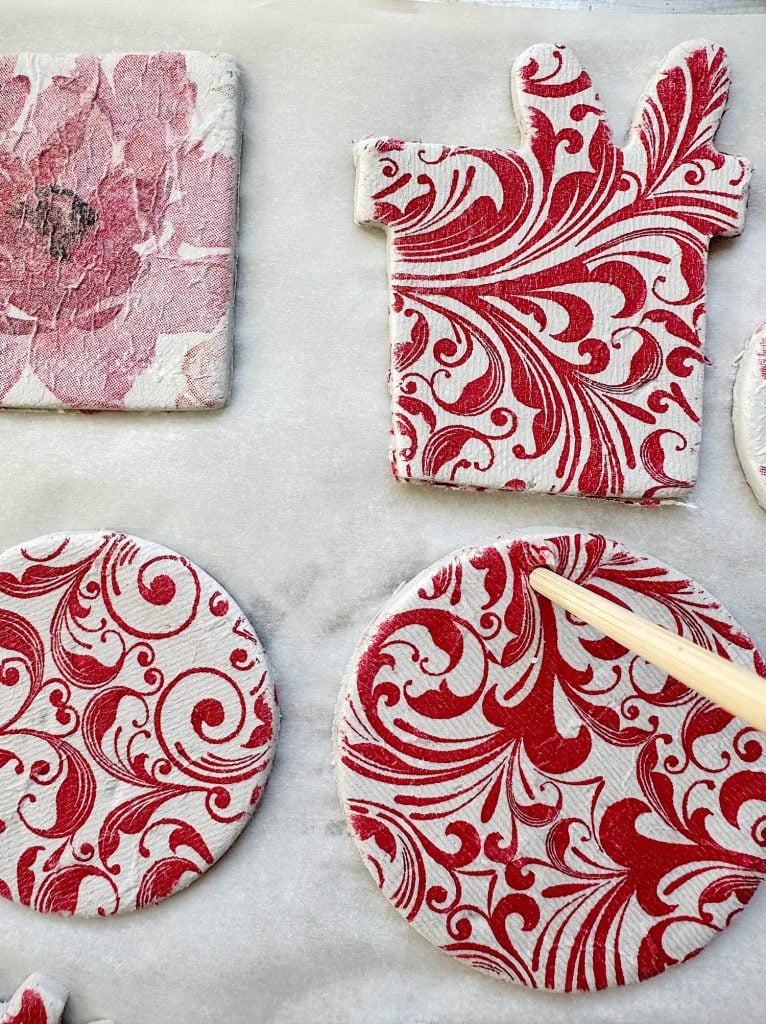
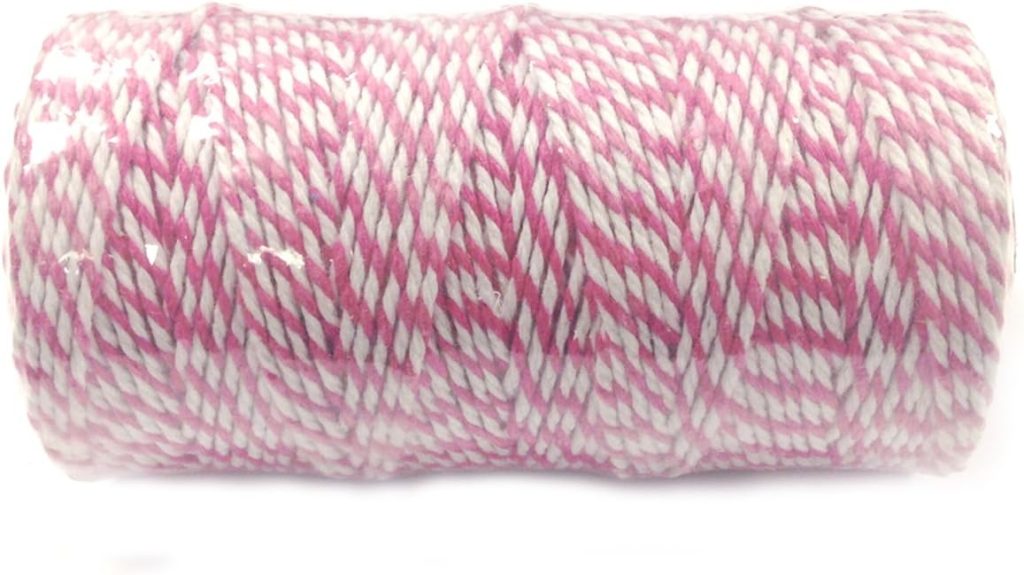
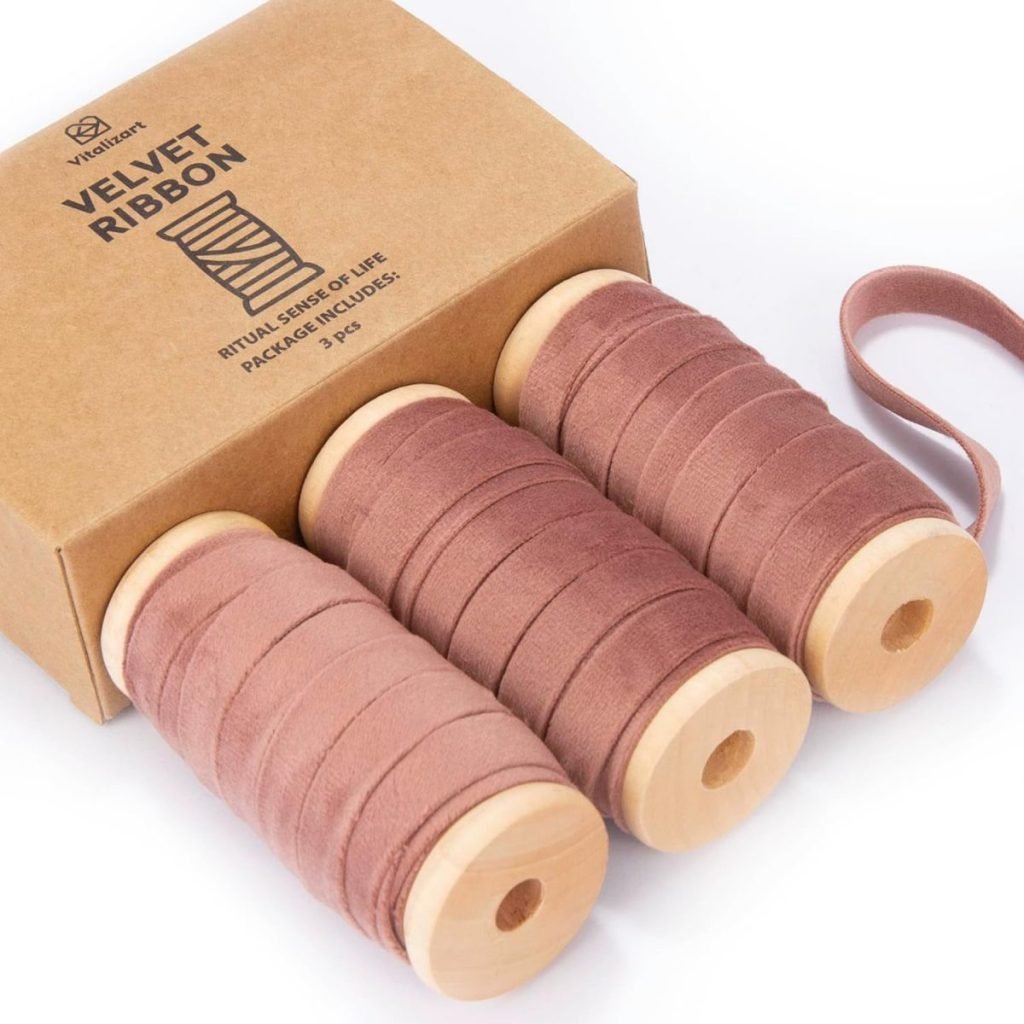
If you plan to hang your ornaments, punch a small hole at the top to thread the ribbon or twine through.
6. Bake Your Clay
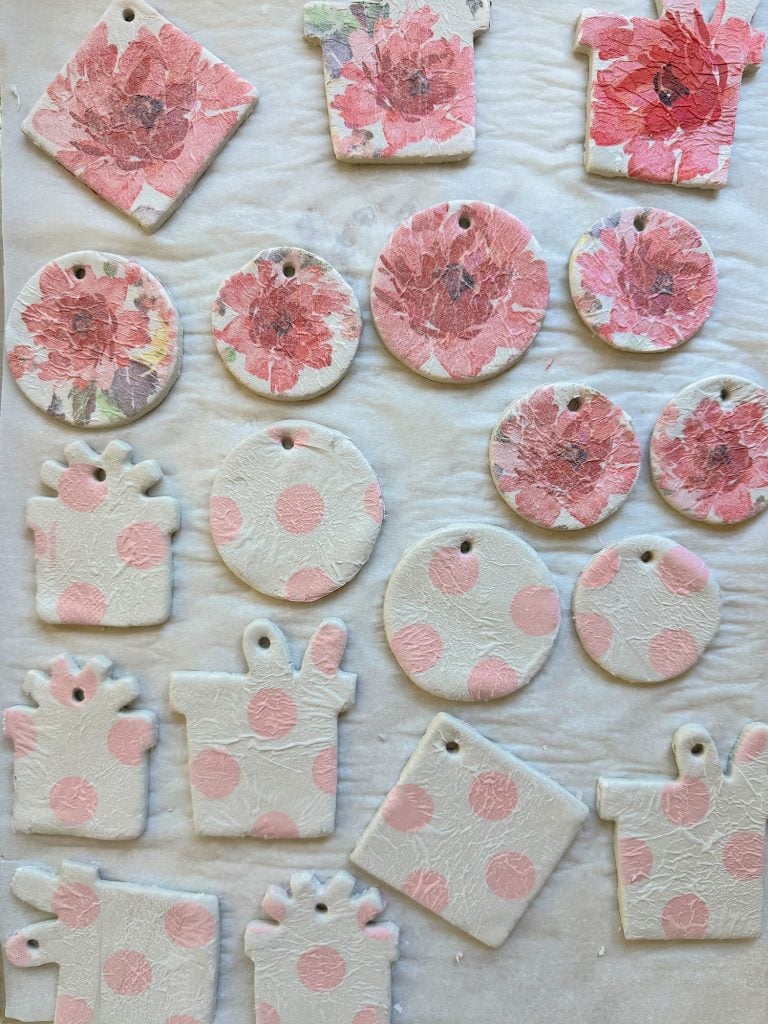
Transfer your cut pieces to a baking sheet lined with parchment paper. Bake in your oven at 225°F for about 15 minutes, or follow the specific instructions for your clay brand. This will harden the clay and set the transferred design. Flip them over and bake for another 10 – 15 minutes or until the back side is dry. (I don’t recommend using a baking rack as the clay will emulate the design from the rack surface. I know this from experience. Oops!)
Let them cool completely. This is crucial before applying any finish to ensure the pieces stay intact.
7. Add a Glossy Finish
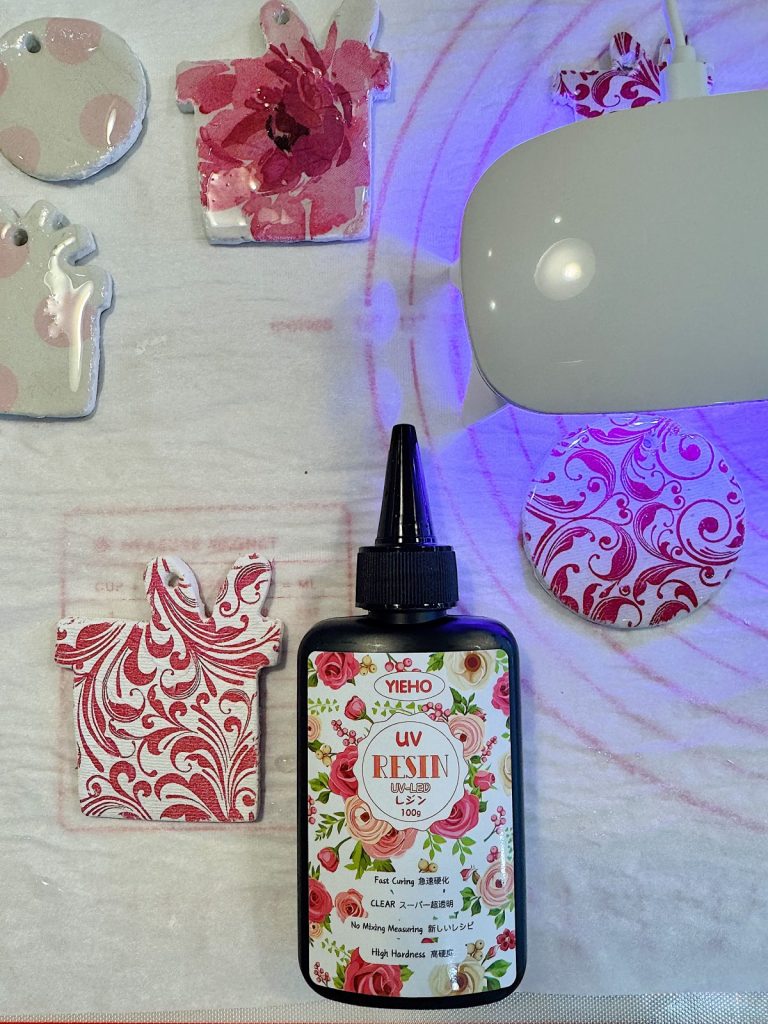
Apply a thin coat of UV resin to the surface of each ornament to give them a polished, professional look. Be sure to wear gloves and a mask and use a lighter or heat tool to remove any air bubbles that may appear.
When crafting with resin, you should take safety precautions to protect yourself from the resin, its fumes, and sanding dust:
- Apply resin in a thin layer: Thick layers can cause the resin to crack or not cure properly.
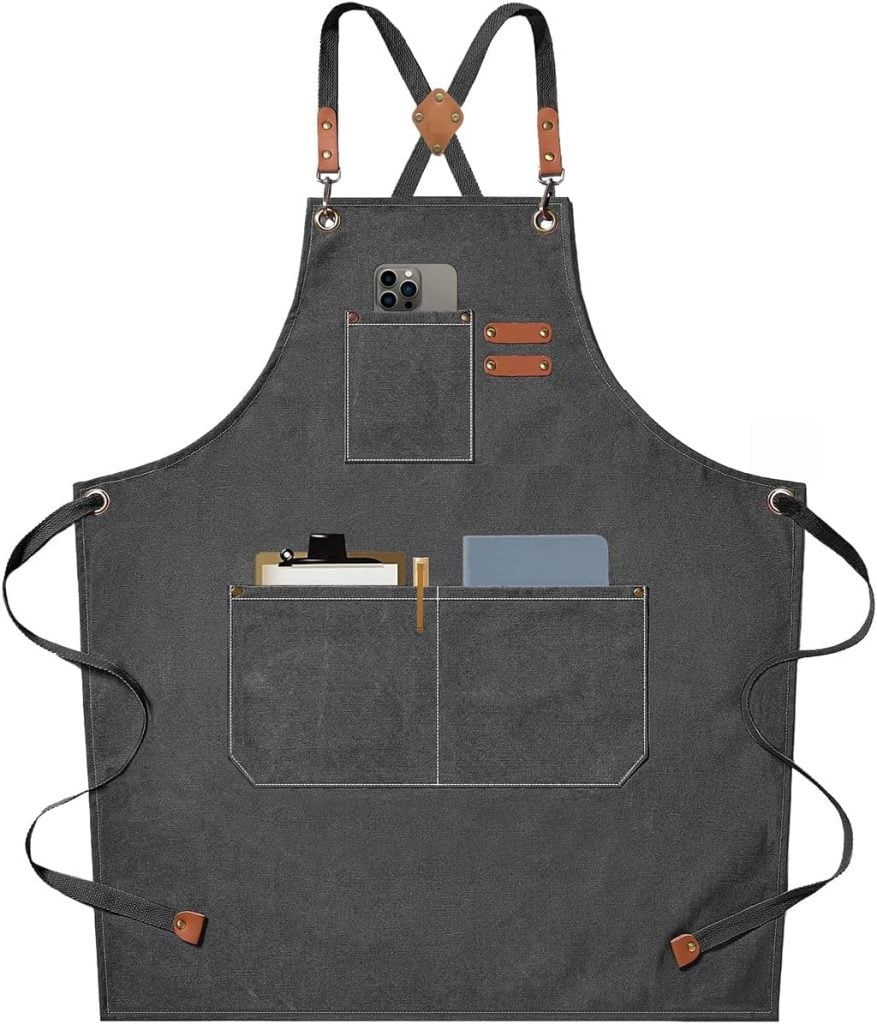
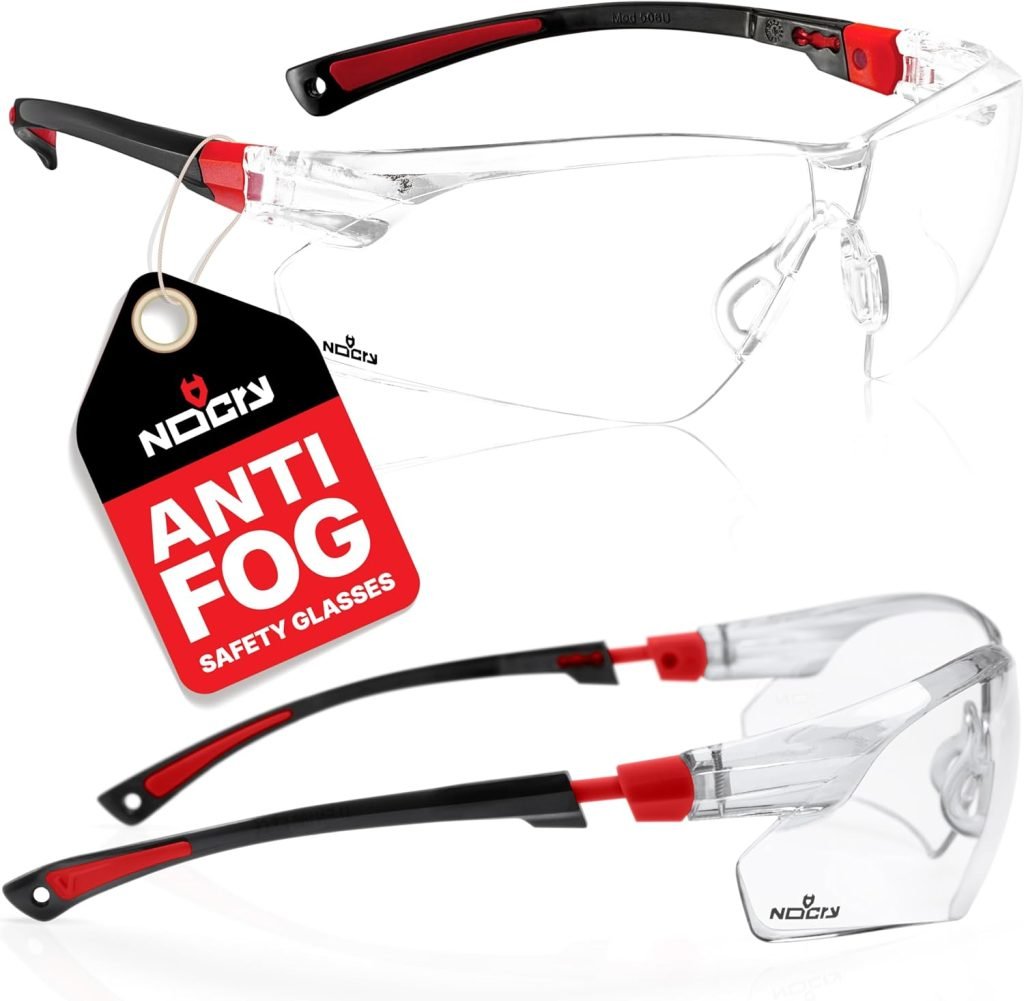
- Wear protective gear: Wear gloves, goggles, and a mask. You can also wear a long-sleeved shirt and an apron or overall.
- Work in a well-ventilated area: If you can’t work in a well-ventilated area, wear a respirator.
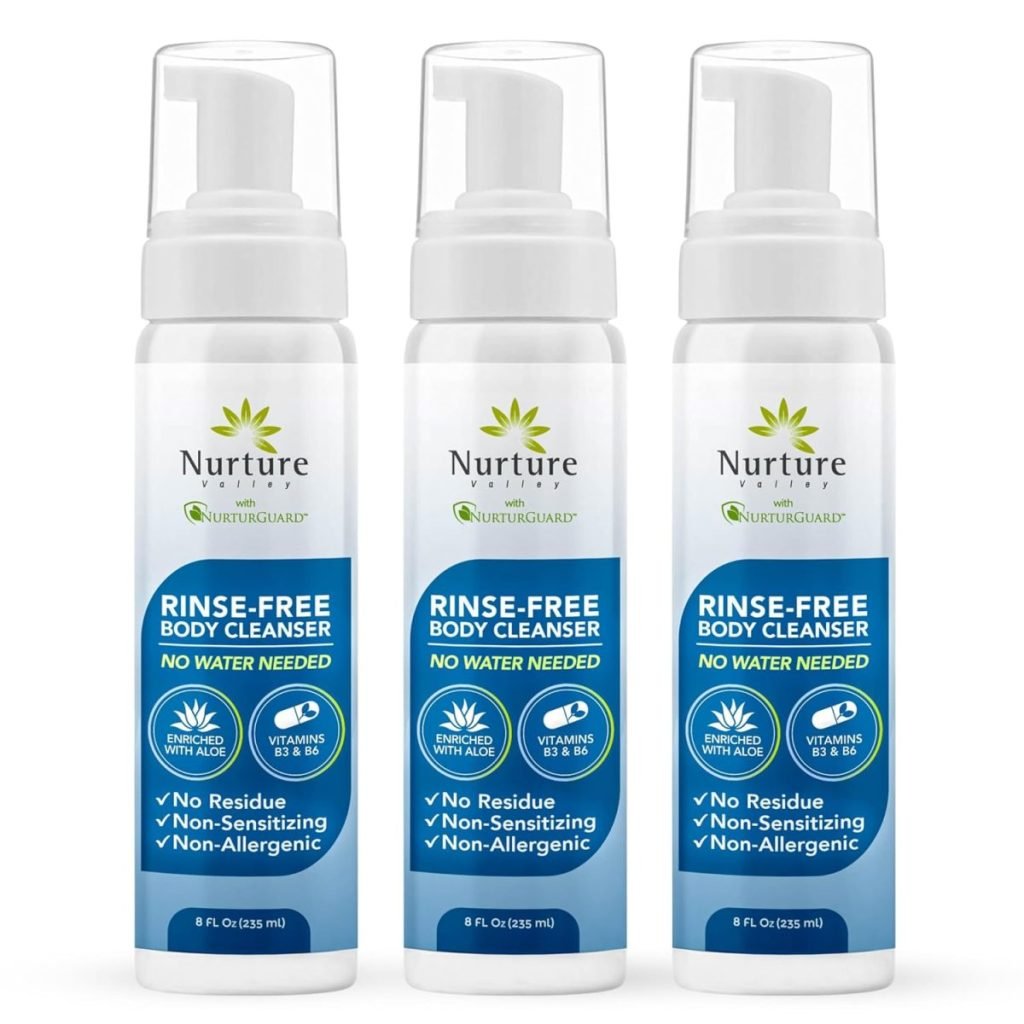
- Avoid skin contact: Resin is not water-soluble, so you should use a waterless skin cleanser to remove it. If you get hardener on your skin, wash it off with soap and warm water.
- Don’t eat or drink: Don’t eat or drink while working with resin.
- Dispose of resin responsibly: Follow the manufacturer’s instructions for disposing unused or leftover resin.
- Take breaks: Take breaks regularly.
- Stop using resin if you react: If you develop a reaction, stop using resin and see a doctor.
8. Cure the Resin
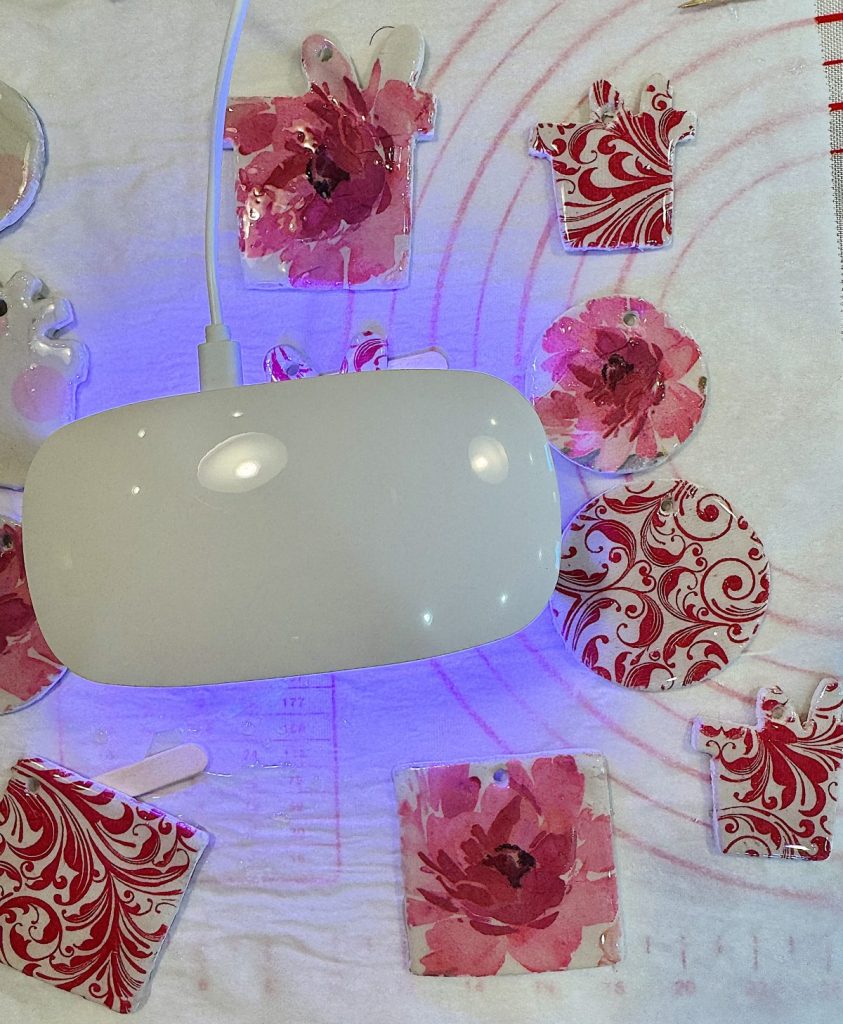
Place your resin-coated ornaments under a UV lamp to cure them. Most UV resins will harden within a few minutes, leaving a smooth, glossy surface that protects the design. I left the lamp on each ornament for about four minutes and then let them all dry on a cookie rack.
10. Add Final Touches
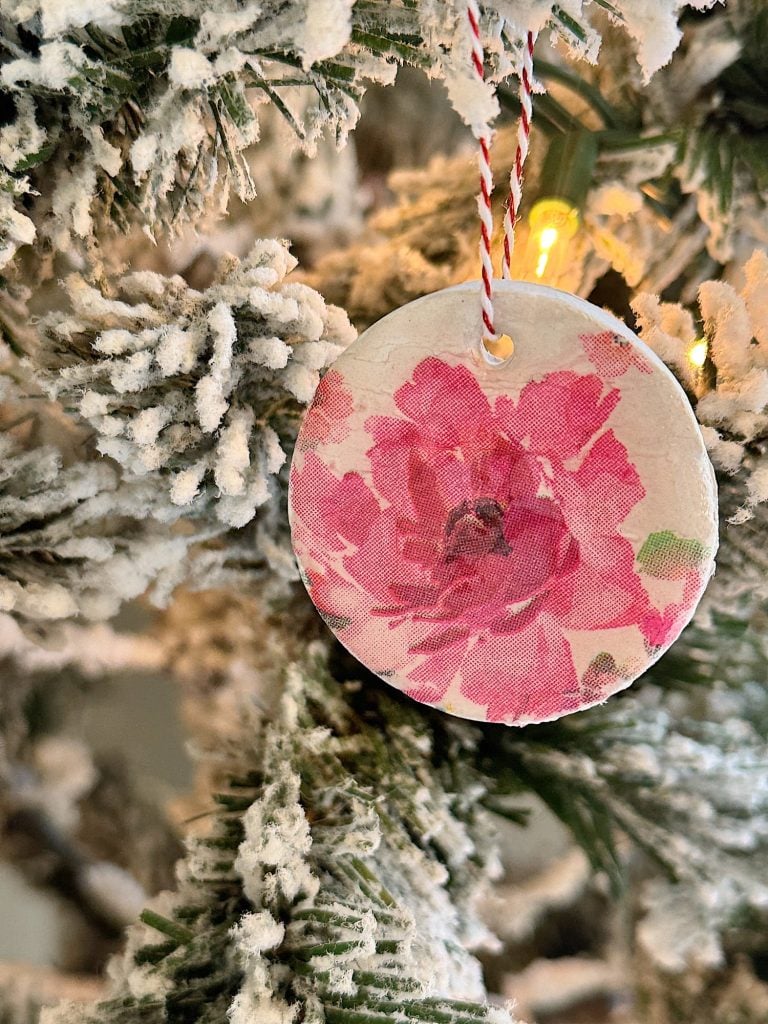
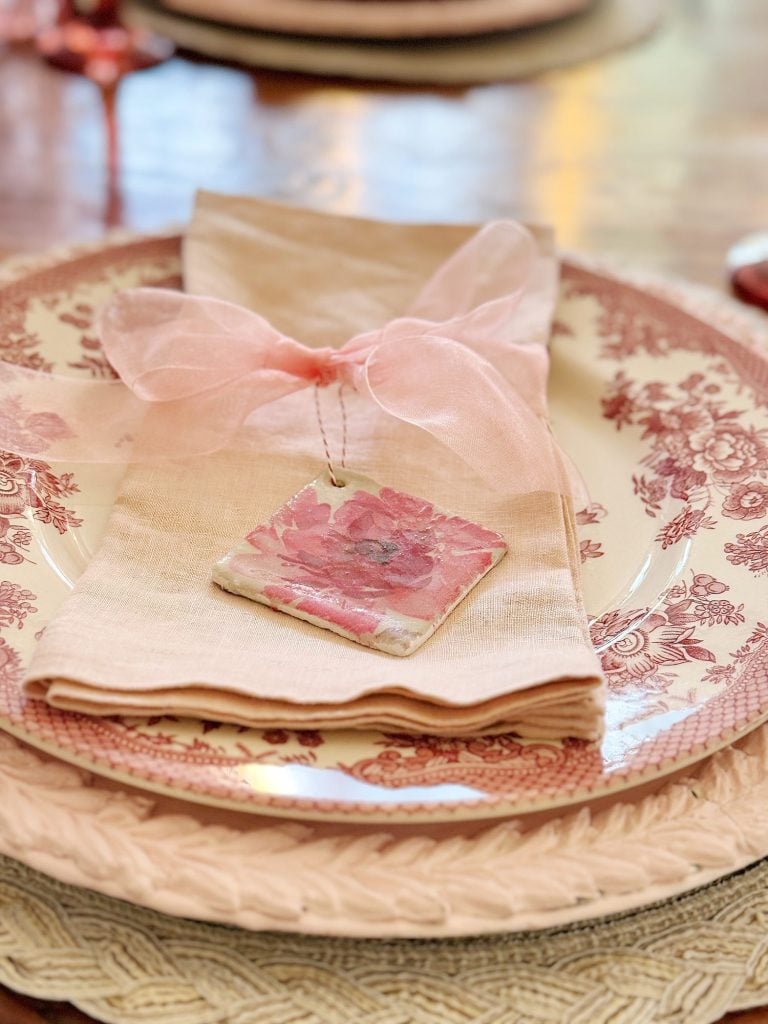
Thread a ribbon or decorative twine through the hole to create hanging ornaments or attach earring hooks for wearable pieces. This final step brings your creations to life, ready to adorn your tree or be given as heartfelt gifts.
Creative Ways to Use Your Clay Ornaments
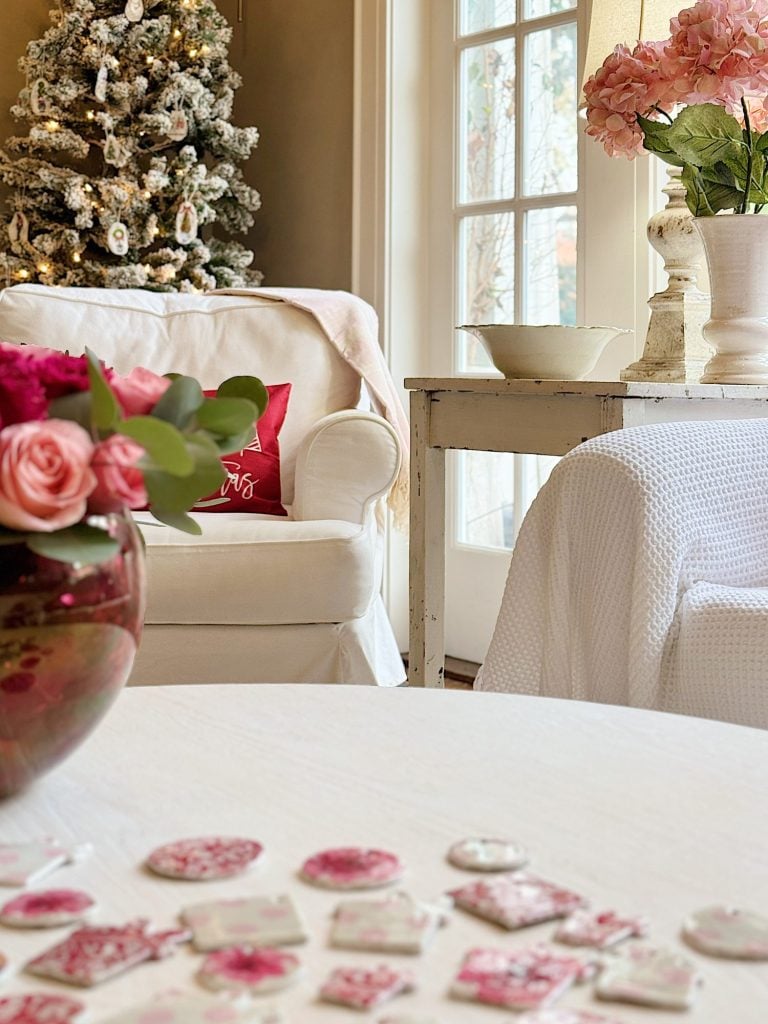
These clay ornaments are as versatile as they are beautiful. Here are a few ideas to inspire you:
- Tree Decorations: Hang them on your Christmas tree to add a personal, handmade touch.
- Gift Toppers: Tie them onto wrapped presents for a special finishing touch.
- Holiday Jewelry: Turn smaller designs into earrings or pendants for festive accessories.
- Year-Round Decor: Use floral or abstract napkin designs to create ornaments you can display long after the holidays.
- Unique Gifts: These ornaments make thoughtful, one-of-a-kind gifts for friends and family.
Tips for Success
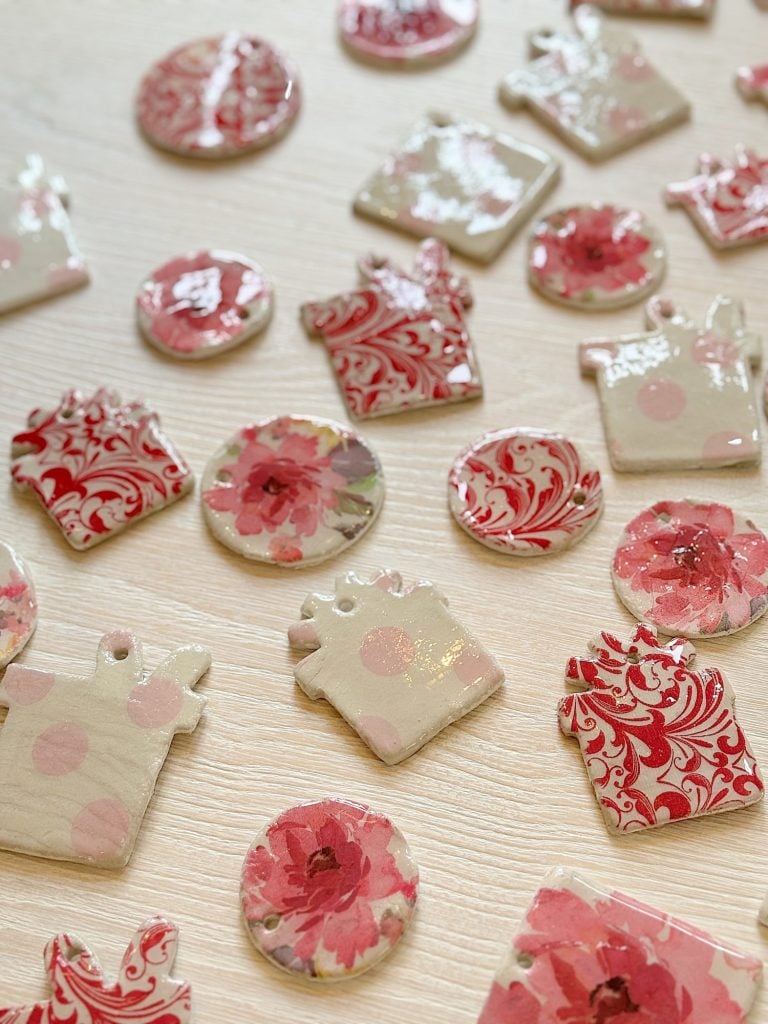
- Choose High-Quality Napkins: The better the print quality, the more vibrant your design will look.
- Work on a Clean Surface: Dust and debris can easily stick to polymer clay, so tidy your workspace.
- Handle Resin Safely: Always wear gloves, a mask, and work in a well-ventilated area when using UV resin.
- Experiment with Colors: For a different effect, try using colored clay or layering napkin designs on top of pre-colored bases.
- Store Properly: When not in use, store your ornaments in a dry, cool place to keep them looking their best.
Why Handmade Ornaments Bring Joy
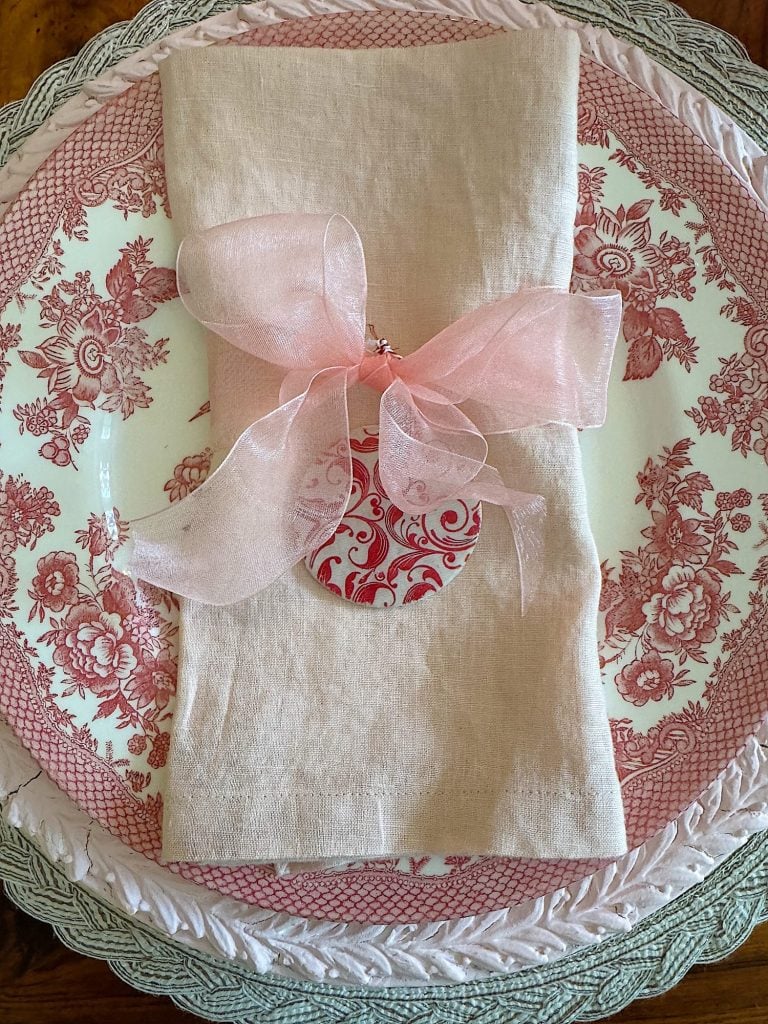
There’s something magical about creating your holiday decor. Handmade ornaments are more than just decorations—they reflect the thought and care you put into your holiday celebrations. Crafting these clay pieces lets you personalize your tree, gifts, and home with meaningful designs.
This project is also a wonderful way to spend time with loved ones. Whether crafting with friends, kids, or alone, the process is as enjoyable as the finished product.
Celebrate the Season with Handmade Creations
Making clay ornaments with napkin transfers is an easy, creative way to add personality and charm to your holiday decor. With just a few materials and time, you can create stunning pieces perfect for gifting, decorating, or wearing.
So why not give it a try? Let your imagination run wild, and enjoy the joy of creating something special for the holidays. Happy crafting, and may your season be filled with creativity and cheer!
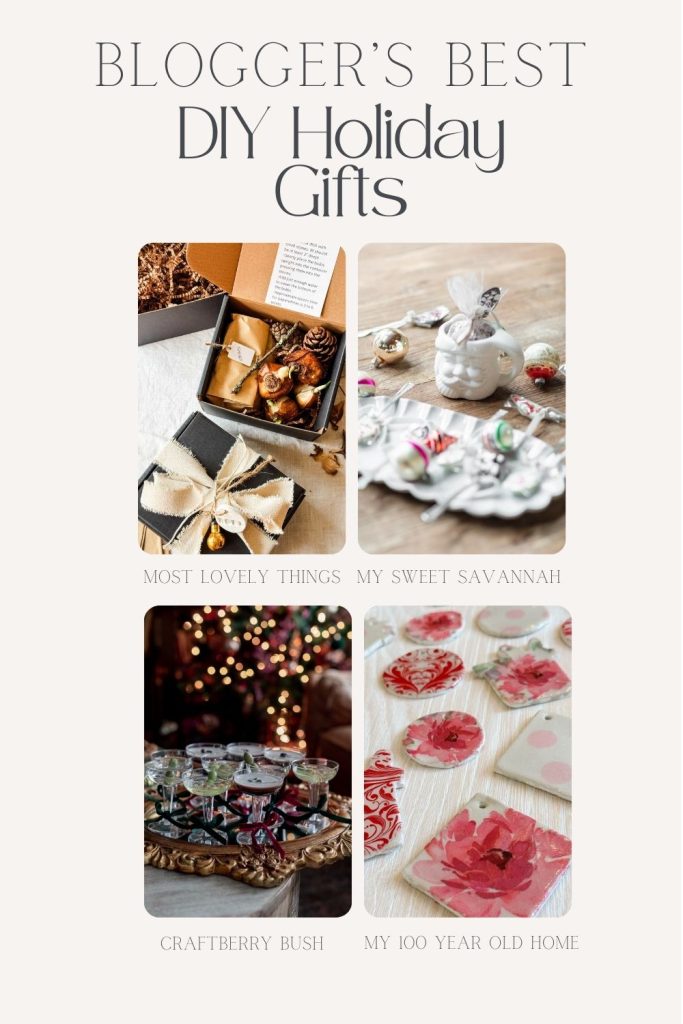
Here are some more Holiday DIY Gifts from some of my favorite bloggers.
Blogger’s Best DIY Holiday Gifts
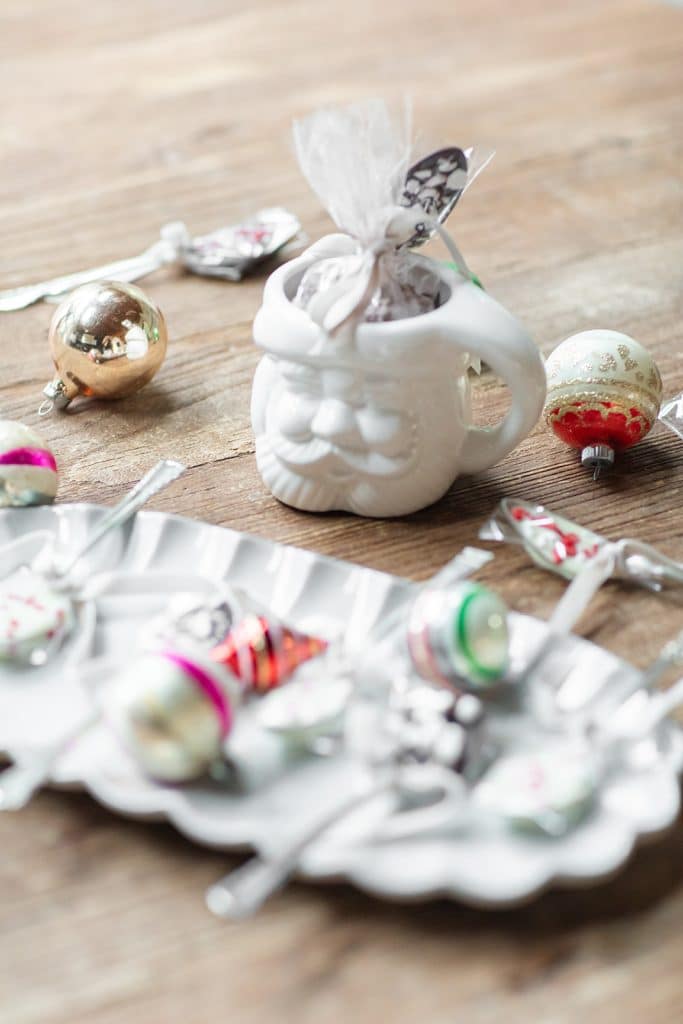
DIY Gift Idea: Coffee Mug Mixers | My Sweet Savannah
Add a festive touch to any cup of joe (or cocoa) with these delightful DIY coffee mug mixers. This creative gift combines a cute mug with homemade chocolate-coated spoons, turning an ordinary hot beverage into a special treat. Perfect for Christmas, this idea is not only charming but also incredibly simple to make.
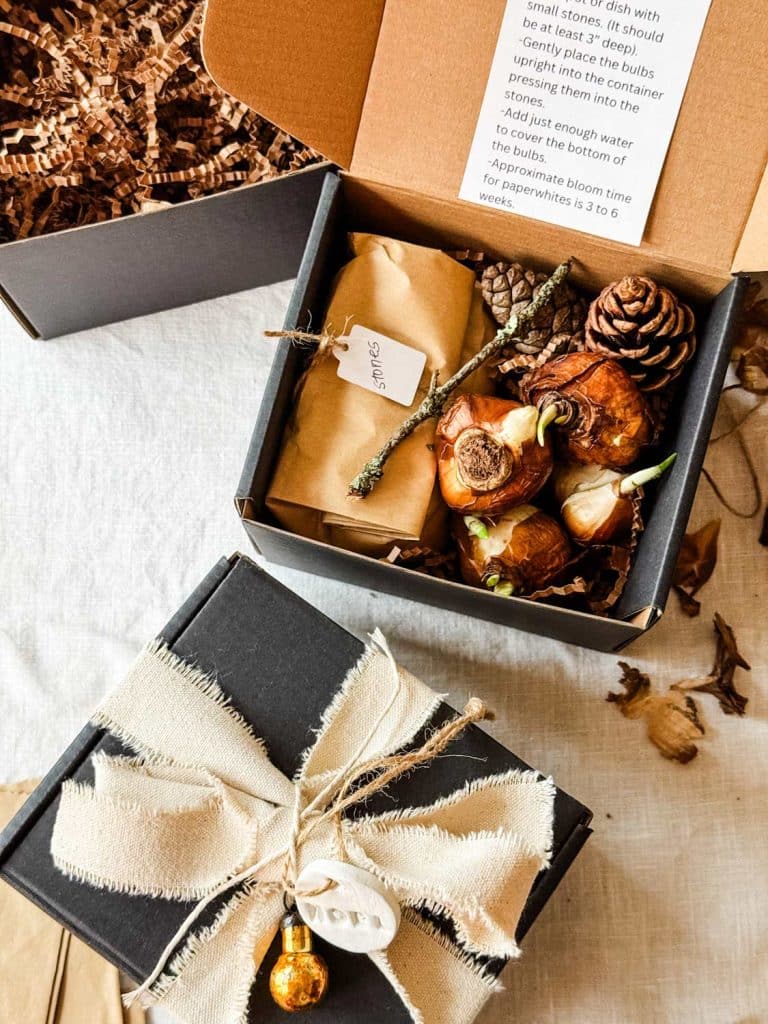
Two Creative Ways to Gift Paperwhites This Year | Most Lovely Things
Two ways to creatively gift paperwhites.

DIY Martini Ornaments | Craftberry Bush
These adorable martini glass ornaments are adorable and so easy to make. Great idea to gift your girlfriends for Christmas.
Flip Through My Holiday Gift Guide
Click the photo below to shop my holiday flip book.
flipbook holiday gift guidePretty Pink Christmas Decor
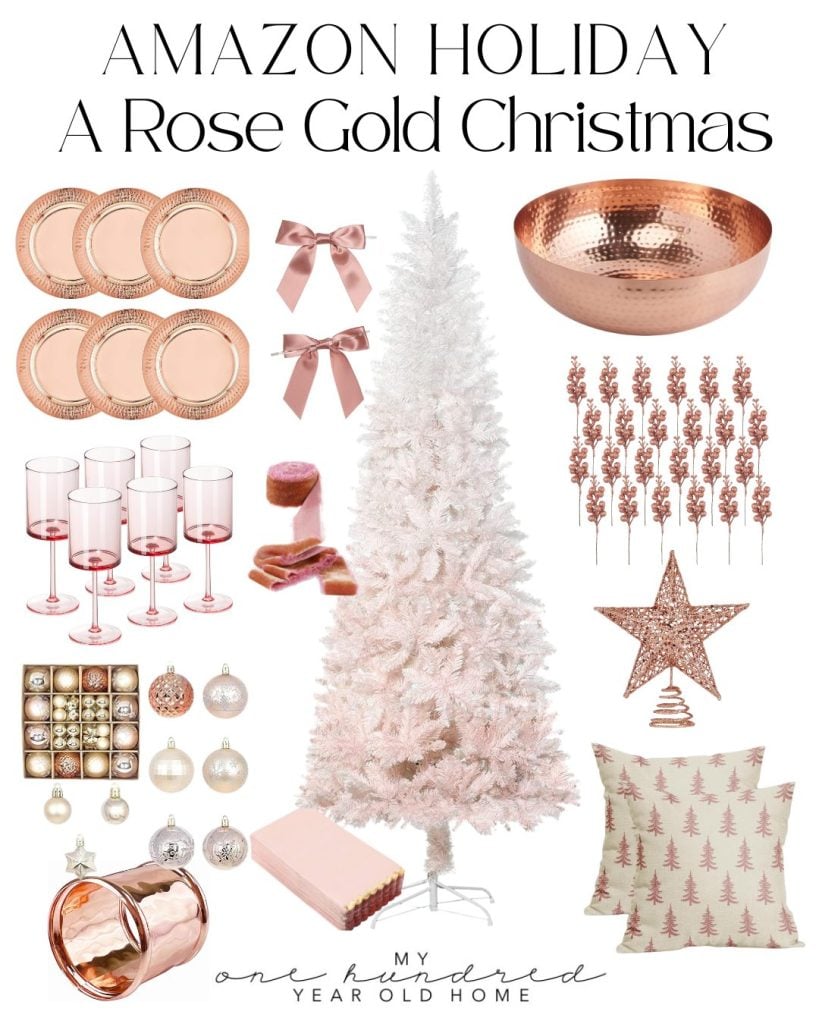
If you enjoy my blog, you can sign up to receive my updates here. .
Latest Posts
- Christmas Clay Ornaments DIY
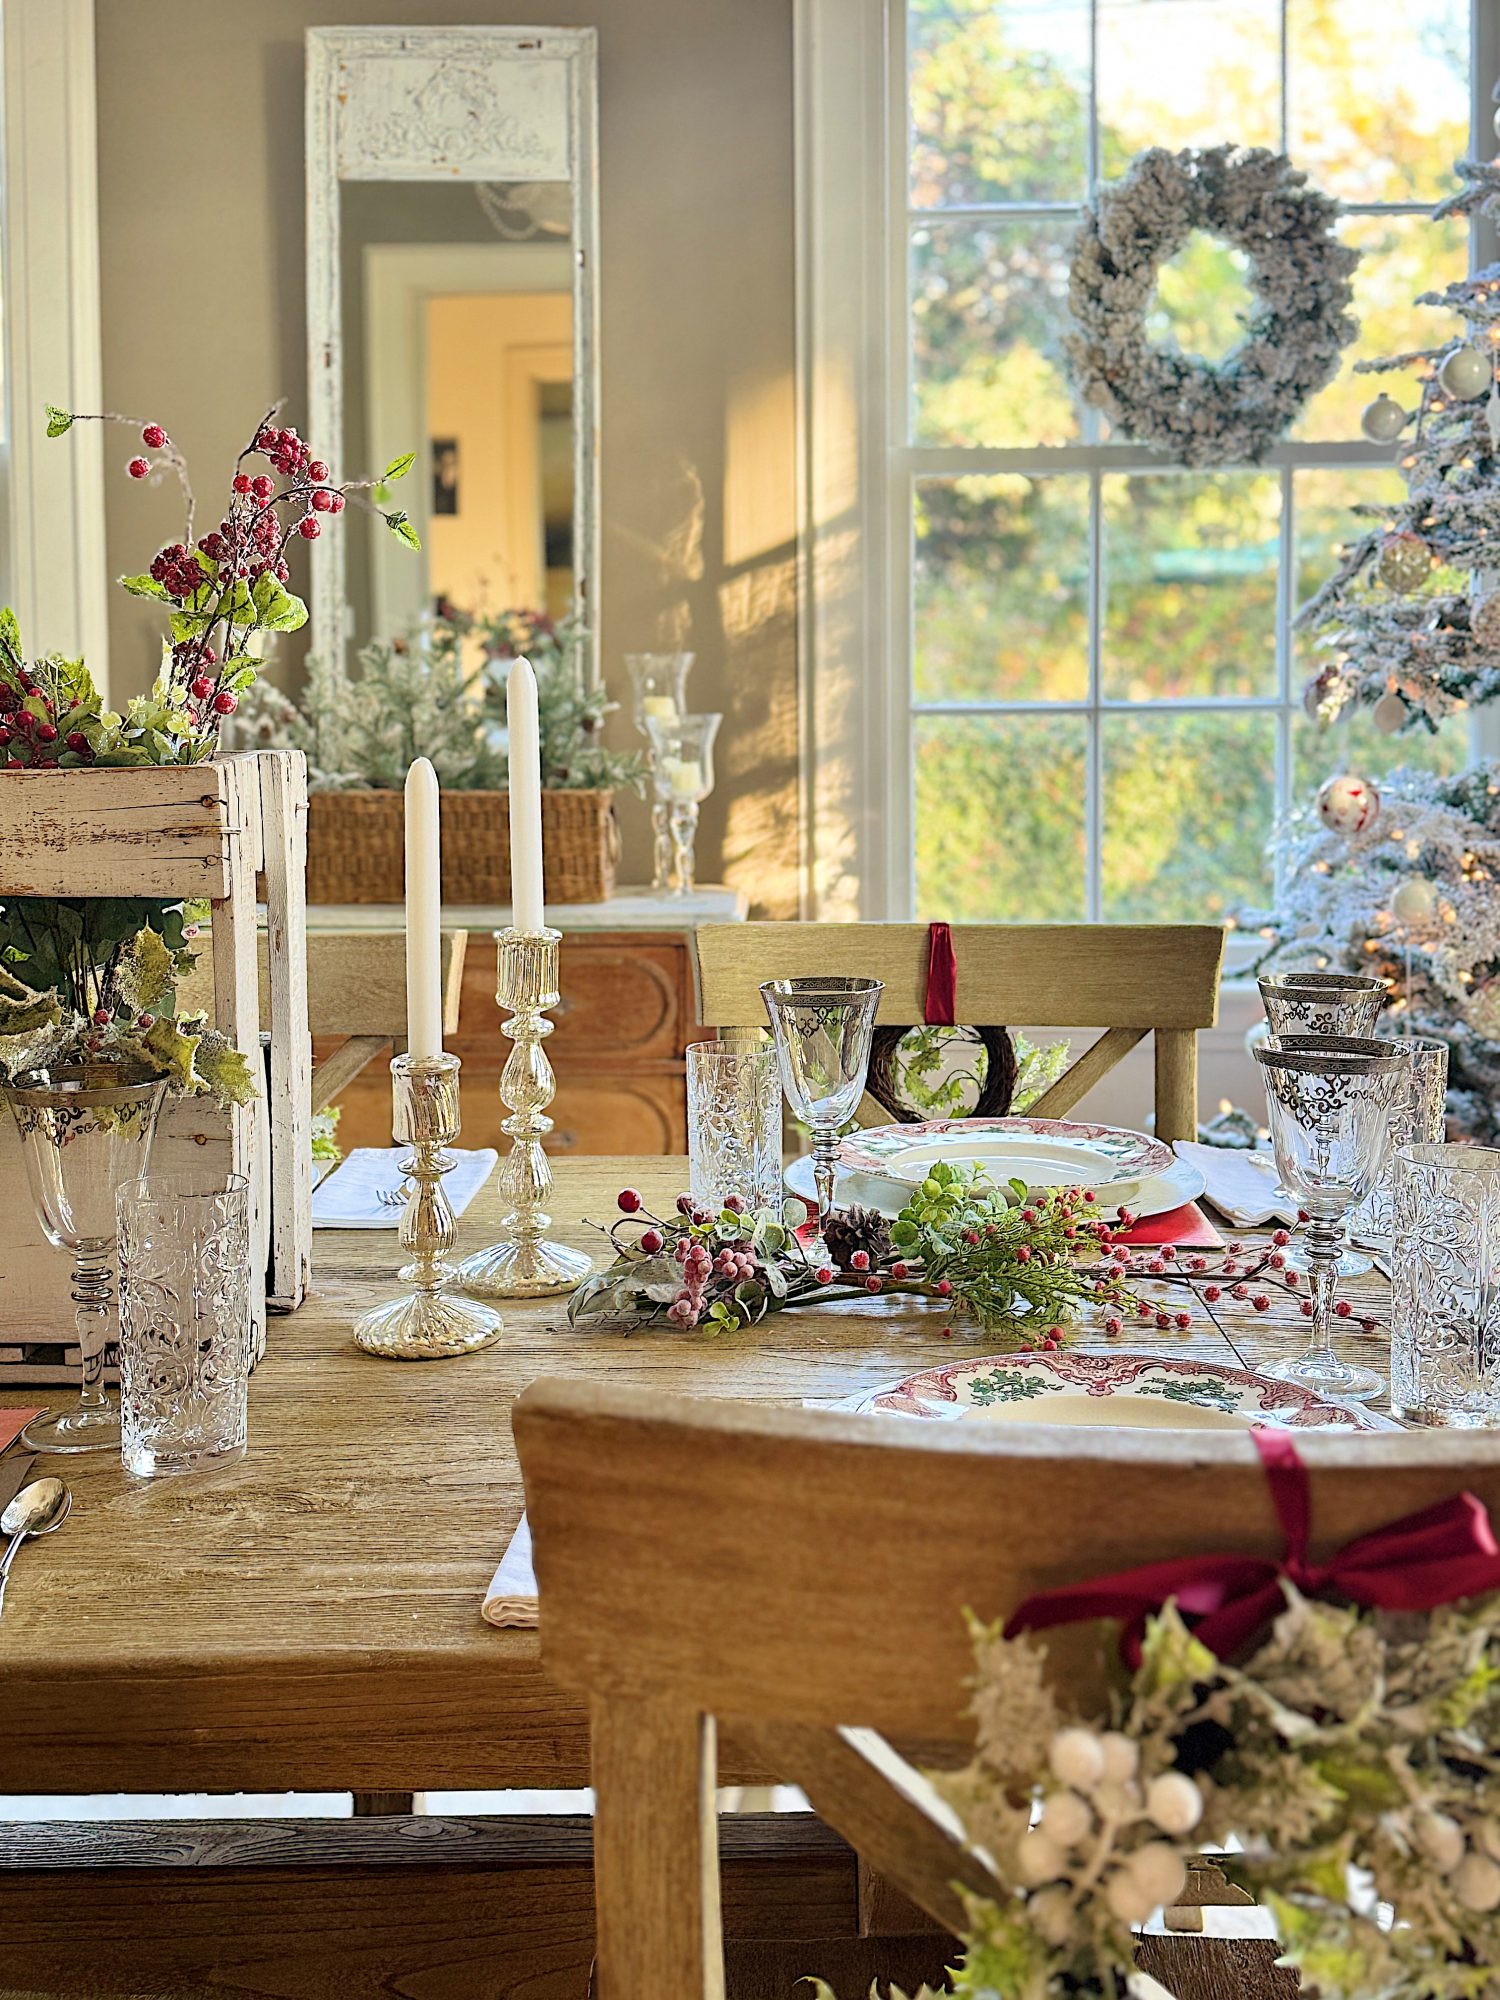
- Christmas Table Decor in the Dining Room
- Living Room Christmas Decor Ideas

You can pin the images below to your boards on Pinterest (click the Pin button in the top left corner) or follow me on Pinterest!
For more real-time updates, follow me on Instagram @My100YearOldHome





Leslie, your Christmas clay ornaments are so beautiful! Pinned!
You are so creative, I love these!